

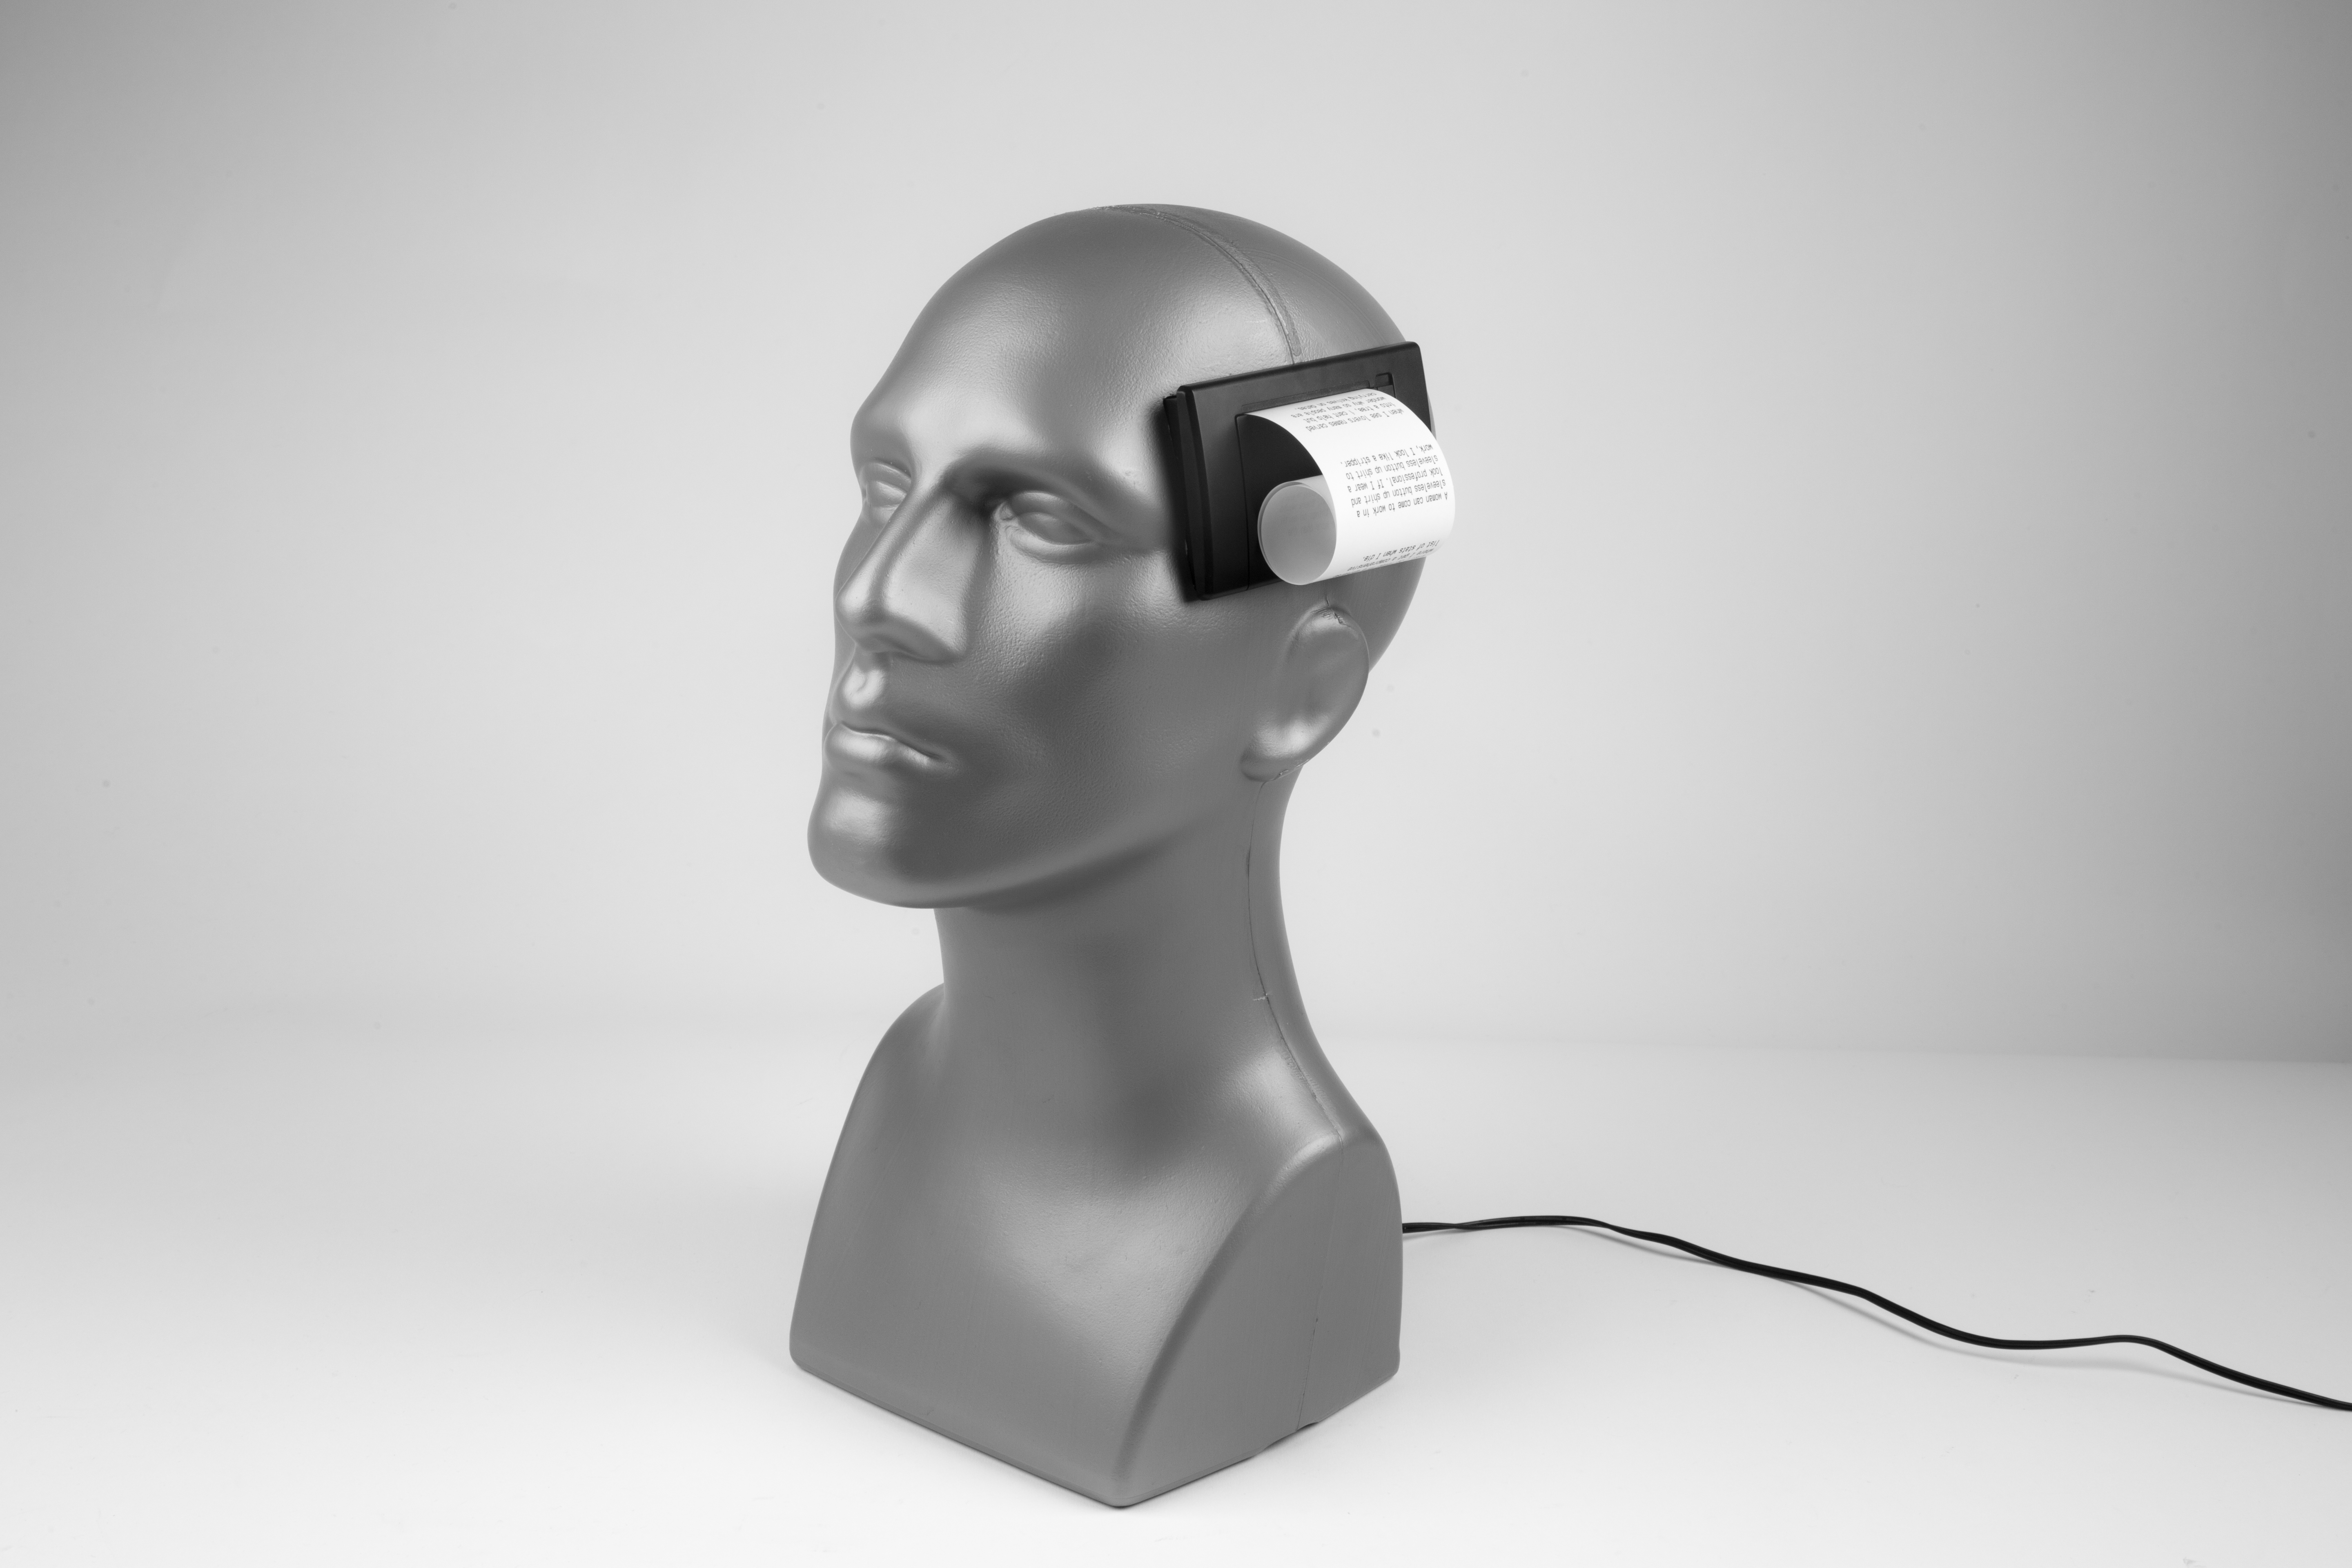

With the press of a button, Thinking Man produces a random amusing thought from its onboard thermal printer. As it turns out, these thoughts are actually random post titles from Reddit’s popular subreddit Shower Thoughts that are downloaded over a Wi-Fi connection. The result is an objet d’art that can surprise you with its cleverness. It’s also a great project to explore using the Arduino to create an IoT device.
Putting the hardware together is straightforward. You can take these core electronics and turn just about any object into an IoT printer.

Because the entire response from Reddit is too large for the Arduino to store in memory, the microcontroller has to pick out the relevant data as it is received. The included source code does just that, and can be adapted to read data from anywhere on the internet or your home network.

With a little tweaking, you can make your own Thinking Man produce jokes, headlines, weather reports, or class schedules.
Thinking Man came about when a collection of odd parts became ingredients for an interesting project. I think the thermal printer worked well because it’s a unique way to communicate, and these thoughtful yet childish ideas are just spilling out of its head. I hope Makers can use my ideas and code to create something that excites them.
Project Steps
Program the Arduino
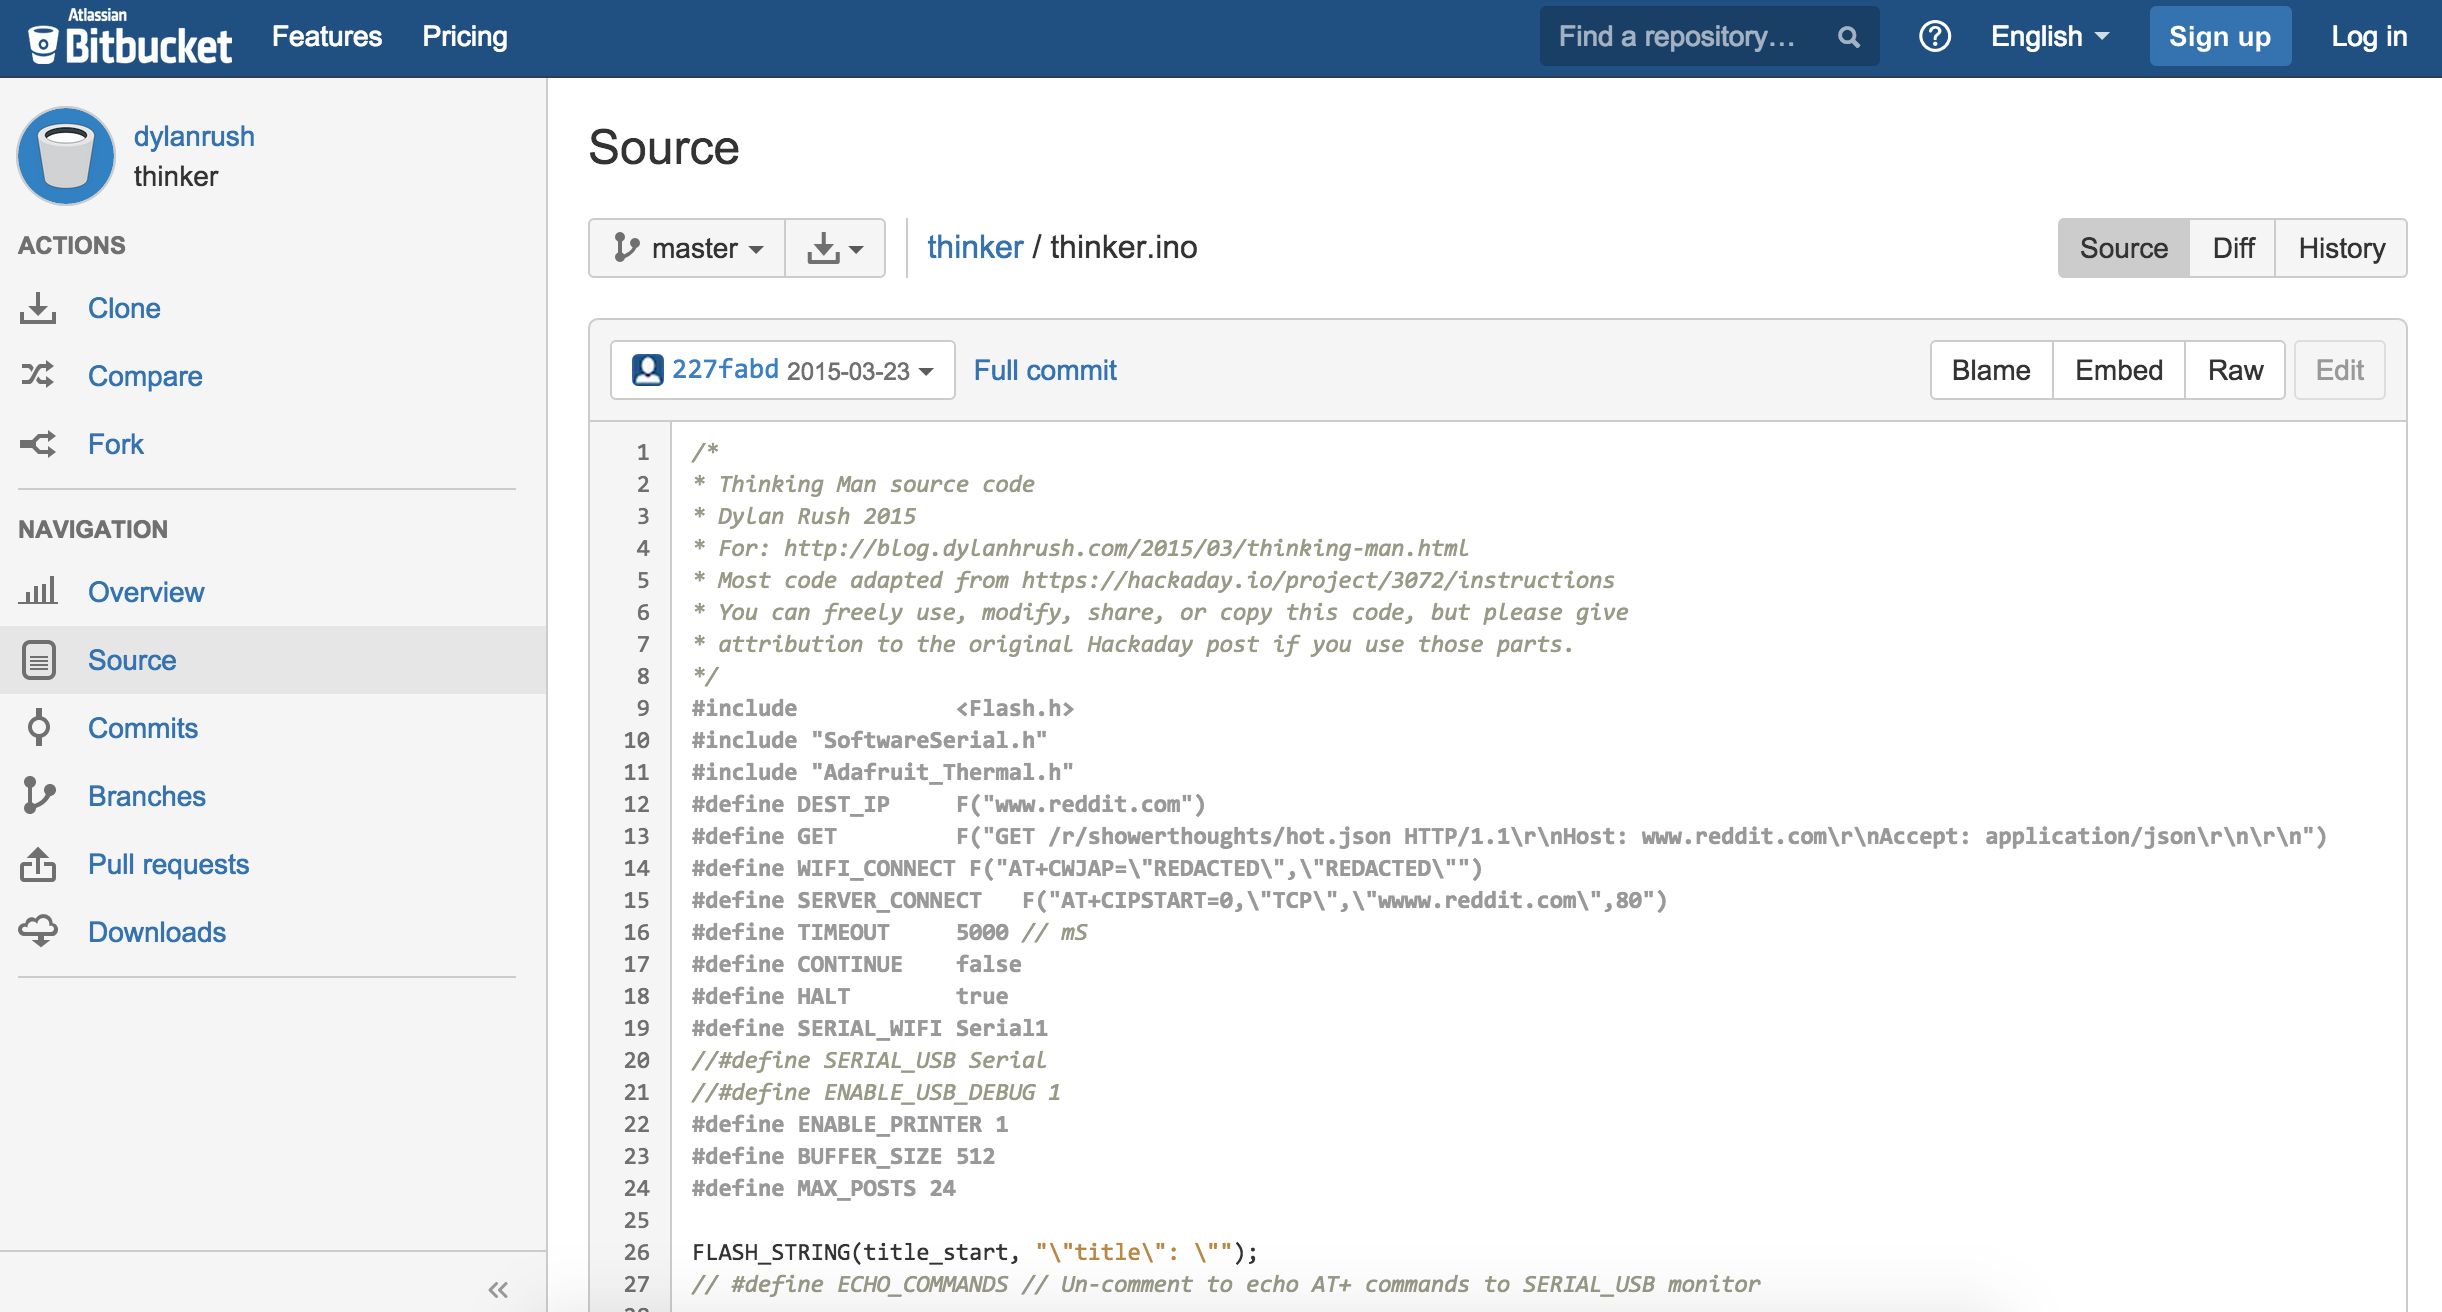
Download the Arduino code from the source code.
Open the code using the Arduino IDE software and substitute in your own Wi-Fi SSID and password.
Click the Sketch menu in the Arduino IDE, scroll to Include Library and select Manage Libraries. Find and install the Adafruit Thermal Printer Library. Connect your Arduino to your computer using a USB cable and upload the code to your board.
Prep the mannequin
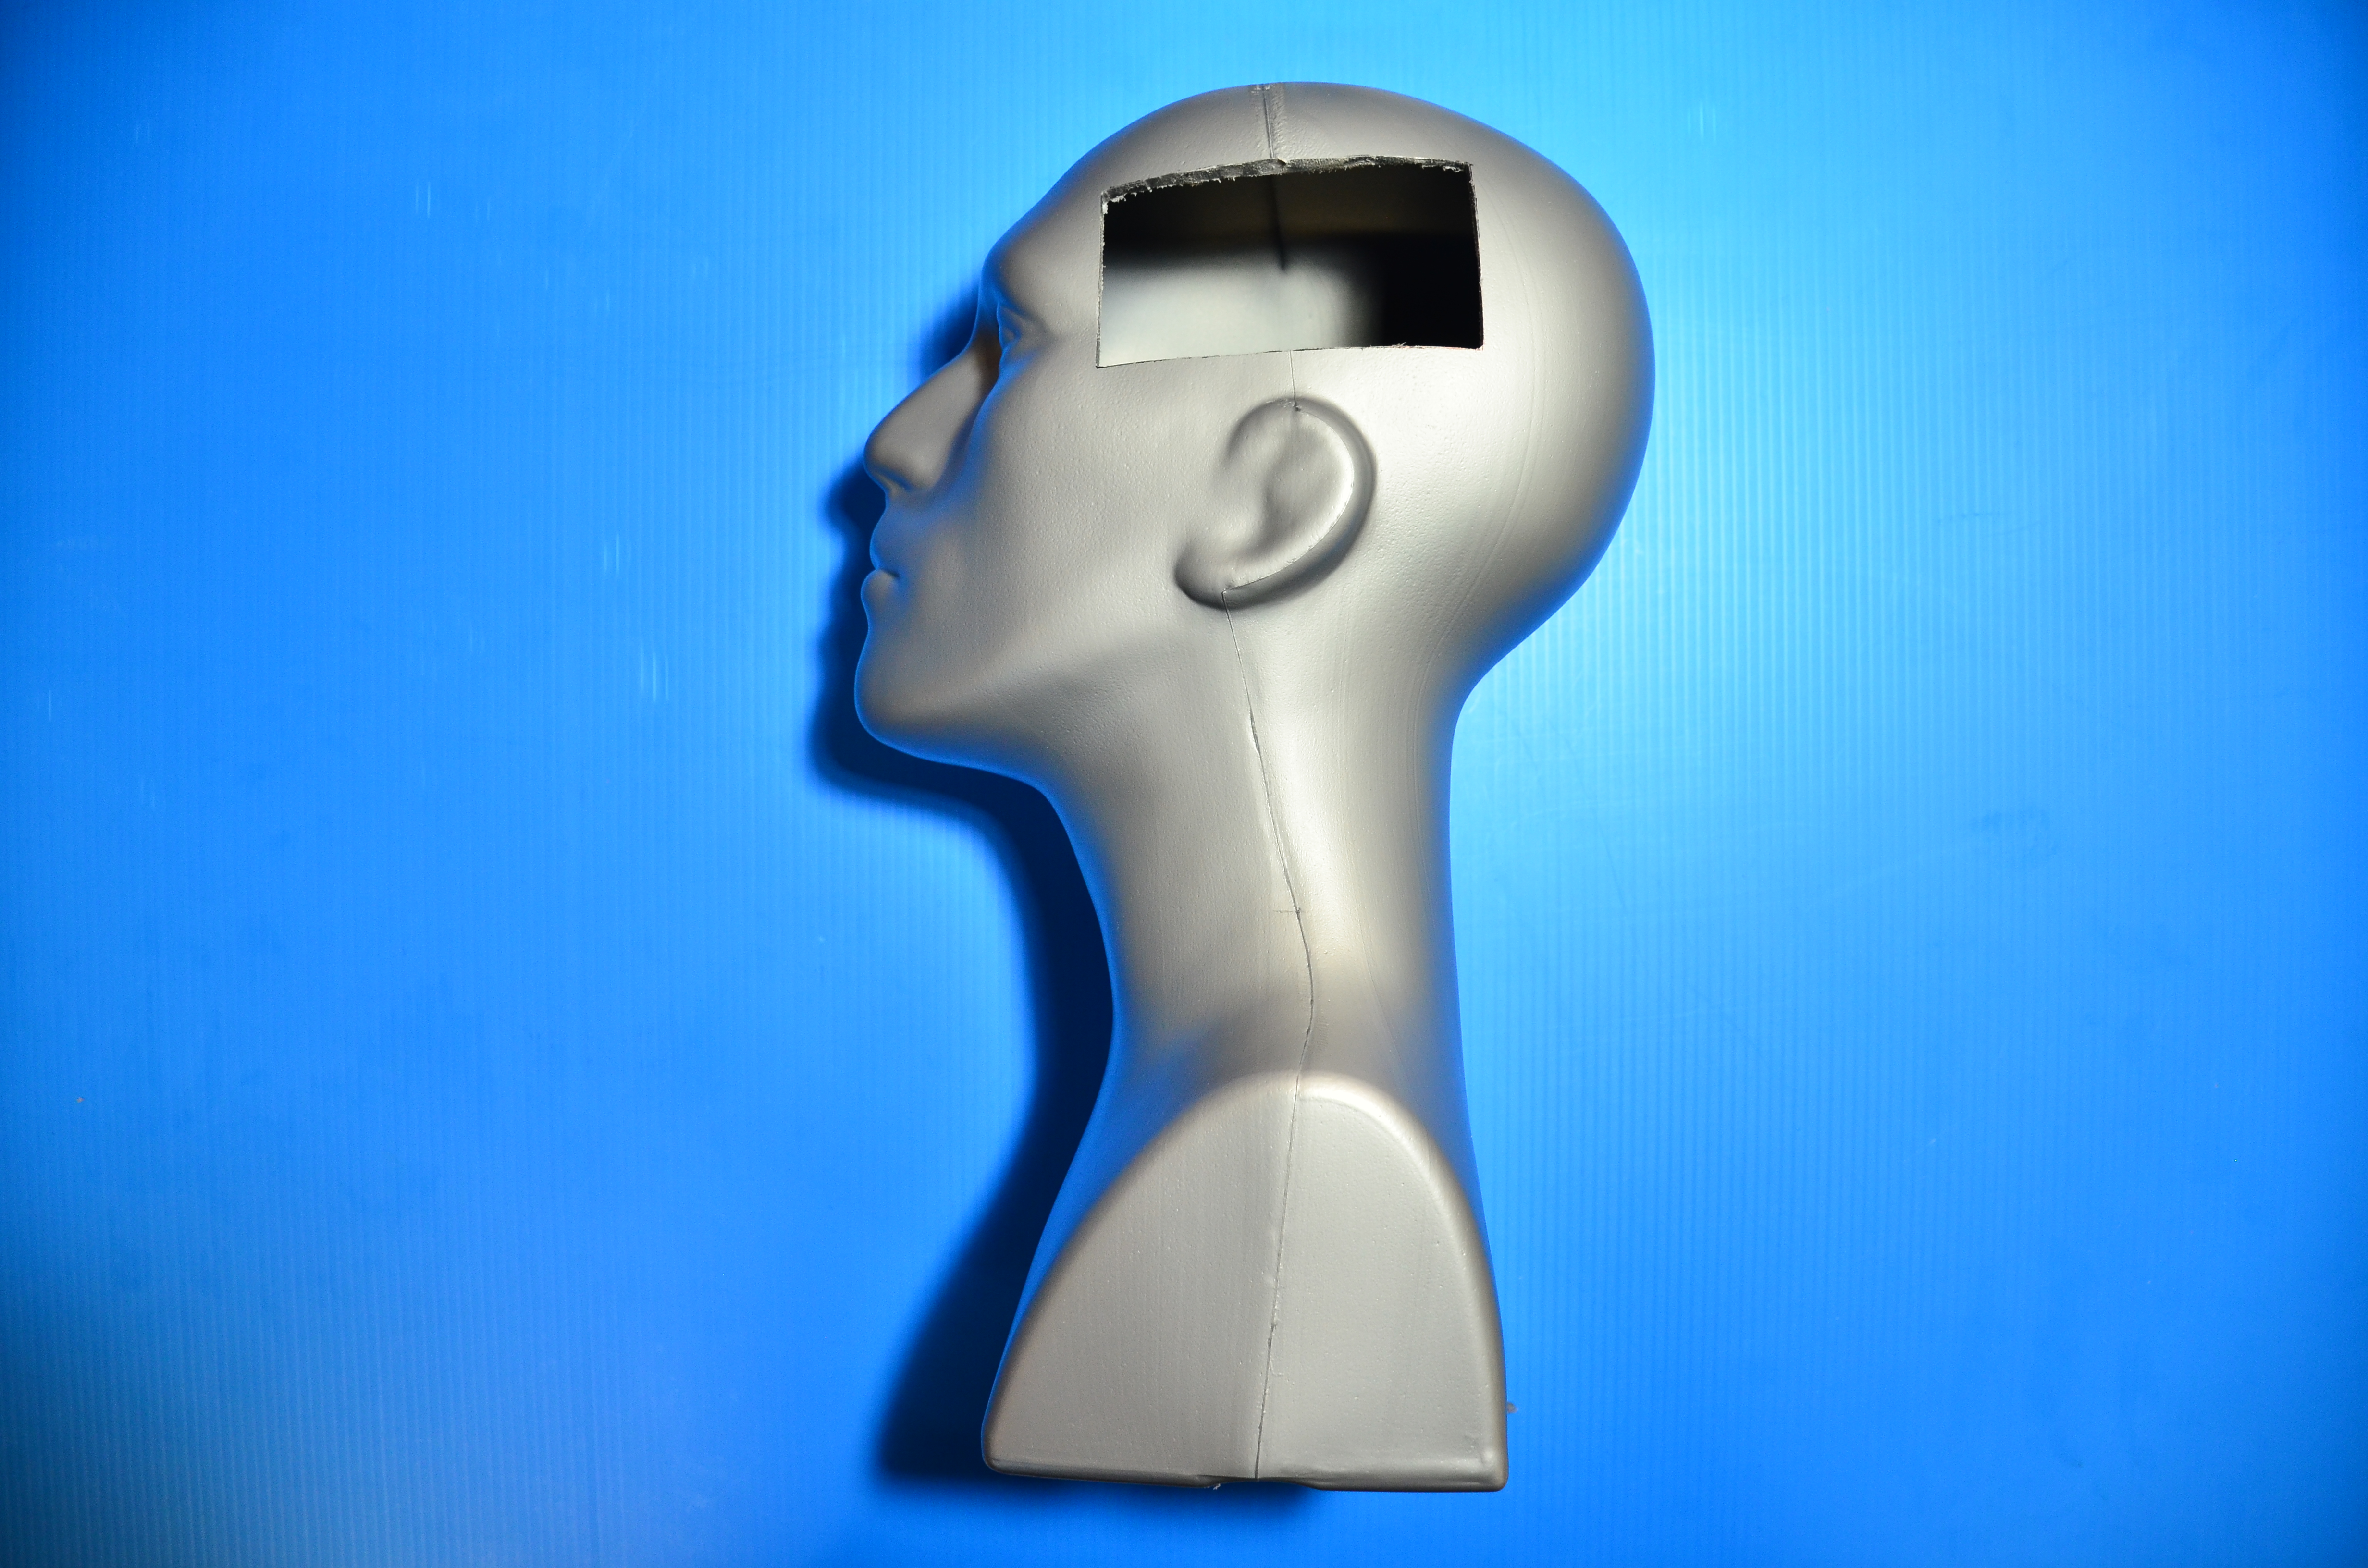
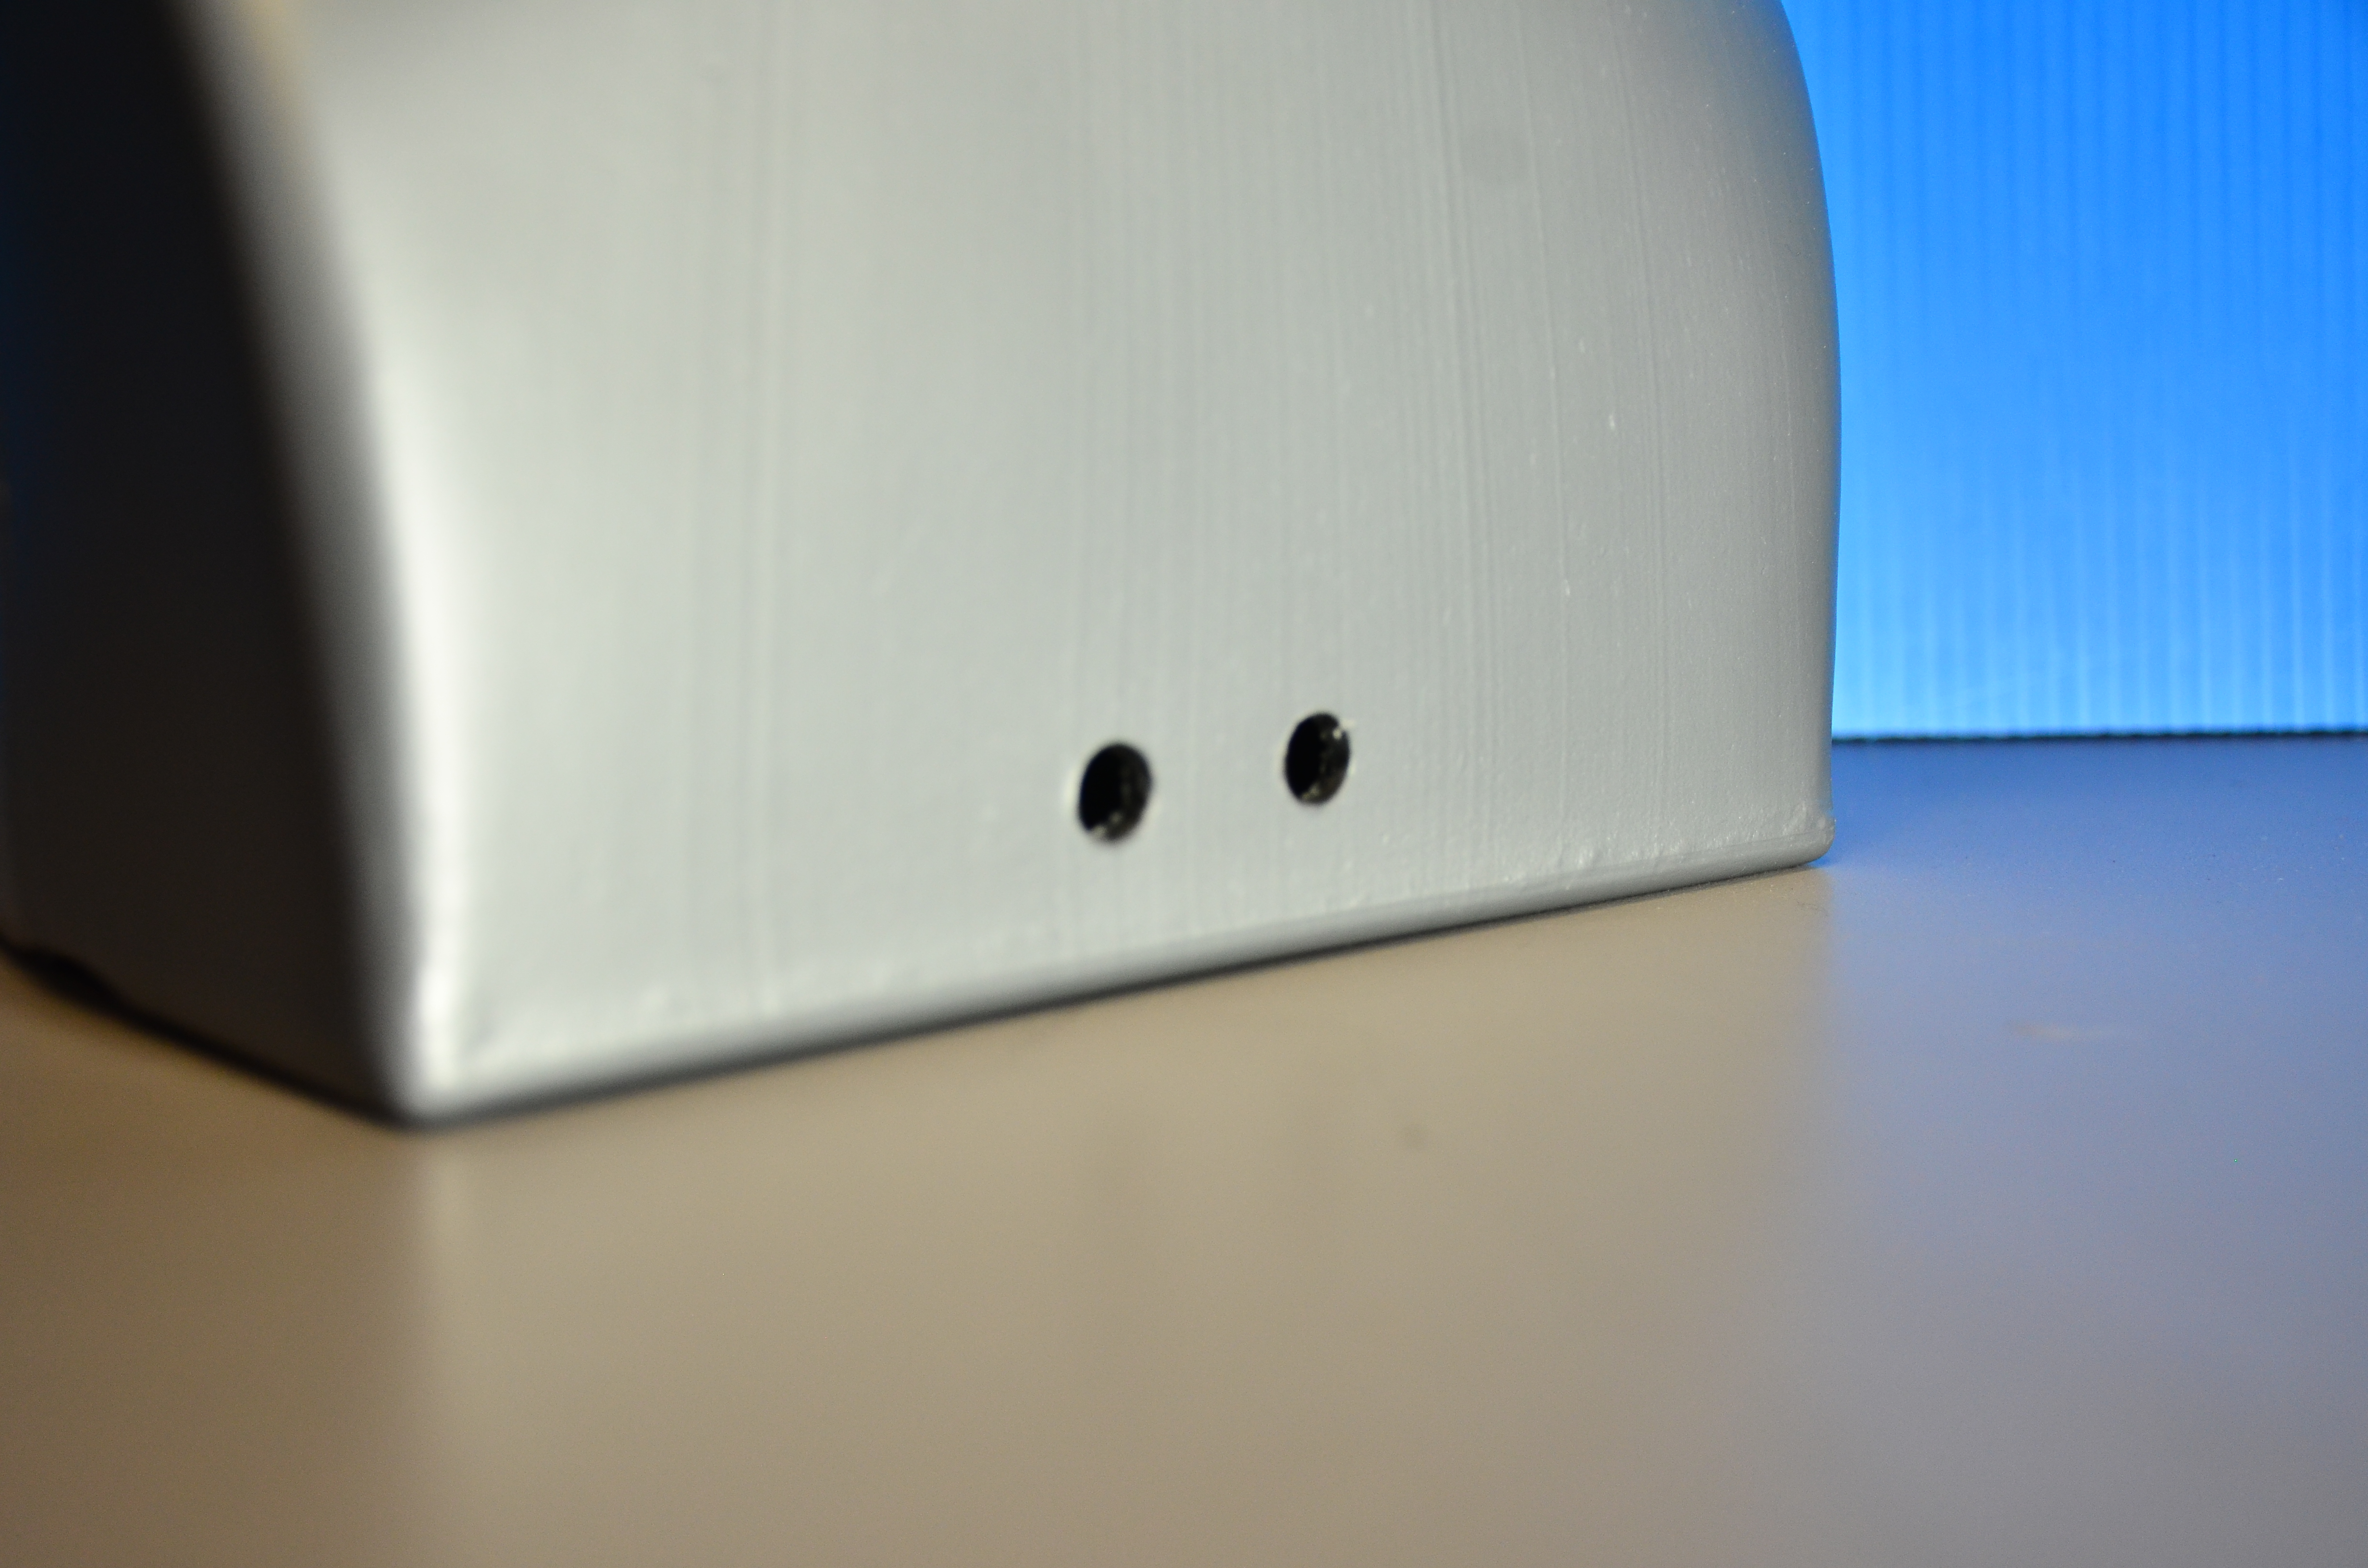
Drill two holes in the back of the mannequin. One will be for a pushbutton. The other will be for a 5.5mm/2.1mm center-positive power jack.
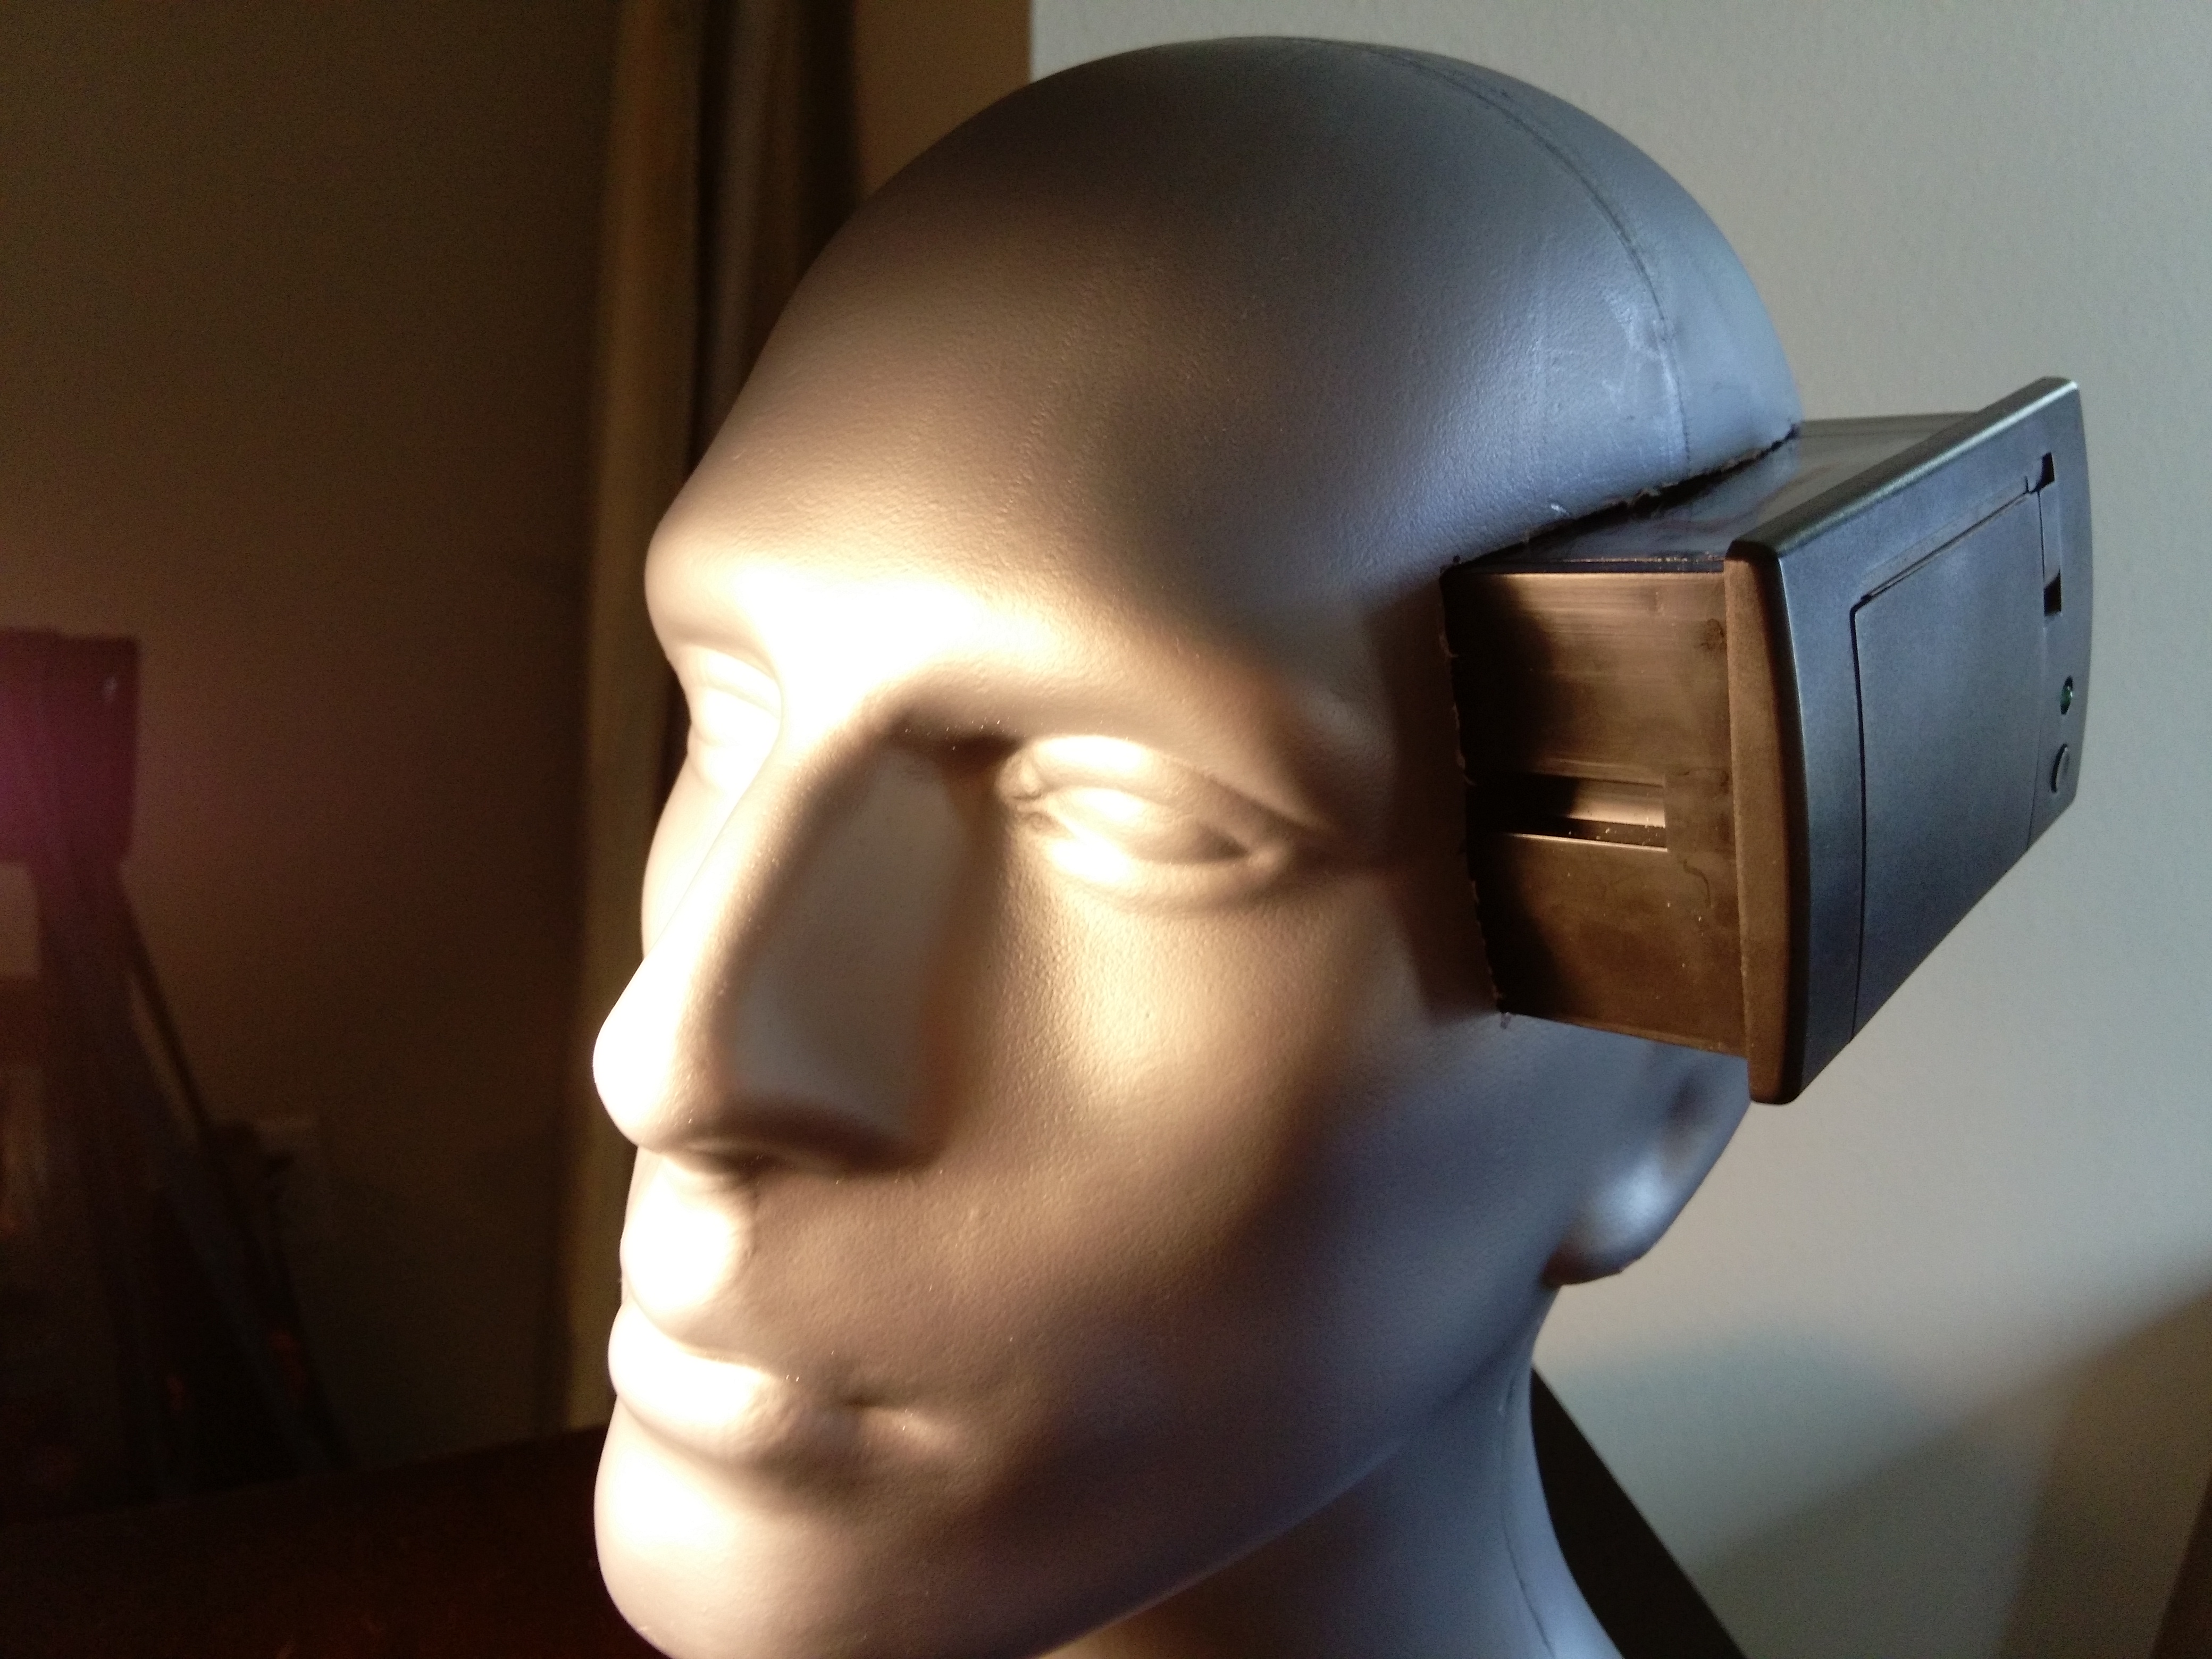
Mark an area on the head in a rectangle to cut a section out for the thermal printer. Guide the wires through to the bottom.
Guide the printer into the head socket.
Lay out the electronic parts
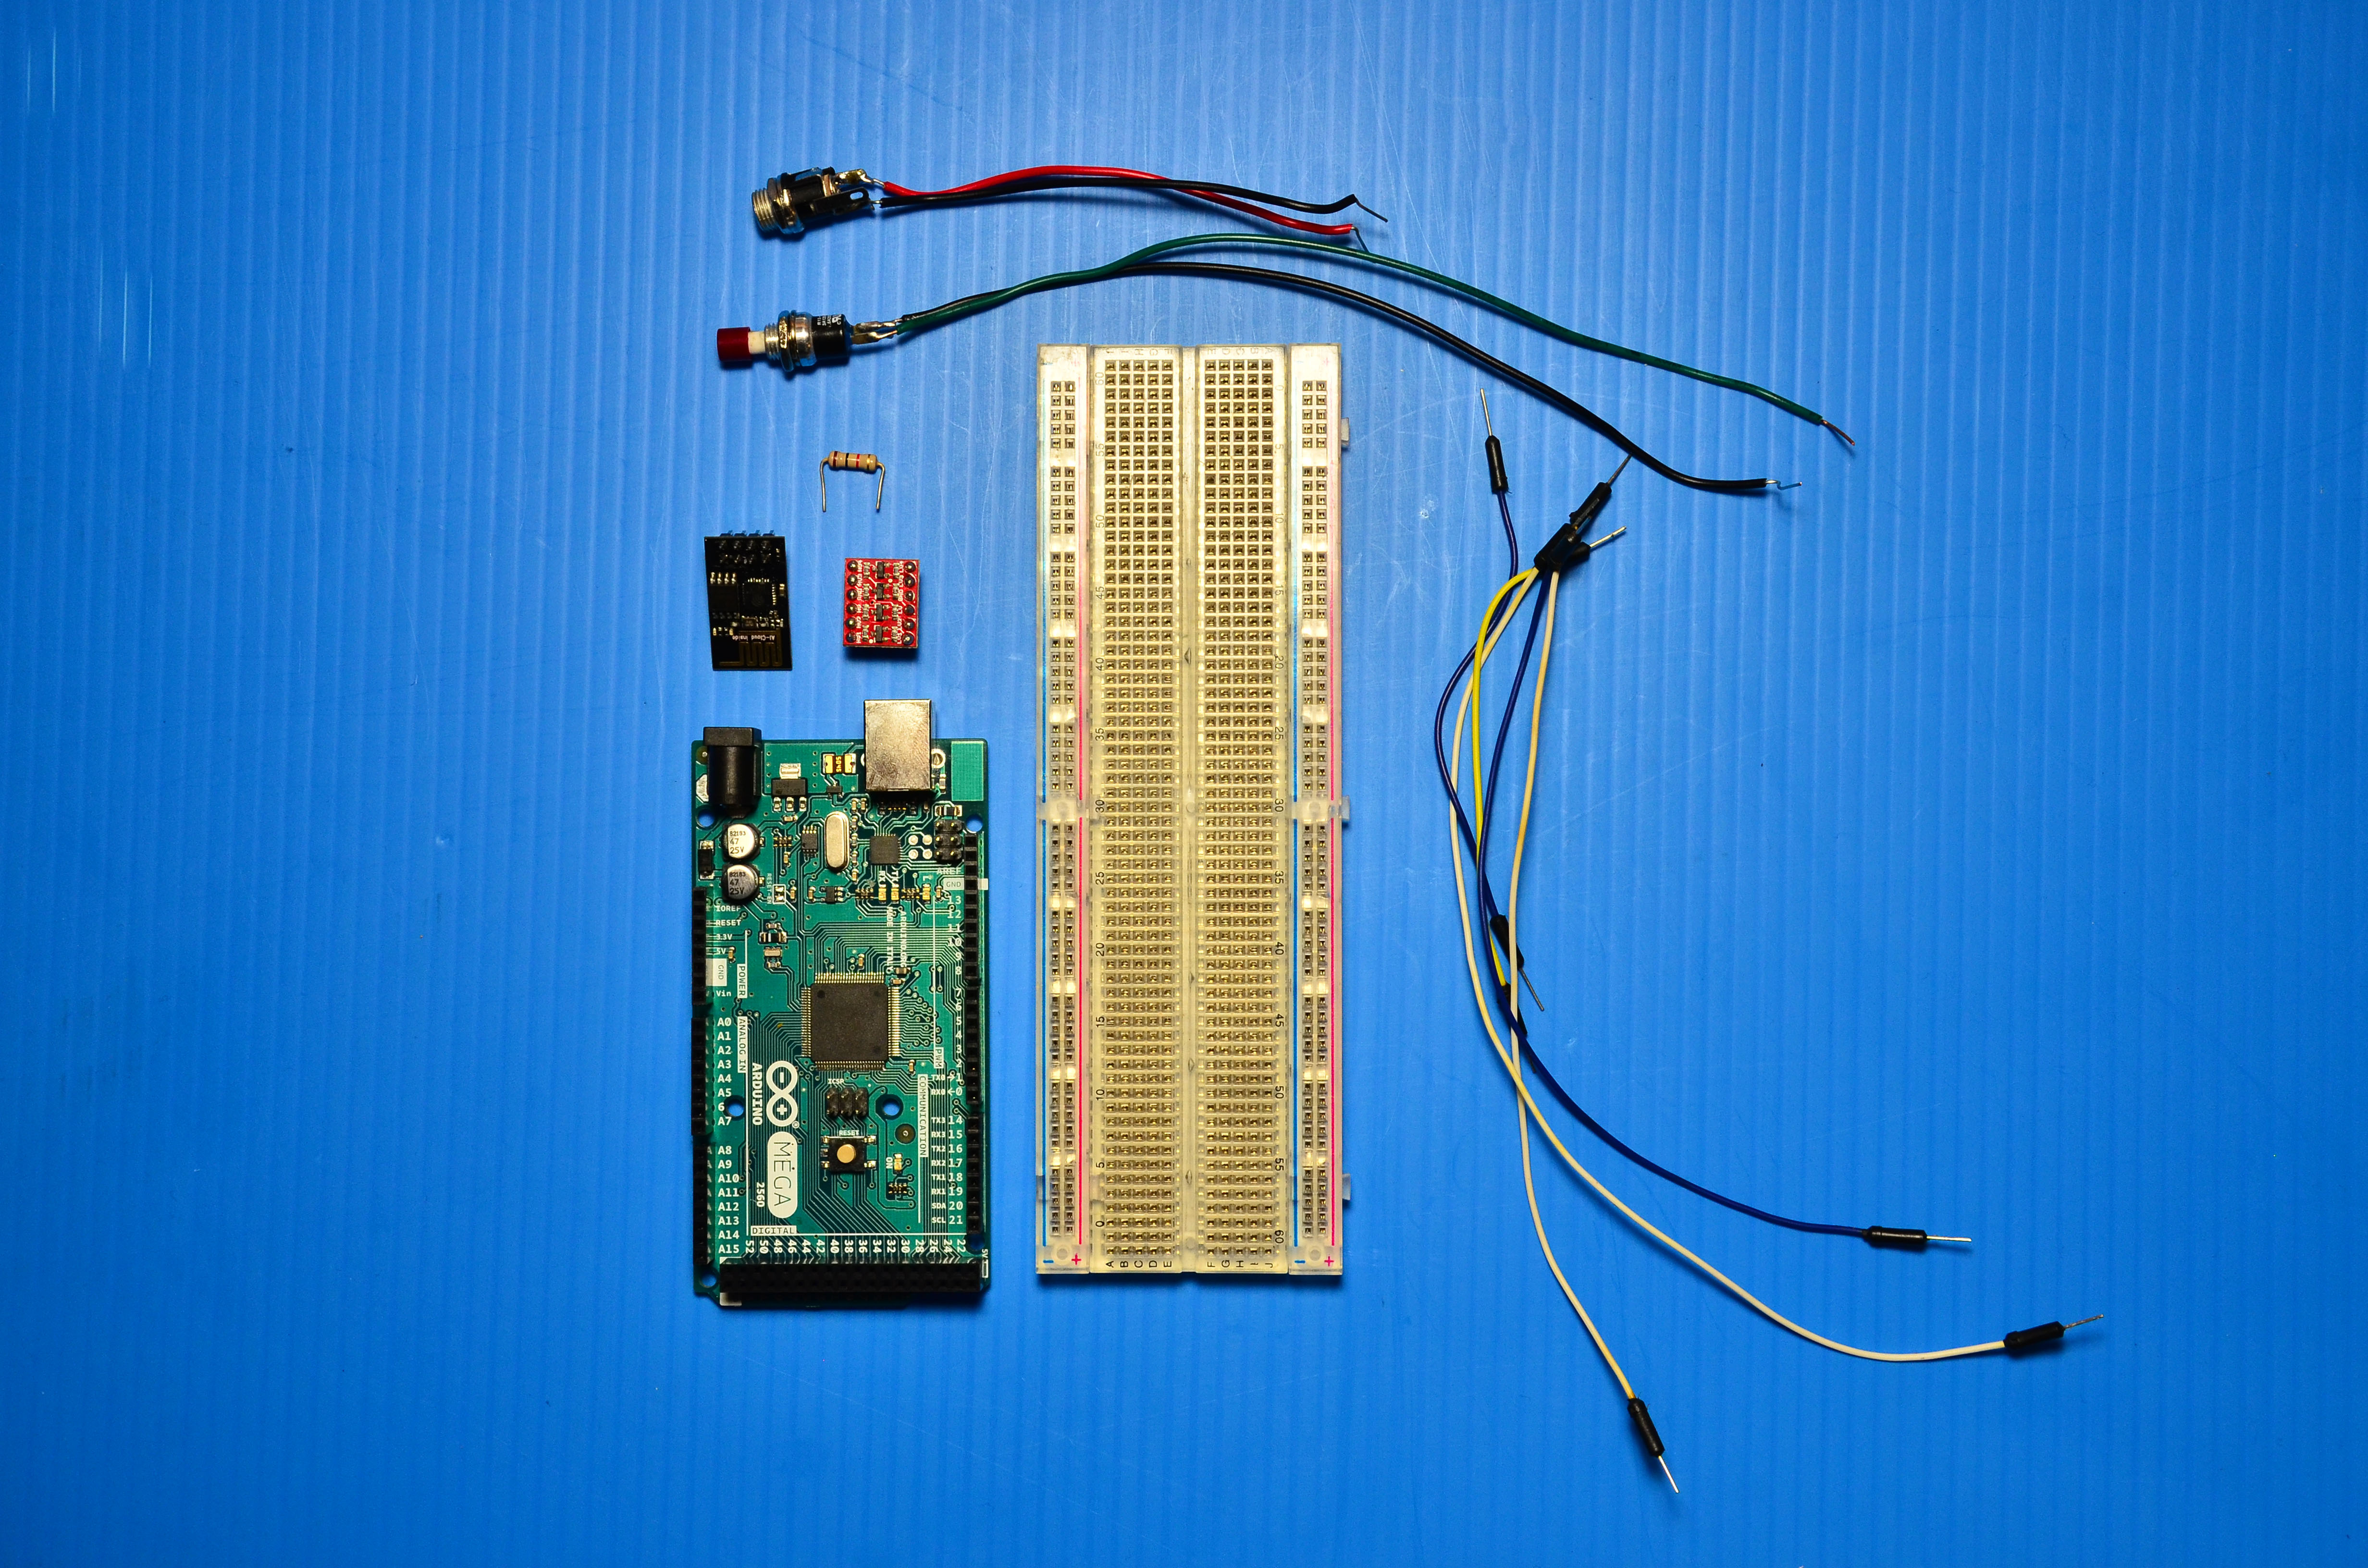
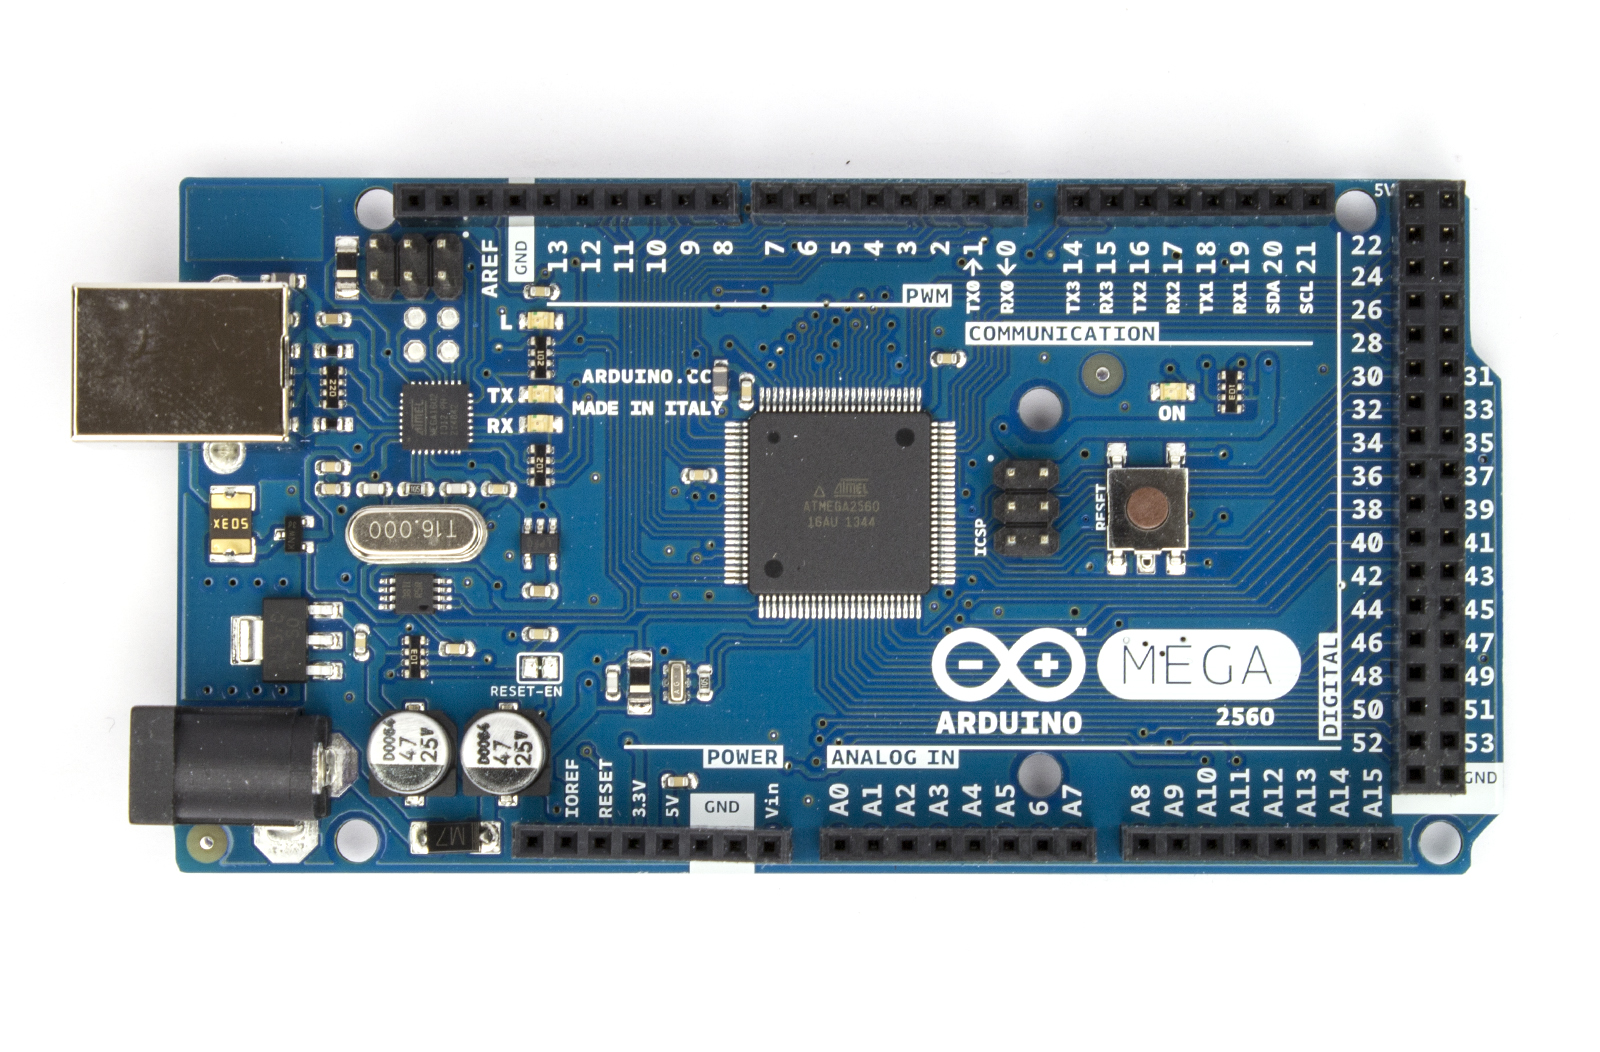
- Arduino Mega 2560
- ESP8266 wifi module (small blue board)
- Logic level converter (small red board)
- 1k resistor
- Momentary switch
- Barrel jack power input
- Small breadboard
- Jumper wires
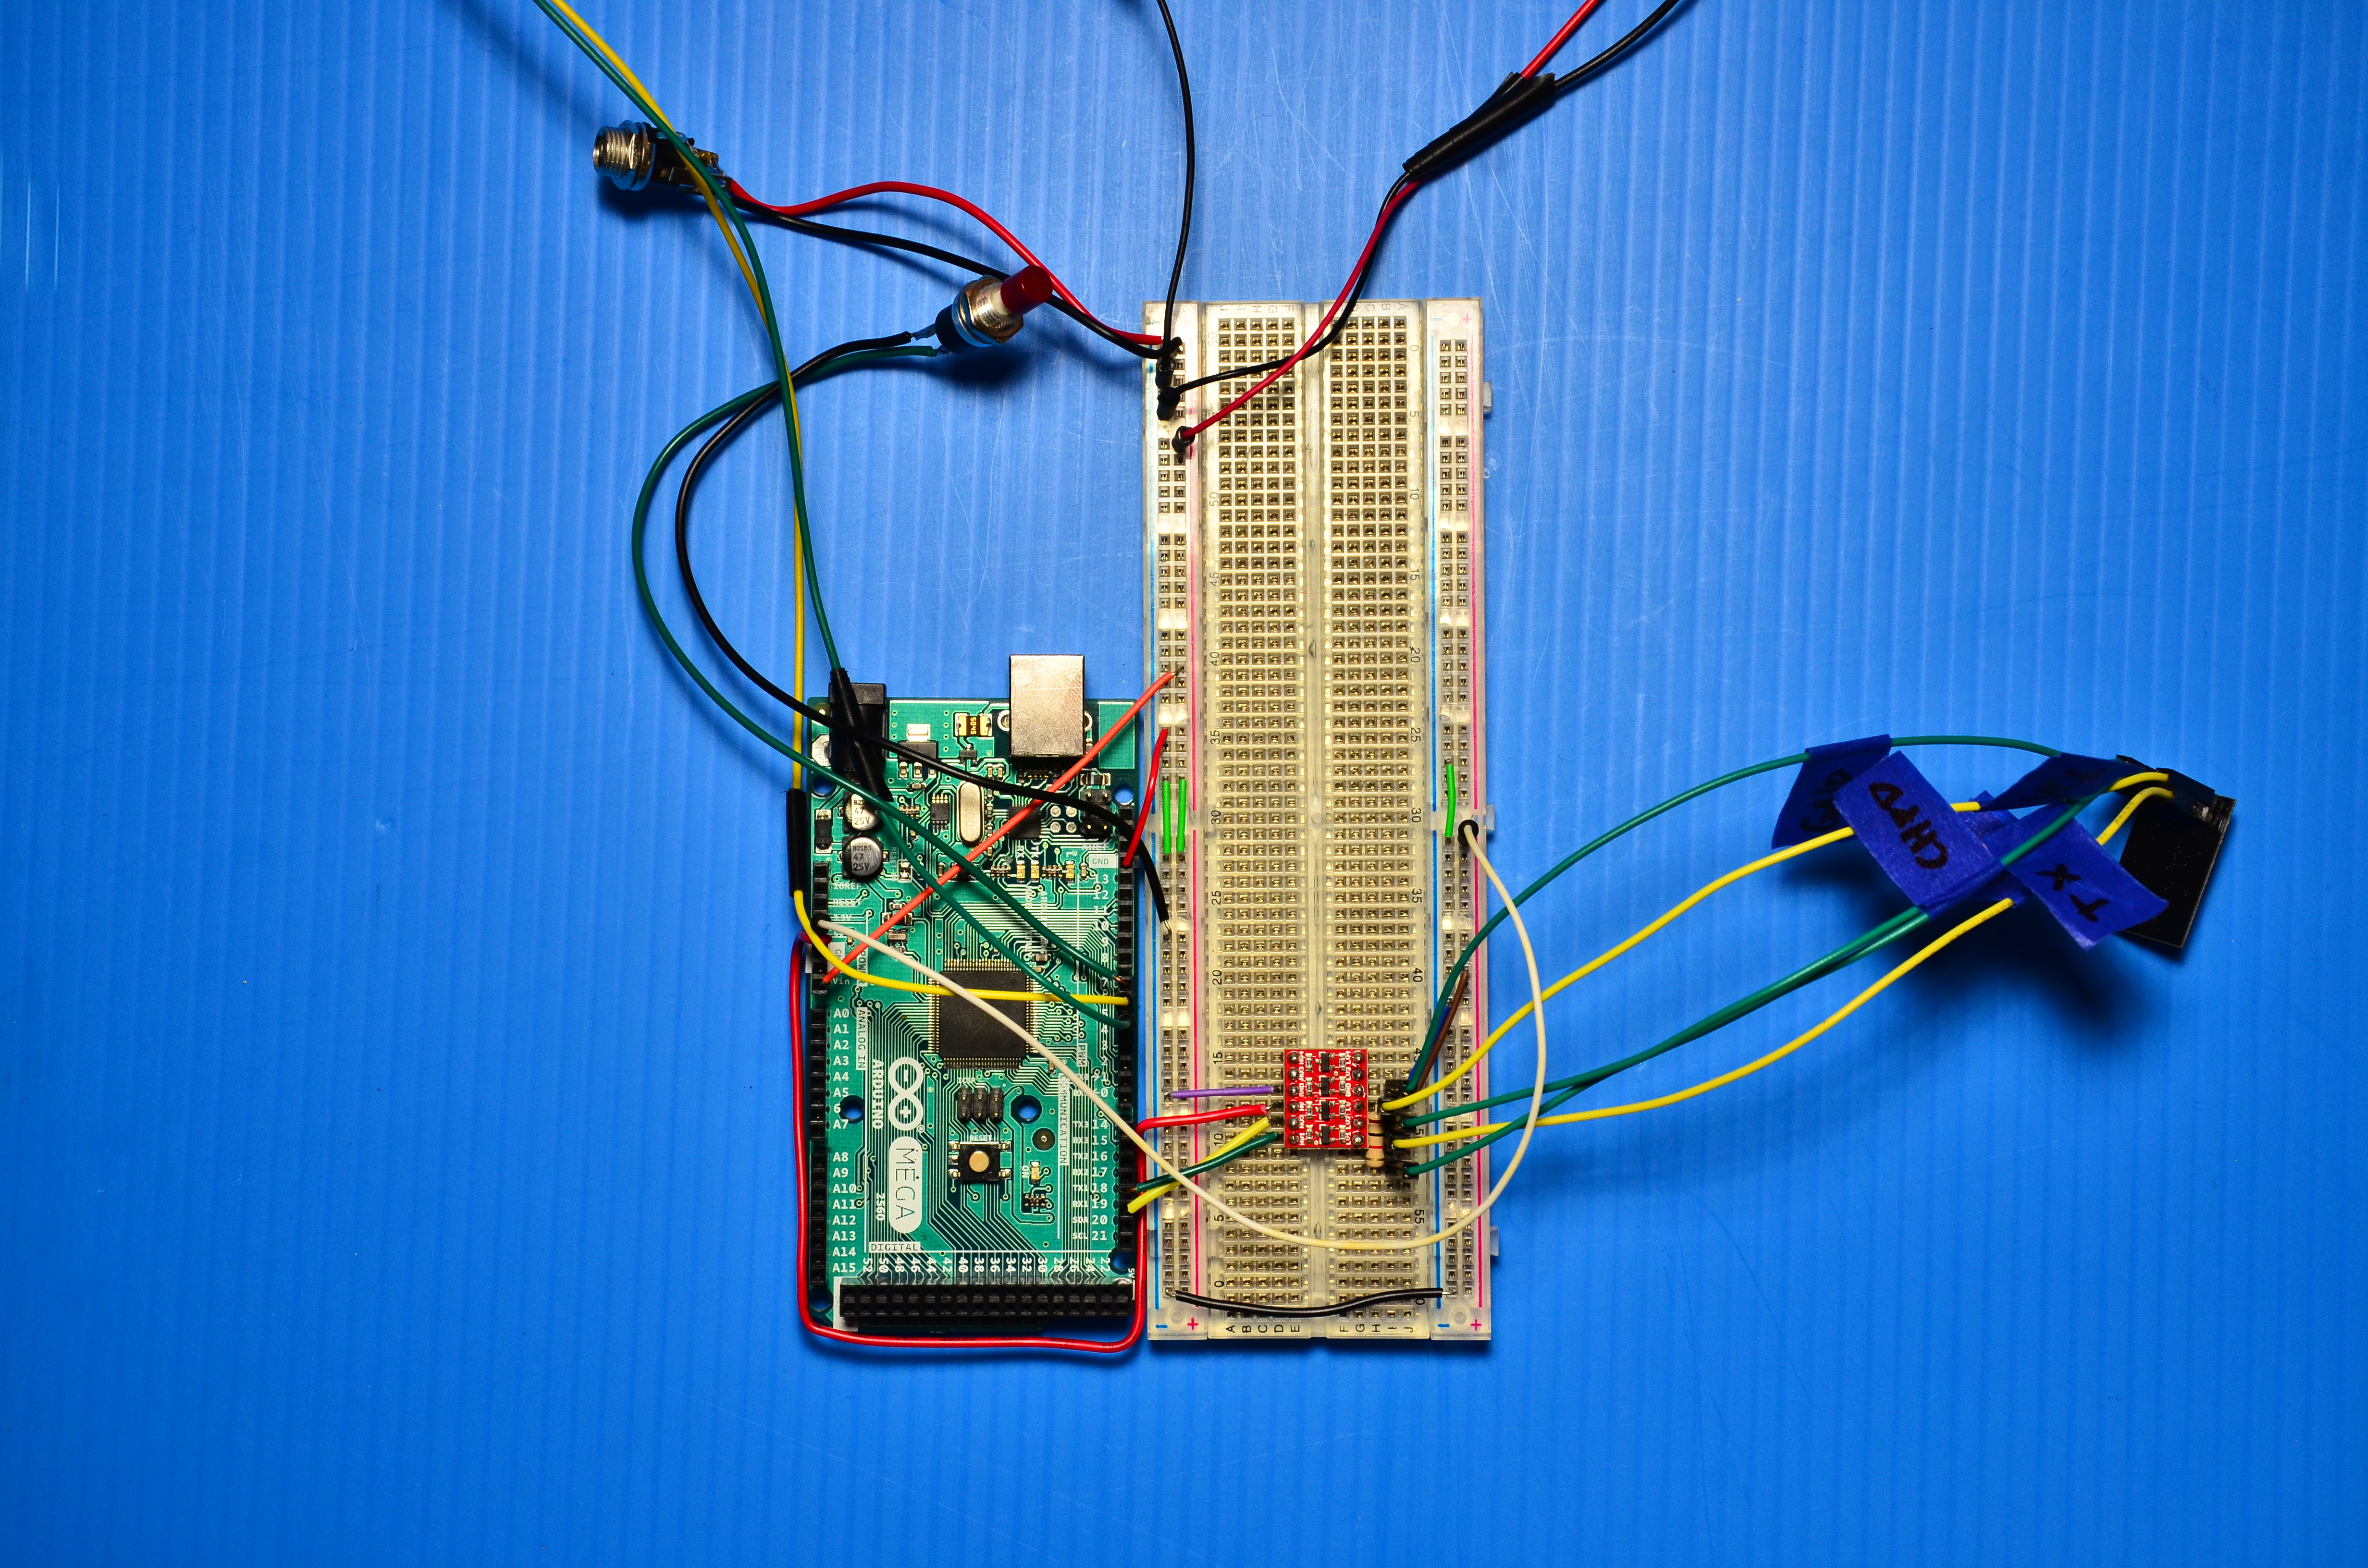
Plugging components into the breadboard
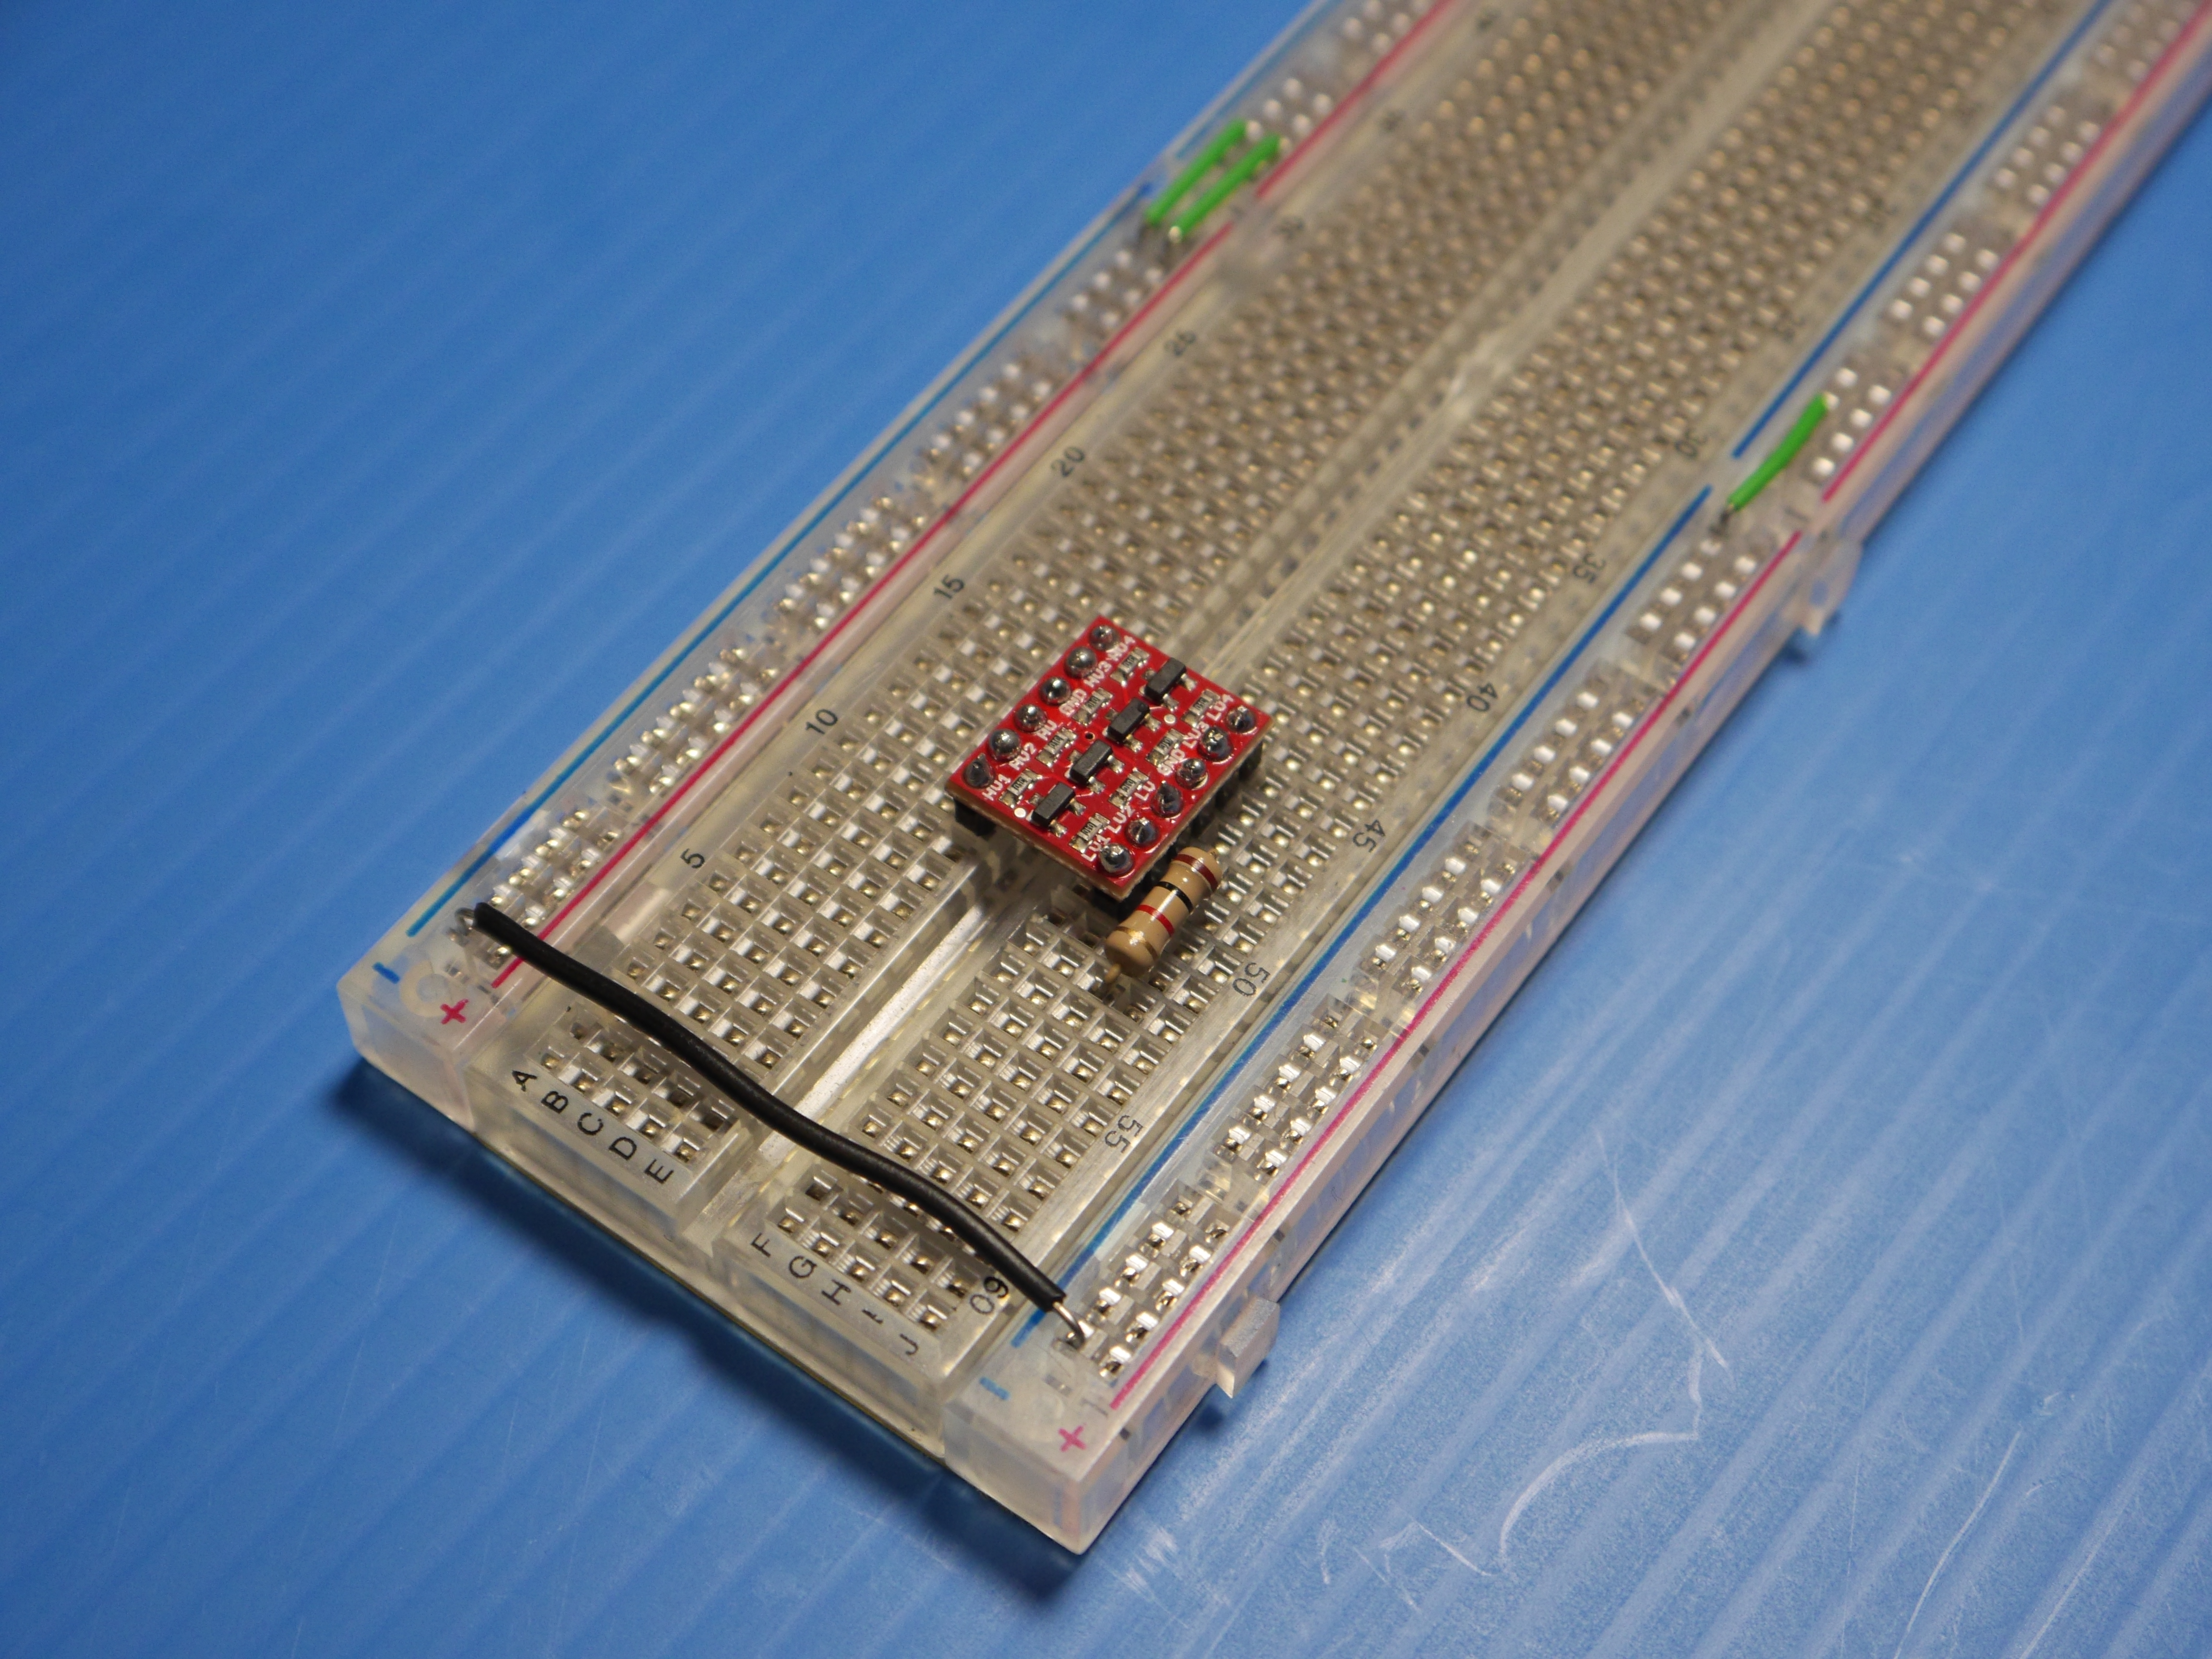
Breadboard setup with jumpers connecting rails.
Logic level converter is center (red board), with LV on right side of the breadboard.
Place a 1K resistor on the breadboard (as shown) running from LV on the logic level converter board to a free row that we’ll connect to the ESP8266.
The 1K resistor will pull a terminal on the ESP8266 up to 3.3V. You can solder this yourself directly on the Wi-Fi chip, but it can be used to reset the chip, so it’s helpful to keep it temporarily connected; your choice.
Wire the ESP8266

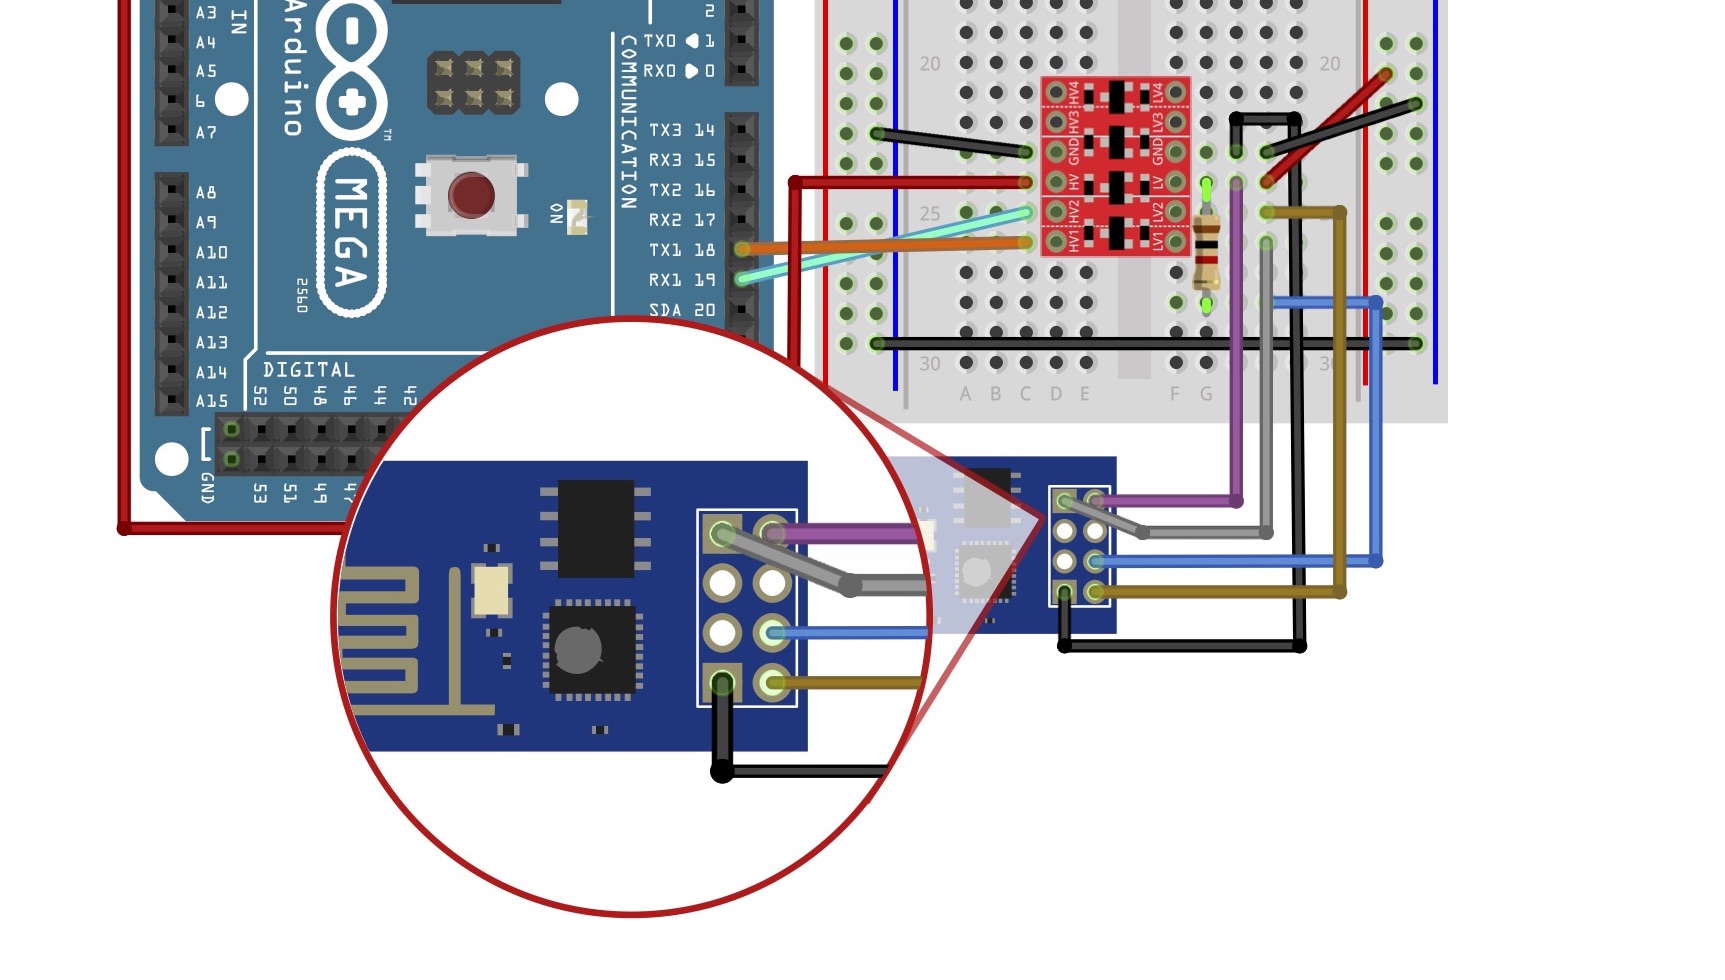
This diagram shows the pinout.
Reference the color coded wires in the wiring diagram.
- wifi RX to llc LV1 (gray),
- wifi TX to llc LV2 (brown),
- wifi VCC to llc LV (purple),
- wifi GND to llc GND (black),
- wifi CH_PD to resistor,
- resistor to LV.
- Note that the resistor is not connected to LV1 or LV2.
Wire the Arduino, Power, Printer
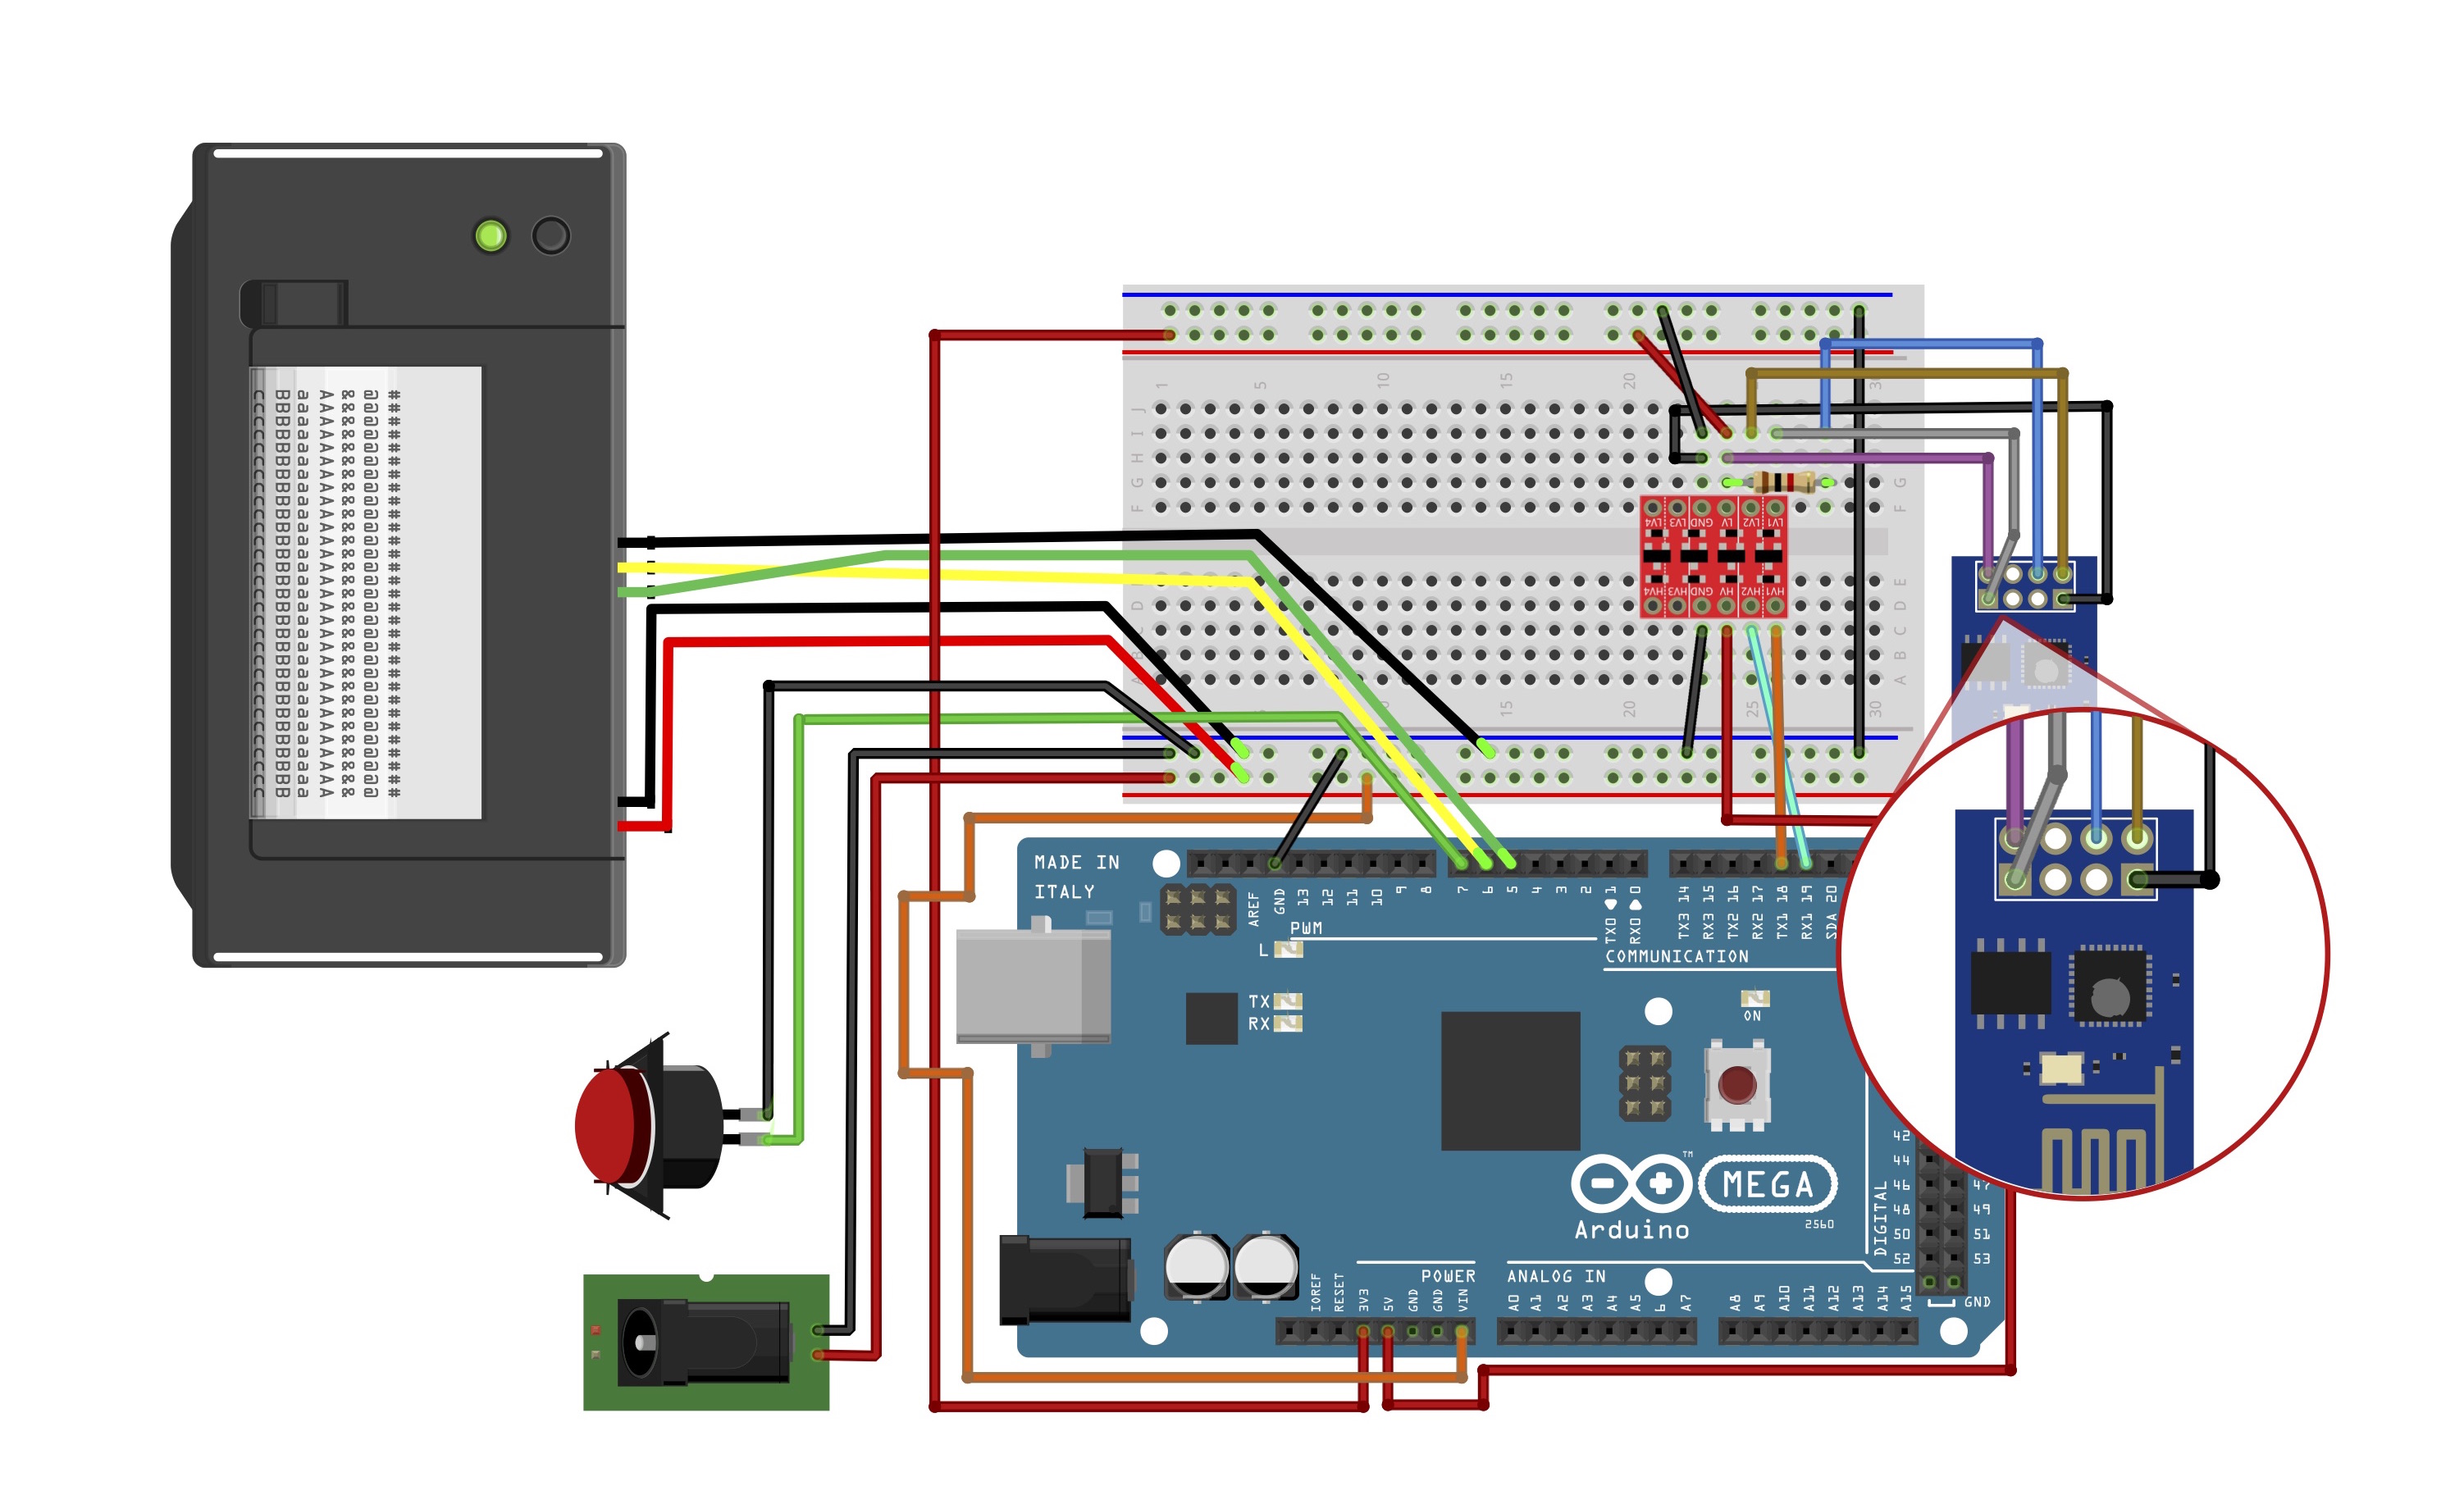
To get the ESP8266 and the Arduino Mega talking to each other, connect HV1 and HV2 from the logic level converter to TX1 and RX1 on the Arduino, respectively.
The momentary pushbutton is used to generate “new thoughts” to be printed. Connect one of the two leads from your pushbutton to D7 on the Arduino. Connect the other pushbutton lead to any ground location on the breadboard. While you’re at it, be sure to also ground the Arduino by running any of its GND pins to a ground rail on the breadboard.
To wire the thermal printer’s serial connection, run its yellow cable to D6 on the Arduino and green to D5. Power the printer by running its red and black cables to their respective slots on the left (9v) power rail of the breadboard.
Understanding the Power
Here’s how power is moving around this circuit. . Power comes from the 9V jack in the back of the mannequin head and travels down the left power rails of the breadboard. The rails on the right side of the breadboard the supply 3.3 volts needed for the ESP8266. Using a 9v 2amp power supply for this project is critically important for its success.
A power regulator circuit could be added to this circuit to add some flexibility to compatible power supplies.
The small red logic level converter bridges the two halves of the breadboard, receiving 5 volts from the Arduino and stepping it down to 3.3 volts for the ESP8266. Be careful to orient the Logic Level Converter so that the 5v HV connections are on the left and 3.3v LV connections face right.
Working with the code

Everything is wired up. You need to program the Arduino if you haven’t already. You can modify the source code to output to USB serial and use the Arduino serial monitor to test with your computer. All you need to do is uncomment these lines:
//#define SERIAL_USB Serial
//#define ENABLE_USB_DEBUG 1
It needs to be plugged into VIN in order for this to work.
If the code is modified to output messages to Serial, it will not print messages without a USB cable plugged in. So make sure the last code you upload only prints to the printer.
Stuff it
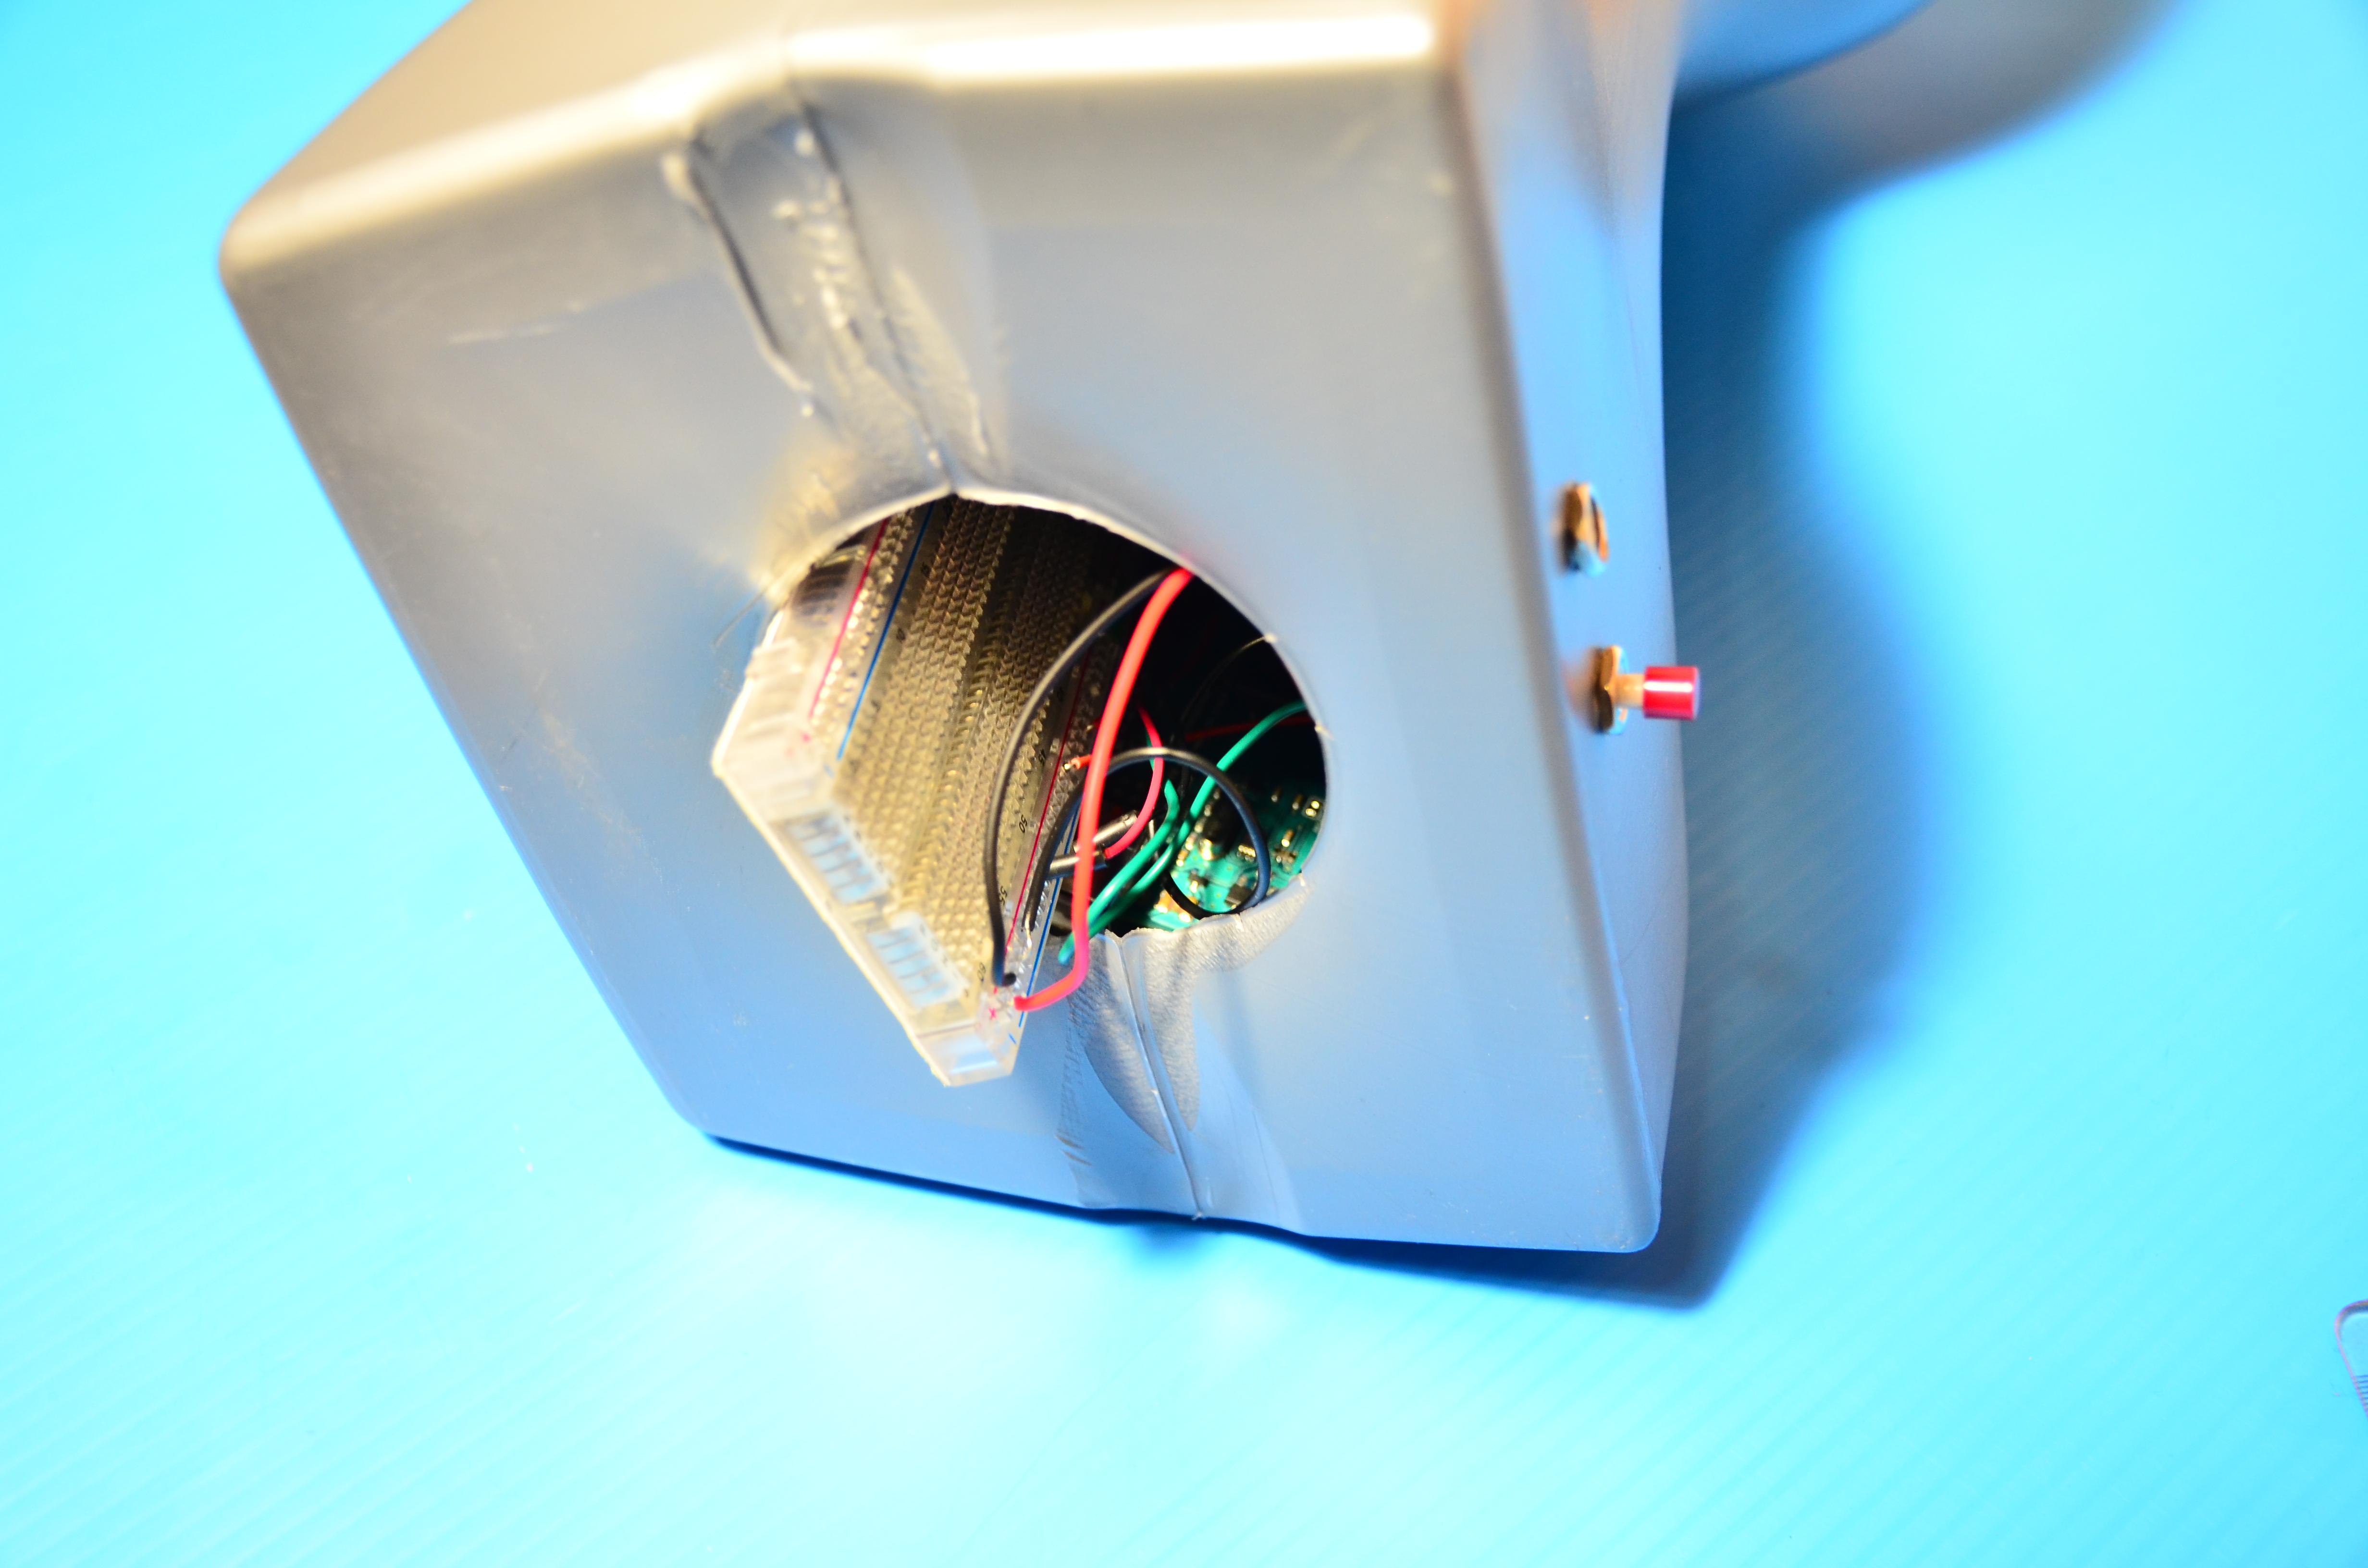
Stuff it all into the mannequin.
Connect to power

Connect a 9v 2 amp power source. Again, with this circuit designed without a power regulator, it’s critical that you use a 9v 2 amp supply.
It prints!

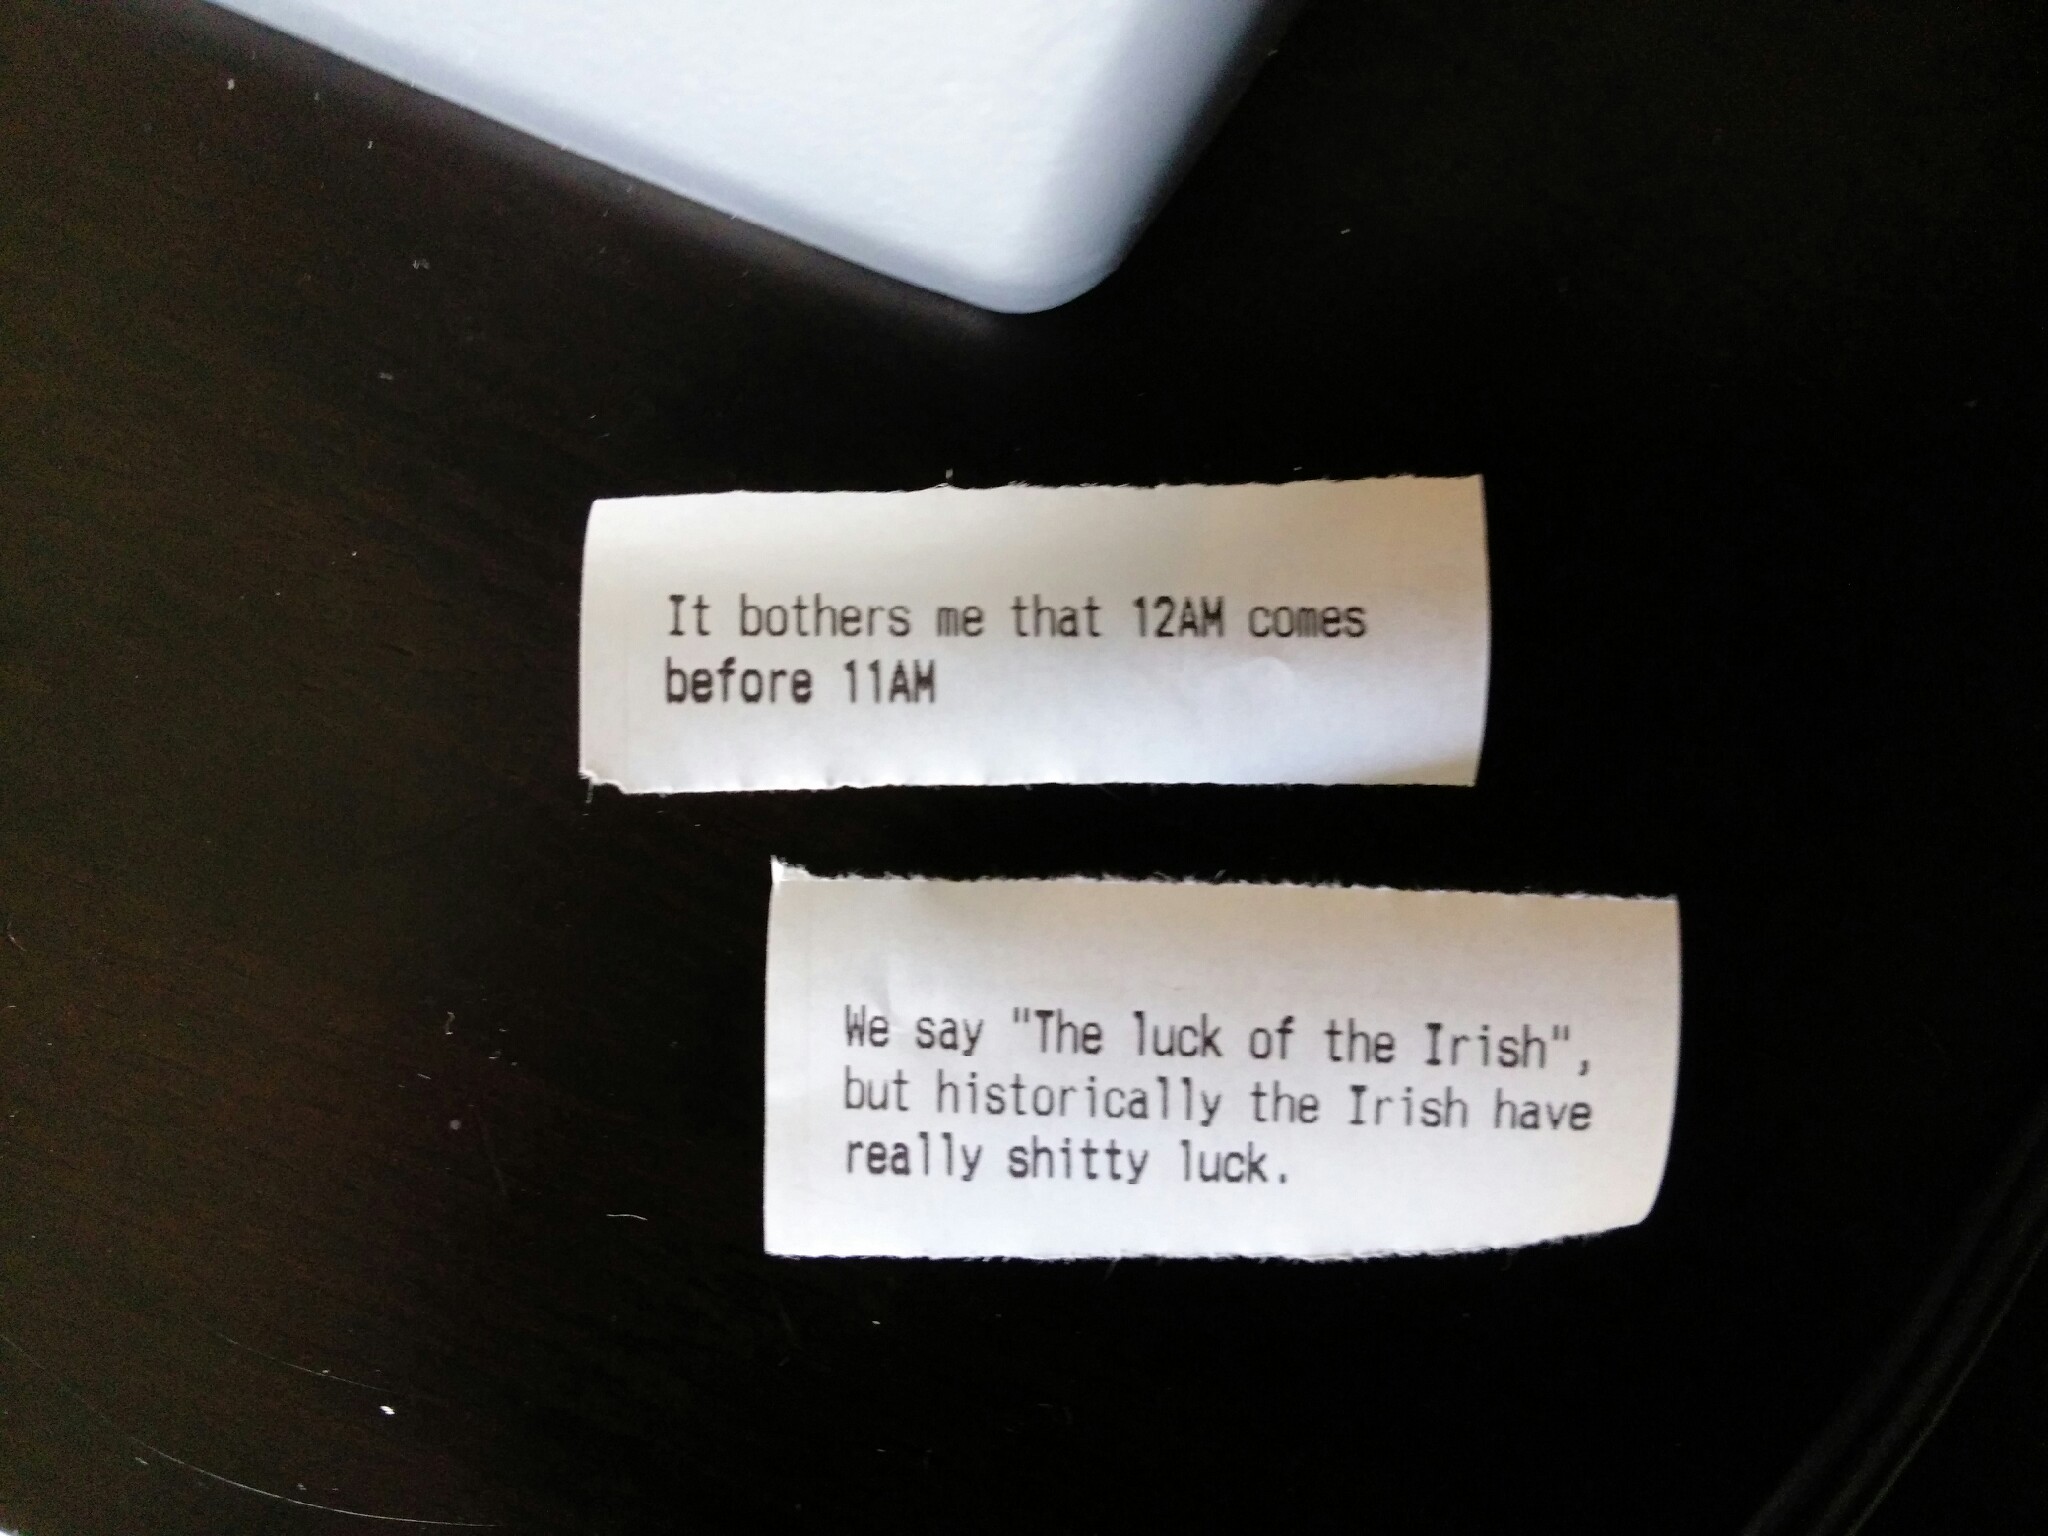
With a press of the button, your printer should come to life as the Thinking Man downloads a new thought from Reddit. Read it and contemplate life, the cosmos, and the futility of existence.
The included source code can be adapted to read data from anywhere on the internet or your home network. Print weather, tweets, even breaking news. And then take it to the next level by adding a text-to-voice adapter and a sorcerer’s cap to turn your mannequin head into a wisdom-speaking wizard.


