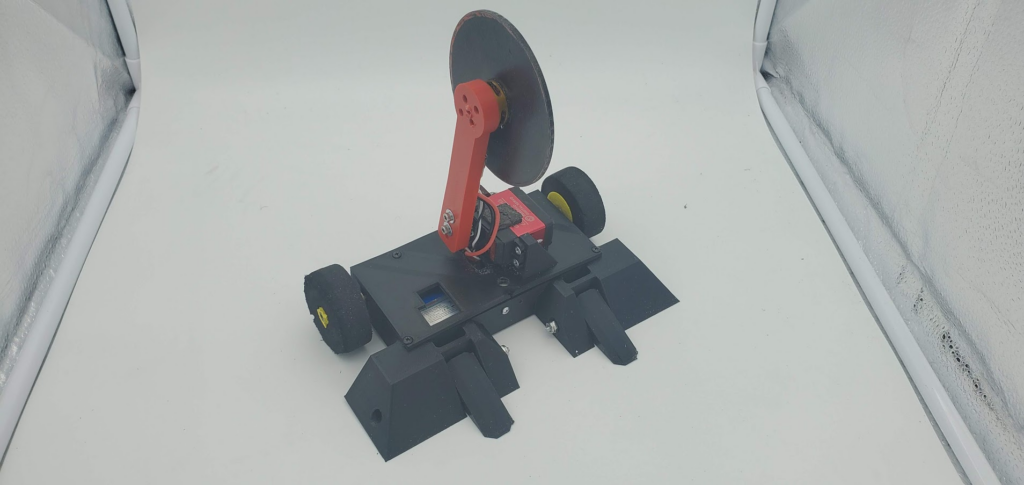
Want to build your own battle robot? Today’s the day. Kerfuffle is a mini bot designed to inflict mechanical damage to other machines in caged combat. If you’ve ever seen the show BattleBots then you already have a very solid idea of how these robots operate.

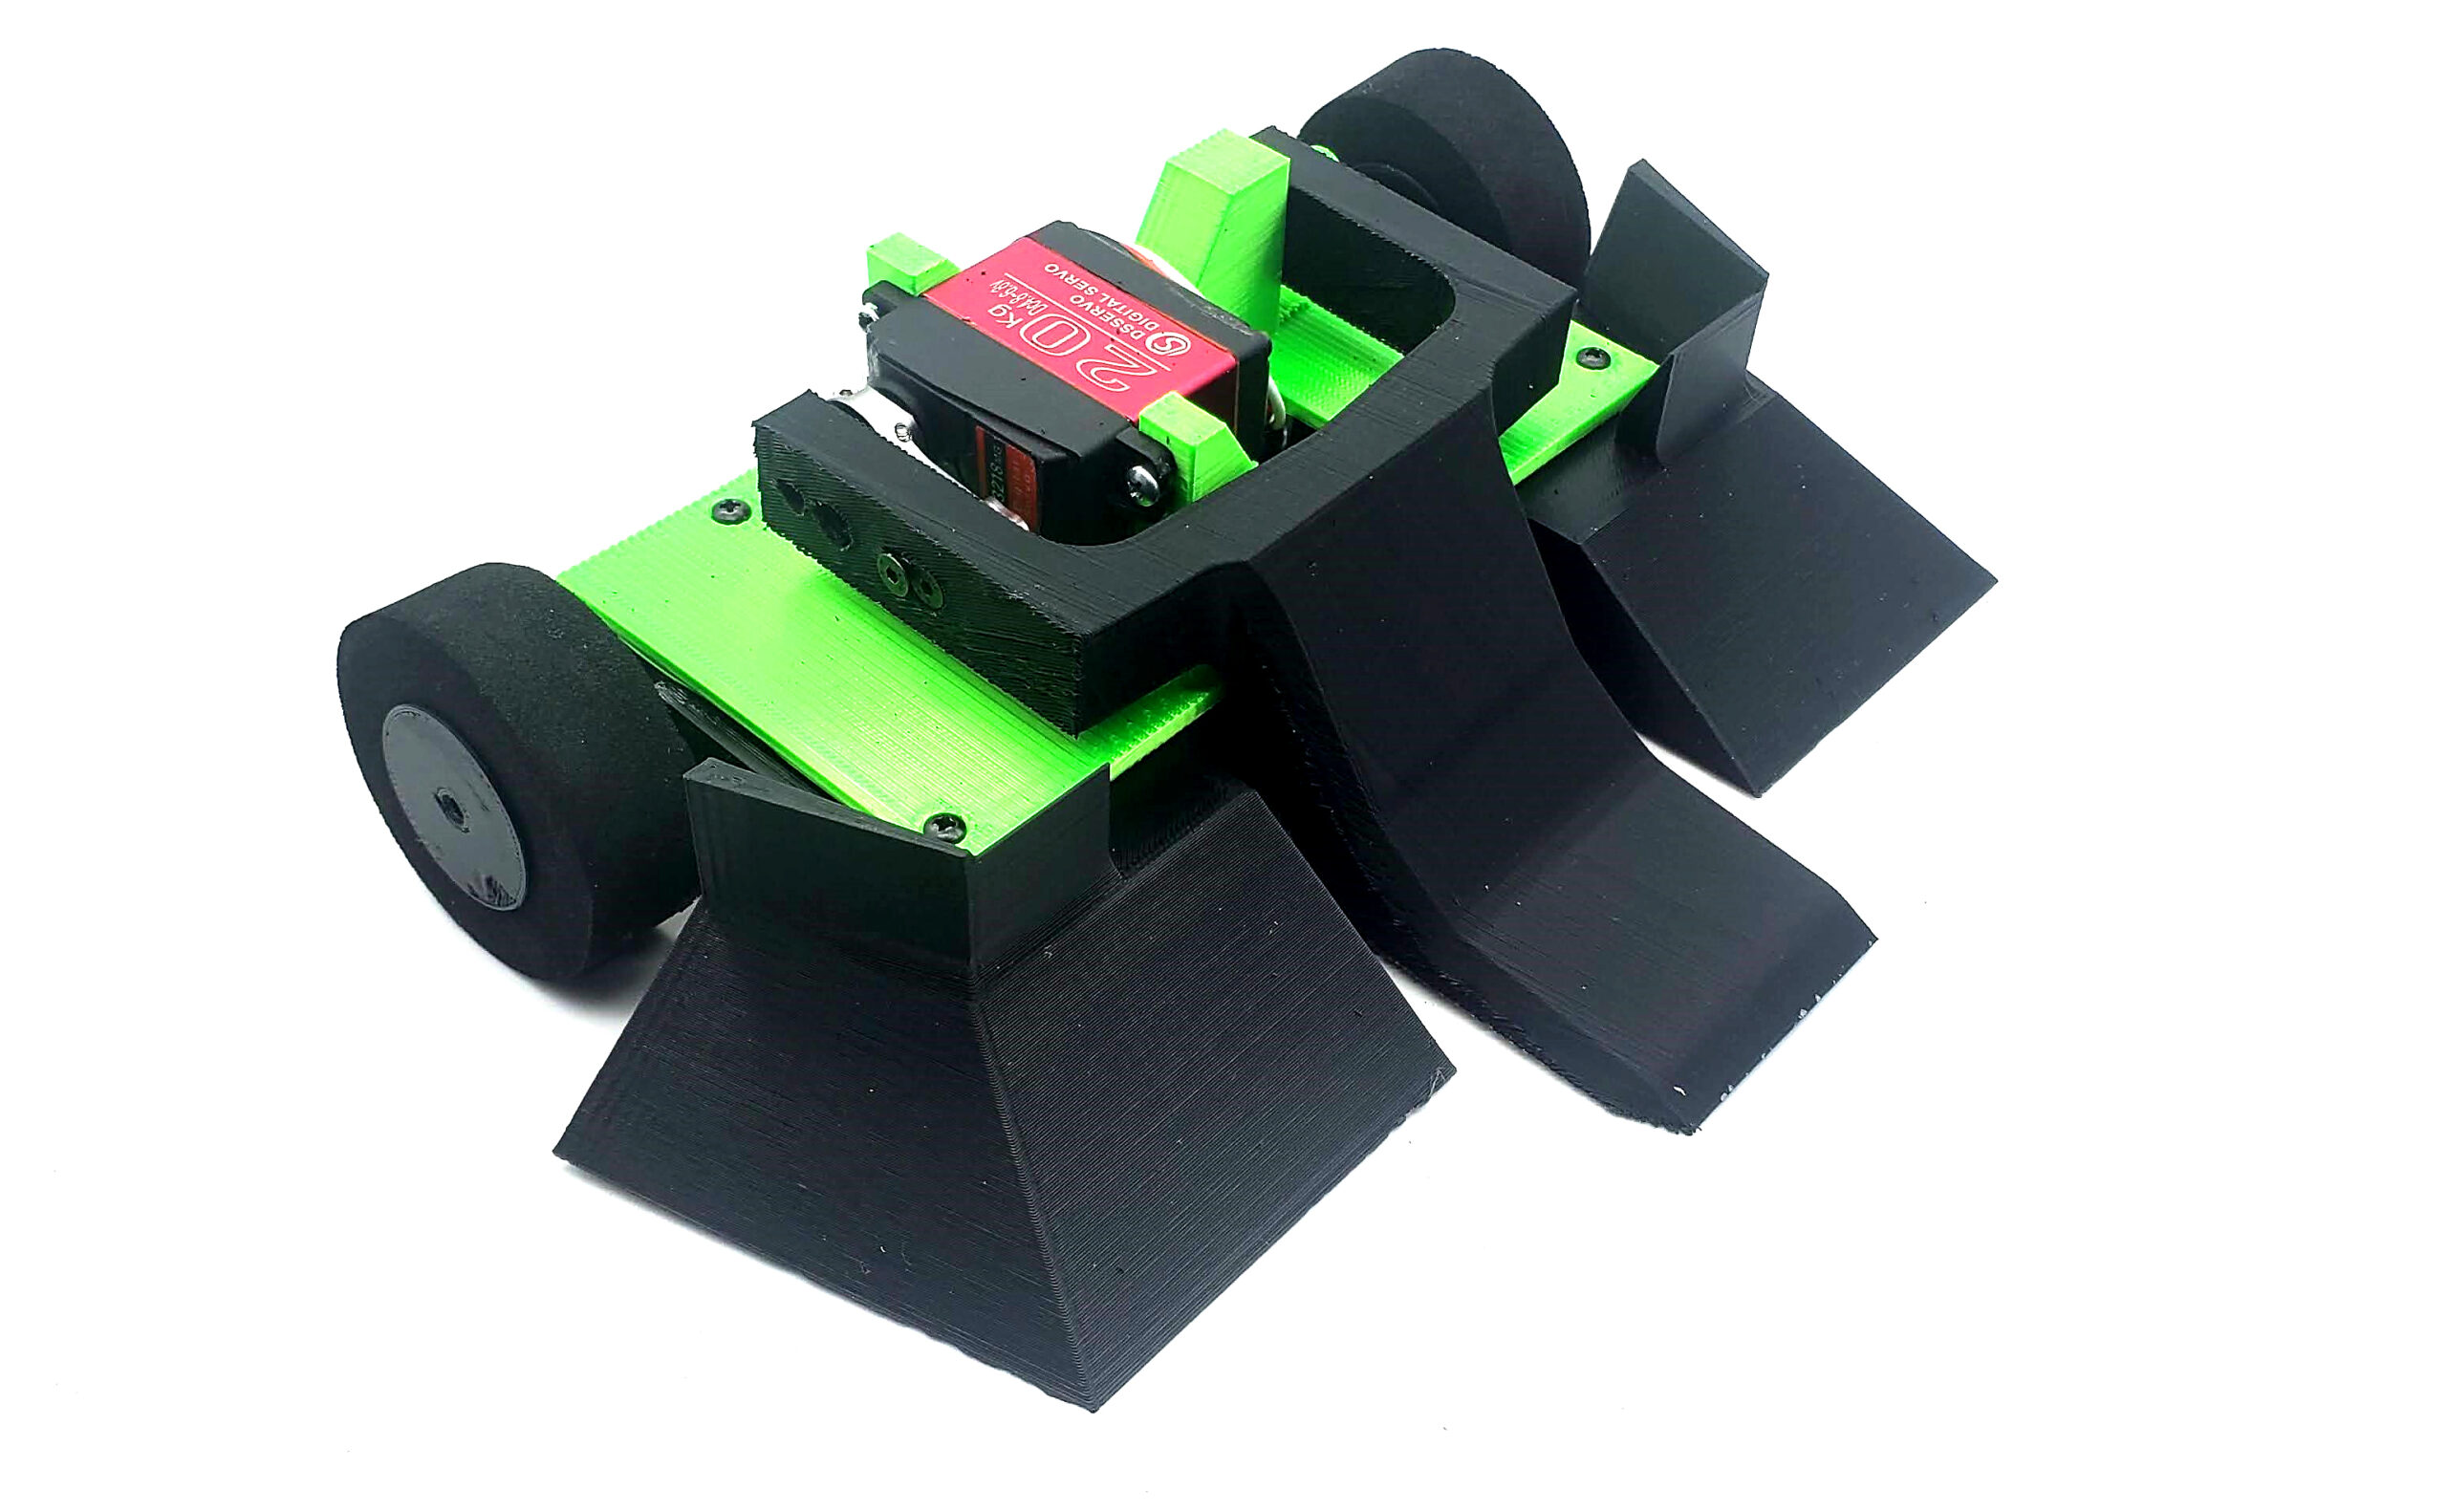
Kerfuffle is a 1lb robot in the plastic antweight class, meaning it’s not made with any of the high-grade metals or plastics, such as steel or nylon, that you may see being used on the heavyweight robots on TV. Kerfuffle is designed as an entry-level robot using inexpensive, 3D-printable materials that allow for many more people to take their first steps into the world of combat robots. For weaponry it relies on a wedge shape to get under opponents and a lifter arm to flip them over, meaning it’s safe for beginners to practice — and even fight other Kerfuffles — without need of a protective arena.
I designed the machine originally to fight in my school’s competition and it proved to be very effective. Since the first version in 2019, Kerfuffle has been tuned to become more competitive, leading to the successful Version 2 that you’ll build in this guide.

PRINTING THE PARTS
The first and most critical tool you’ll need for this build is a 3D printer. The Ender 3 from Creality is one of the most popular and least expensive printers on the market with a price tag around $200. Other quality printers like the Prusa i3 MK3S are also great options, especially for higher quality materials like nylon, but they cost closer to $1,000. For our Kerfuffle, an Ender 3 is more than sufficient since we will be using PLA or PLA+ filament which are much less expensive and do not require a high level of tuning to print. These machines can be purchased online or in-person at stores such as Micro Center. Or you can send the 3D files out for printing by a service such as Shapeways.
Alongside the printer, be sure to pick up a roll of PLA+ filament in whichever color you prefer. Brands like Duramic3D and Inland have produced materials that have held up well in long-term use. Regular PLA can work too but I recommend PLA+ because it’s tougher.
For print settings, I recommend roughly 4 walls and 50% infill. These settings can vary as you have more experience both printing items and fighting robots over time, but these will serve as a nice starting point.
BUILD YOUR KERFUFFLE COMBAT ROBOT
Once you’ve printed your parts and received the components, we can get to the fun part: building!
 ) shows a typical wiring setup with a gearmotor and servo. But we’ll solder our connections, and also add a JST battery connector.
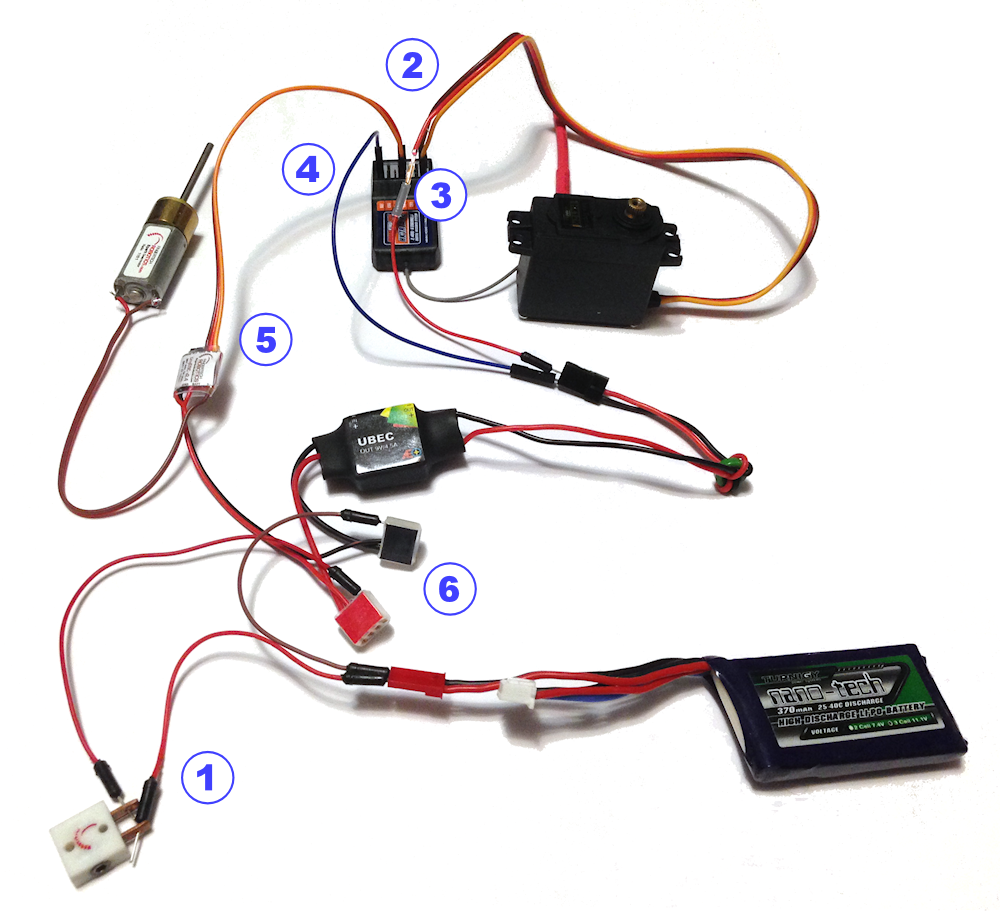
 has one purple and one blue wire. Solder one of these wires (which one doesn’t matter at this point) to one tab then the other color to the other tab.
 to one of the tabs of the FingerTech mini power switch (1)
 . On the other tab, solder the red wire from the female JST connector. The female is the connector that the other connector goes inside of. This allows the (male) plug on the battery to plug directly into the connector, providing power.
 . These will allow you to control the drivetrain using the right stick on your transmitter.
 (2) to channel 3 on the receiver. This will allow you to control the lifting arm using the throttle channel on your transmitter.
 to channel 4 on the receiver. This allows the regulator to power the servo so it can use its full capacity.
 ).
).
 )
) D).
D).
 E).
E).
 ).
).
 G).
G).
 .
.
 I).
I).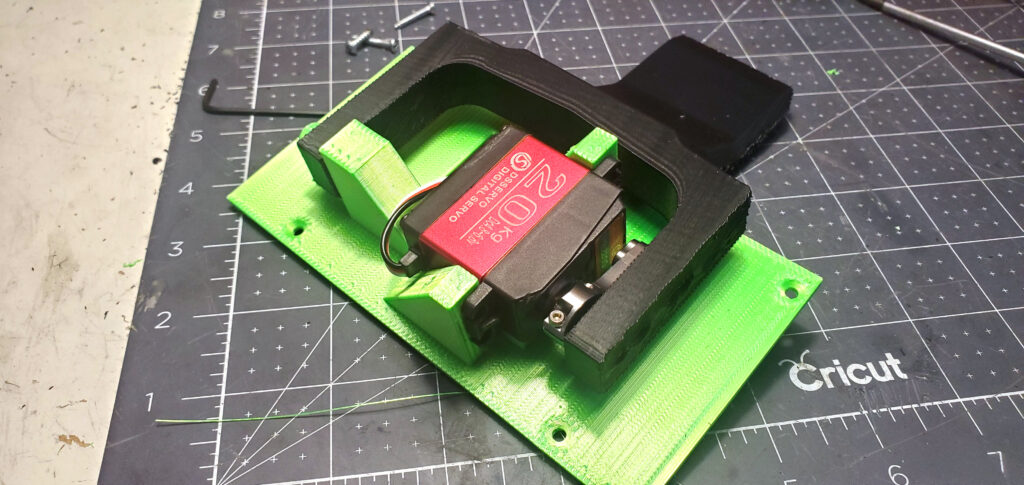
 ). Due to the servo horn’s design you will need to insert one screw first then attach the second one after it. You may need to trim screws to fit exactly.
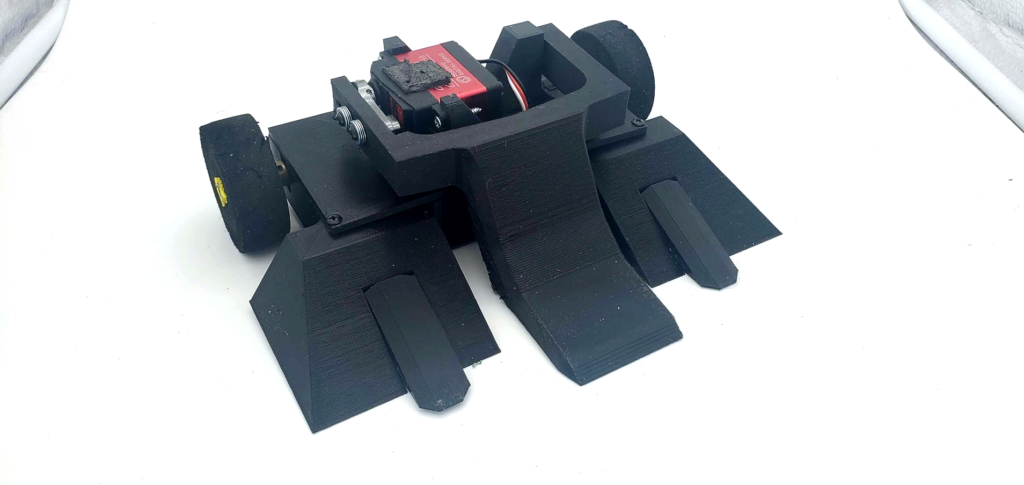
 ). Enjoy your completed Kerfuffle!
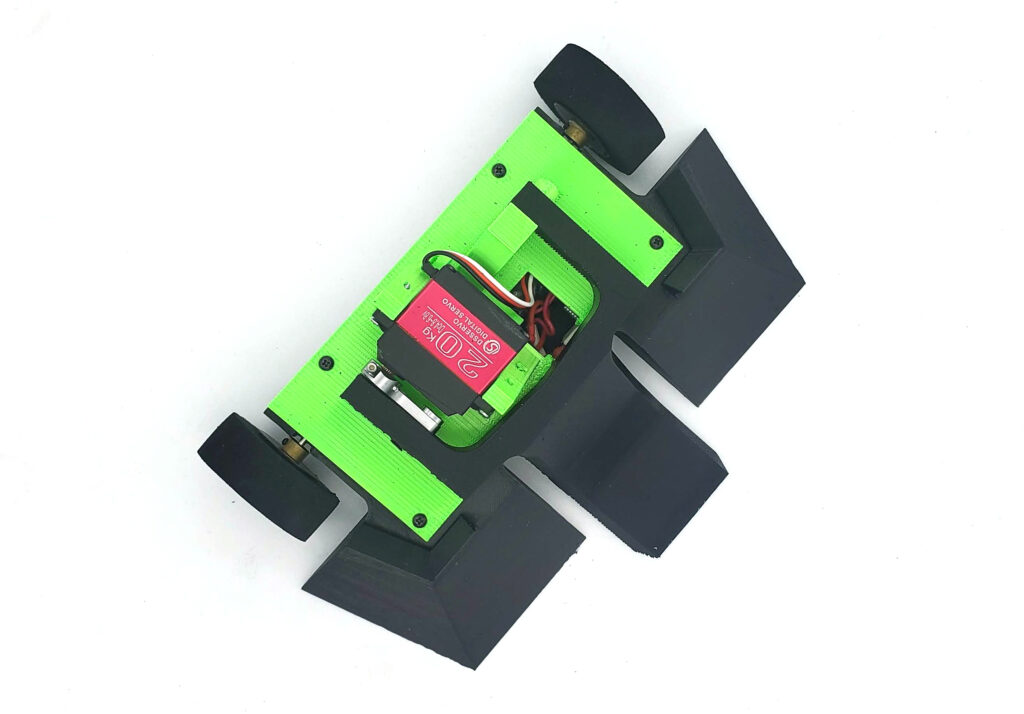
 ), it needs to get underneath the other robot, so find areas on your opponent where the arm can get below to maximize lifting ability.• Wait until you are firmly under the opponent to lift. If you try to lift too early it can leave you exposed to attack, so be patient before using the weapon.• If Kerfuffle gets flipped over, use the lifter arm to flip it right-side-up again!
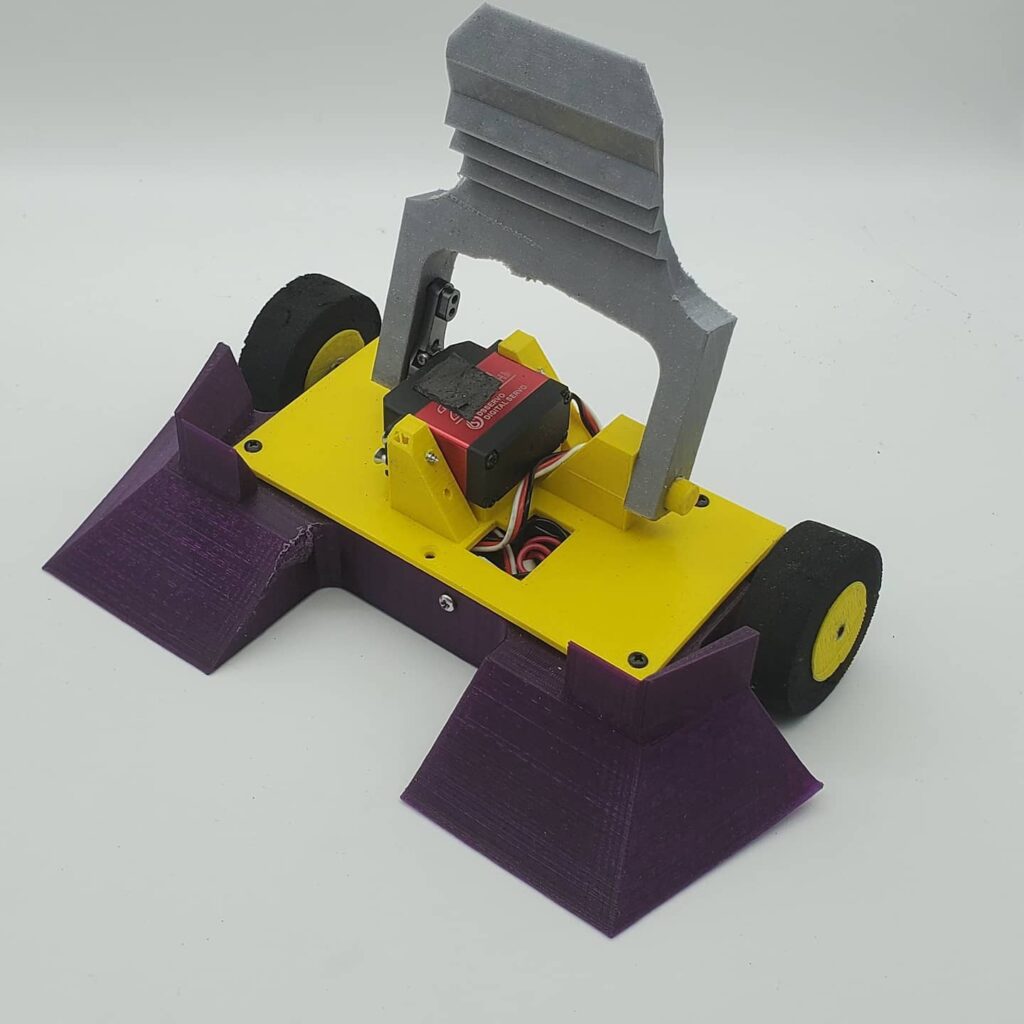
 M). I highly recommend going to events as this is where you will get connected to members of the combat robot community and further learn about the sport.
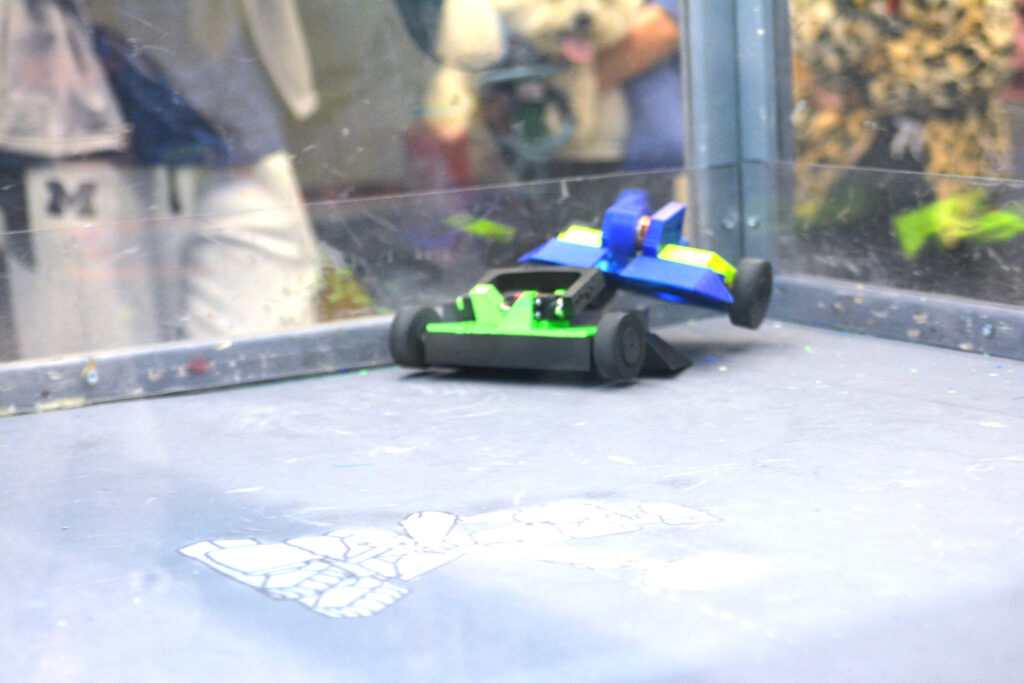
 ), Version 3.3 (Figure
  O), and newer designs by following my team Bone Dead Robotics on Facebook or
 ), my plastic antweight vertical spinner bot.
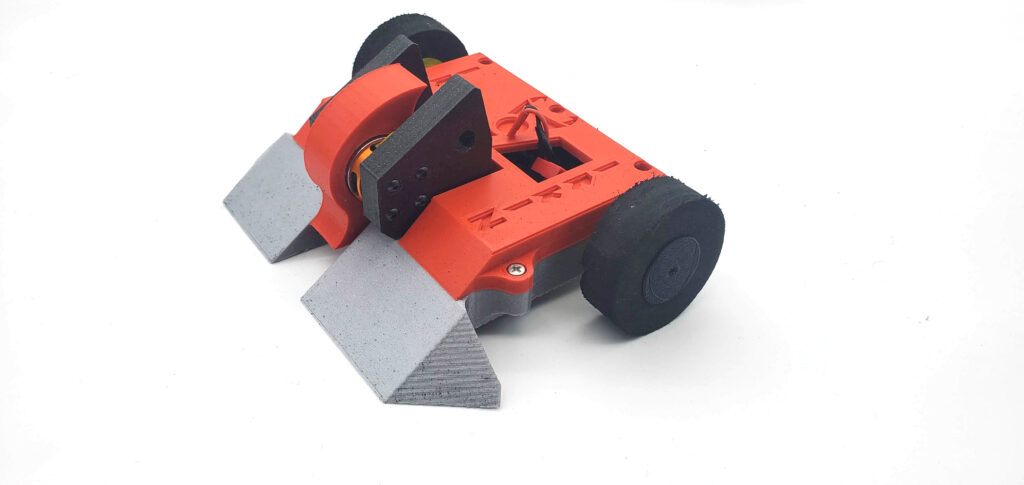
 )!
)!