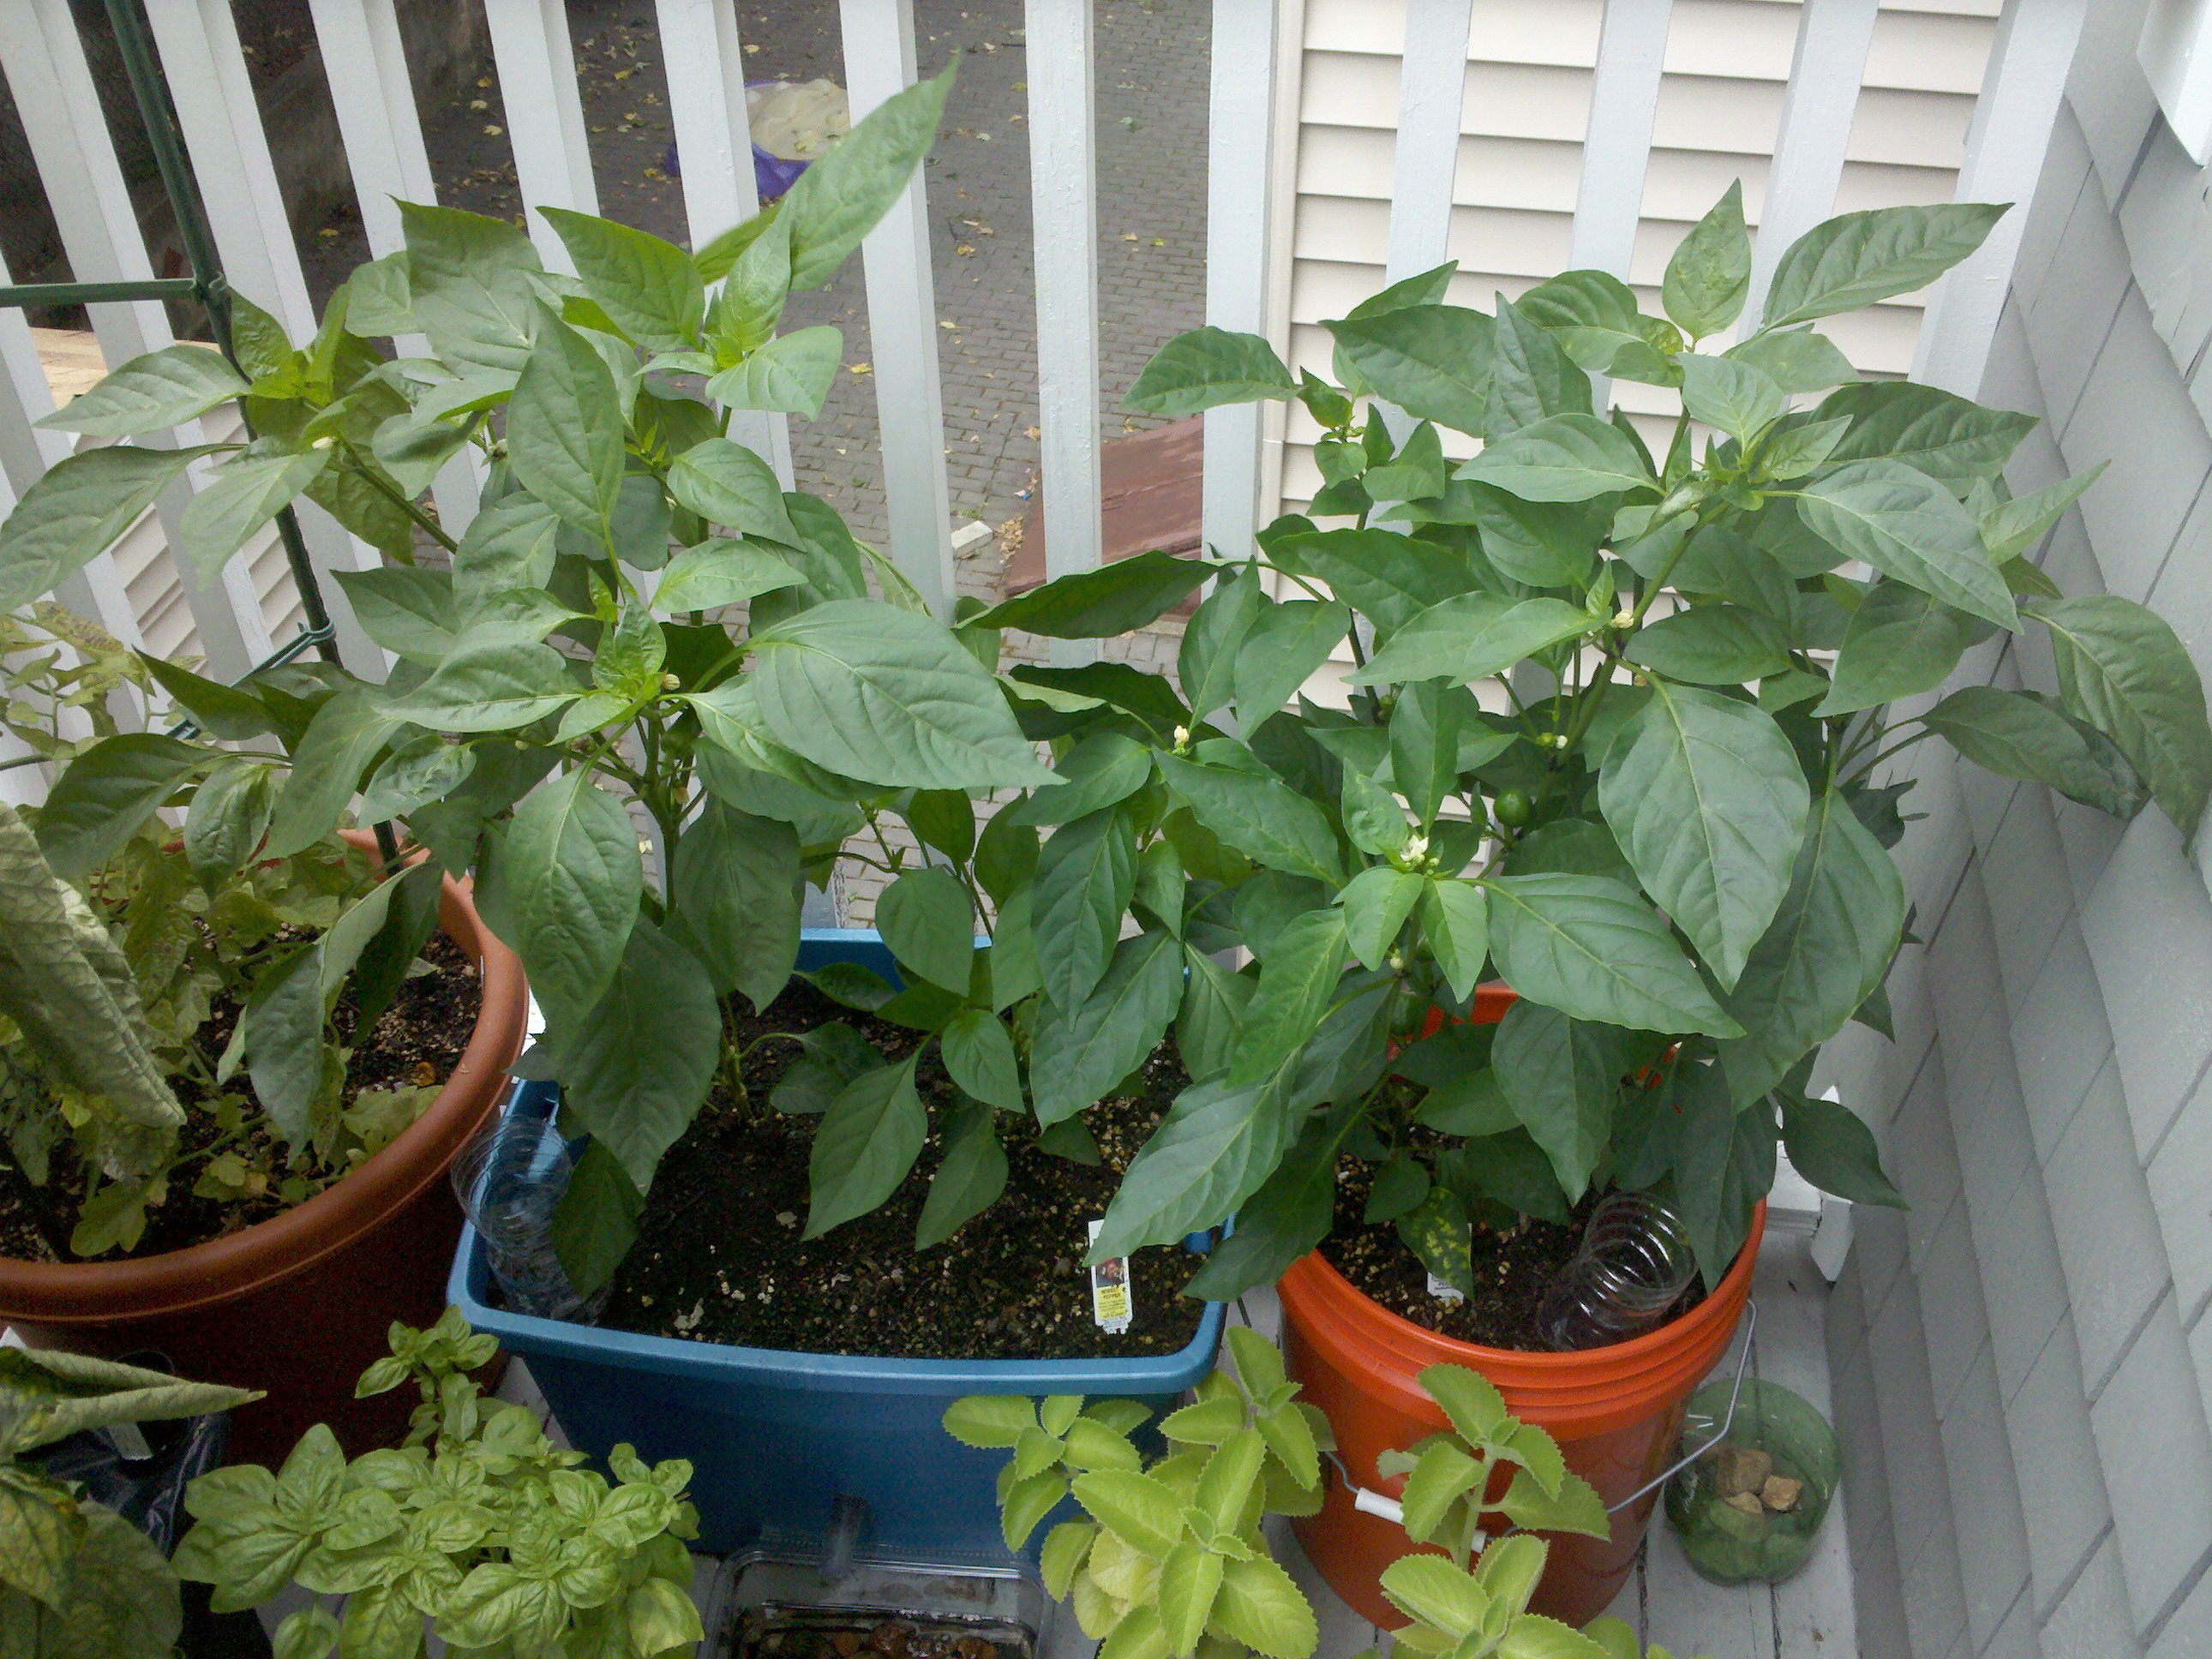
I have been a casual container gardener for about 4 years and only recently discovered the magic of subirrigation. With subirrigation, your effort is consolidated up front allowing you to focus on keeping out the garden pests (who have less of a chance against strong plants) and enjoying your produce. You may not want to grow tomatoes, peppers, or other vegetables any other way again!
Projects from Make: Magazine
Building Subirrigated Planters from Recycled Materials
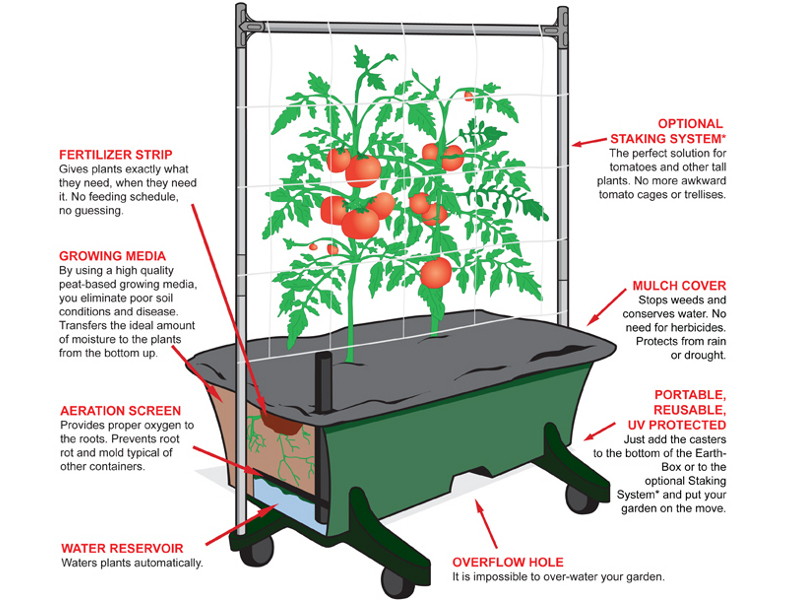
Subirrigated planters are self-watering garden containers that produce significantly more fruit and vegetables than traditional top-watered containers. This method eliminates the concerns of lead in city soil, over-watering, and fertilisation.


Choose a large container that you will use; generally larger containers yield more veggies. If you’re looking at a container that is smaller than 5 gallons, I would consider upgrading since you can’t easily move a plant from your planter.
Choose a container without any drainage holes. Converting drain-hole planters is unreliable if you don’t seal everything extremely well.
Use the following website to get a good estimate of required container size for various plants. While this list is designed for conventional container gardening, the same sizes work perfectly for subirrigation: https://paperchaise.wordpress.com/2009/0…
Examples: 5 gallon buckets (from home depot or restaurant) or rubbermaid bins.

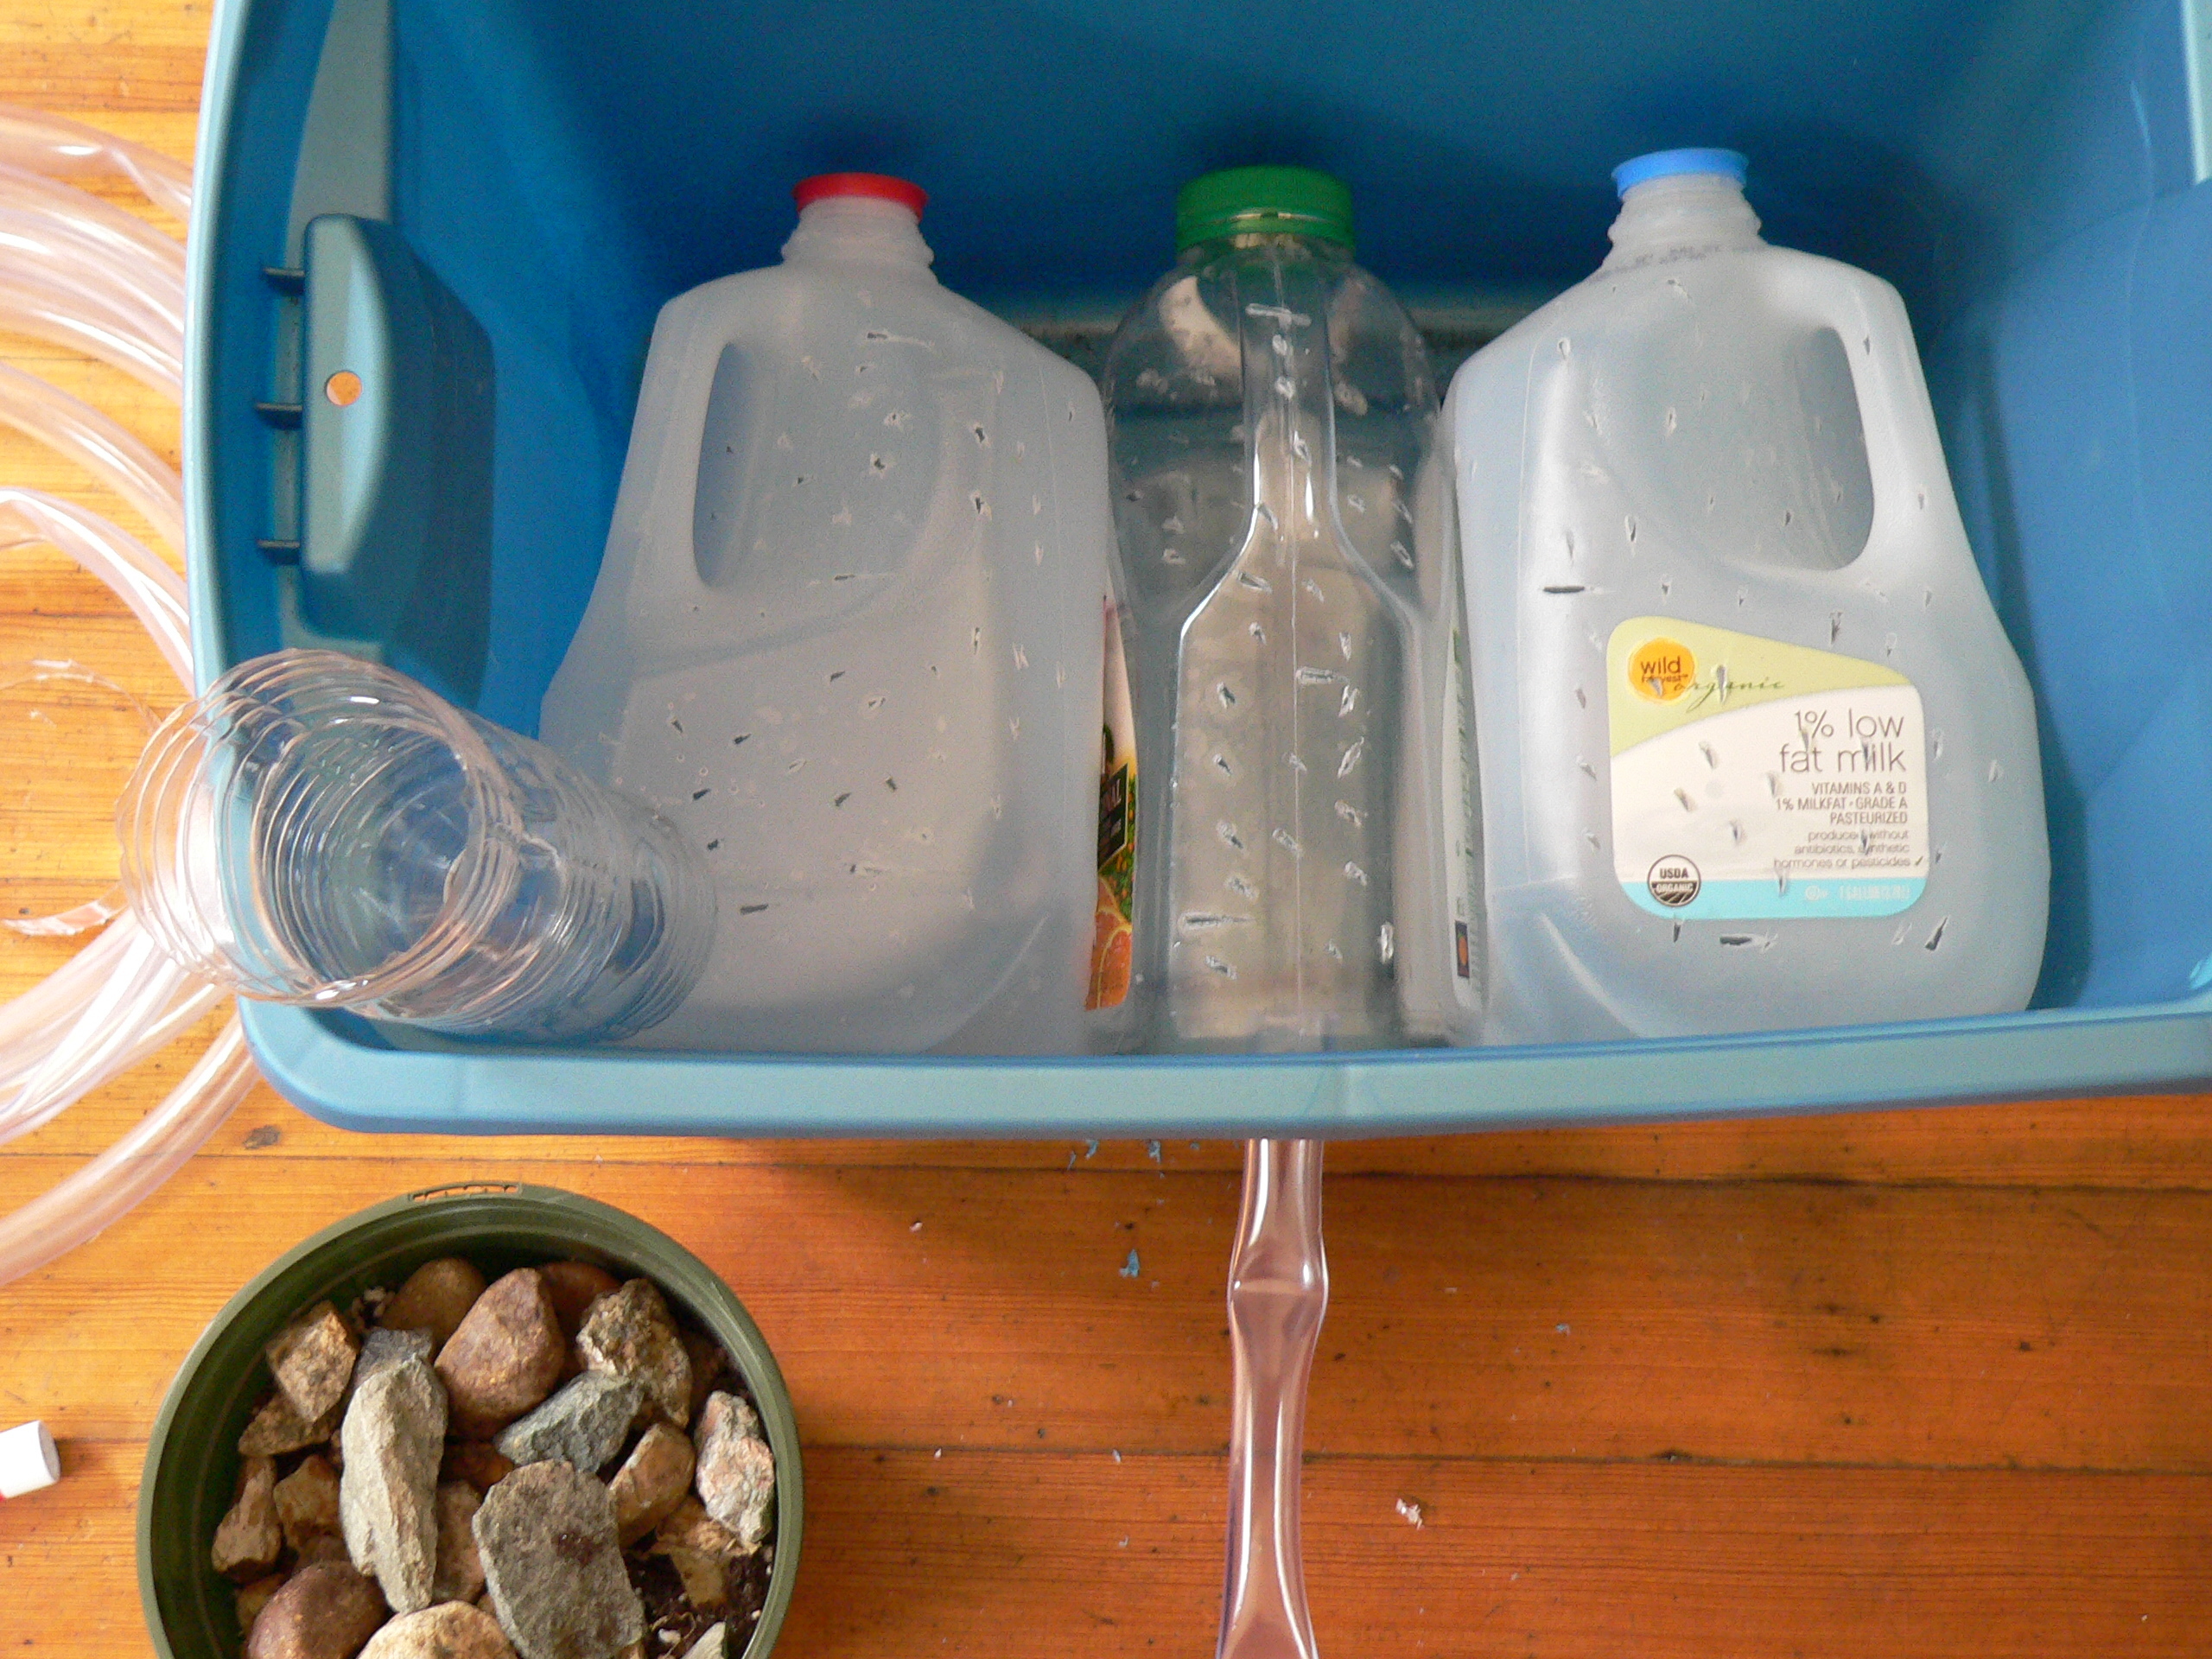
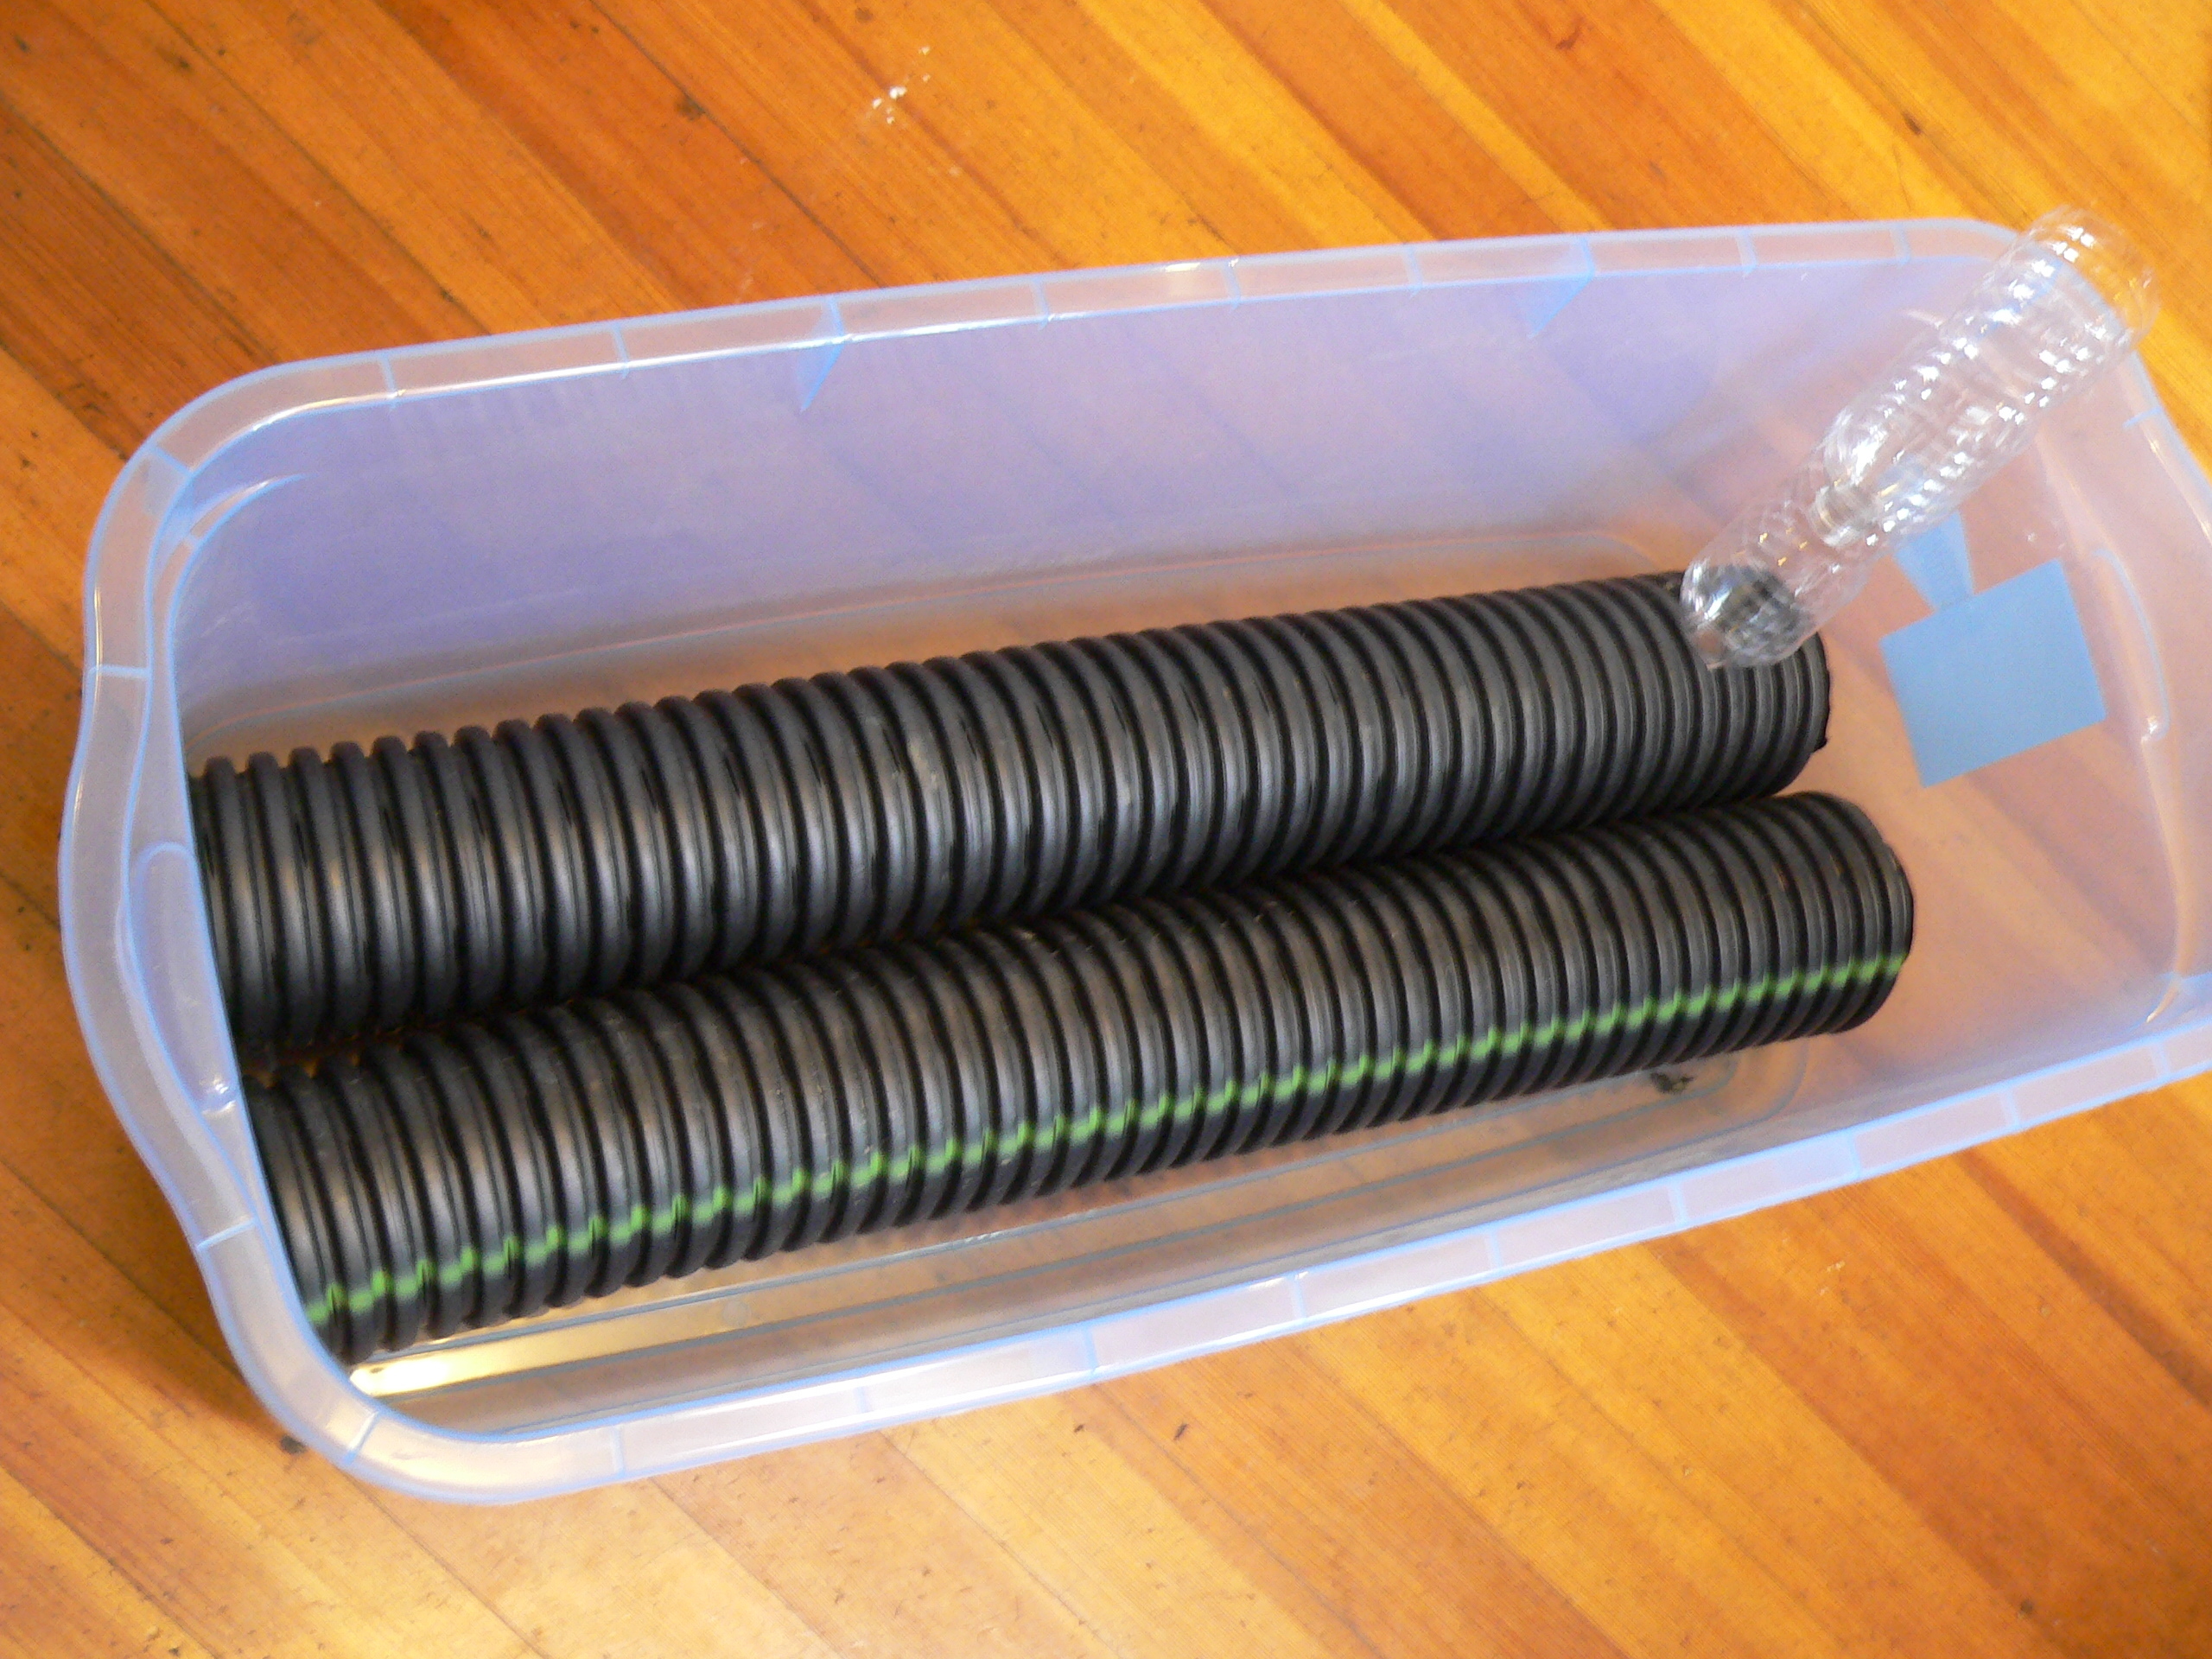
Collect the materials that will create a reservoir of water in the bottom of your container.
Tip: corrugated drain pipe is your easiest option. Make sure it is perforated to allow water to pass through.
In the absence of corrugated drain pipe, use food safe plastic containers with holes punched through to allow water to permeate.
Conclusion
Feel free to improvise on these basic principles -- subirrigation is very flexible and doesn't require clean or precise fabrication; it's a bucket full of dirt and water.


