Ever thought about trying to make something to last? It’s a hard problem: moths, rust, fire, thieves, and time versus the works of the mighty.
Take a walk through an old cemetery. The Mount Auburn Cemetery in Cambridge, Mass., is one of my favorites. Acid rain is dissolving some of the marble and limestone headstones so that you can’t even read them.
By contrast, bronze ornaments and plaques hundreds of years old look brand new. Unfortunately some of them are missing; they’ve been pried off by scavengers to sell for scrap. That’s not a new problem — perhaps some of the bronze in those items came from da Vinci sculptures melted for cannon in Renaissance wars — hence old stone sculptures are more abundant than metal ones.
But even stone isn’t safe. The looted pyramids, stripped of their limestone sheathing. The Sphinx’s nose. The Venus de Milo’s arms. Unfortunately, stone breaks rather than bending when accident or malice befalls it.
Marble statues in Greece were even crushed and fired down in limekilns to make mortar. Aztec temples in Mexico were broken up to build cobblestone streets and walls of churches. In my own hometown, a beautiful domed library was torn down to make room for a motel, the granite slabs and stones shipped off to build walls elsewhere. Only the granite columns remain, moved to a park.
So what lasts without being buried? Wherever I go in the world I see really ancient stone bowls and other funny little sculptures made from hard stone. They aren’t big or square enough to split down and build a wall out of. They’re somewhat useful and people keep them around. They can be made much thicker than ceramic items and are less likely to break.
Now it’s our turn. Let’s also make something that will truly last. Fortunately, tools with diamond-studded cutters have become cheap and abundant. They make stone carving amazingly fast and easy. The same techniques seen here can of course be used to make any sort of stone objects you desire.
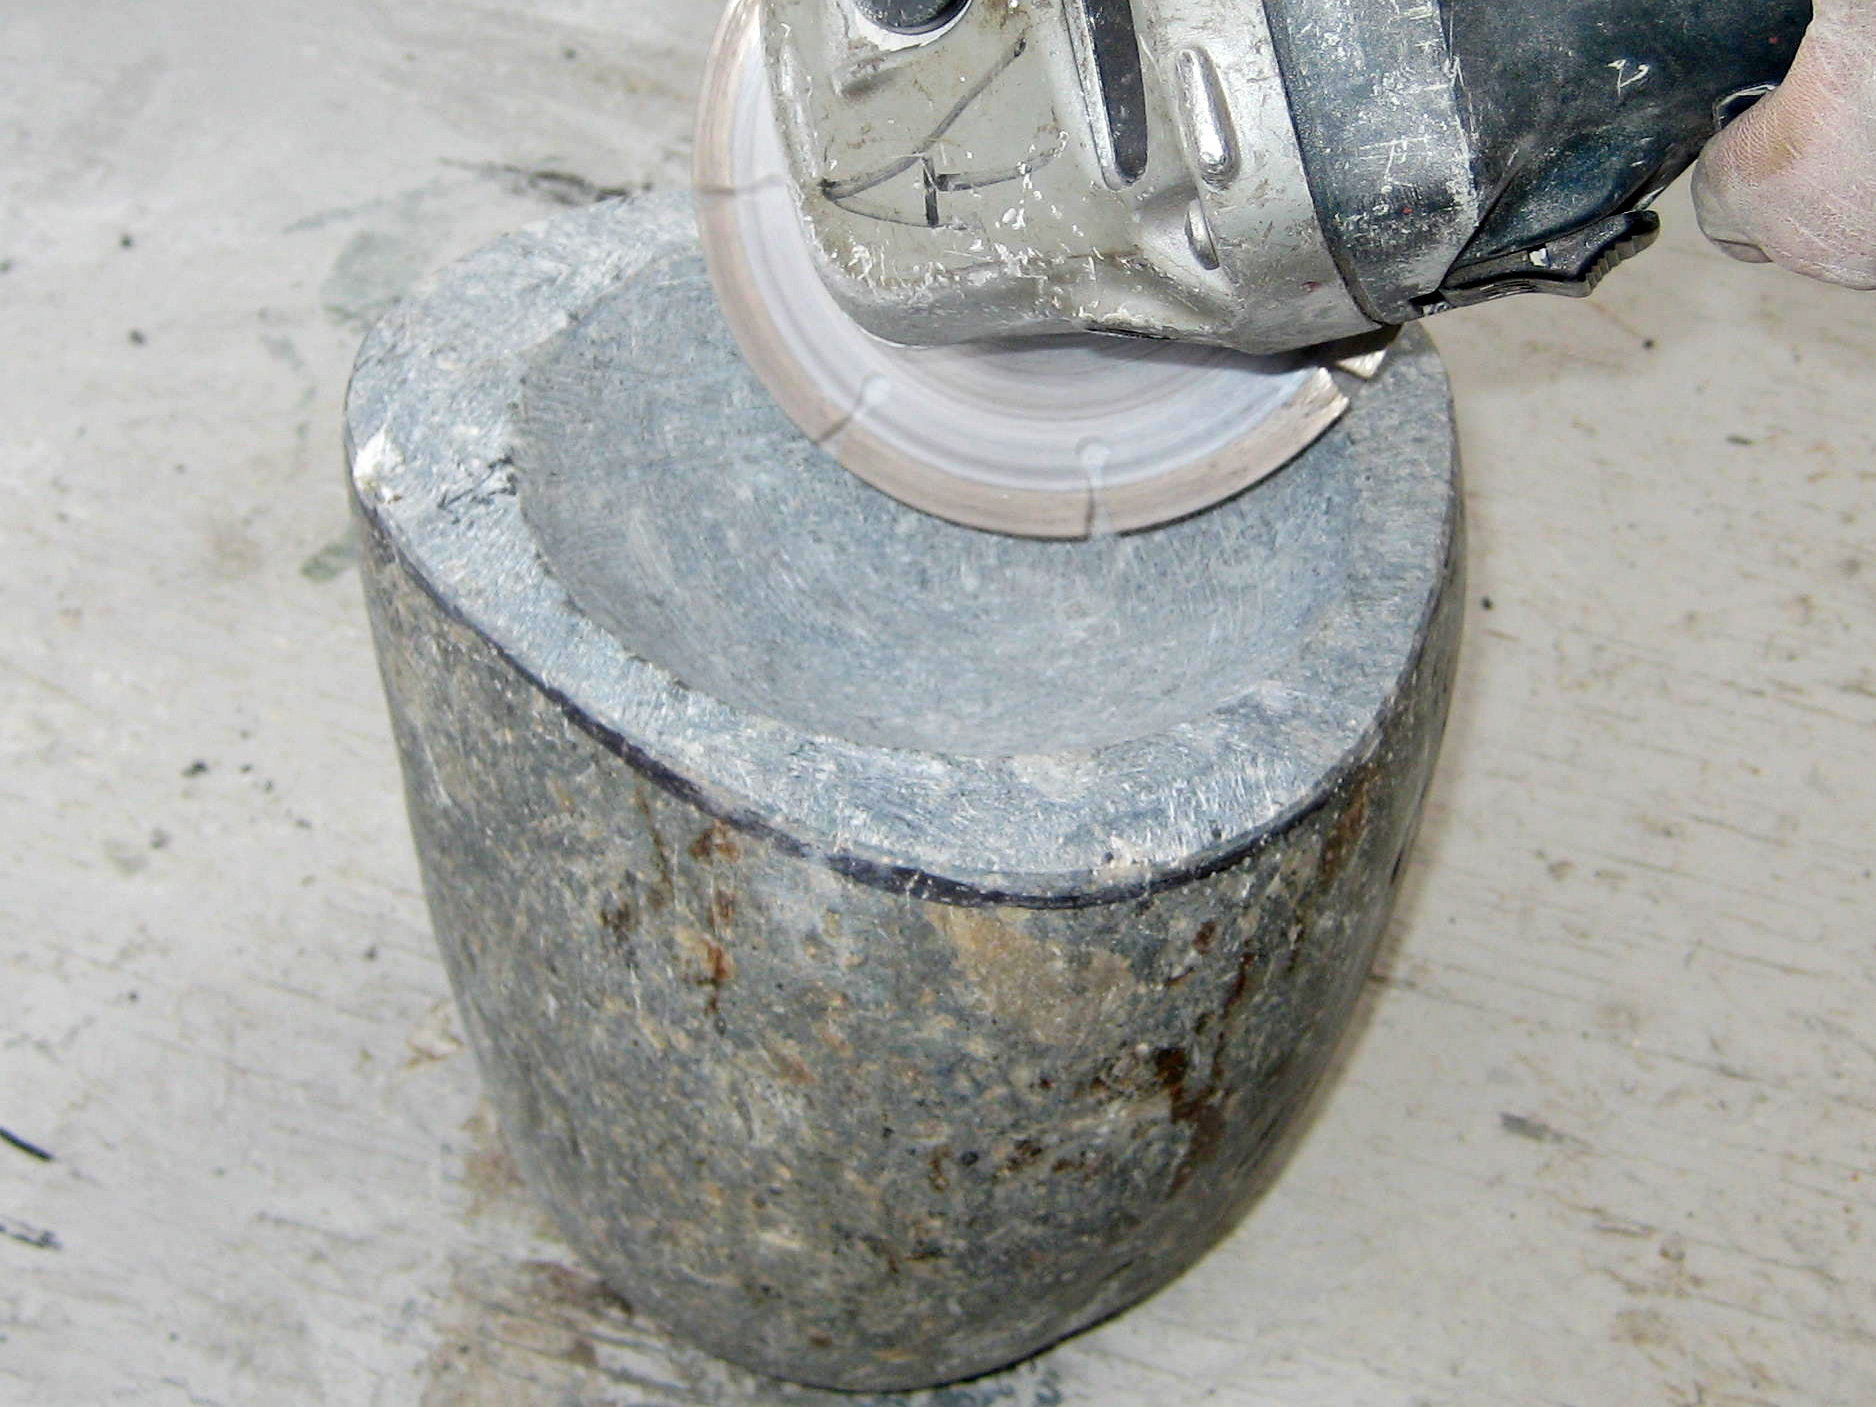
My bowl is heavy and shallow because I plan to use it for a mortar to make nut butter. And I want it to last forever.
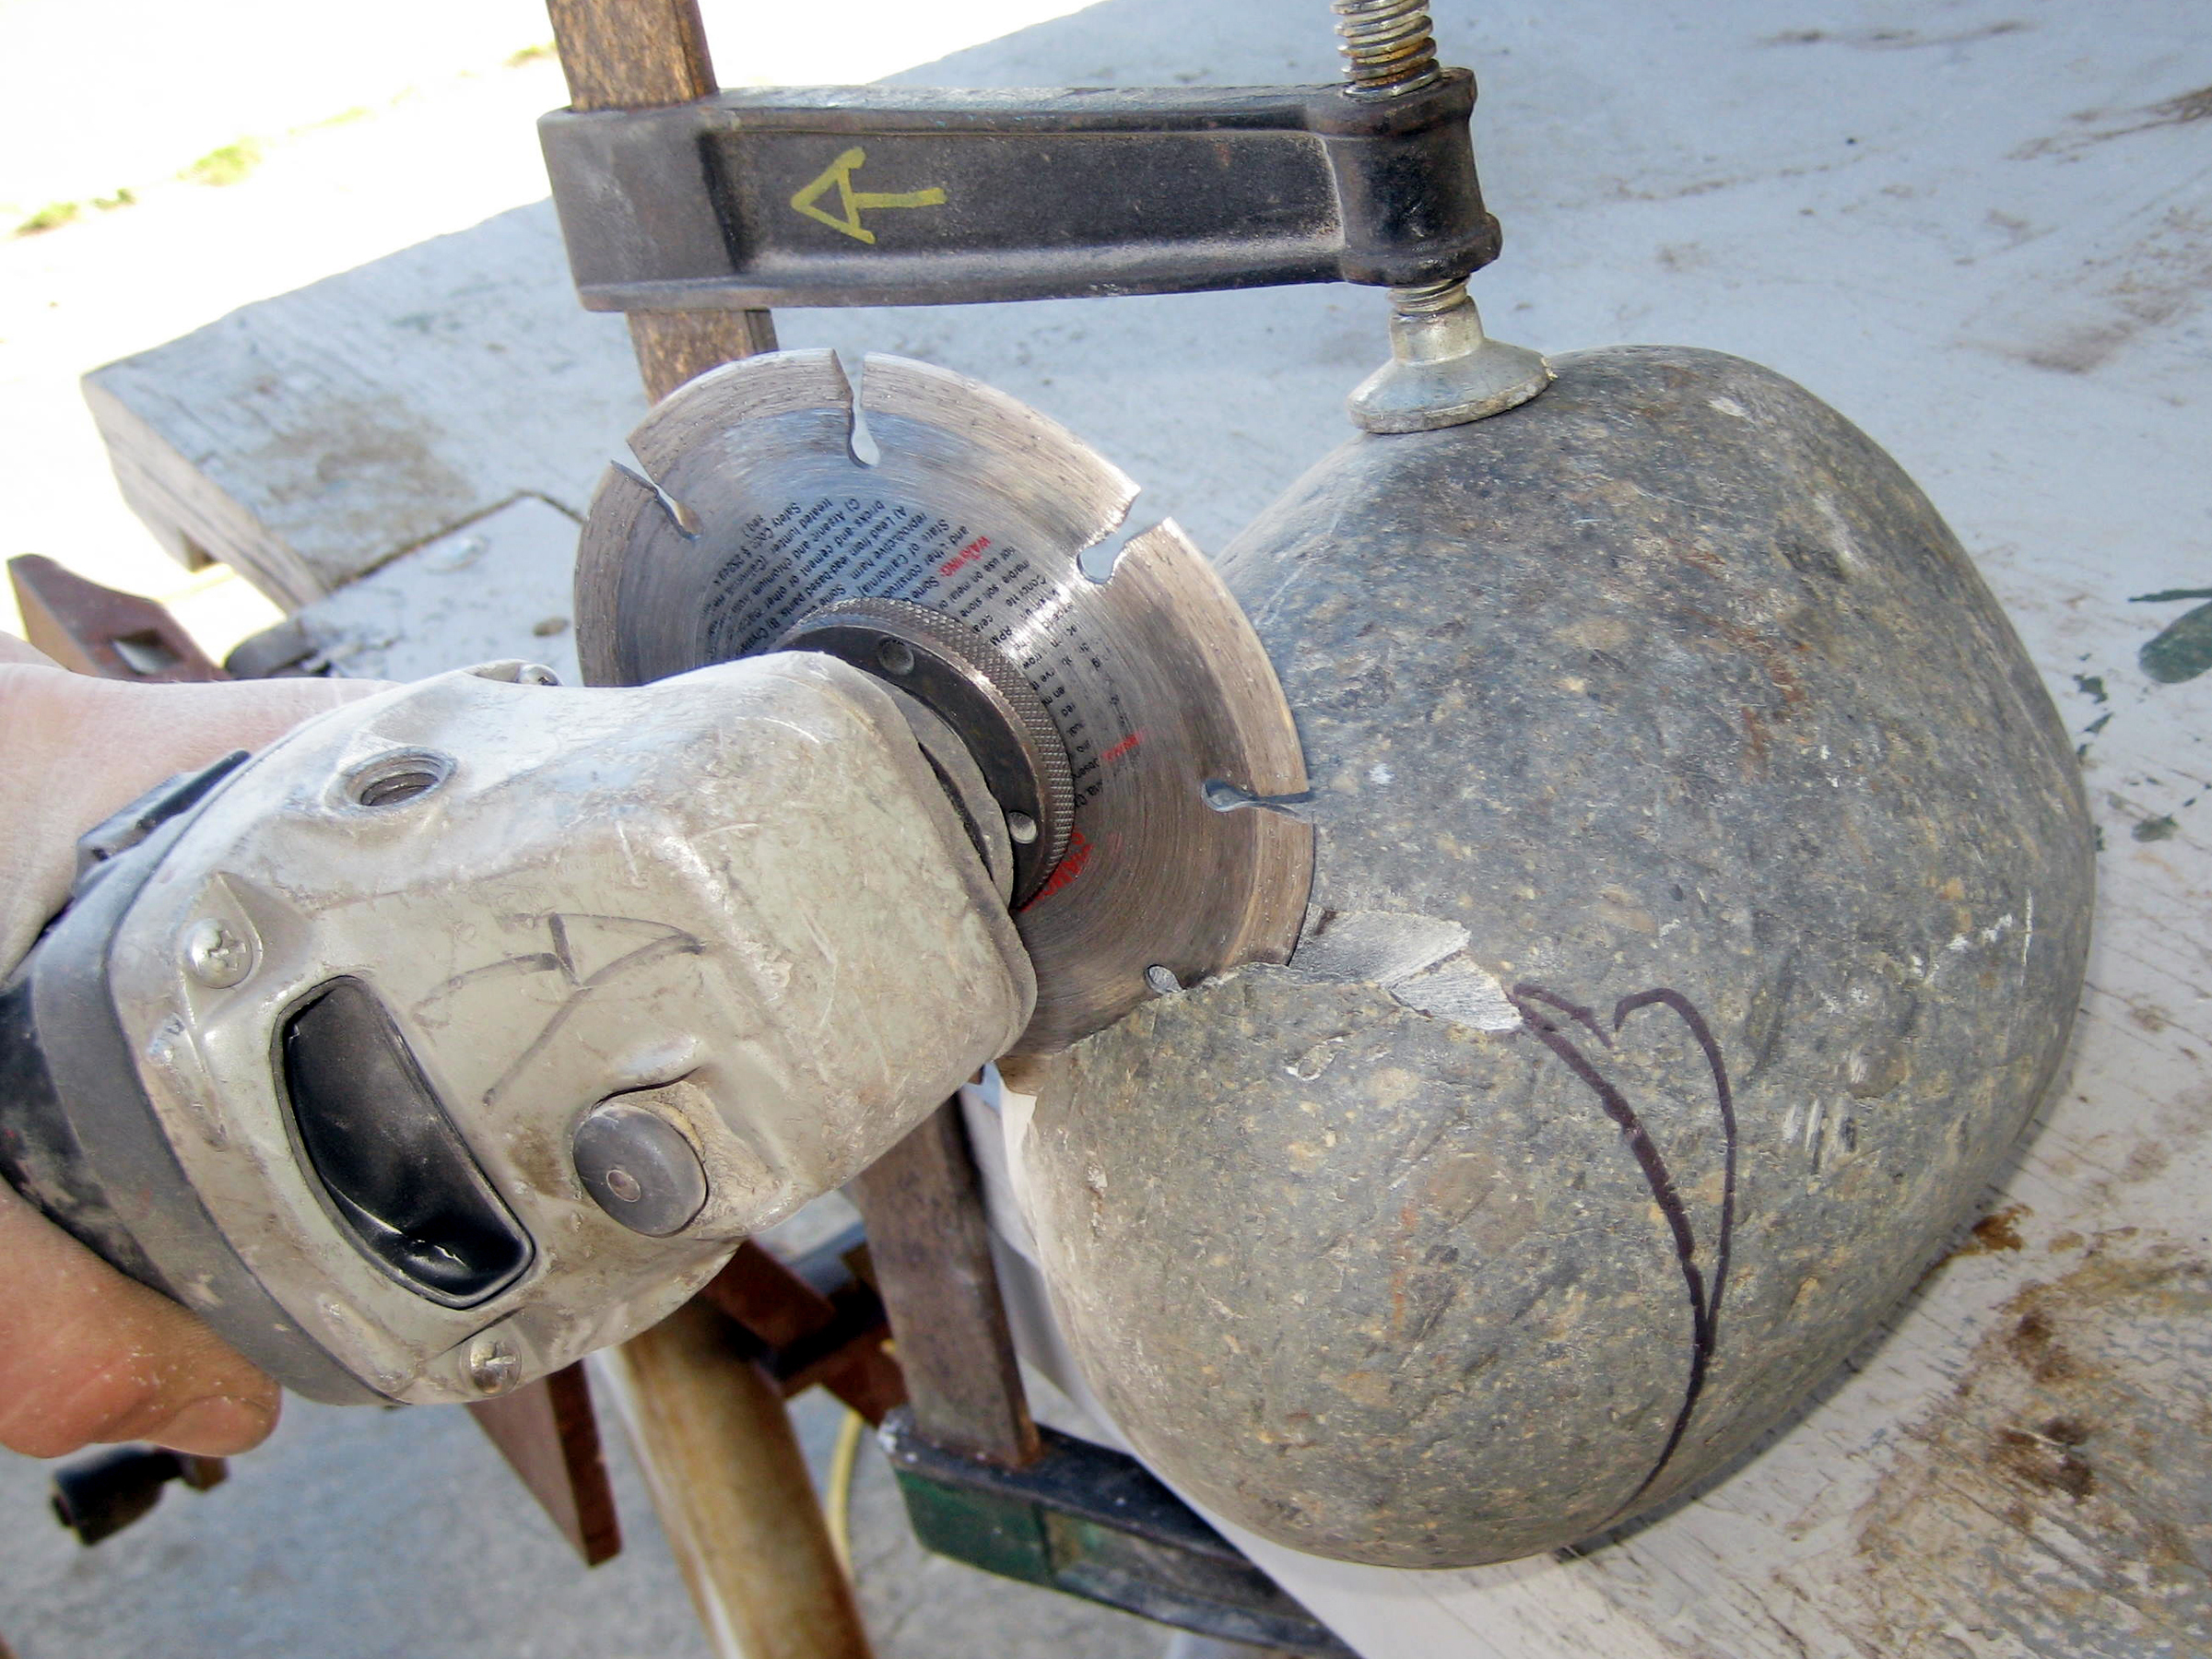
First, a few notes regarding materials. You can buy an imported angle grinder for a few dollars almost anywhere. When I travel in remote areas of the world, if there’s electricity, there’s an angle grinder. An angle grinder that costs $10 new is worth exactly that. You’ll keep buying better ones until you get one that lasts.
WARNING: The angle grinder is an incredibly dangerous and useful tool. Wear safety goggles, or better yet a full face shield and leather protective gear. An image search for “angle grinder injury” will scare the hell out of you. You’ll want a guard on yours. (Unfortunately mine is missing its guard because I found it that way in the trash. The former owner threw it out when the switch burned out. The replacement switch cost a few dollars online.)
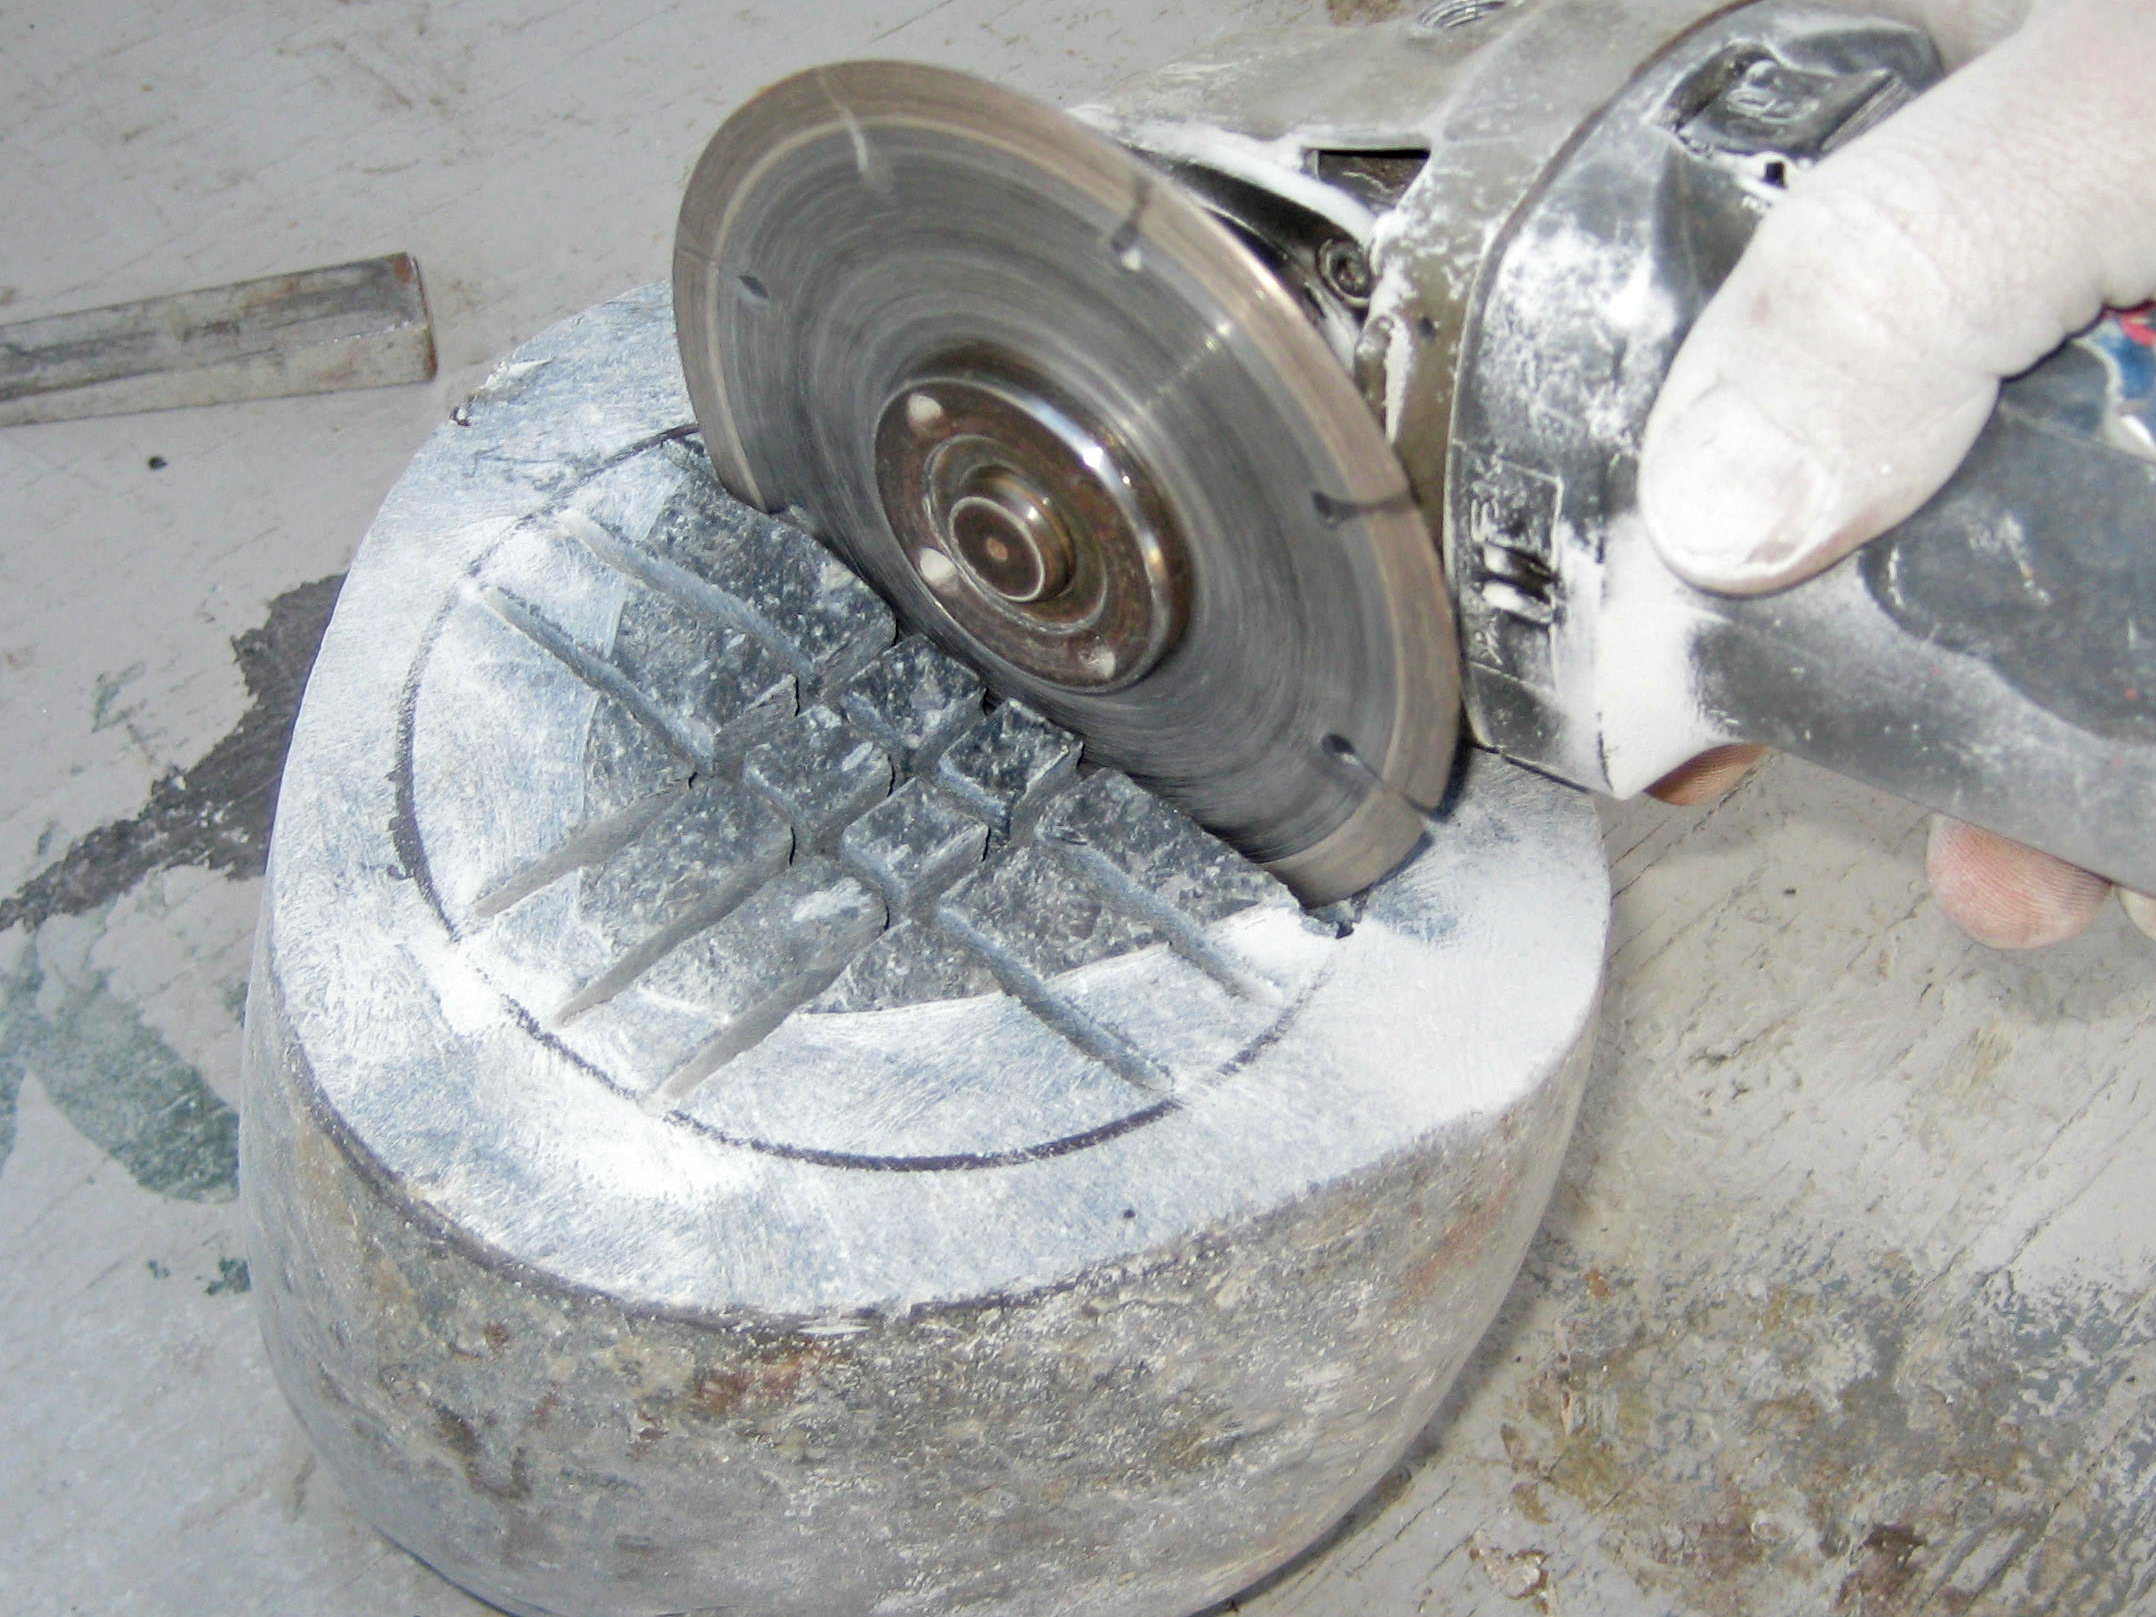
The diamond abrasive disk is a “dry cut segmented” masonry blade. Imported ones are available online for a few dollars, or wherever cheap tools are sold. Mine was $7. Goes through granite like you wouldn’t believe. Opens up whole new worlds of recreational stone carving. Don’t accidentally open your veins with it, OK?


