This project is derived from LifeHacker alum Jason Fitzpatrick’s improvised clean/dirty dishes indicator, which uses the same CD + suction cup idea.

When I tried Jason’s trick for myself, however, I found that, while the hole in an optical disc does fit nicely over the hub of a hardware-store suction cup, all the cups I could find had this molded-in groove to accommodate a wire hook. This groove prevents the CD from fitting snugly around the hub, and allows it to spin too freely. If you only have two states you want to indicate (e.g. clean or dirty dishes), it’s really not a problem. But if you want better resolution, the fit needs to be snug so the dial can’t “drift.”

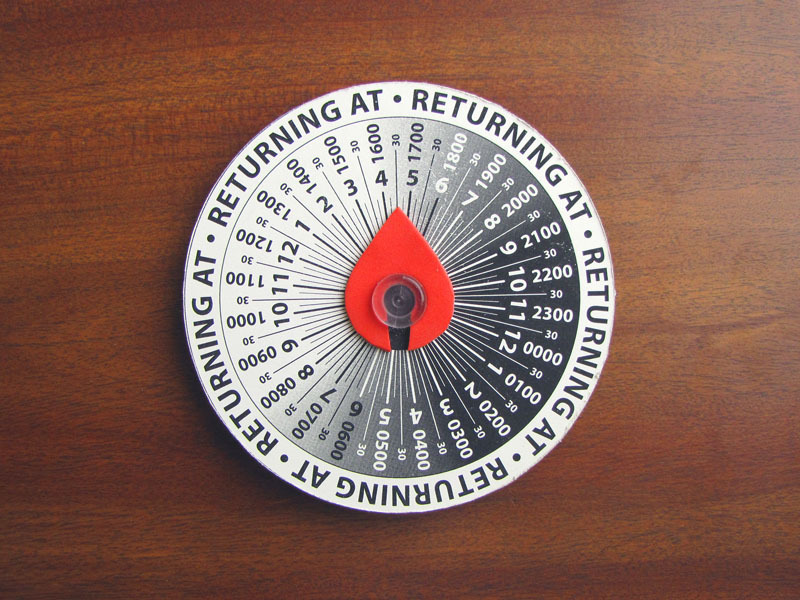
So I’ve added a bit of craft foam that fits down in the groove and secures the CD in place, and doubles as a pointer. This design adds just enough friction: The CD is easy enough to turn, but not so easy that it won’t stay where you put it.

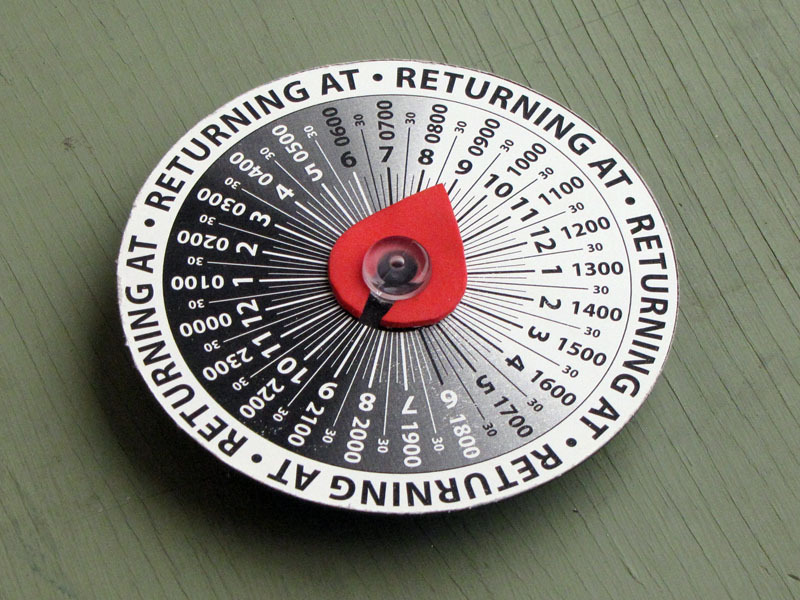
I’ve included a printable version of the label I made for my own “returning at” sign, which can accurately indicate 96 separate states (any 15 minute interval in the 24 hours of a day), but the design could easily be adapted to other purposes.

What will the next generation of Make: look like? We’re inviting you to shape the future by investing in Make:. By becoming an investor, you help decide what’s next. The future of Make: is in your hands. Learn More.

Project Steps

Gather parts

You’ll need:

A junk CD, DVD, or CD-ROM

A suction cup with a 15 mm hub grooved for a wire hook.

About 2 square inches of craft foam with peel-and-stick backing.

Remove the hook from the suction cup, as shown, and set it aside.

If you want to skip the whole craft foam business, you can just bend the exposed end of the hook straight and slip it back on the suction cup once the CD is in place; it’s a bit ugly, but works fine as a pointer.

Print out template

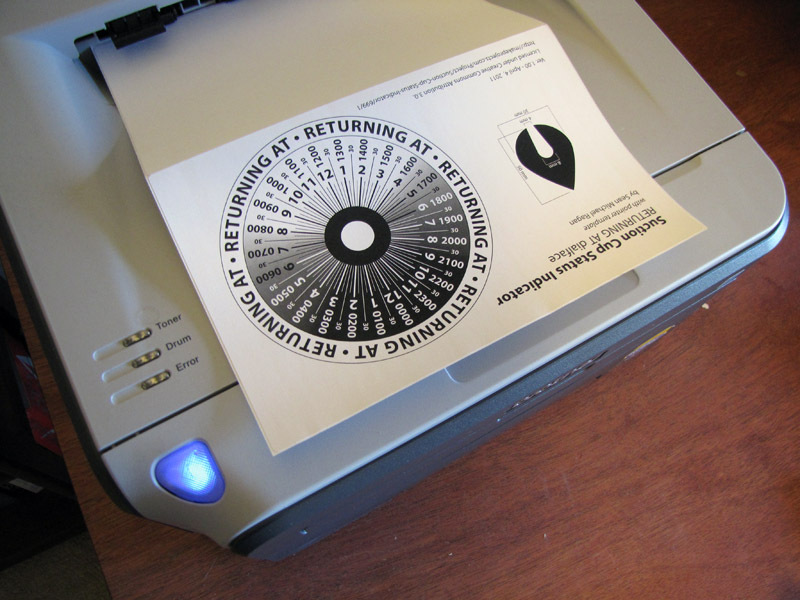
Print the pointer template attached to this project at 100% scale.

If you want to make the RETURNING AT indicator pictured here, or apply other computer-generated dial art to the CD, it will be extremely helpful to print onto an adhesive-backed mailing label.

If you’re not making a RETURNING AT indicator or you want to use your own artwork, a separate template containing just the pointer pattern has been provided. It does not require adhesive backing, and can be printed on plain paper.

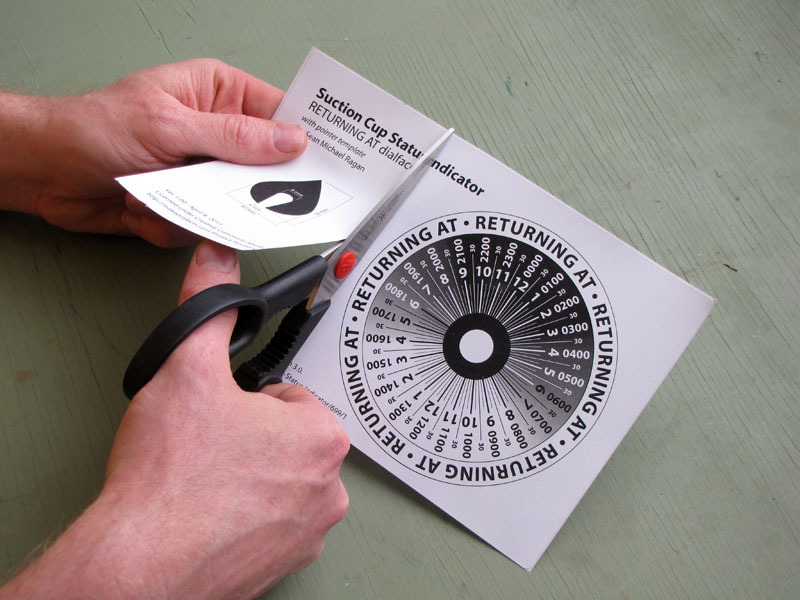
If you’re using my template, cut it half with a pair of scissors to separate the pointer template from the dial label.

If you want to design your own label, a standard-size optical disc is 120mm in diameter, with a 15mm hole.

Cut out pointer

Cut a 2″ square piece of craft foam. Leave the adhesive backing in place for now.

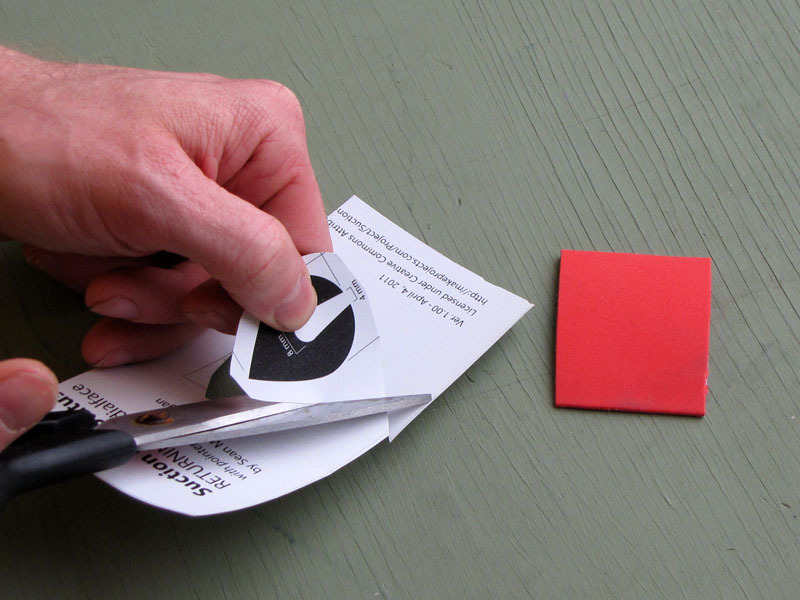
Rough-cut the pointer pattern from the printout. You only need to get it smaller than your section of craft foam.

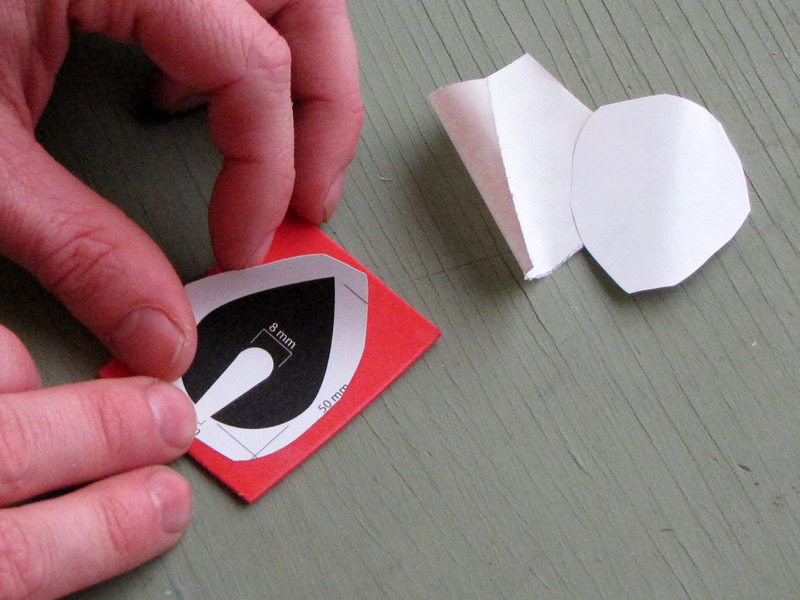
Remove the adhesive backing from the craft foam (and from the pointer pattern, if you printed it on a label), and stick the pattern to the adhesive side of the foam, as shown.

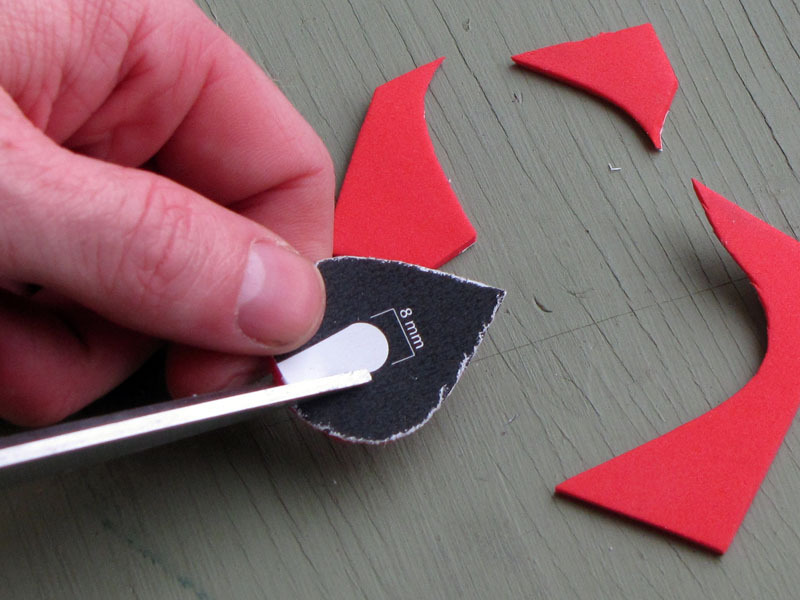
Cut around the pointer template, following the lines closely this time, and cutting the foam together with the paper. A hobby knife may be helpful for for the center hole.

The paper template remains stuck to the back of the foam in use. Don’t peel it off or the pointer will stick to the dial!

Apply dial art

Remove the adhesive backing from the printout bearing the dial art and hold it up to a window, stick side out, as shown.

Line up the disc and press it on to the label, starting at the center and working toward the edges to avoid wrinkles.

Put the label, with the disc adhered, art-side down on a cutting board and cut around it with a hobby knife.

If you don’t want to go to the trouble of generating fancy computer art, you can always just draw on the disc with a Sharpie.

Assemble and use

Fit the center hole of the disc over the suction cup spindle, as shown.

Slip the slot in the pointer around the narrow section of the suction cup spindle.

Turn the dial to indicate your current status and stick the suction cup to your front door, your dishwasher, your forehead, etc.