Additional Materials Required:
- 3/4″x1.5″ Bolts (2)
- 3/4″ Nuts (2)
- Shaker Mount


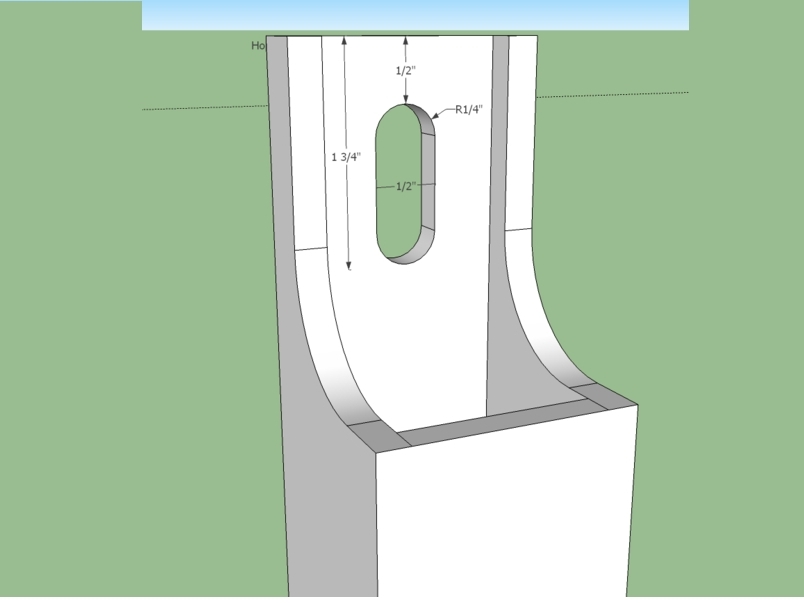
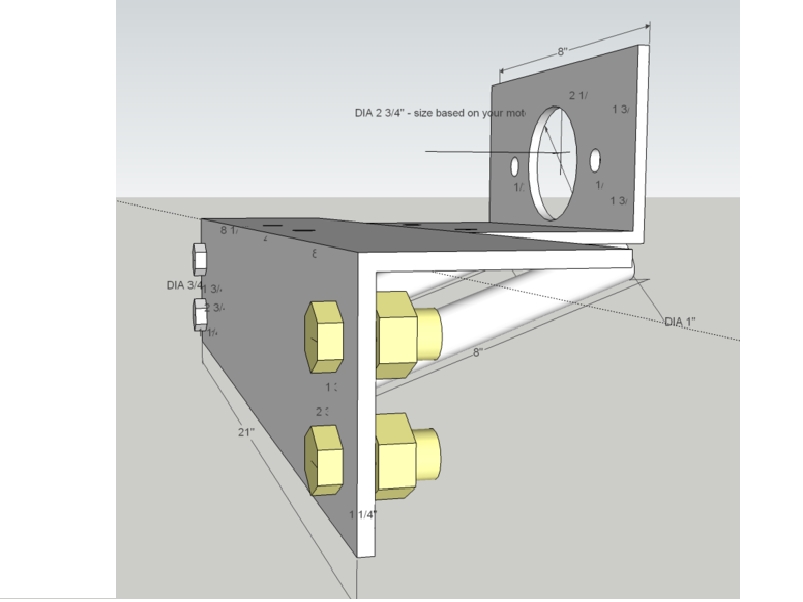
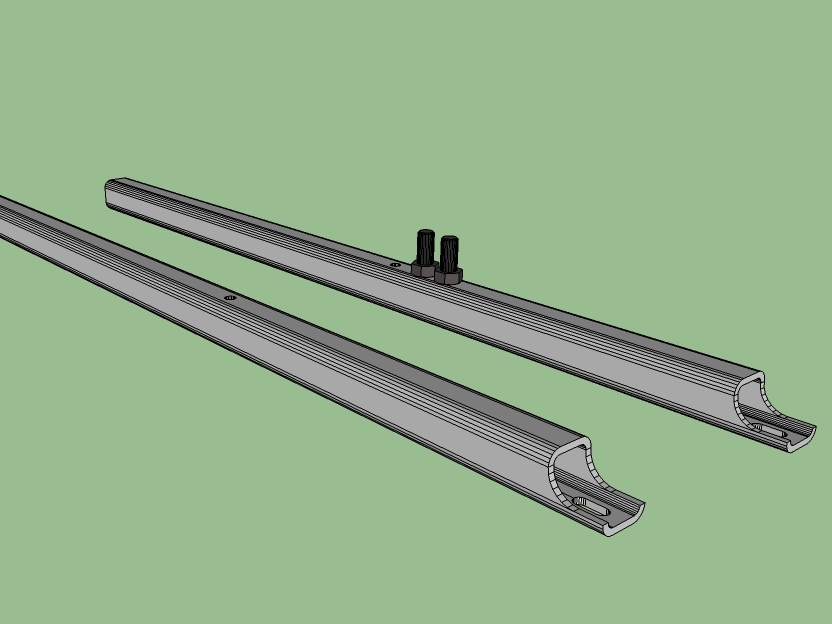
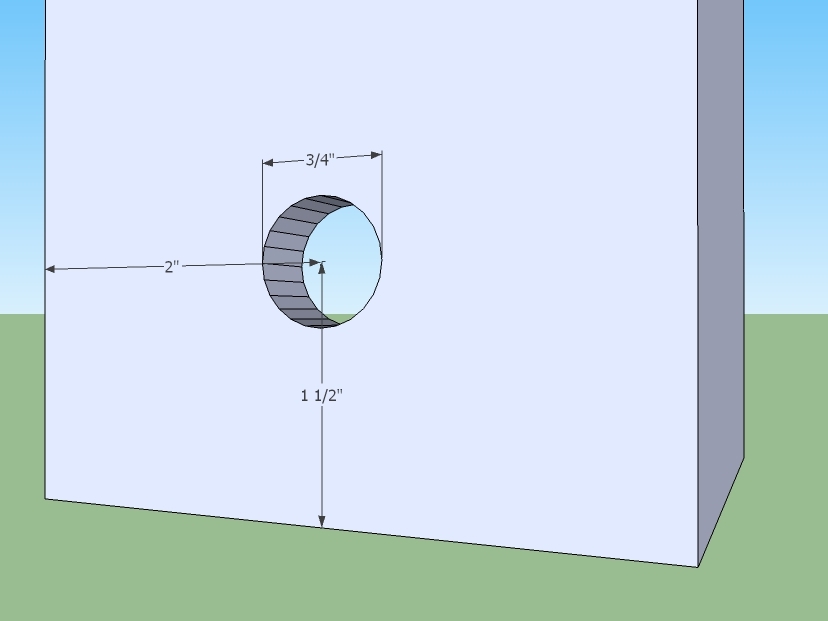
Torch away the necessary areas. See diagrams.
The holes for the hopper mounting need to be 28″ away from the bottom side. Mark 28″ on the opposite tubing walls and torch 1/2″ holes. Insure a 1/2″ bolt goes all the way thru.
Torch the cutaway at the top and the slot.
Grind away any slag.

Lay one support on the table, with the grate mount slot touching the table.
Get the Shaker Mount and tighten 3/4″ bolts with nuts to the Soil Shaker so the bolt head is where the hammer will be.
Prop this up on the hopper support, so the first bolt is about 2″ above the 28″ hole and both bolts are touching the support.
Mark which side of the shaker you are welding the bolts for.

Tack the bolts in place, remove the nuts and dismount the shaker.
Protect the threads, and finish welding the bolts to the support.
You are only doing this on one of the supports, the other side, you will do in place, so the spacing is correct.

Punch the hole on the bottom of the supports for each.
Torch away a 4″ section on the top of each grate to make it like the model shown.
Remember that the two are mirrored.
Cut away the corner so the hopper wont hit it, about a 1″ 45 degree triangle.
Torch a slot for a 3/4″ bolt at the top of the mount, as shown.
Grind away all the slag.