What will the next generation of Make: look like? We’re inviting you to shape the future by investing in Make:. By becoming an investor, you help decide what’s next. The future of Make: is in your hands. Learn More.

Project Steps

Position the main frame

Set the main frame somewhere on level ground where you have access to a welder and torch and where you have at least an 8′ radius of empty space. The CEB takes up a lot of room!

Set it so the cylinder pin is near the ground.

Assemble the Secondary Arms

Gather the secondary arms, the legs and the feet.

Onto the end of each leg, tighten a foot to one of its ends. Get the bolt tight enough so it won’t fall off.

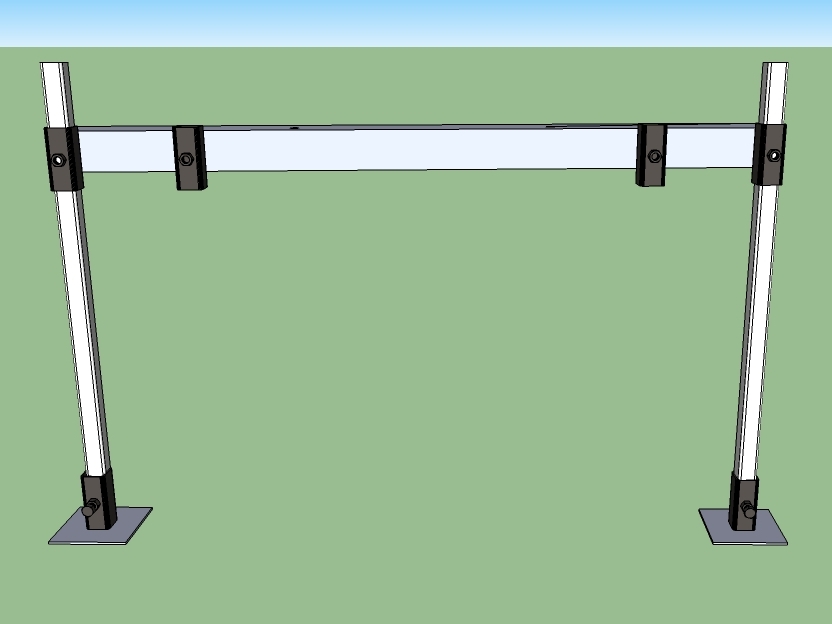
Insert one leg/foot into each of the outside leg holders on the secondary arms.

Adjust the height so that the top of the secondary arms will be very close to the height at the bottom of the primary arms.

Tighten the bolts in the leg holders so they are snug, but not too tight.

Place the Primary Arms

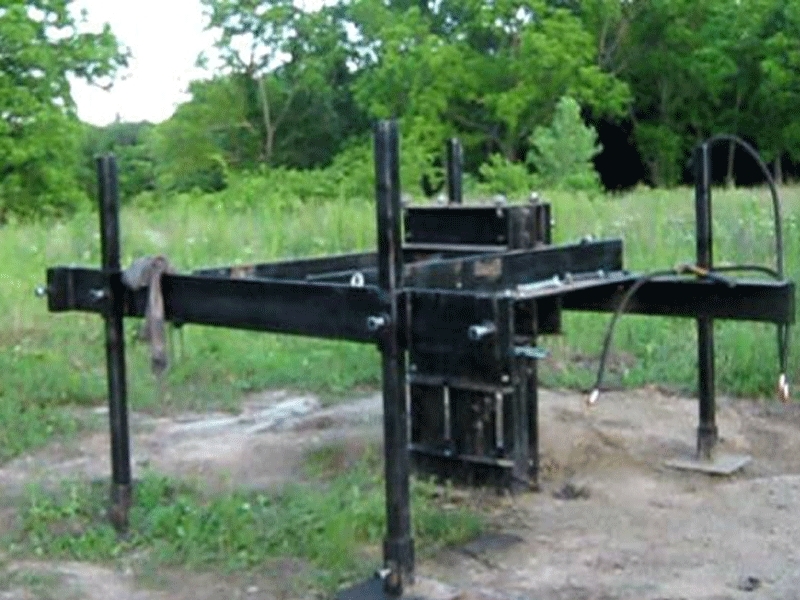
Clamp them on the drawer members on the frame so that they are in the proper orientation. See image.

If the machine is going to tip over, have a friend move the assembled secondary arms to support it so it doesn’t tip.

Attach the secondary arms to the primary arms

Loosely bolt the 2 sets of arms together.

You may need to loosen the clamps on the primary arms. This is OK.

Make sure the arms are all square to eachother.

Tighten all bolts.

Loosen the clamps attaching primary arms to the frame.

Square the arms to the frame.

Attach the primary arms to the frame

Torch the holes in the frame through the holes in the primary arms.

Make sure bolts go through all holes

Remove the clamps and grind away any slag

Bolt the primary arms to the frame.

Install Brick Holder plate, Dirt keeper plate, and sensor holder

The plates go on the bottom side of the primary arms.

If not all the bolts go through, torch away whatever is preventing it.

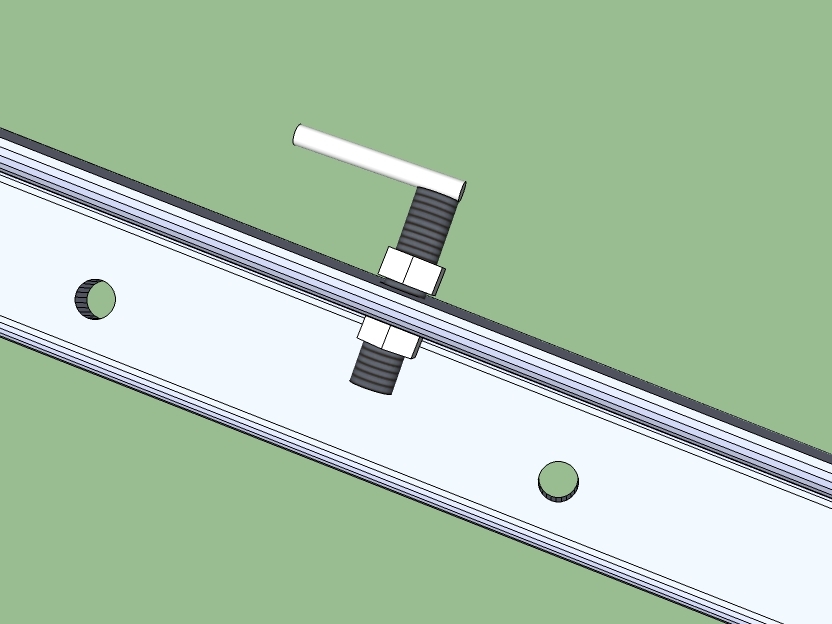
Bolt them down so the bolt head is on the top. Tighten the nuts snug.

Install the sensor on the right primary arm. Its location is circled in the diagram.