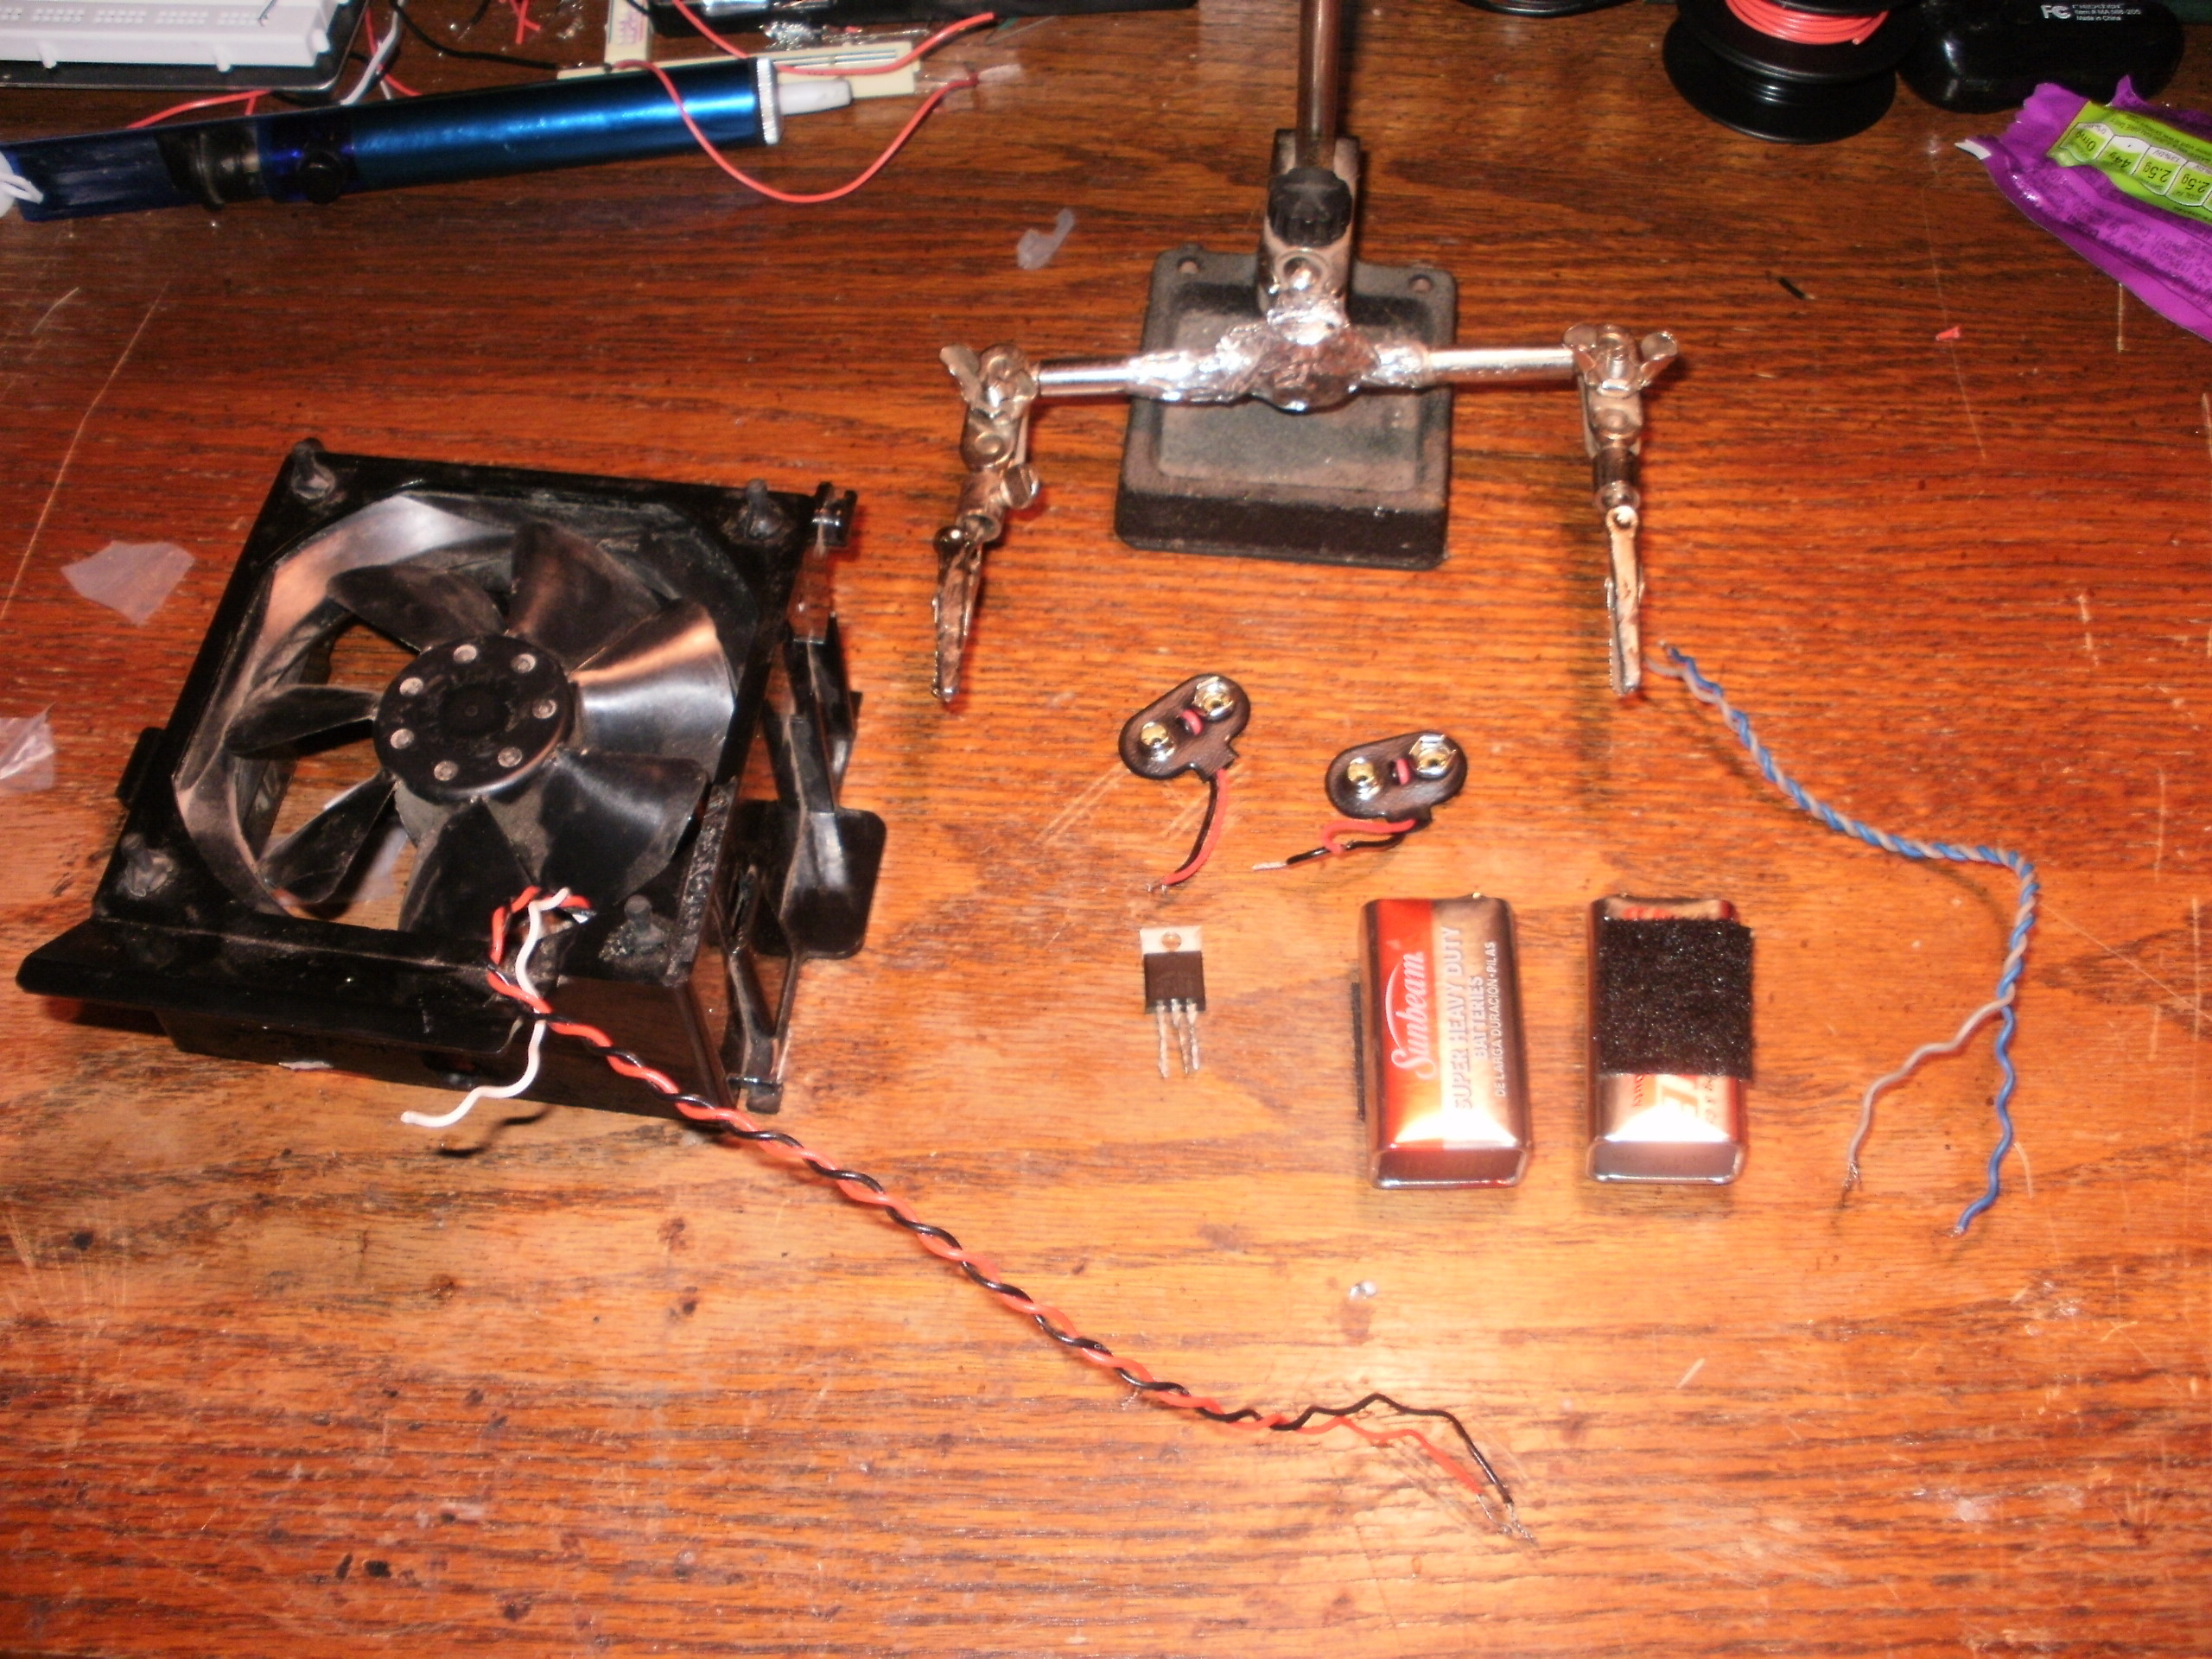
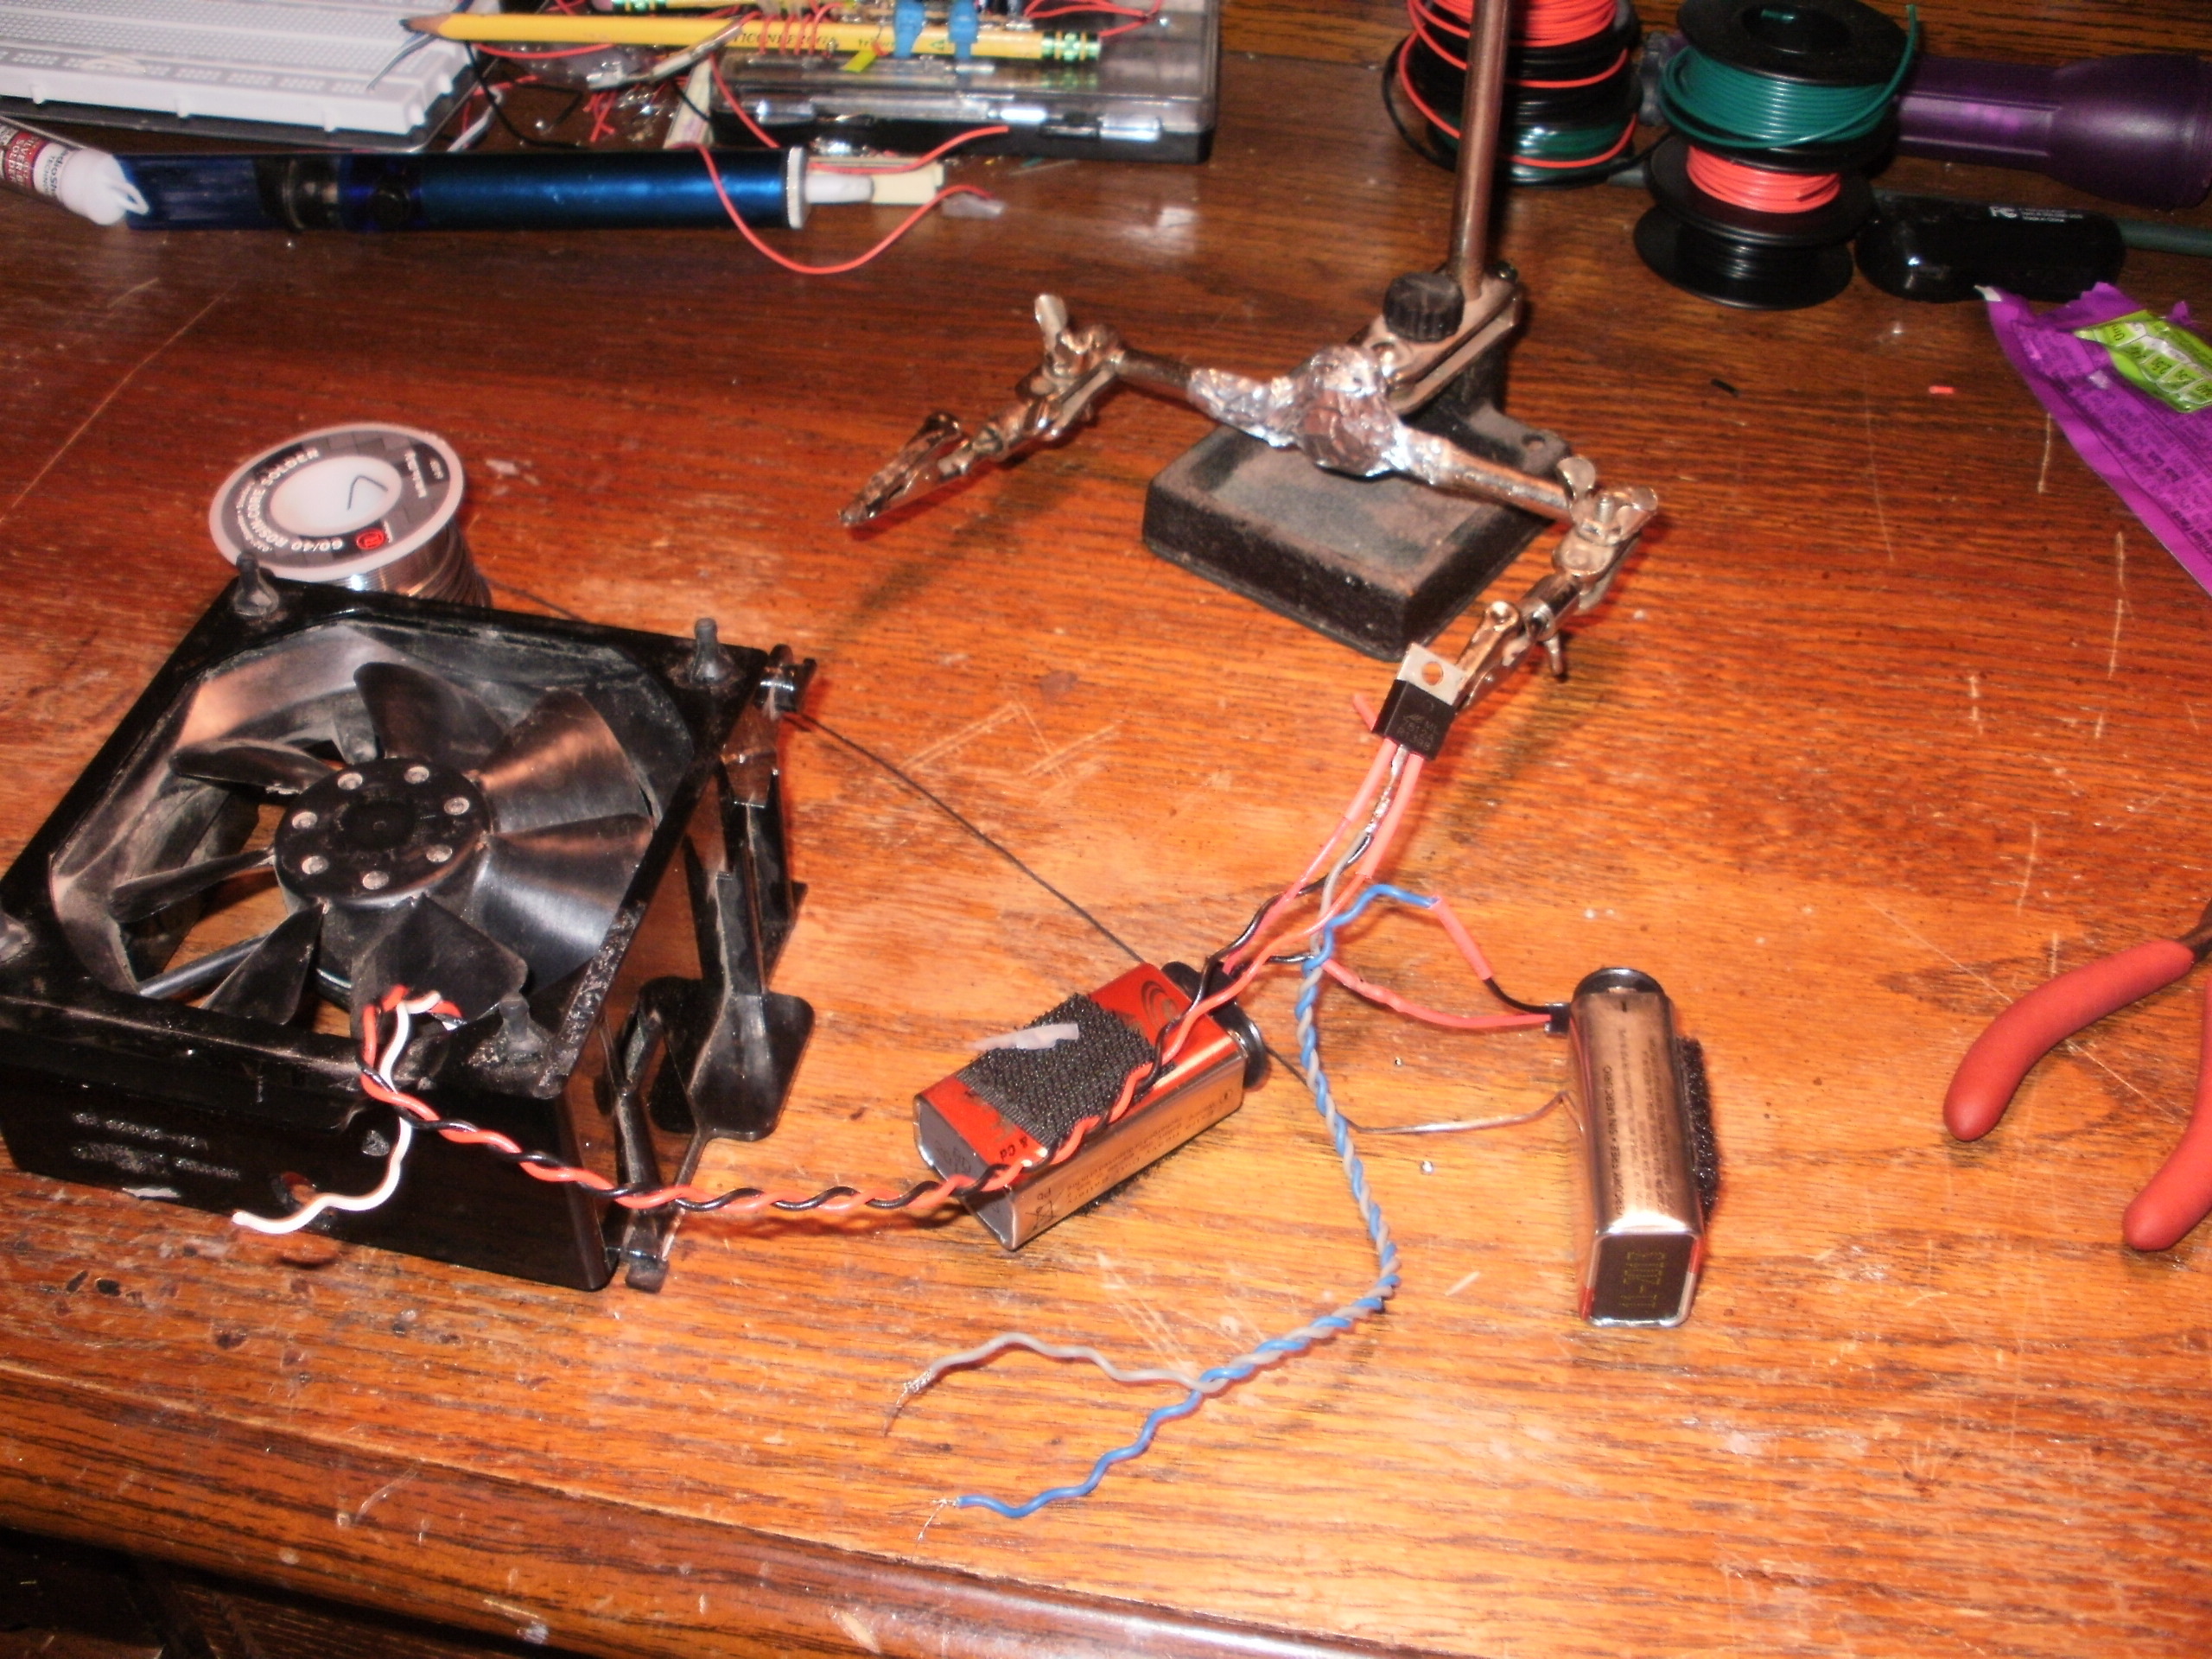
This fume extractor is based on the mini fume extractor that was made by Marc de Vinck. This is basically a fume extractor mounted onto a third-hand tool. In other words, this is just a thing you can do with the mini fume extractor. If you want a fume extractor to be 1-5 inches away from something then this is a perfect solution.

What will the next generation of Make: look like? We’re inviting you to shape the future by investing in Make:. By becoming an investor, you help decide what’s next. The future of Make: is in your hands. Learn More.

Project Steps

Solder it up

Follow the instructions on MakeProjects to make a mini fume extractor. Just replace the 40mm fan with the 5-8 inch fan.

Drill it

Drill a 1/2 inch or similar hole in the fan. That is where I am going to attach it to the helping hands.

Mount it

In my case, my helping hands came with a magnifying glass, so I had to remove that. Once you remove that, you can fit the fan through the hole. Once you’re done with that, you are going to glue on the fan to make it secure.

Add the filters

The carbon filters need to be 5 inches to 8 inches. Once you’ve cut the filter, you are going to glue it on the side where the air rushes out.

Test

Turn on the fan, heat up some solder, and let the fumes get absorbed. You will need to change the carbon filters once every 3 months, or when the filter gets all dirty. Happy Making!