By John Baichtal and Adam Wolf

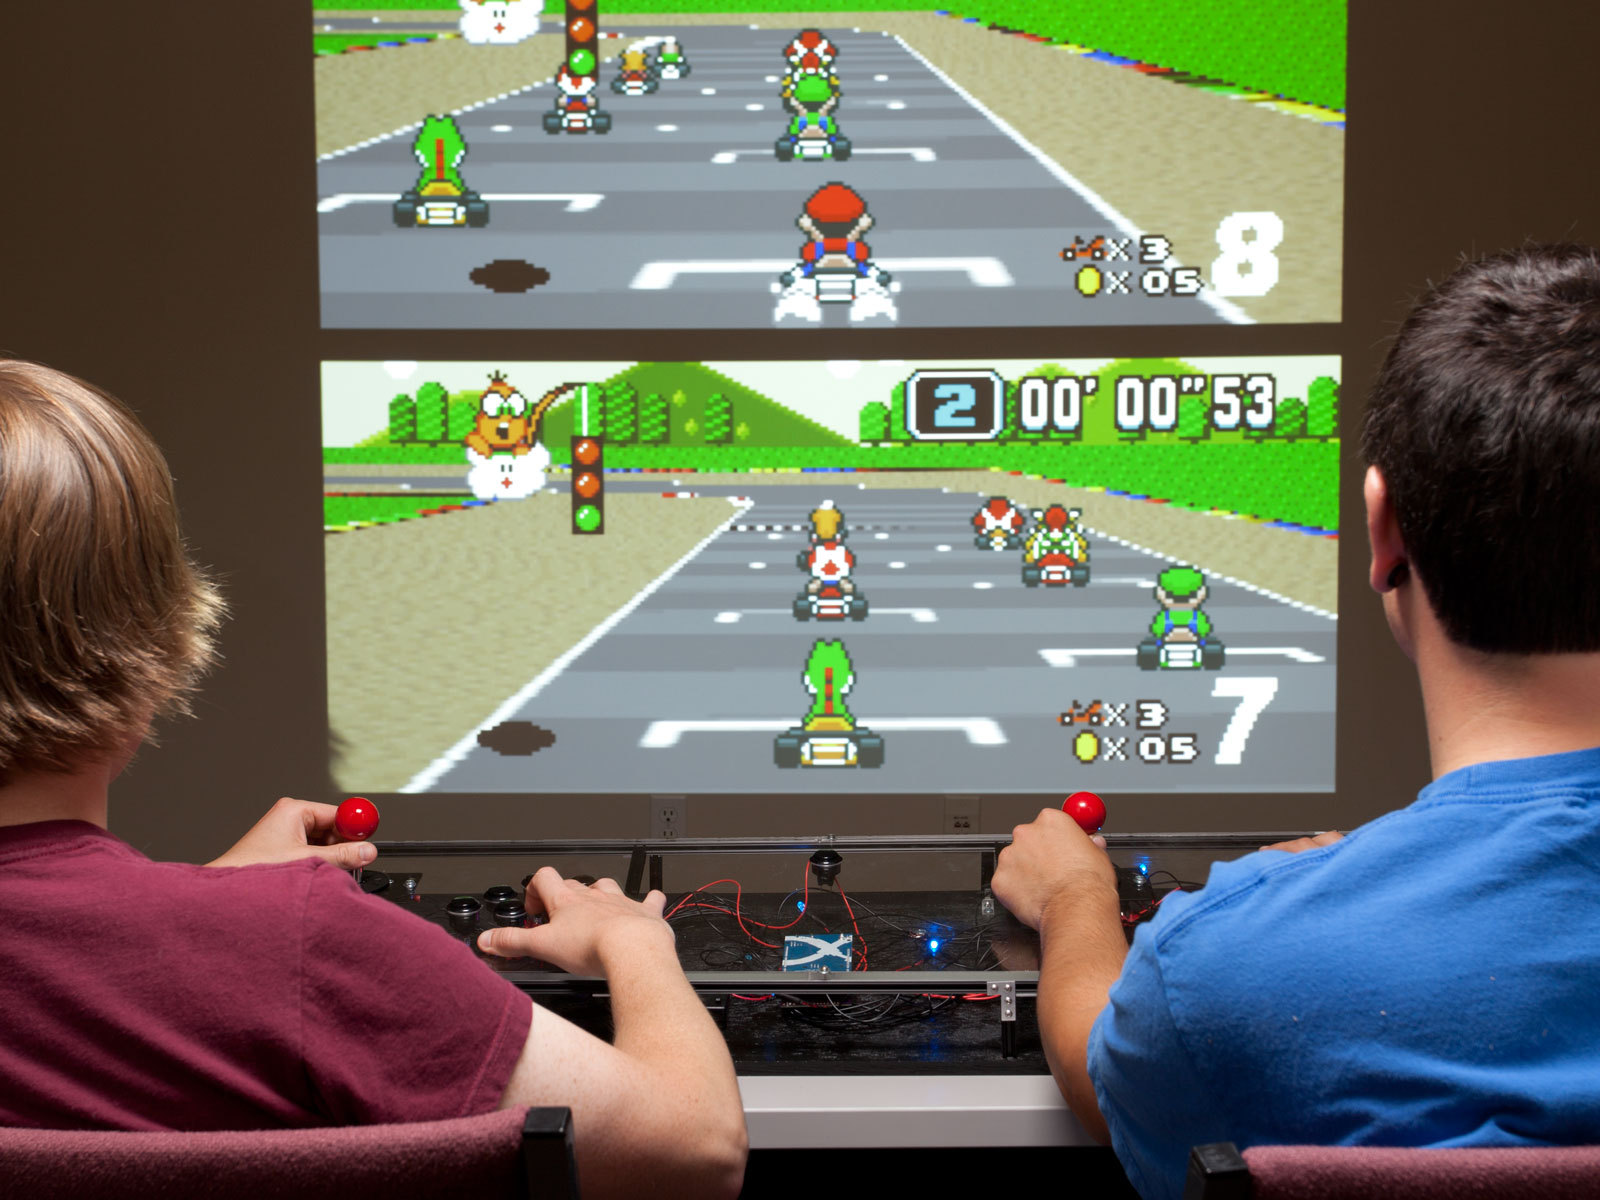
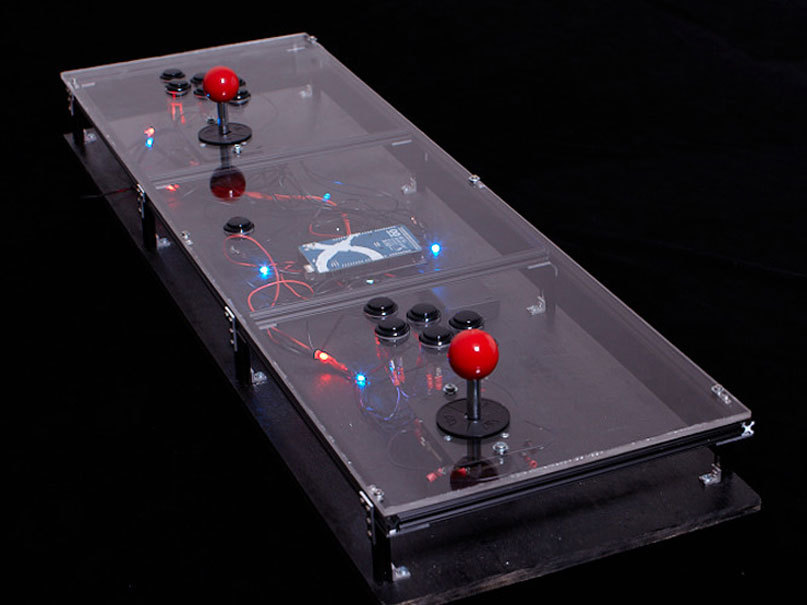
Do you remember those classic video game arcades filled with rattling quarters, 8-bit songs, and flashing lights? You can reclaim that excitement in your own living room with this Coffee Table MAME Console.

In 1997, Italian software developer Nicola Salmoria released the first iteration of MAME (Multiple Arcade Machine Emulator), a free software platform that lets standard PCs play classic arcade video games. Since then, other emulators (sometimes incorrectly called MAMEs) have come out for old game consoles like Super NES, ColecoVision, PlayStation, and others. For each of these emulators, countless game programs, or game ROMs, are widely available.

This means anyone with a computer can play a plethora of classic old video games, which is great. But the hard(ware) reality is, these timeless challenges, which fuse bare-essential graphics with great 8-bit soundtracks, just aren’t as fun with delicate controls like keyboards, mice, or trackpads. Arcade games were designed for button-pounding, joystick-jamming physical action.

Oftentimes makers will build MAME cabinets that resemble old-time arcade games, but ultimately they’re just PCs with buttons and joysticks wired in. With the Coffee Table MAME Console, we’re going to build a stripped-down version of the arcade machine. It doesn’t need a monitor because you can use your TV, and instead of having the computer inside the enclosure, the console connects to your PC via Bluetooth.

We used MicroRAX aluminum beams to build our enclosure, with black-painted plywood for the base. And we didn’t want just a boring box, so we sexed up the console with a sheet of clear acrylic for the top and red and blue LEDs that display random patterns of flashes. Every time you toggle a joystick or button, you cycle to the next LED pattern, so the lights dance while you play games.

This project first appeared in MAKE magazine, Volume 28. Subscribe today!

What will the next generation of Make: look like? We’re inviting you to shape the future by investing in Make:. By becoming an investor, you help decide what’s next. The future of Make: is in your hands. Learn More.

Project Steps

Assemble the enclosure.

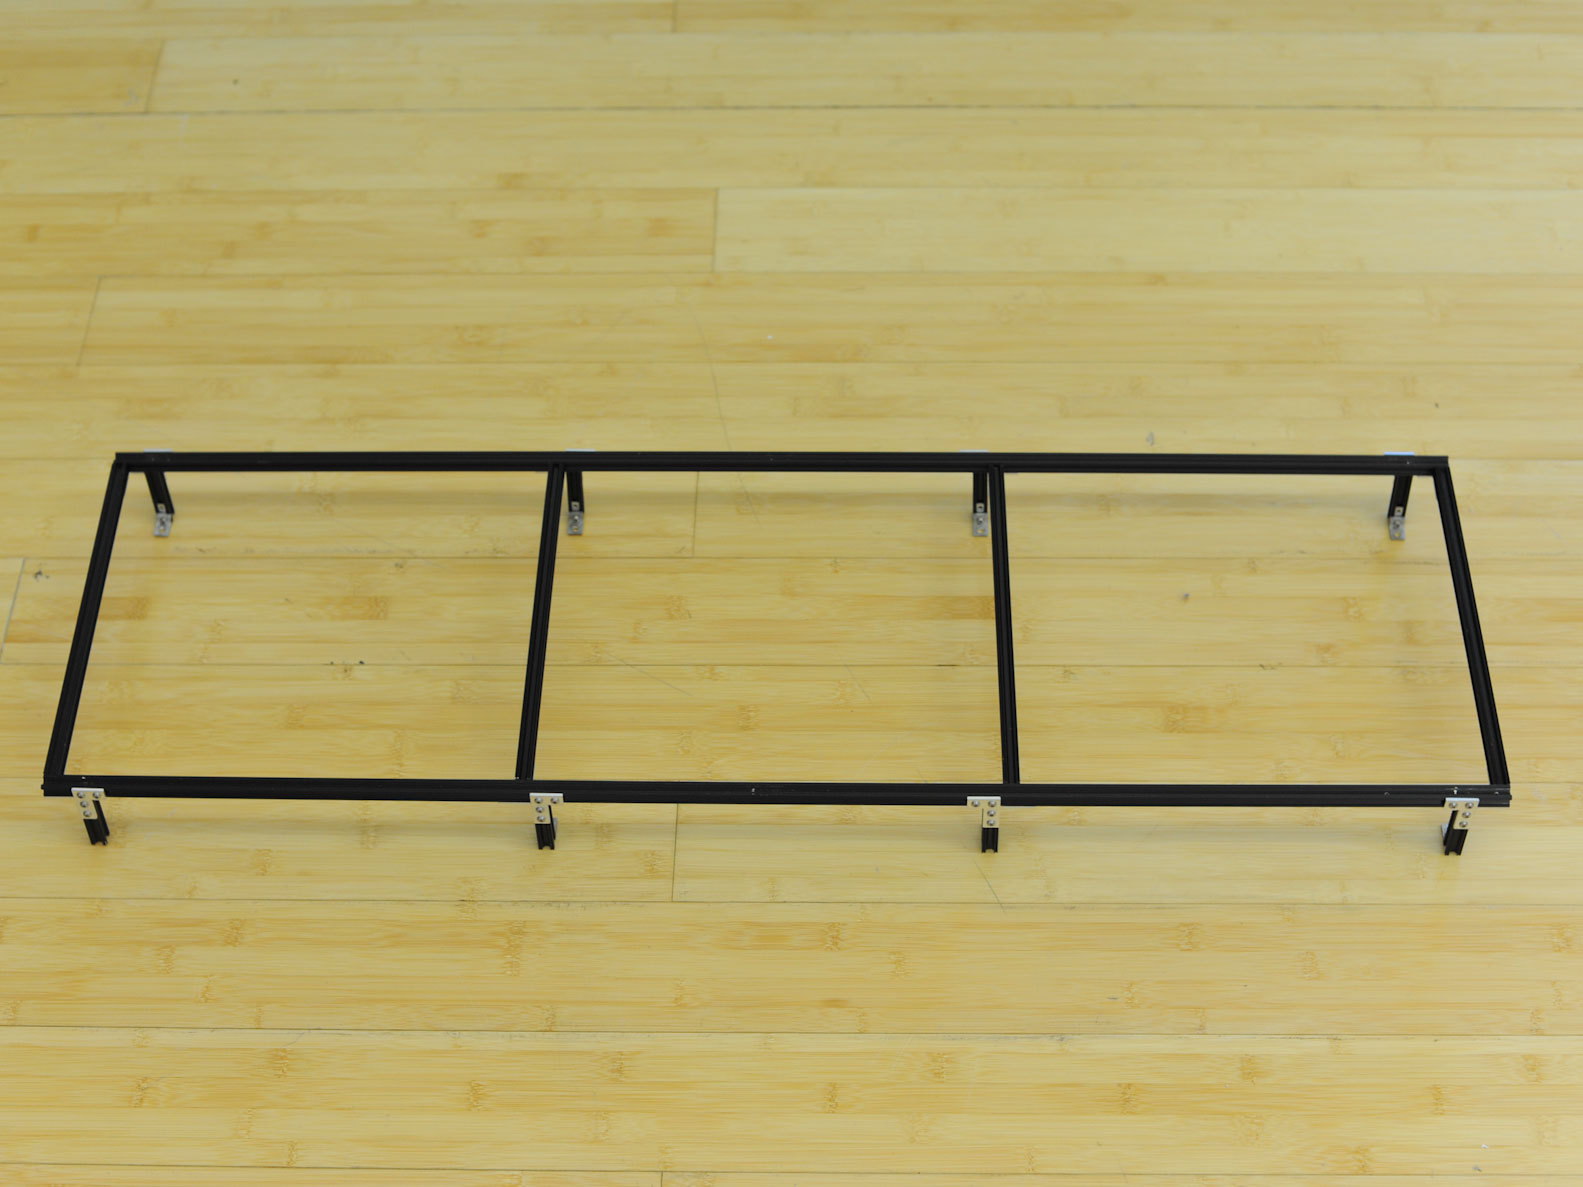
There’s no set size for the console — go with whatever seems right and suits your needs. We started by making a rectangular MicroRAX frame 900mm long (the default length of the MicroRAX beams, or around 35½”) by 280mm (11″), and with eight 50mm (2″) legs.

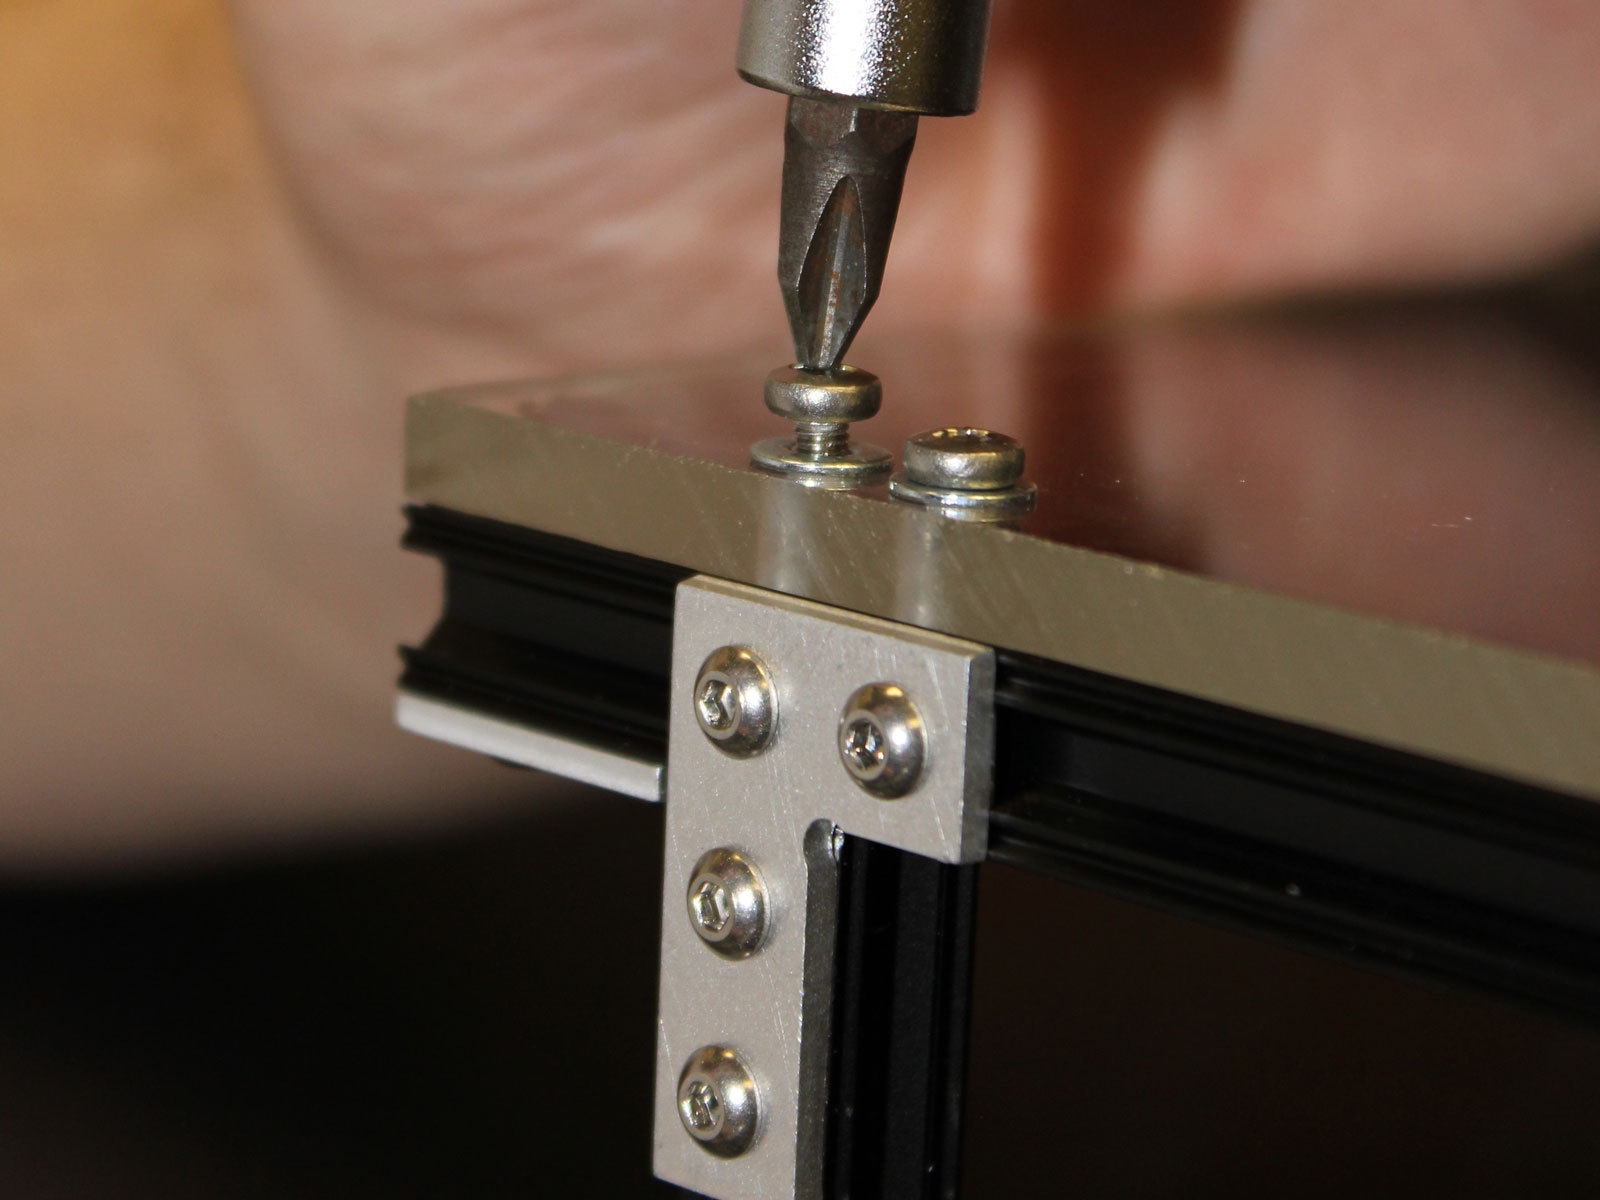
For the base underneath, we painted a sheet of plywood black, then attached our MicroRAX framework onto it with #8 wood screws. Cut the acrylic to the same size as the plywood, but don’t attach it yet. Install 4 rubber feet (one for each corner) under the base; these will prevent the console from slipping during heated gameplay.

We designed our console to rest on a coffee table, but you can make yours however you want — it doesn’t even have to look like a console. For instance, you could wire a joystick and buttons into the arm of a recliner.

Add the arcade controls.

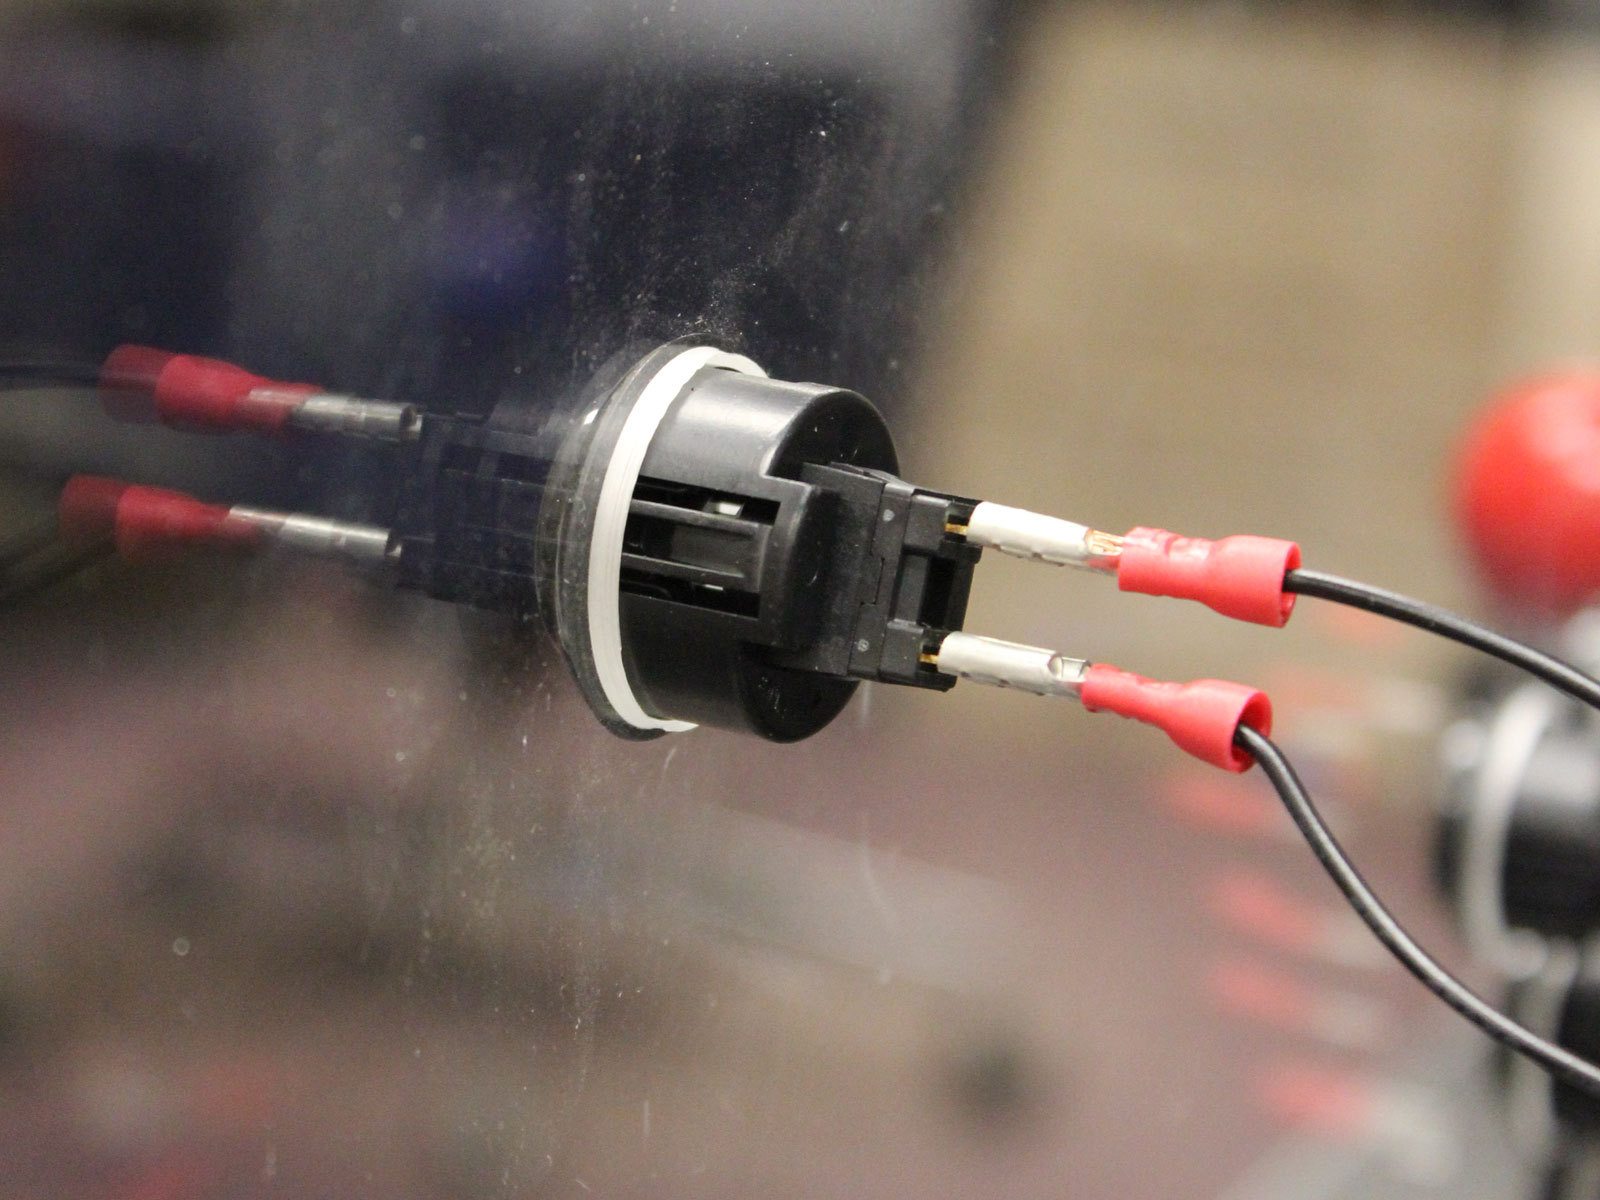
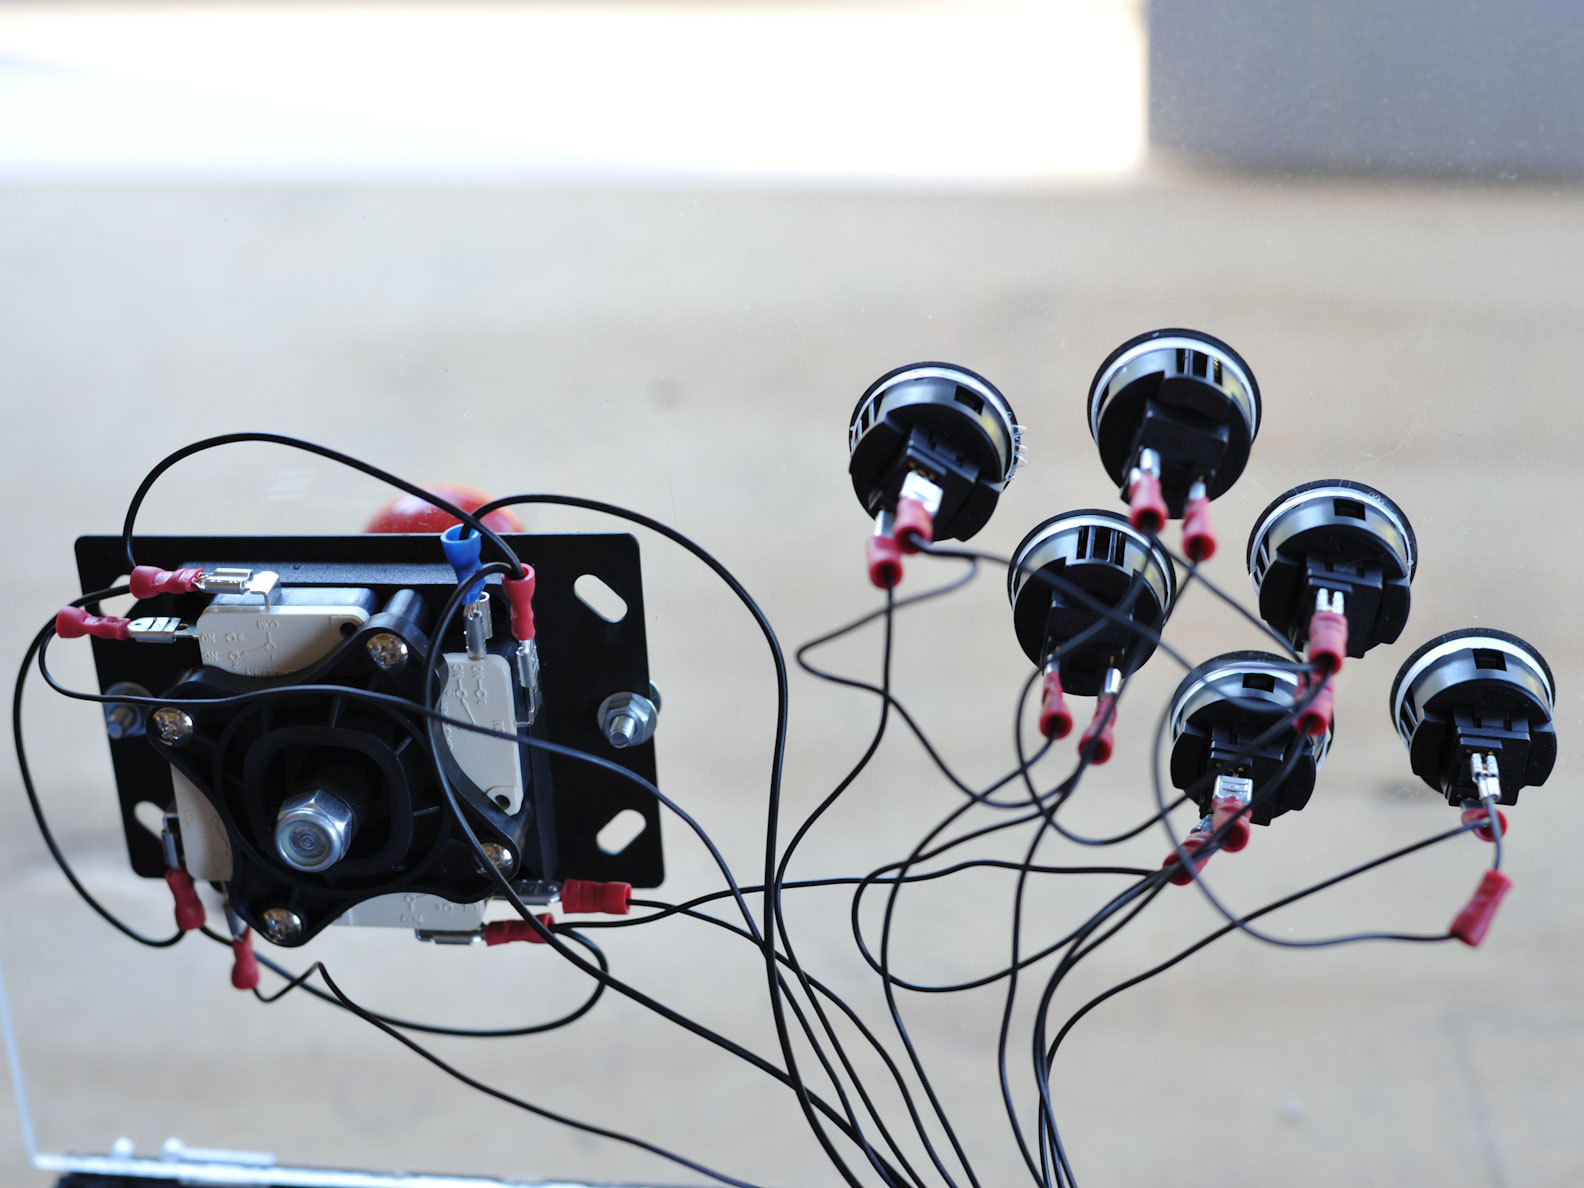
Cut holes in the acrylic corresponding to the arcade controls and pop them in. Wire the positive leads to any of the Mega’s digital inputs, except pins 0, 1, 13, 18, and 19. Connect ground wires to the negative terminals.

Connect the Arduino and arcade controller.

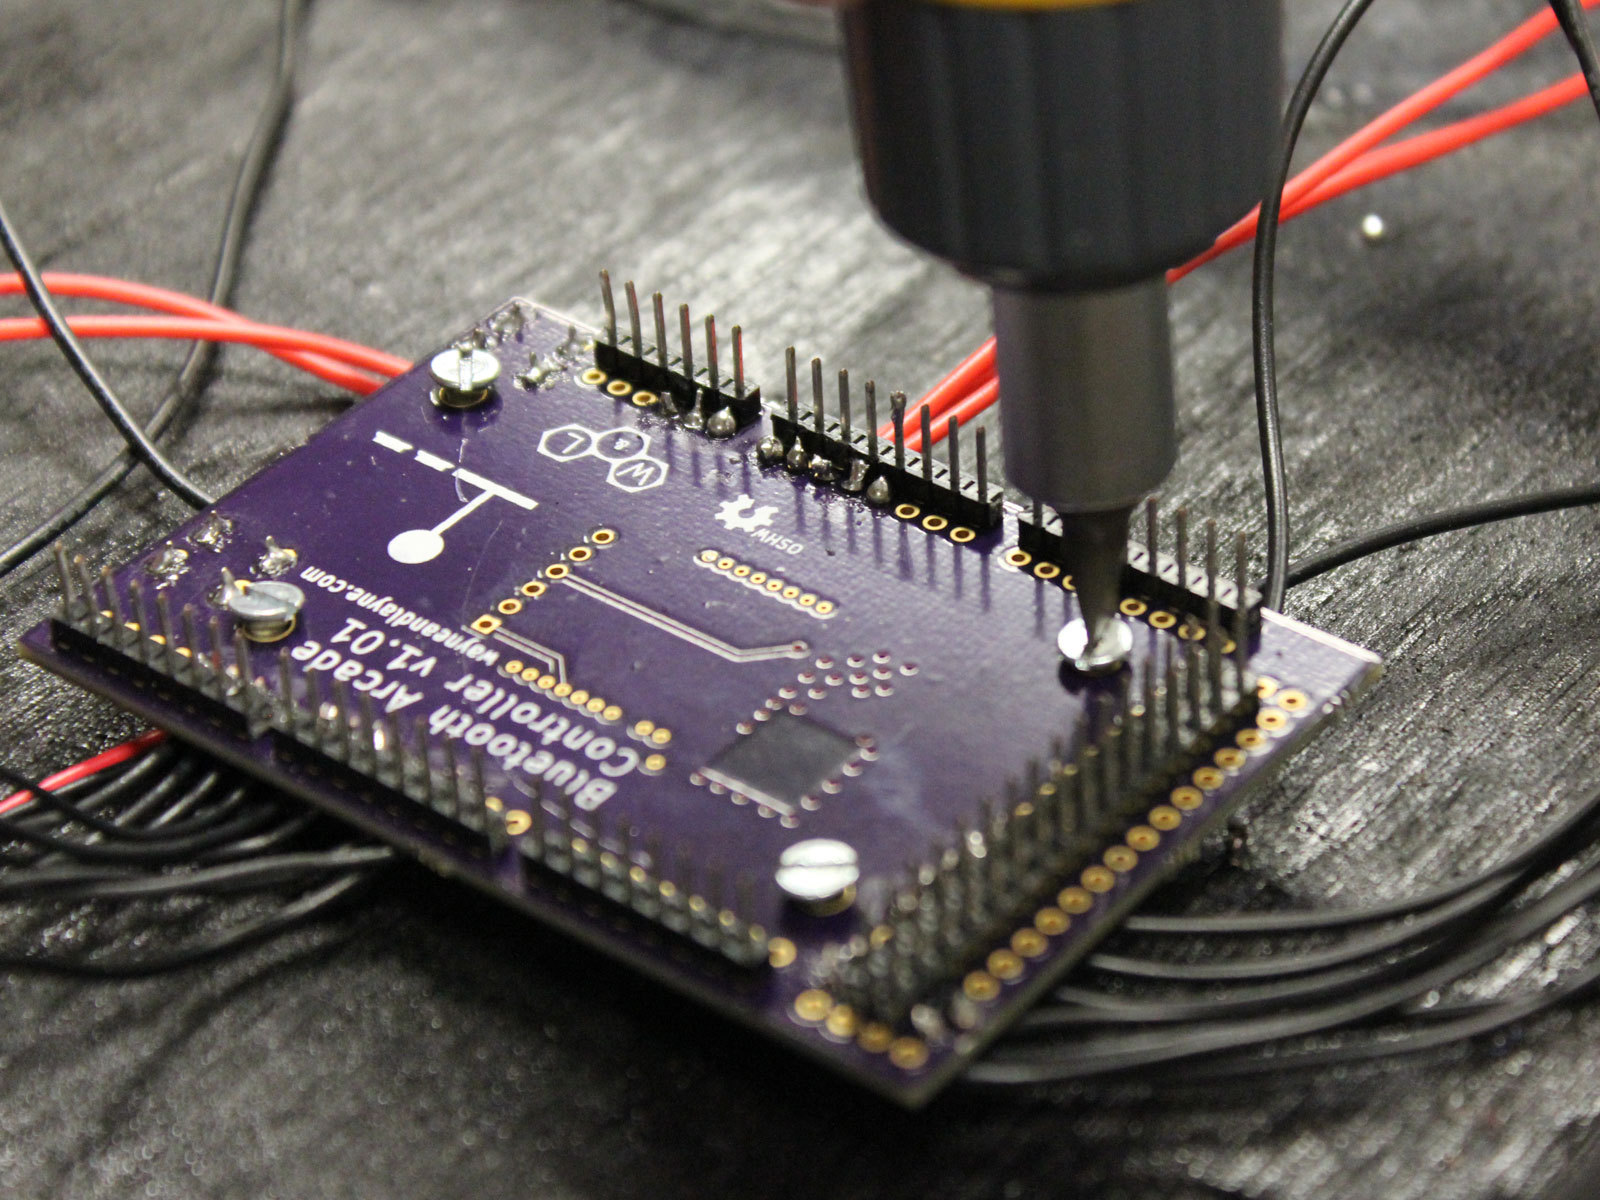
The Bluetooth Arcade Controller Shield works as an interface between the PC on one side and the Arduino and controls on the other.

There are numerous good MAME controllers, but we chose a Bluetooth solution because it lets the console work wirelessly, untethered from computer or TV. To the PC, the controller looks like a Bluetooth keyboard. To the Arduino, it’s just another serial device.

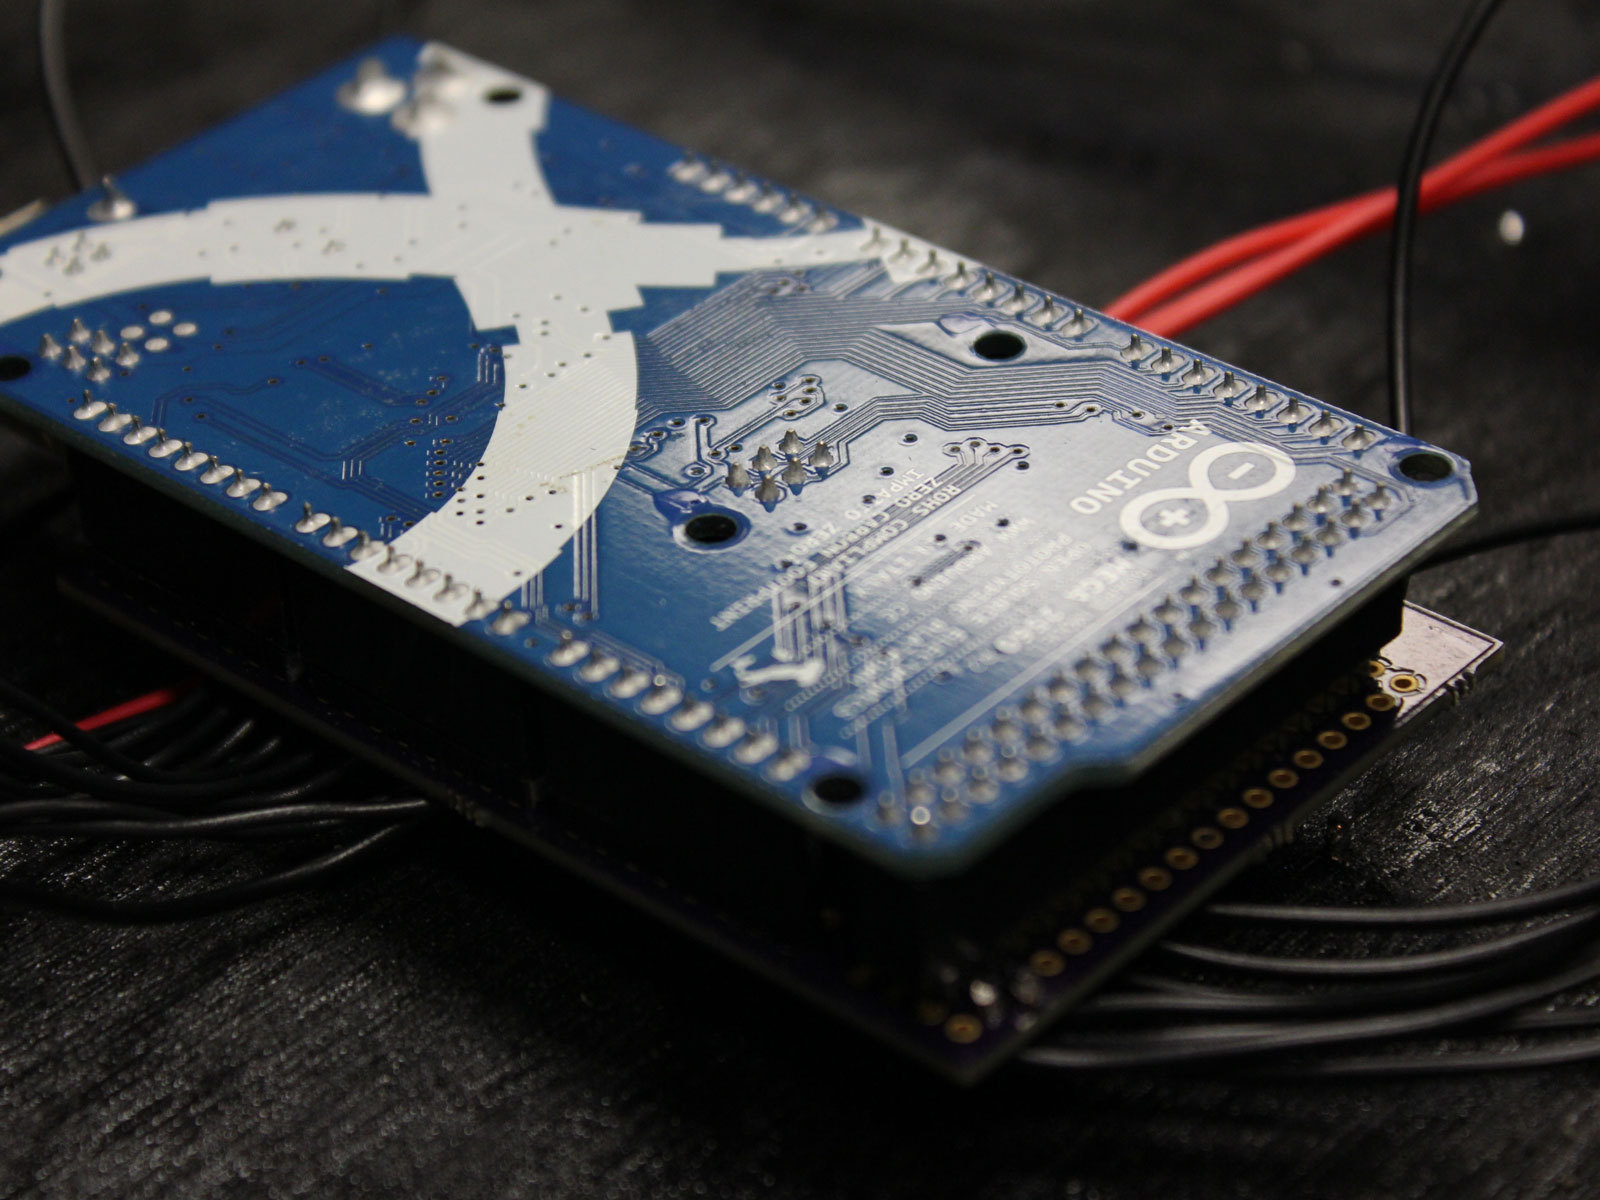
The Bluetooth shield plugs onto the Arduino. We attached our Arduino and shield upside down near the center of the base, with the shield screwed to the wood through its 4 mounting holes and the Arduino plugged in on top. With so many wires connected to the shield, this prevented solder joints from wiggling and breaking.

If you don’t want to buy this controller, go ahead and build your own! You just need a WT12 Bluetooth breakout board, an LM1117 3.3V voltage regulator, some jumpers, and a bit of perf board. The schematic shows how to wire these components together to the Arduino Mega’s transmit and receive pins (pins 18 and 19). With this arrangement you can install the WT12 board and Arduino side by side in your cabinet. This will work just like the Bluetooth shield; it’s just not as slick.

Wire up the LEDs and organize the wires.

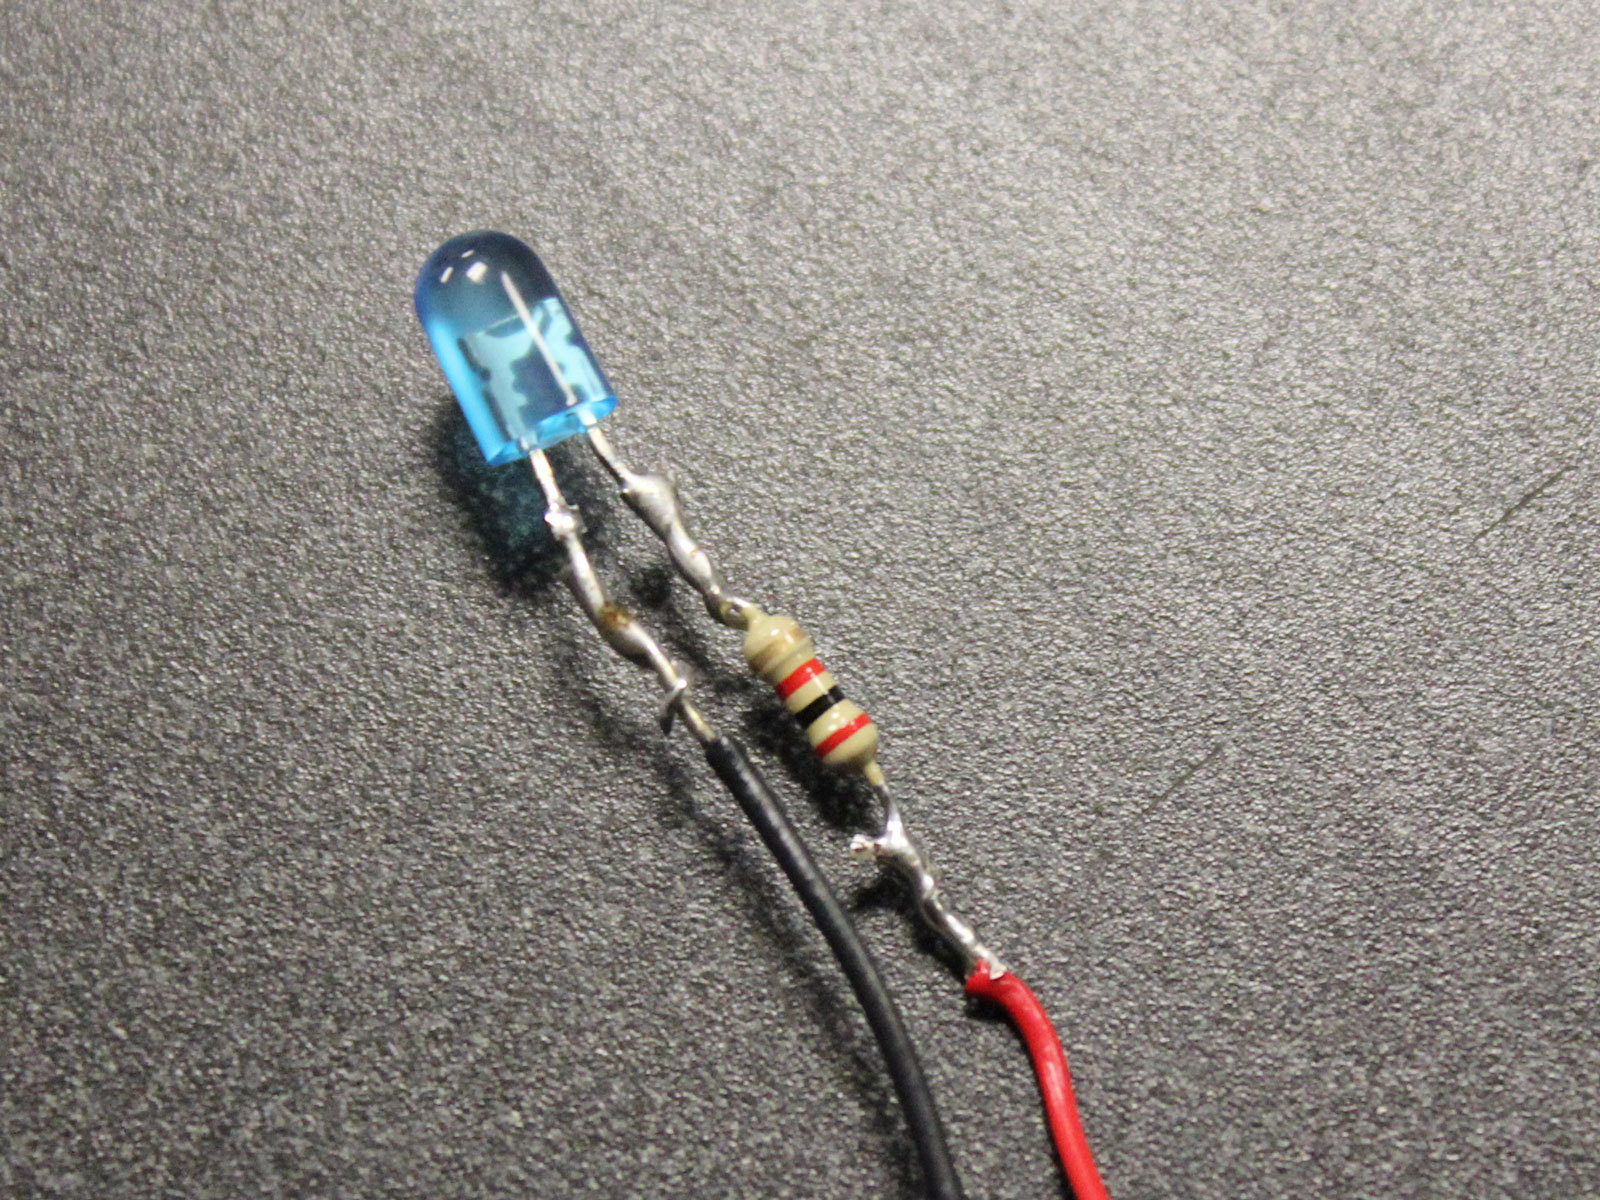
For each LED, solder a resistor to the positive lead, add the 2 leads, cover with heat-shrink, and connect the resistor’s (+) side to a free I/O pin on your Arduino or Bluetooth Arcade Controller Shield.

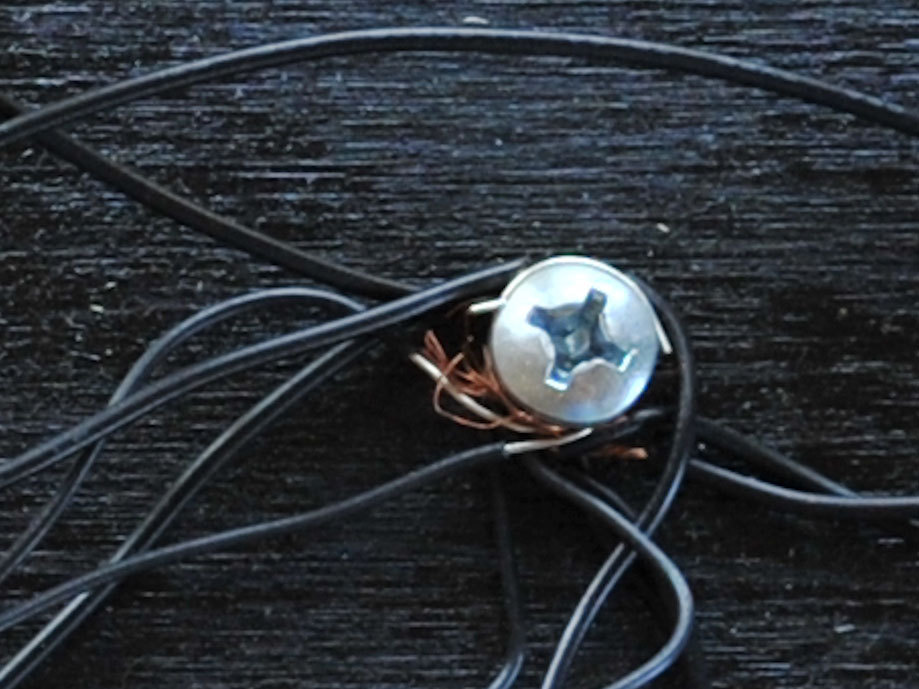
You can wire up as many LEDs as you have extra Arduino ports; we went with 8, on ports A0–A7. For the common ground, we connected all the ground wires to a screw installed in the plywood base

To make the wires look nice through the clear acrylic top, we bundled them together with zip ties and secured the bundles to eyelets screwed into the base.

Add the power.

Position and mount the battery pack so that you can reach in and change batteries without having to remove the acrylic top. Connect the lead wire to the Vin port on the Arduino and the ground to the common ground. Note that you could also power the console with a standard Arduino-compatible wall wart.

Finally, drill and mount the acrylic top onto the MicroRAX frame.

Configure the Arduino and computer.

The Arduino software for the Coffee Table MAME Console (here or at http://makeprojects.com/v/28) defines which buttons and joystick positions on the console correspond to which keyboard presses. Upload it to the Arduino like any other sketch, via the programming cable.

Link the console to the computer by powering up the console and searching for discoverable devices through the computer’s Bluetooth setup. The computer will see the console as a wireless keyboard. Meanwhile, also connect the computer to the TV via VGA or HDMI. (If your PC doesn’t use those natively you can buy an adapter.)

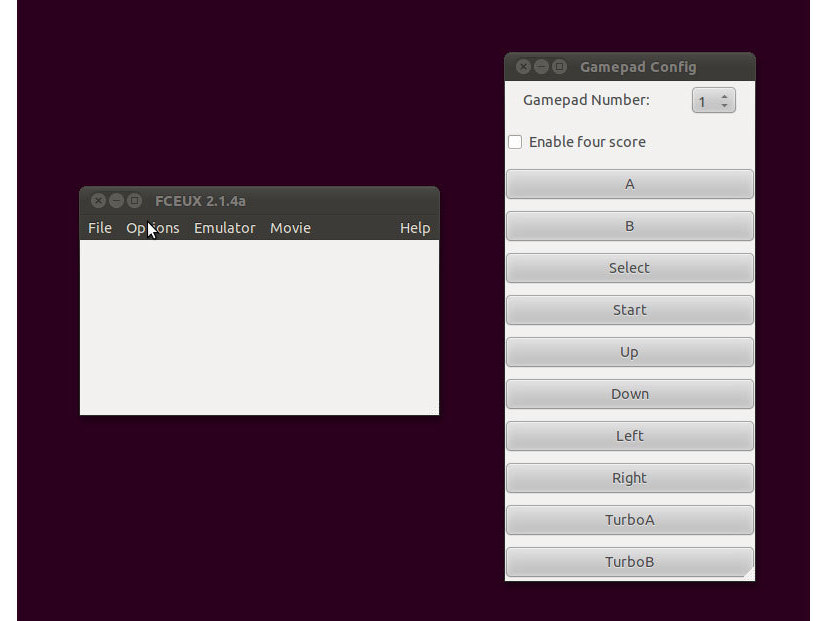
Now you need to download and install one or more emulators onto your PC. You run these emulators as applications, and each one has a configuration section where you associate keyboard letters to the physical controls on the console panel, like Up, Down, and Start. We grew up in Nintendo households, so the two we always set up are FCEUX, an NES emulator, and ZSNES or SNES9x, which simulate Super Nintendo. On Macs, we’ve used Nestopia.

If you’re using a computer that’s more than 4–5 years old, you’ll want to download a legacy version of the emulator. Typically, the emulation software is updated to keep up with computer technology, so the latest edition of MAME won’t be happy on a slow machine.

Each emulator plays ROMs, which are memory dumps of the individual games. After downloading a ROM, you play the game by opening it from within the emulator. There are many illegal ROMs floating around. Legitimate sites will show proof that their ROMs are licensed by the rights-holders. Alternatively, if you own a physical copy of the game (e.g. a cartridge), our understanding is that it’s OK to use a ROM for the same title, since keeping a copy for your own purposes is Fair Use.

The last software component is the front-end, a graphical program that knows about the emulators and ROMs you’ve installed and organizes and presents them nicely. This is optional, but it’s a nice touch. Some even have screenshots and short videos for each game! My personal favorite front-end is Game Launcher, which runs on Linux and Windows.

Conclusion

MATERIALS SOURCES

Wayne and Layne Bluetooth Arcade Shield

http://www.wayneandlayne.com/projects/bl...

MicroRAX

http://microrax.com

Classic Arcade Joysticks from Jammaboards

http://www.jammaboards.com/store/classic...

Sanwa OBSF-24 Arcade Buttons from DJ Tech Tools

http://www.djtechtools.com/store/arcade-...

WT12 Breakout Board (for DIY Bluetooth Arcade Controller)

http://www.inmojo.com/store/jeff-rowberg...

RESOURCES

Build your own Arcade Controls wiki - good general resource

http://wiki.arcadecontrols.com

MAME Emulators

Official MAME site: http://mamedev.org/

Zophar's Domain directory of emulators: http://www.zophar.net/

Wikipedia directory of emulators: http://en.wikipedia.org/wiki/List_of_vid...

Game ROMs (public domain)

http://www.emulator-zone.com/doc.php/rom...

iPac Arcade Controller (not wireless)

http://www.ultimarc.com/ipac1.html

This project first appeared in MAKE Volume 28, page 48.