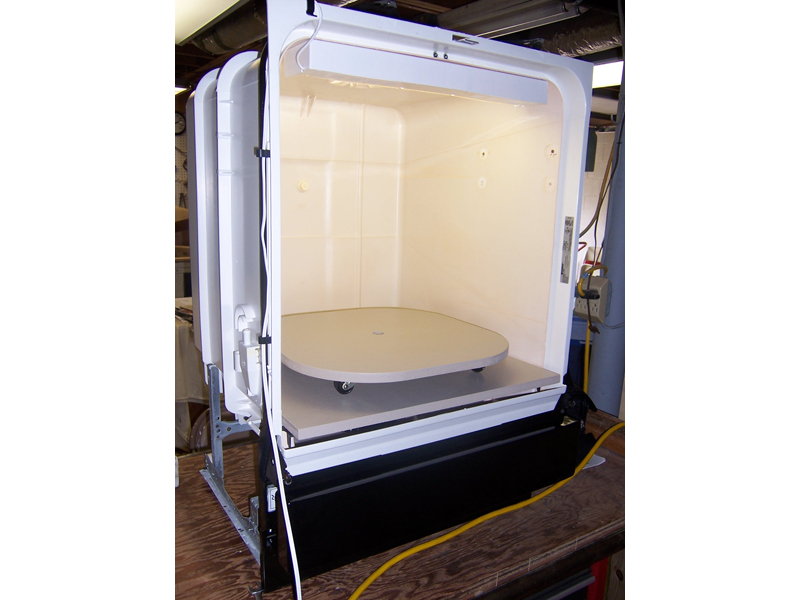
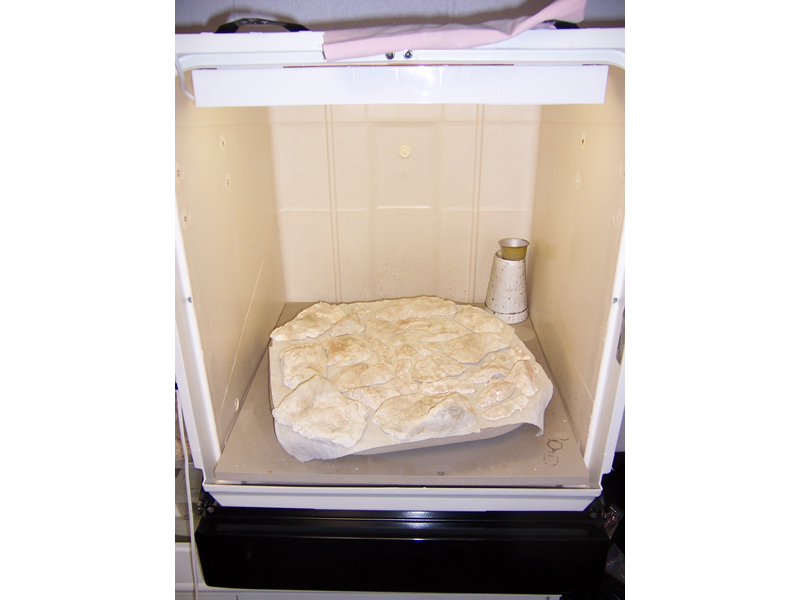
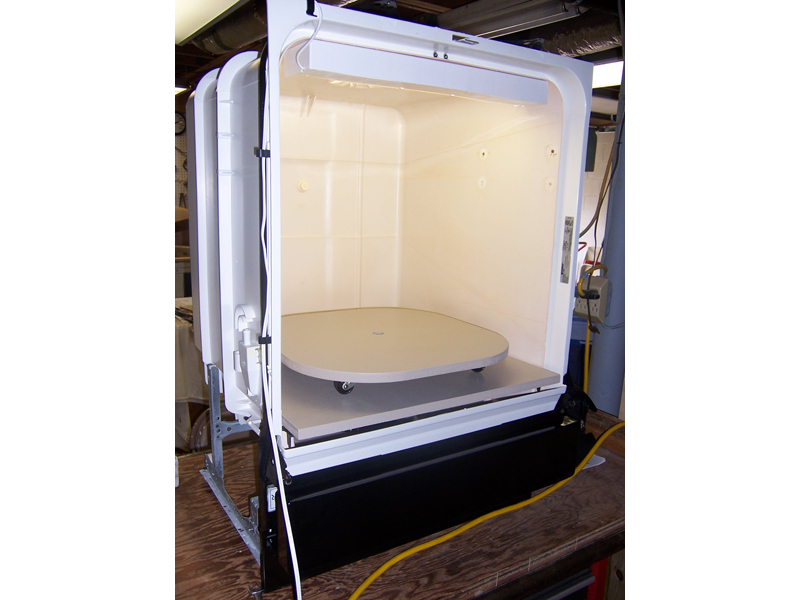
Many years ago I replaced my dead dishwasher with a new one. Before hauling the old one to the dump I figured I would try to convert it into a spray paint booth. My at-the-time booth was a cardboard box, with an old cookie sheet, sitting over a large trash can and it did not do well containing overspray. I was desperate for something better and thought I would give this project a chance. My plans included lighting and constructing a lazy Susan platform. I opted out of adding a ventilation system as my usage would be with non-toxic vapors. If you decide to build something similar, and will be using paints with toxic vapors, for safety reasons please install some sort of ventilation system.
What will the next generation of Make: look like? We’re inviting you to shape the future by investing in Make:. By becoming an investor, you help decide what’s next. The future of Make: is in your hands. Learn More.

Project Steps

Strip down to the bare bones

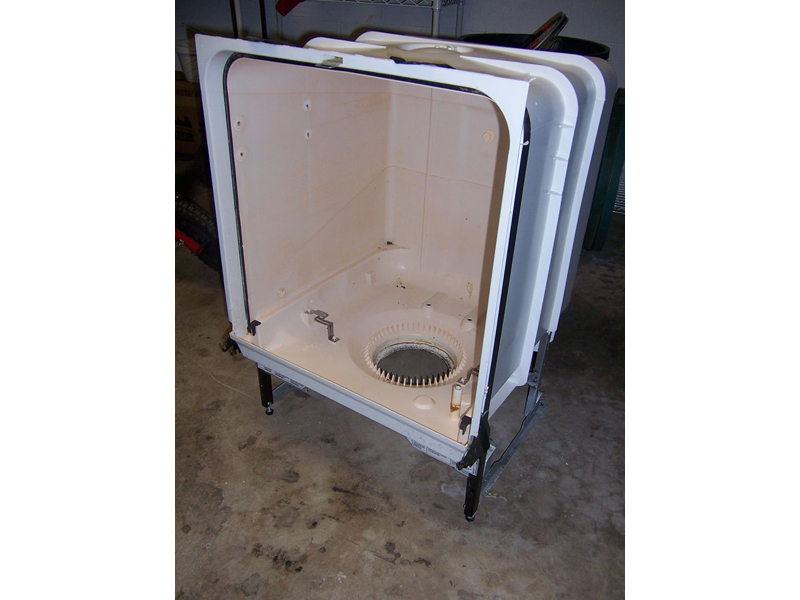
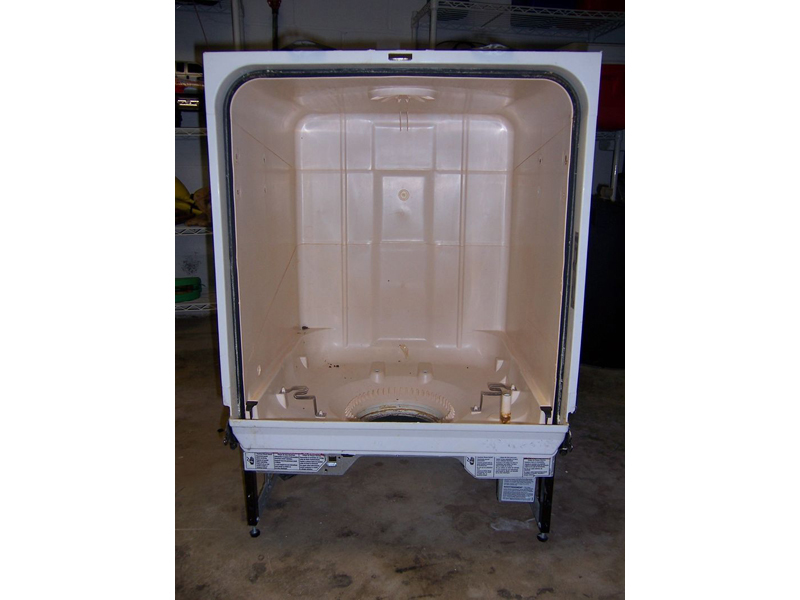
Remove everything from the dish washer – door, water items, electrical, insulation – leaving only the carcass and legs.

There will probably be a bunch of gunky nasty stuff on both the inside and outside so haul it outside and give it a good washing all over.

Lighting

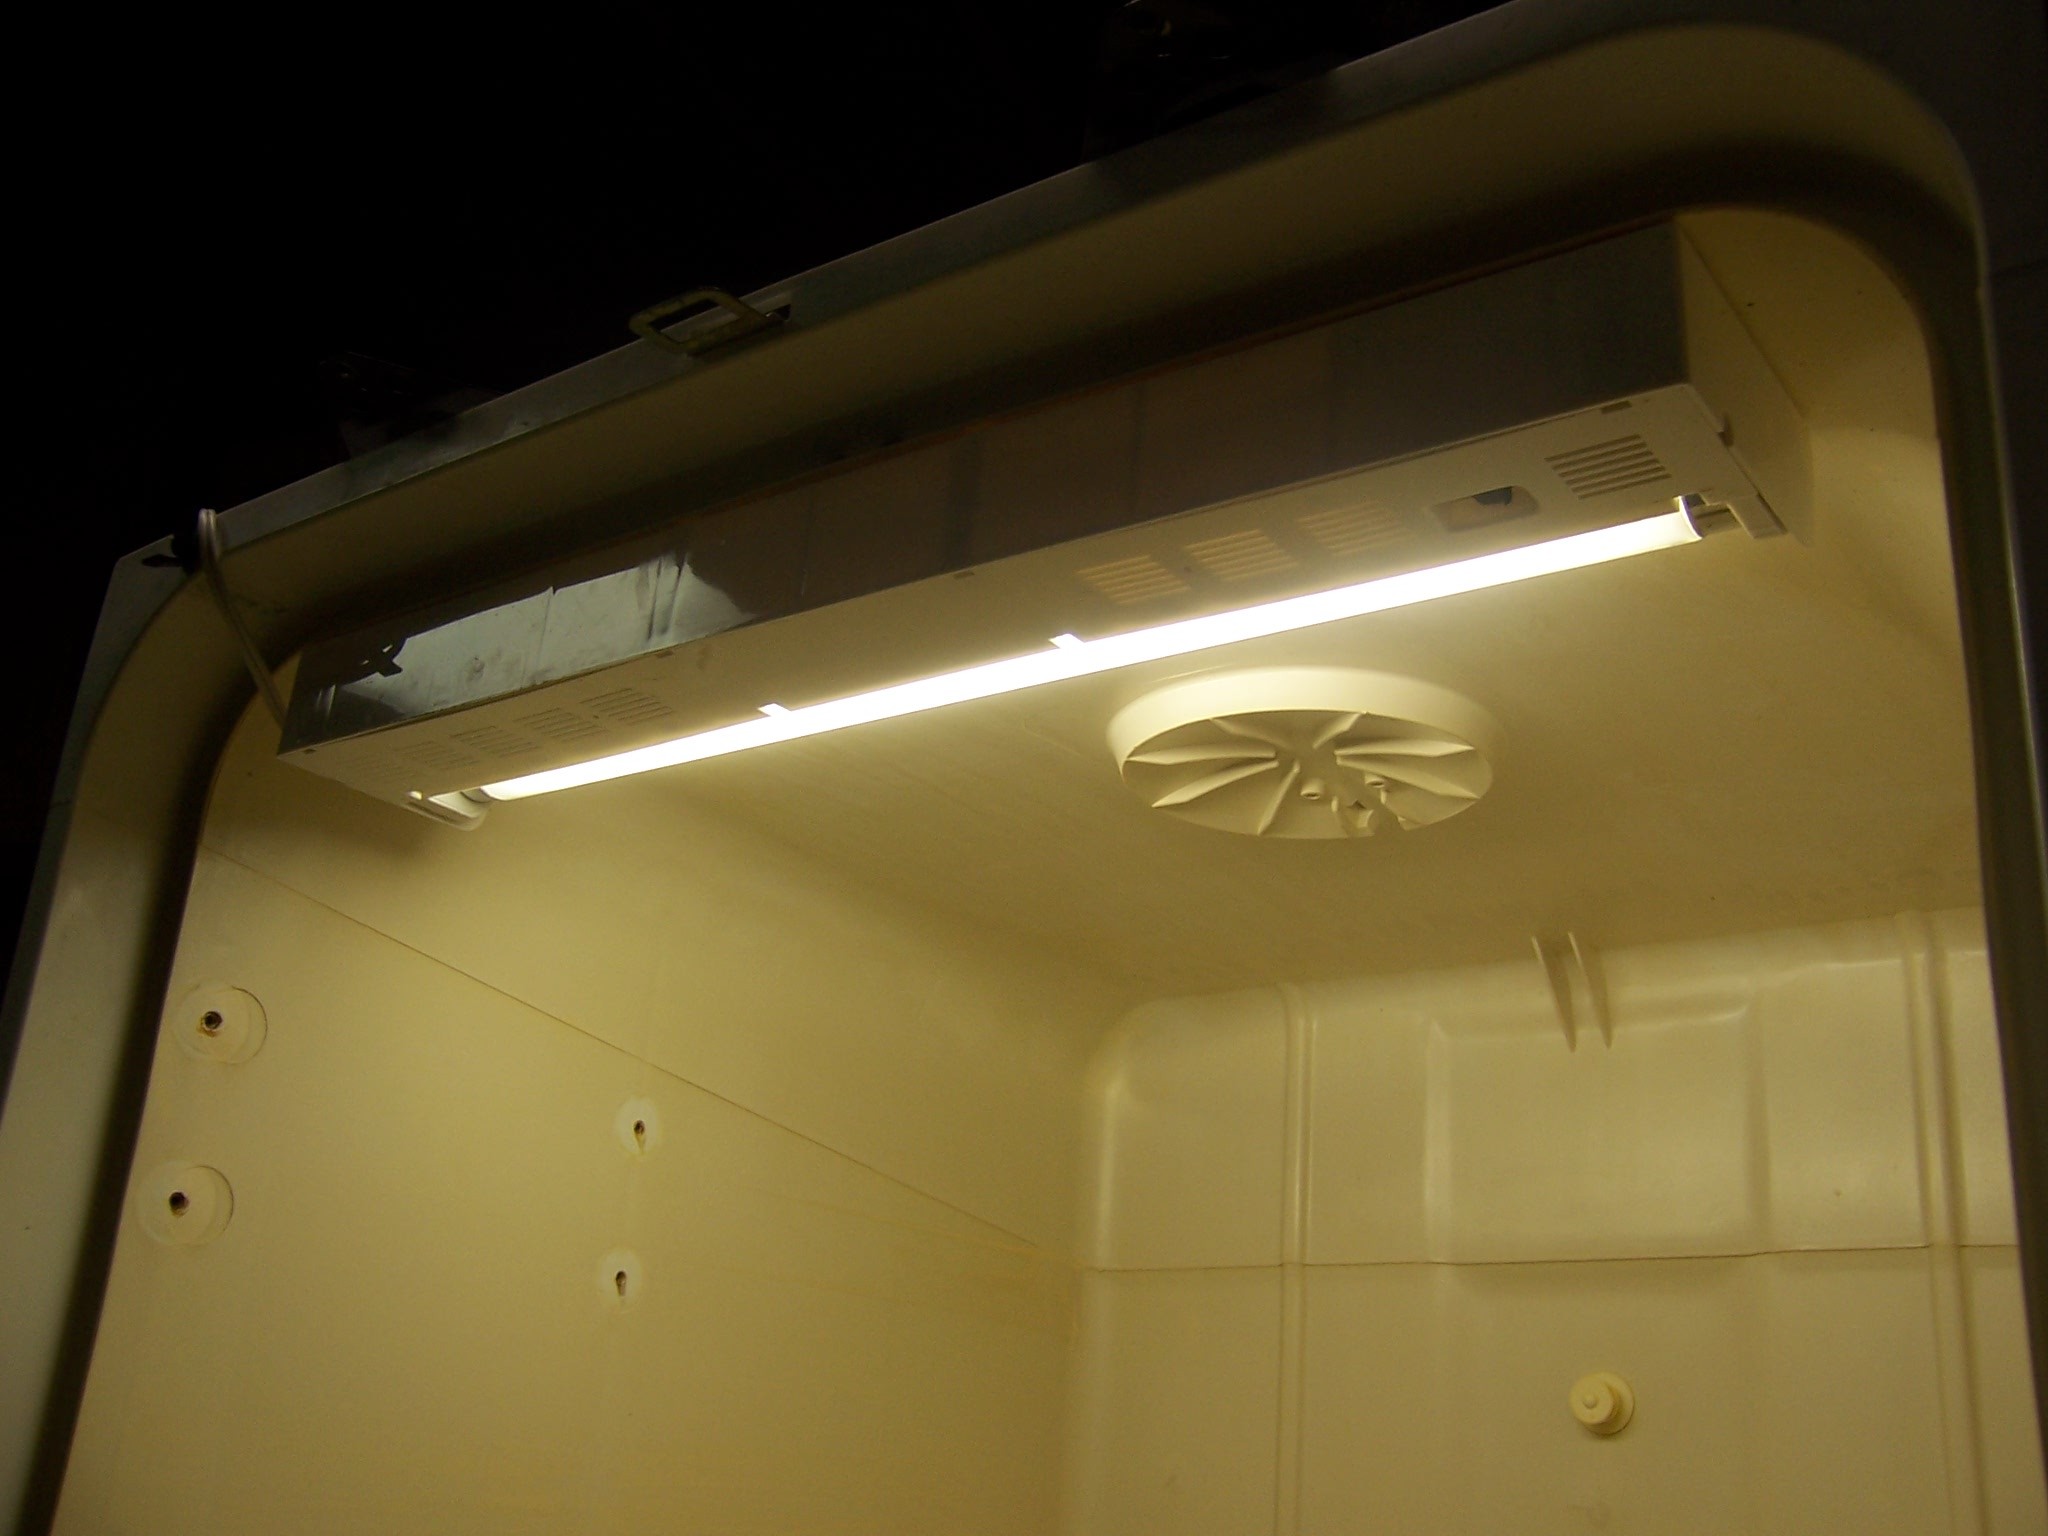
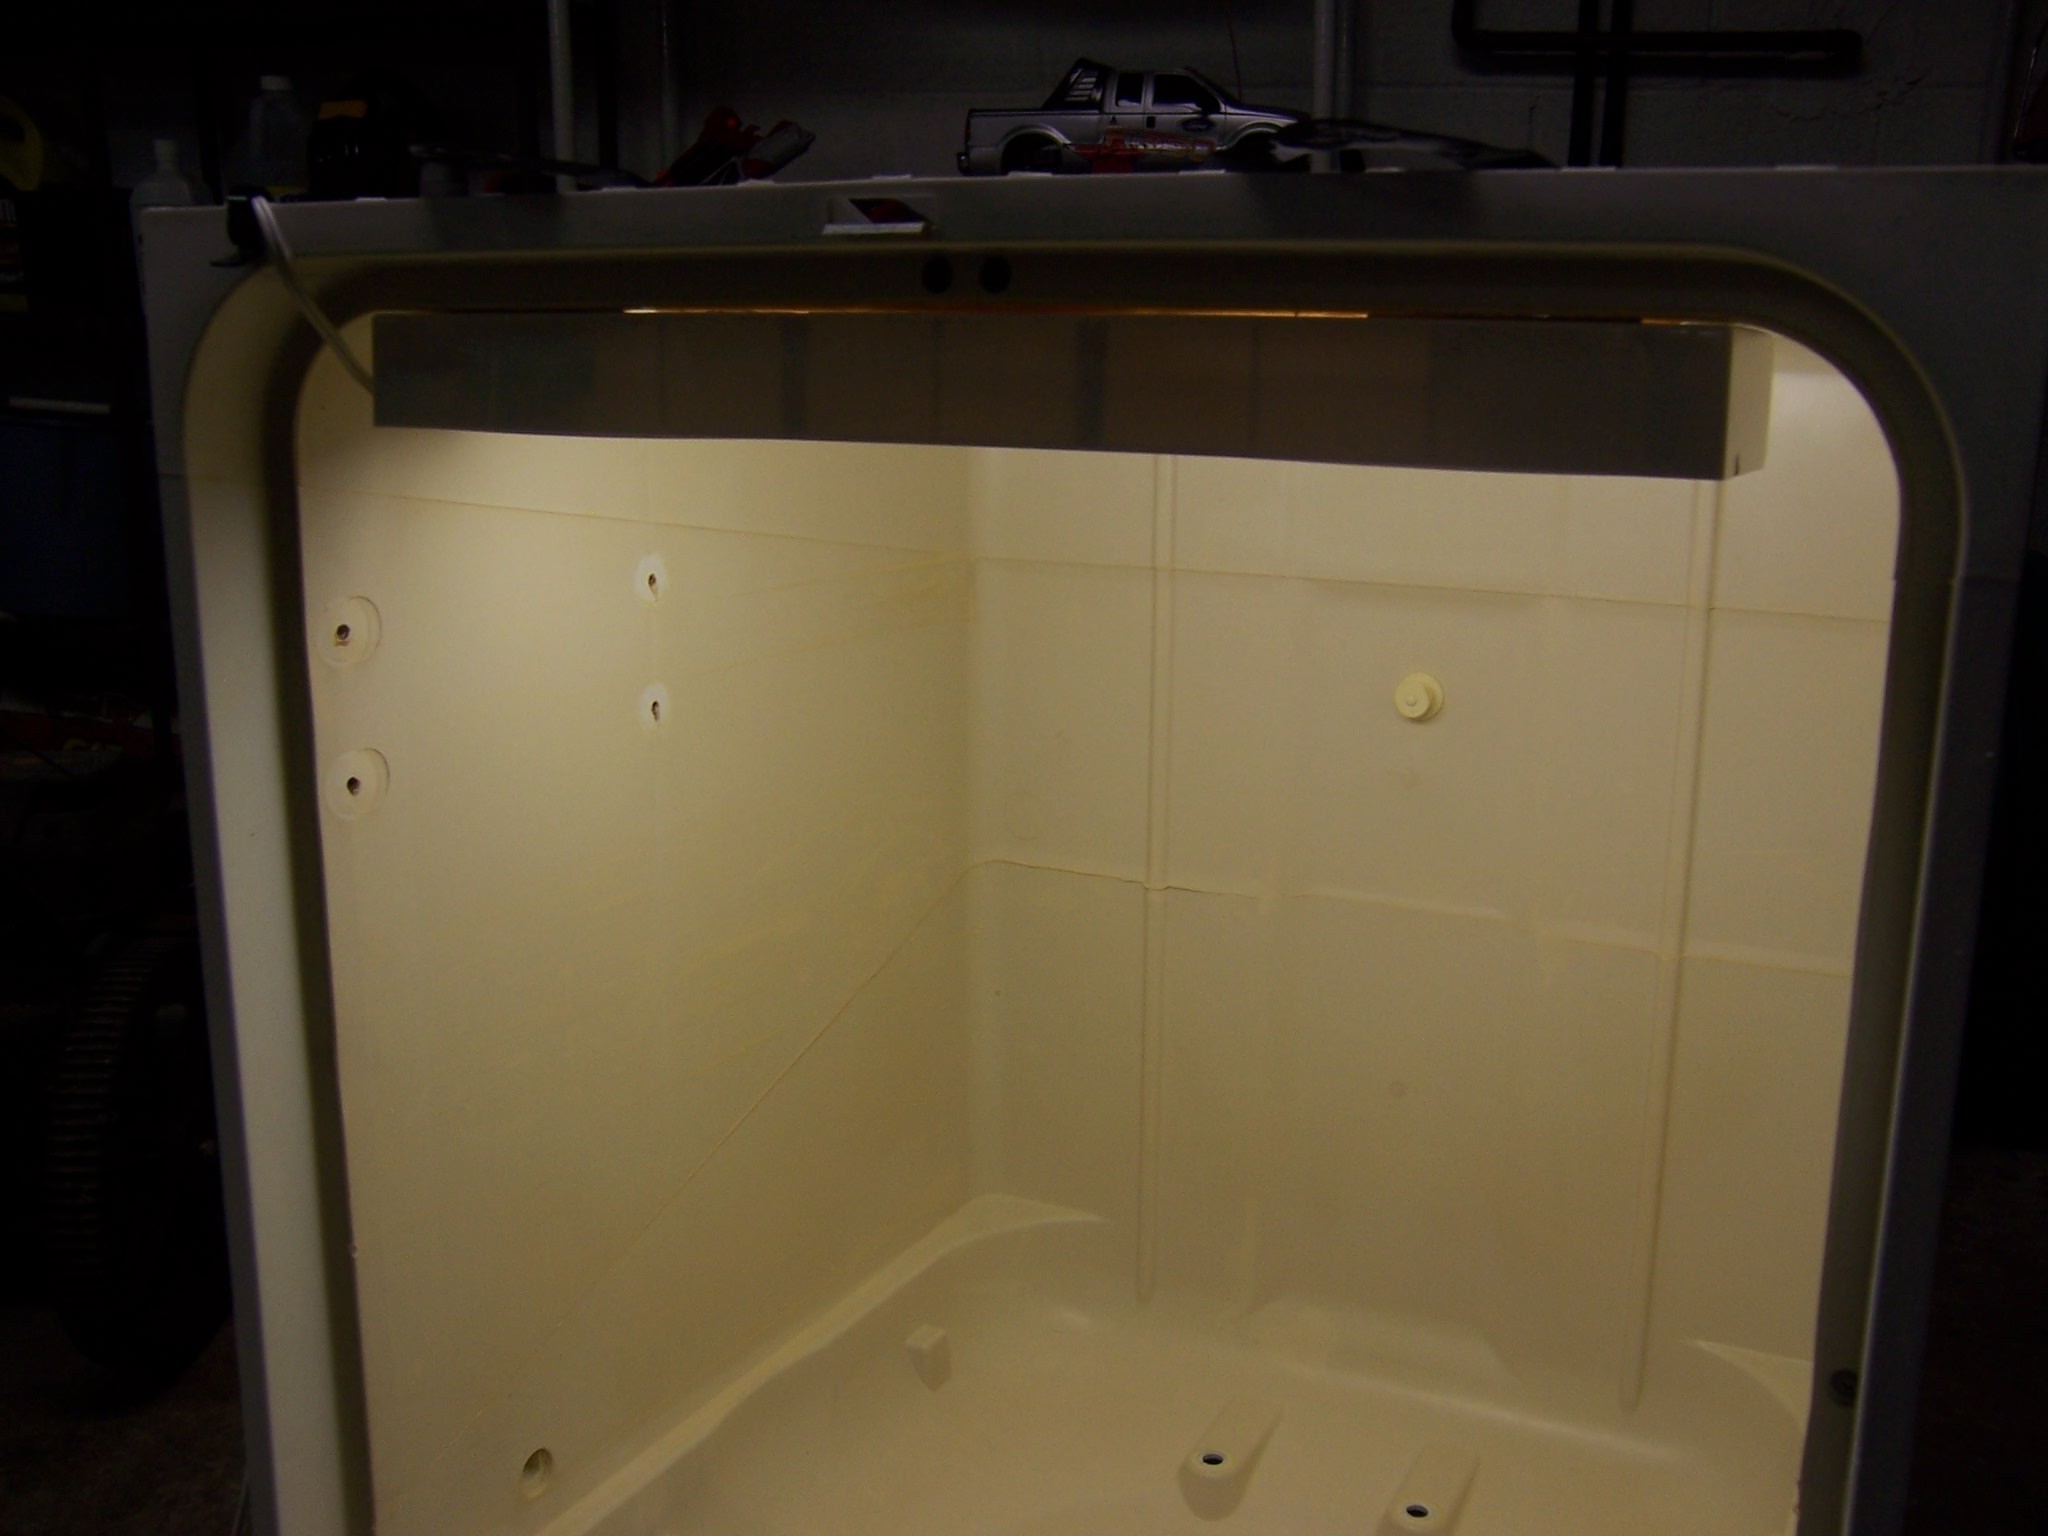
I had a small fluorescent under-cabinet light lying around in my workshop. It was the perfect size for the inside of the booth and would provide much-needed illumination. For my needs, this light is adequate. For those of you who are more particular about the type of light, obtain whatever that will fit inside the booth.

Drill holes and attach the light.

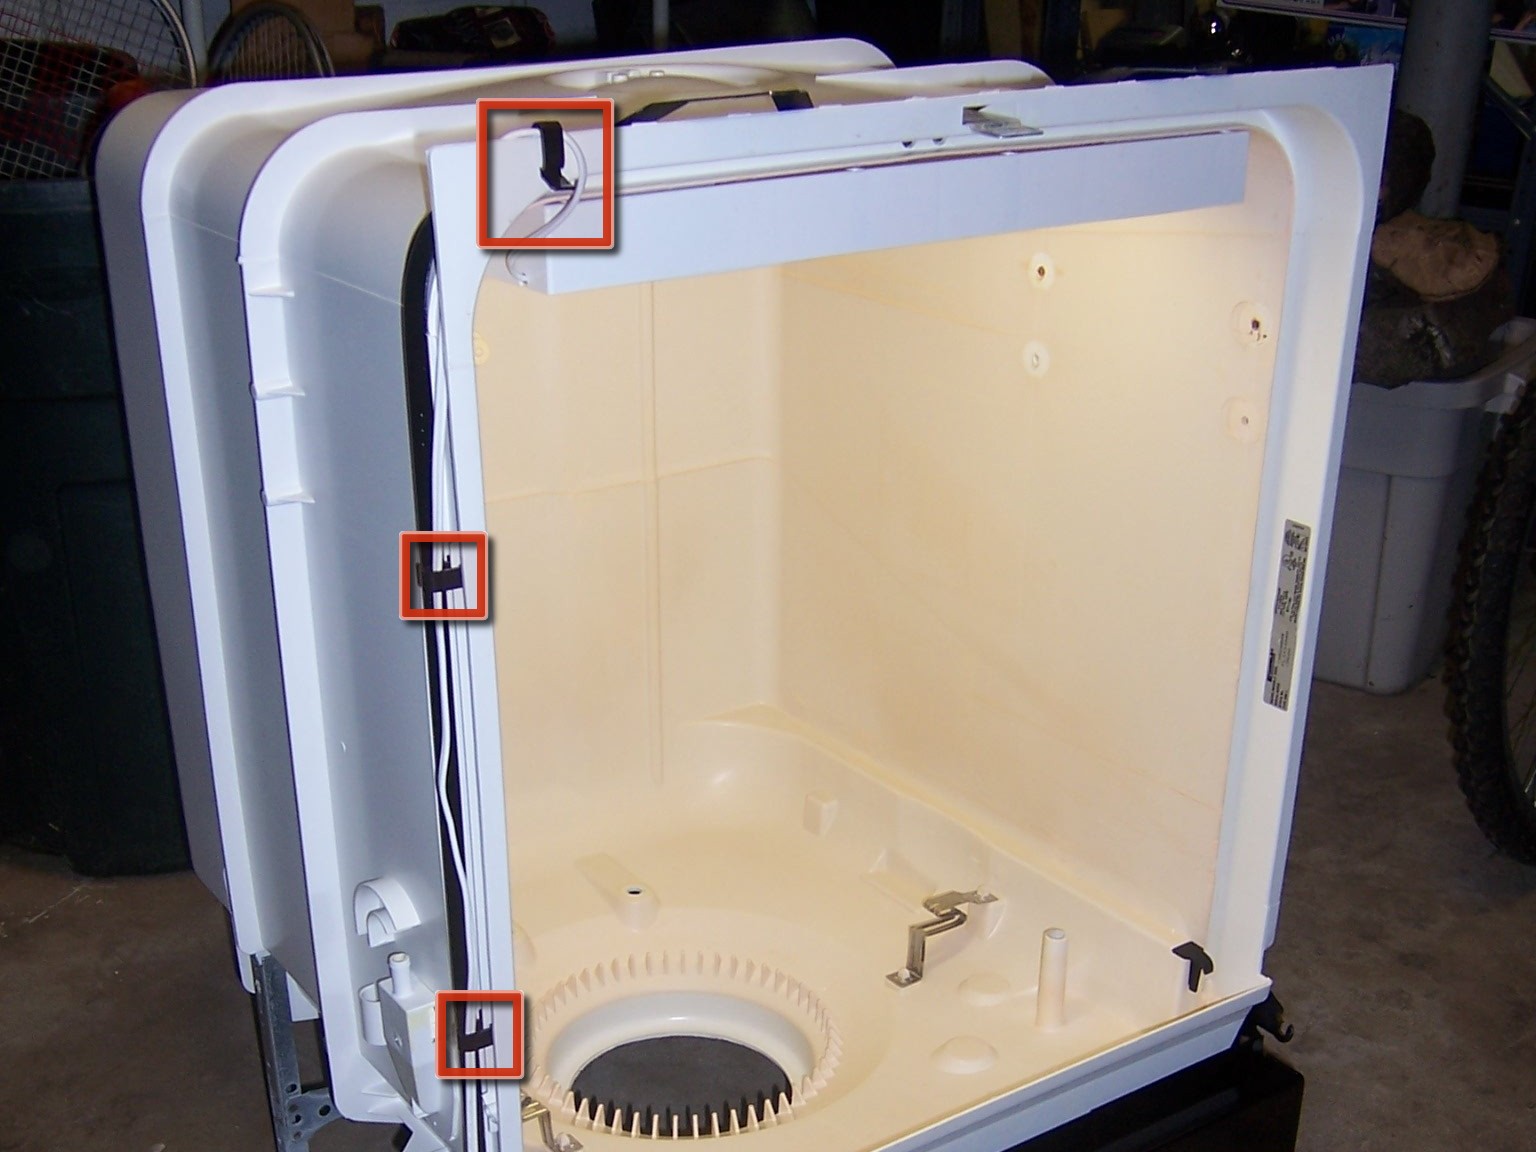
Run the light’s electrical wire outside the cabinet and down the side. I was able to use leftover “Panel Clips for Securing Drop Ceiling Tiles,” obtained from my local home supply store for a prior basement remodel project, to secure the wire to the side of the cabinet.

Plug holes

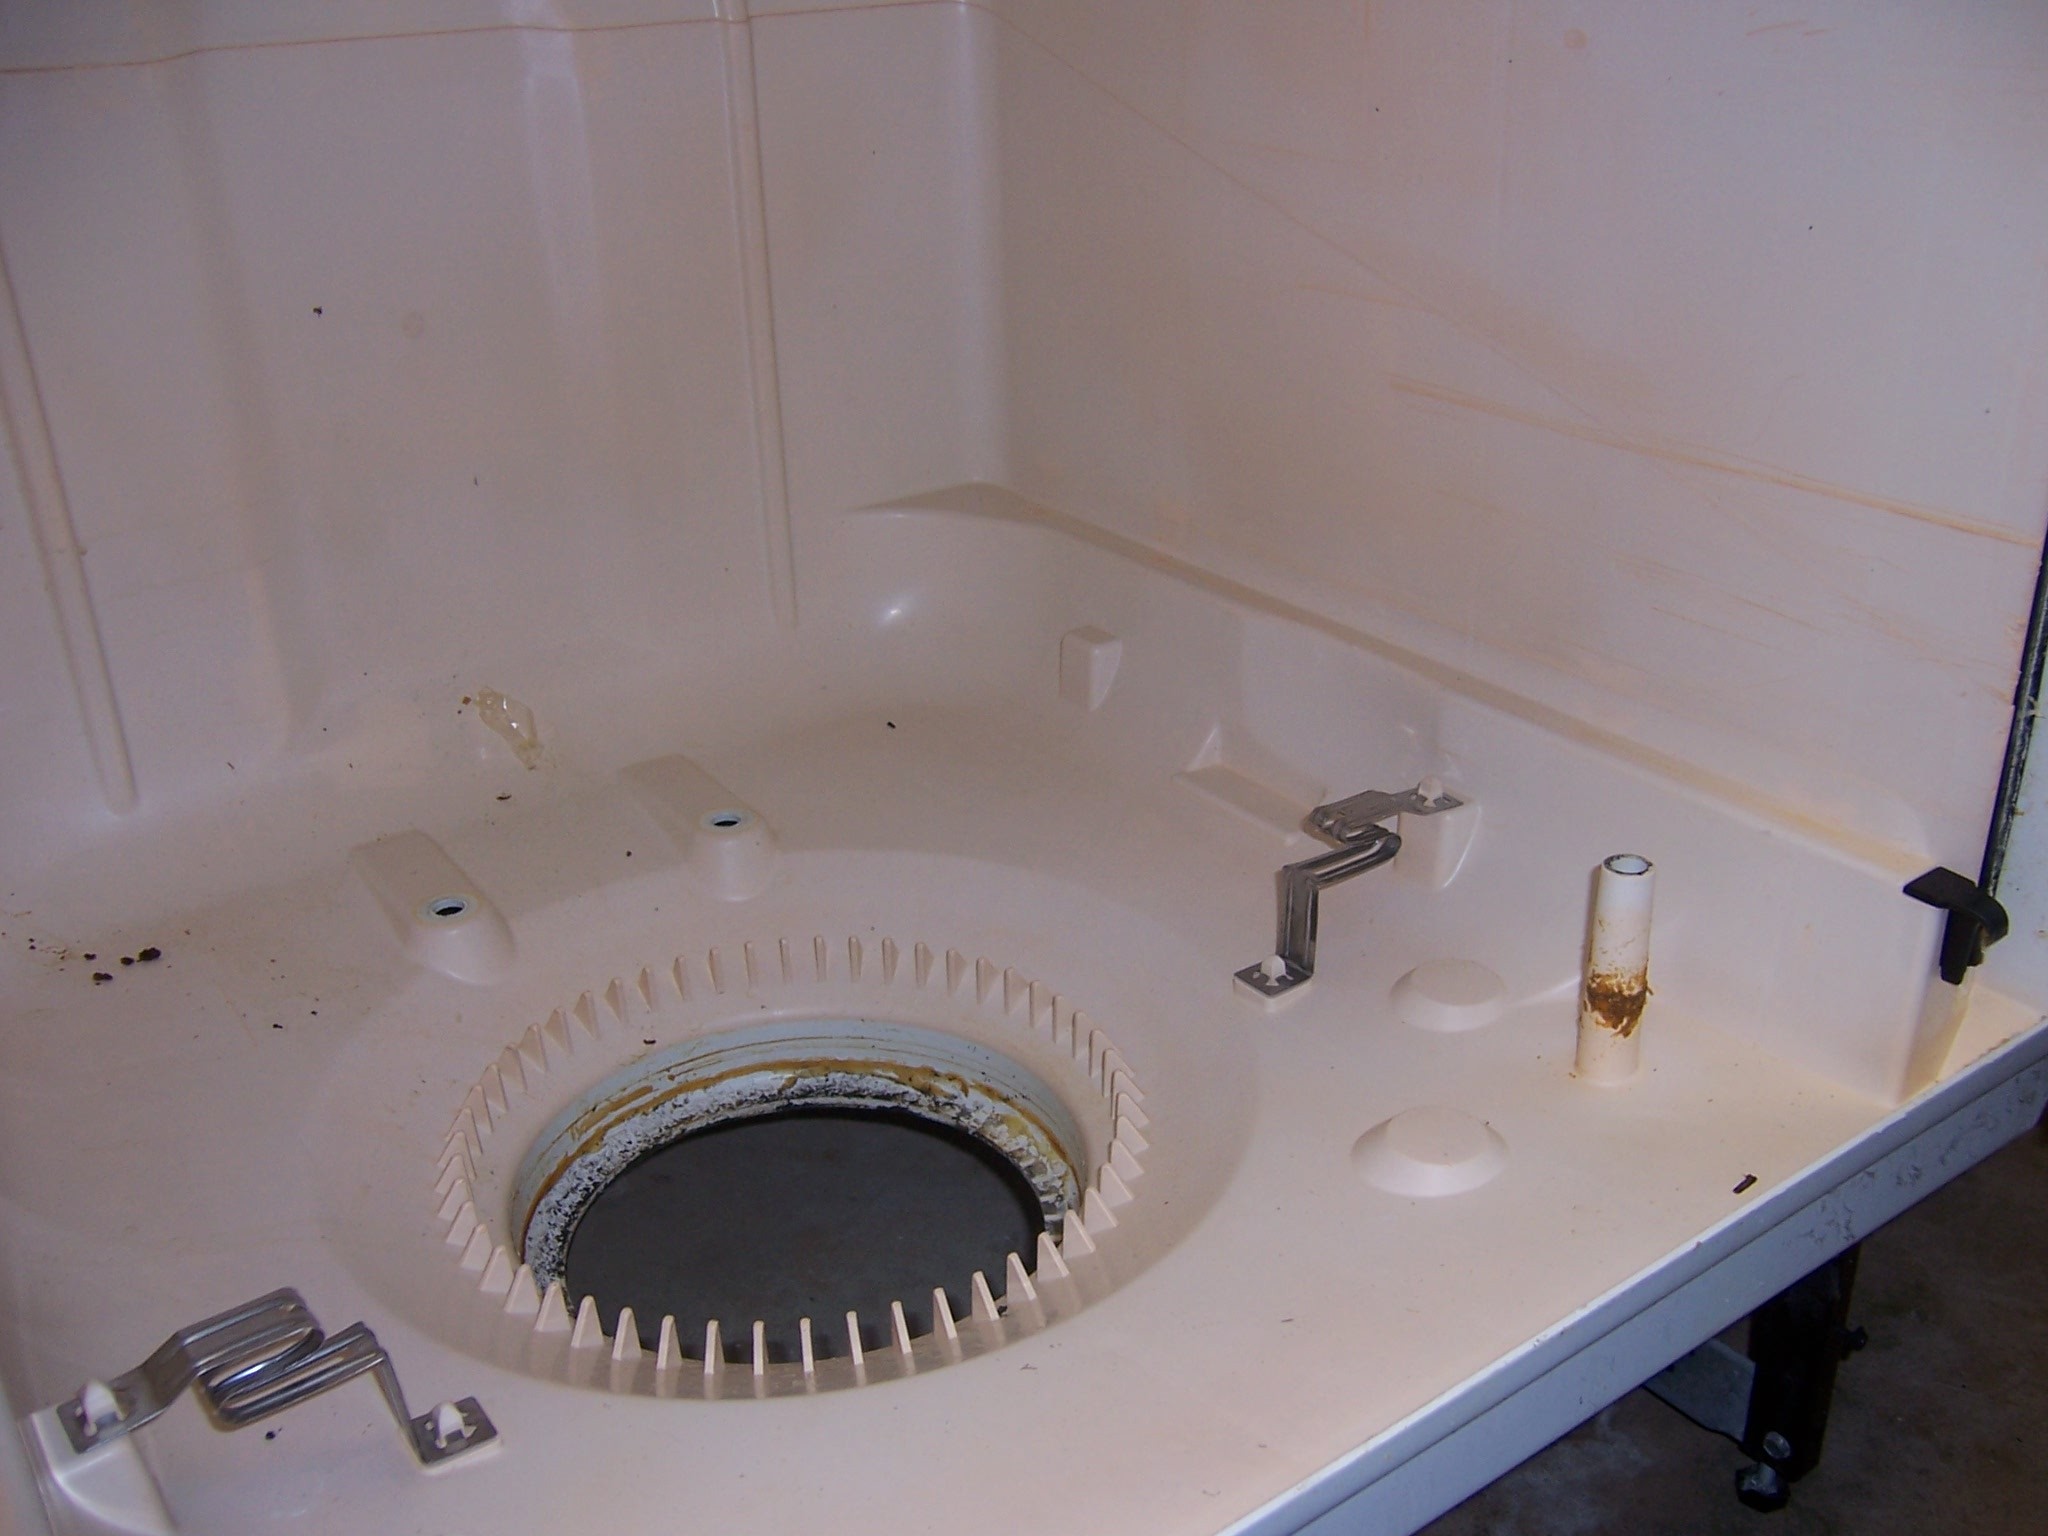
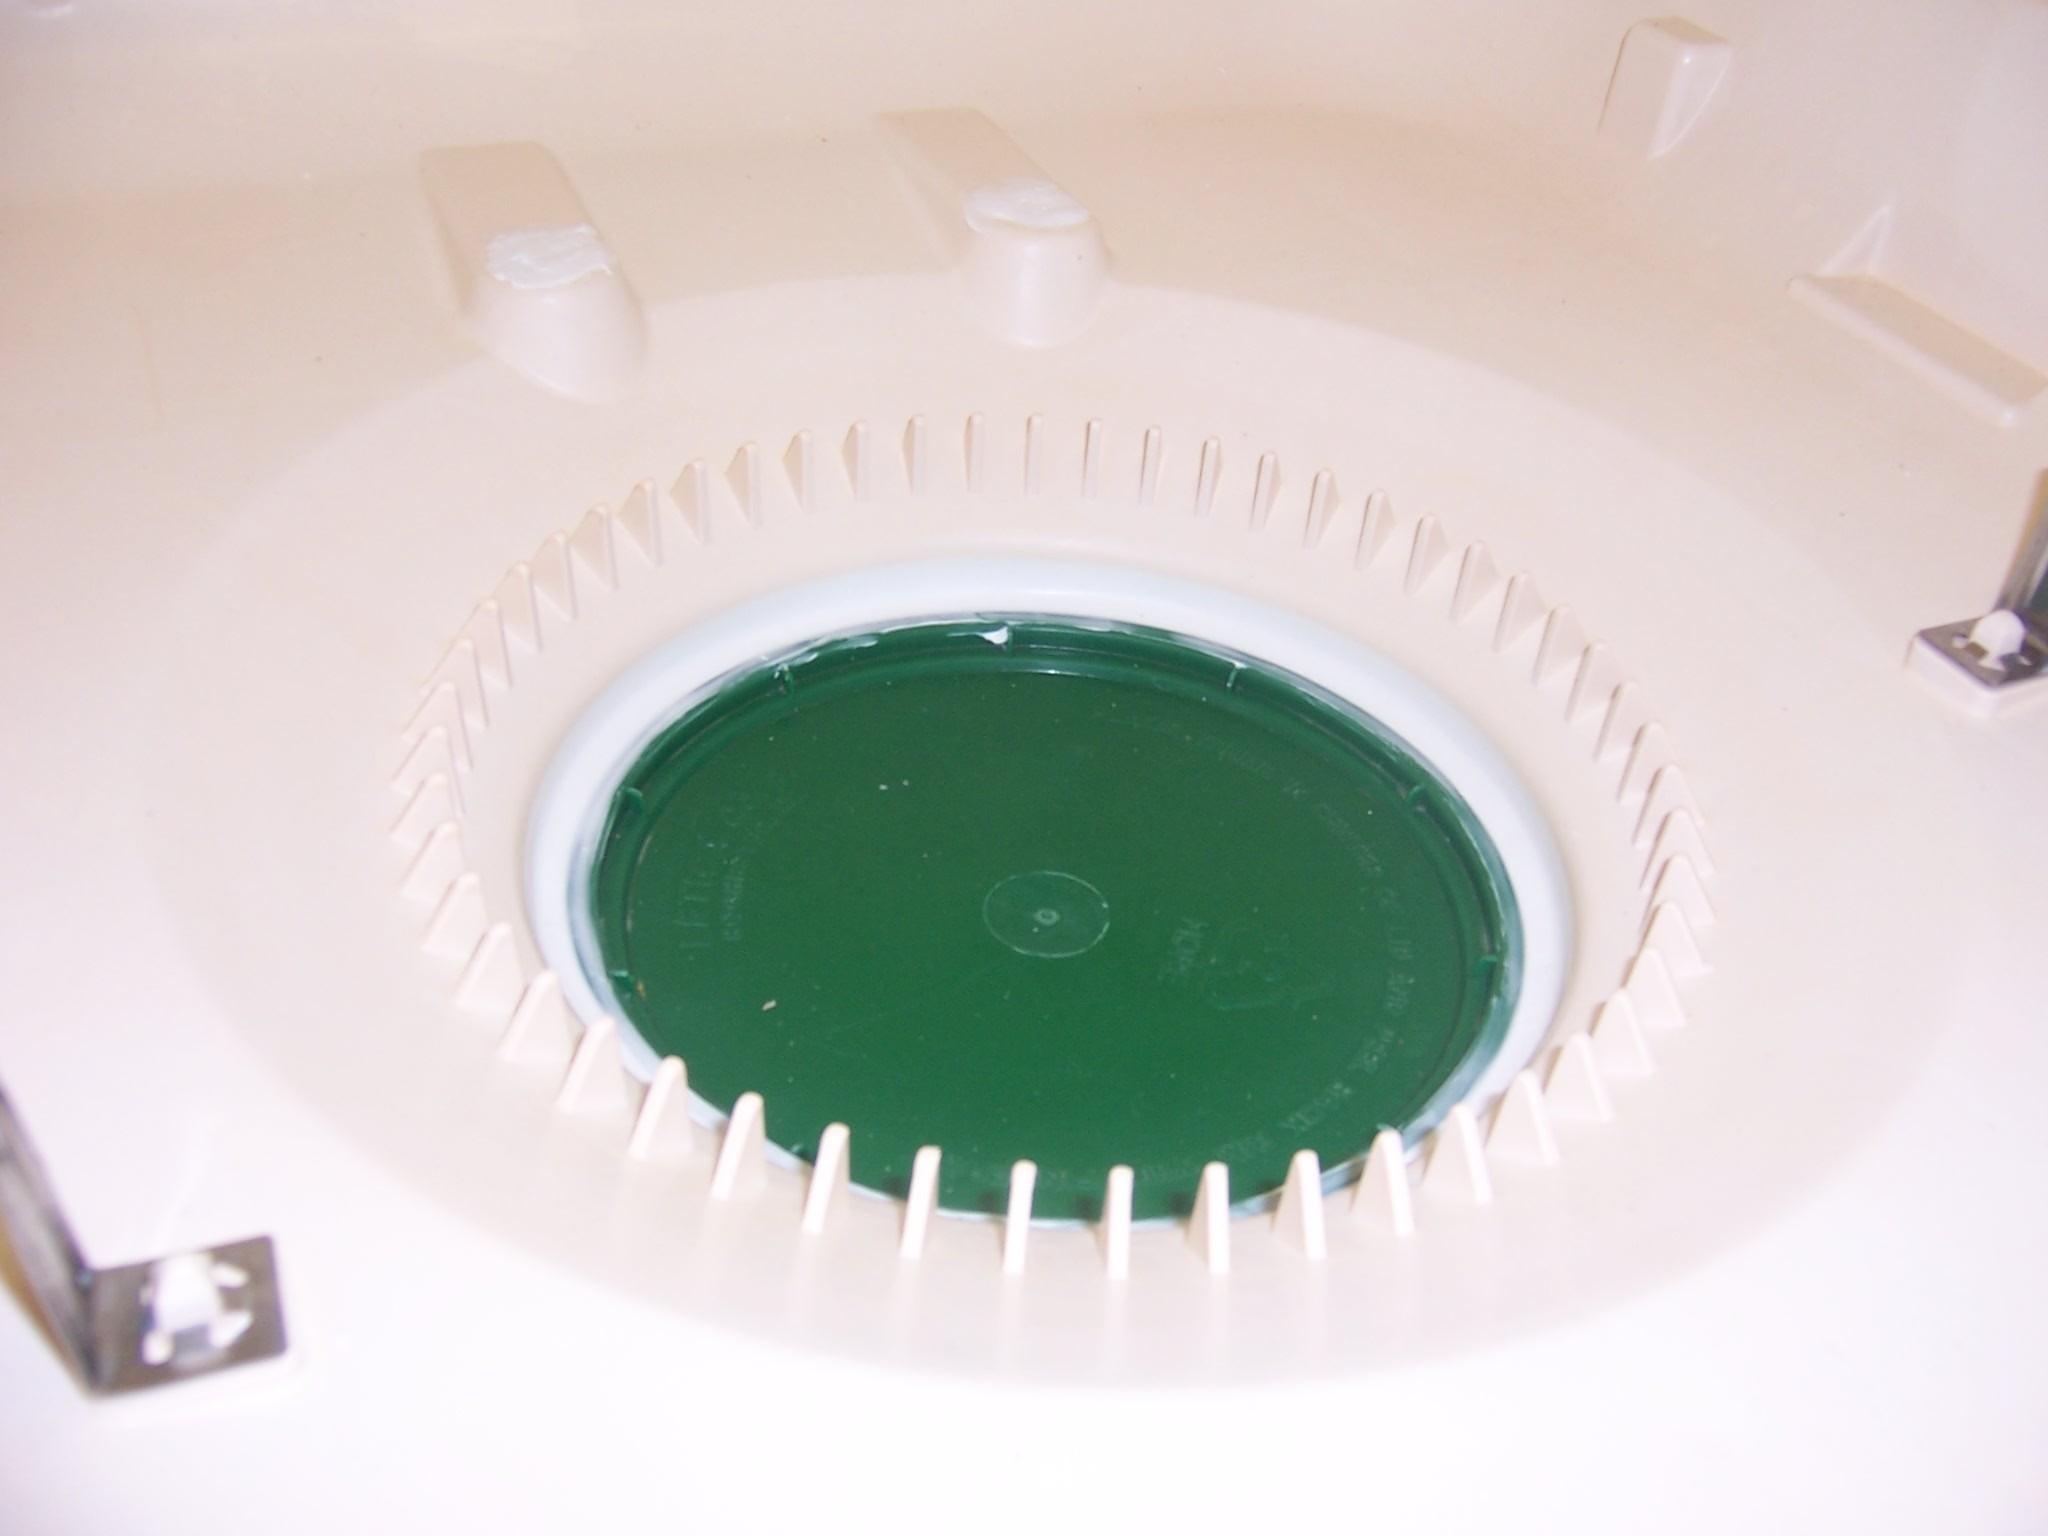
A dishwasher’s cabinet is designed so that liquids will run down to a low point in the bottom. In my case this low point had become an open hole when everything was removed in step 1. I was concerned that any significant overspray would leak out the bottom of the booth and onto the table it would be sitting on. So I plugged the hole.

In my case I had an extra plastic bucket lid which fit perfectly into the hole. I put the lid in place and sealed it with a bead of caulk.

Build the lazy Susan

For my dishwasher, on either side of the inside bottom, there was a small molded ledge which the lower washer rack’s wheels roll on. That ledge was the perfect for setting my lazy Susan’s base platform on.

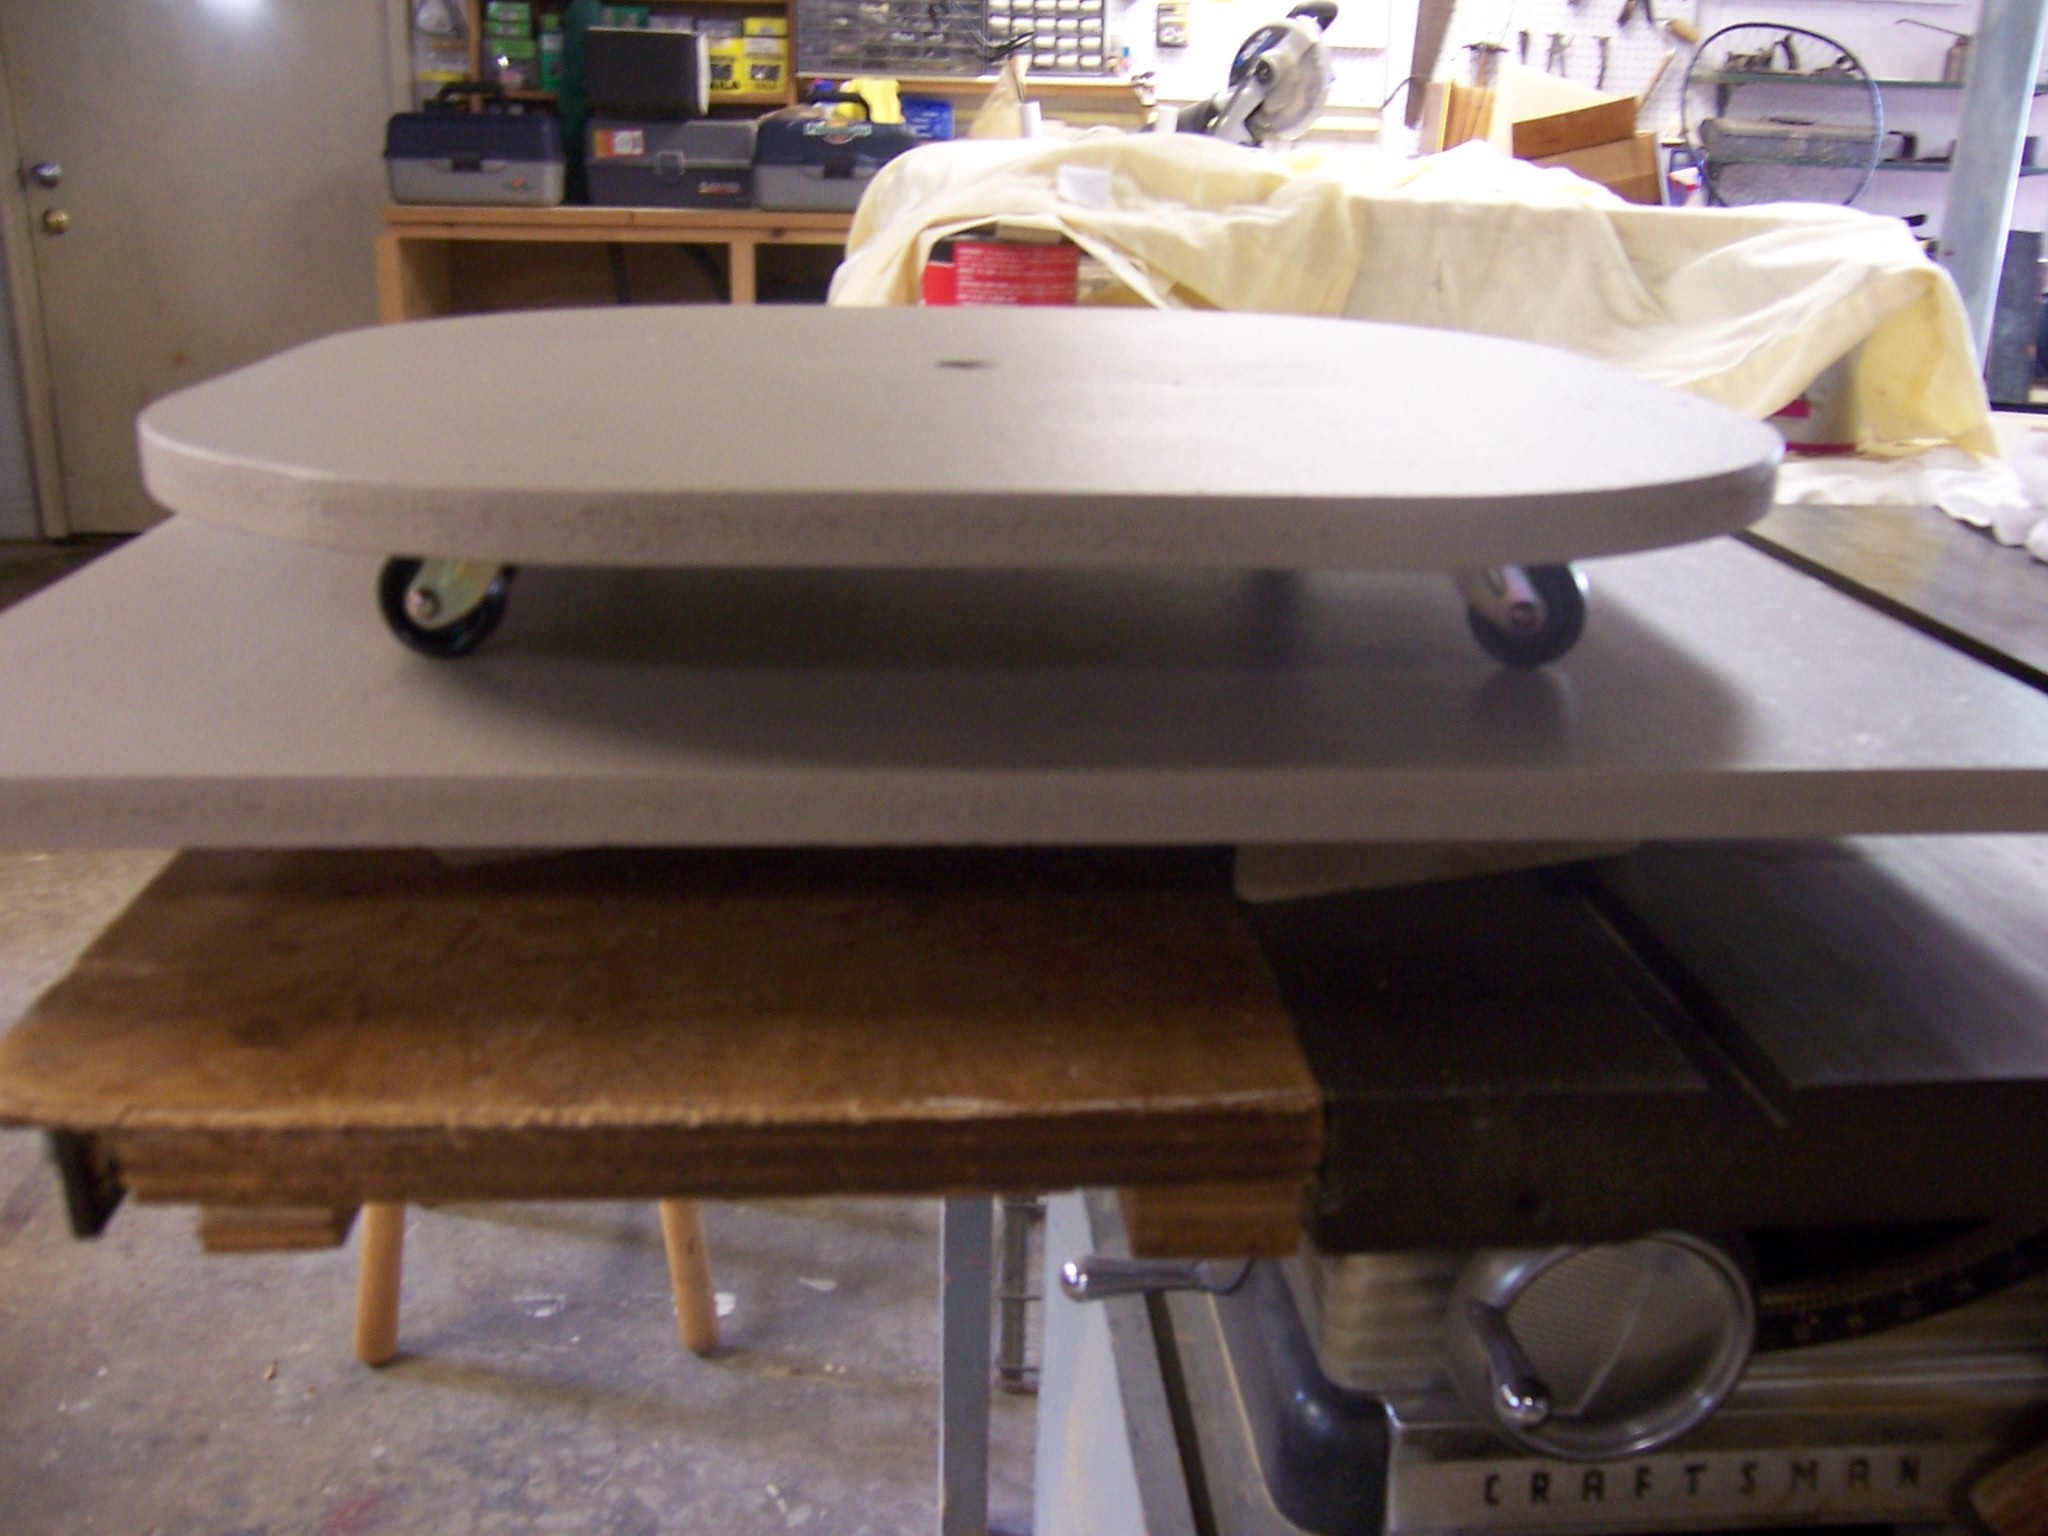
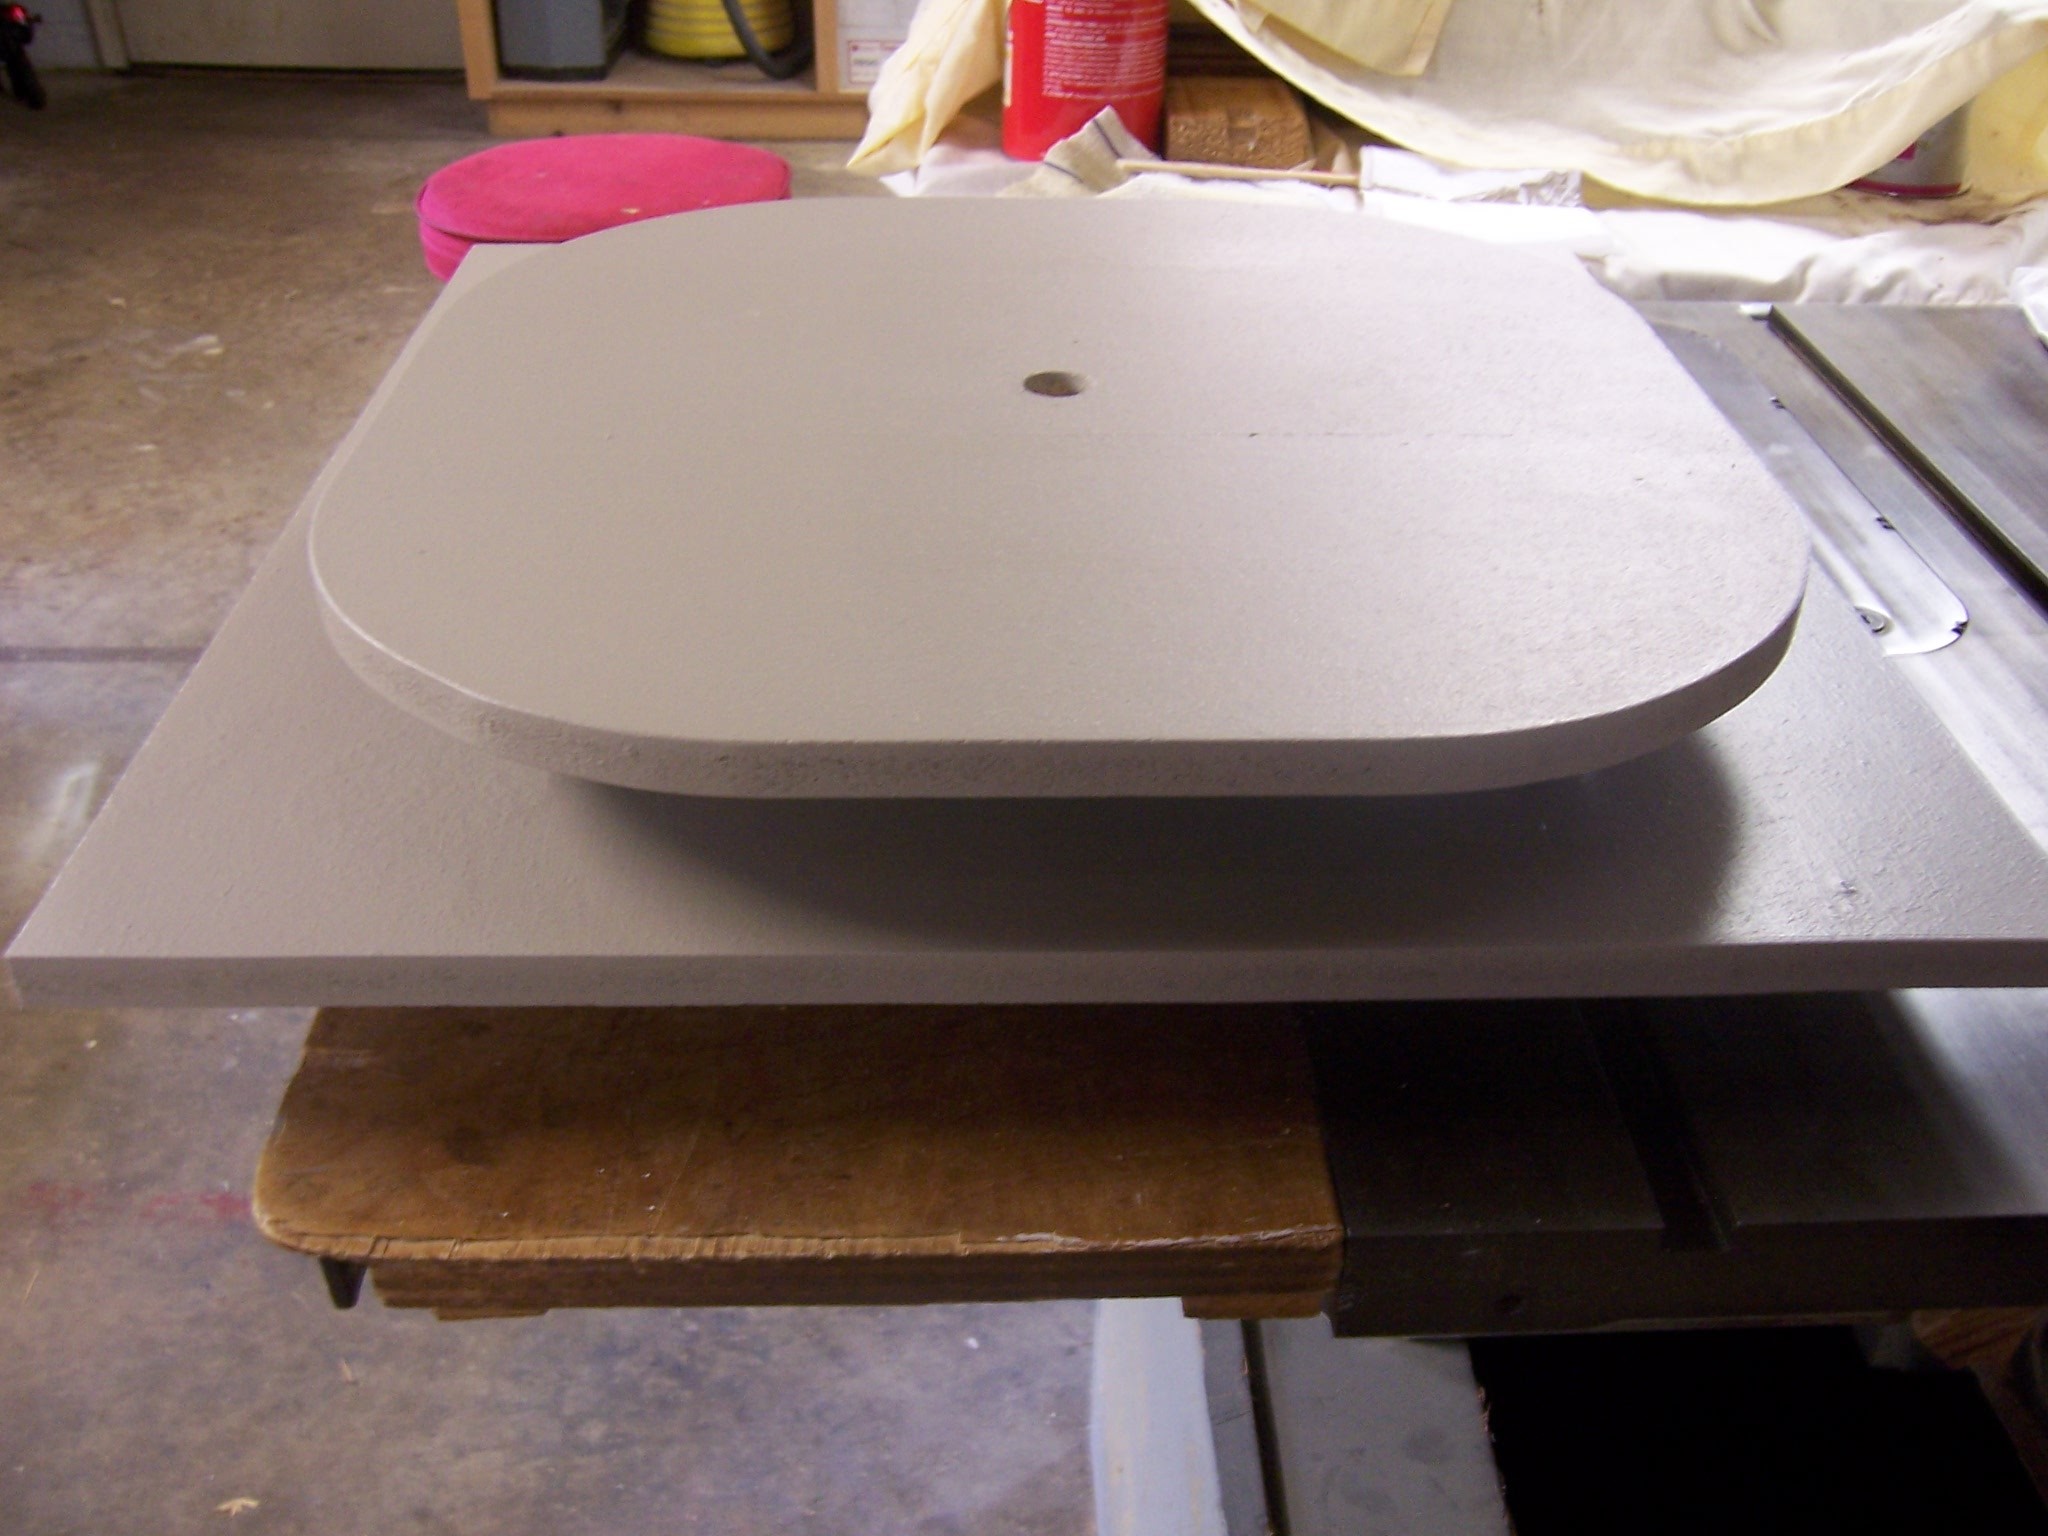
Measure the width and depth of the inside of the booth and cut a board to that size. This board will be the new bottom of the cabinet and will also support the lazy Susan.

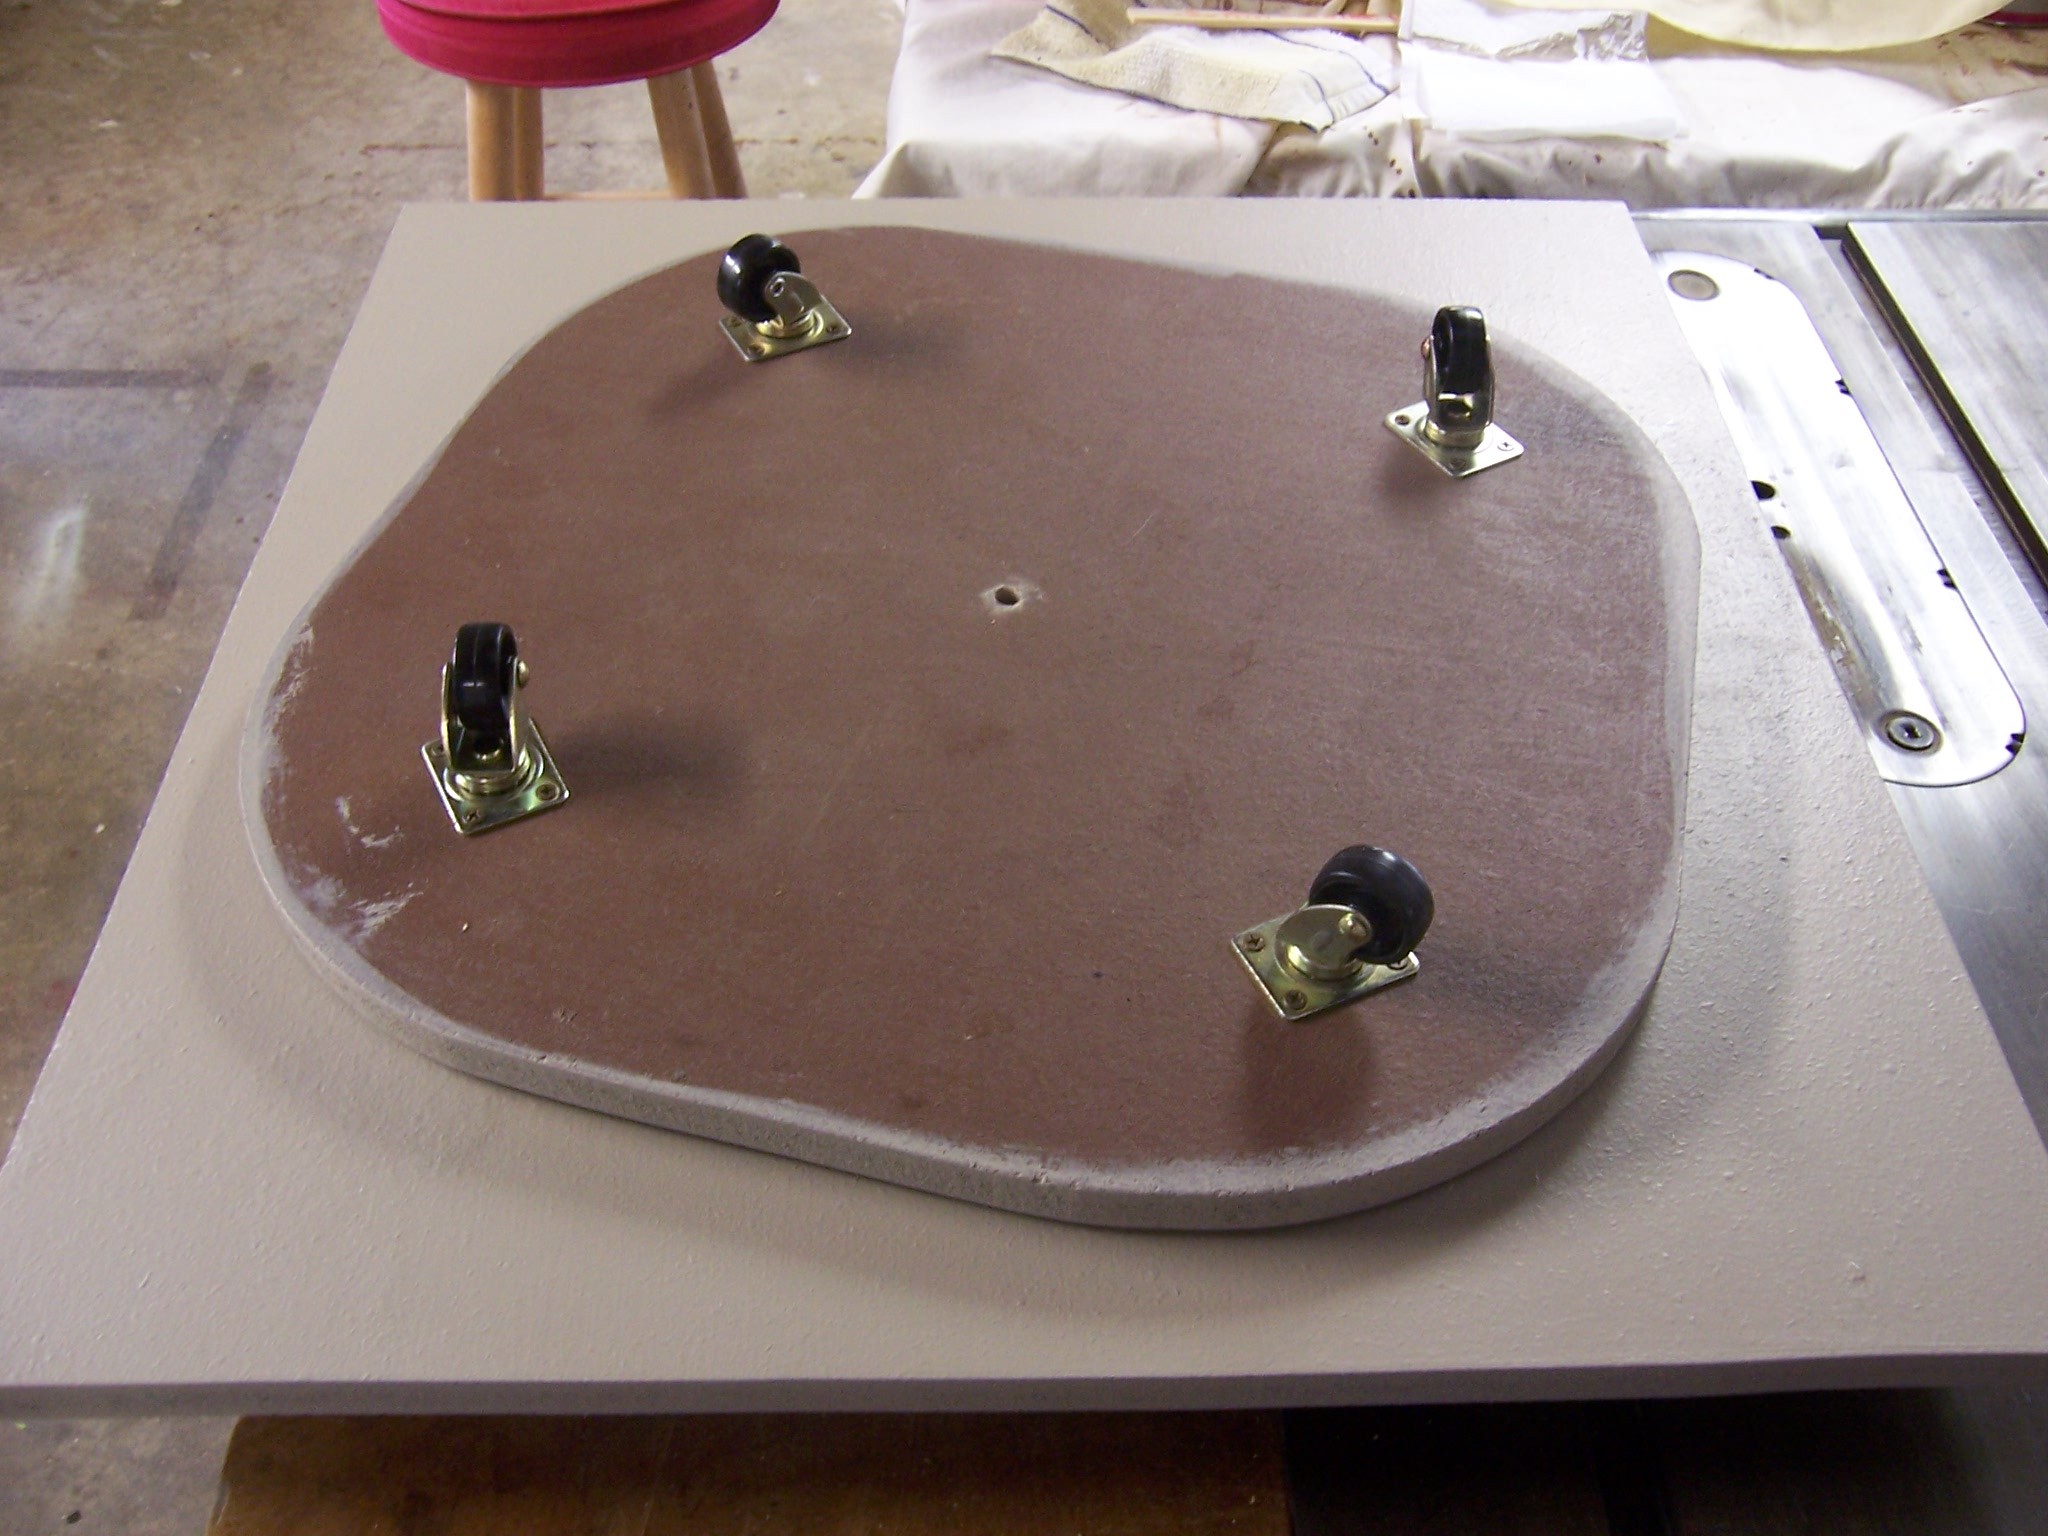
Cut a smaller circular shaped board, attach casters, and anchor to the bottom board with a single bolt through the center of both.

I painted mine with some leftover paint to give it a clean fresh feel.

Final assembly

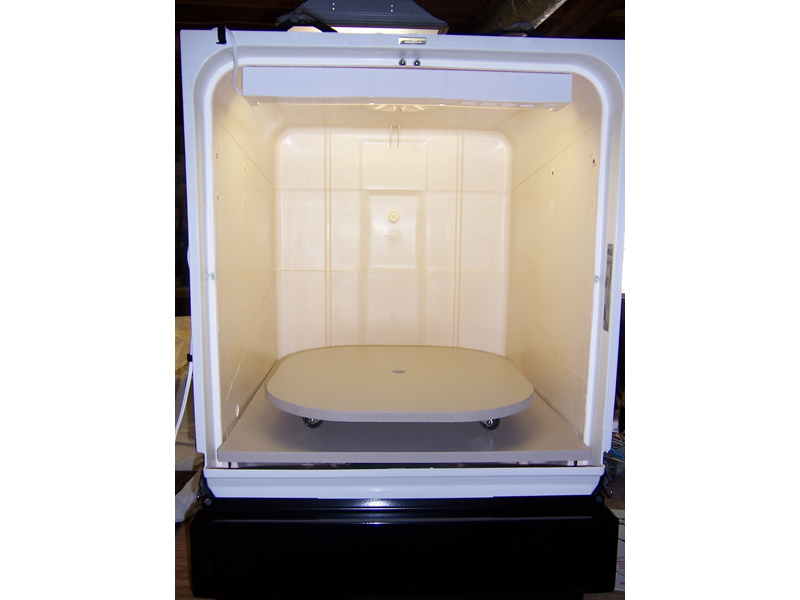
Insert the bottom board / lazy Susan into the booth, step back, and take pictures of the final product.

The last picture was taken when I was staining some plaster rock castings for my model train layout.