BEARS6-01

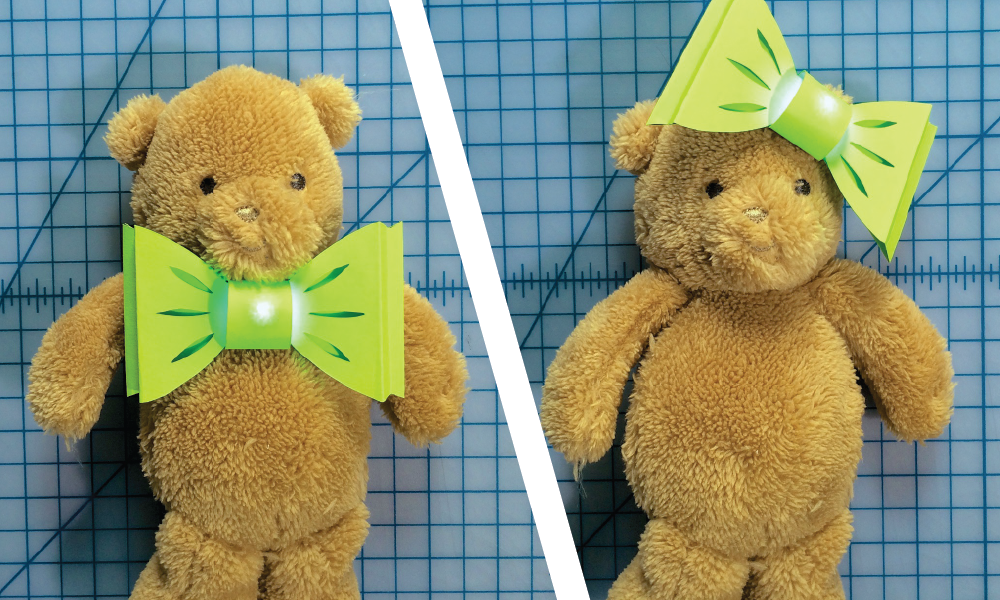
This bow tie is a super fun and quick way to add some Maker flair to any outfit or costume.

To celebrate Maker Week, I’ve been hard at work designing this quick and simple project to add some serious style to the Maker Week festivities.

I love designing new ways to incorporate LEDs into my 3D paper projects like this bow tie, or like my line of Light-Up Pop-Up greeting card kits.

And now, itt’s time to celebrate! Make a bow tie and use #MakerFlair (that’s f-l-a-i-r ) to share! Iff you’re around World Maker Faire in New York this weekend, September 26 and 27, I’ll be offering these as a free activity, so be sure to stop by and say hi!

What will the next generation of Make: look like? We’re inviting you to shape the future by investing in Make:. By becoming an investor, you help decide what’s next. The future of Make: is in your hands. Learn More.

Project Steps

Gather Tools & Materials

You will need:


  • 8.5 x 11 Paper

  • 5mm LED

  • Button cell battery (any size should work)

  • Brooch Pin with adhesive backing

  • Craft Knife

  • Awl (Or push pin, safety pin, or other sharp object)

  • Tape

Download Template & Print


  • Download the project template here.

Your paper can be as plain or as fancy as you like, but be sure that you can print on it, and that the printed lines will be visible!

Cut it Out


  • Use a craft knife to cut out the shape along the black lines

Cut the details


  • Cut out the details along the black lines

Punch the holes


  • Use an awl (or safety pin, etc.) to punch holes in the 8 tiny circles

Fold the bow: Right Side

Fold on the red dotted lines:


  • With the “tail” on the left side and the printed side up, fold the bow behind at the middle red dotted line.
  • Now, fold in front at the rightmost red dotted line.
  • Fold in front again at the leftmost red dotted line.

Check your work

With the printed side up, you should now have a tiny “mountain” on the right side.

Fold the bow: Left Side

Fold on the red dotted lines:


  • Fold the bow behind on the middle red dotted line
  • Now, fold in front at the leftmost red dotted line
  • Fold in front again at the rightmost red dotted line

Thread the LED (Part 1)


  • Take out the LED & flip the bow over so that the “tail” is on the right
  • Thread the LED through the two holes in the center, making sure the LED’s head is on the non-printed side of the paper

Thread the LED (Part 2)


  • Thread the LED through the two holes on the left, on the side without the “tail.”

Thread the LED (Part 3)


  • Thread the LED through the two holes on the right, letting the tail hang down below

Thread the LED (Part 4)


  • Hold the tail, then roll the bow toward you so that the tail wraps over the LED
  • Thread the LED through the two holes a the end of the tail

Bend the LED


  • Make sure the LED is sitting flush against the paper
  • Bend the shorter of the two wires flat against the bow, away from the other wire
  • Bend the second wire down to meet it

Insert the Battery


  • Make sure the two wires are very close and bent down all the way. It’s ok if they touch right now
  • Locate the “+” side of the battery – it faces up
  • Insert the battery between the two wires (the LED should light up!)

Tape in Place


  • Place a piece of tape over the battery so that it sticks to the paper on both sides
  • Admire your bow!

Attach the Pin


  • Remove the adhesive backing and stick the brooch pin in the center of the back of the bow

If you don’t have a brooch pin, you can tape a safety pin to the bow, or just make a circle of tape to stick it on.

Ready to Party!


Wear your flair!

  • Use your bow as a bow tie, hair bow, or even put it on a present. Enjoy!