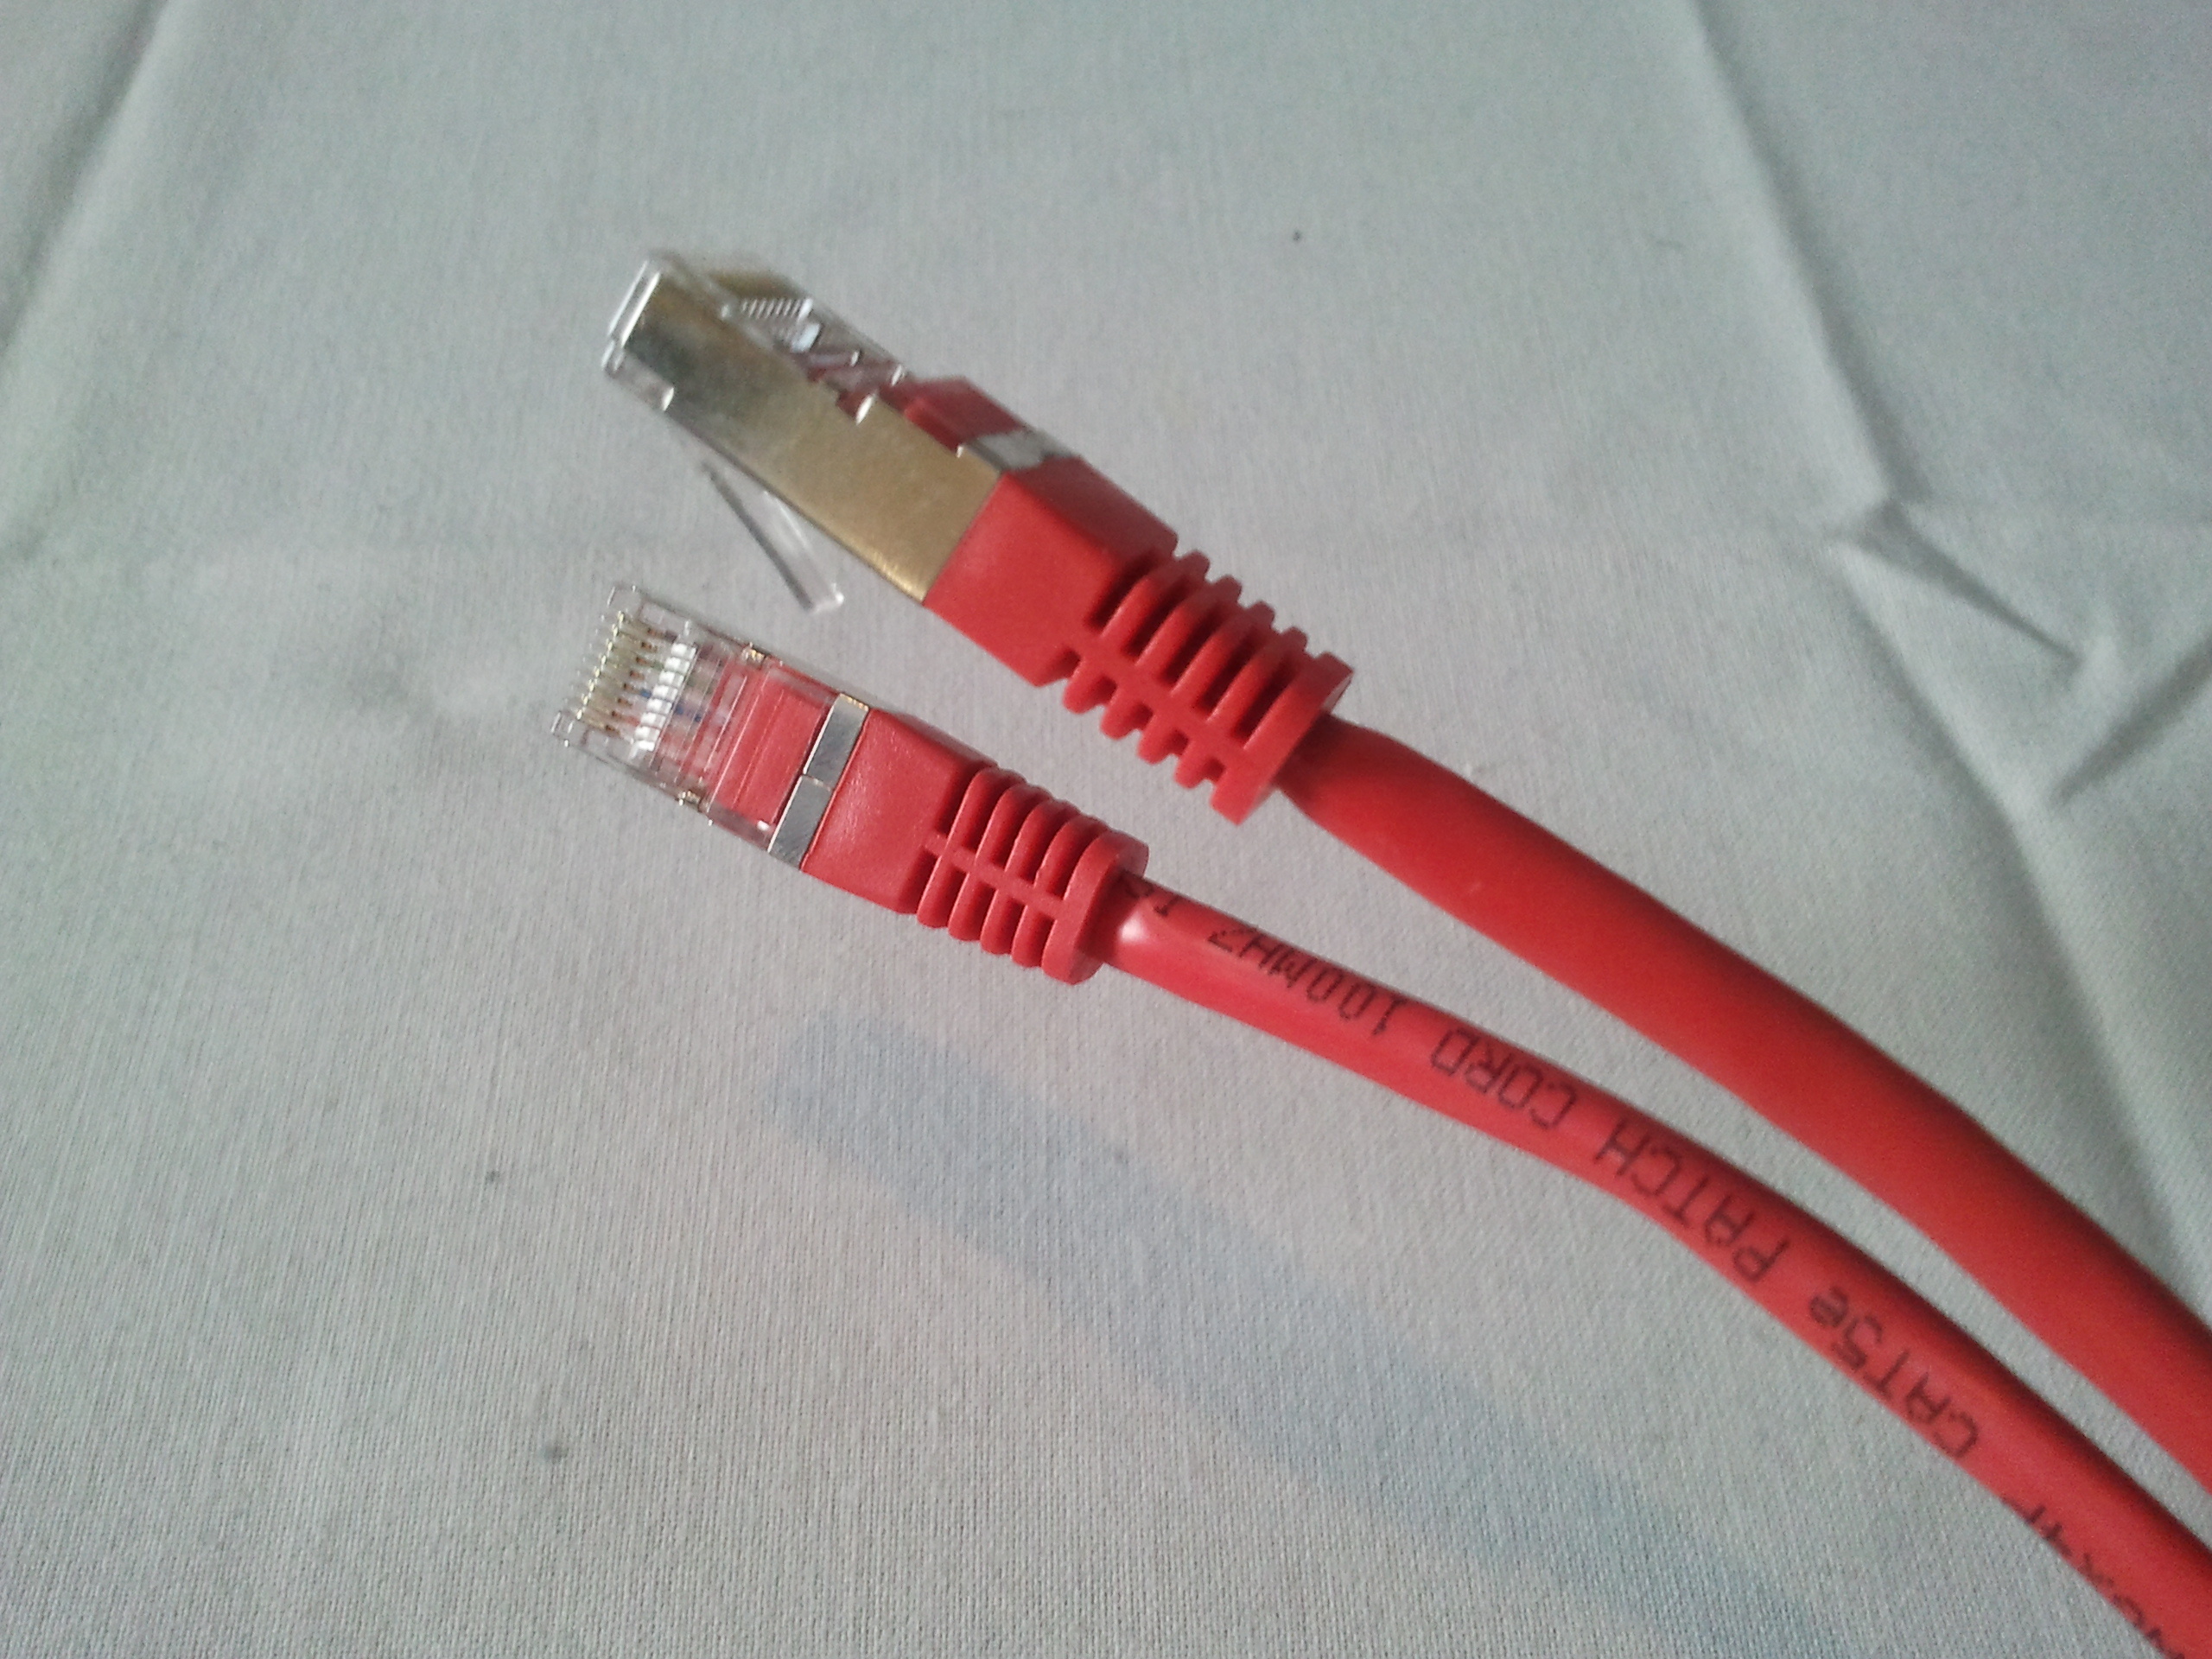
Have you ever wanted to share files between two computers without a flashdrive or play a game together with your friend? This guide shows you how to set up a P2P or Point-To-Point network. A P2P network is basically a network between two computers; sometimes it’s referred as an ad-hoc network. This project has a lot of steps but those are there in case you have some trouble. Only the first two steps are key; the rest is for troubleshooting. Enough talking, let’s get to it!

What will the next generation of Make: look like? We’re inviting you to shape the future by investing in Make:. By becoming an investor, you help decide what’s next. The future of Make: is in your hands. Learn More.

Project Steps

Plug the cable into the computers

Just plug the crossover network cable into the network port in both computers!

You are totally done!

Now, normally the computers should connect by default, but if for some reason the computers won’t connect to each other, I’ve listed some troubleshooting tips in the next steps!

Workgroup settings:

In order for computers to connect to each other, they have to be in the same workgroup! In the next few steps I’ll show you how to change the computers’ workgroup settings!

(Note: the OS used here is Microsoft XP, but it should be the same for all Microsoft operating systems!

Workgroup settings:

Picture 1: Click Start – Right-click on “My Computer” and select “Properties”!

Picture 2: Click on the “Computer Name” tab!

Picture 3: Click on the button next to where it says “change computer name” (in my case the button was named “Change”) to change your workgroup name!

Proceed to next step!

Workgroup settings:

Picture 1: You should see a window like this appear!

Picture 2: Now change the workgroup name to your preference!

Now repeat on the other computer! (Make sure that the workgroup name is the SAME on both computers!)

Did this work?

If not, proceed to the next step!

IP Settings

Note: These settings may vary depending on your operating system!

IP Settings:

Picture 1: Go to your configurations panel and then to your network adaptors! Right-click on the adaptor that says “LAN Connection” (or something similar!)

Picture 2: Click on “Internet Protocol” (TCP/IP or IPv4). Next, click properties!

Picture 3: A window like the one in the image should pop up and the values will probably look like these in the photo!

Please note that the values displayed here are completely made up!

Proceed to next step!

IP settings:

Picture 1 & 2: Click on “Auto Obtain IP Address and DNS Server”!

Done!

Done!

If it still won’t connect…* well, check the Internet; there are a lot of helpful forums to help you out! (*Beyond my logic… lol)