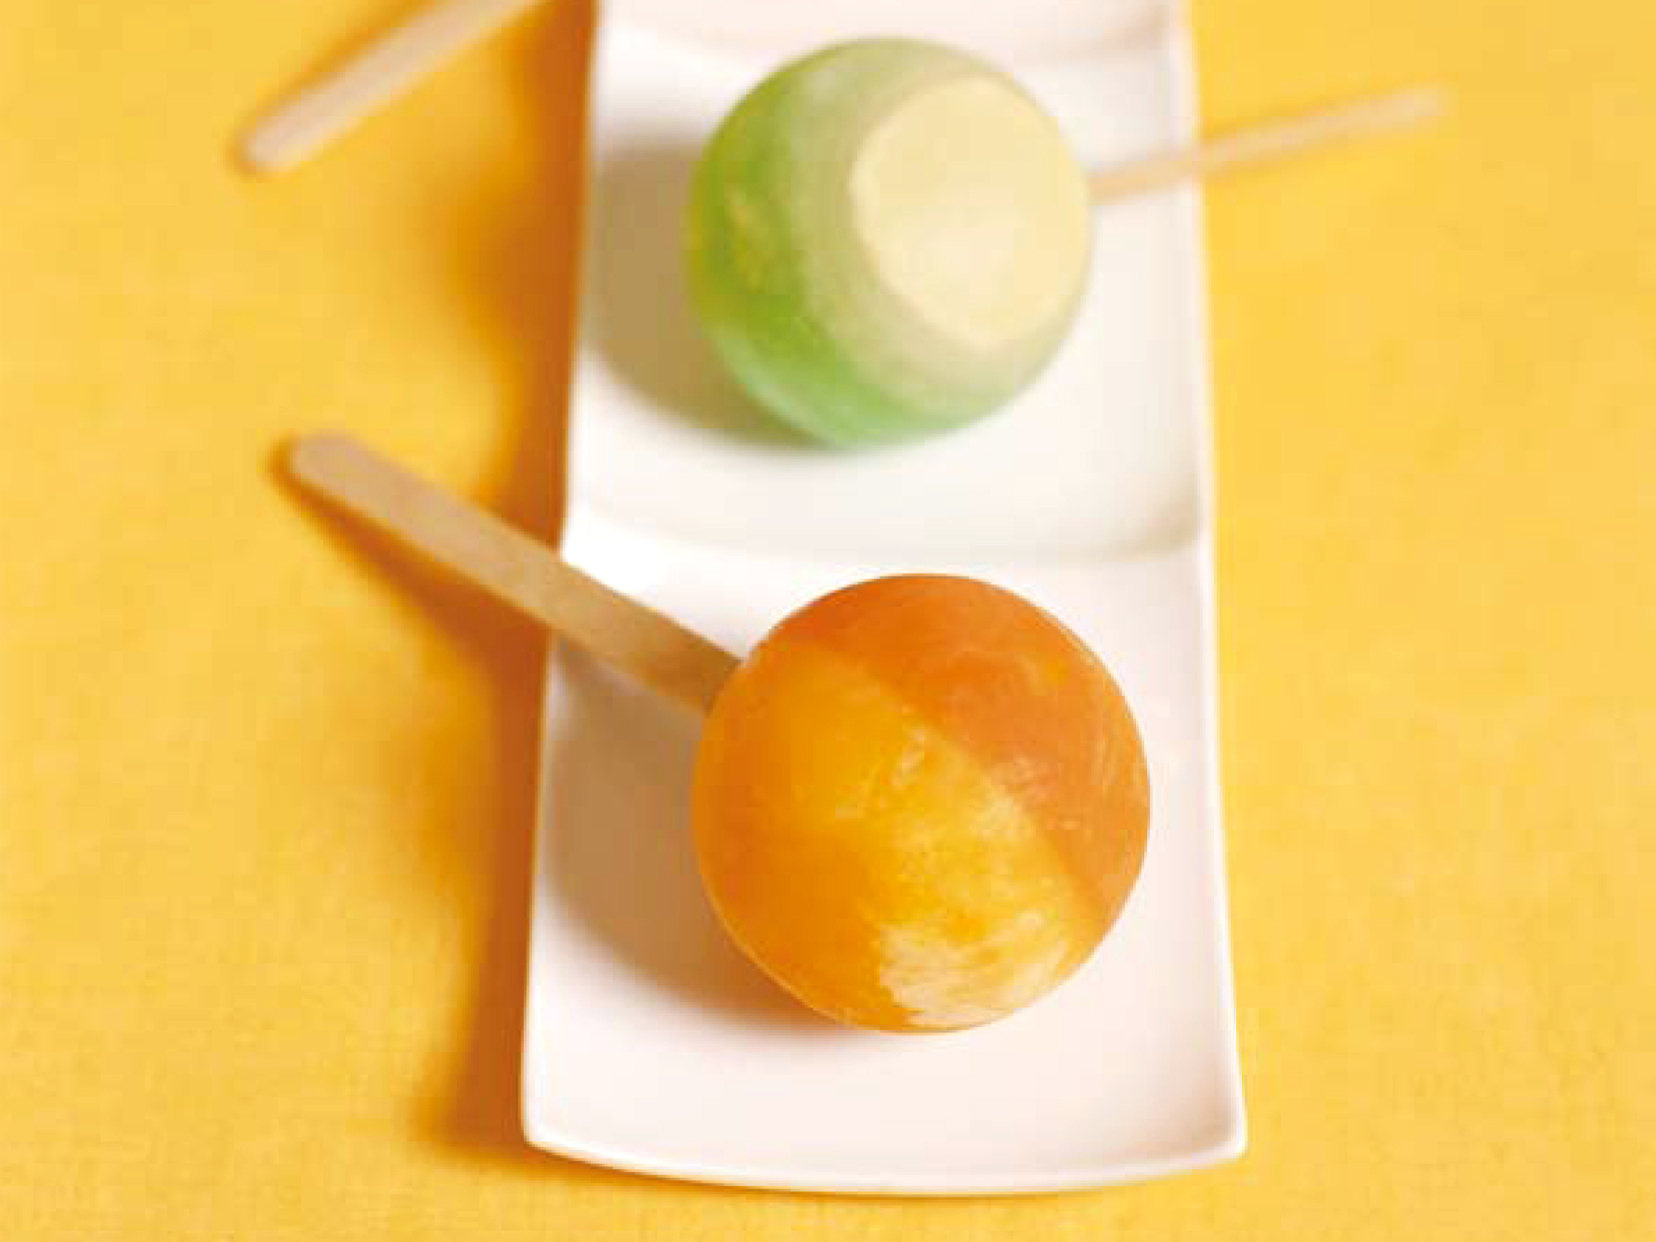
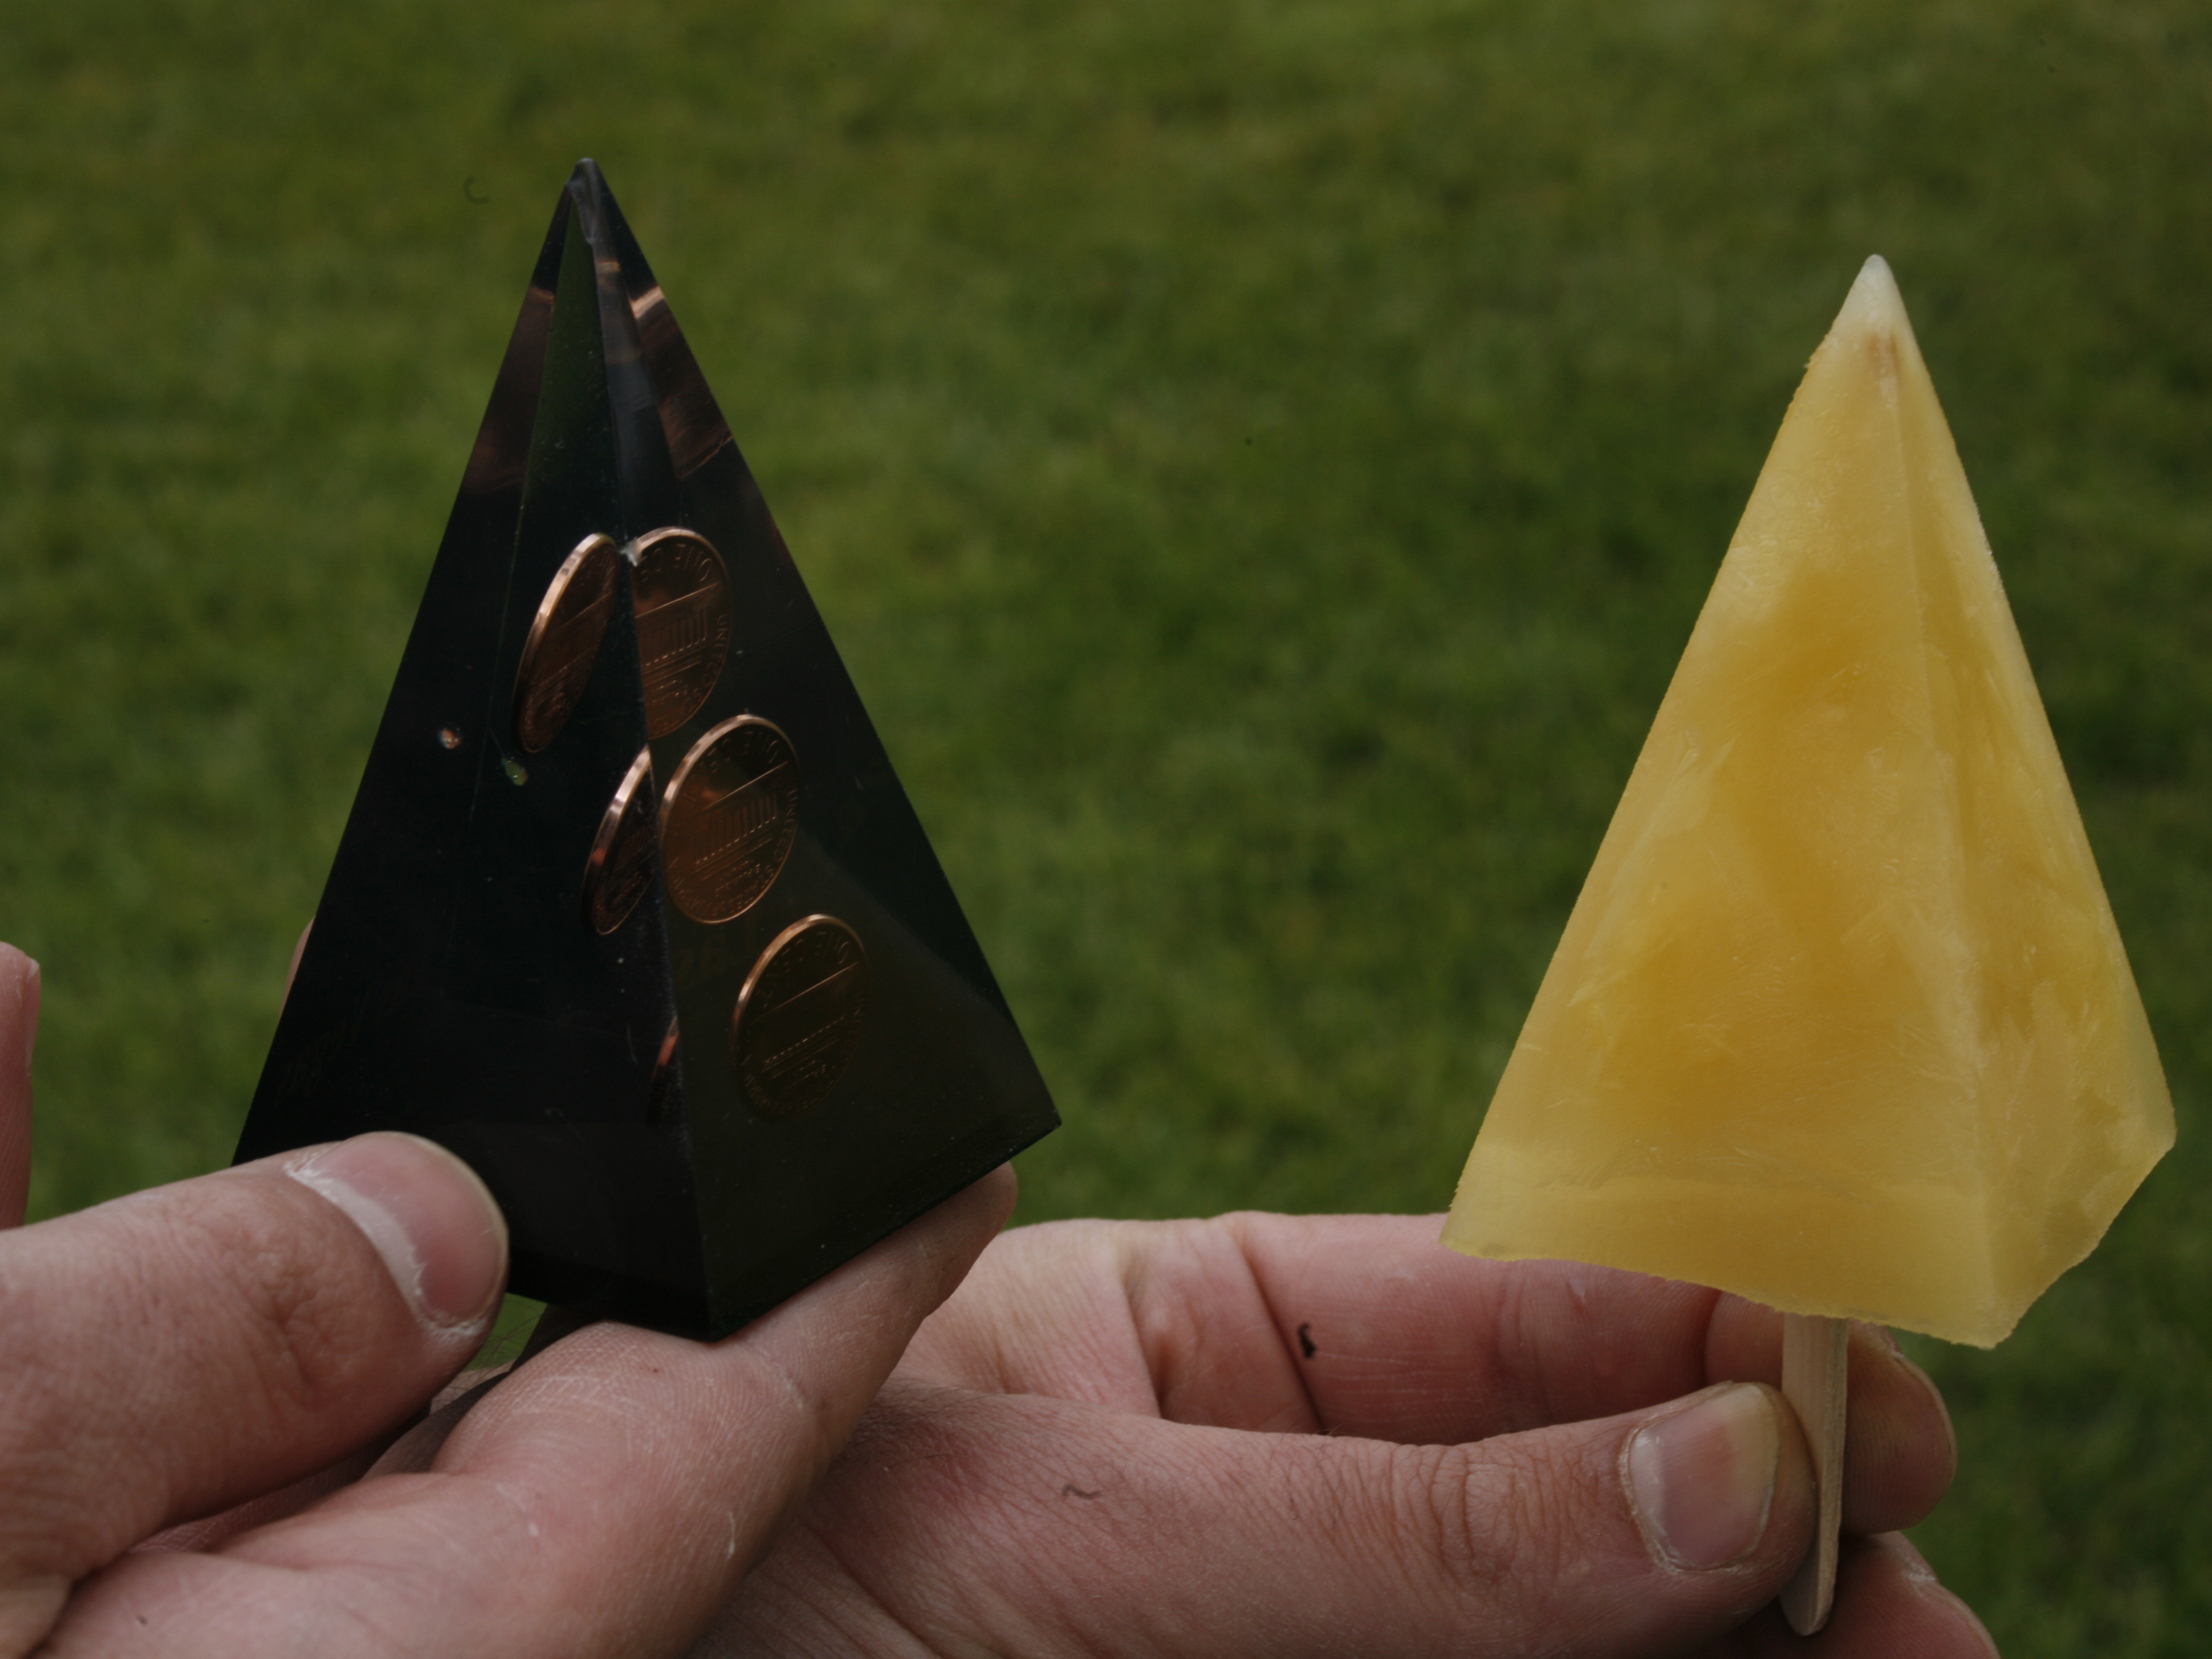
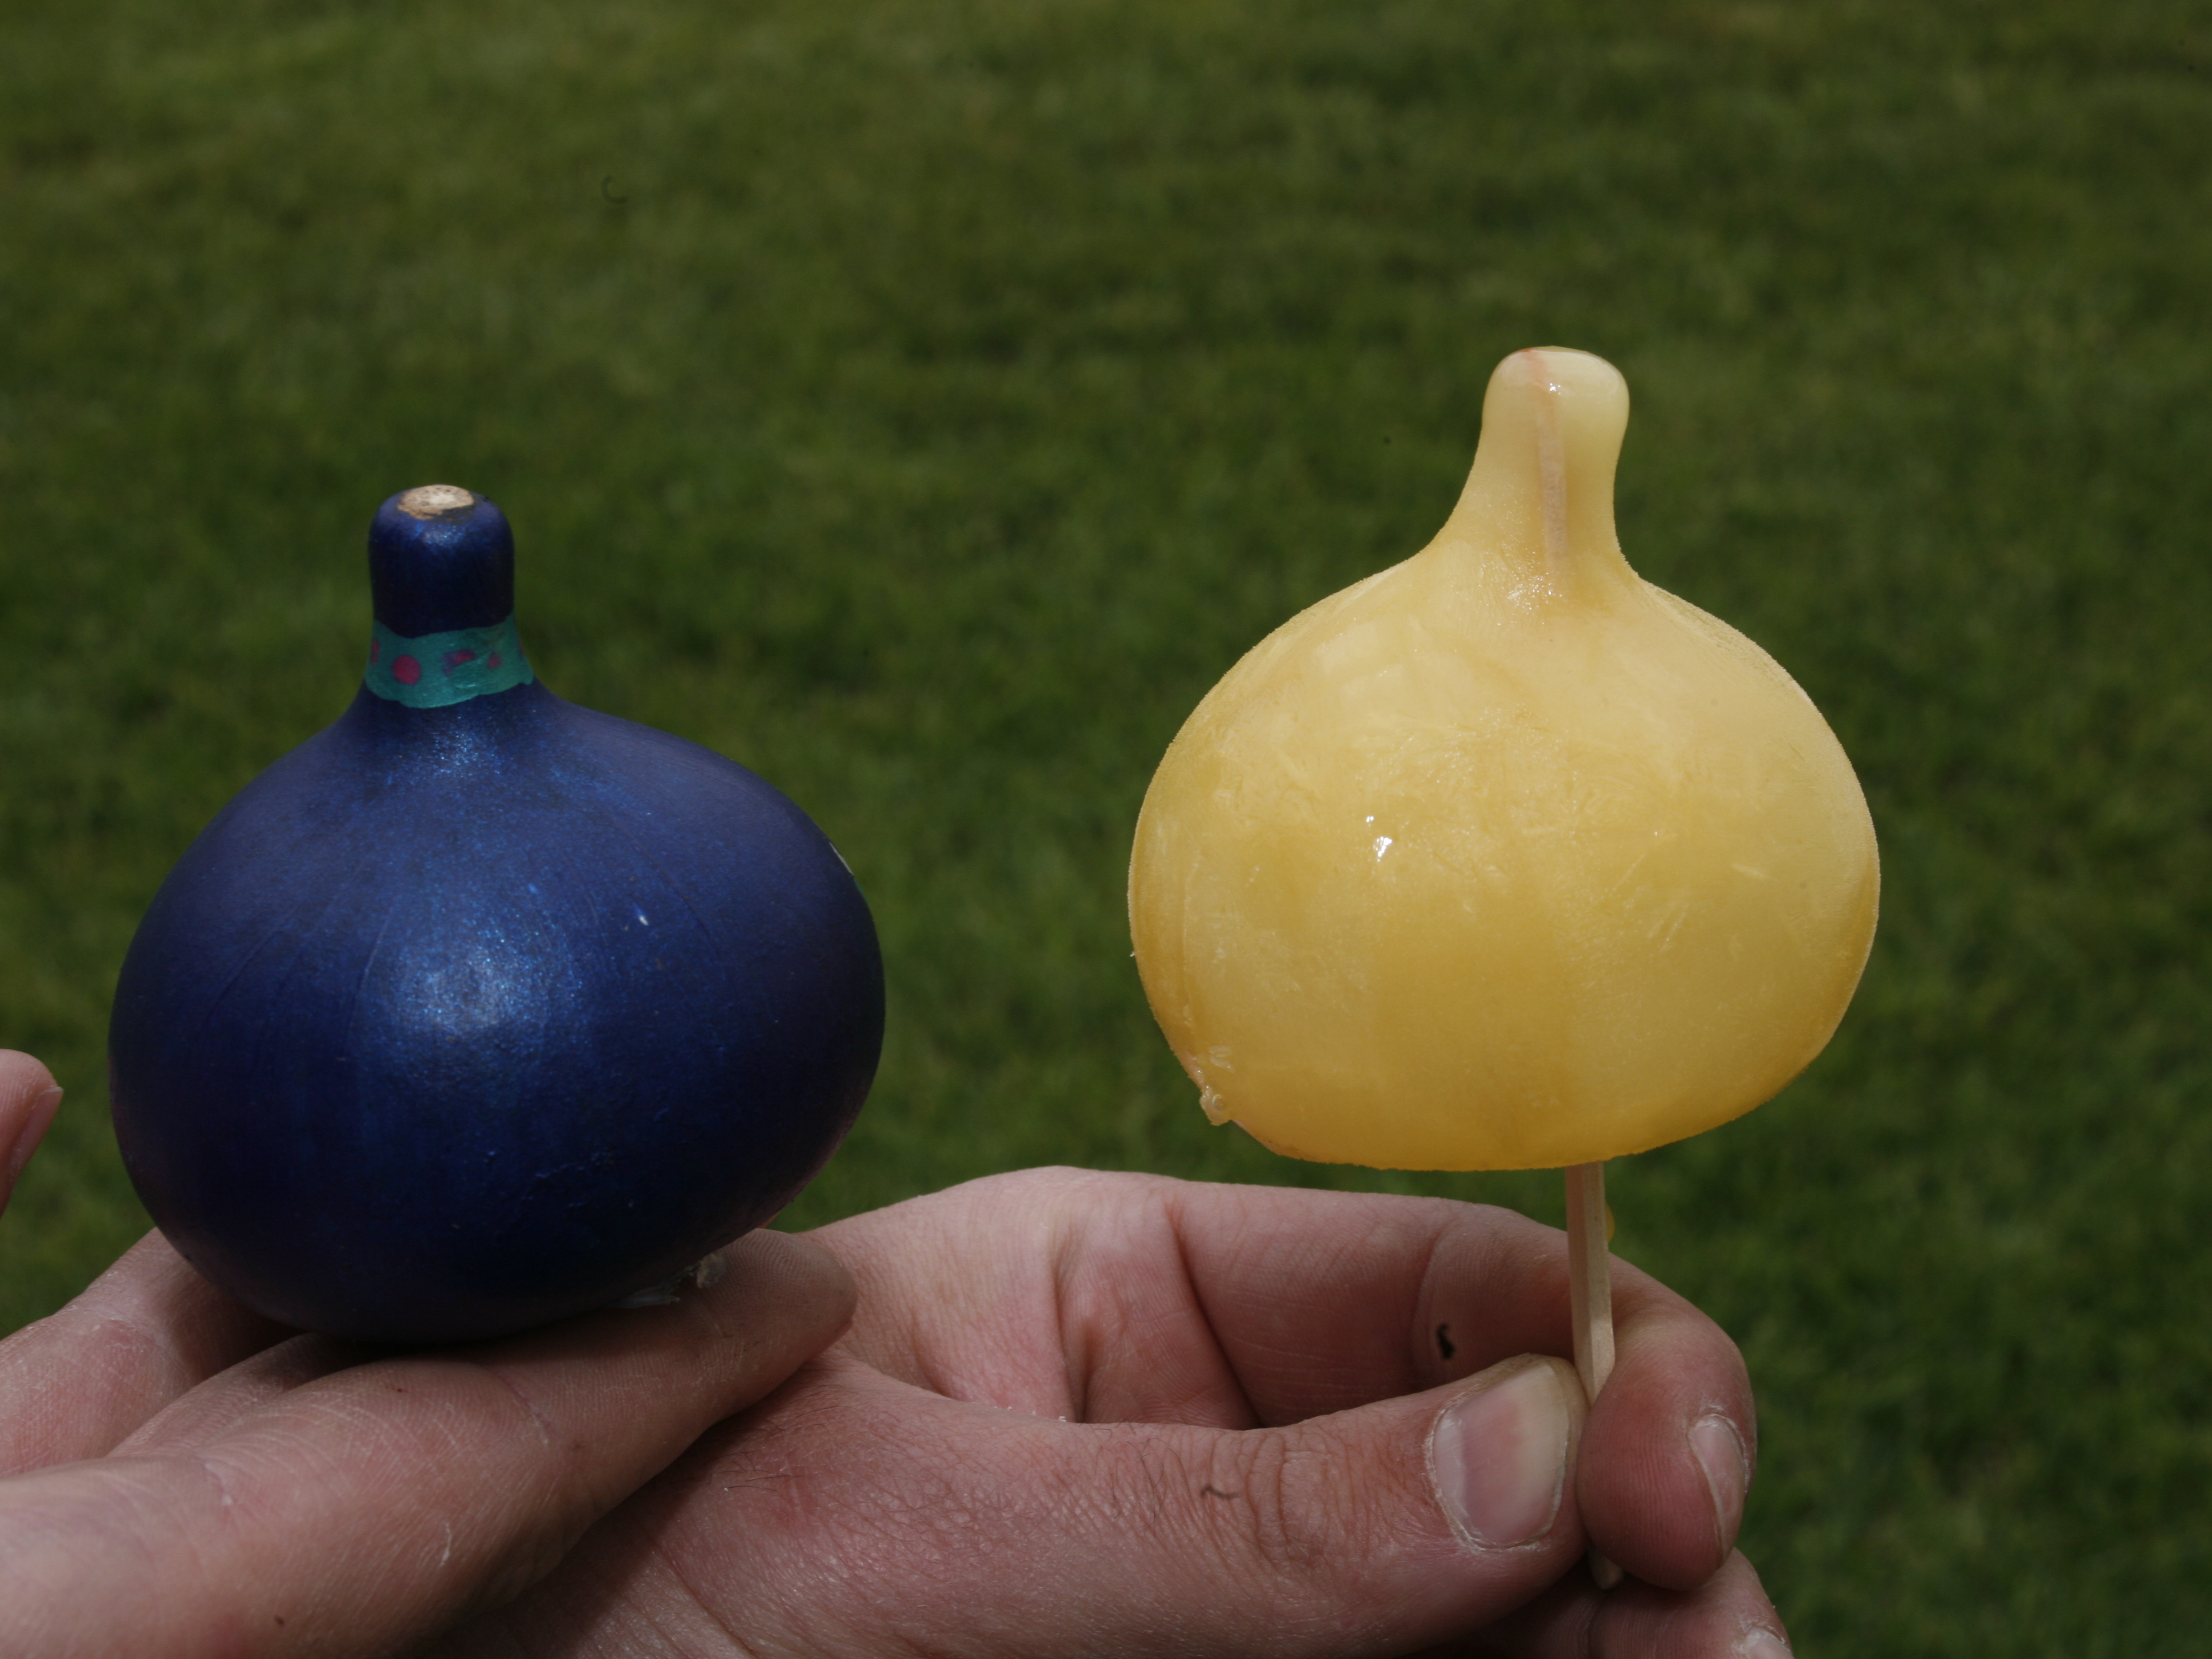
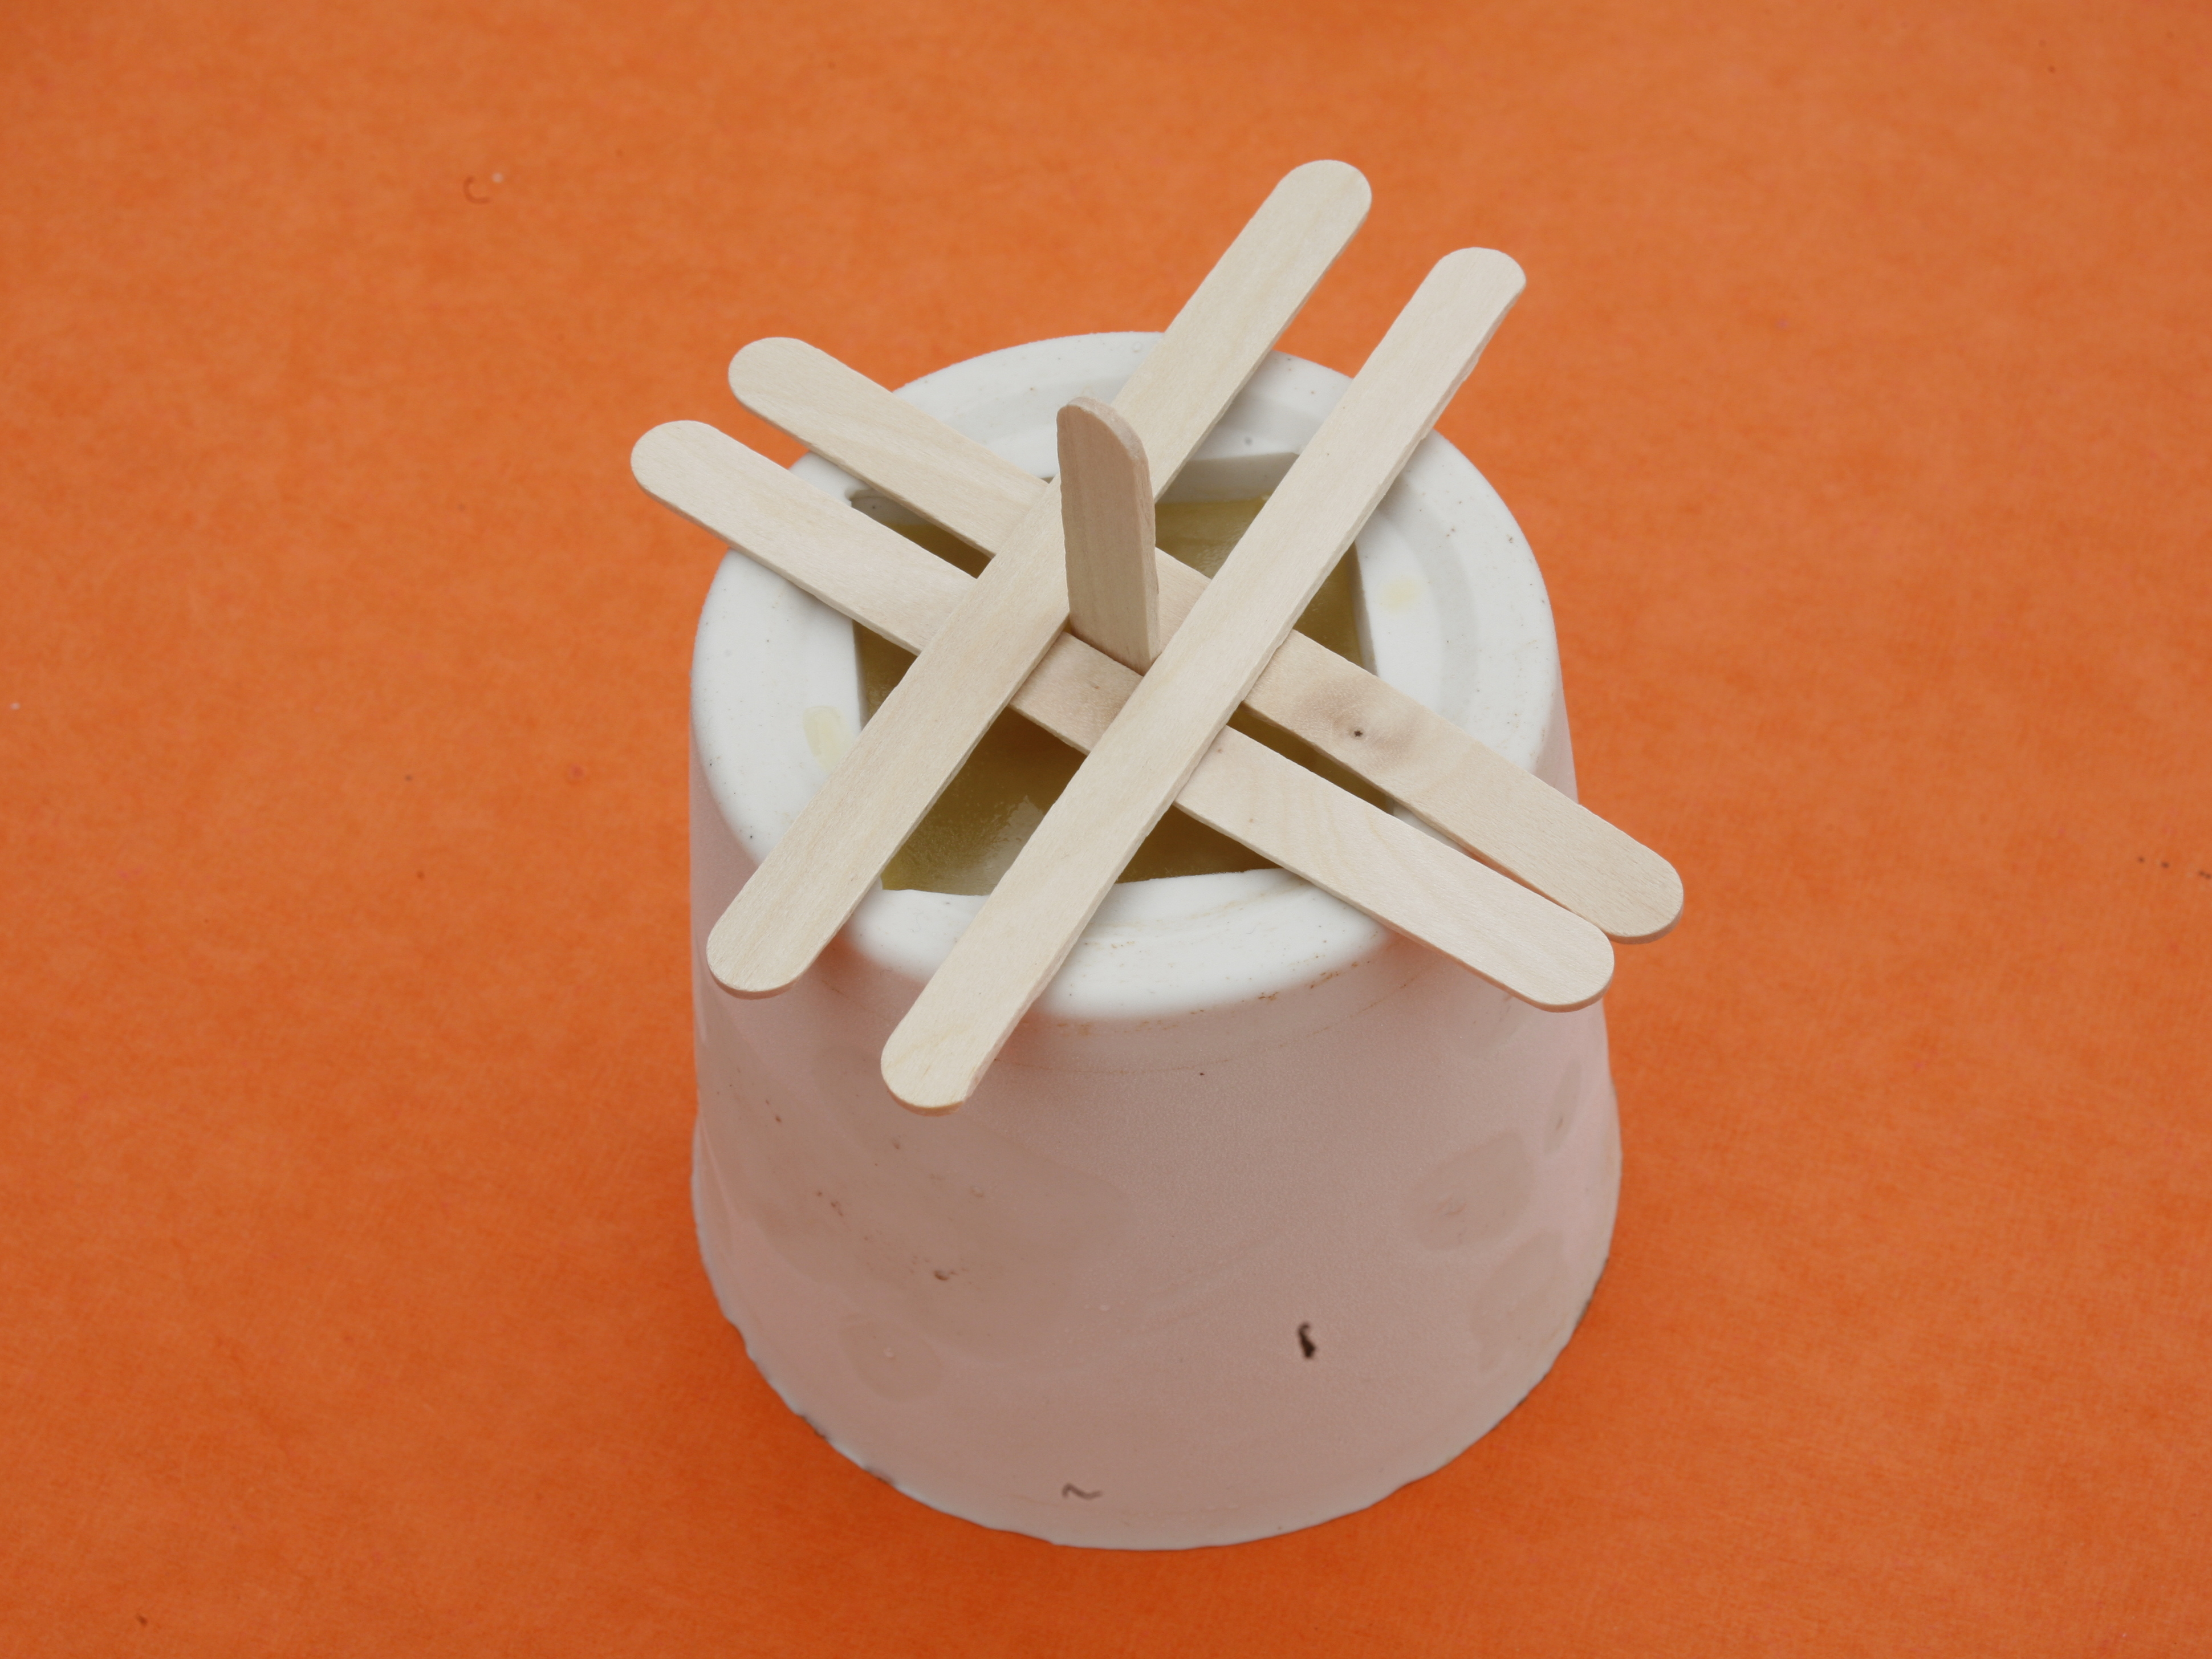
You can make incredibly imaginative pop molds with food-safe silicone rubber. Silicone picks up detail as faint as a fingerprint and is very flexible.
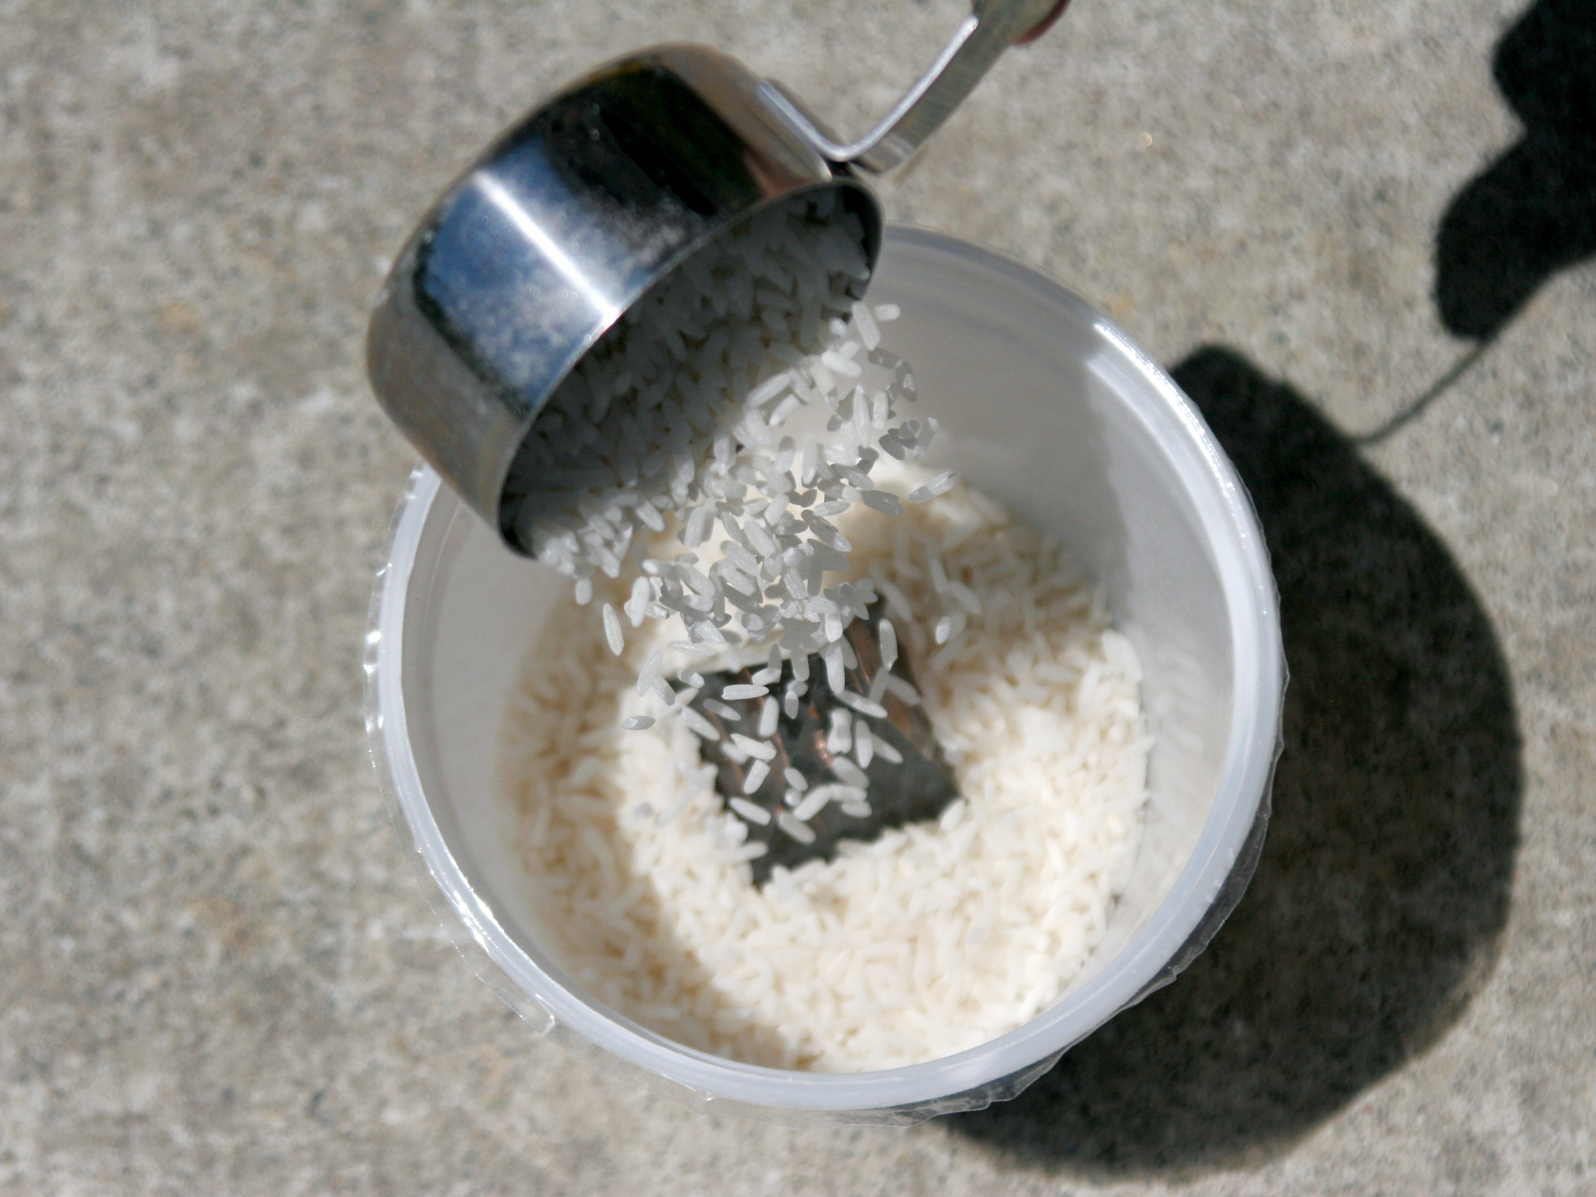
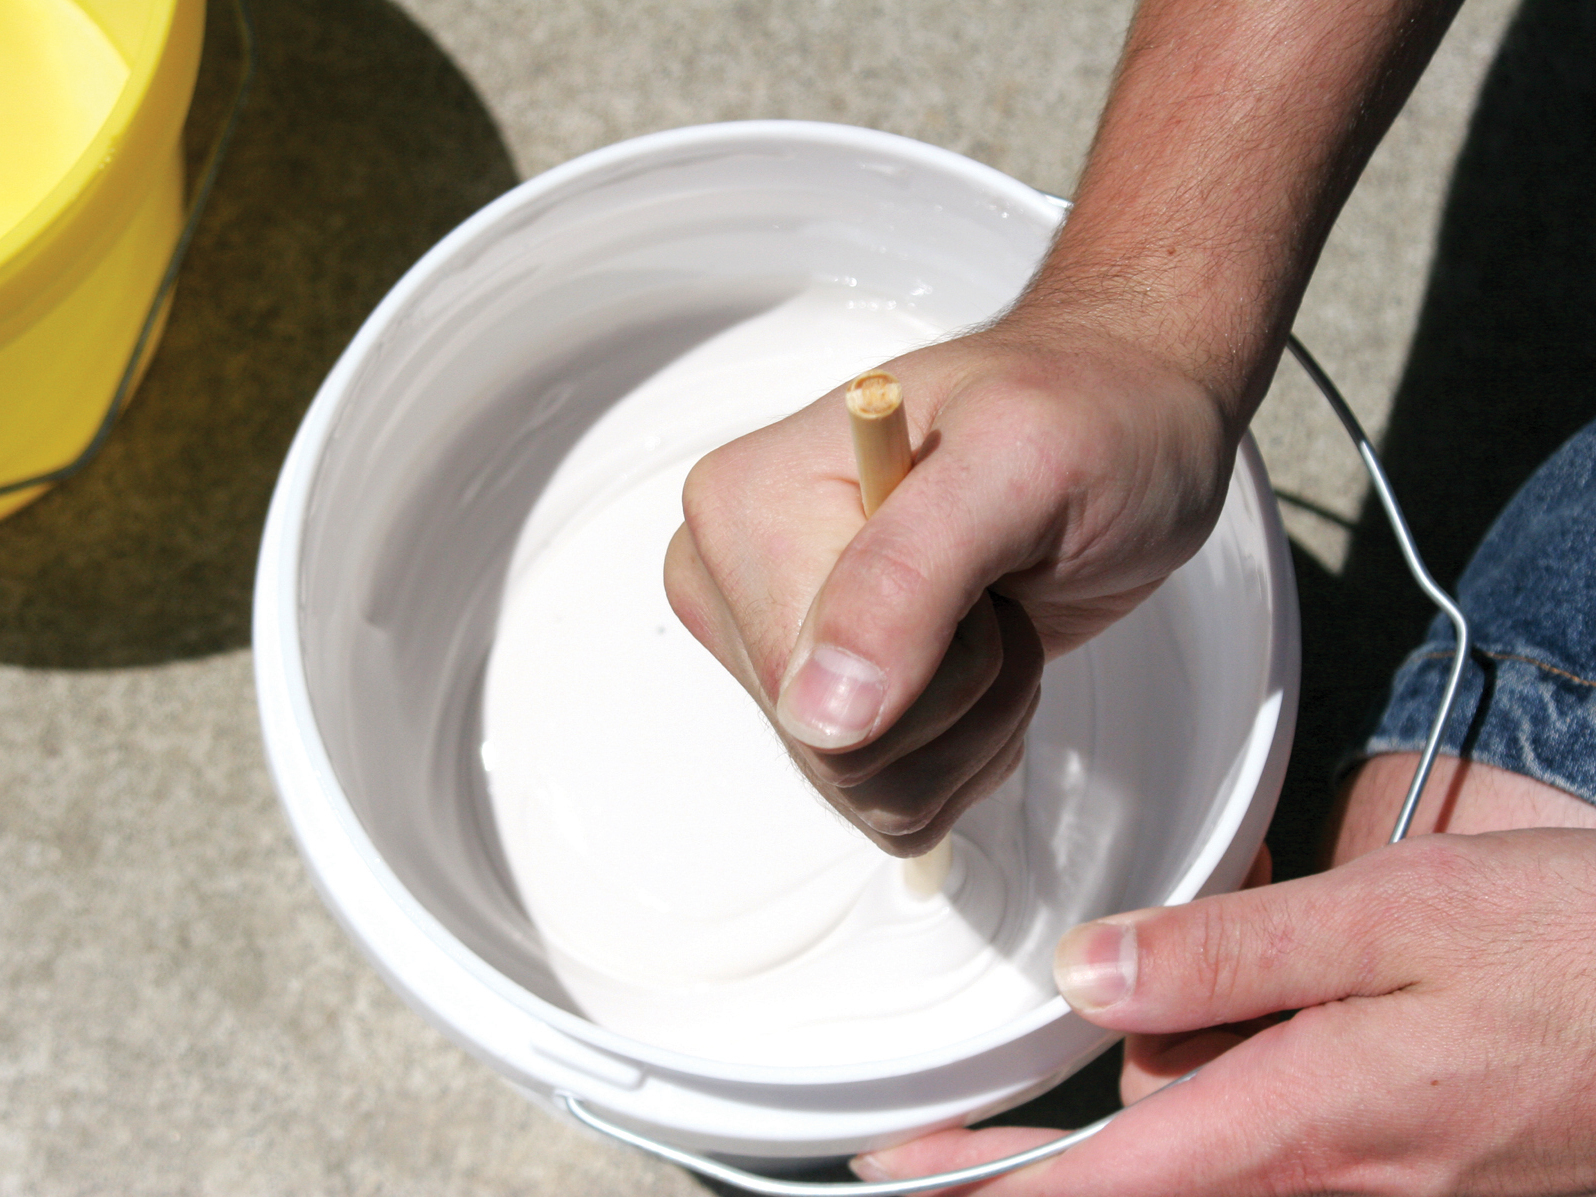
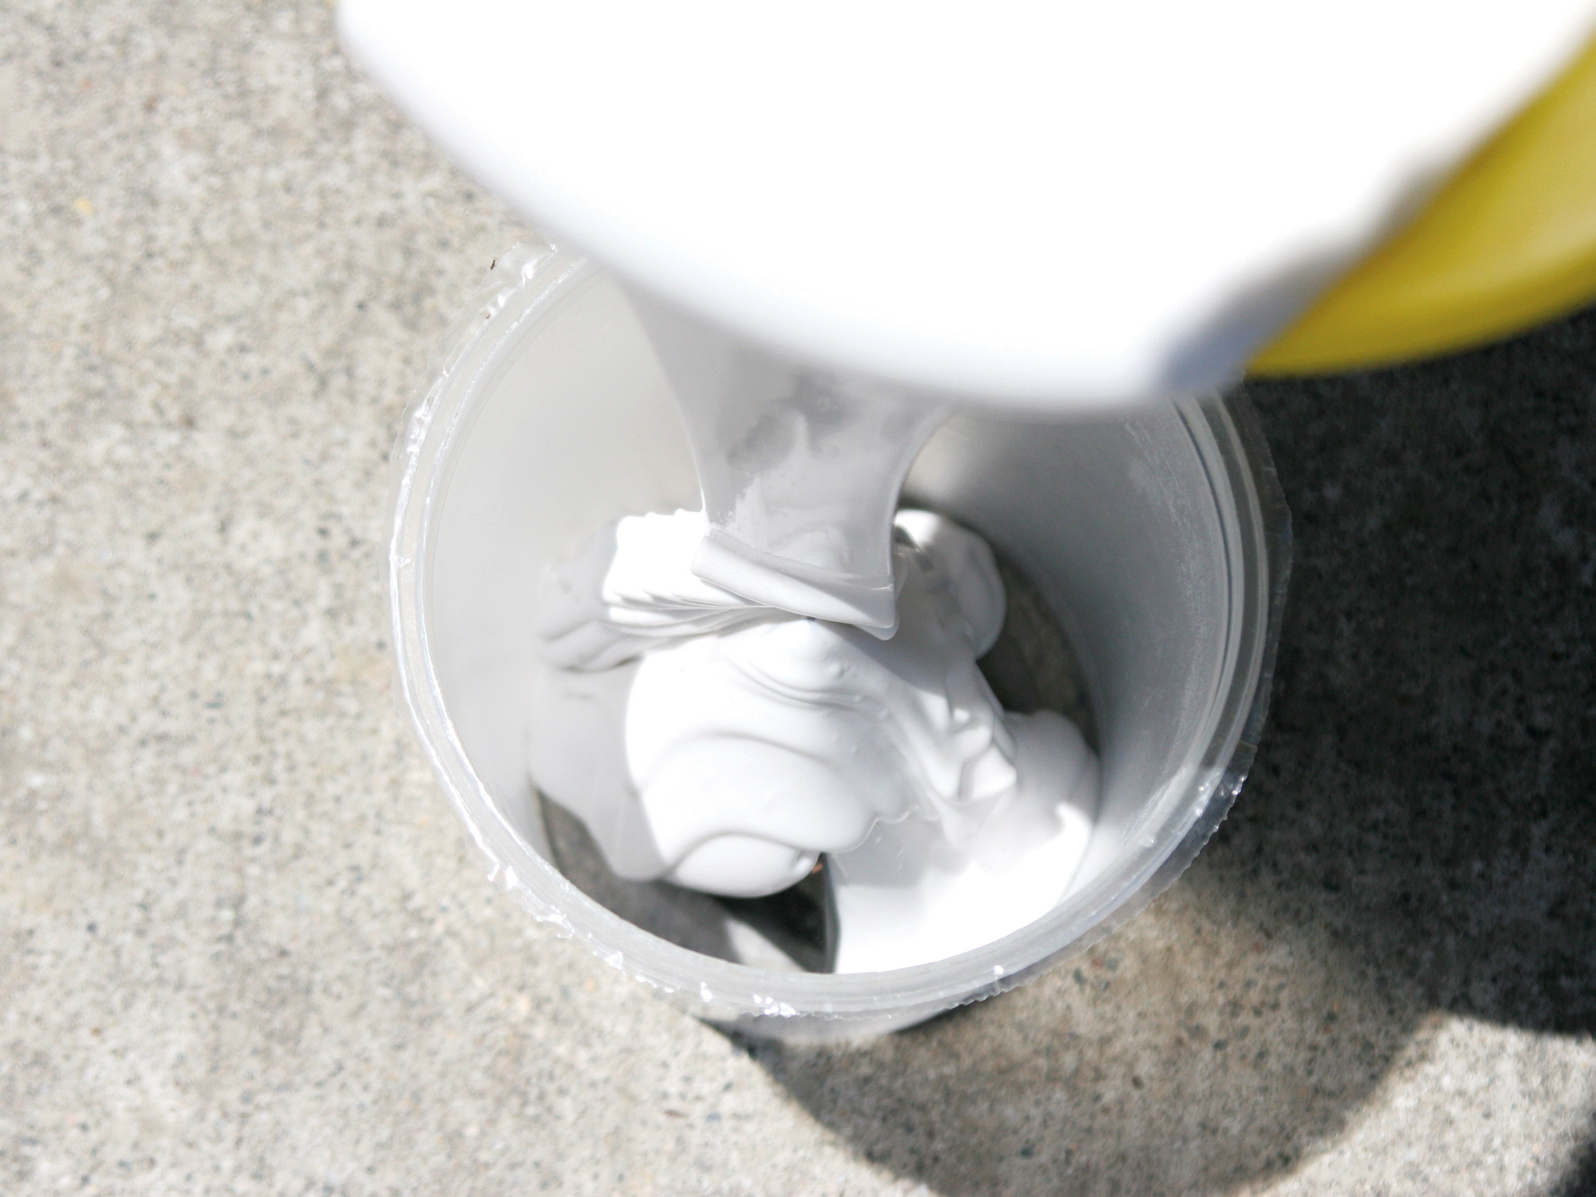
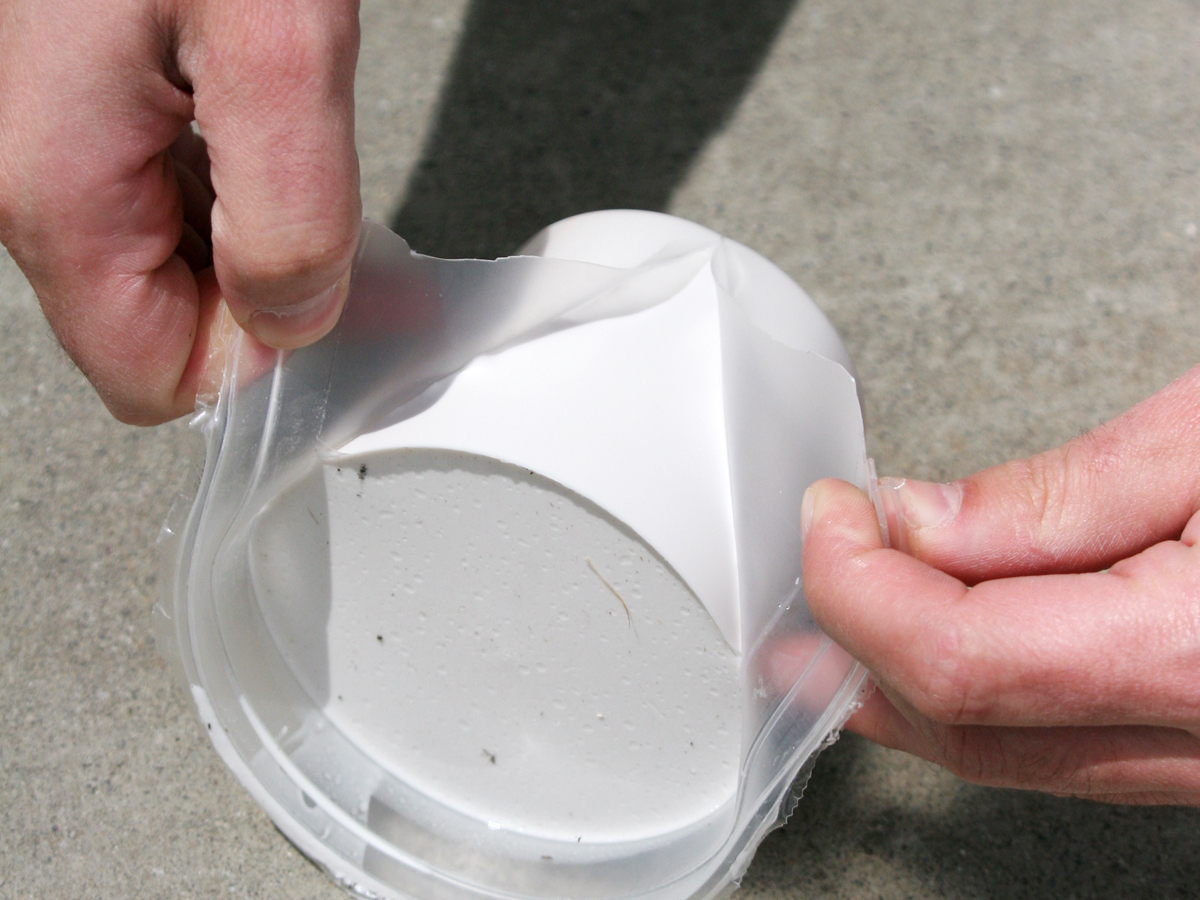
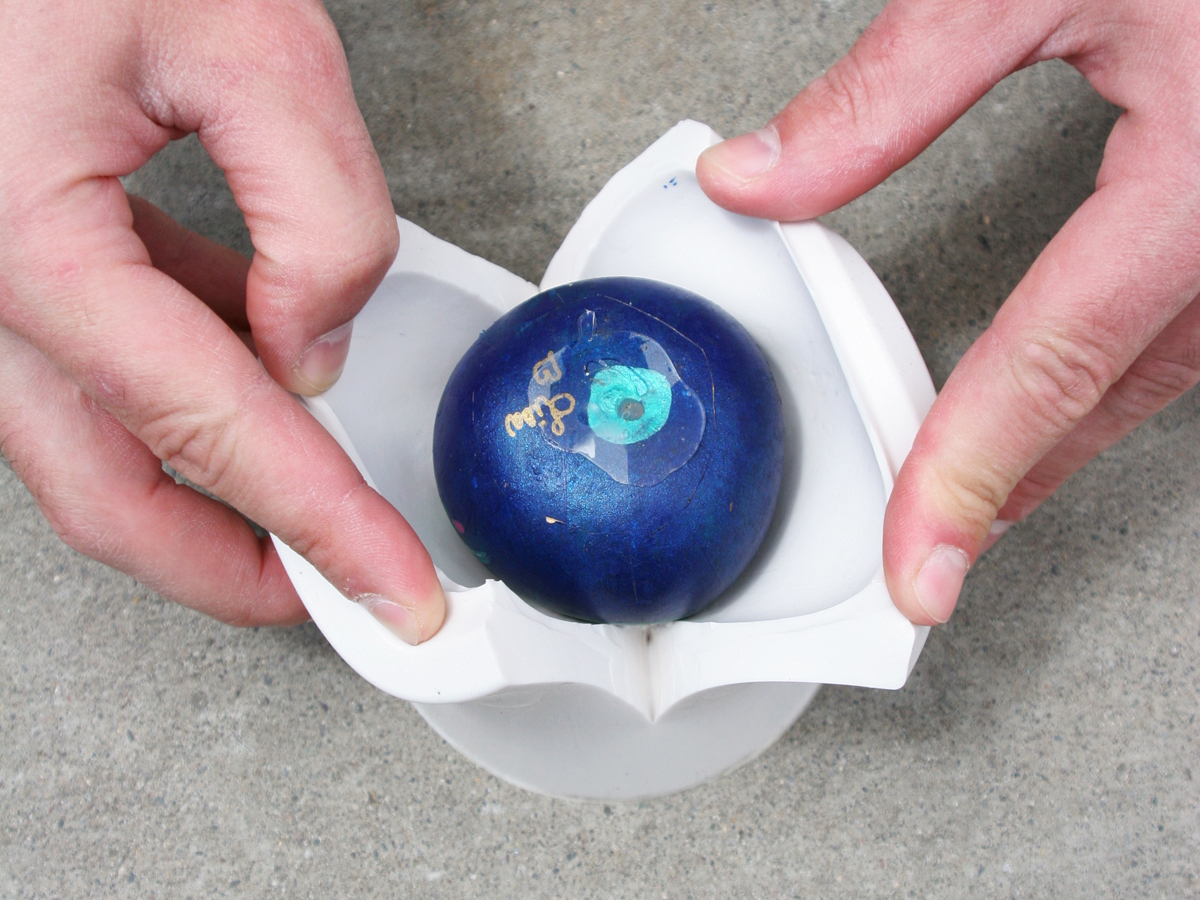
The process of making a silicone mold is easy. The liquid silicone is poured into a cup around an object, and then it hardens into a flexible mold. When the object is taken out of the mold, the negative space that it occupied makes a cavity for the pop mixture.
A silicone mold can be used over and over to create hundreds of ice pops. Molds can be made with multiple cavities, and several objects can be cast in the same mold, as long as there is a 2″ space between them.
The original object shape that will be made into pops is called the master pattern. This pattern can be any shape, such as a small toy or other found object. Plastic or wood works best; glass and ceramic objects will stick to the silicone and are not practical for this purpose. You can also sculpt characters or shapes out of clay, wax, or wood to use as patterns. I use clay, which hardens so that I can easily pull it out of the silicone and use it again.
Most manufactured hard plastic ice pop molds are shaped with draft, which means they’re angled slightly so you can pull the pops out easily. Consider draft when choosing your master pattern. The flexibility of silicone can accommodate small undercuts (grooves in the object), but master pattern objects that exhibit at least some draft are easiest to mold. The simplest objects to mold have a flat side, so they’ll require only a 1-part mold. If there are holes or negative spaces in the pattern, fill them with clay so the liquid silicone won’t seep in.


