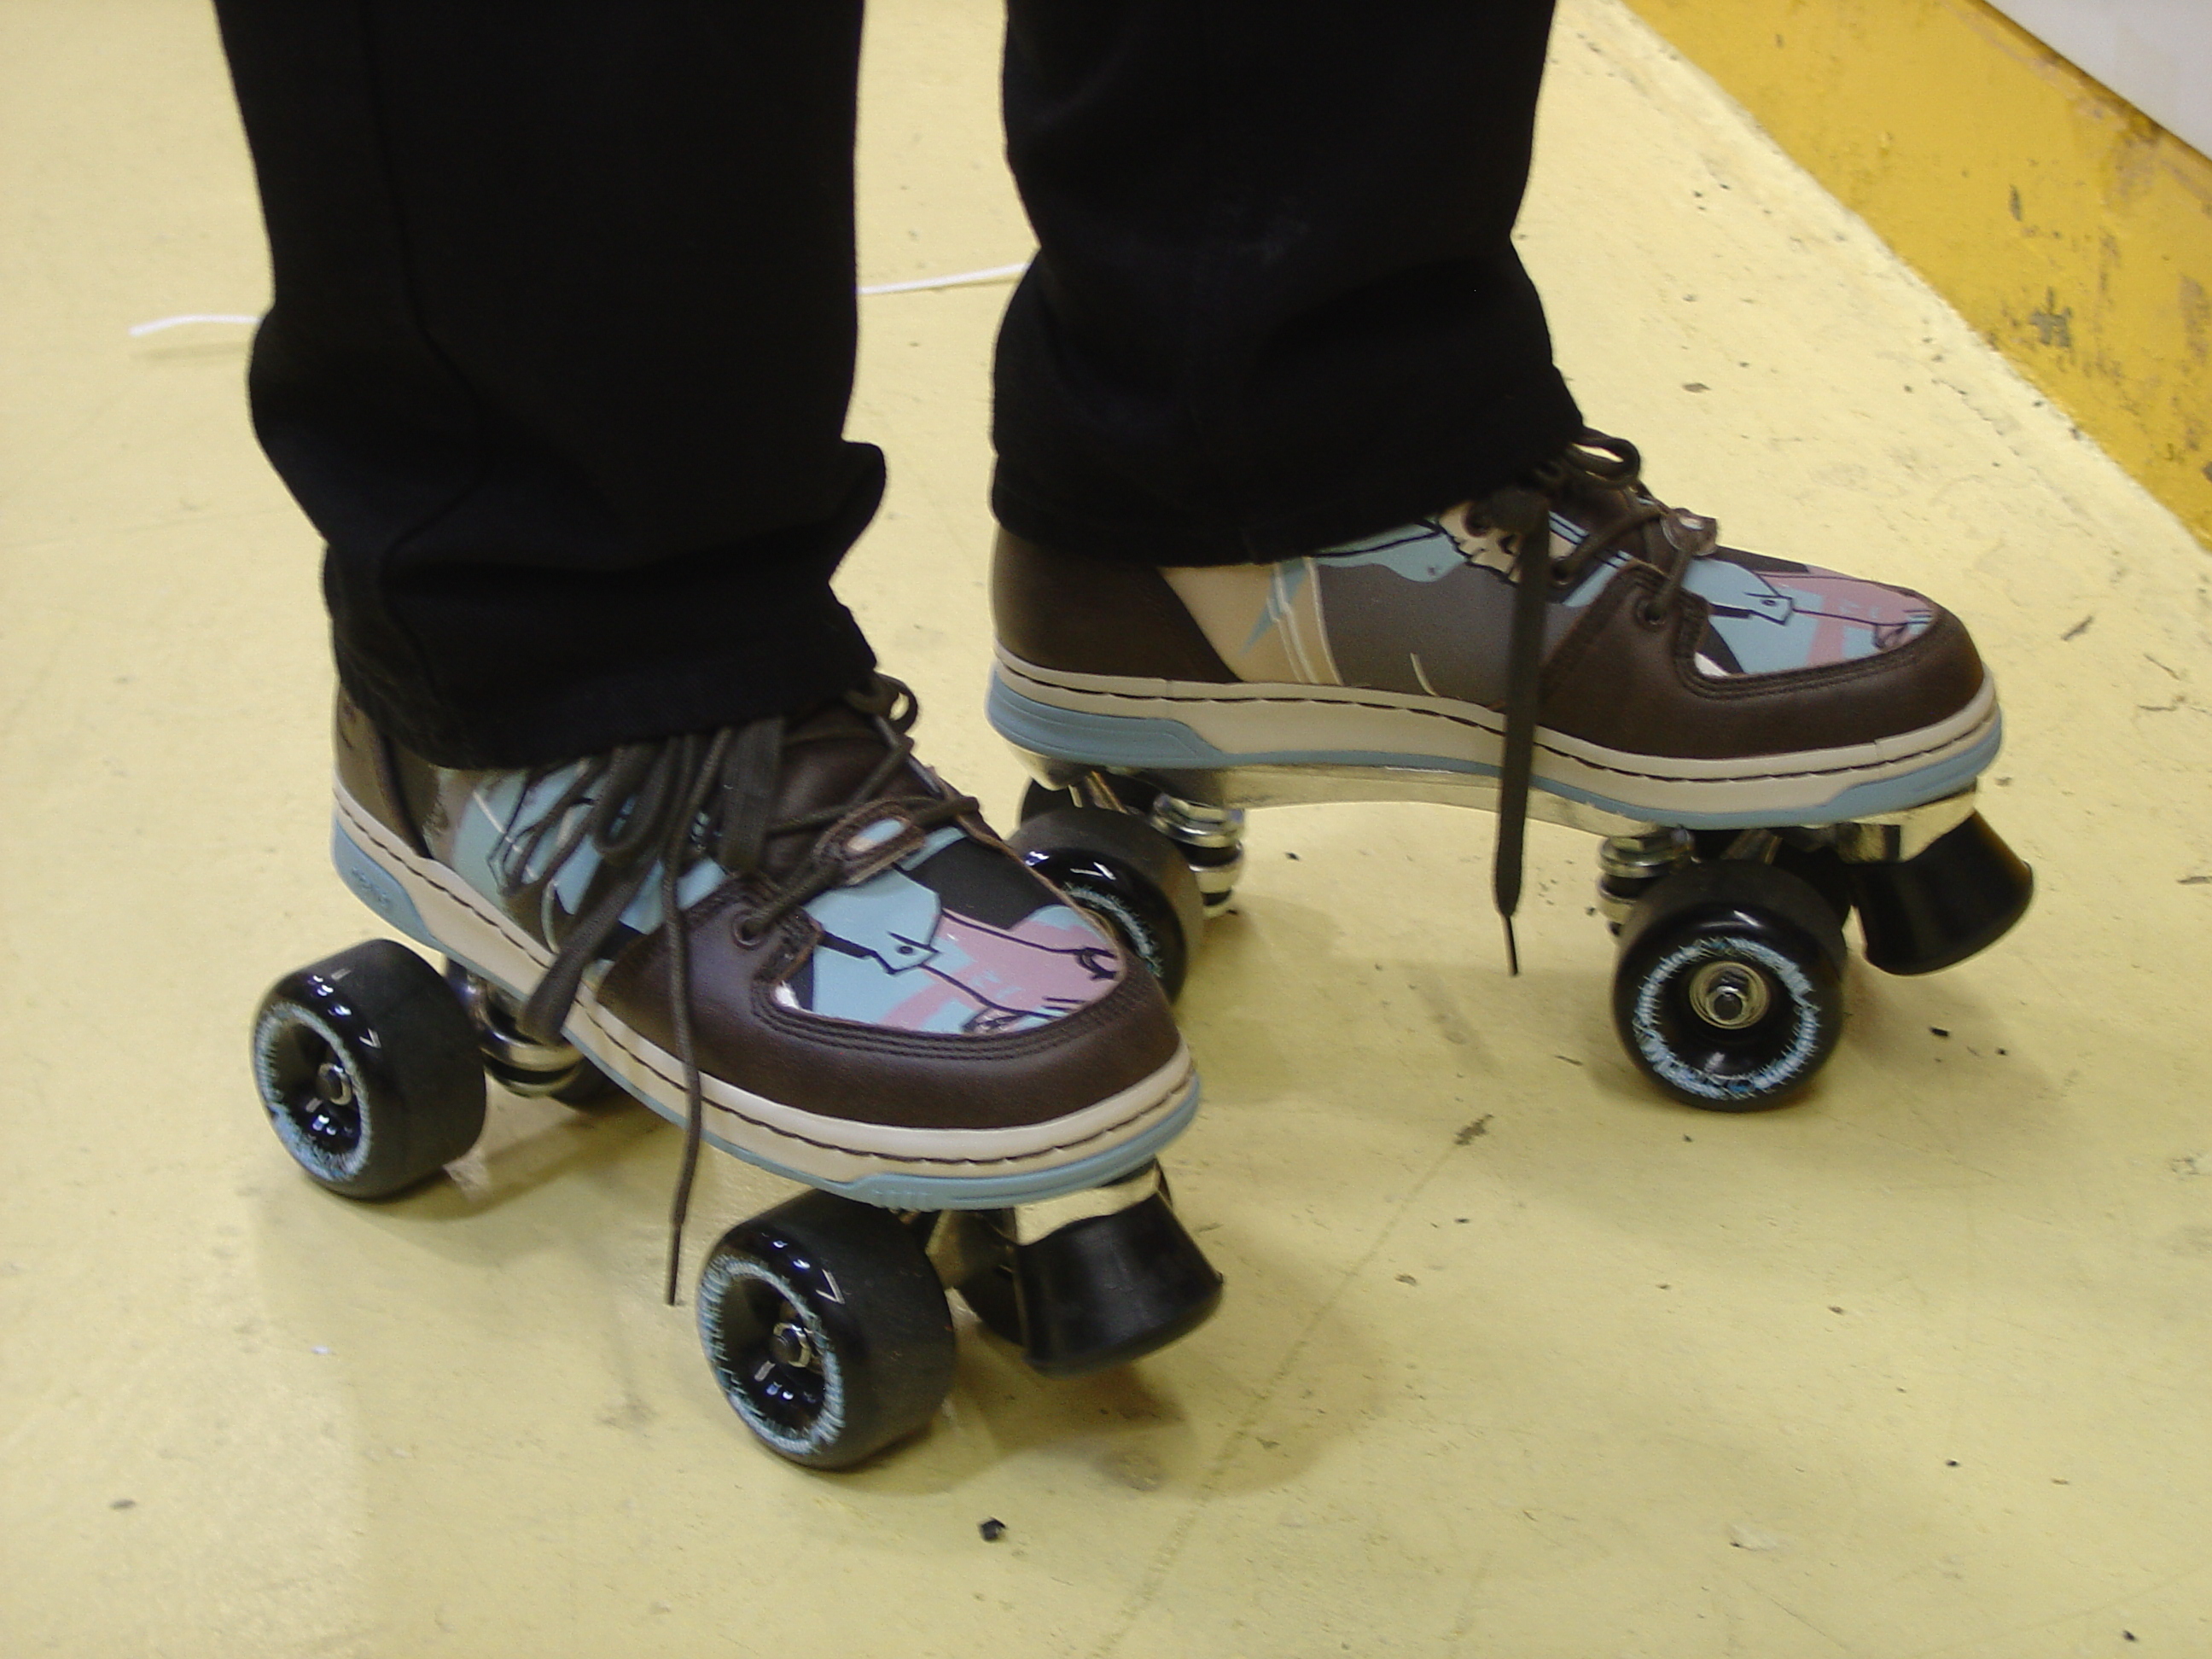
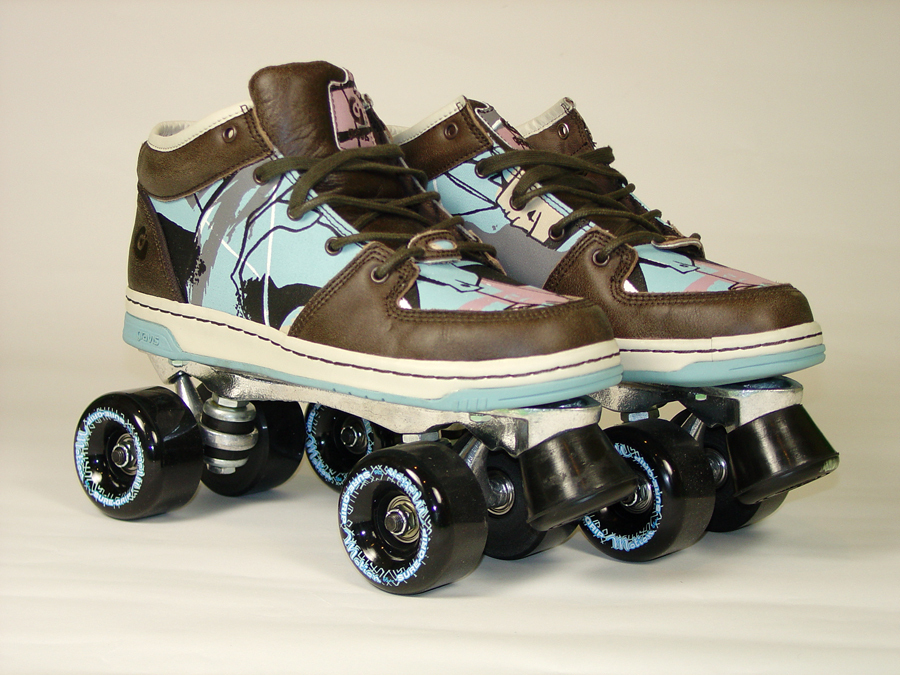
So why would you want to make your own roller skates? Because you can! Imagine rolling into a rink and turning heads as skaters check out your original, cool-looking skates. Not only will your custom skates set you apart in terms of style, fit, and comfort, they’re also a great conversation piece with the irresistible appeal of being able to say you made them and they’re not found in stores. The coolness factor is priceless!

A well-made pair of custom roller skates can last you years, with countless hours of fun to be had. Studies have shown that 1 hour of moderate roller-skating by a 140-pound person burns 330 calories, and vigorous skating up to 590 calories. Apart from the health benefits, skating is also a great way to socialize with other skaters at the rink or park.

This step-by-step instruction guide should be followed carefully to ensure the safety of your skates. And of course, always remember to wear protective gear when skating!

Check out a video of the build!

What will the next generation of Make: look like? We’re inviting you to shape the future by investing in Make:. By becoming an investor, you help decide what’s next. The future of Make: is in your hands. Learn More.

Project Steps

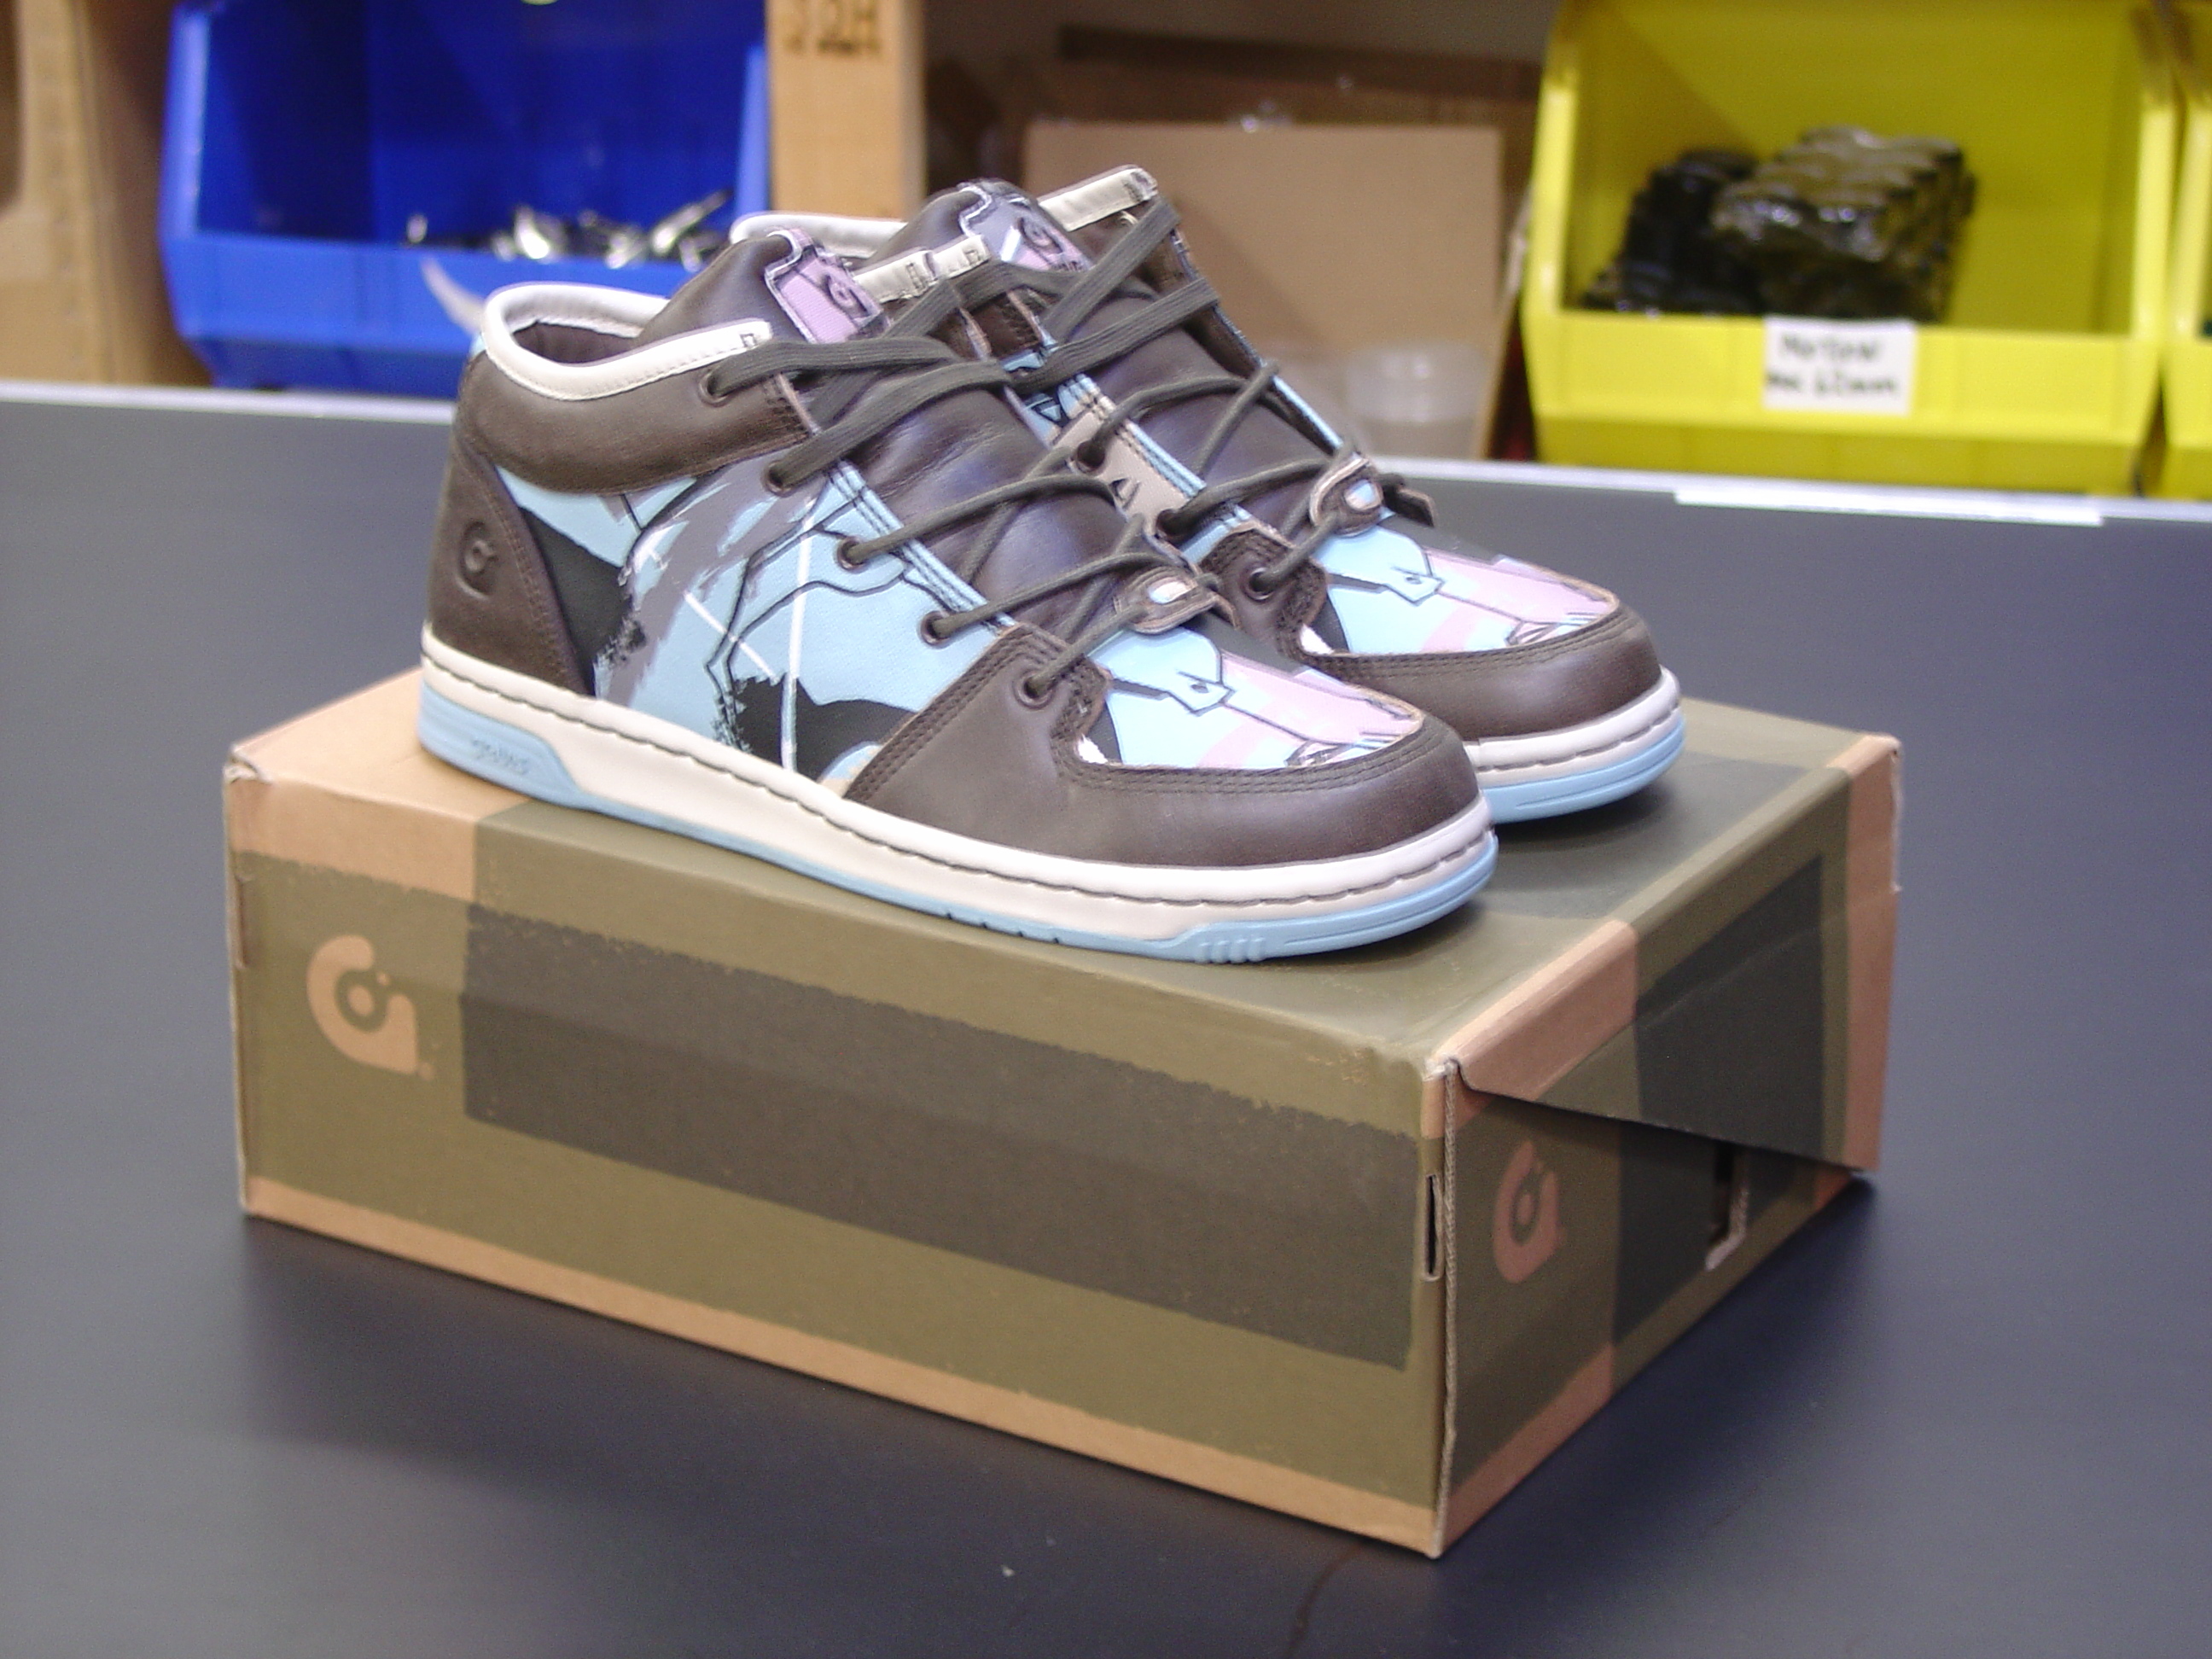
Select the shoe, the skate plates.

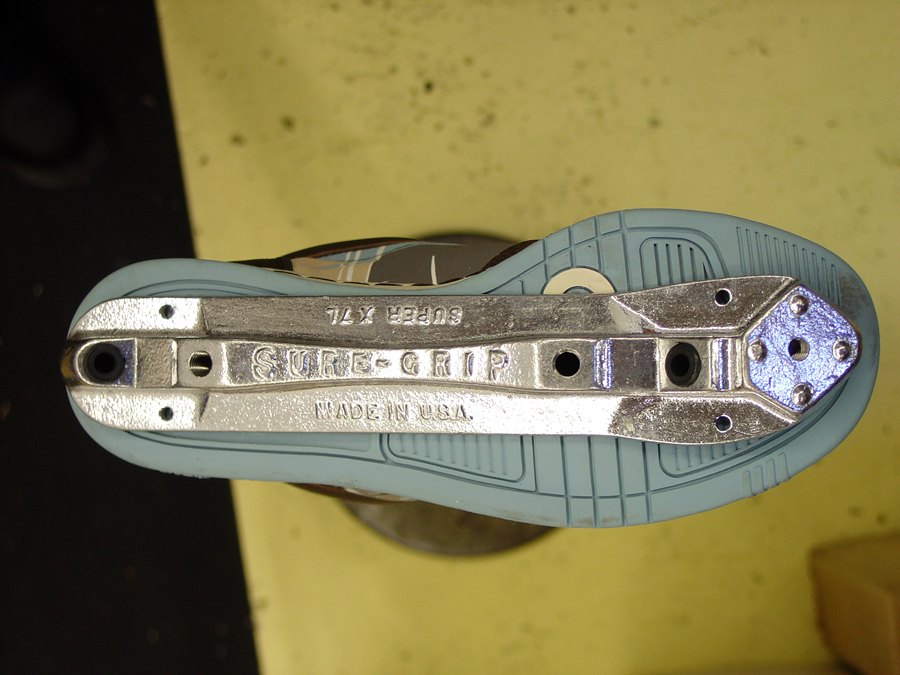
Pick one with a flat sole. The plate that will be attached to the shoe needs to have contact against the sole.

Select the plate size based on the size of your shoe. The plate should be centered on the sole and shouldn’t stick over the front or back of the shoe. Line the plate up accurately before drilling.

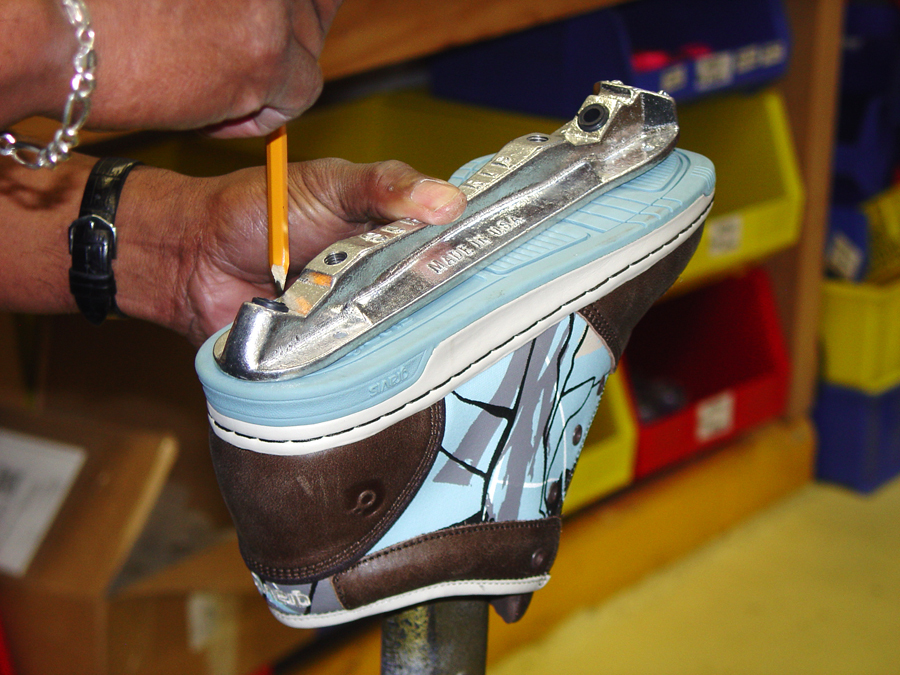
Mark and drill holes for skate plates.

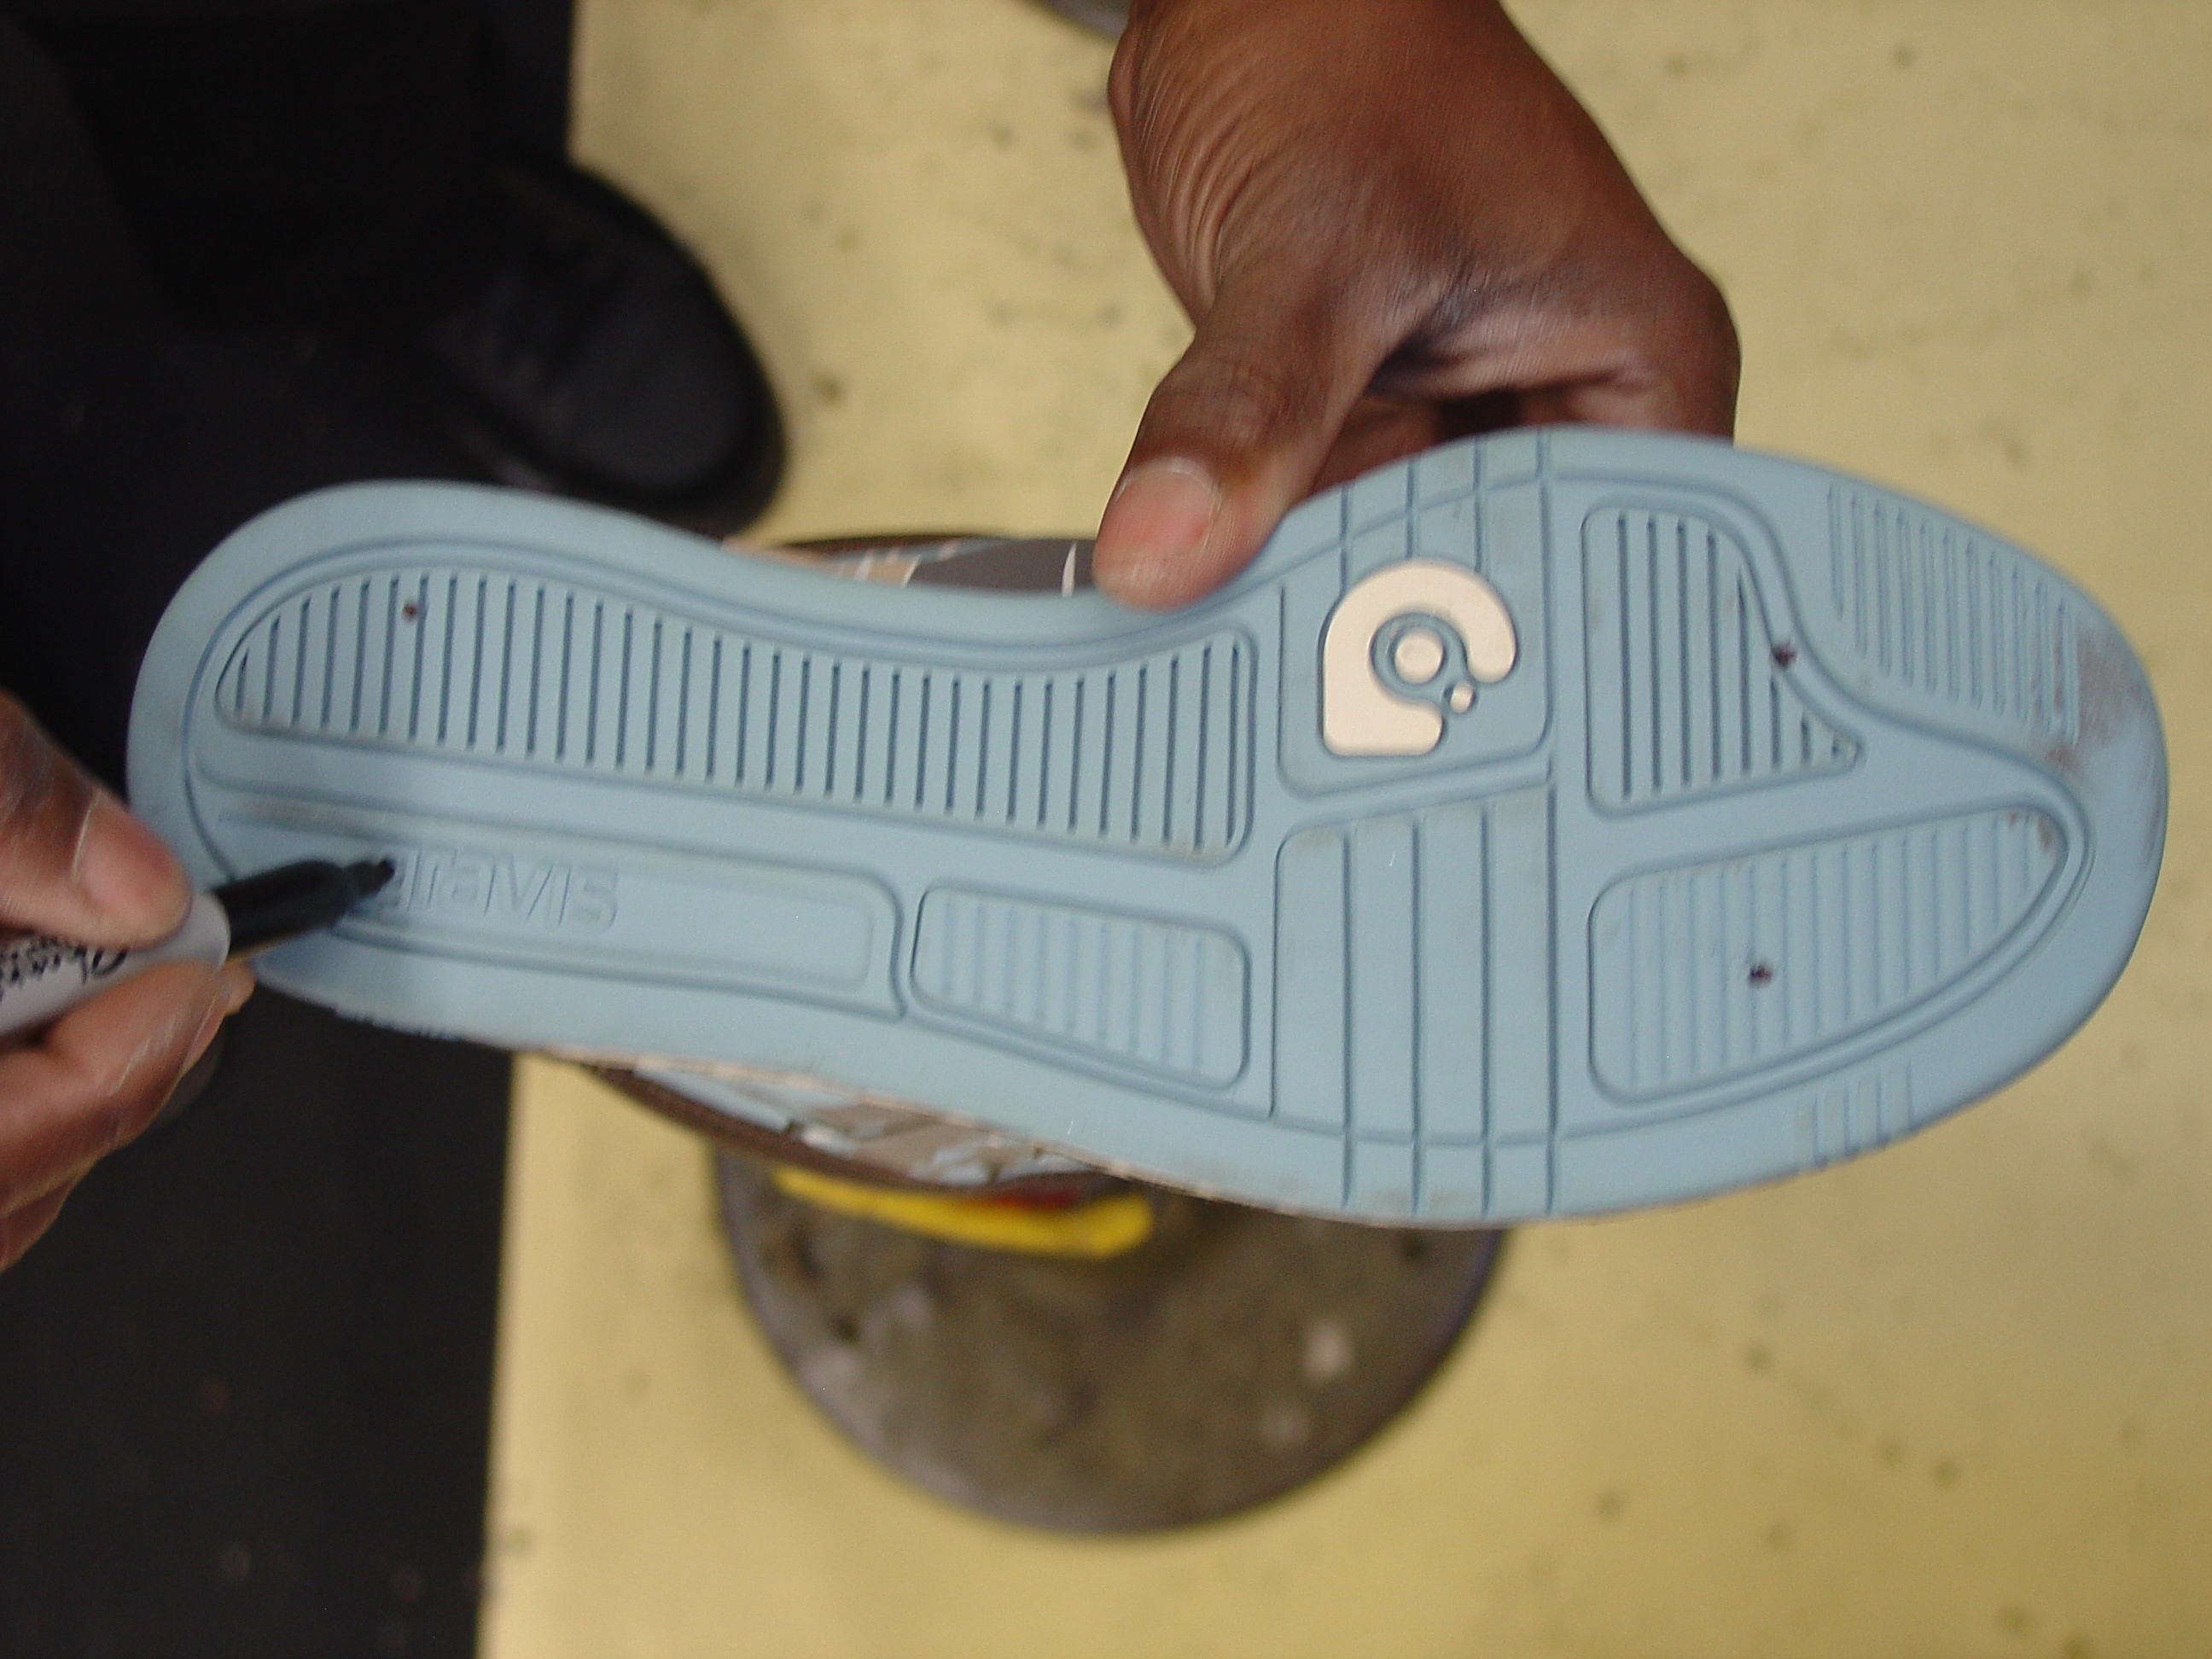
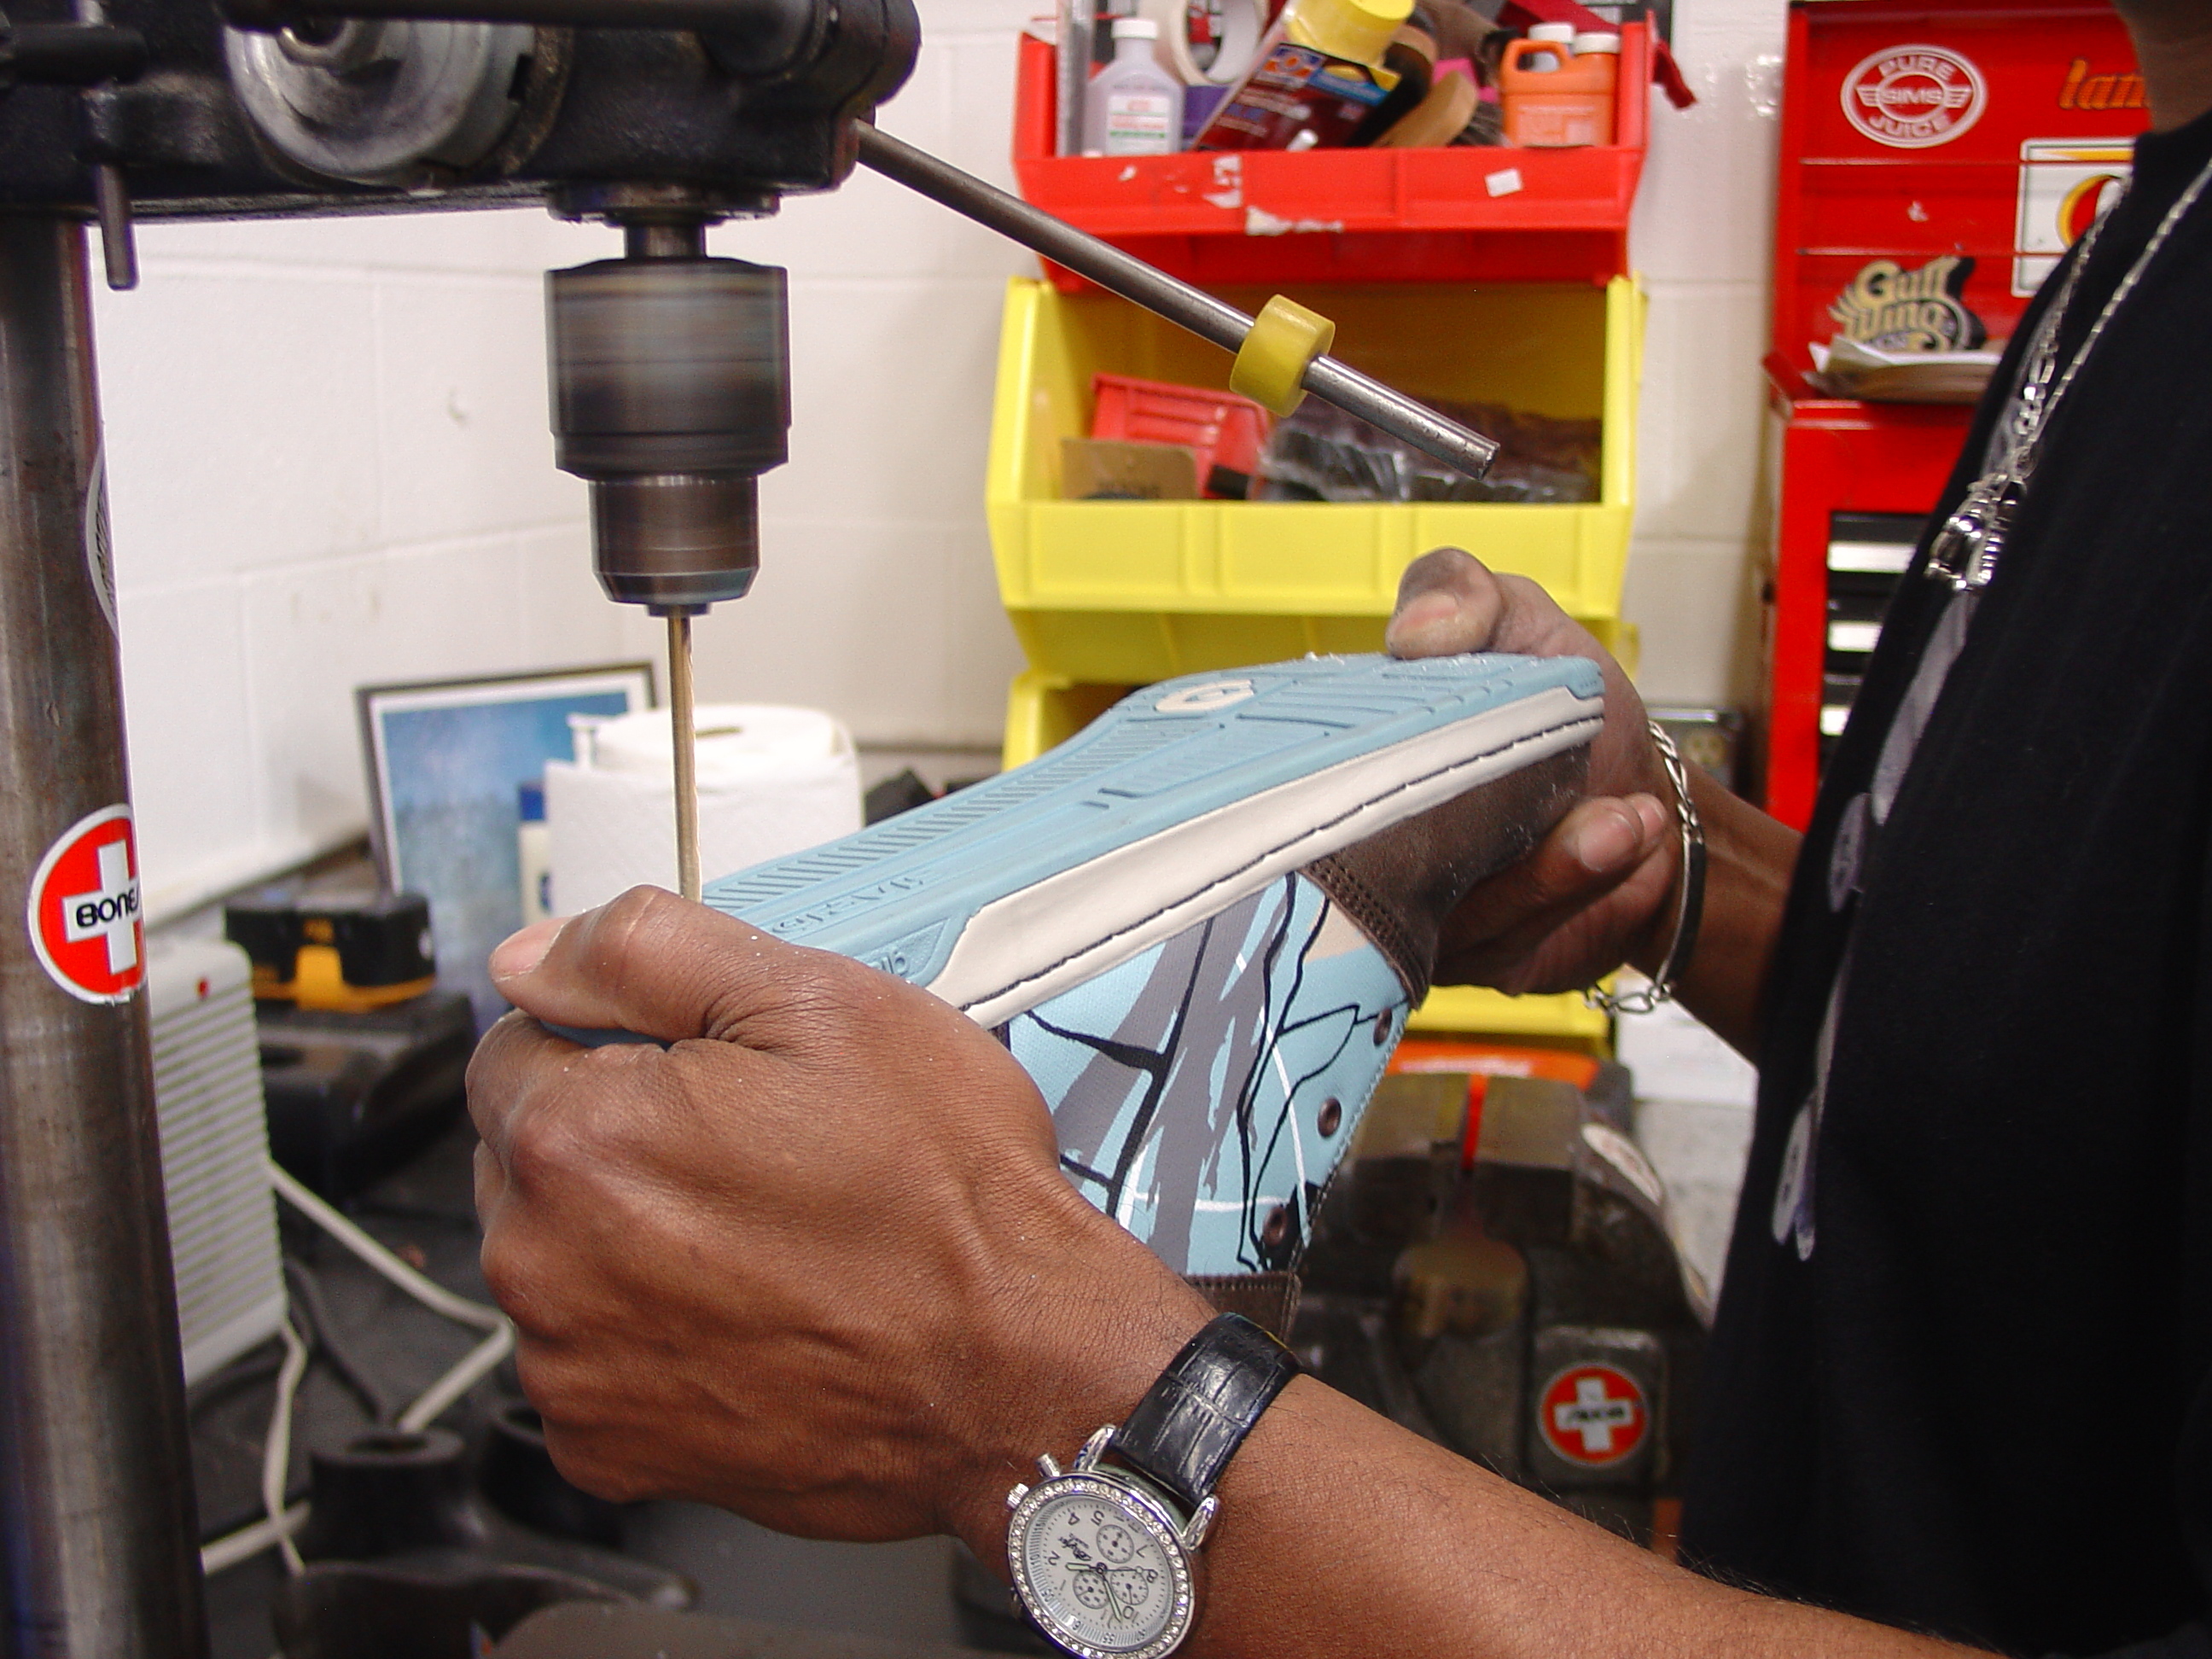
Use a punch or a marker to mark the drill hole locations on the shoe soles, using the holes on the plate as a guide. Four holes are required for each skate. Proceed to drill all the holes, not exceeding 1″ depth on the front holes and 1″–2″ depth in the heels.

Placing the Snyder cups.

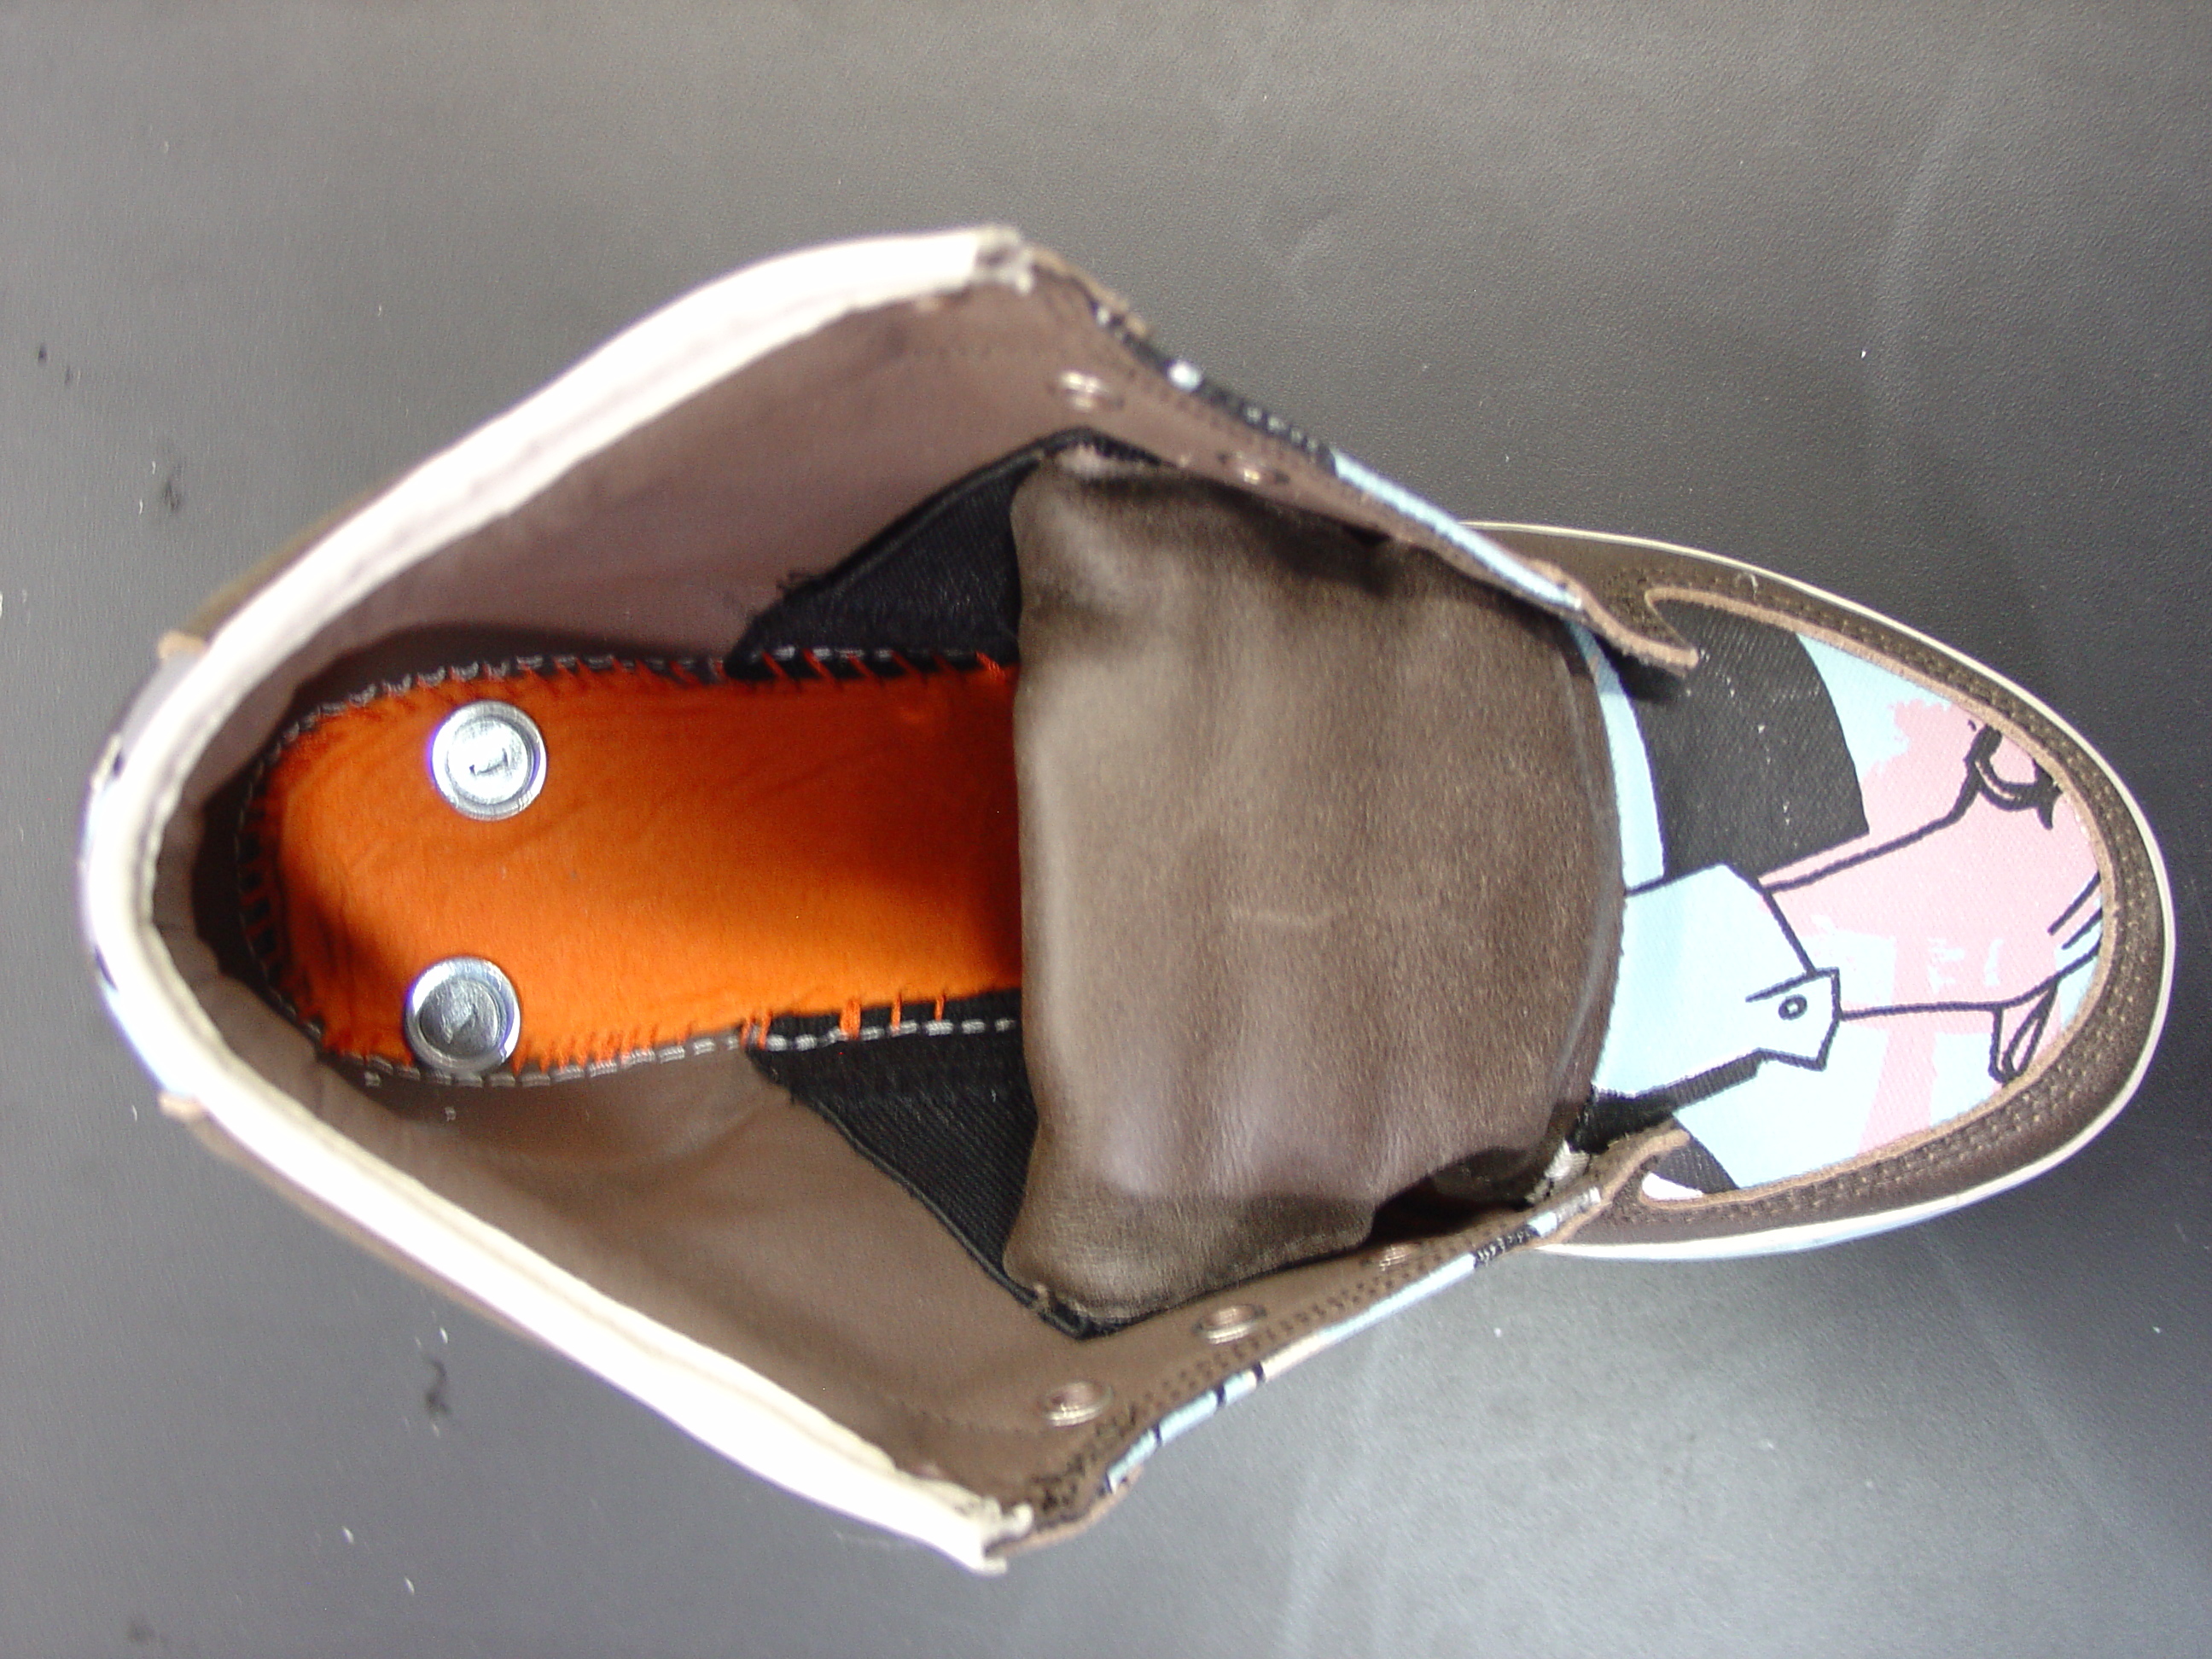
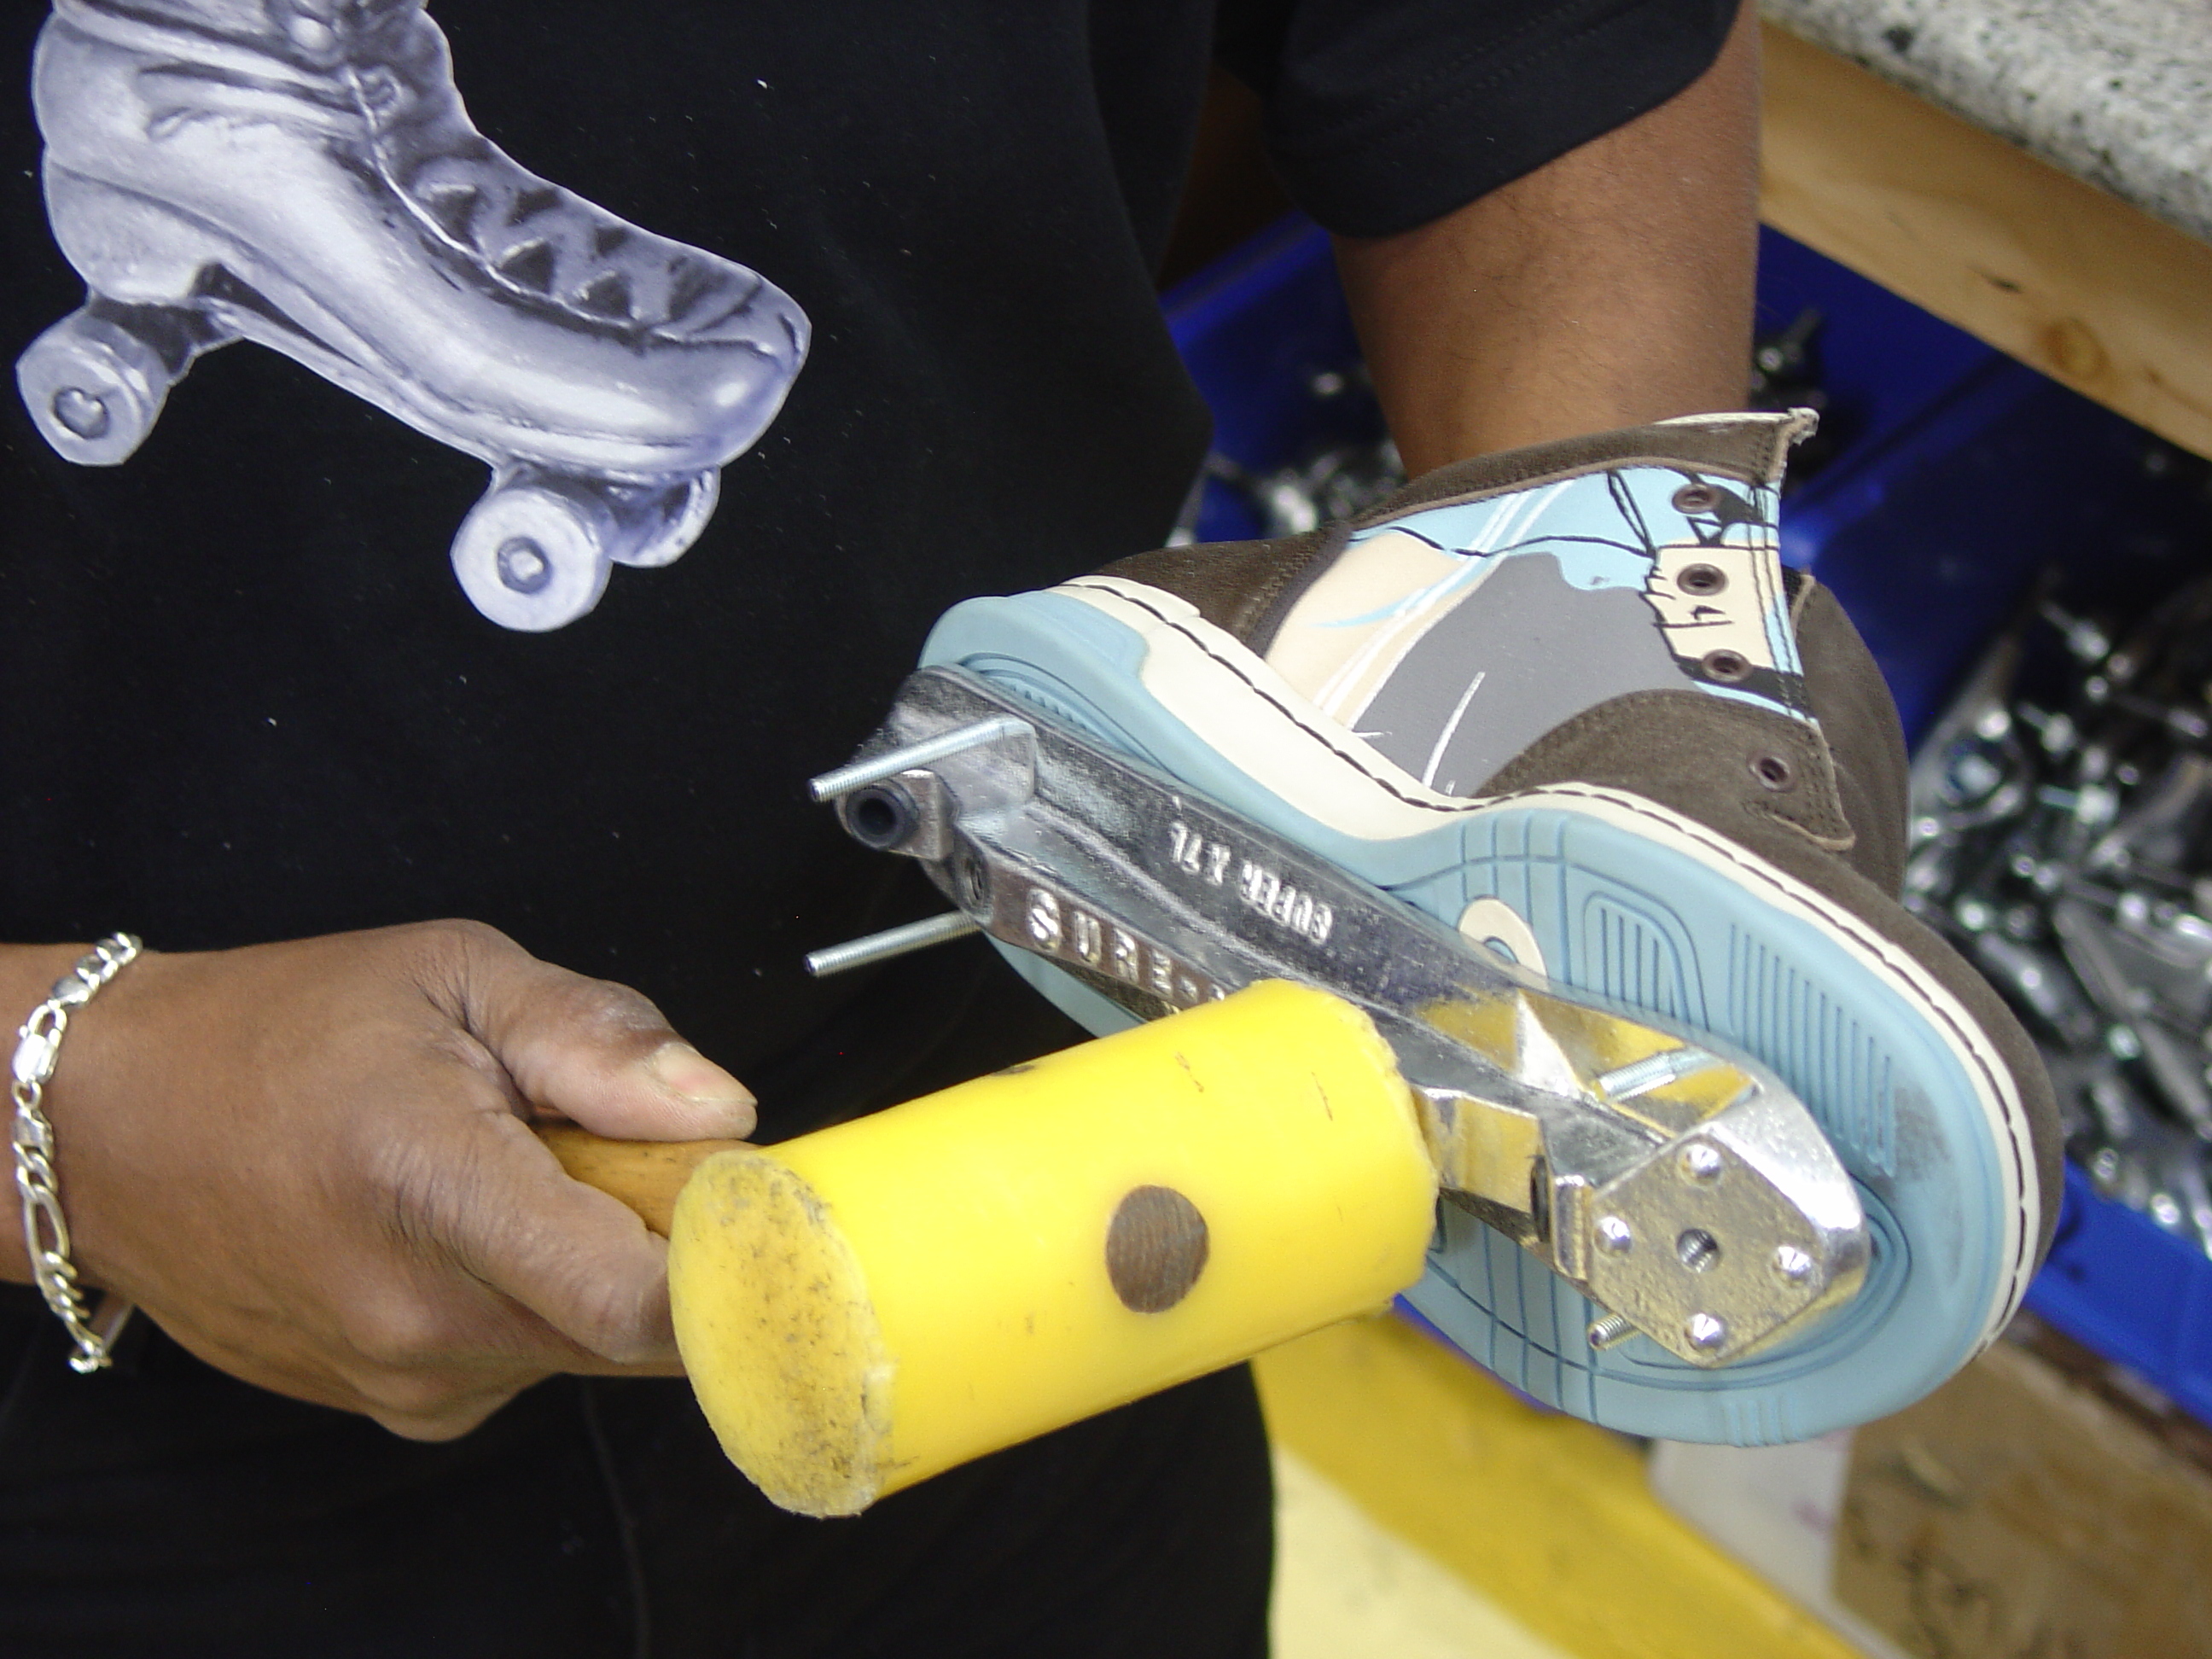
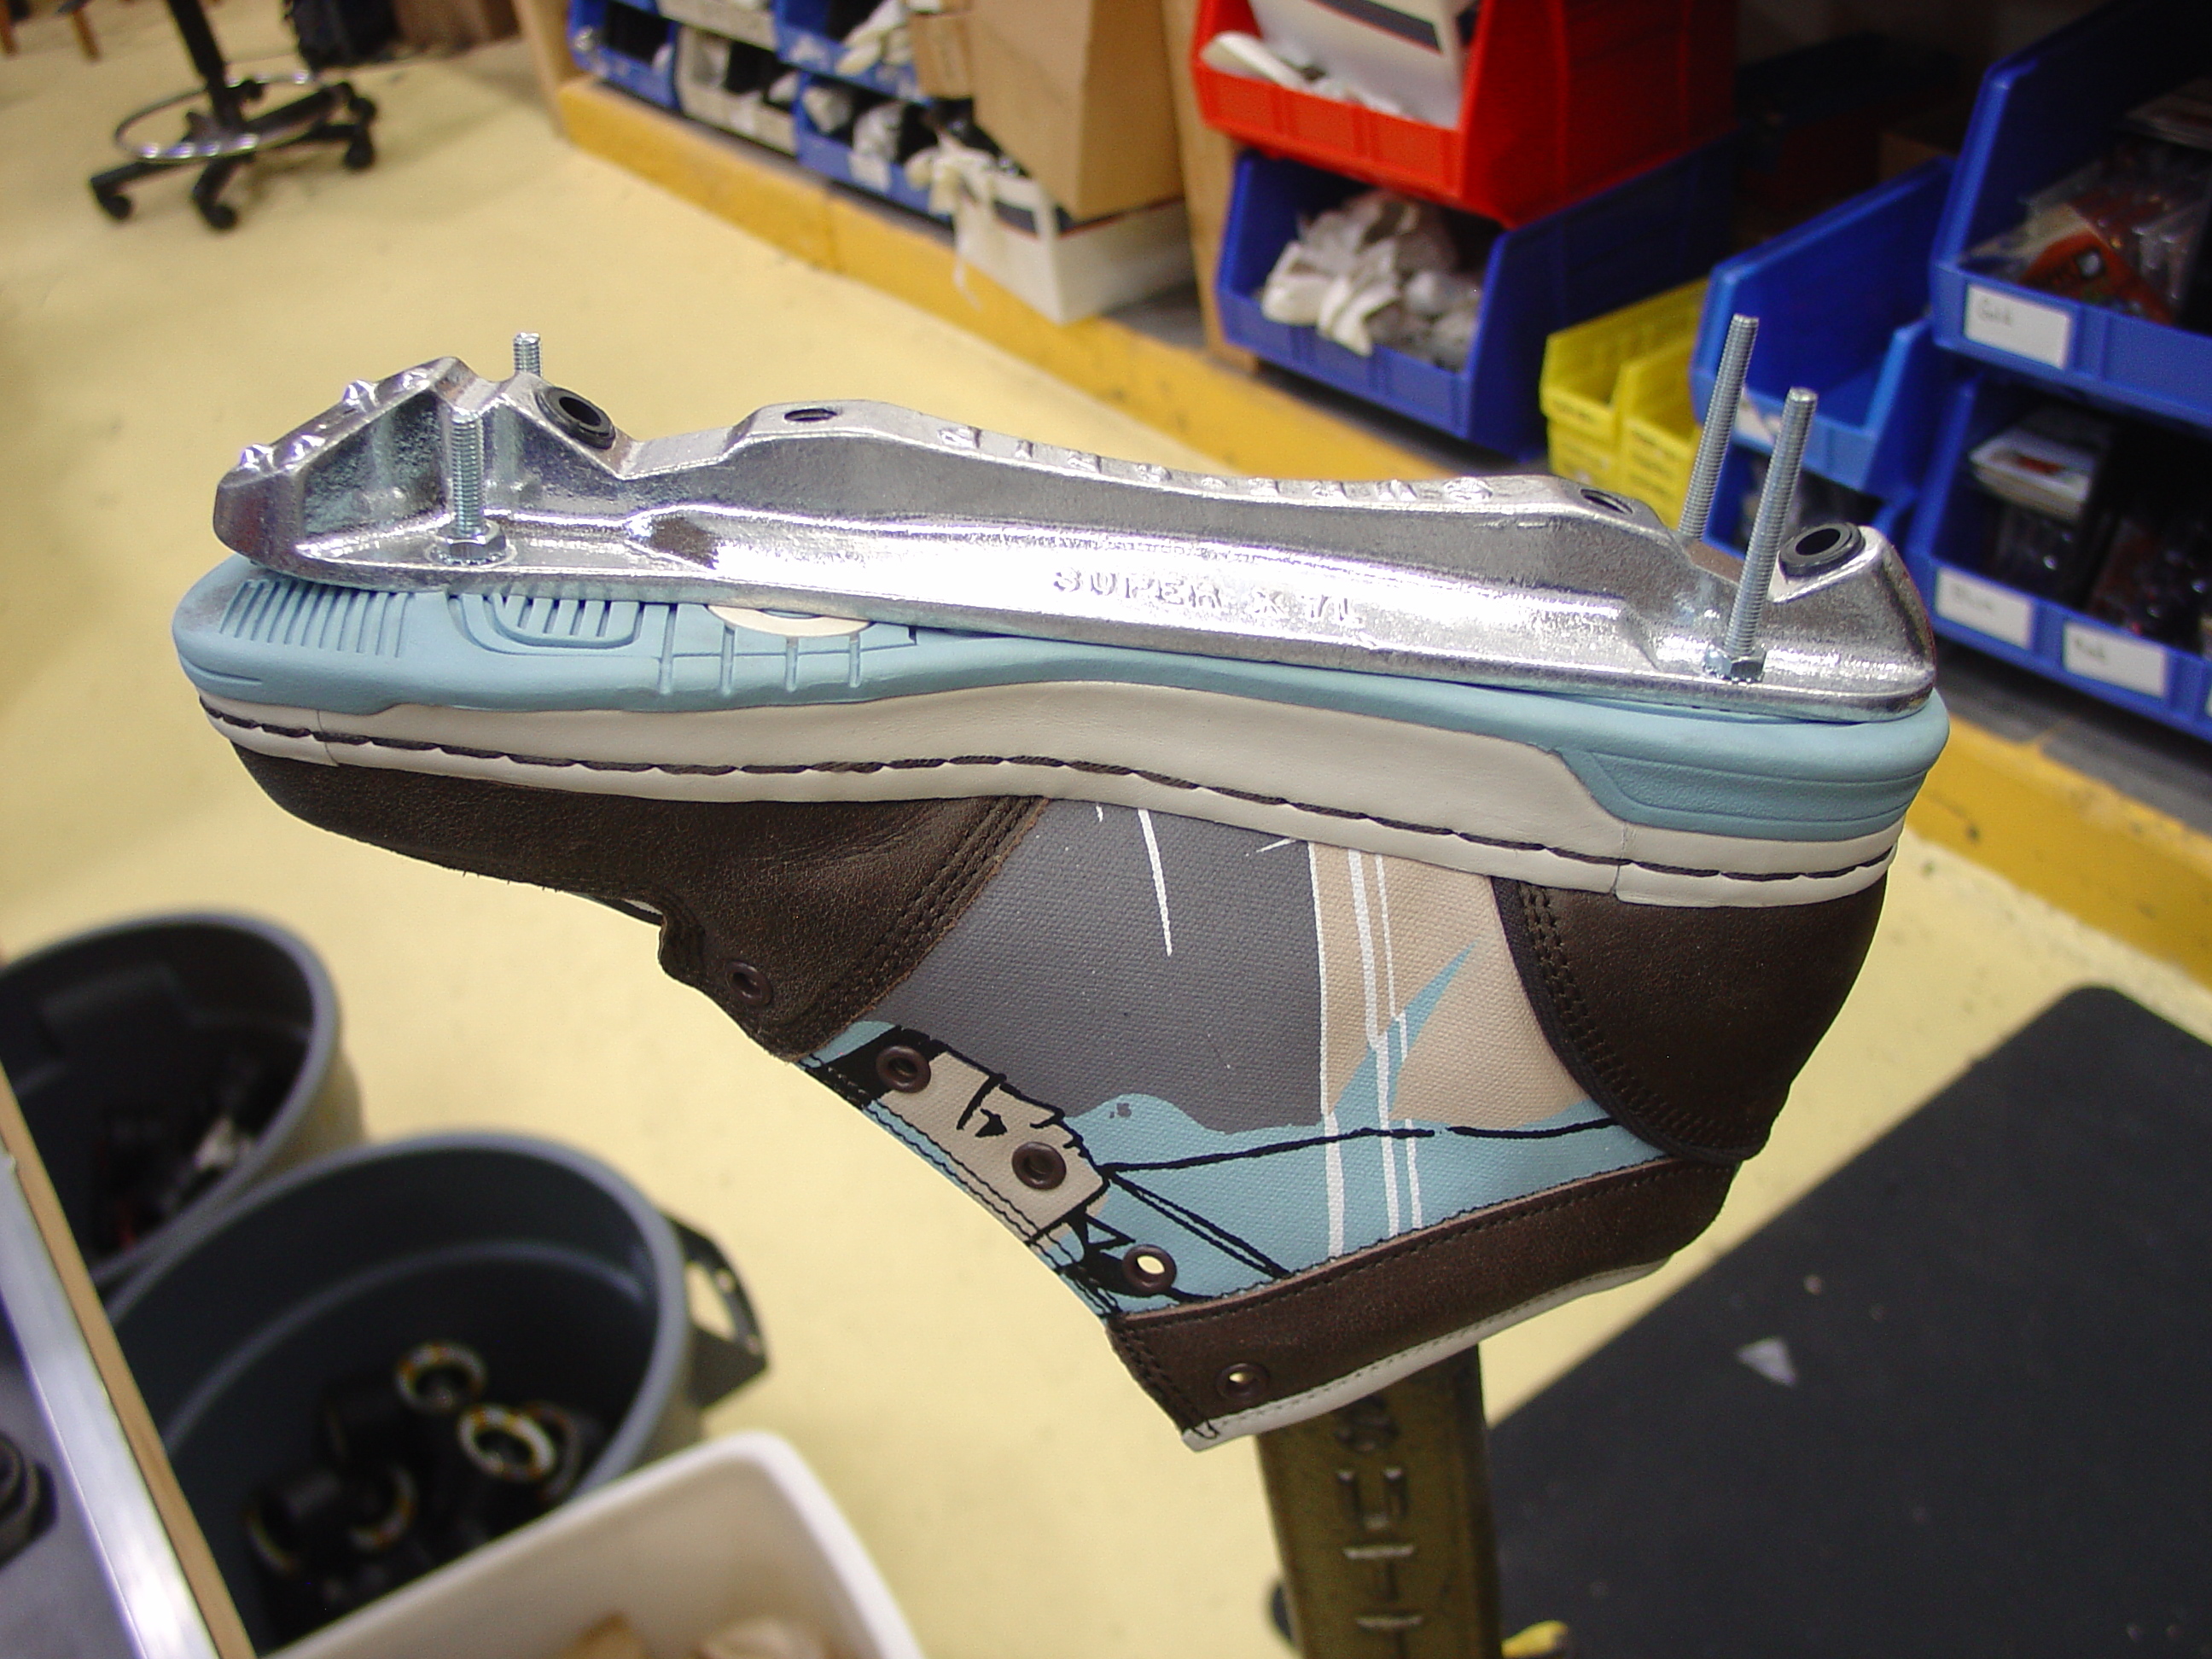
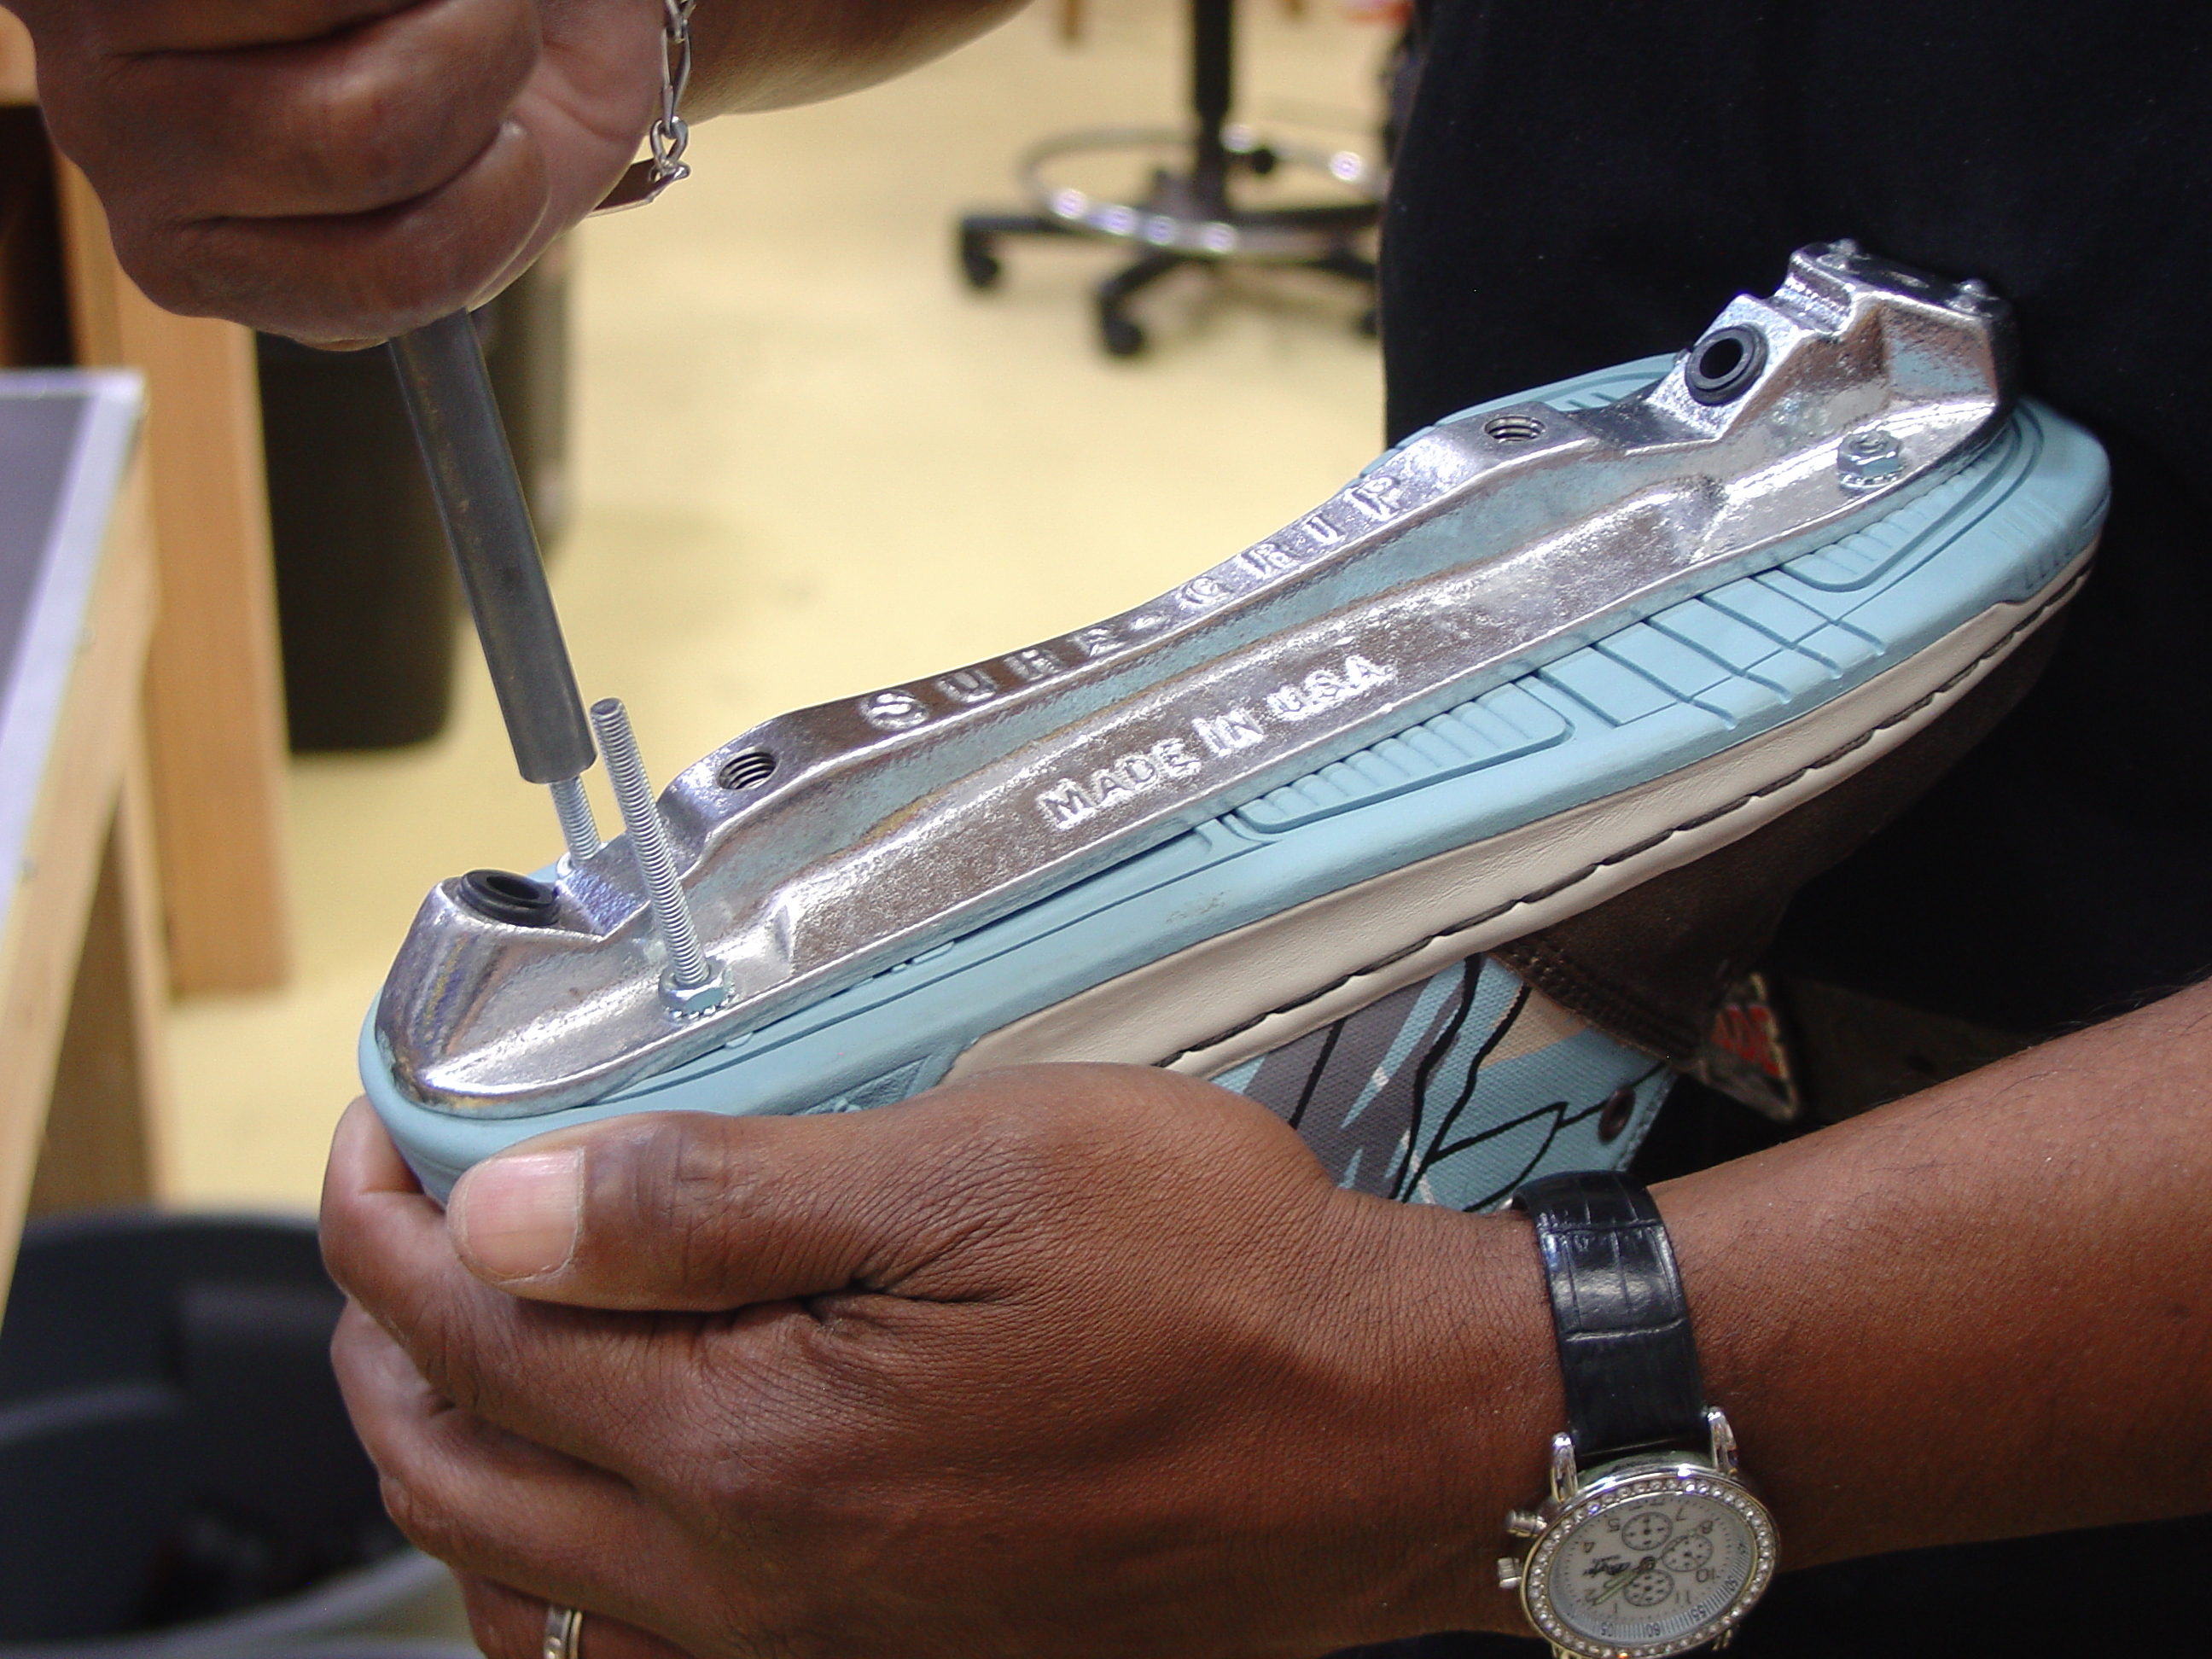
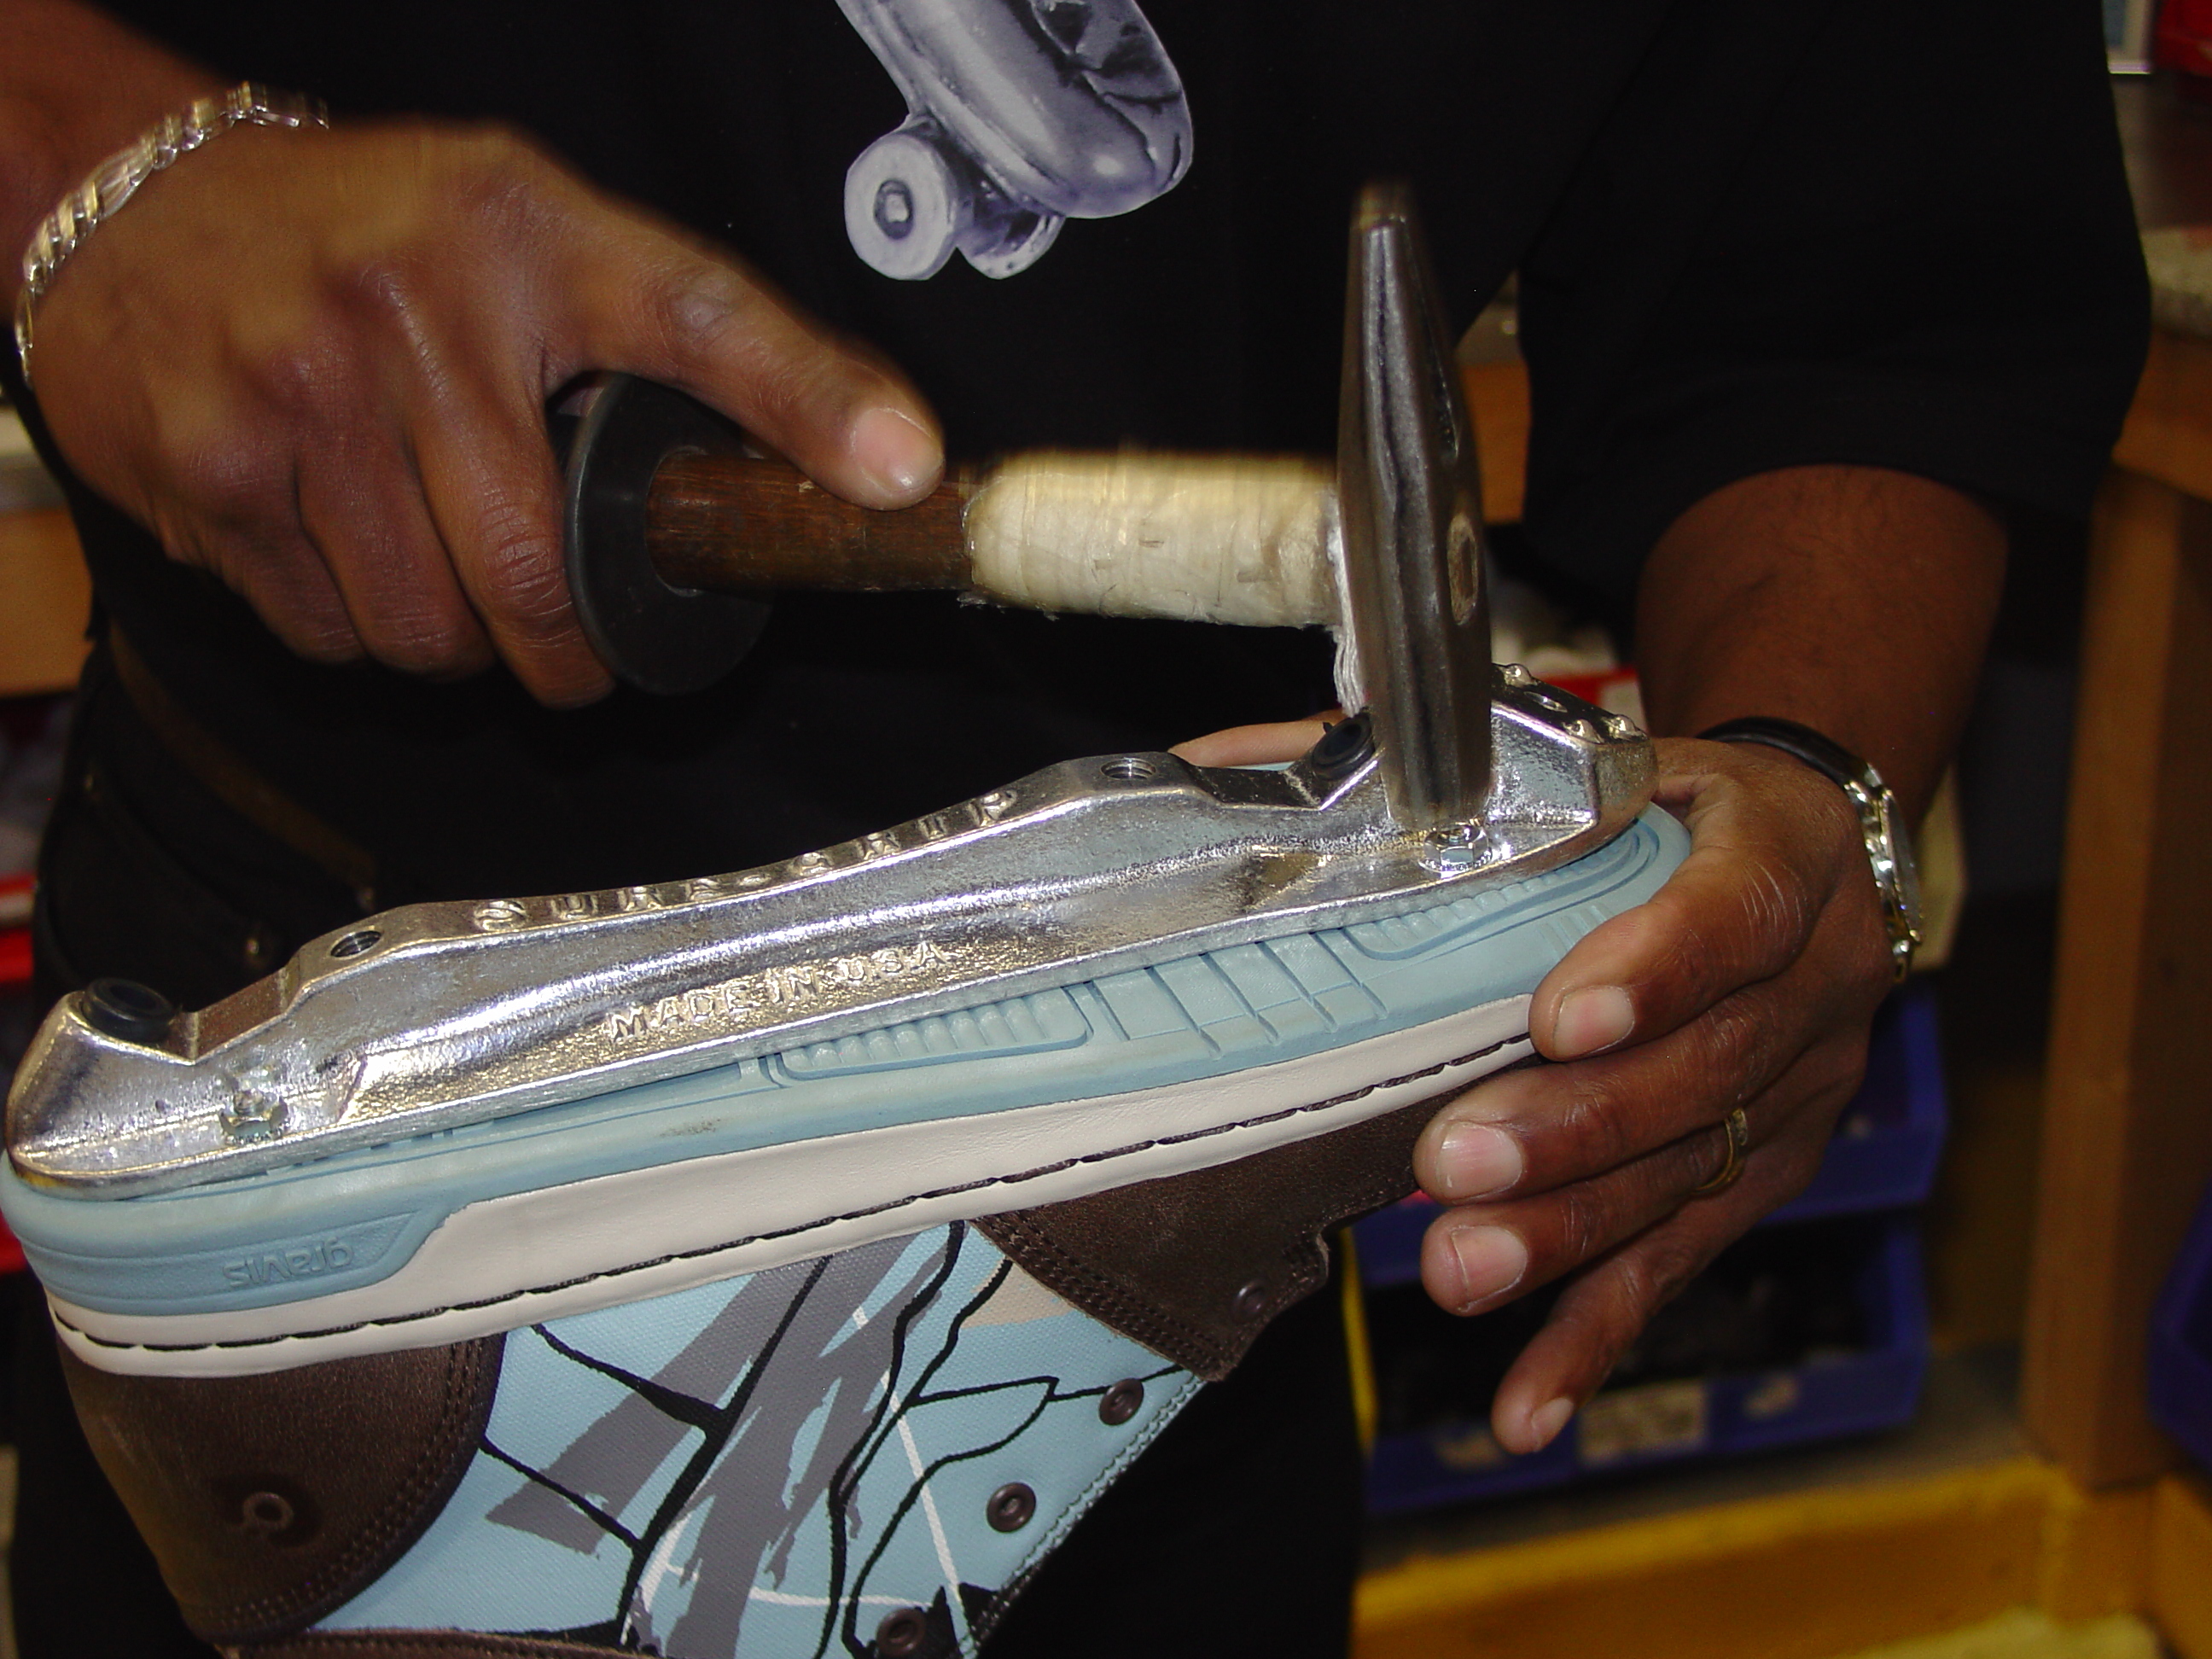
Once the holes are drilled, put the Snyder cups in place inside the shoe and insert the mounting bolts through them: 2 in the front and 2 in the rear. Now place the plate onto the mounting bolts, using a soft mallet to tap it into place. Repeat for the other shoe.

Secure the skate plates.

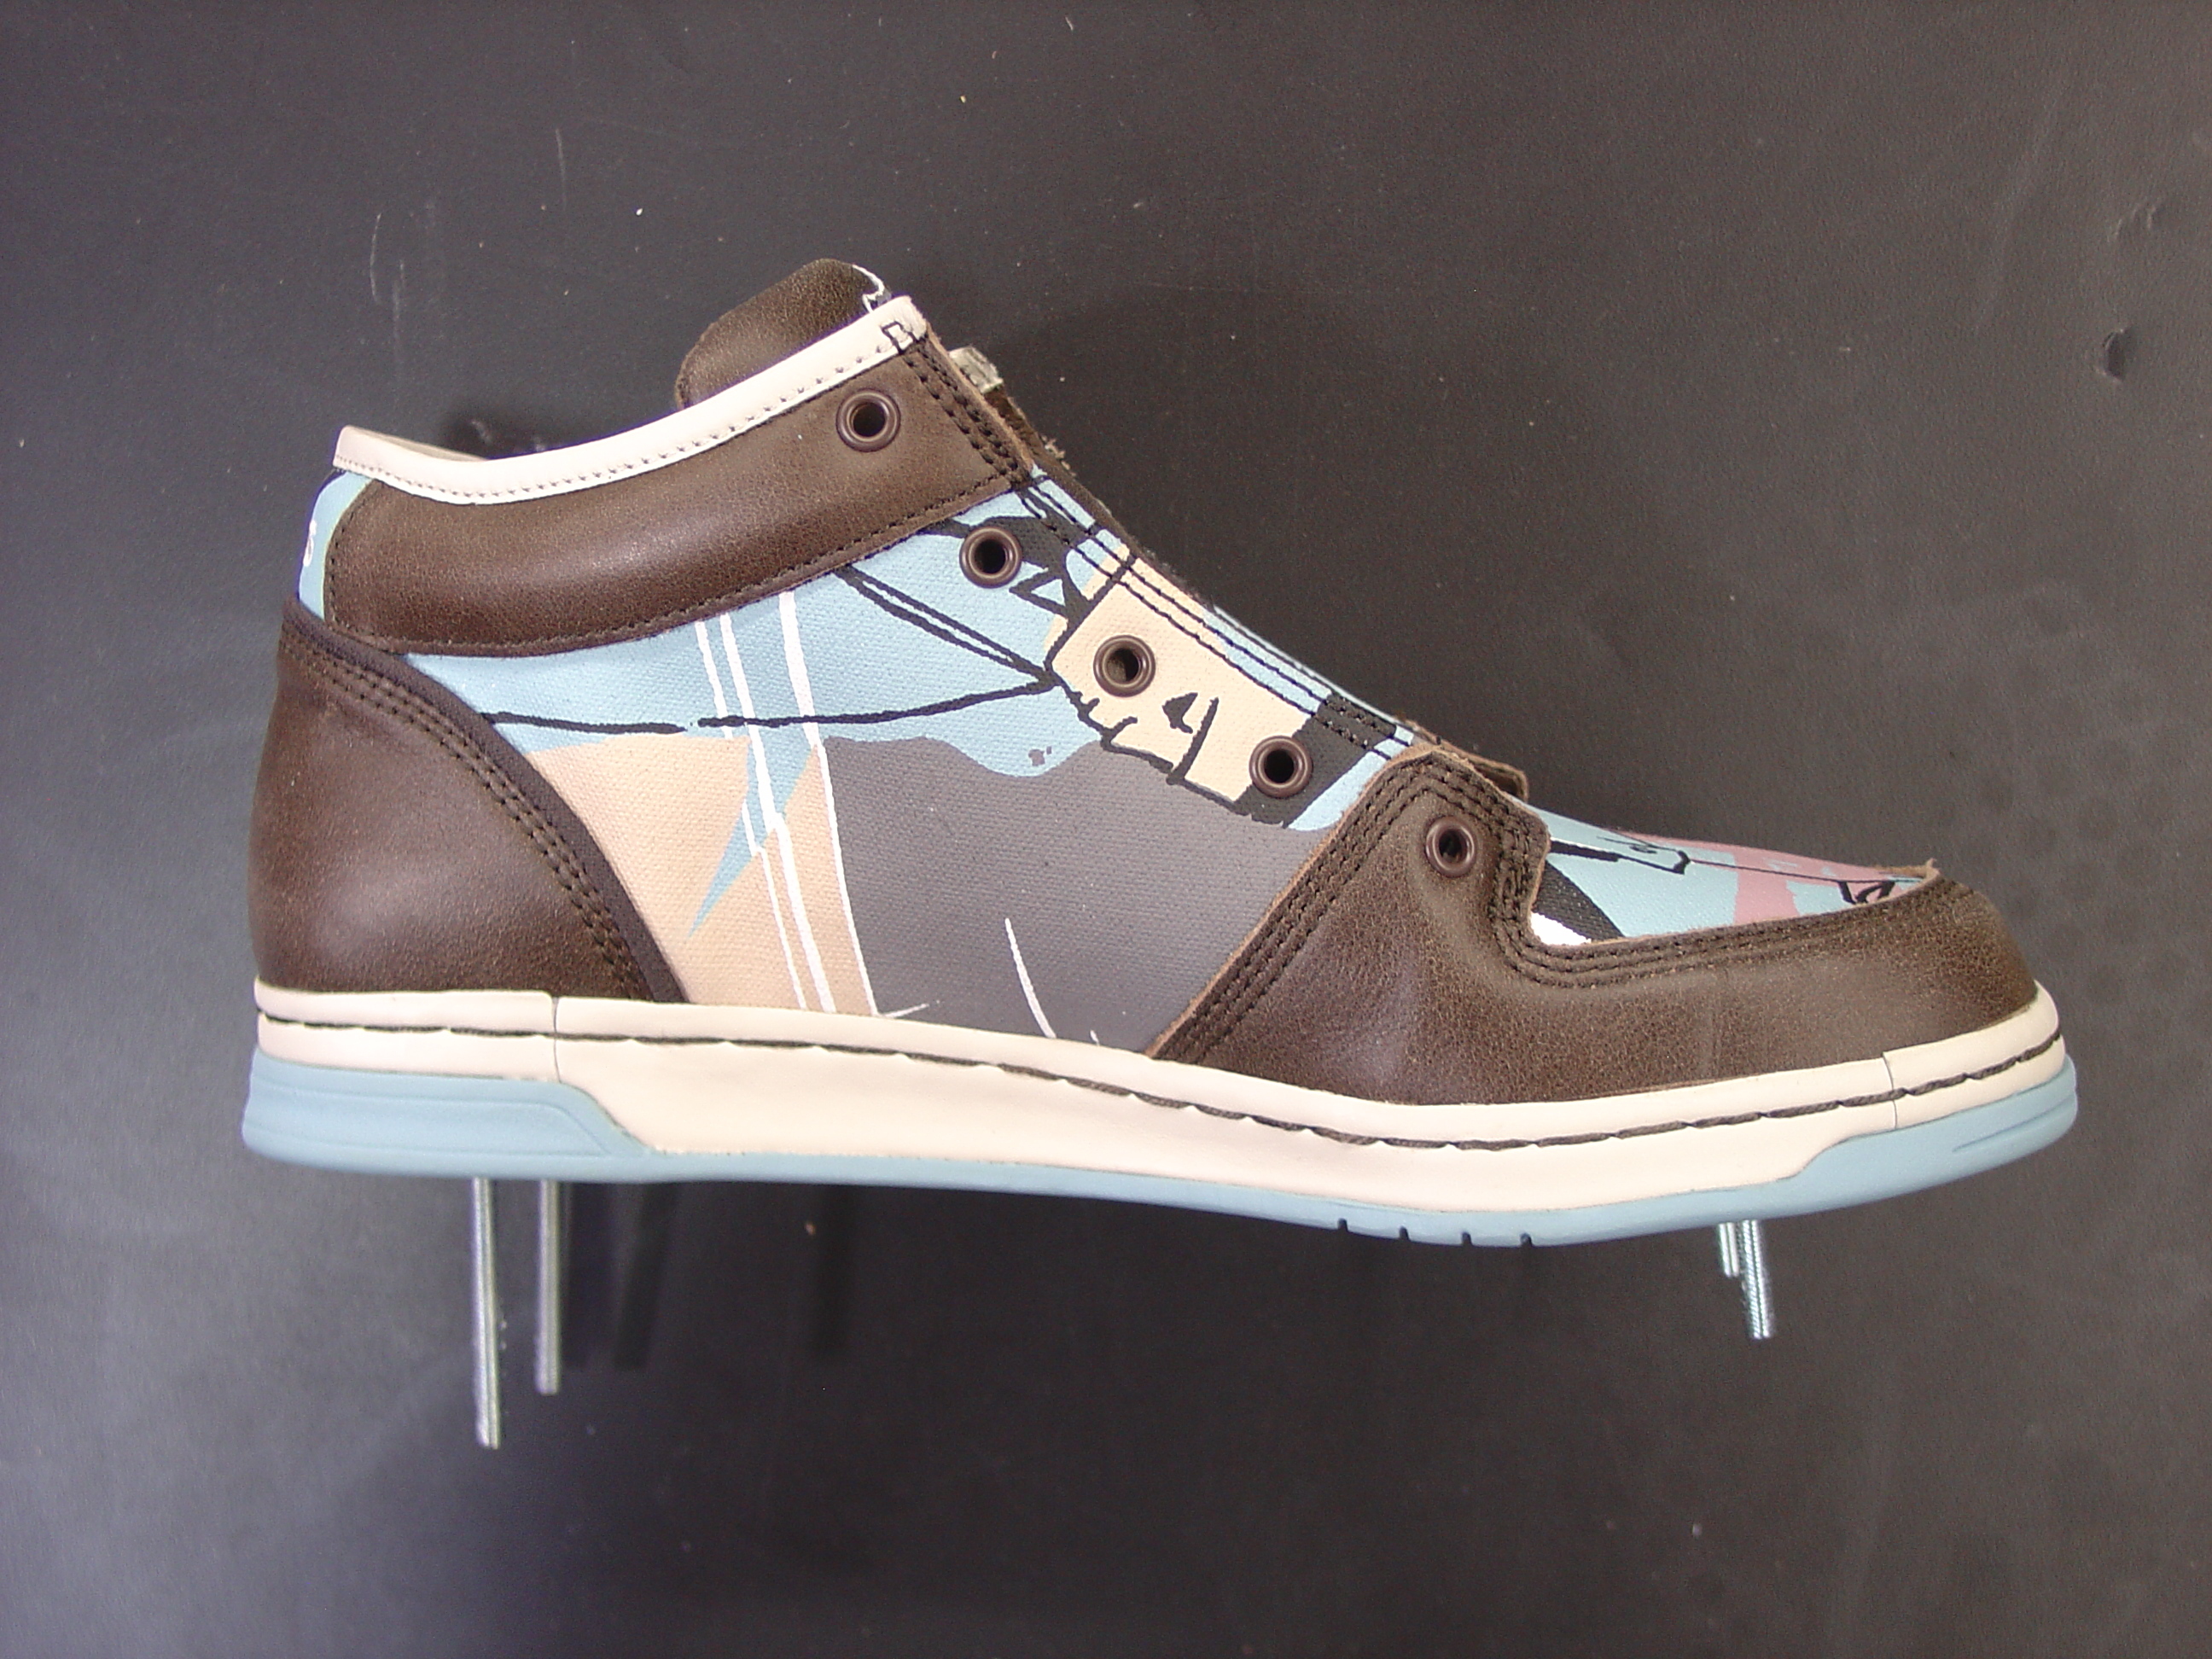
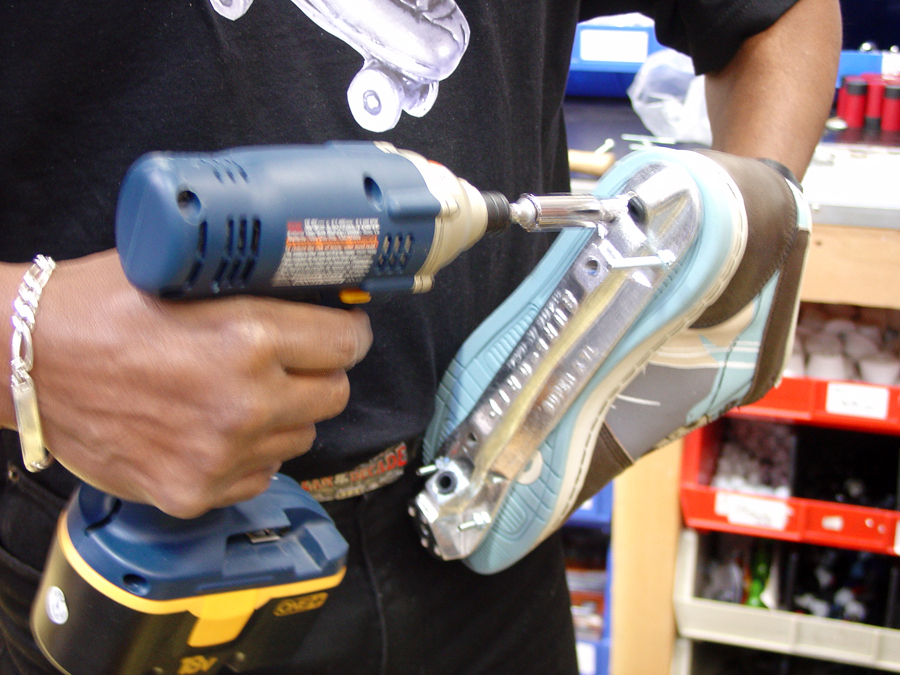
Secure the plates by tightening the mounting bolt nuts onto the mounting bolts, starting with the rear 2 nuts. Using a special Snyder break-off tool, break off the long end of each mounting bolt so that it’s flush with the mounting bolt nut.

Mount all trucks.

At this point, use a small hammer to flatten the ends of the mounting bolts so there are no rough edges.

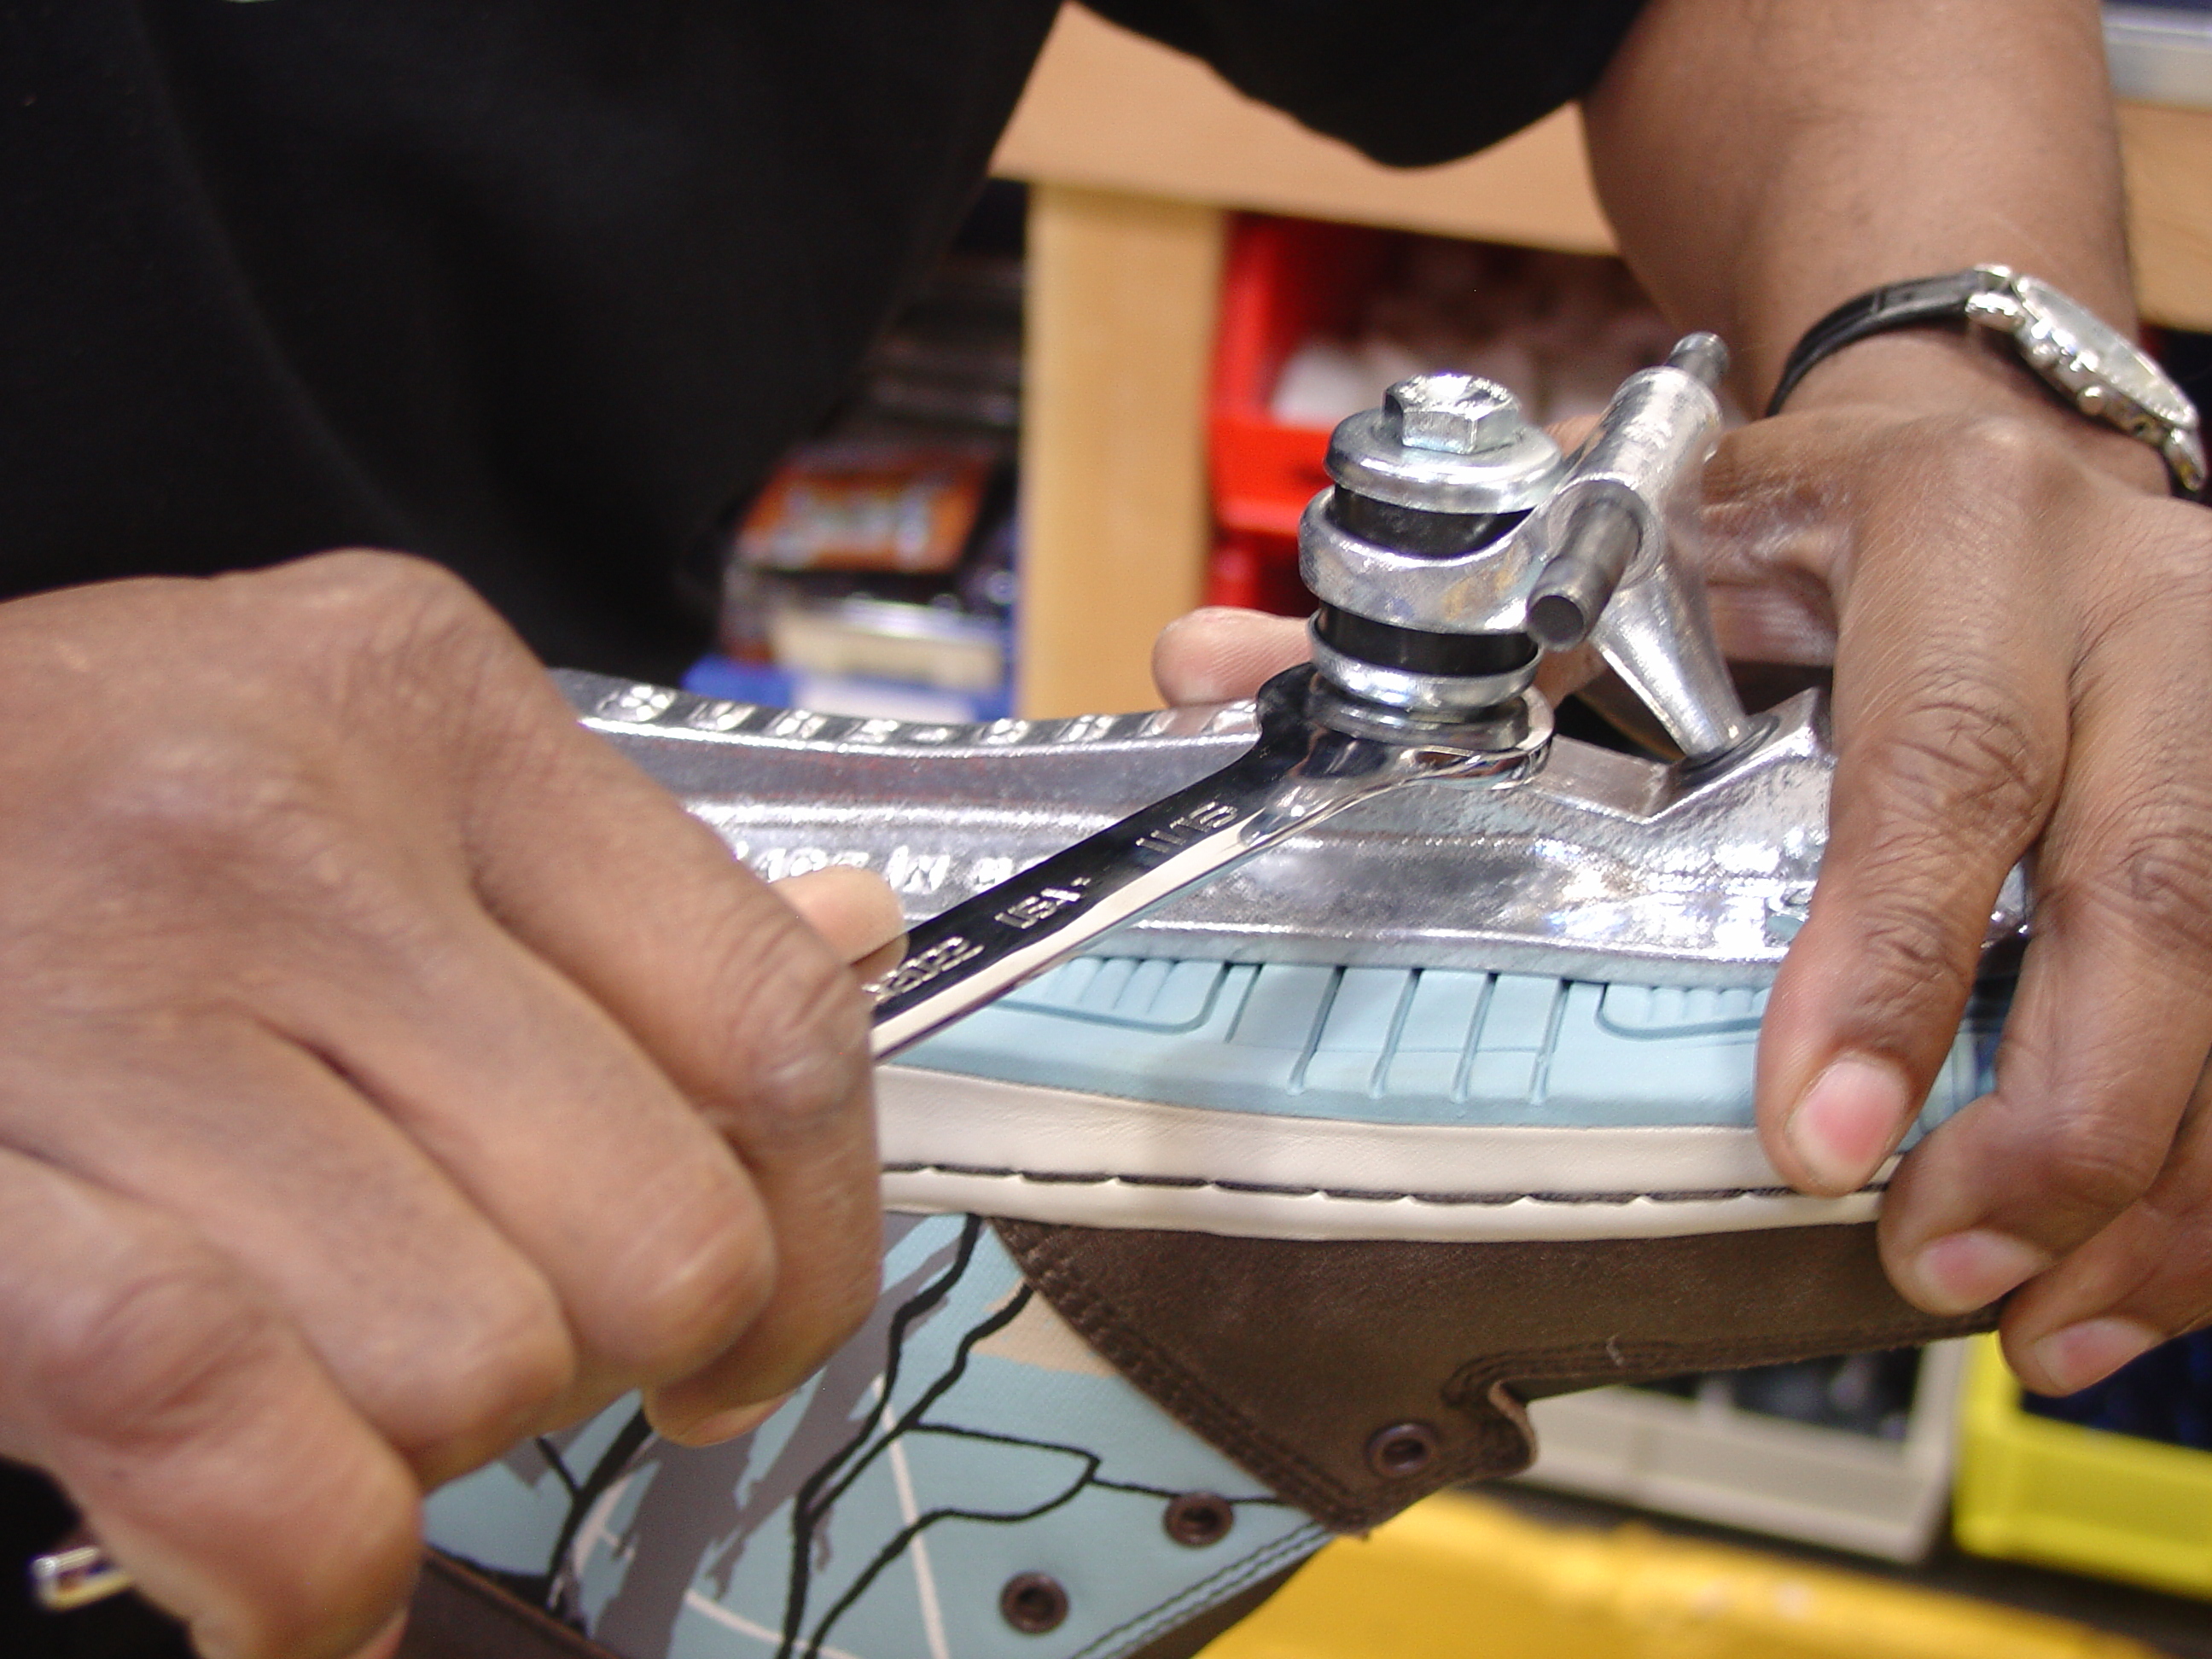
Mount all 4 trucks. Start by loosening up the kingpin nut about 1⁄4 turn. Now hand-tighten the kingpin into the plate. This will eliminate any chance of stripping the threads inside the plate. Once the kingpin is in place, tighten the kingpin nut to the base of the plate. Using an 11/16″ open wrench, back off the nut 1 turn. Then, using a 9/16″ socket wrench, tighten the kingpin into the plate, compressing the cushions slightly.

Do not overcompress the cushions. This will cause the skate to have no side-to-side movement.

This step is one of the most crucial parts of adjusting a skate for movement. If too loose, the skate will tend to lean too much to the left or right without any control. If too tight, the skate will act on its own by shifting more to one side than the other. With both hands on the truck, test the movement for insufficient or excess play in the trucks, and adjust accordingly.

Install the wheels.

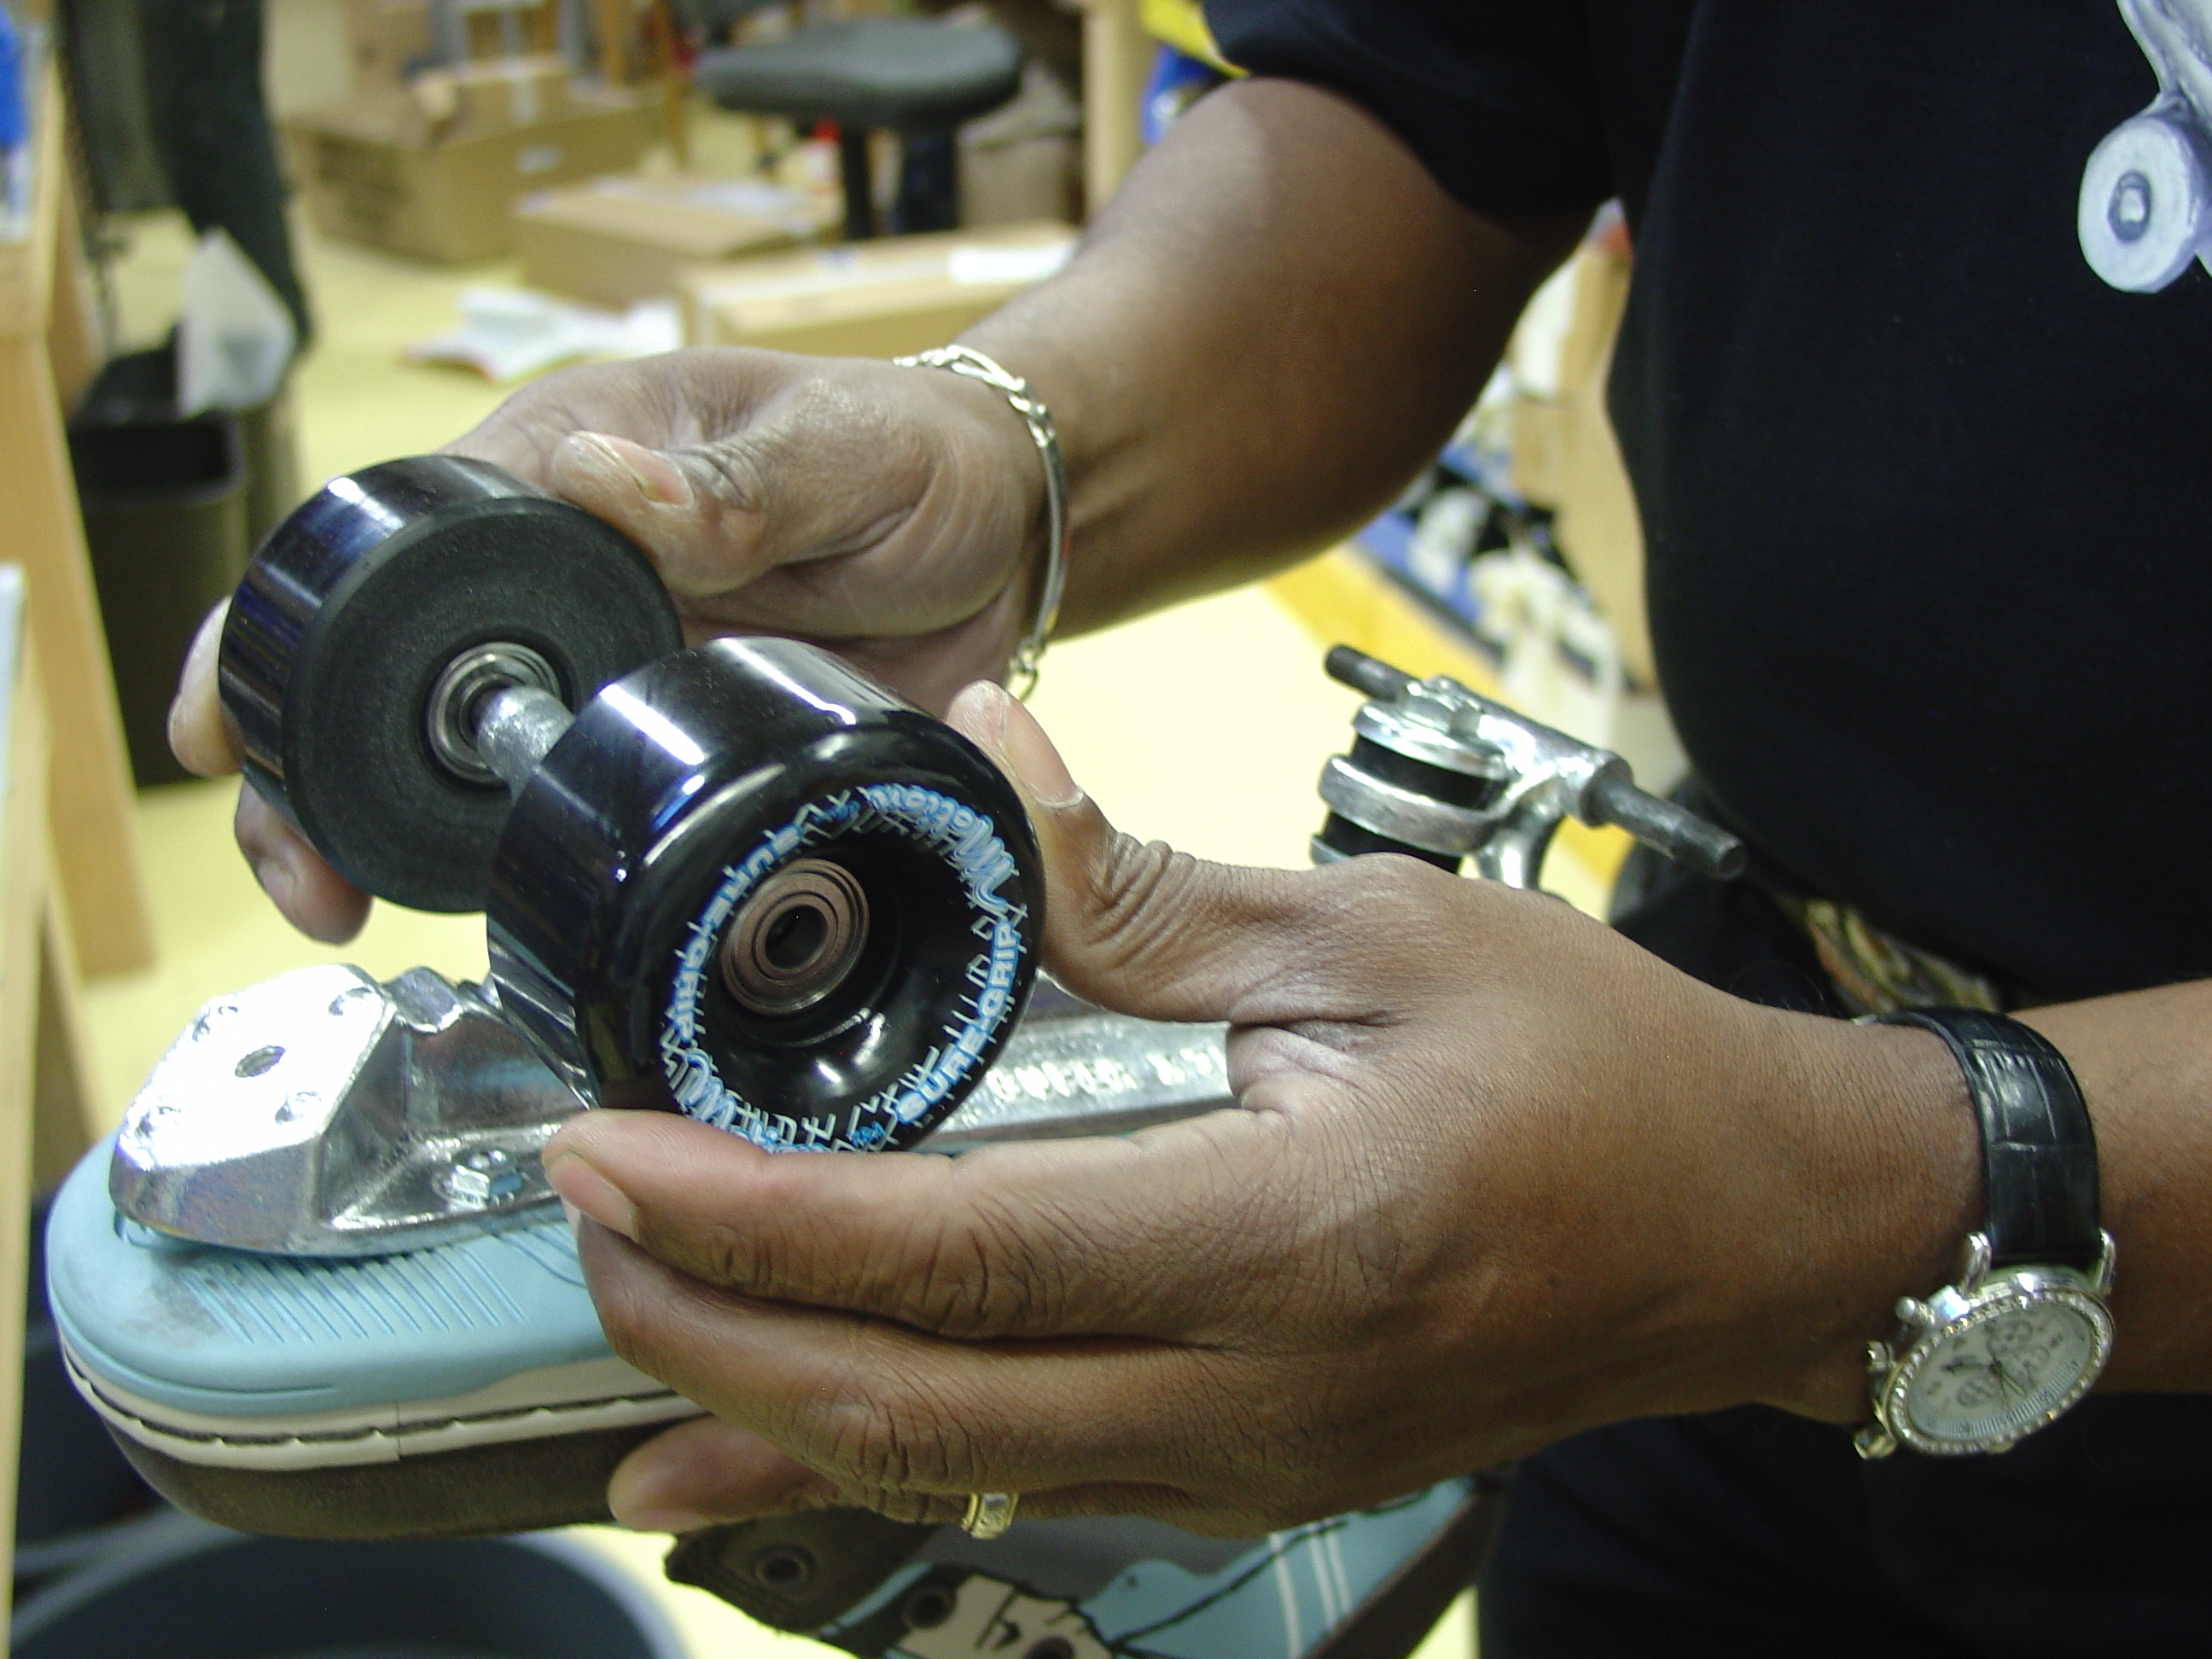
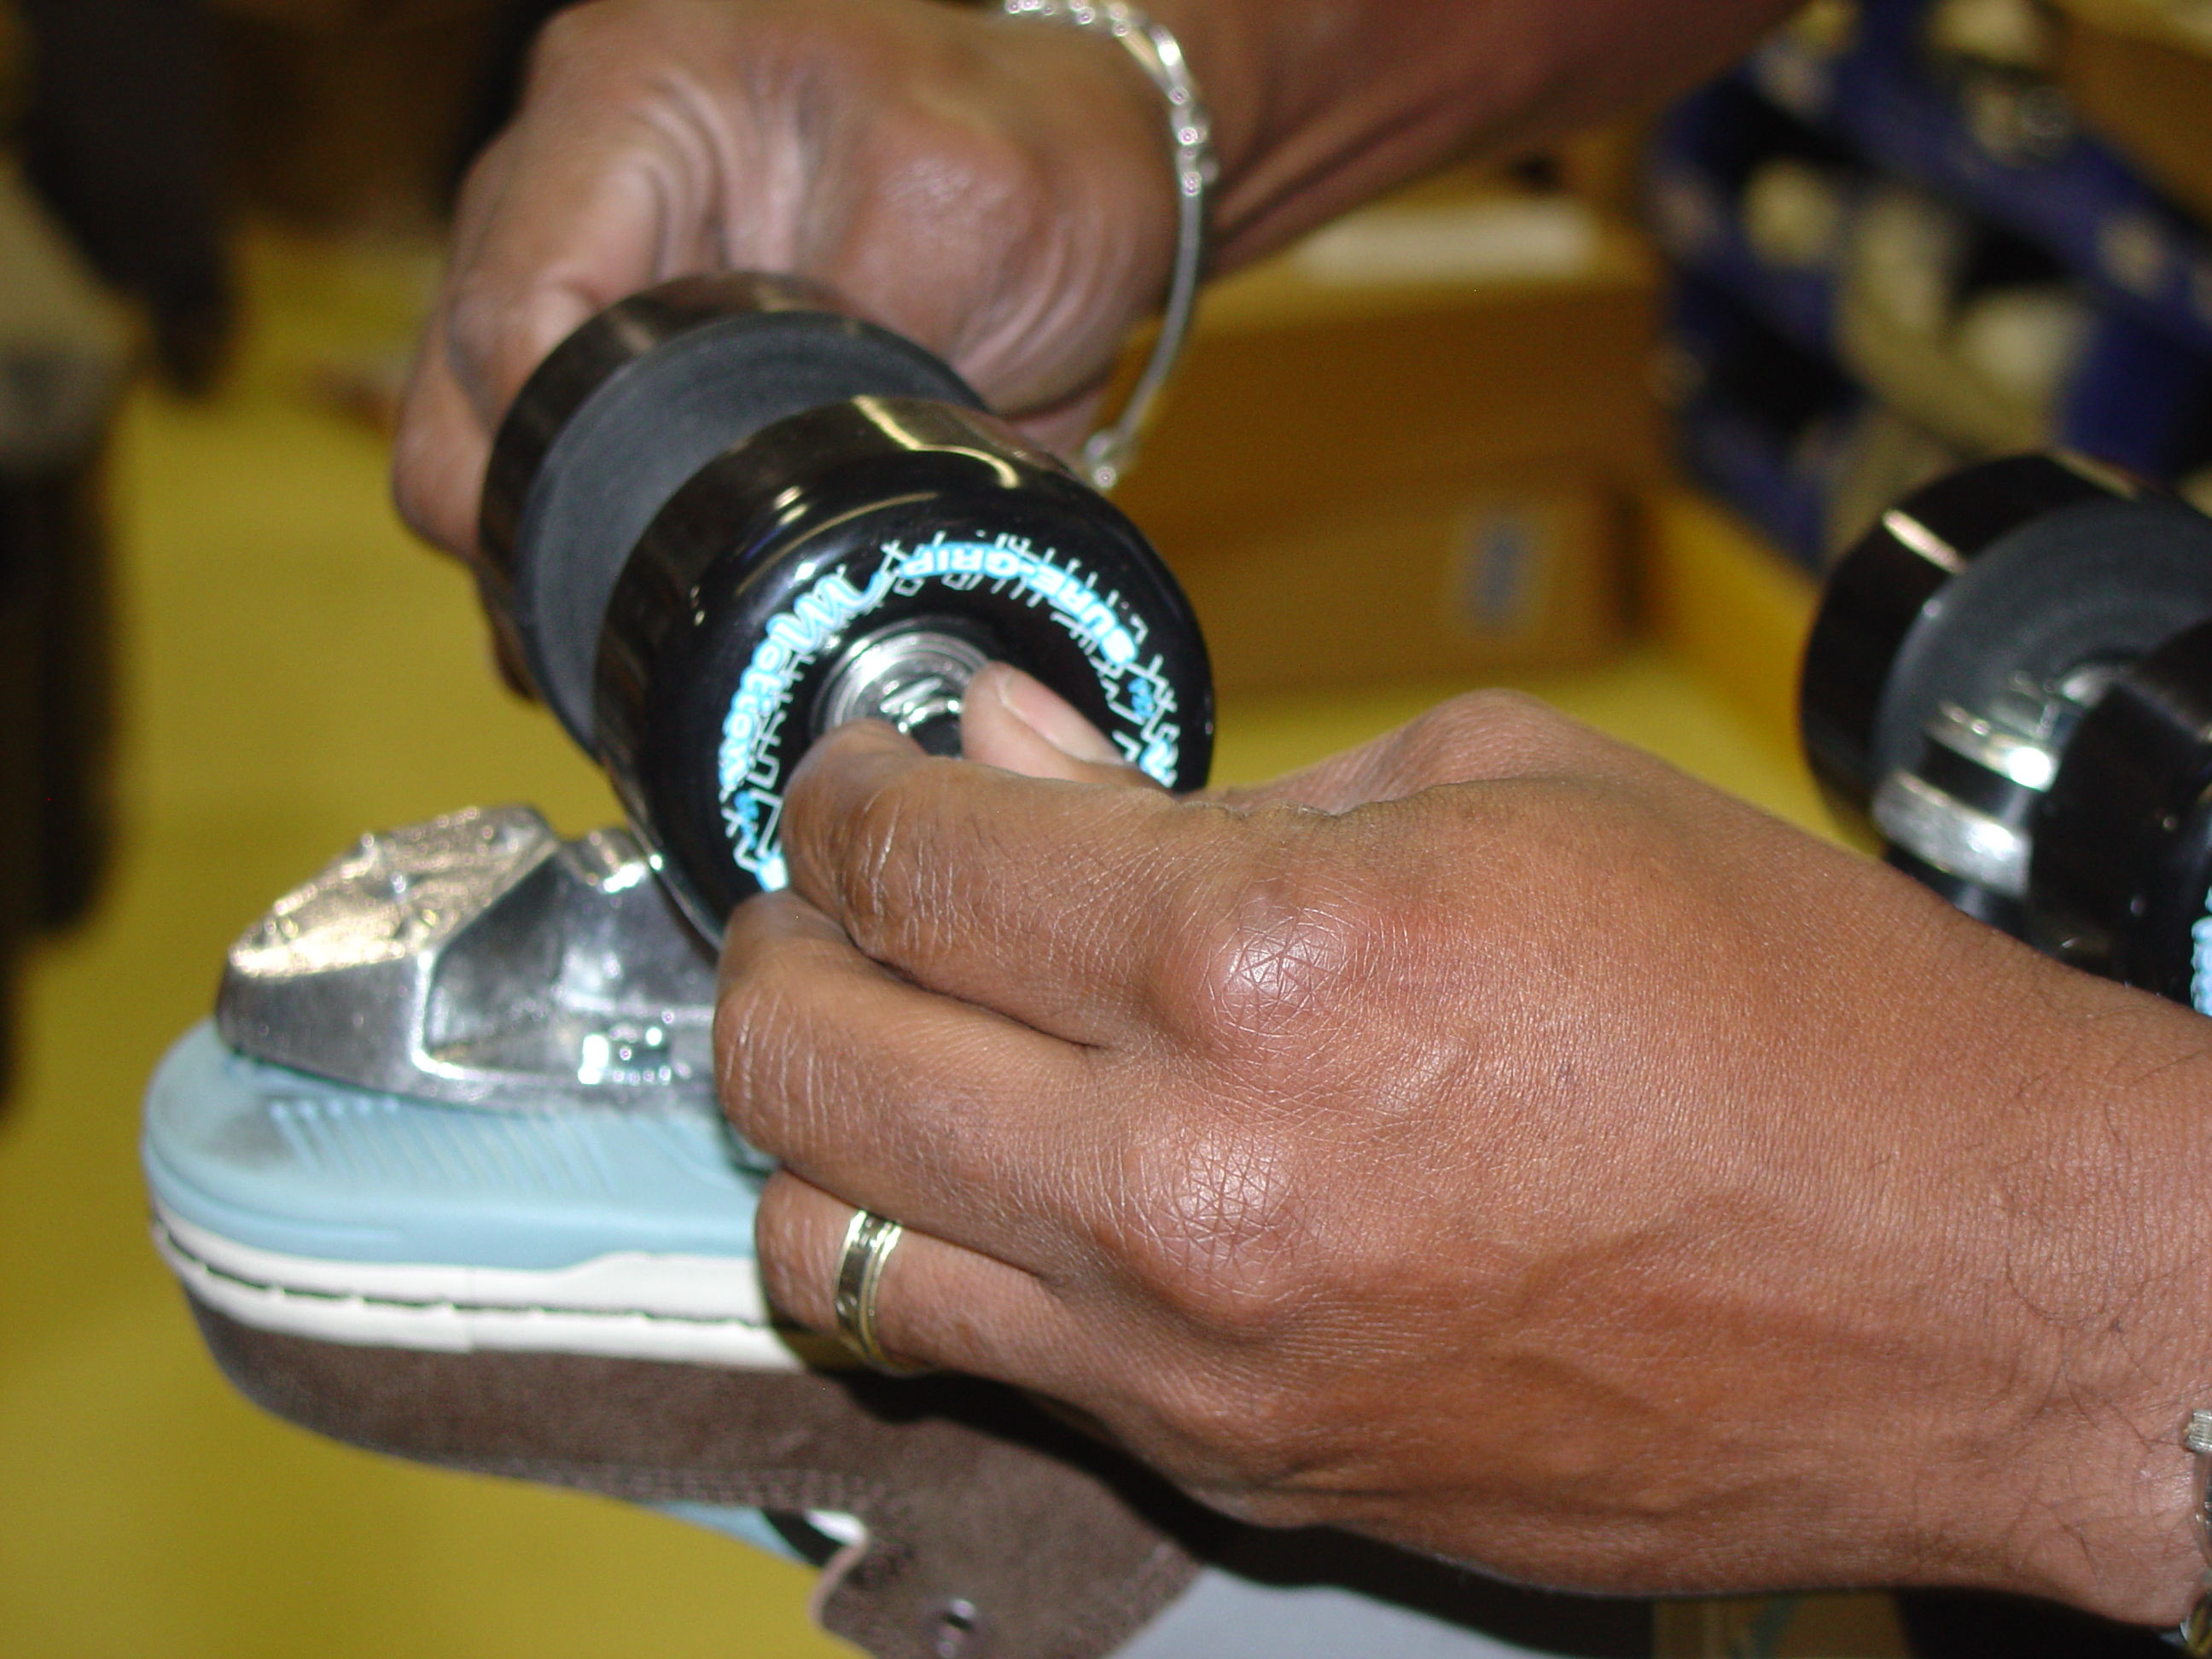
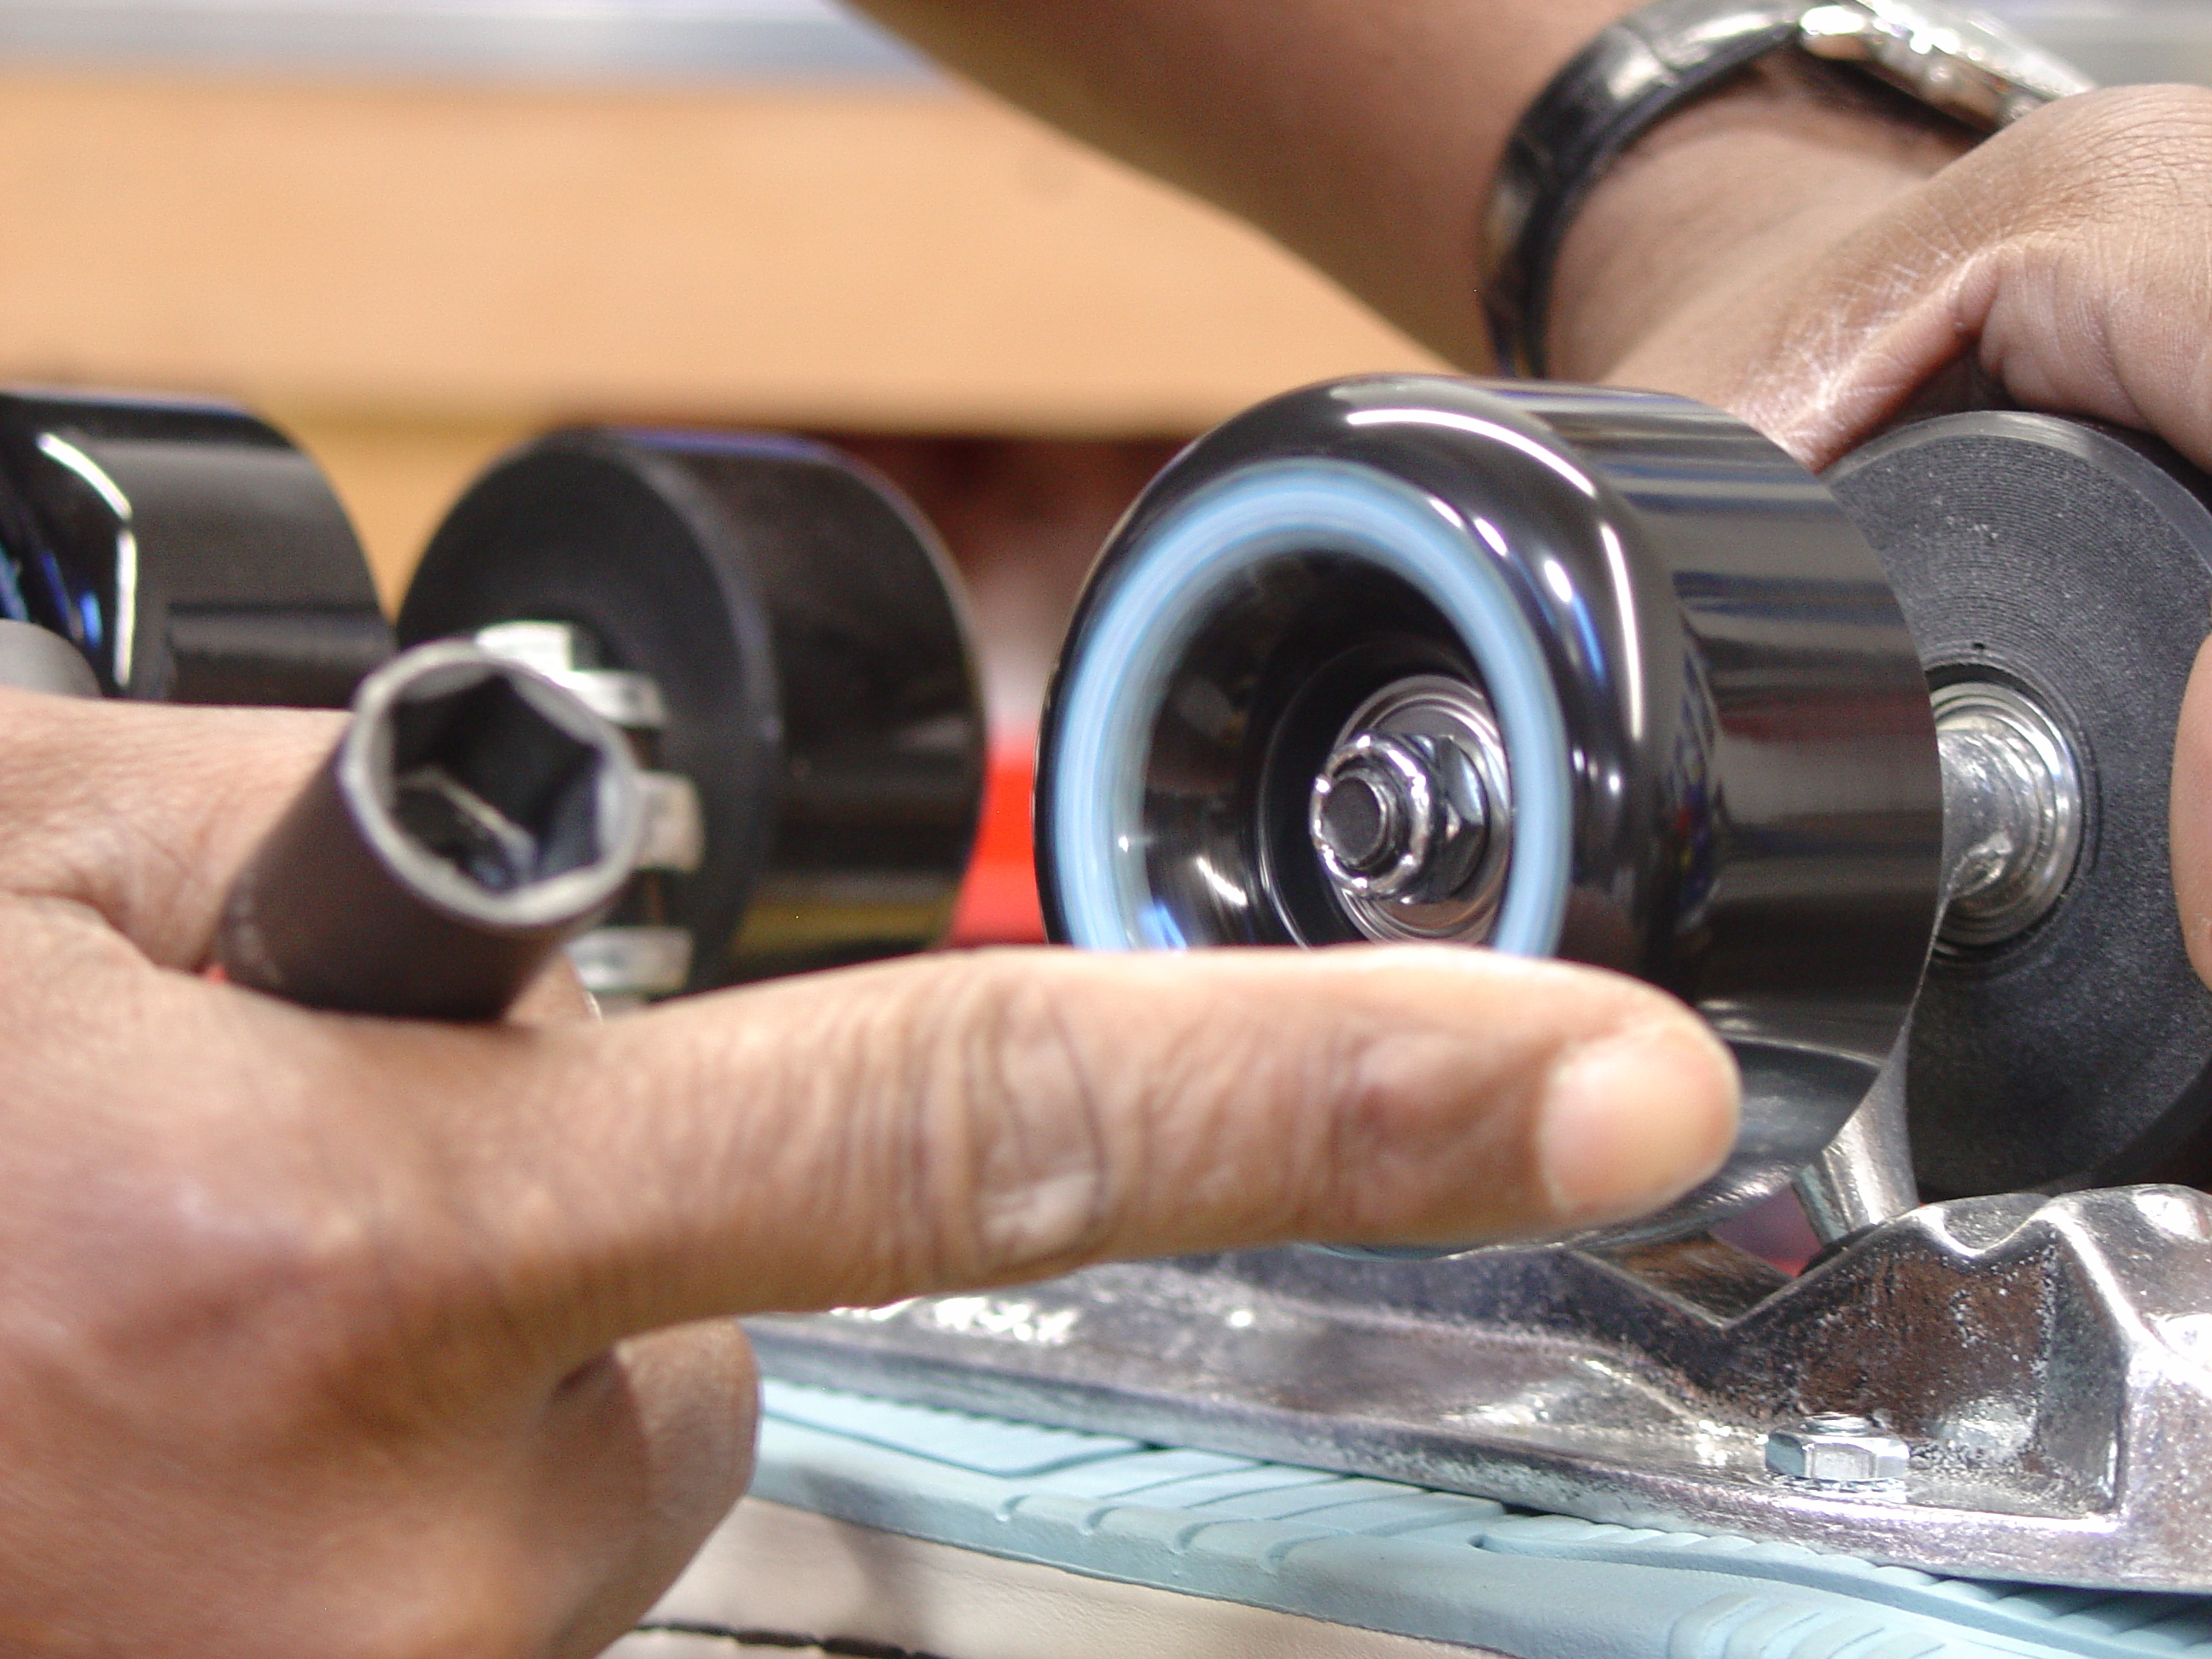
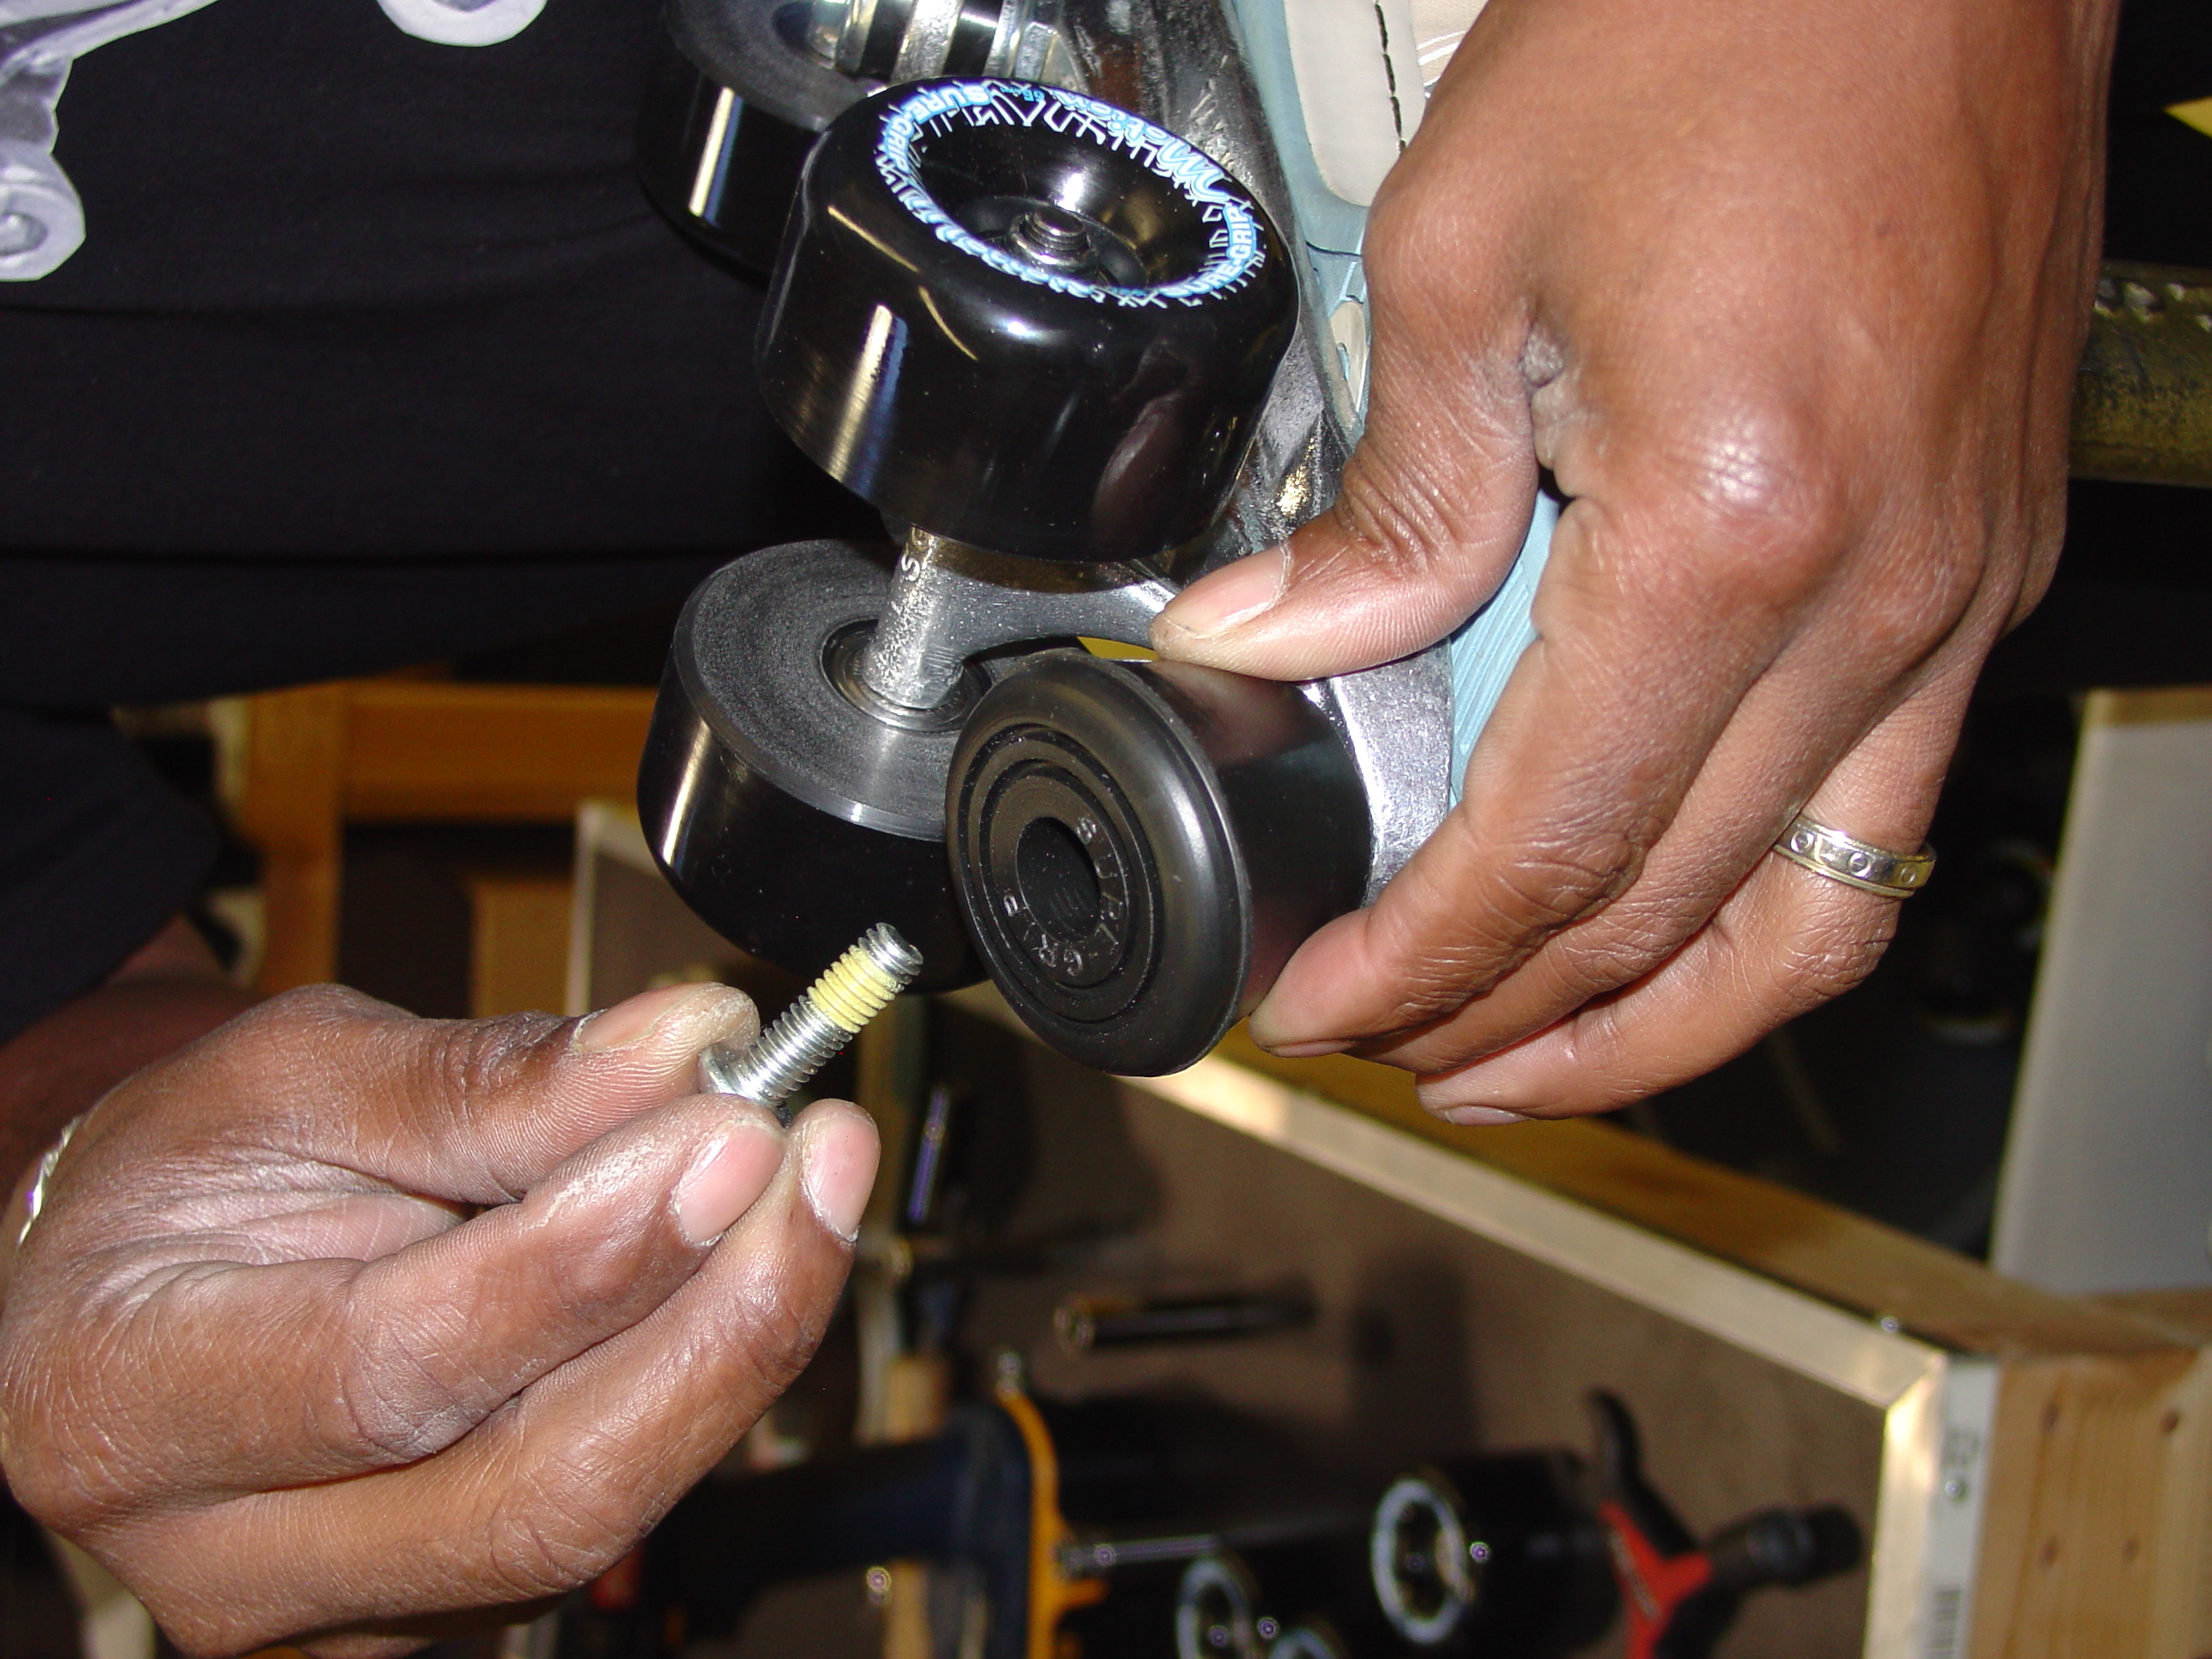
Place the wheels on the axles and position each axle nut in place.

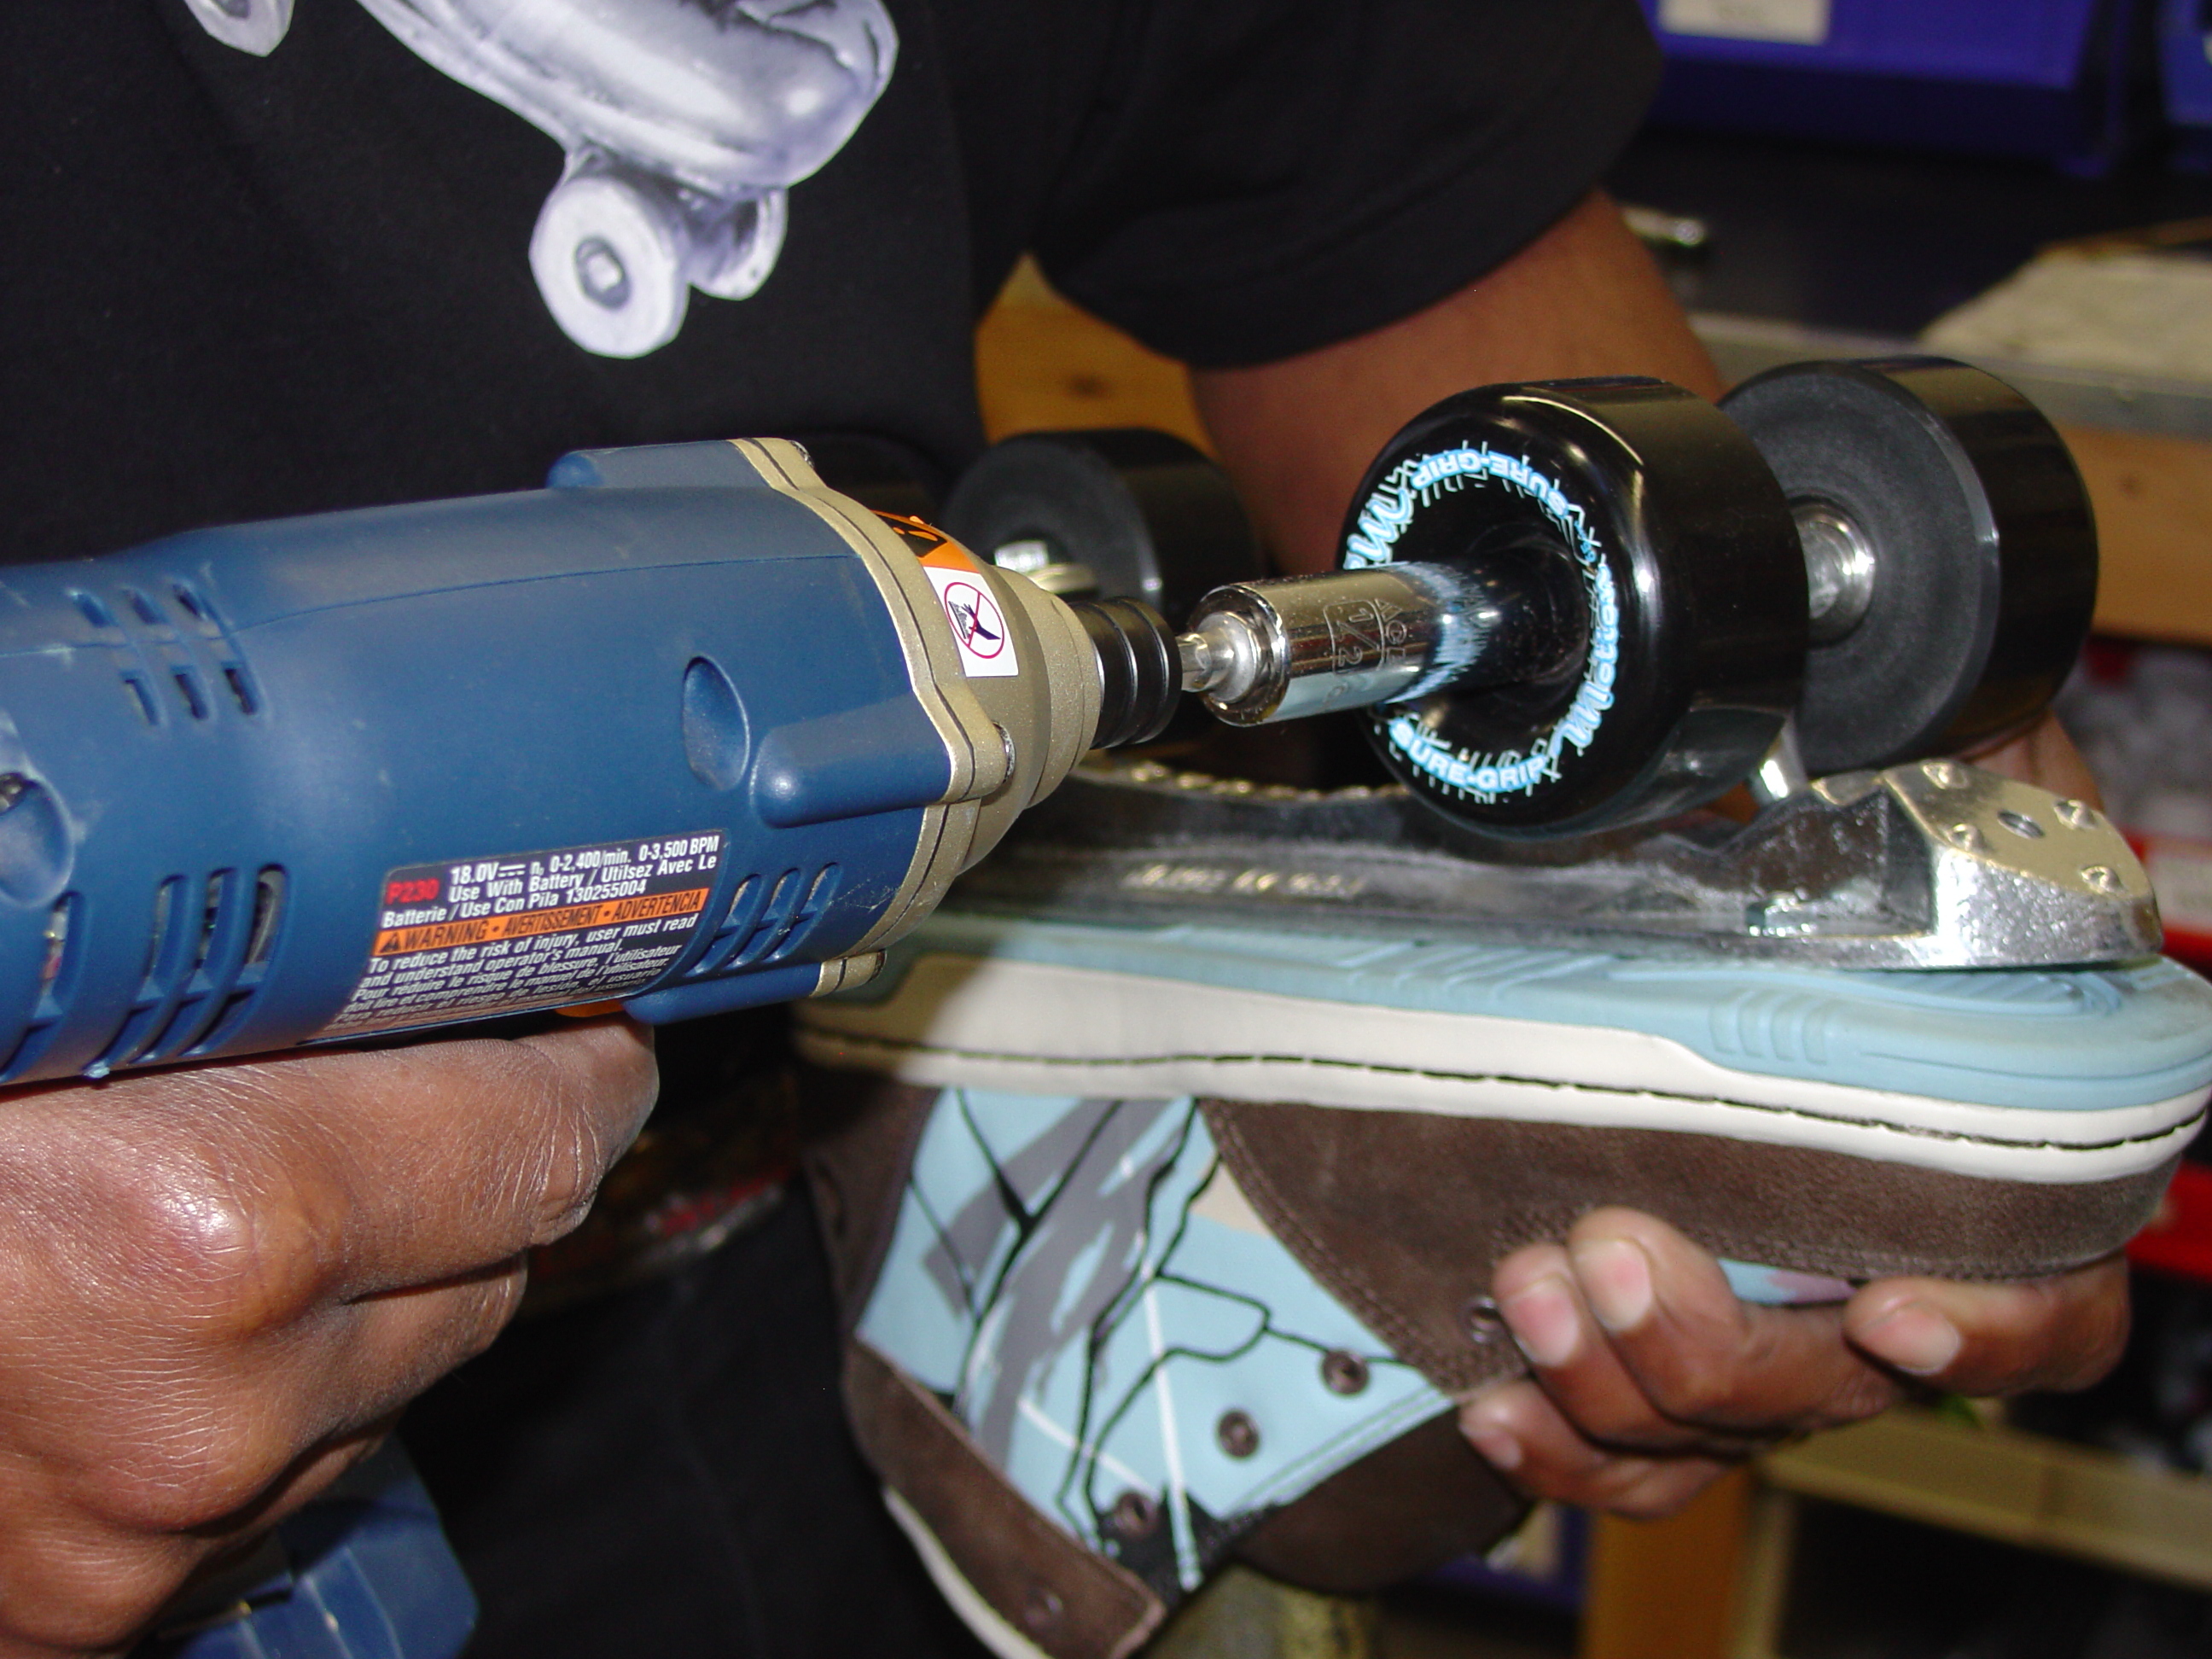
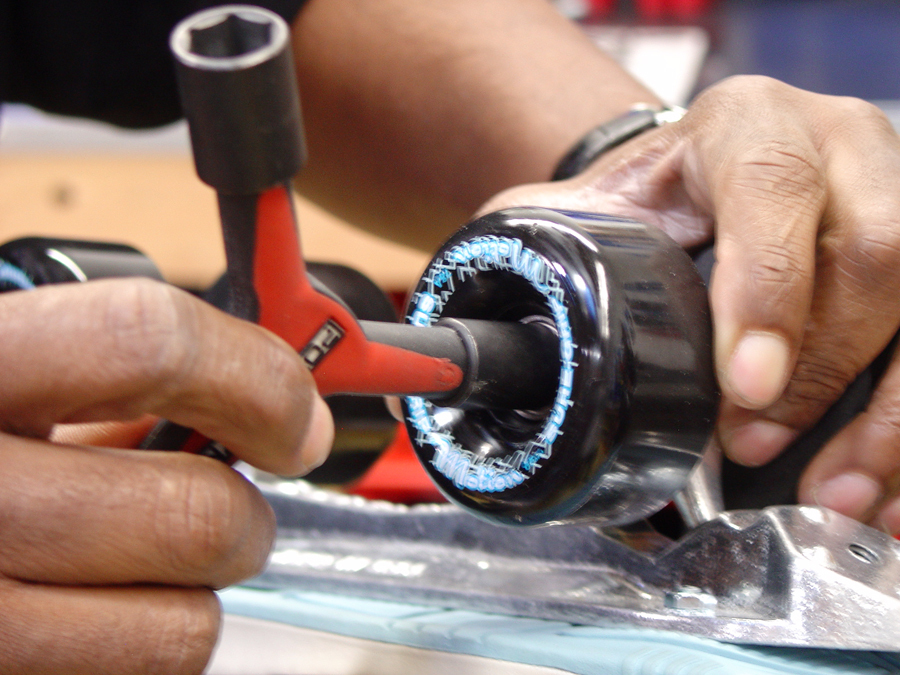
Adjust the wheels.

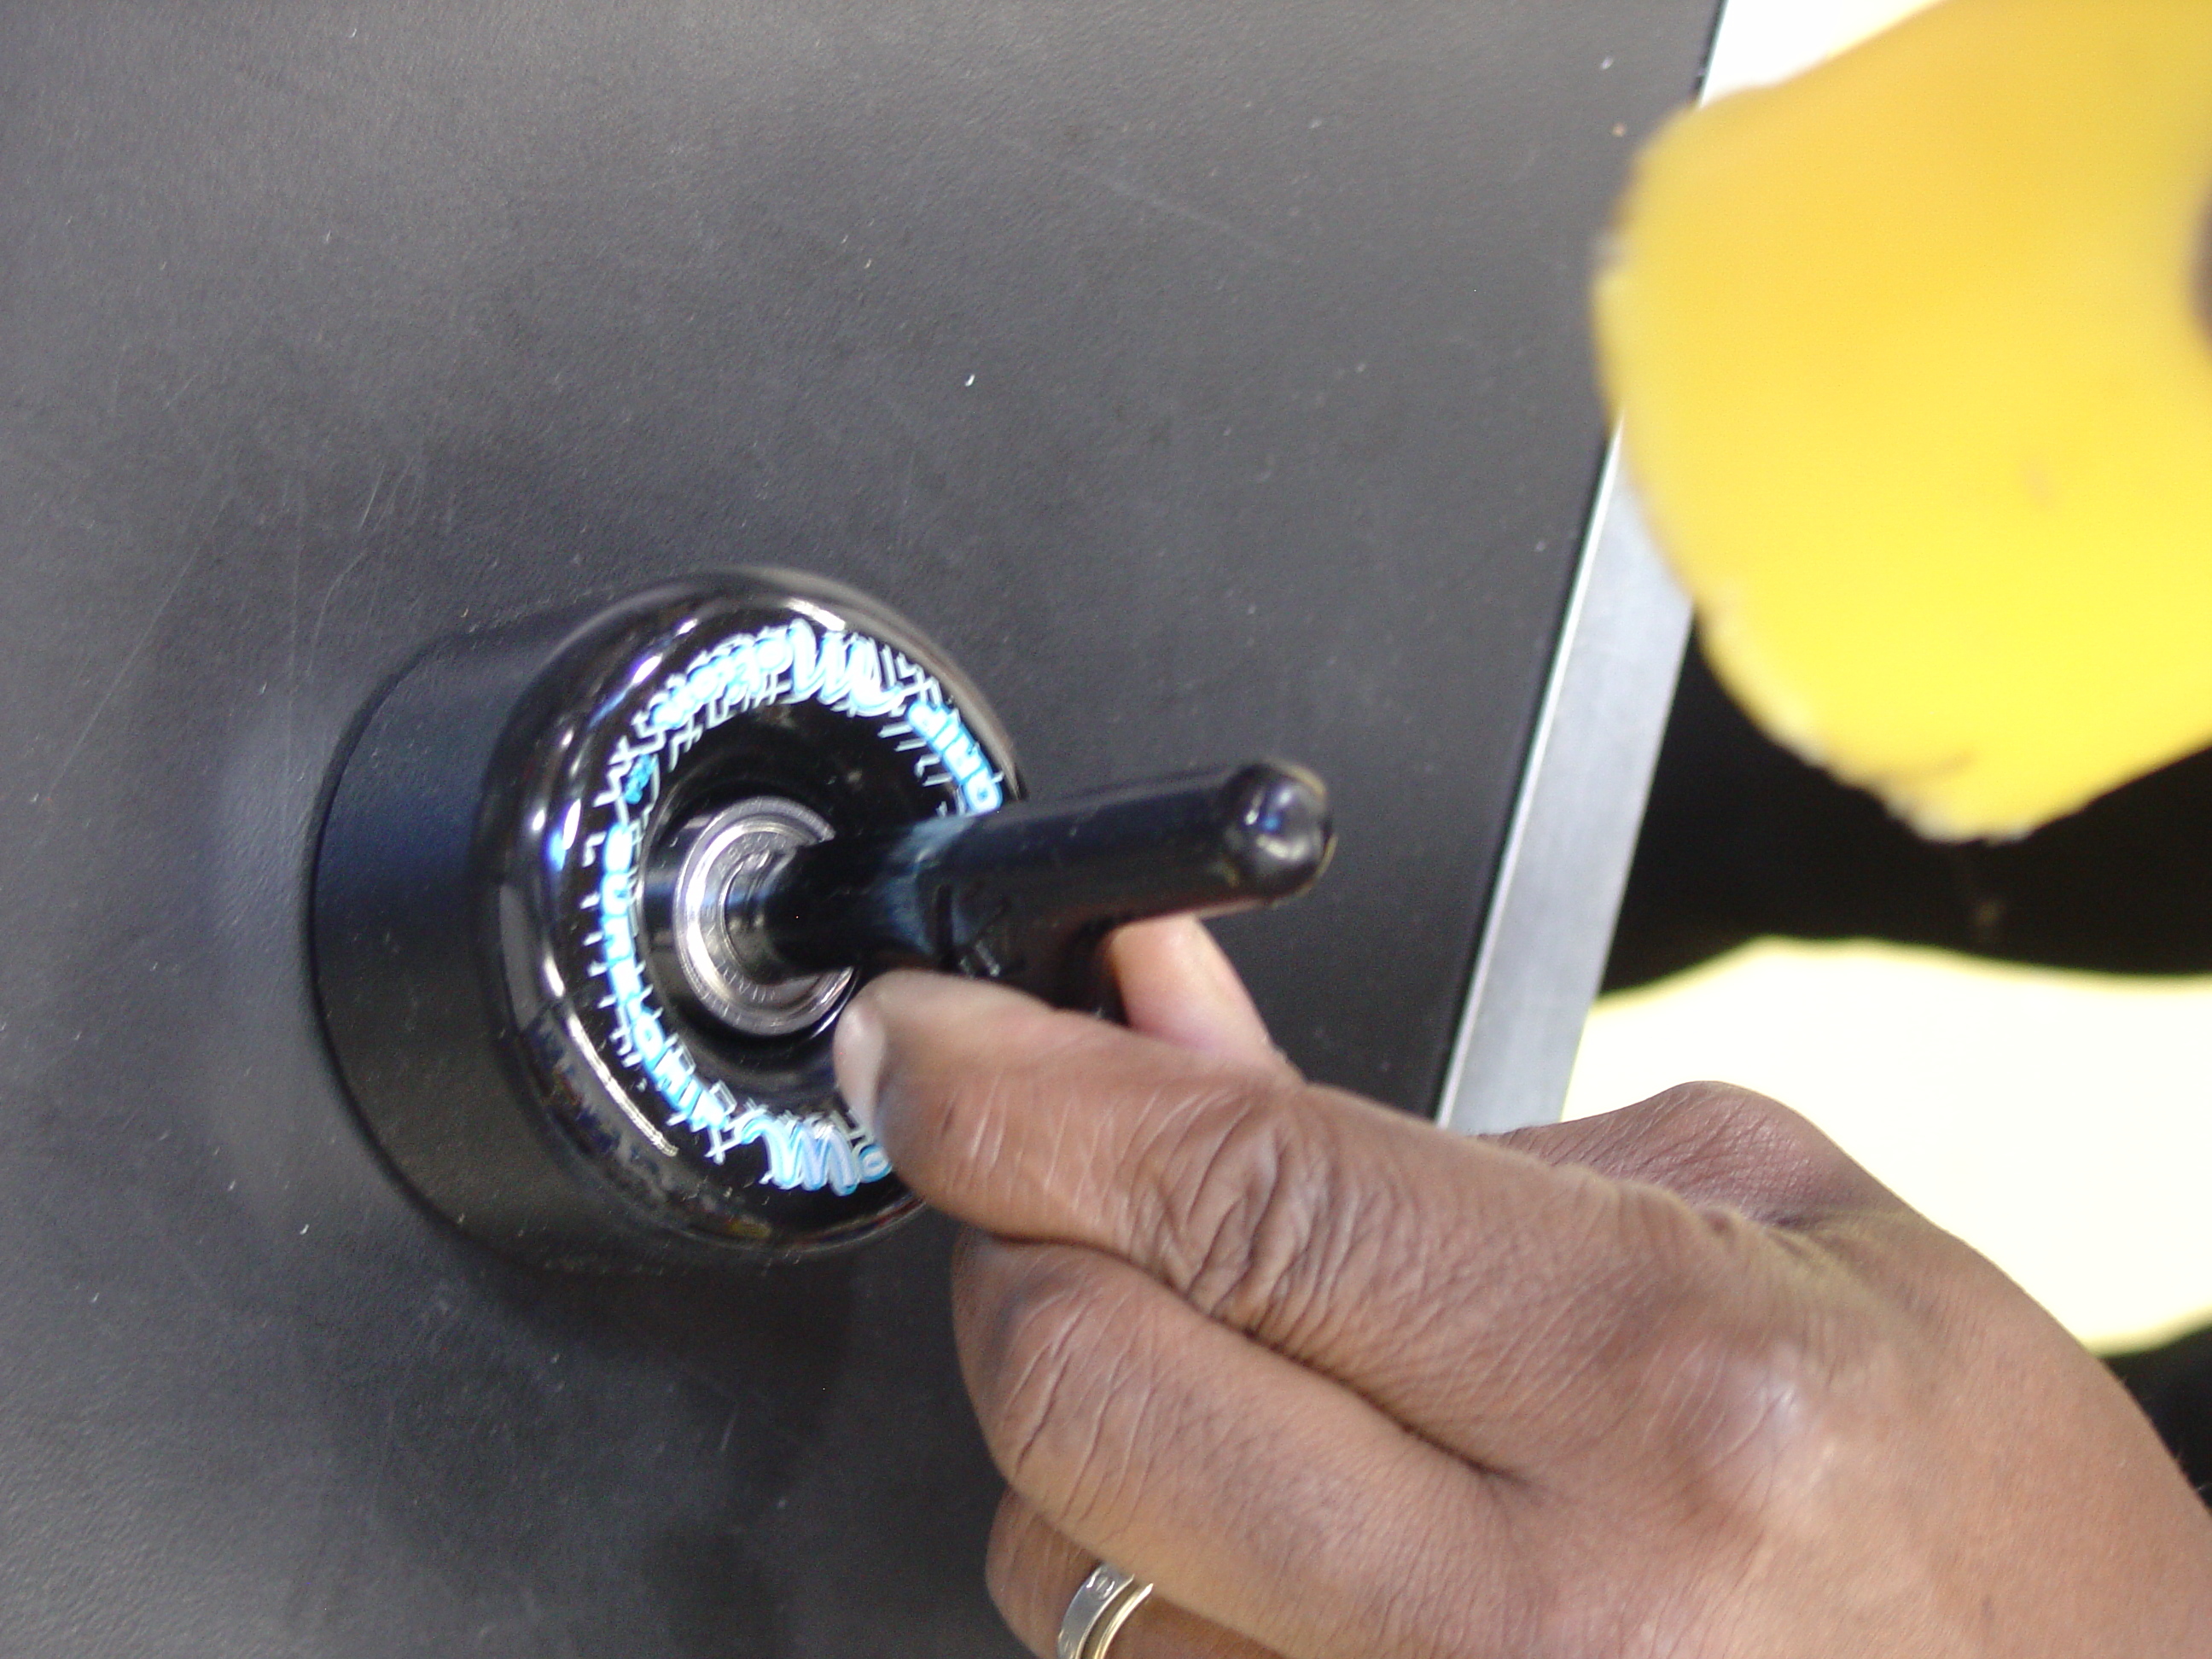
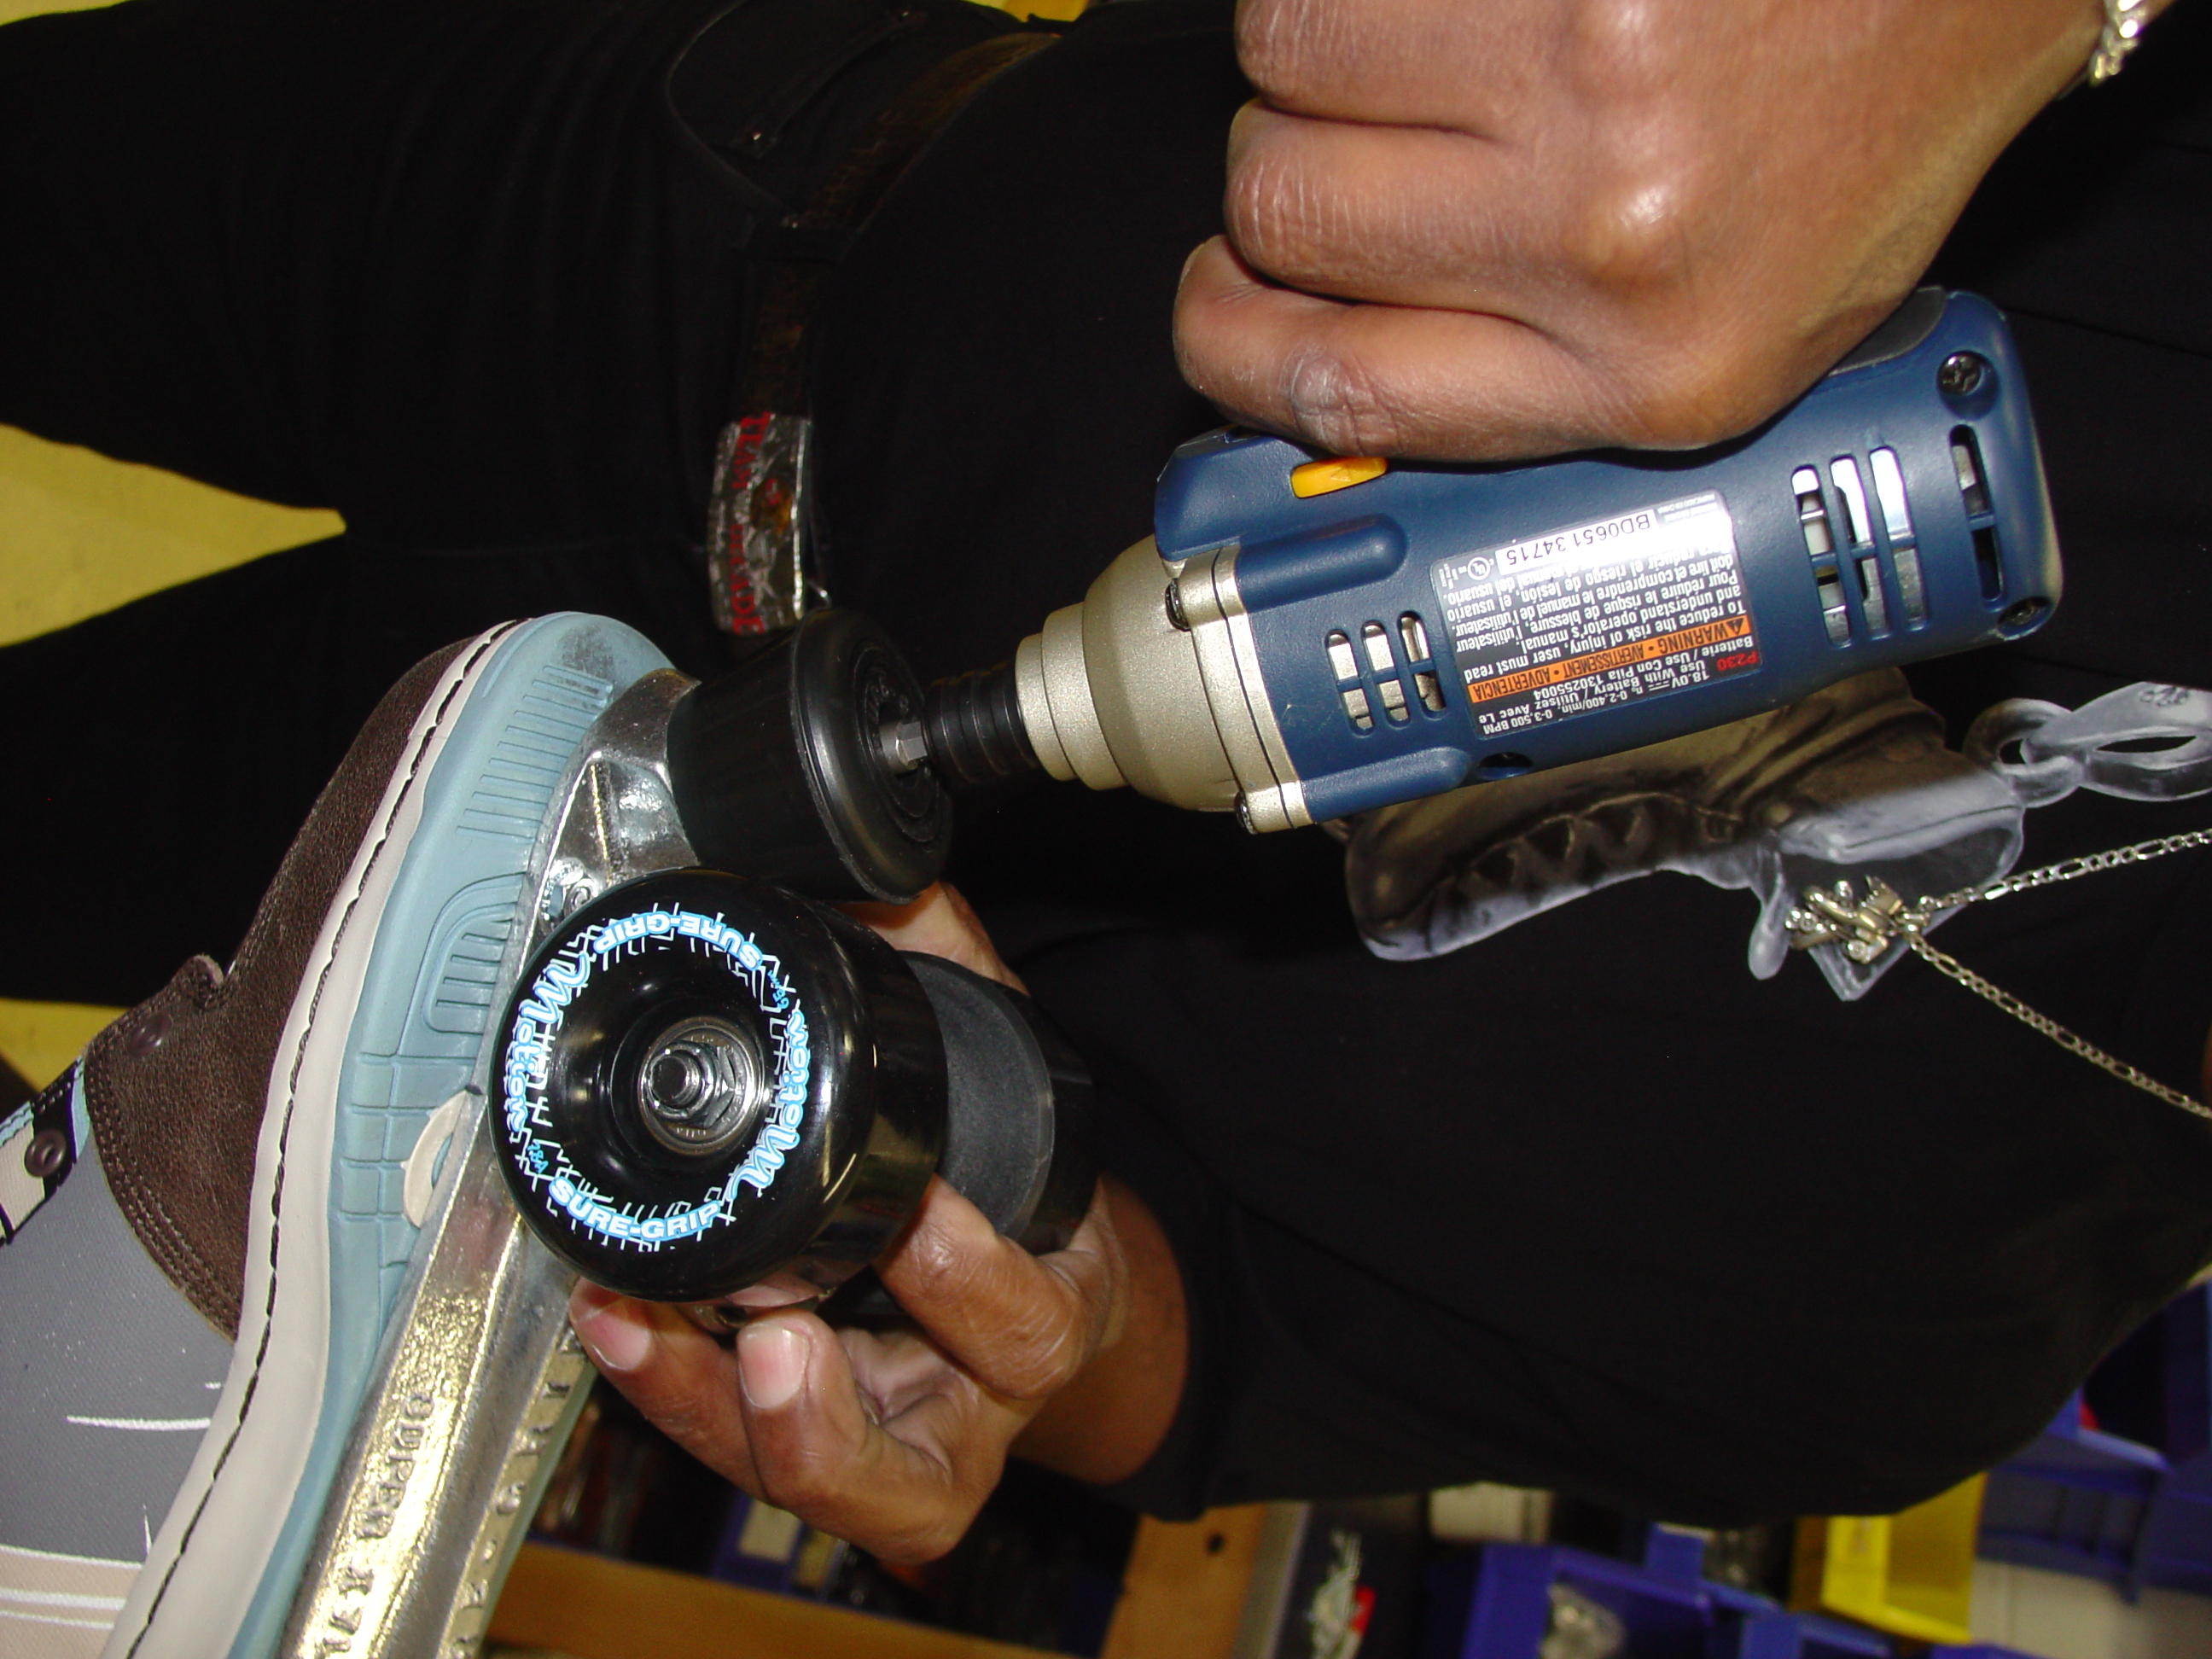
Using a drill or skate tool and a 1⁄2″ socket, tighten each axle nut firmly onto the wheel. Once firm, back the axle nut off 1/8 of a turn to allow the wheels to spin freely. Test by spinning the wheel with your hand. If the wheel abruptly stops, slight adjustment is needed.

Install toe stops and skate on.

Install the toe stops, using a 5/16″ or 5/8″ bolt depending on your plate.

Inspect the skates thoroughly. Lace up and roller-skate on a smooth surface. You’re now ready to roll in your custom-made roller skates!

Conclusion

This project first appeared in CRAFT Volume 07, pages 62-65.