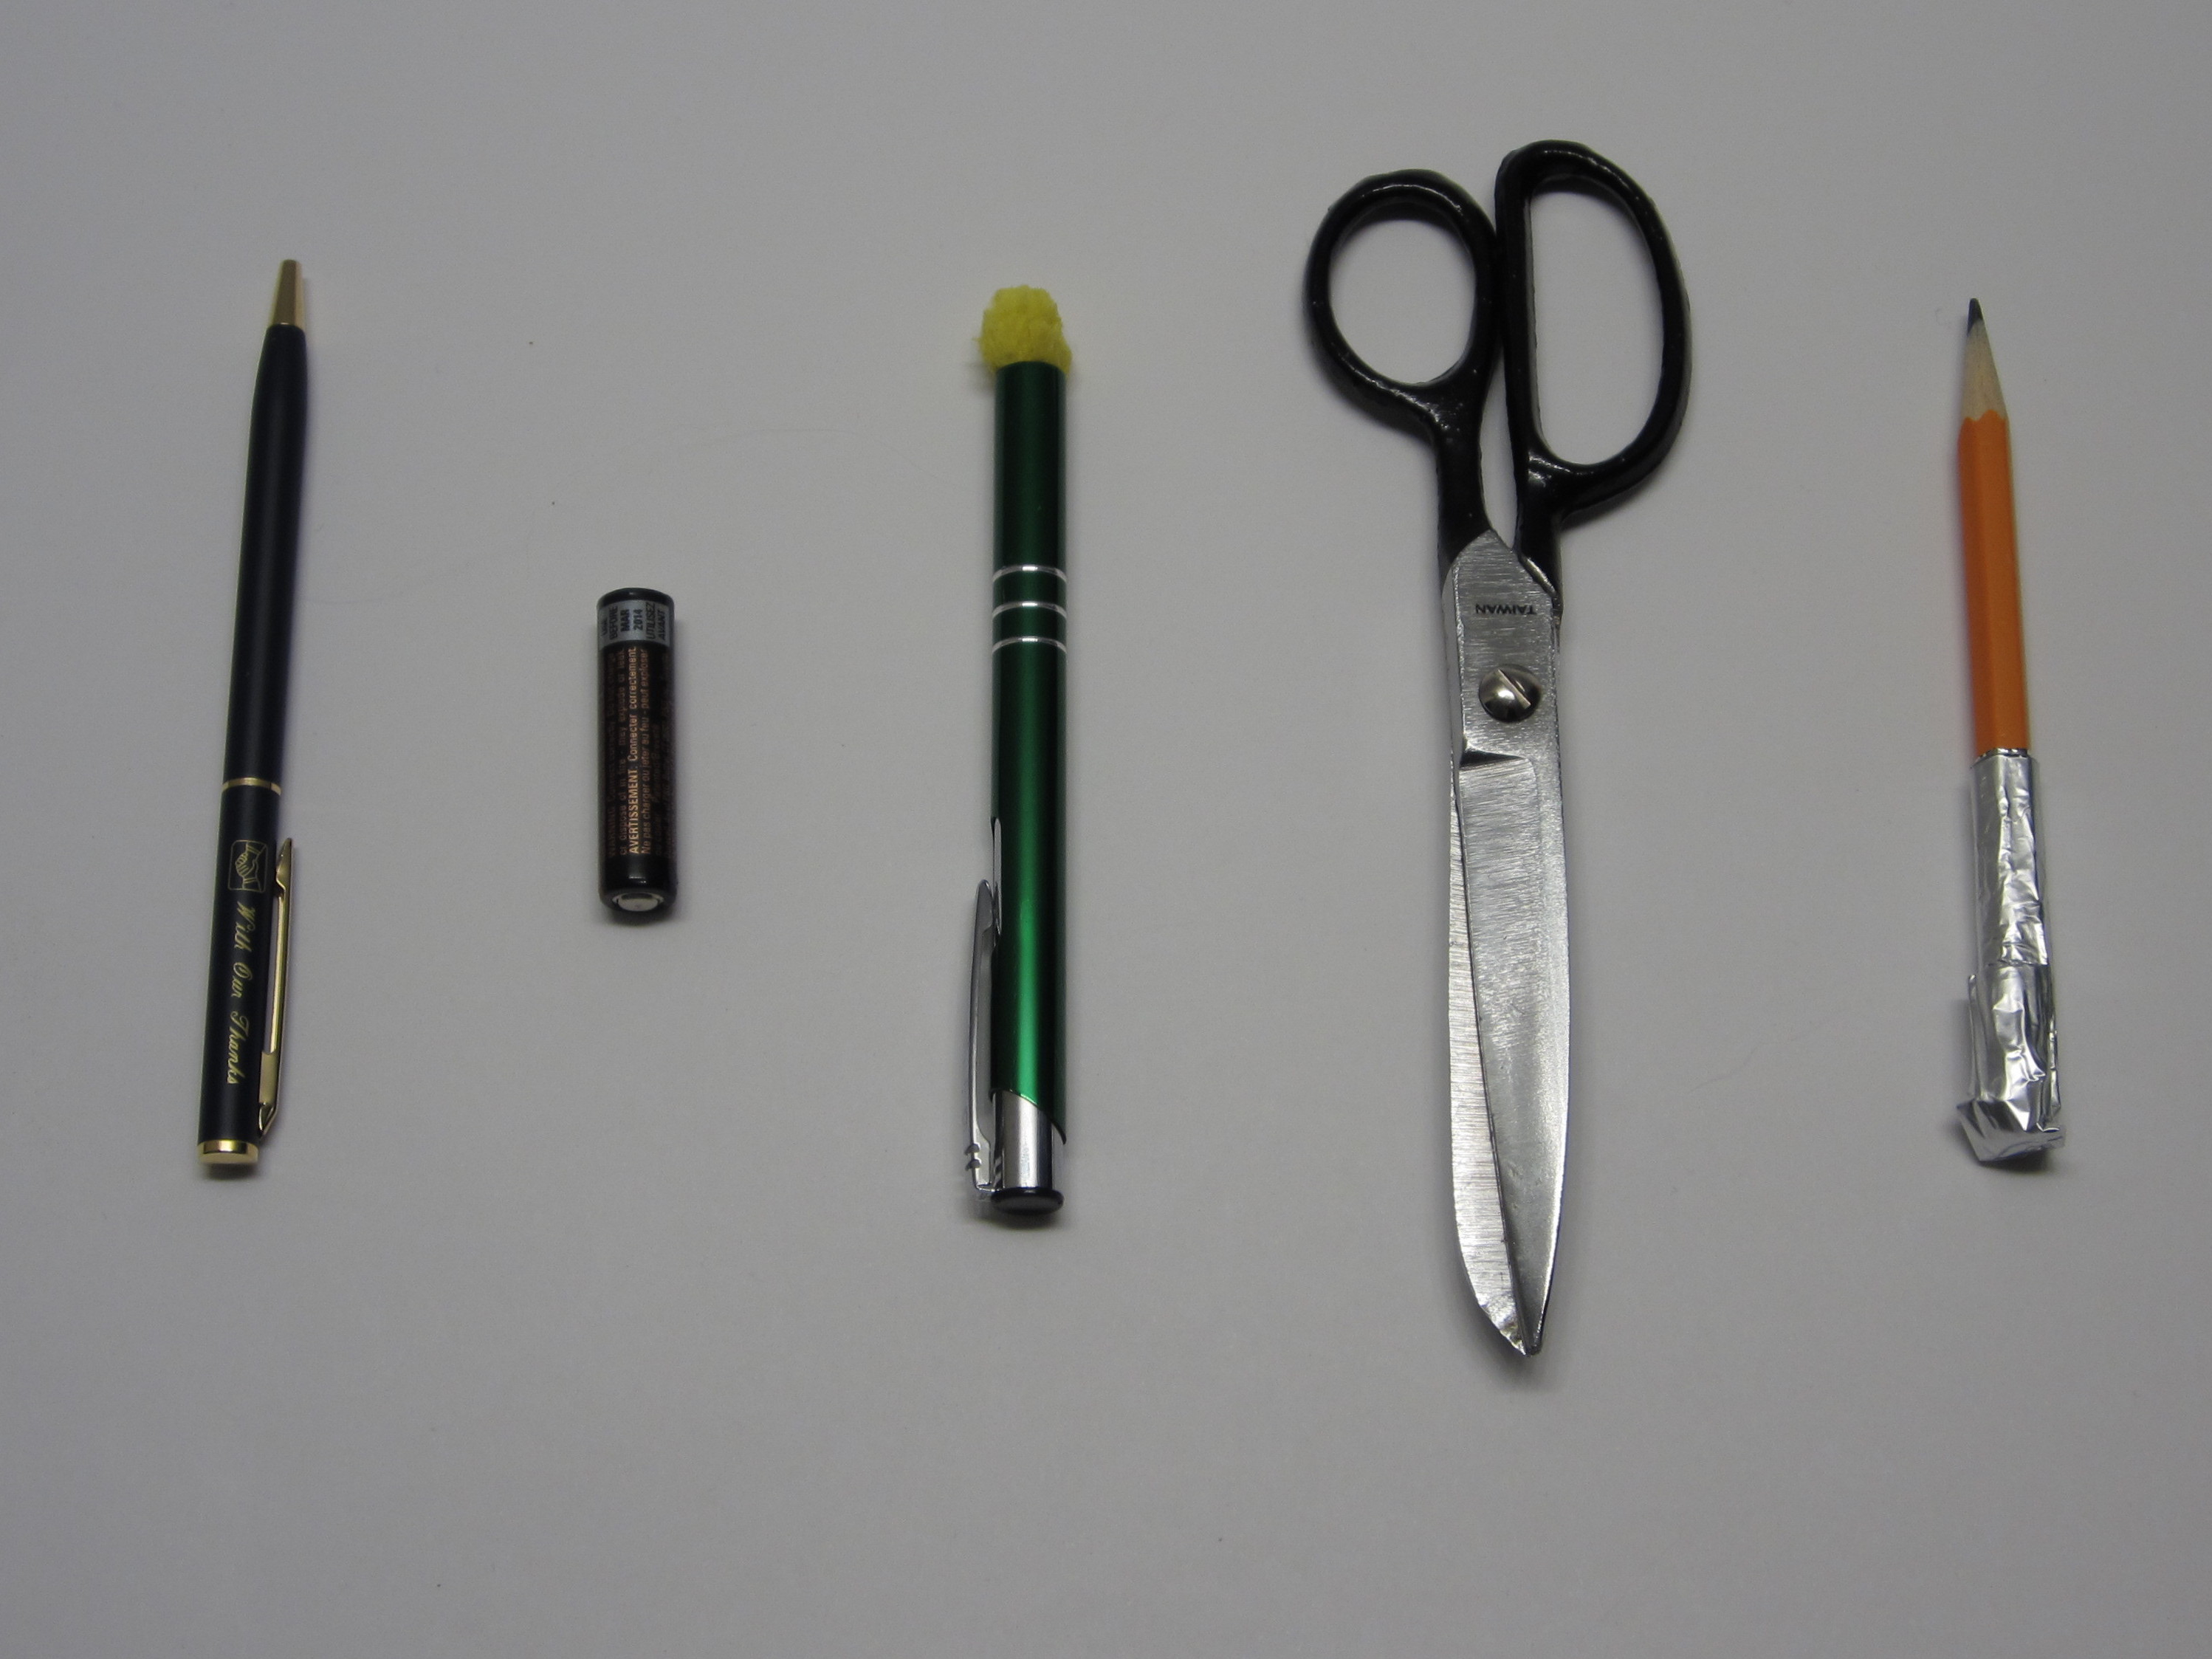
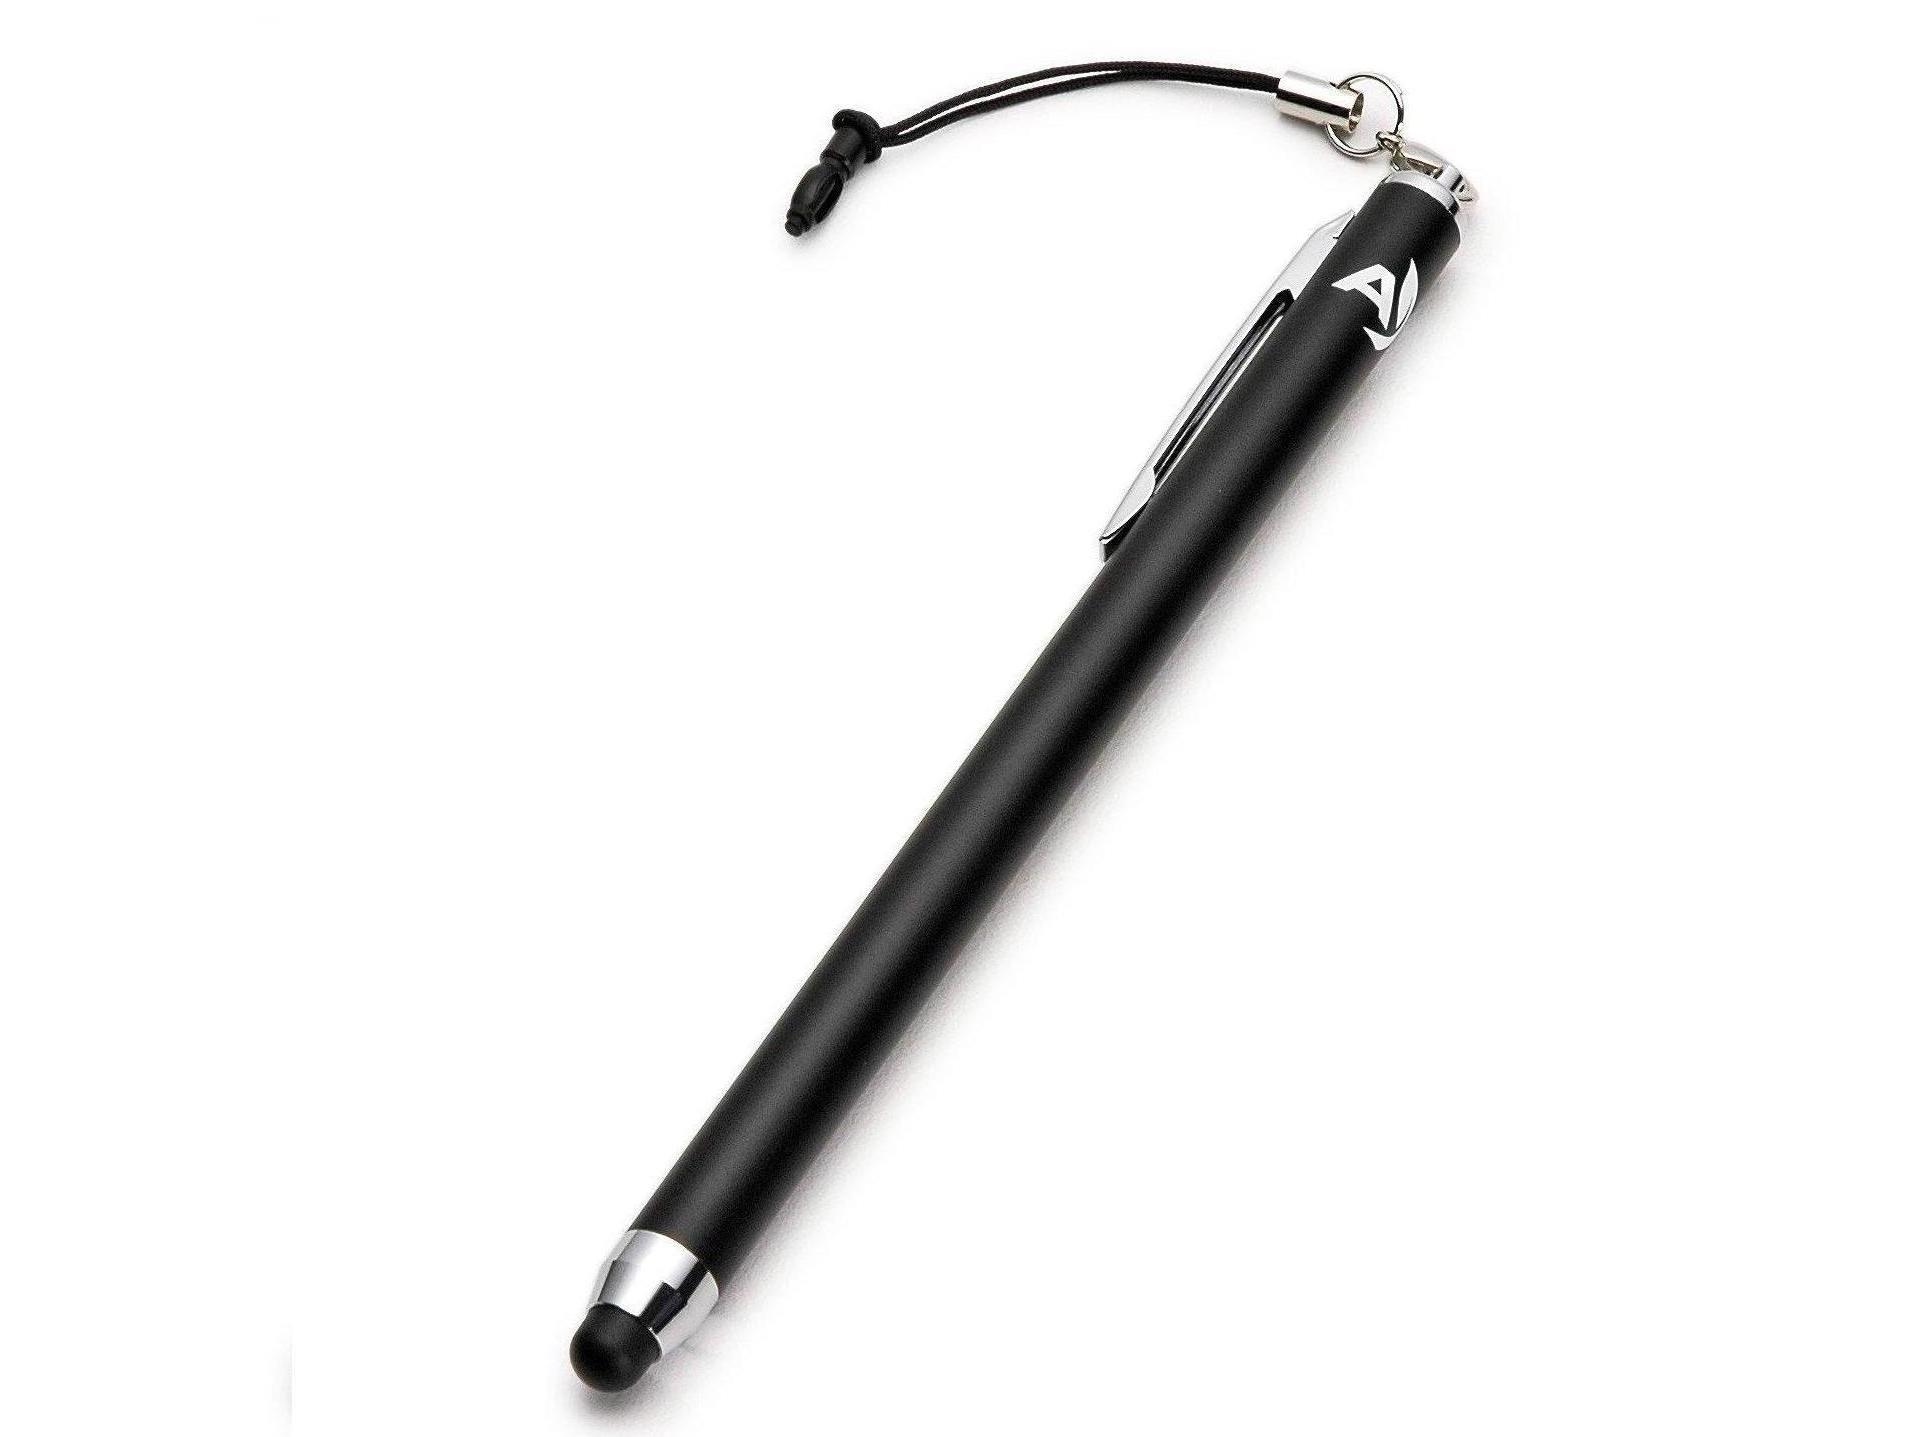
Here is a video showing you different materials that can be used as styluses and methods for putting together your own capacitive stylus.

YouTube player

What will the next generation of Make: look like? We’re inviting you to shape the future by investing in Make:. By becoming an investor, you help decide what’s next. The future of Make: is in your hands. Learn More.

Project Steps

DIY Capacitive Stylus Designs

Most smart phones and tablets have capacitive touch screens. This is an impressive bit of technology and it has inspired a wide variety of accessories. One of these is the capacitive stylus.

But you don’t need to spend a lot of money on a commercial stylus when you can make one for free out of everyday items. In this project, I am going to share with you a few of my favorite designs for a DIY capacitive stylus.

Background Information

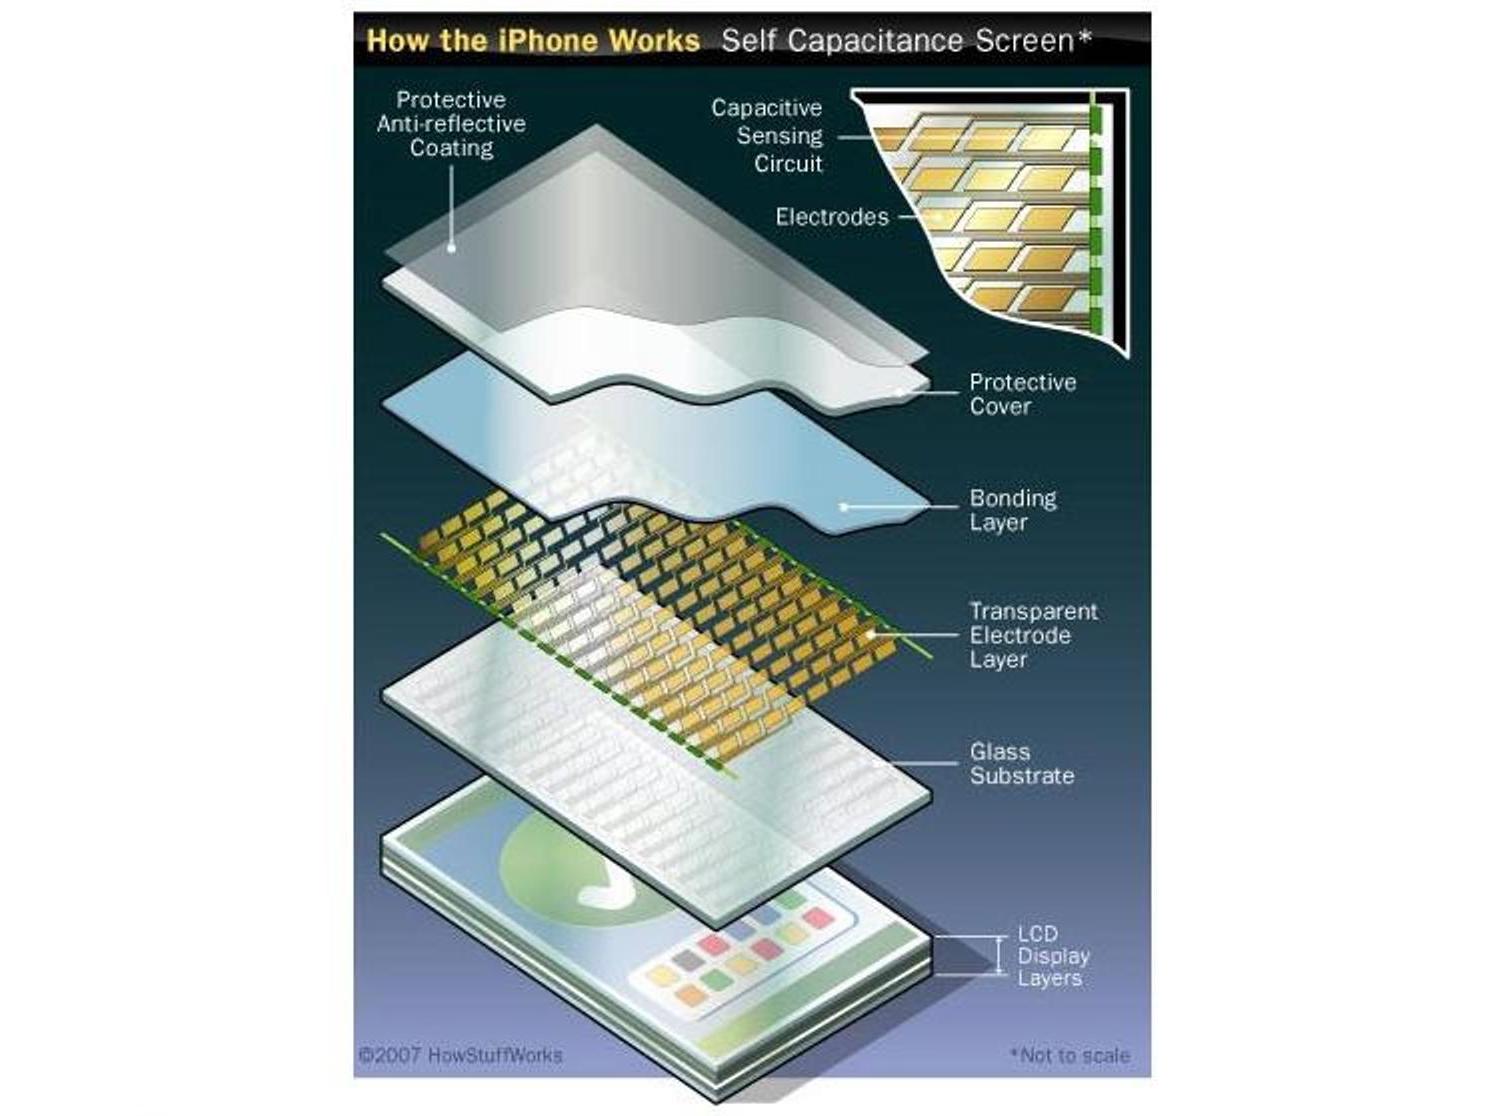
In general, capacitive touch screens work by using an array of sensors to monitor the electrostatic field around the screen. When your finger touches the screen, it changes the electrical capacitance of that portion of the screen. The microprocessor captures, filters, and analyzes the data. Then it calculates where the touch occurred.

When a stylus is used, the same principles apply. The only difference is that the stylus is acting as a conductor to transmit electrical charge between your hand and the phone. In order to function properly, a capacitive stylus must meet several criteria.

1. A conductive surface: It must be able to conduct an electrical charge between your hand and the screen. If the material is too resistive or if the distance between your hand and the screen is too great, the signal reaching the screen may be too weak to be detected.

2. At least 1/4 inch wide: When filtering data, the processor ignores areas that are significantly smaller than a human finger tip. This helps avoid unintentional activation. Having a stylus that is about 1/4 inch wide will ensure that there is enough surface area to be detected.

3. A relatively flat end: Having a flat tip ensures that the whole face can get close enough to the screen to be detected.

4. A smooth surface: This will ensure that you don’t scratch up your screen

Following these criteria, you can find a wide variety of common items that can be used to activate a capacitive touch screen. Here are five of my favorite designs for a DIY capacitive stylus
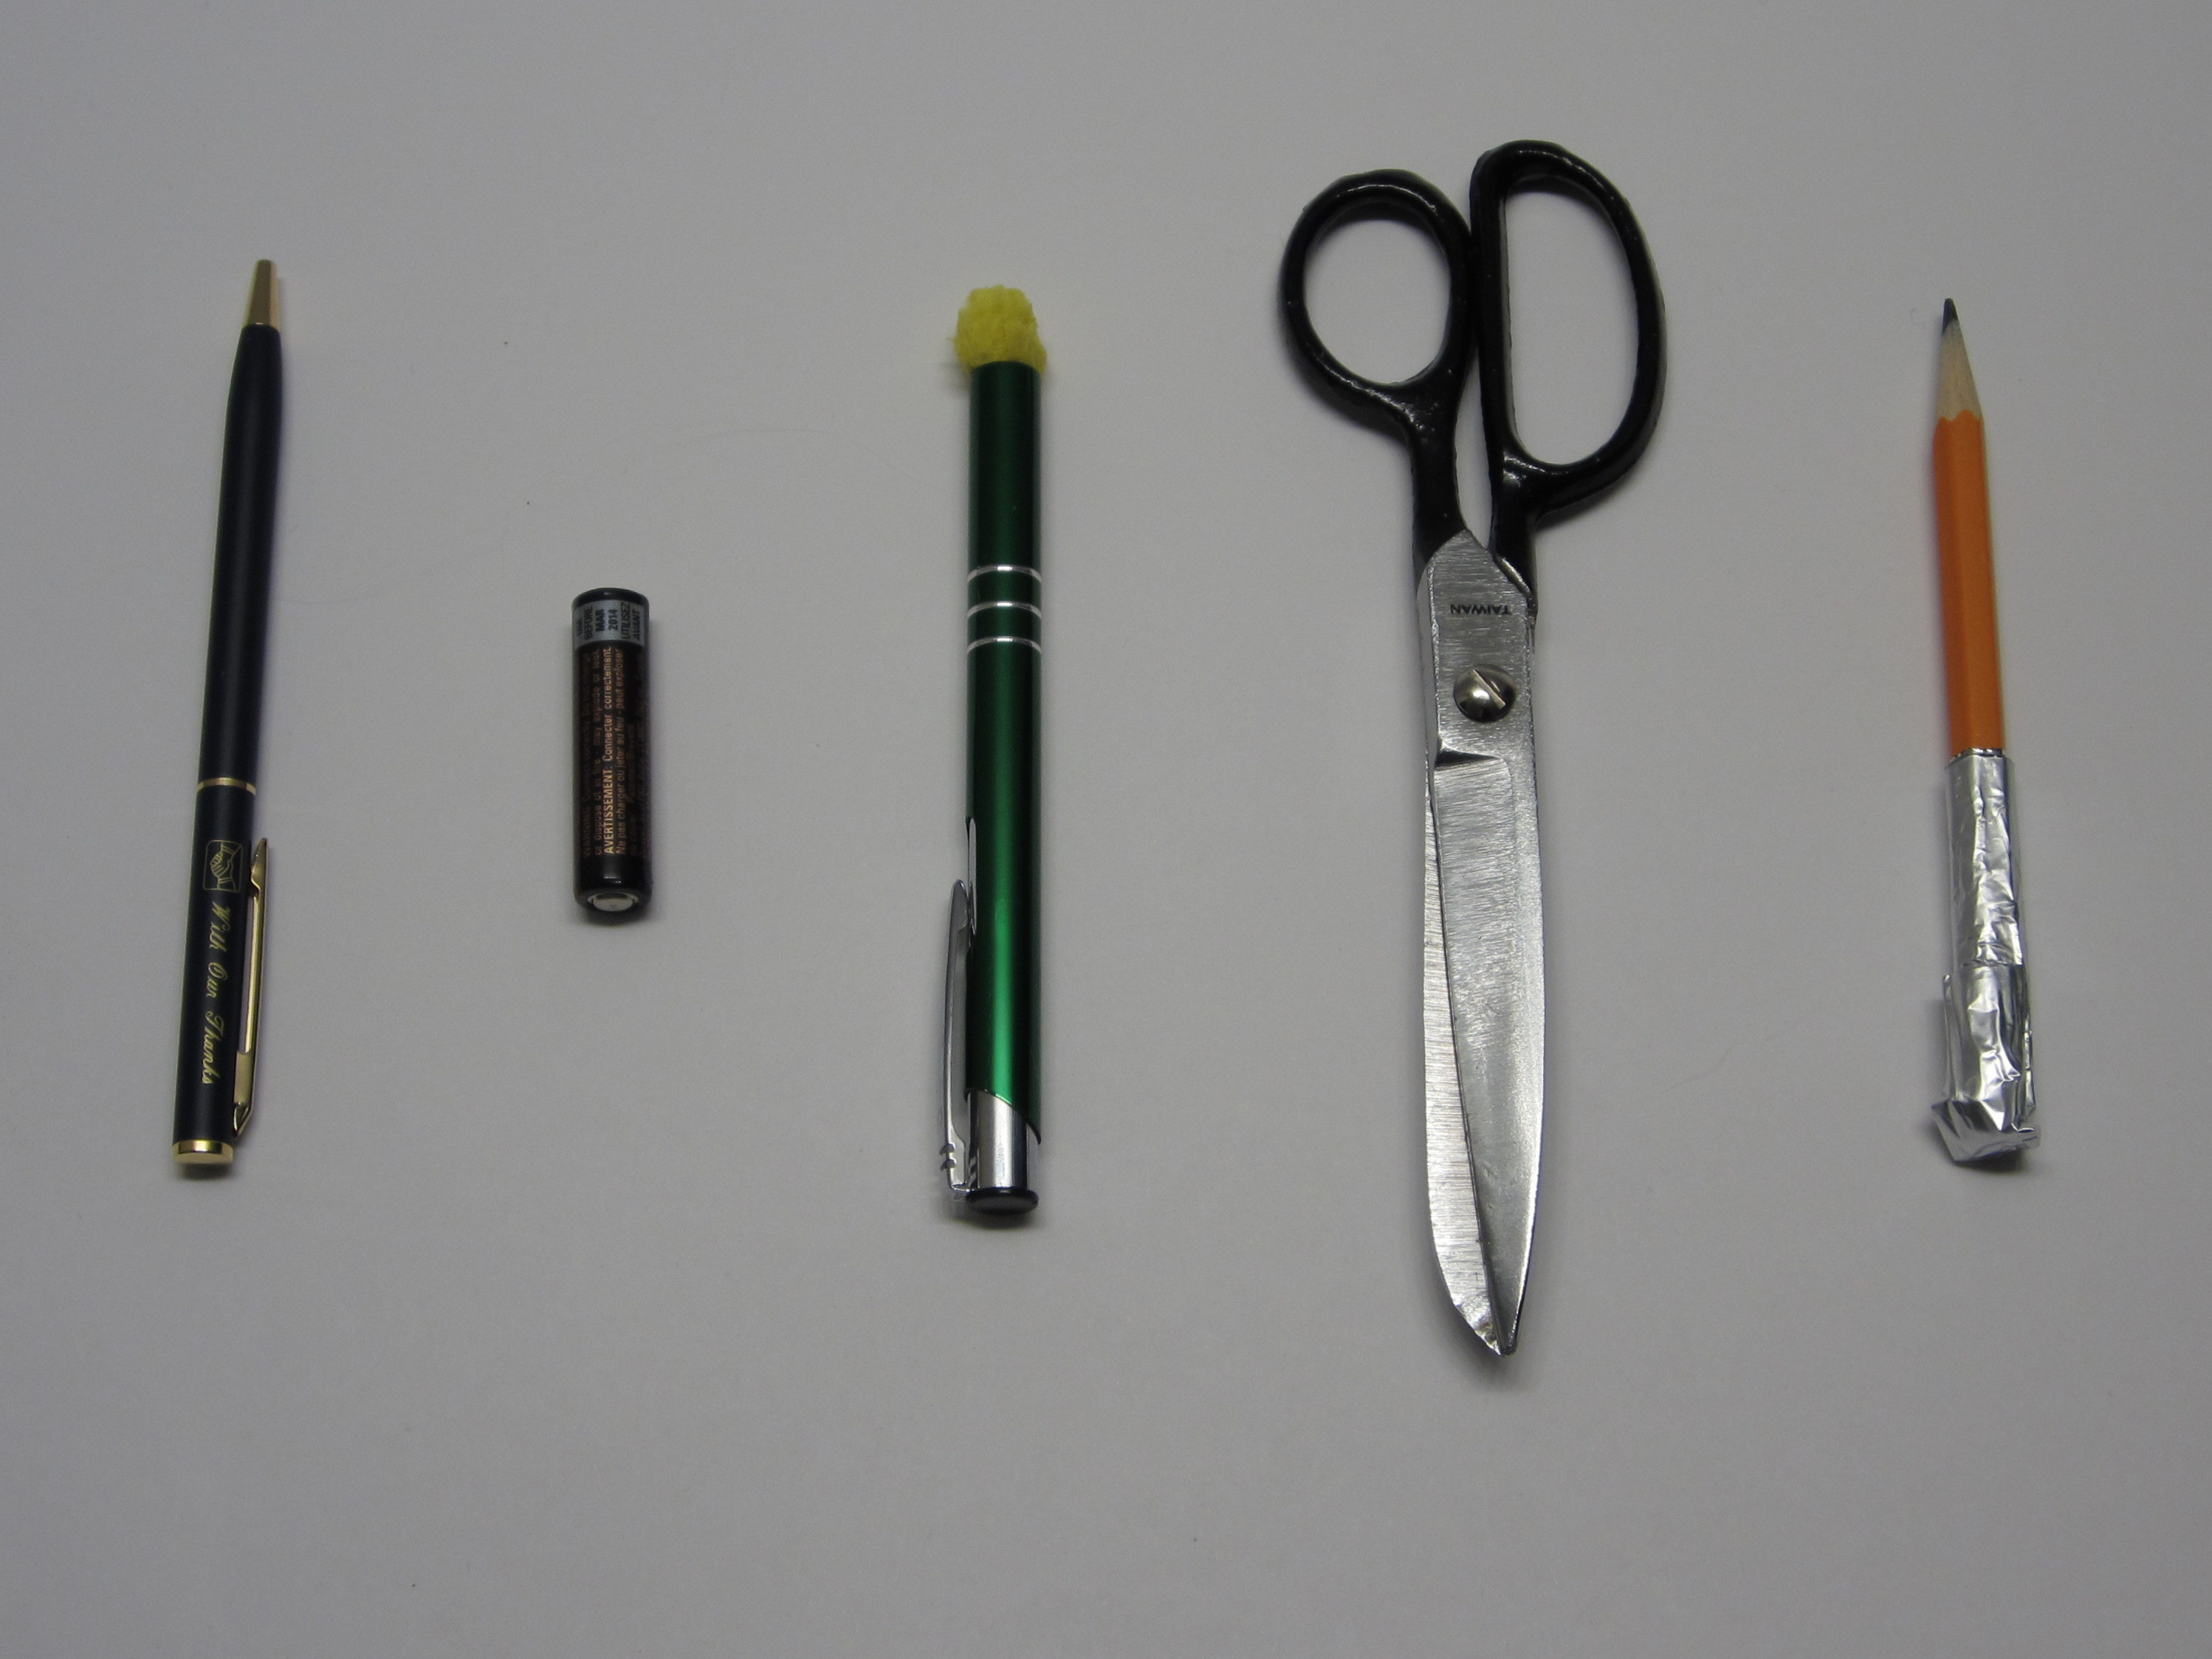
Metal Pen Stylus

The back end of many metal pens may be used as a stylus without any modification. The more metal there is in the pen, the more sensitive and more reliable it will be. When selecting a pen be careful to avoid shiny plastic that may look like metal. This is probably the most convenient stylus because it can function as both a pen and a stylus.

Battery Stylus

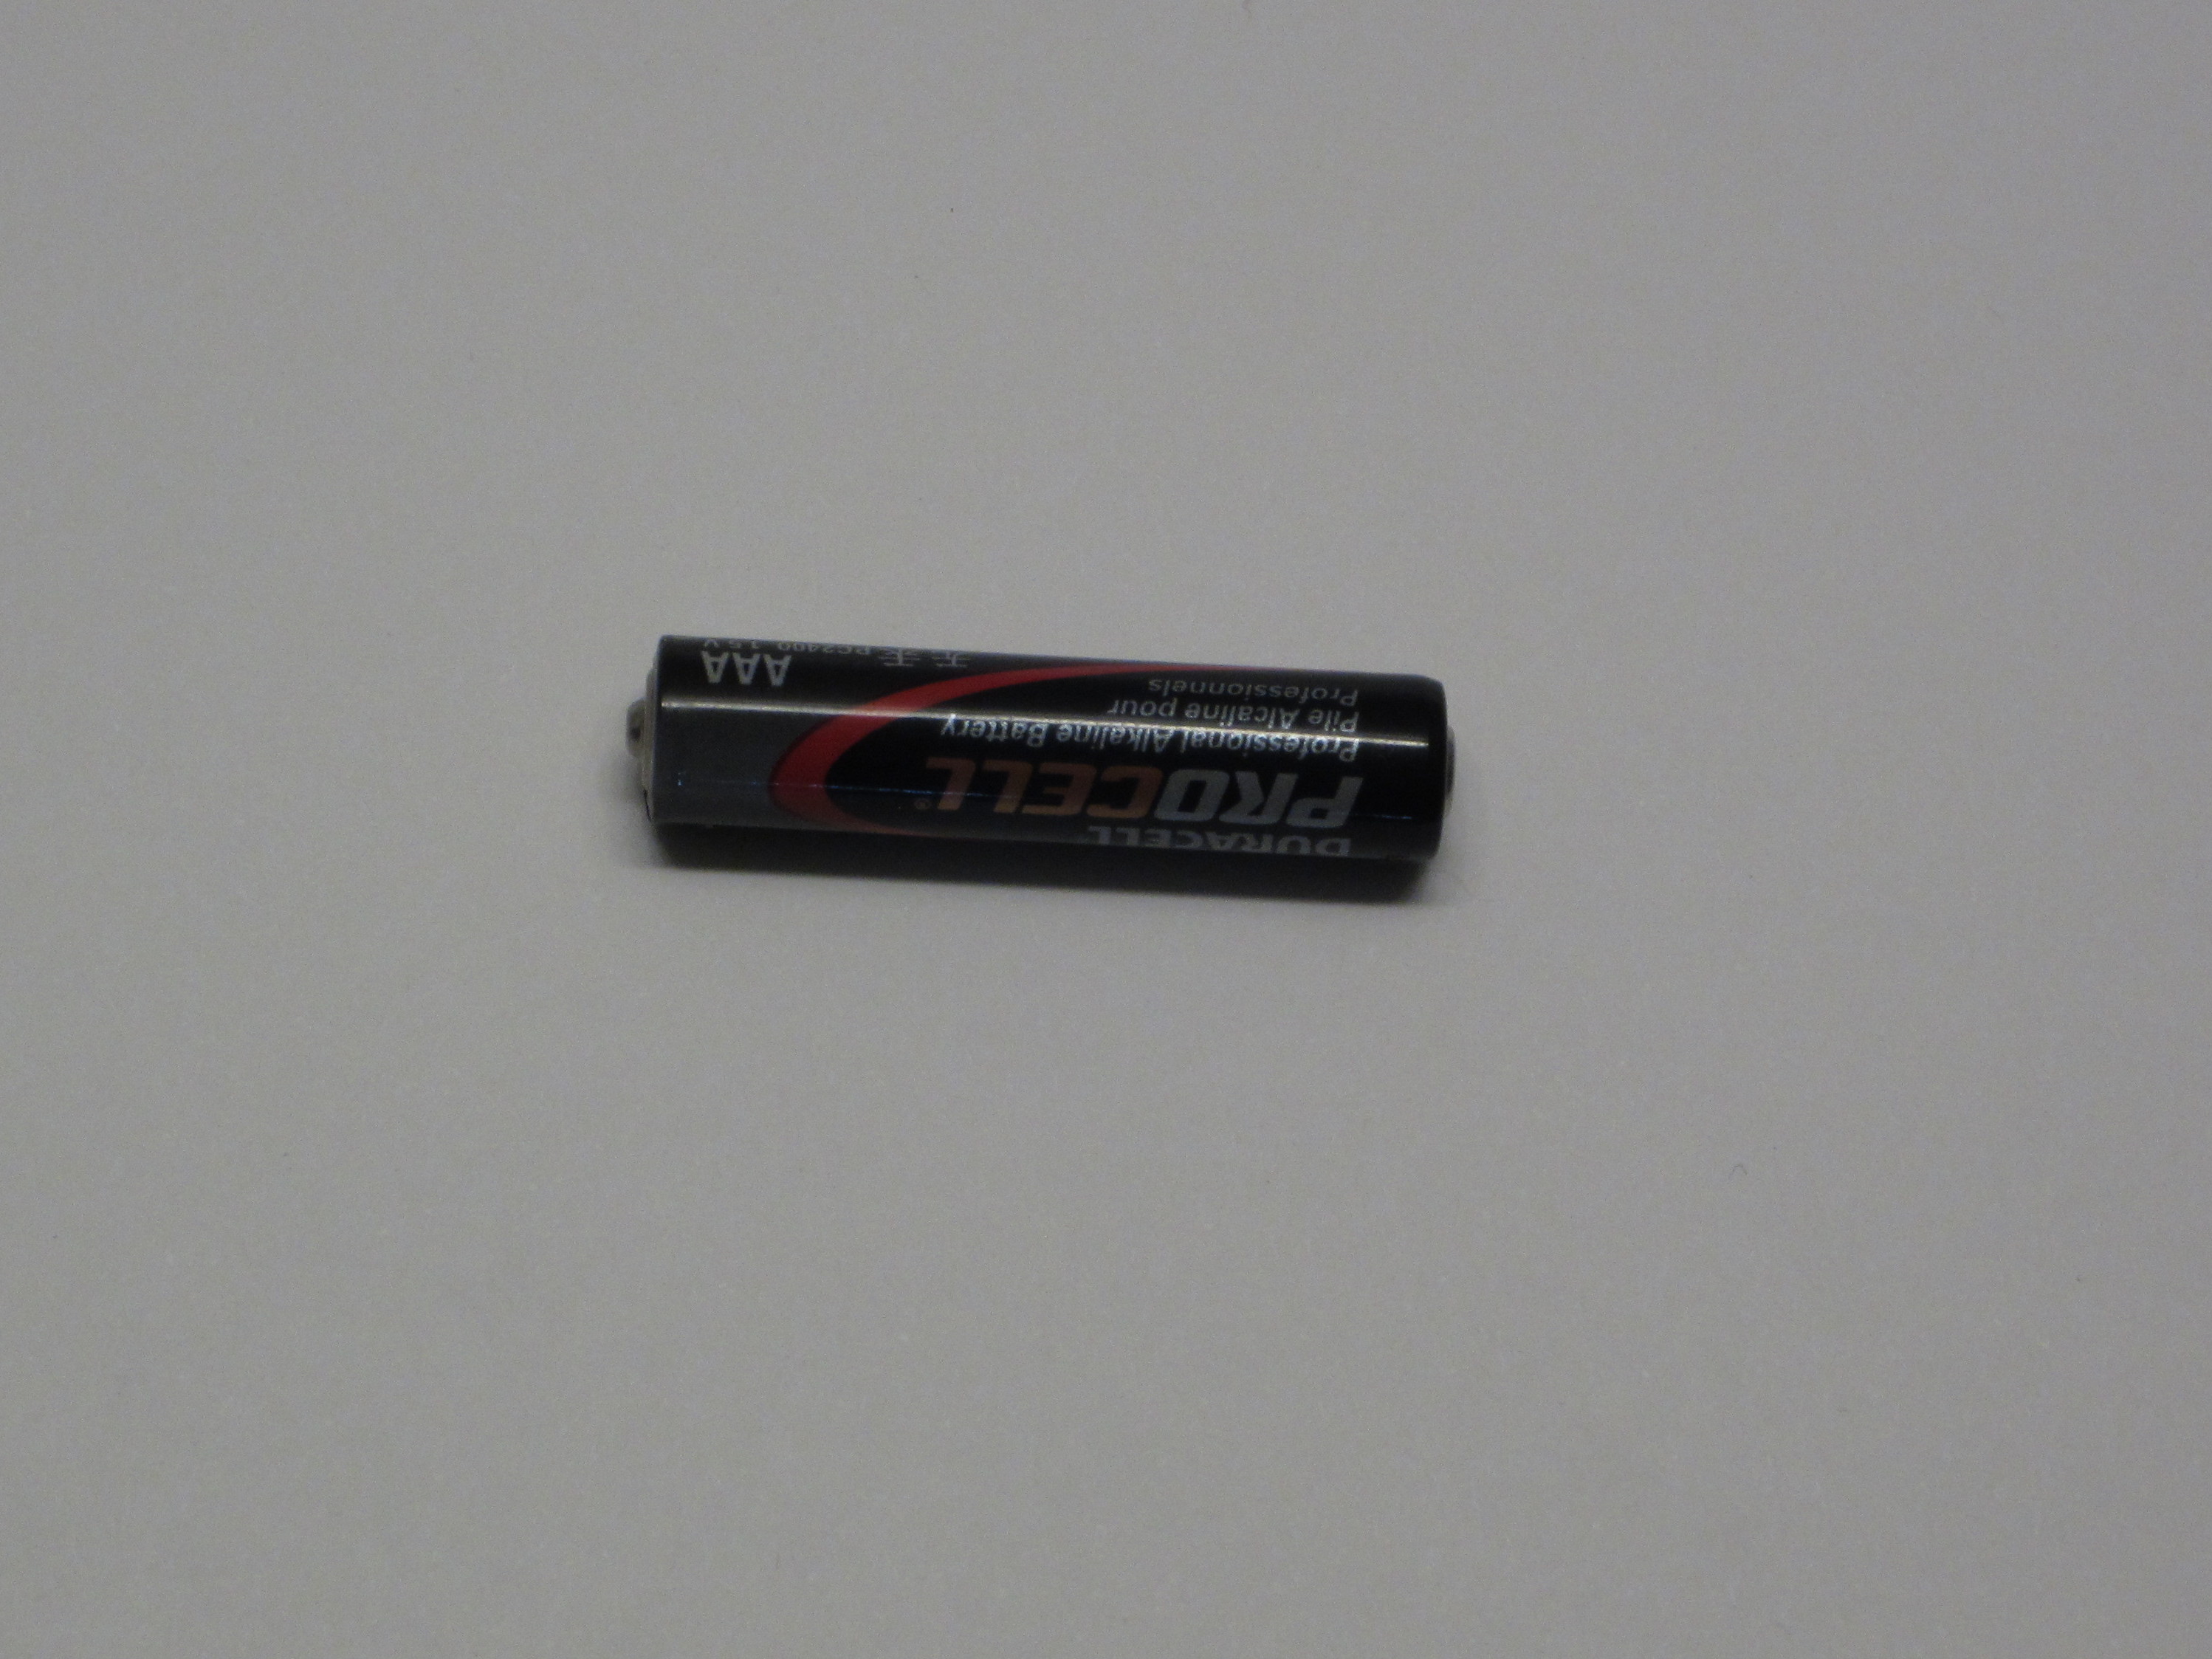
The negative end of a battery (such as a AA, AAA, or AAAA) can also act as a stylus without any modification. However, if you would like to make it more sensitive, you can remove any insulating wrapping. A battery makes a great impromptu stylus. With the prevalence of handheld electronics we are rarely far from a battery of some kind.

Sponge Stylus

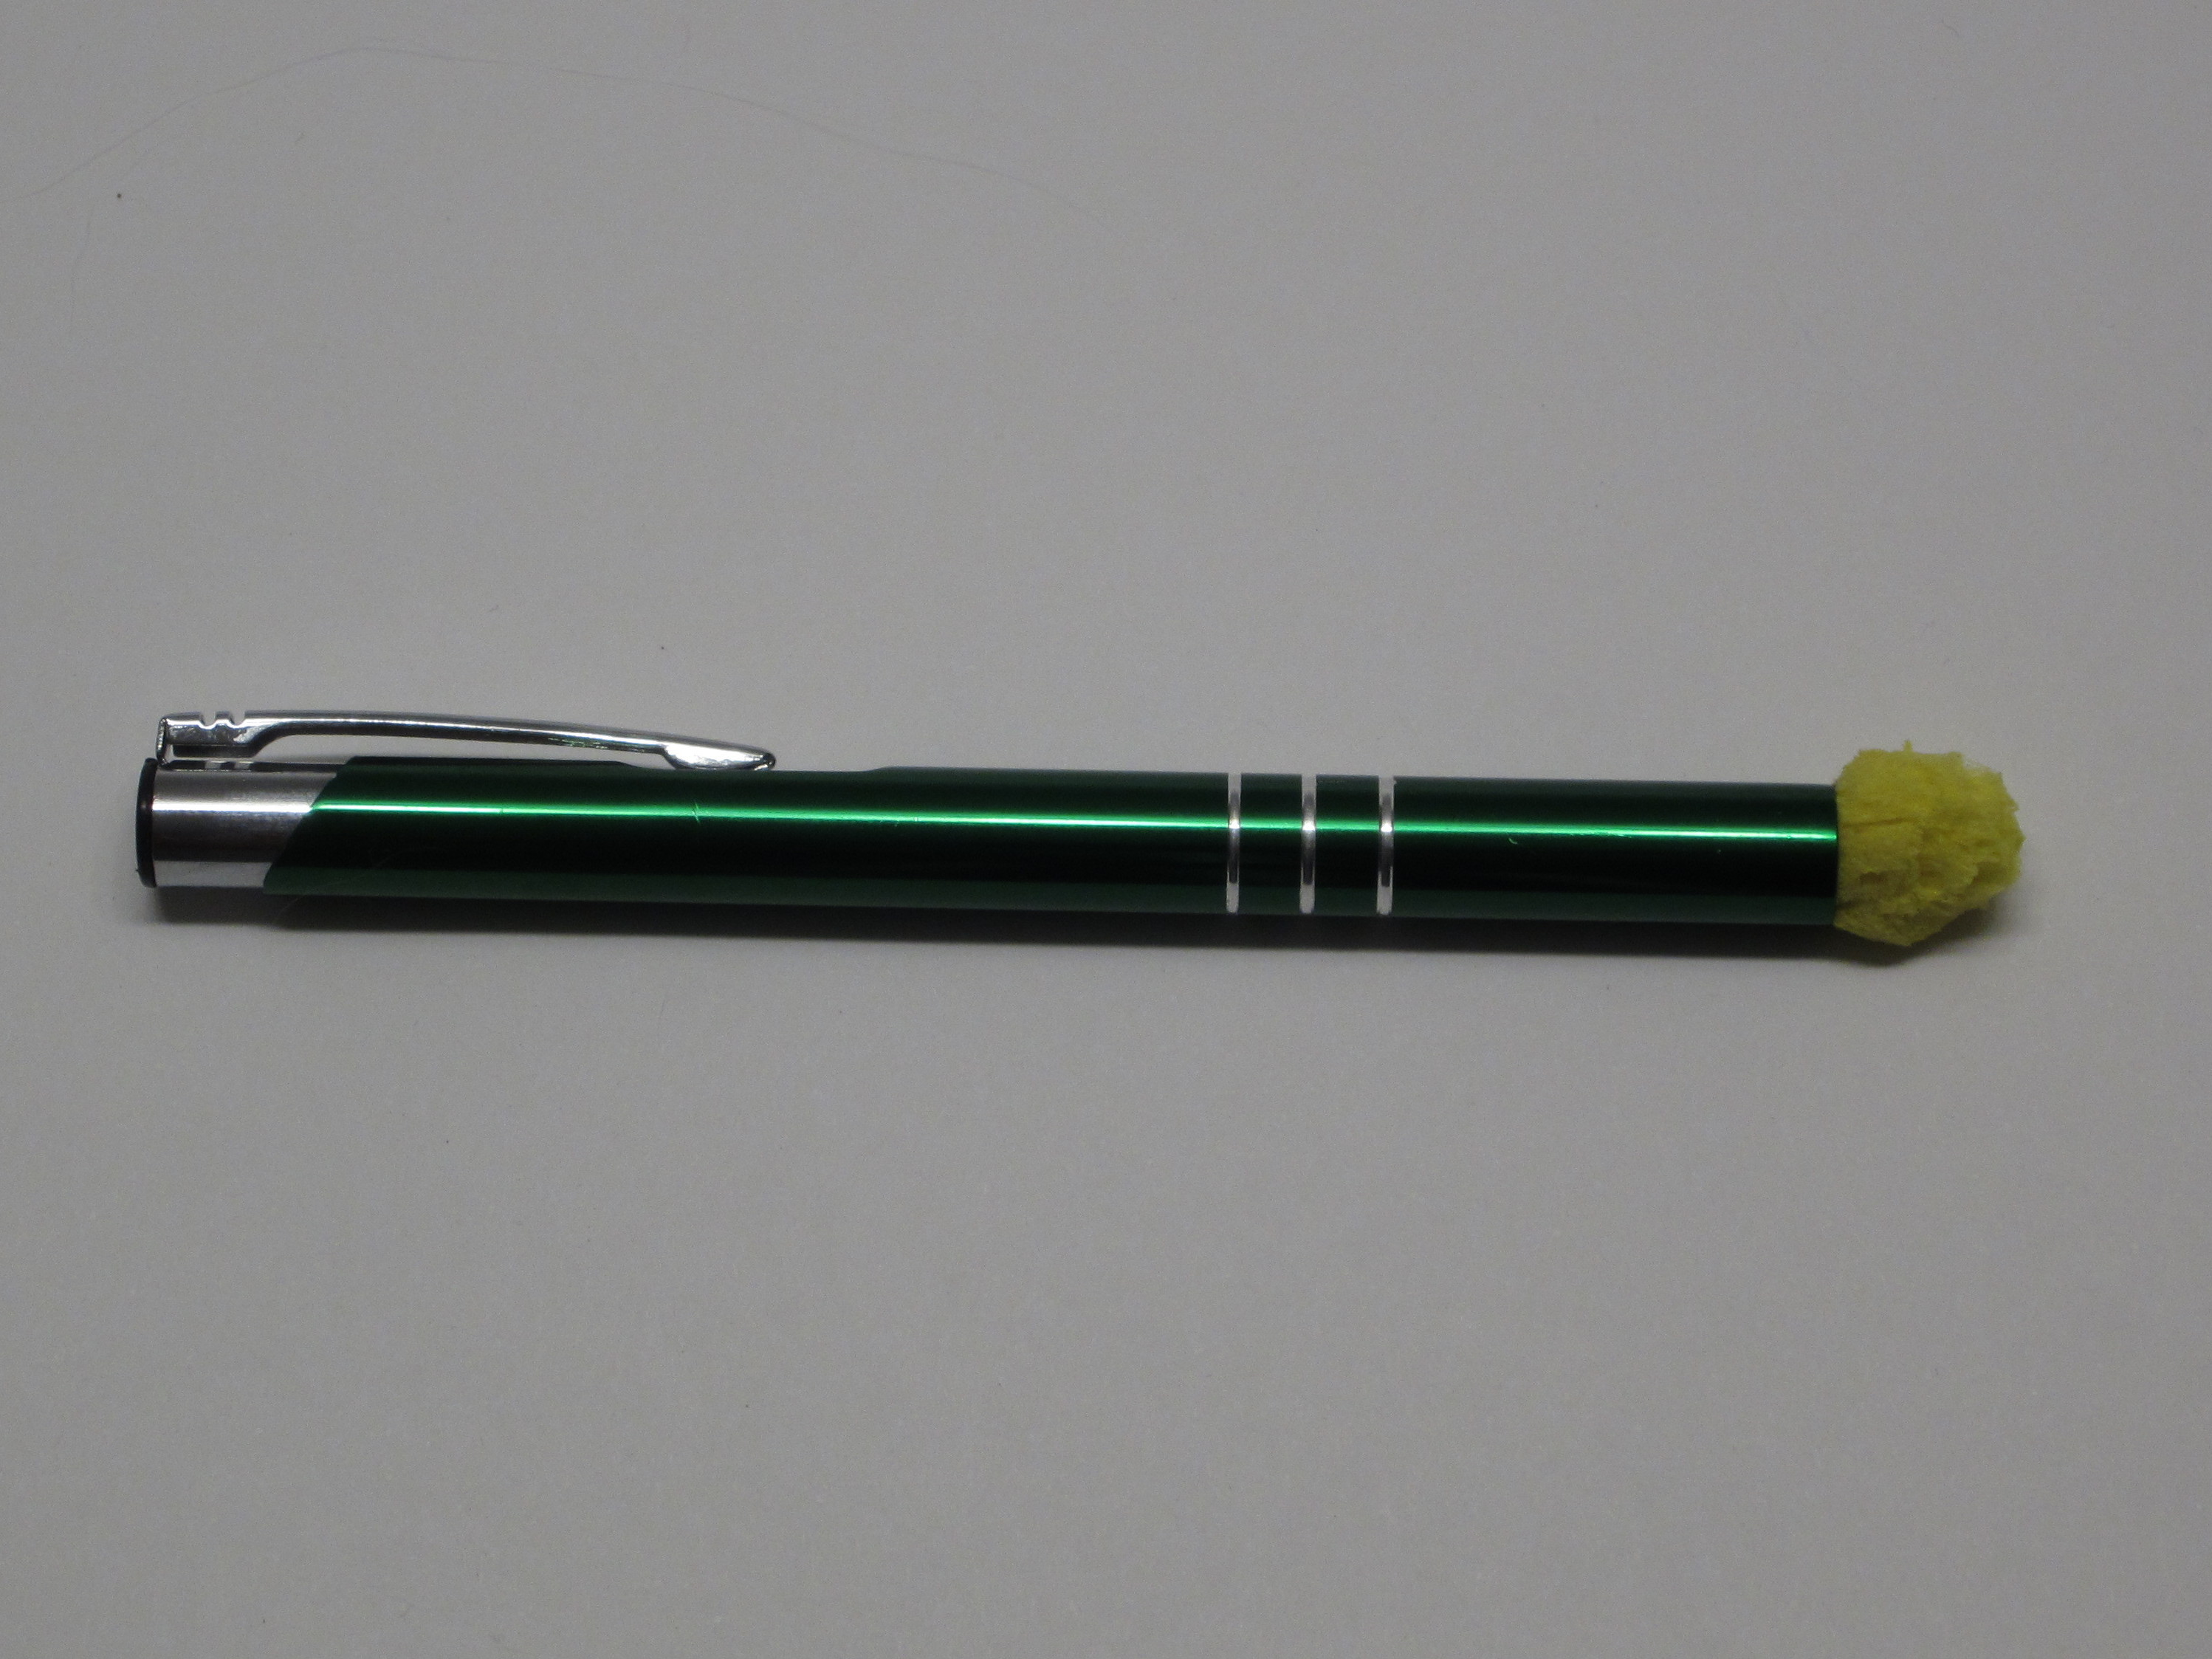
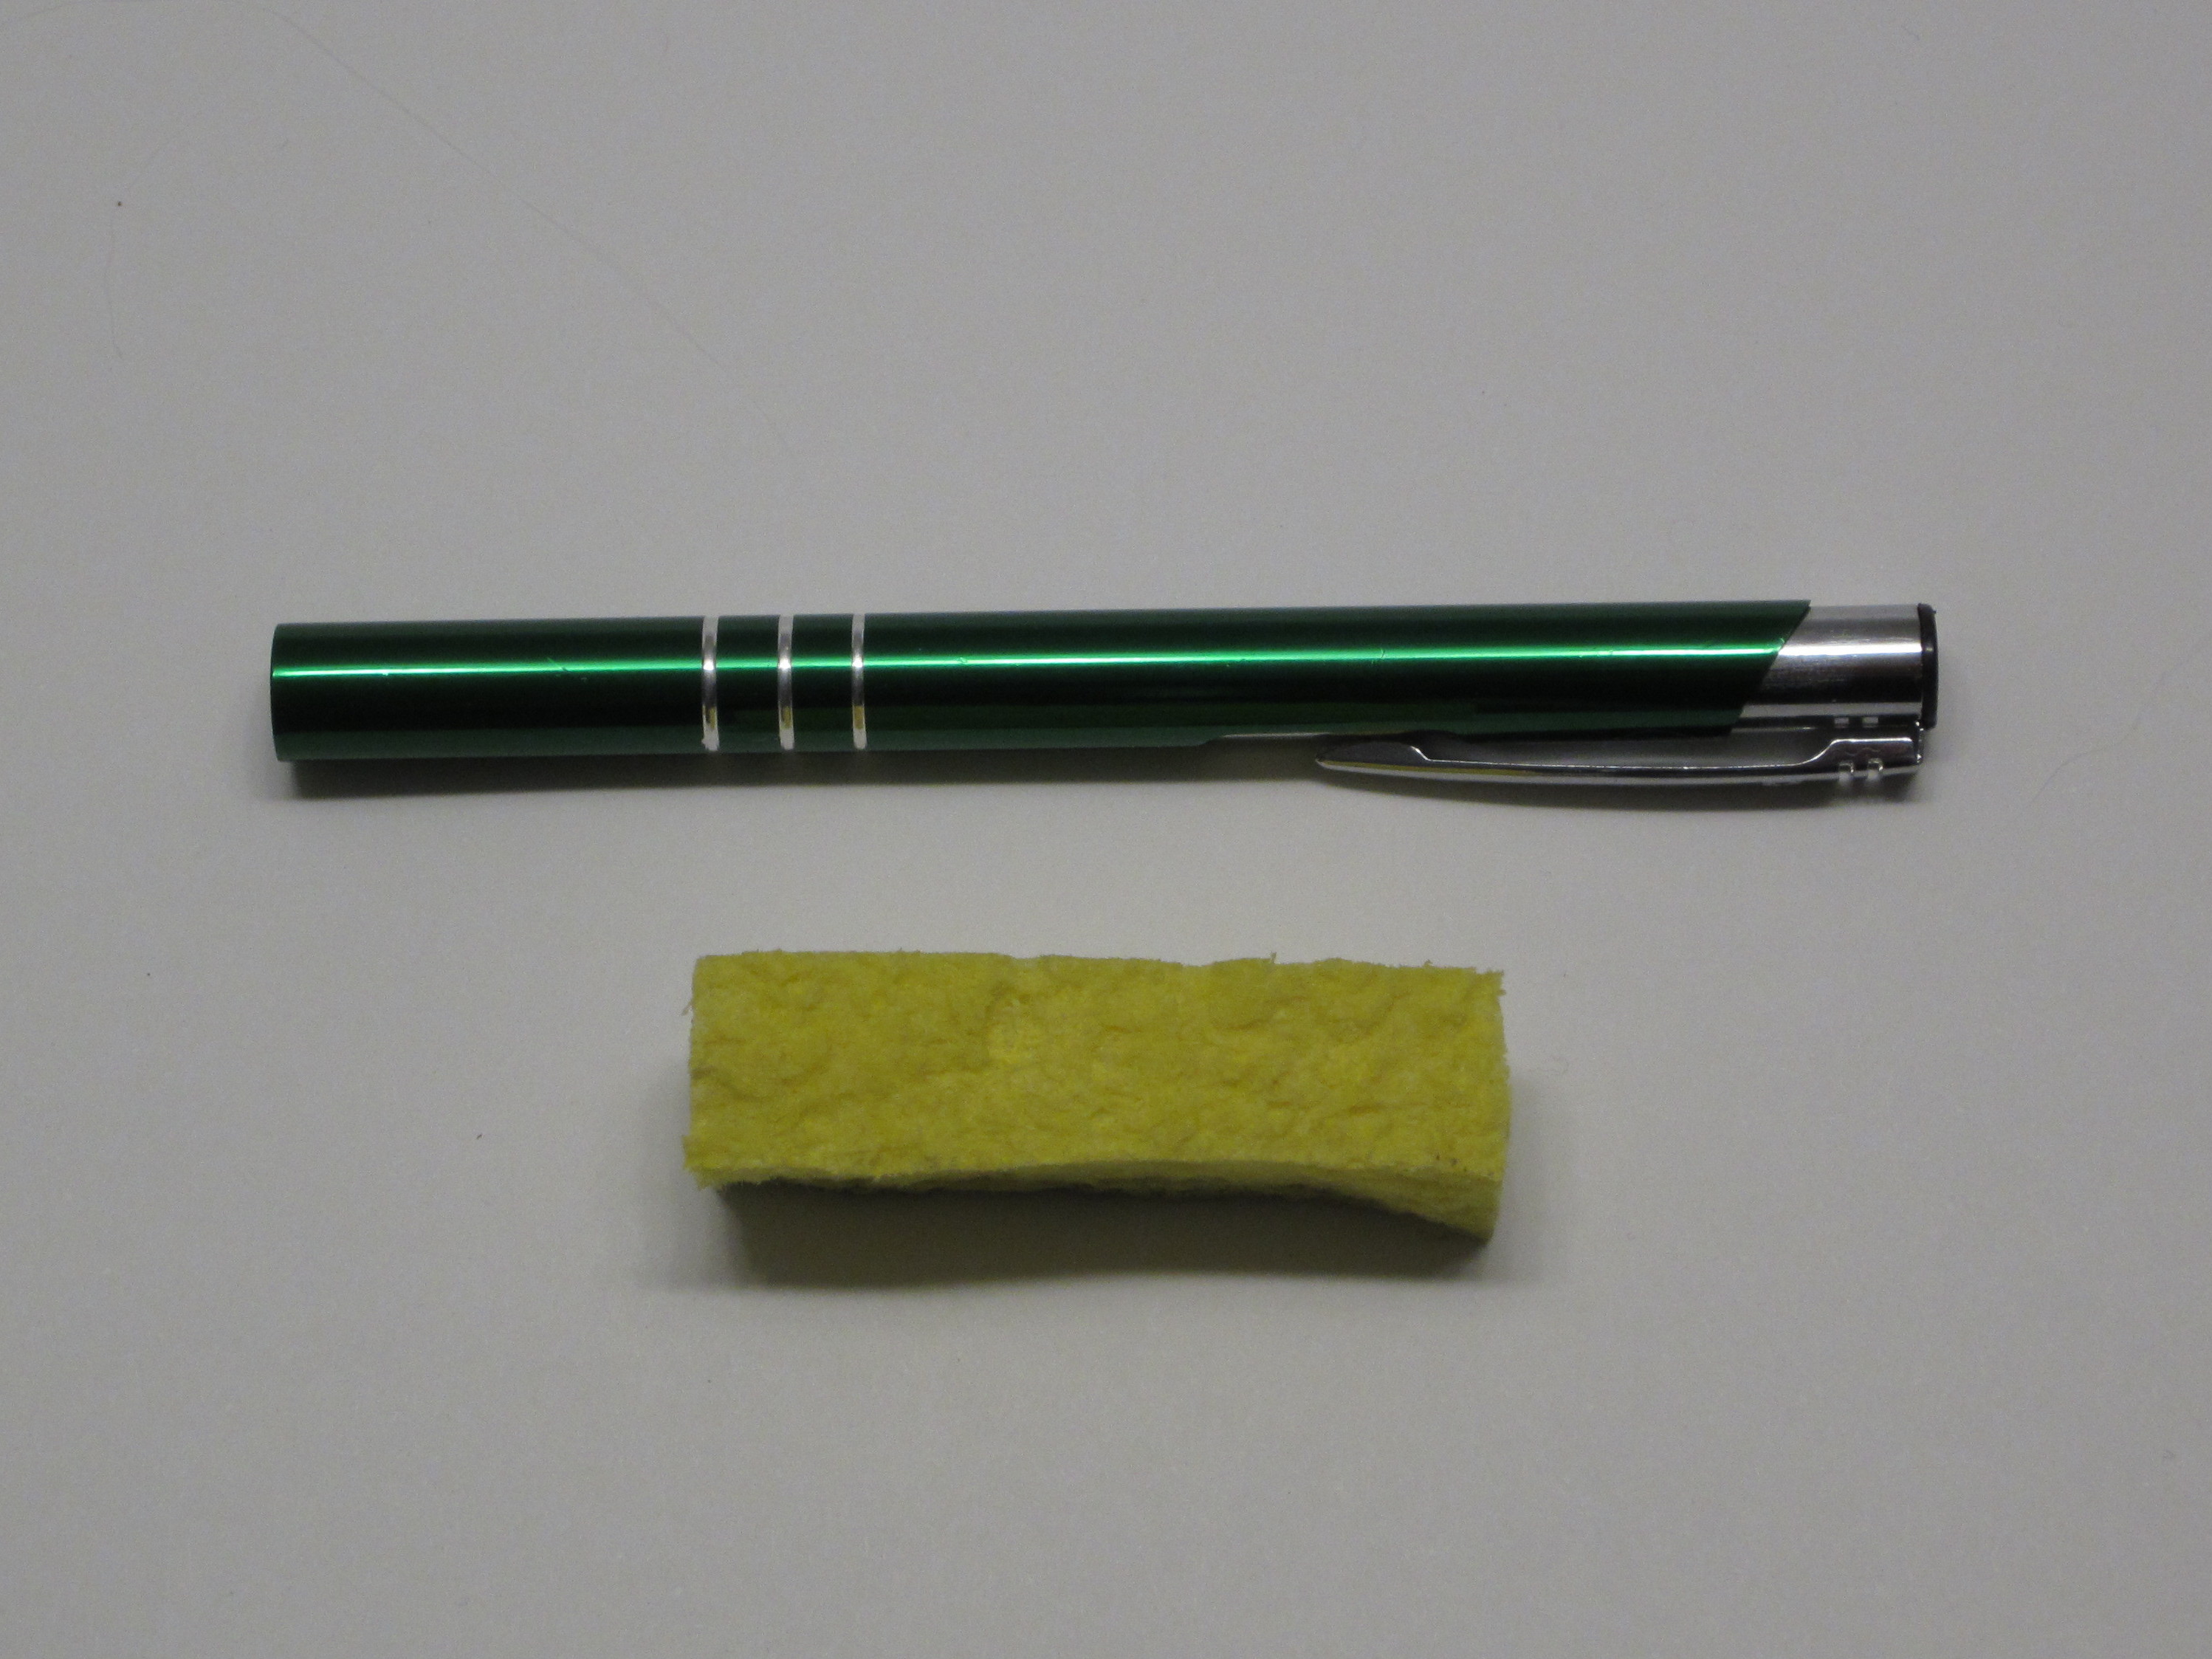
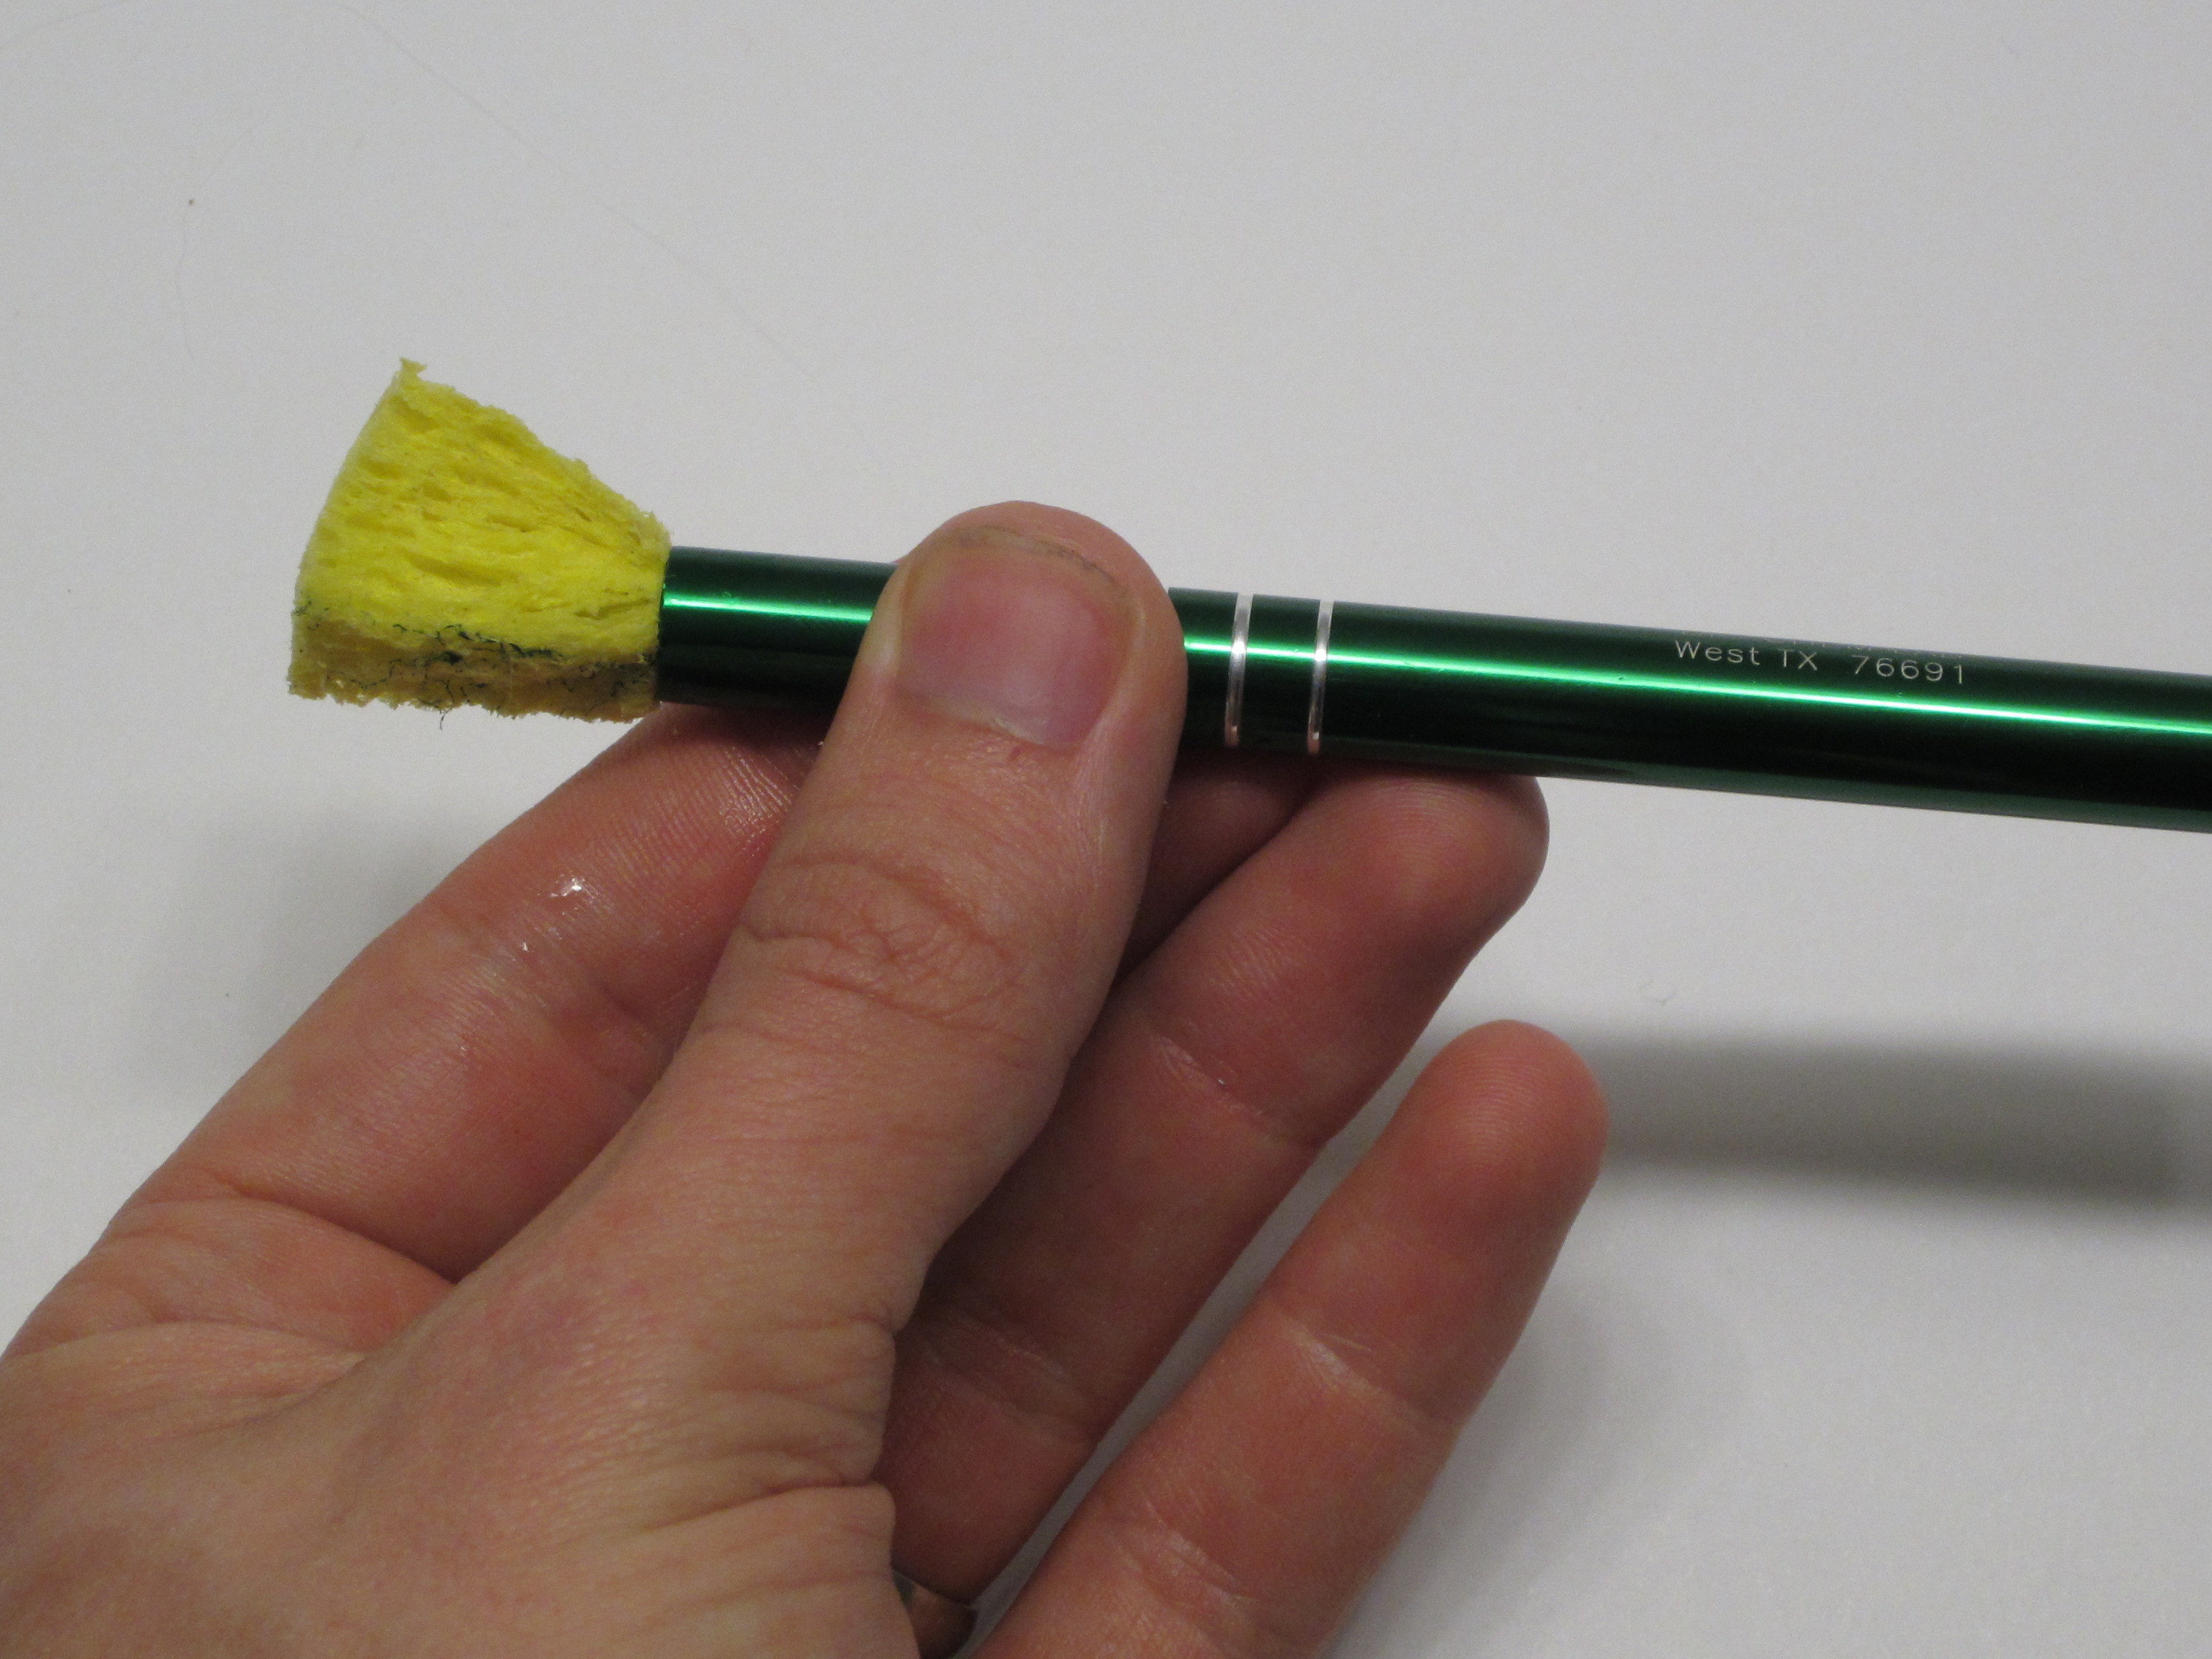
Probably the most interesting material that can be used to activate a capacitive touch screen is a sponge. But a sponge is a bit too flexible to make an effective stylus as it is. To fix this, the easiest thing to do is to insert the sponge into a metal pen barrel or other metal tube. This gives it shape and makes it a lot easier to work with.

Cut off a strip of sponge that is about 1/2 inch wide and about 3 inches long. Pinch the end of the sponge and twist it into the barrel until you have 1/2-1 inch sticking out the end. Make sure that the sponge is deep enough that it makes good contact with the metal housing. Then trim the tip of the sponge with a pair of scissors and round it off.

The only problem with using a sponge as a stylus is that it will not work if it is completely dried out. The water in the sponge helps conduct the charge. So periodically you need to rewet the sponge. It doesn’t need to be soaked, just moist enough that the sponge is flexible.

Office Supply Stylus

While most office supplies are either too small or too large (such as staplers and hole punches) to be conveniently used as a stylus, there are quite a few that work quite well. Some examples of metal office supplies that will work as a stylus are scissors with metal handles, a name tag clip, binder clamps, or an unbroken bunch of staples.

The best way to figure out what will work is to just open up your office supply drawer and start trying different things out.

Foil Stylus

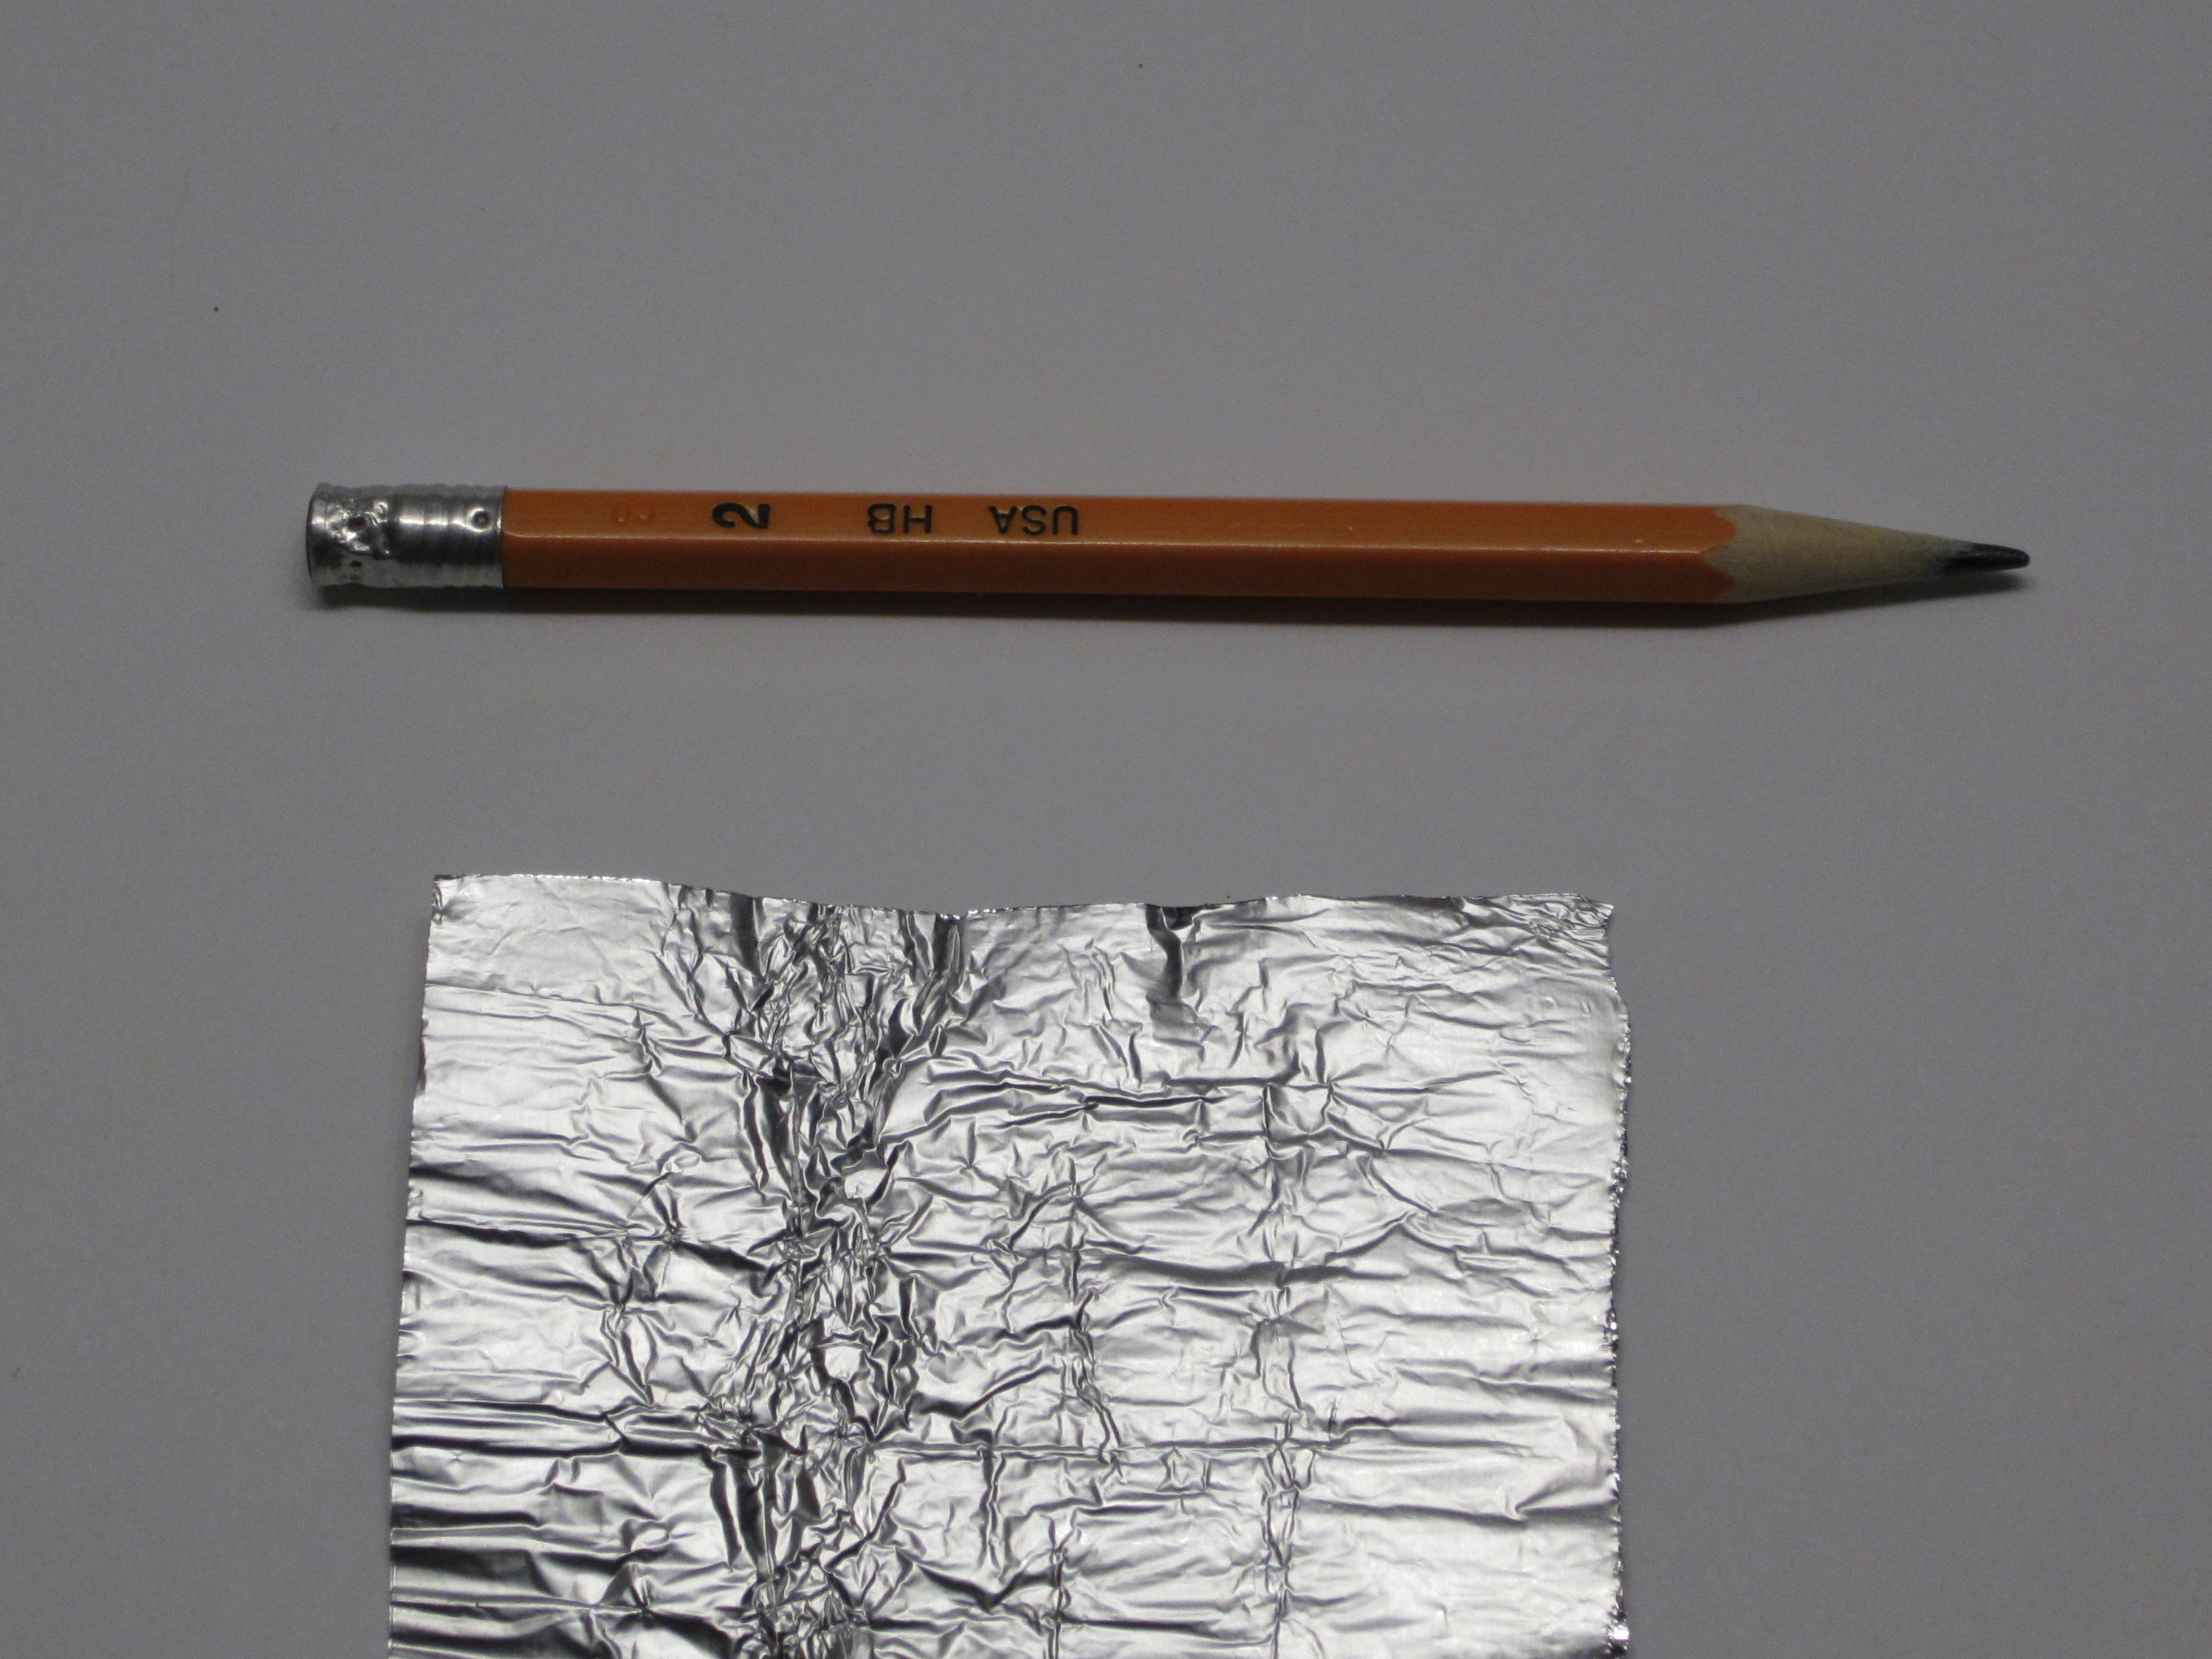
Pretty much anything wrapped in foil can work as a stylus. A pencil or pen wrapped in foil is probably the simplest example. Just tear off a piece of foil that is about 3-4 inches long. Then roll it onto the pencil leaving about an inch of foil sticking out past the eraser.

When it is rolled up, fold this extra bit of foil over the end. Then fold up any sharp ends. To finish smoothing the end, you may want to press it against a table on all sides to ensure that the end is flat and free of any sharp edges.

The creased foil should hold itself in place, but if you use tape to secure the foil, make sure that there is enough exposed foil to make a good contact with your hand. If the stylus is not very responsive, you may wish to adjust the shape of the tip by either pressing it into a different shape or rerolling it.

Other materials

There are a lot of other materials that can be used to activate a capacitive touch screen. Here are just a few.

The head of a bolt or screw; Nails with a wide head; Silverware; A zipper; A capacitor; A metal thumbtack; A rolled-up green leaf; Wet paper towel/napkin; A stack of quarters; A freshly cut twig or stem; A pocket knife; Large Keys; The back of a drill bit; Anti-static film; Anything porous that is wet; Anything metal that has the right shape.

This is just a short list of some materials that will work. Feel free to try out whatever you have lying around. If you think of a particularly interesting material that works, leave a comment and share.