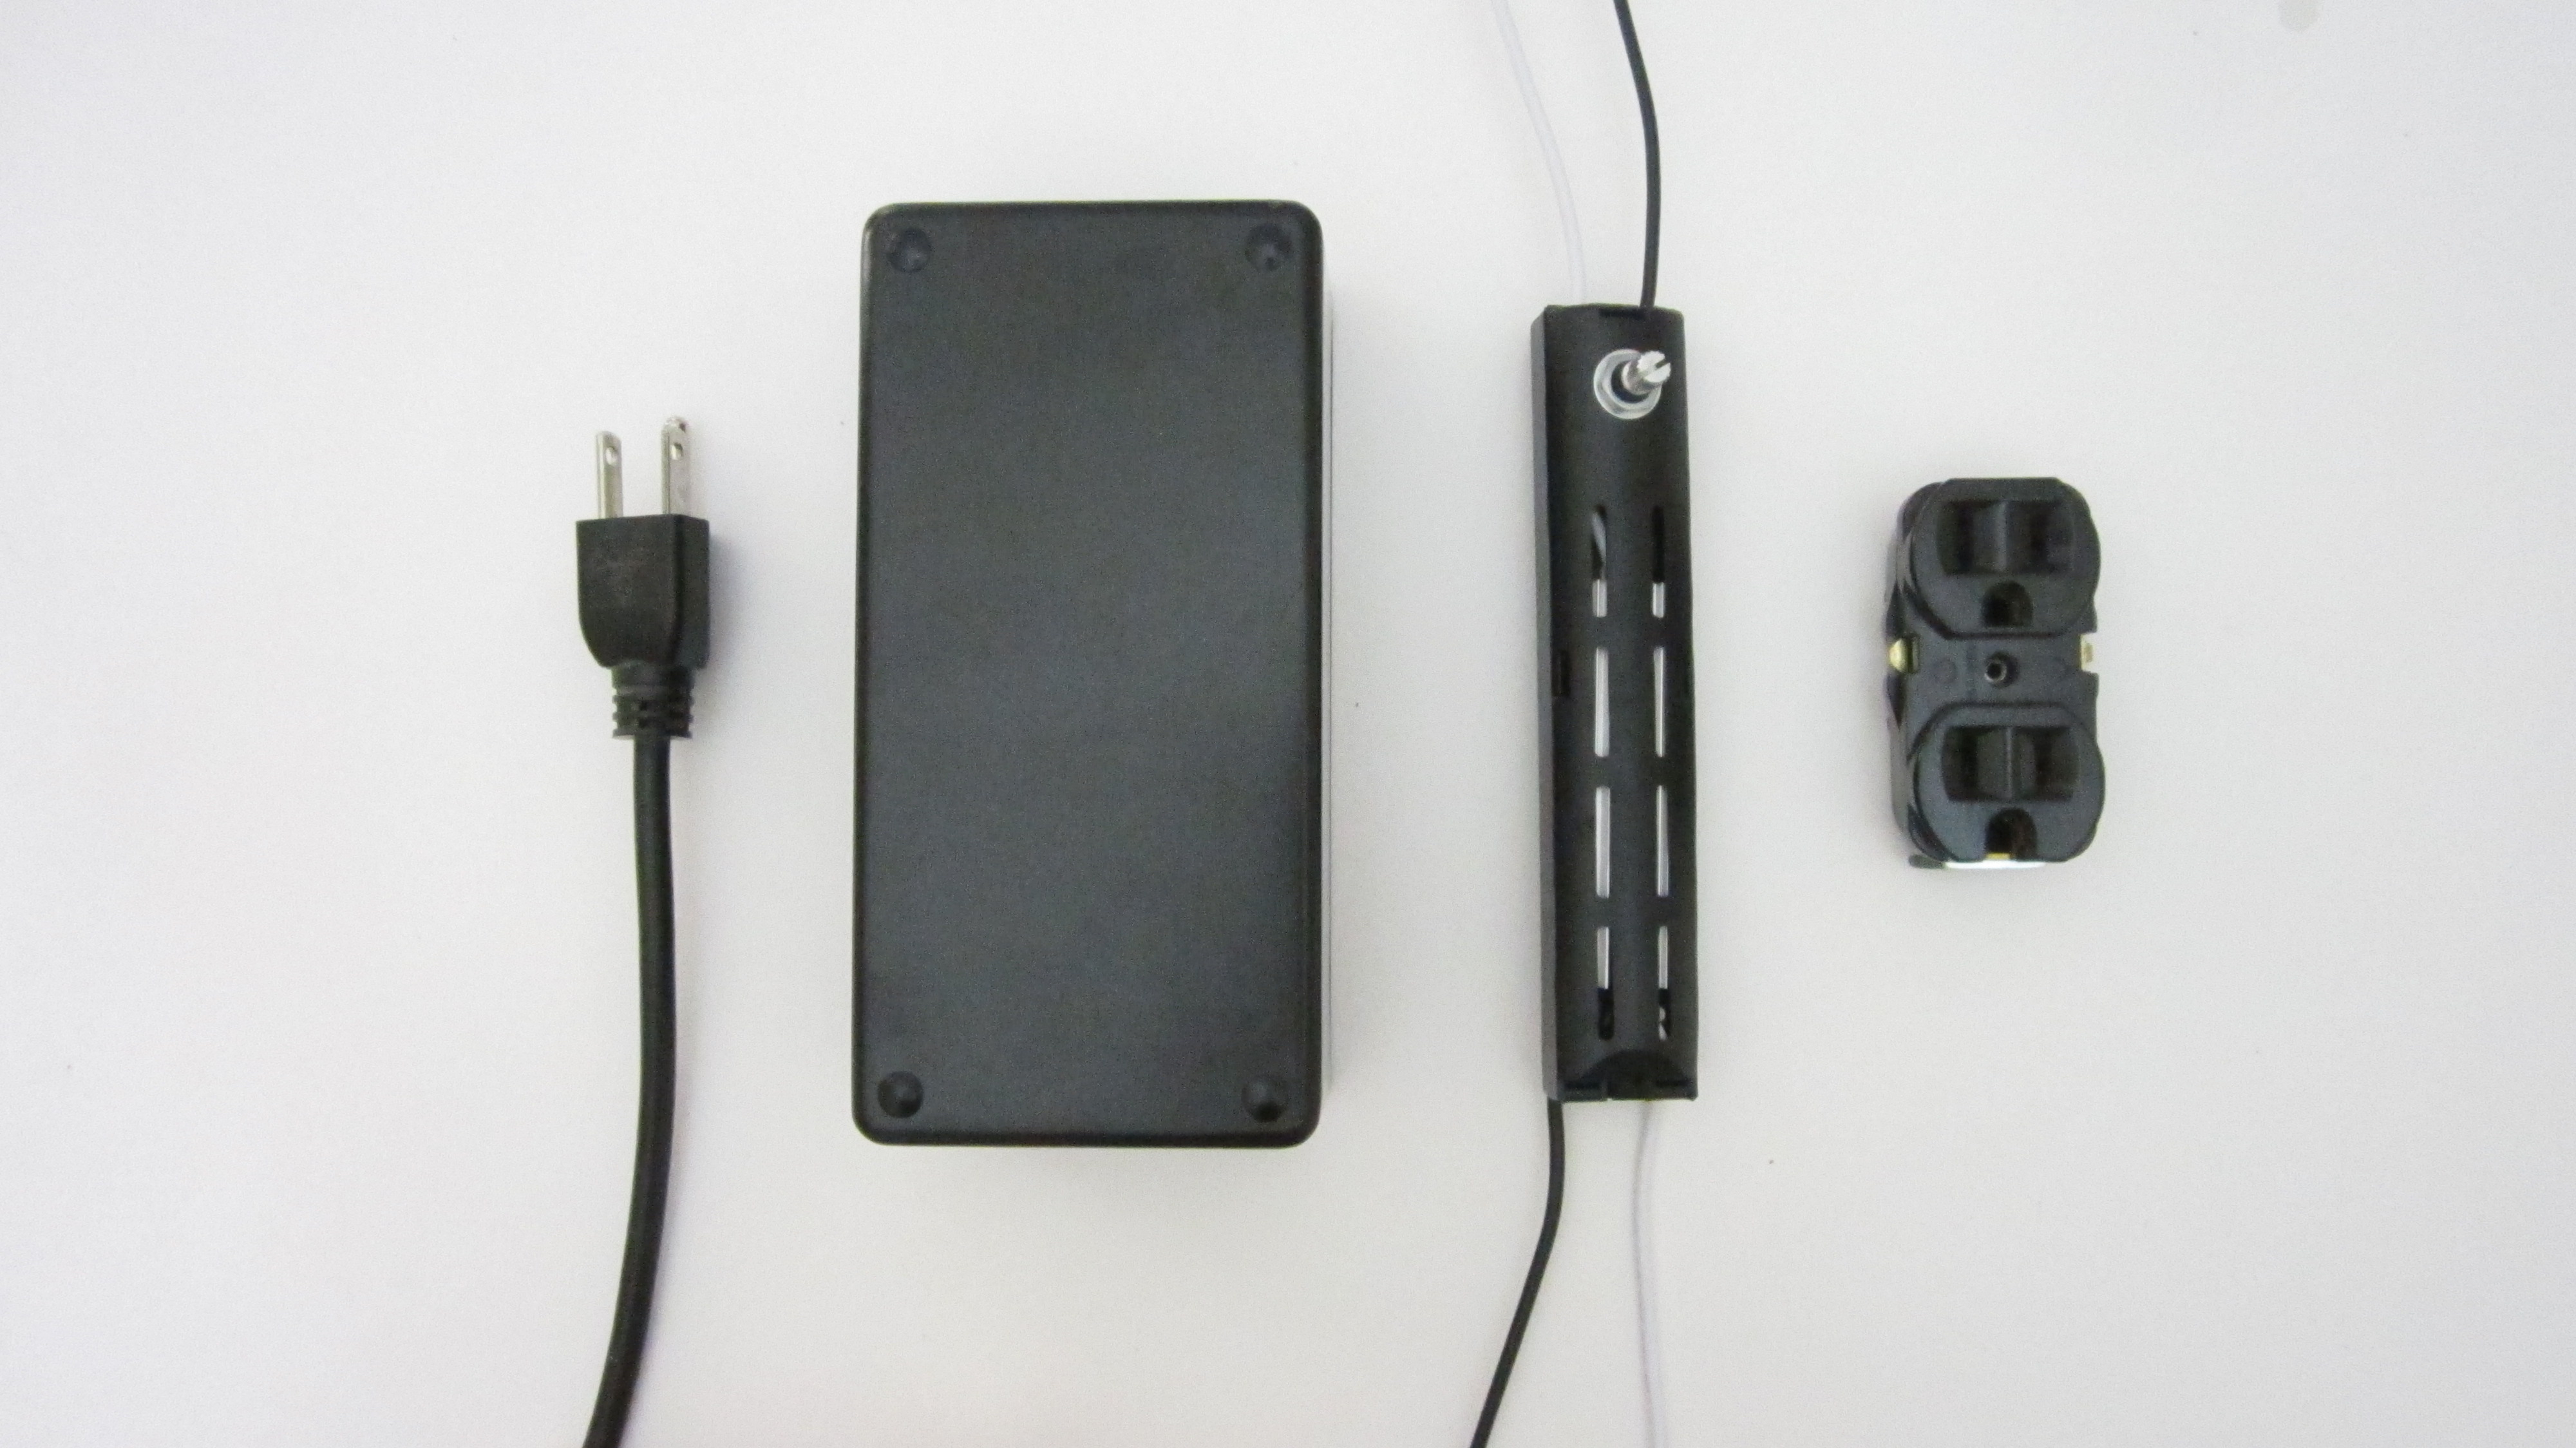
Before you connect anything, it is important to first identify all the wires. The dimmer and the outlet need to be connected in a certain configuration. The color coding system for electrical wires varies from country to country. In the United States, white wires are “neutral”, black wires are “hot” and green/bare wires are “ground.”
If the wires are not color coded, then it may still be possible to identify them from the prongs on the plug or the texture of the insulation. “Neutral” wires are typically connected to the wide prong on the plug and have ridges on the side of the insulation. “Hot” wires are typically connected to the narrow prong on the plug and have insulation with a sooth side.
After identifying the wires, you are ready to connect all the components. Insert the power cord through the hole in the side of the housing. If you want to make the power cord a little more secure, you can apply glue or a zip tie around it at the wall of the housing. This will help to prevent it from being pulled out and breaking the connections.
Connect the “ground” wire (green or bare wire) from the power cord to the nut on the end of the outlet. Then connect the white wire to the slot on the outlet that is labeled for white wires. Connect the black wire from the power cord to the black input wire on the dimmer. Then connect the black output wire from the dimmer to the slot on the outlet that is labeled for black wires.
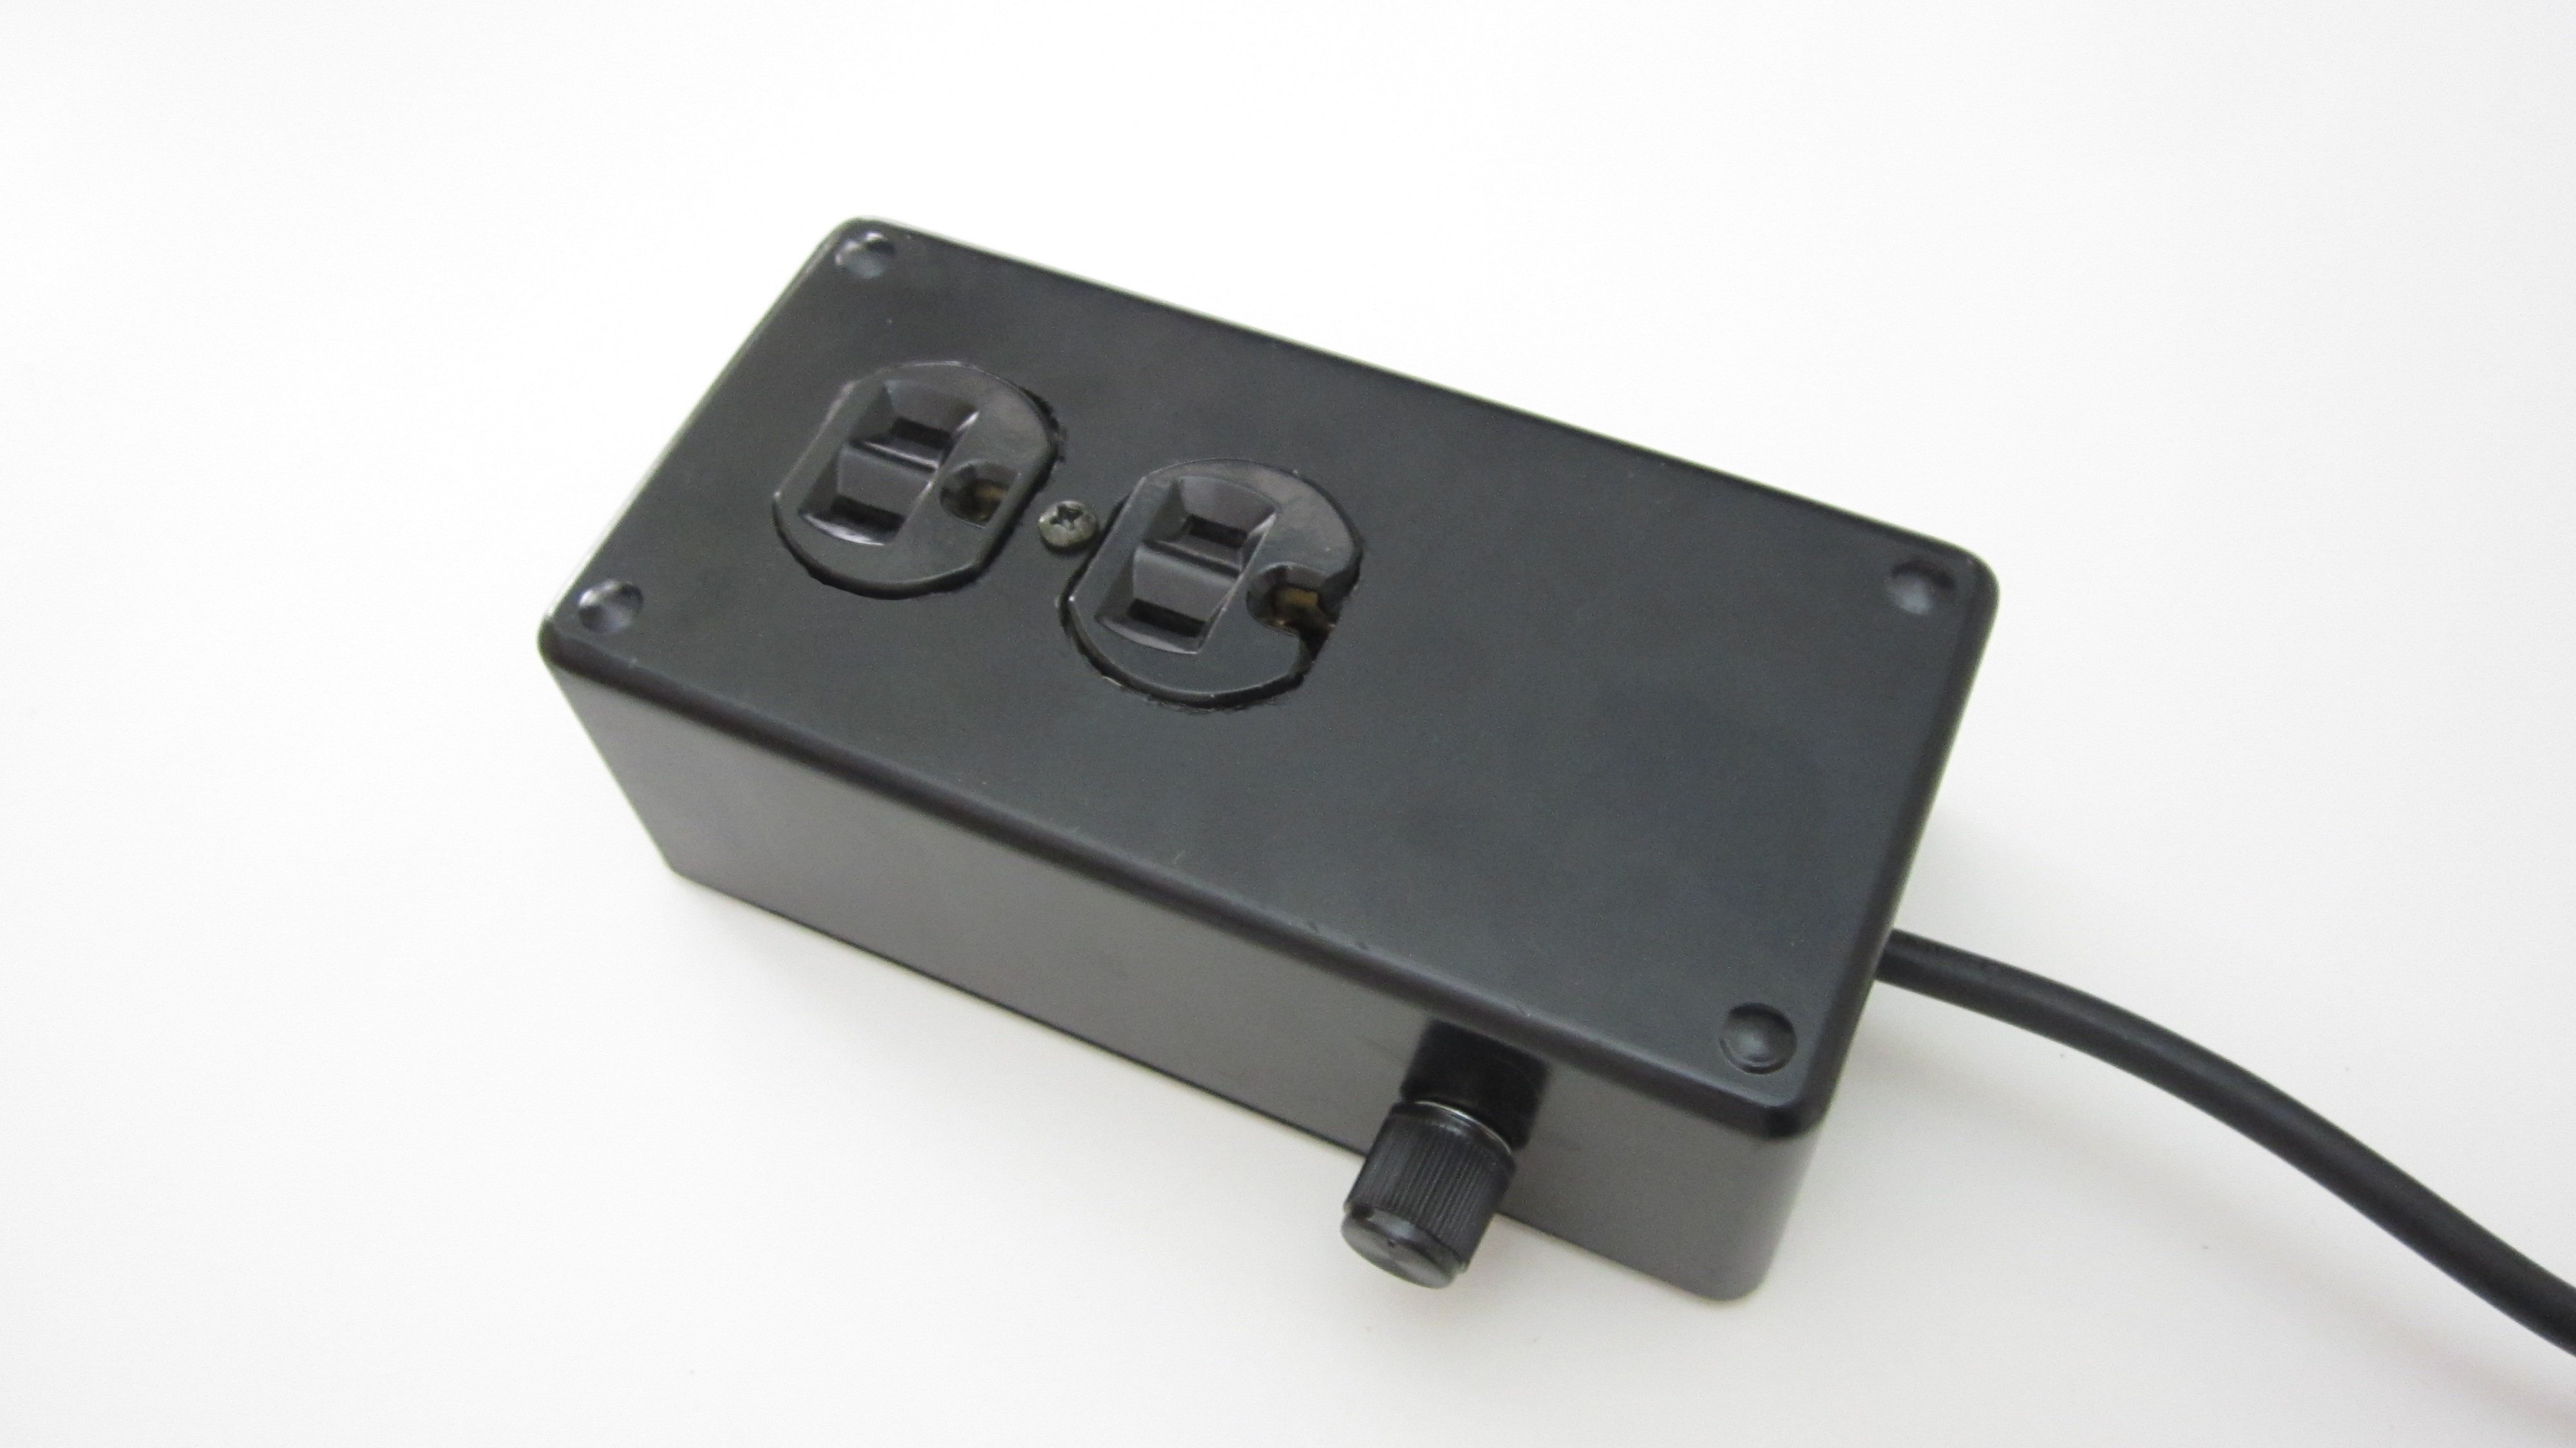
If the wires need to be solid in order to be inserted into the outlet, then you may need to add a few small pieces of solid core wires. Connect the solid core wire to the outlet. Then connect them to the corresponding wires with insulated twist-on connectors. After making all the connections, close up the housing. Your adjustable power outlet is complete.


