wifi_up_620px

This guide was built using Netgear’s G54/N150 “WNA1000M” micro USB adapter, which uses the RTL8188CUS chipset. If you use another adapter (or embedded Linux SBC!) please leave a comment so we can compile a list of all known adapters and embedded Linux boards that are compatible with this guide.

So you’ve updated your BeagleBone Black to the latest version of Debian (see my how-to guide for OSX and Windows users) and you’re ready to begin prototyping your next project with this embedded Linux board. But you’d really like that next project to be easy to move around. It really should have wi-fi.

You plug in your wi-fi adapter and … oh right, this is Linux. You’ll need to manually configure the adapter to automatically connect with your network.

How best to do that? Well, assuming, like me, you don’t have a KVM for your BeagleBone, you must instead rely on SSH to communicate with your board.

Looking around at a few guides I found the steps were either outdated or seemed unnecessarily complicated. As soon as a guide told me I had to apt-get any software I didn’t believe it. All the tools for configuring wi-fi are already built in to Linux. It should be easy.

I rebuilt Debian a few times, always with an eye to simplify the process. I eventually narrowed it down to these few steps, in what amounts to only five quick commands executed from Terminal or PuTTY.

In the images below you’ll also notice I’m using a USB hub. Plugging the wi-fi adapter directly into the BeagleBone Black will cause errors, due to the amount of current the wi-fi adapter draws. Thus I’m also using a power adapter that can supply the necessary current, and a USB hub to plug the wi-fi adapter into. I consider both of these components absolutely necessary for this project to work as designed.

Adapter/OS setup working with this guide Debian for BeagleBone Black Raspian
Netgear WNA1000M
Netgear WNA1100
Netgear WNA3100


Adapter/OS setup working with this guide Debian 7.8 released 3/1/2015
Edimax EW-7811Un ✔, following these instructions to enable “hotplug”

What will the next generation of Make: look like? We’re inviting you to shape the future by investing in Make:. By becoming an investor, you help decide what’s next. The future of Make: is in your hands. Learn More.

Project Steps

Update, then Boot Up your BeagleBone Black

So you’re running the most recent version of Debian correct? Great! Now let’s proceed to configure a wireless adapter to automatically connect the BeagleBone Black to your network.

TIP: If you’re using the “M”-type Adaptaplug, be sure the tip’s polarity is set to “+” (see image 2).

If you’re BeagleBone Black is currently running, power it down and disconnect all the cables from it. We want to proceed very specifically. With everything unplugged, first plug the Netgear wireless micro adapter into the 4-port USB hub. Plug the USB hub’s standard male type A plug into the standard female type A receptacle on the board. Connect the mini USB plug that came with the kit to the board’s mini USB port, but do not connect the standard type A plug on the other end of the cable to your computer yet. Connect the 5VDC plug to the board’s 5VDC receptacle and plug the Enercell adapter into a wall outlet.

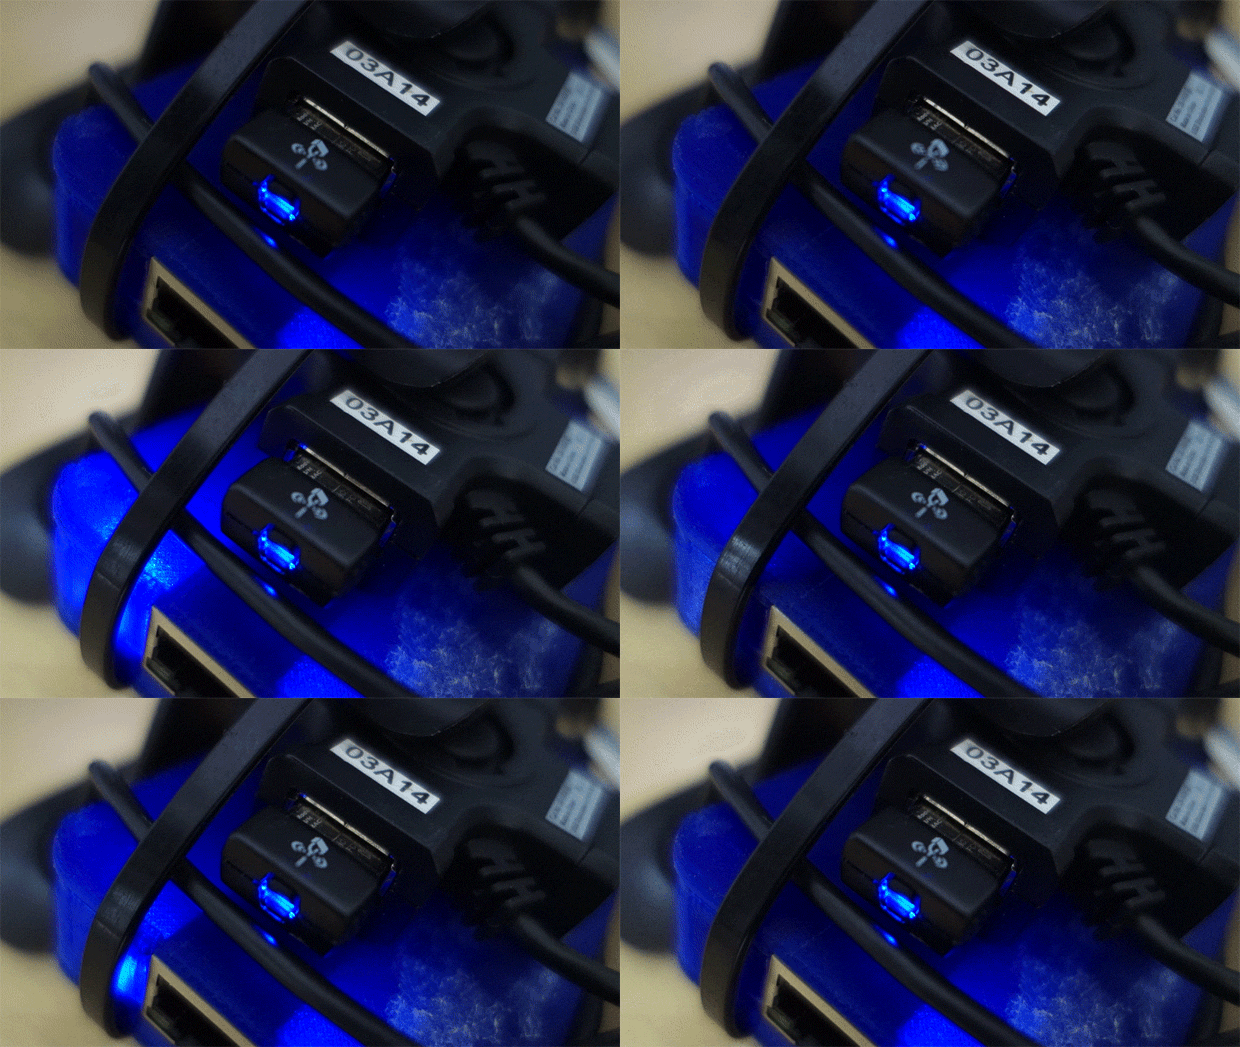
Let the BeagleBone Black’s operating system boot up. Give it a few minutes. The wireless adapter will light up (image 3), but all that means is it is on — we haven’t yet connected the board to the wireless network.

Now that the OS is done booting up, plug the standard type A USB plug into your computer.

Connect to the BeagleBone Black via SSH

I’m using Windows, so the screenshot is of PuTTY, a Telnet and SSH client for Windows. If you use OSX, launch the Terminal (I use Launchpad and type Terminal to find it).

Windows users make sure the Host Name specifies 192.168.7.2 and that Port 22 is entered and that SSH is selected. Hit ‘Open’ and PuTTY will connect with the BeagleBone Black.

OSX users type

ssh root@192.168.7.2

in Terminal and hit Enter. Terminal will connect with the BeagleBone Black.

When you are prompted with “login as:” type root and hit Enter.

If you are prompted to ‘save a key’ or ‘remember’ this connection or anything to that effect, click Yes. You are now connected securely with the BeagleBone Black.

For your first command, type

lsusb

and hit Enter. You should see the 4-port HUB and NetGear adapter indicated. That’s great! It means they are powered on and recognized by the operating system.

See Information About the Network

Let’s get a little bit more information about our network adapters now. Type

ifconfig -a

and hit Enter.

You should see something like eth0, lo, usb0, and most importantly at the end, wlan0. This is our wireless adapter.

I routinely clear my SSH client so as not to confuse my brain with what my eyes see. I want a clean client! Type

clear

and hit Enter to clear the client. From now on whenever you see a ‘fresh’ client window, it is because I performed this function.

Let’s open up the file that controls what network the wireless adapter will connect with. Type

nano /etc/network/interfaces

and hit Enter.

Edit the Network Configuration File

Nano is a command-line text editor built into this distribution of Debian. It may seem daunting if this is your first time editing text like this, but it’s easy to learn and once mastered is an empowering and powerful way to control computers remotely.

“This file describes the network interfaces available on your system and how to activate them.” Using your keyboard’s arrow keys, scroll down to the area titled

#WiFi Example

Remove the “#” hashtag from the front of the following four lines. The hashtags ‘comment out’ this part of the file, and we want to activate these lines instead. Use your arrow keys in combination with your keyboard’s Backspace (Windows) or Delete (Mac) key to remove the hashtags.

Now delete “essid” and replace that with the name of your Local Area Network, or LAN. Then delete “password” and replace that with your LAN’s password; I have blurred out my password for security reasons, but you can see the “quotation marks” still exist around the ESSID and PASSWORD variables.

Save Changes to the Network Configuration File

We’re nearly there, I promise! The next two steps go really quick.

With the changes to our /etc/network/interfaces file made, type Ctrl+O (Windows) or Control+O (Mac) and the text editor will prompt you “Save modified buffer?” Type y and hit Enter.

The text editor will prompt you “File Name to Write: /etc/network/interfaces” — hit Enter.

You will be returned to the command prompt. Two more lines of code and the wireless adapter will automatically connect upon boot!

Enable Internet Broadcast

Type

ifconfig wlan0 up

and hit Enter. You won’t see anything happen, and so you’ll just be given another prompt.

Type

ifup wlan0

and hit Enter. Now the system will run through some DHCP discoveries and requests, and return you with another prompt.

The next command will shutdown and reboot your BeagleBone Black. Upon typing it and hitting Enter, watch the LEDs on your board, notably the PWR LED. When all the LEDs go off, unplug the USB cable connected to your computer and then remove the mini USB cable attached to the BeagleBone Black. This way your board is no longer connected to your computer upon reboot. Once you’re ready, proceed.

Type

shutdown -r now

and hit Enter to reboot the BeagleBone Black. If all goes according to plan the wireless adapter will automatically connect to your network upon booting up!

Upon rebooting, the current PuTTY/Terminal session may give you a generic ‘disconnect’ error. Confirm and close the current session.

Examine the LAN's DHCP Client Table

Give your BeagleBone Black a few minutes to boot up and connect to your wireless network. There are many ways to confirm your BeagleBone Black is connected to your network, with the following two being the most obvious:

Connect to your home router – typically 192.168.1.1 – and look for the BeagleBone Black in your DHCP Client Table, or

Launch PuTTY or Terminal again. Replace 192.168.7.2 from previous login attempts with the IP your BeagleBone Black was bound to (Step 6, image 3).

Begin strategizing your next embedded Linux electronics project using the BeagleBone Black and wi-fi!