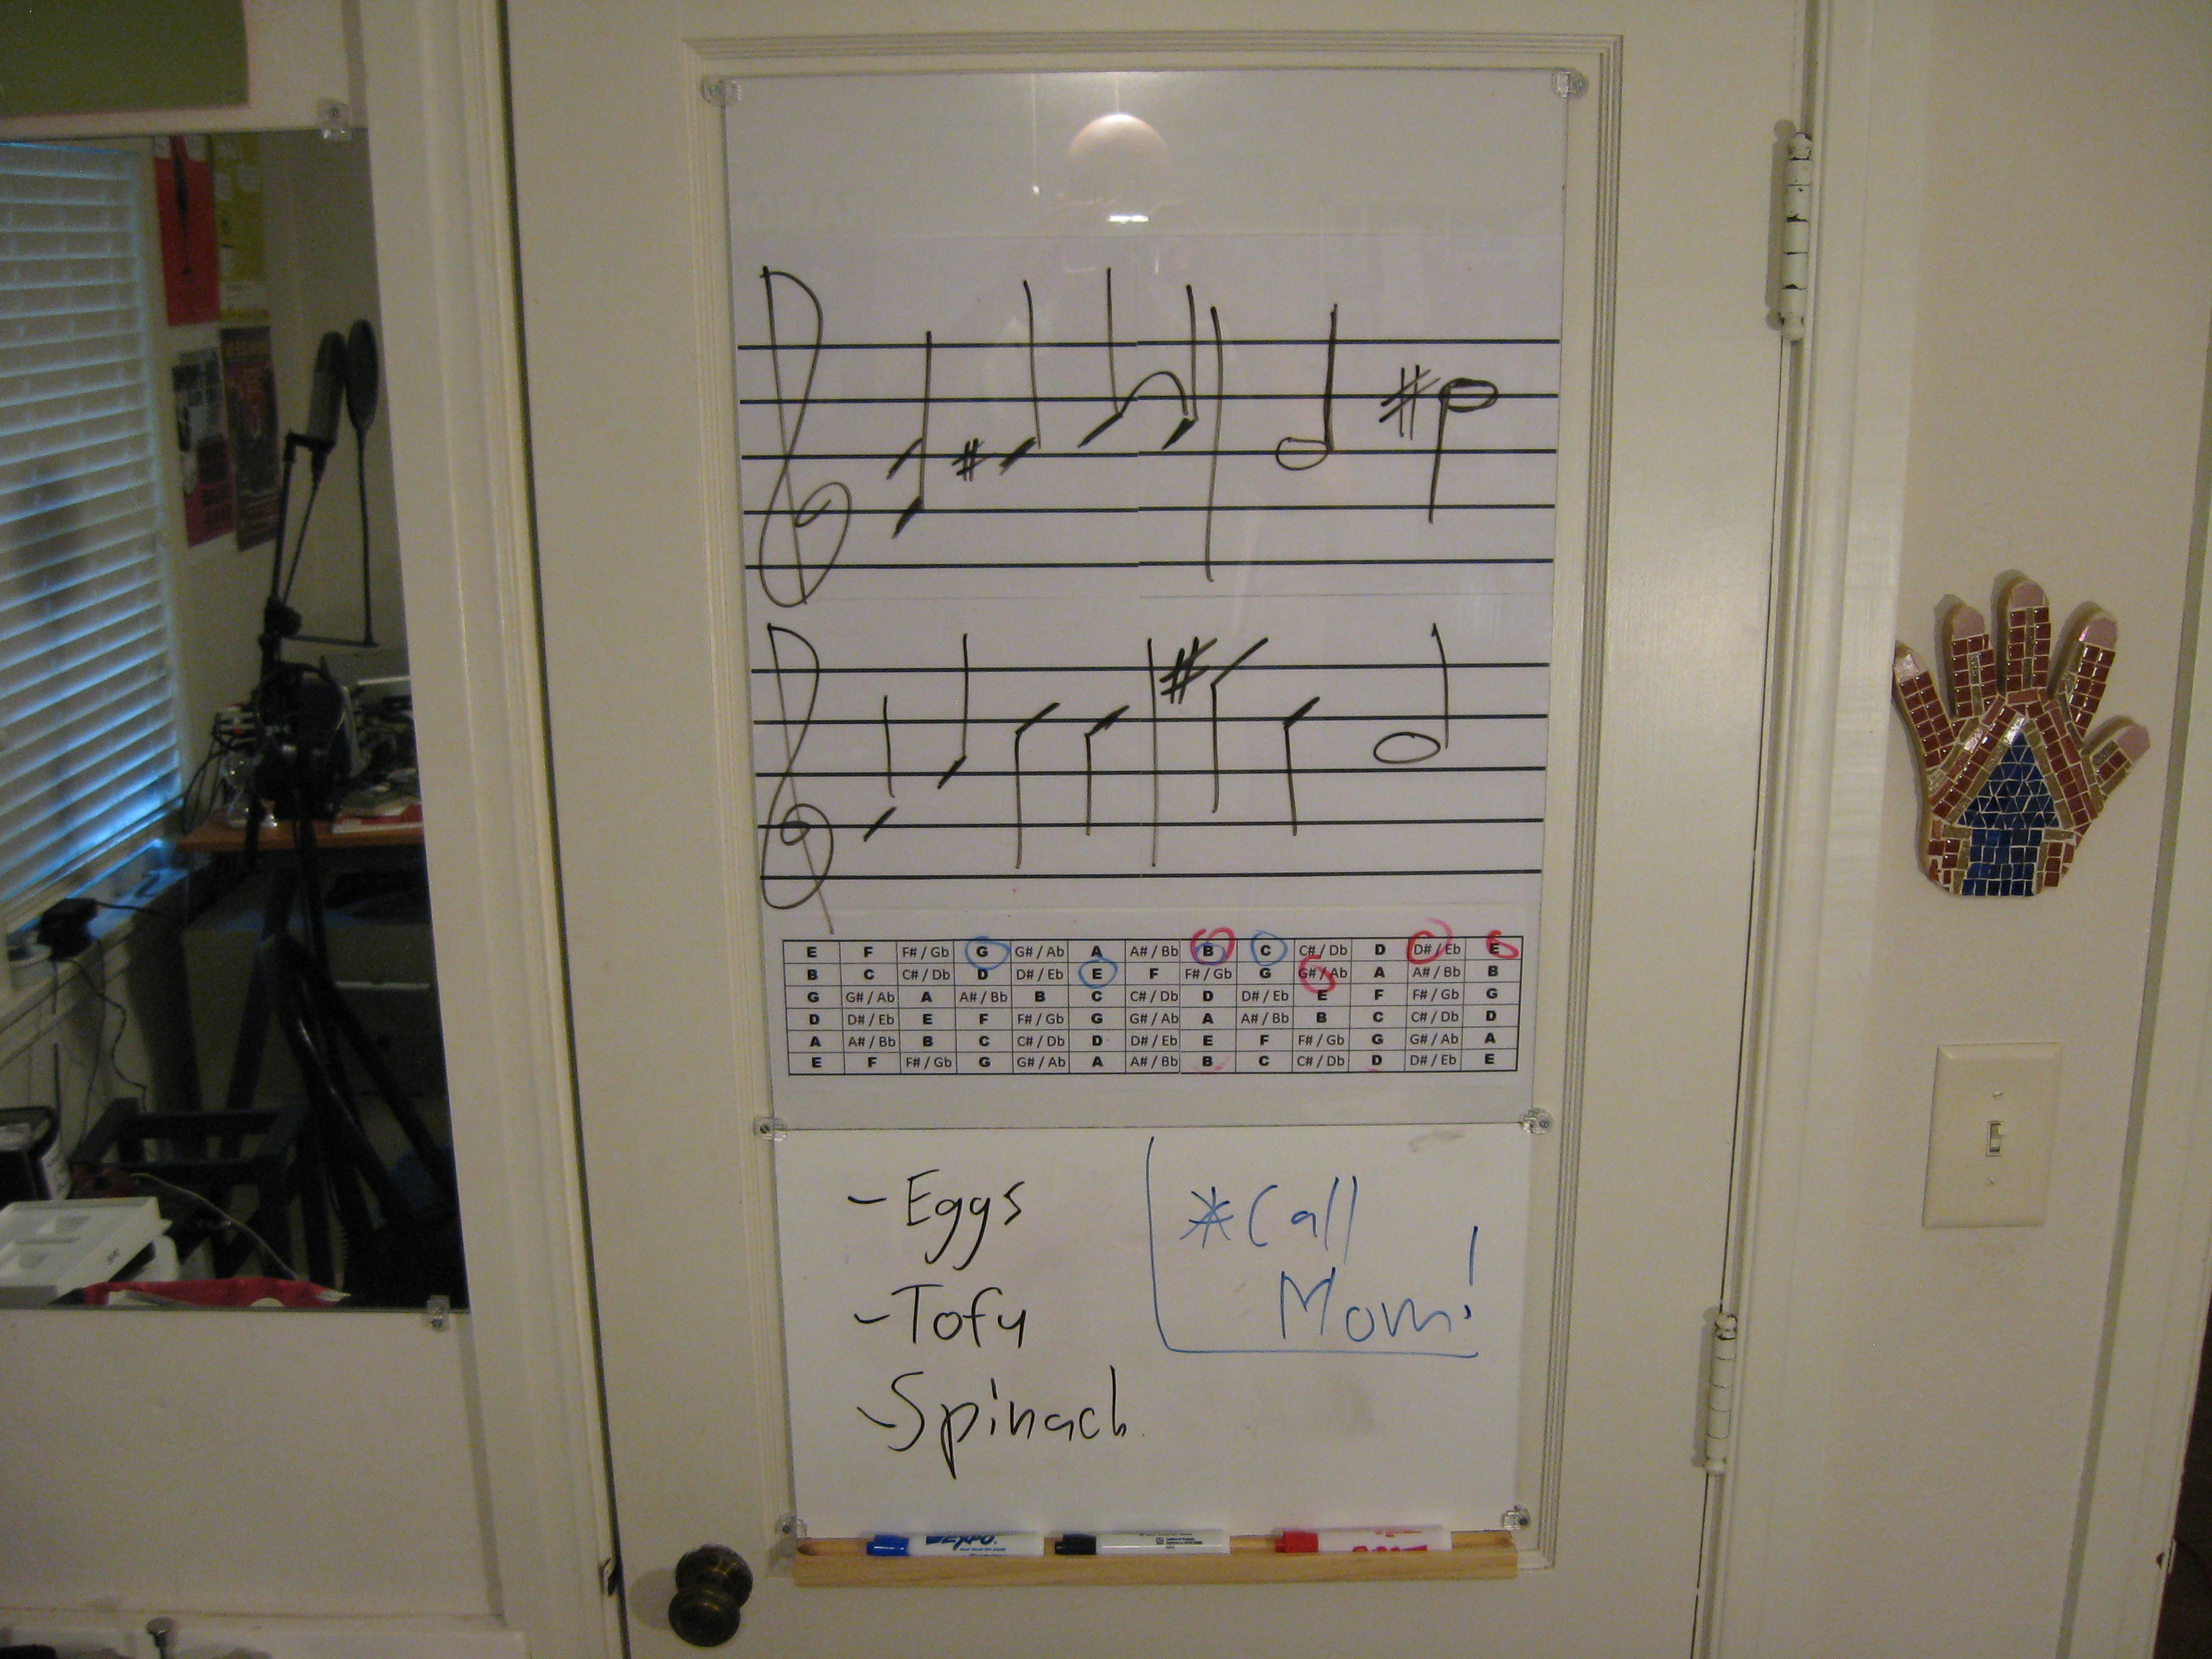
In my real life, I’m a college English teacher. I spend a big part of each day writing on white boards and I love having a big space where I can sketch out ideas and then erase things and easily make changes. I wanted some of this flexibility in my home office, but commercial white boards are ridiculously expensive; even a small one can cost hundreds of dollars. I also don’t have a ton of wall space, so I wanted something that would fit on my closet door. To make matters even more complicated, I’m also a musician and I really wanted one of those whiteboards that you see in music classrooms; the kind that have a musical staff painted on so that you can draw in notes on the permanent lines and then erase while keeping the staff intact. You’ve probably seen the same thing in math classrooms where the white board has a permanent graph painted on. These features only add to the expense of an already pricey item, so I had my work cut out for me.

The whiteboard itself is no problem. Lowe’s sells big sheets of the stuff under the name “Mark-R-Board Wainscot” (item #61082). Each 32×48″ sheet only costs $10.51, which makes the cost of commercial boards seem even more ludicrous. The material itself is just 1/8″ Masonite with a slick, white coating. I knew that this was perfect as a starter, but I still wanted my staff-paper whiteboard.

After trying to find a way to paint the lines on top of the board, I eventually figured out that the easiest solution was a clear sheet with the lines underneath. There are lots of thin, rigid, clear plastics out there, but very few of them can be used with dry-erase markers. The obvious choice would be acrylic, since it’s cheap and easy to work with. Unfortunately, acrylic has an irritating tendency to “ghost,” or leave traces of marker after you erase. The best material turns out to be Lexan, which is more expensive, but is also very durable and works great with dry-erase markers.

The beauty of this project is that you can not only customize the size of your board, you can also decide to have a portion of it made of regular white board while another part can have custom, non-erasable elements that you can change whenever. Once you design your board, you just need to do a little cutting and gluing, mount the finished product to the wall, and you’re done.

What will the next generation of Make: look like? We’re inviting you to shape the future by investing in Make:. By becoming an investor, you help decide what’s next. The future of Make: is in your hands. Learn More.

Project Steps

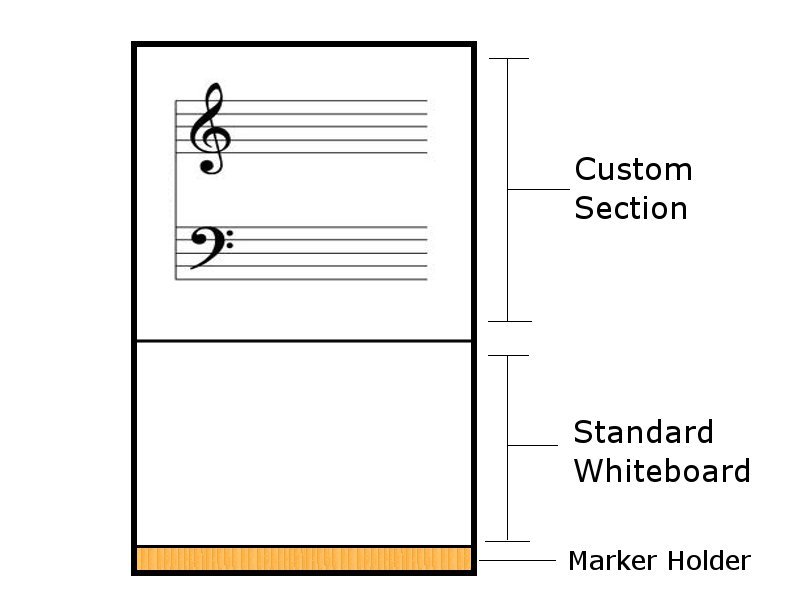
This is the basic design for my whiteboard. The top half is custom and has my staff lines underneath clear Lexan. The bottom is regular whiteboard.

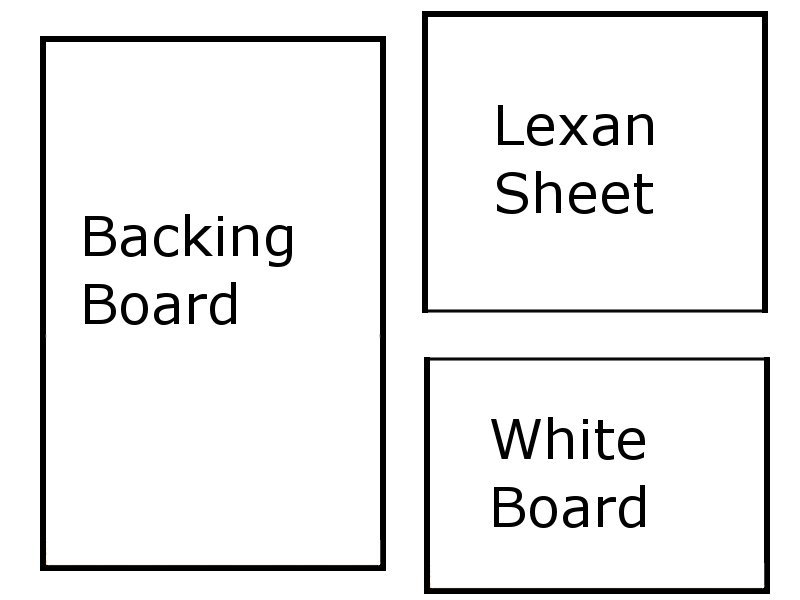
Aside from the marker-holder, there are only three parts: the whiteboard, the Lexan, and the backing board. You could theoretically make the backing board out of anything, but since whiteboard is so cheap and I had just bought a huge piece, I used that.

Start by designing your board. The backing board should be the total size of the finished product. You can then divide up that area any way you like.

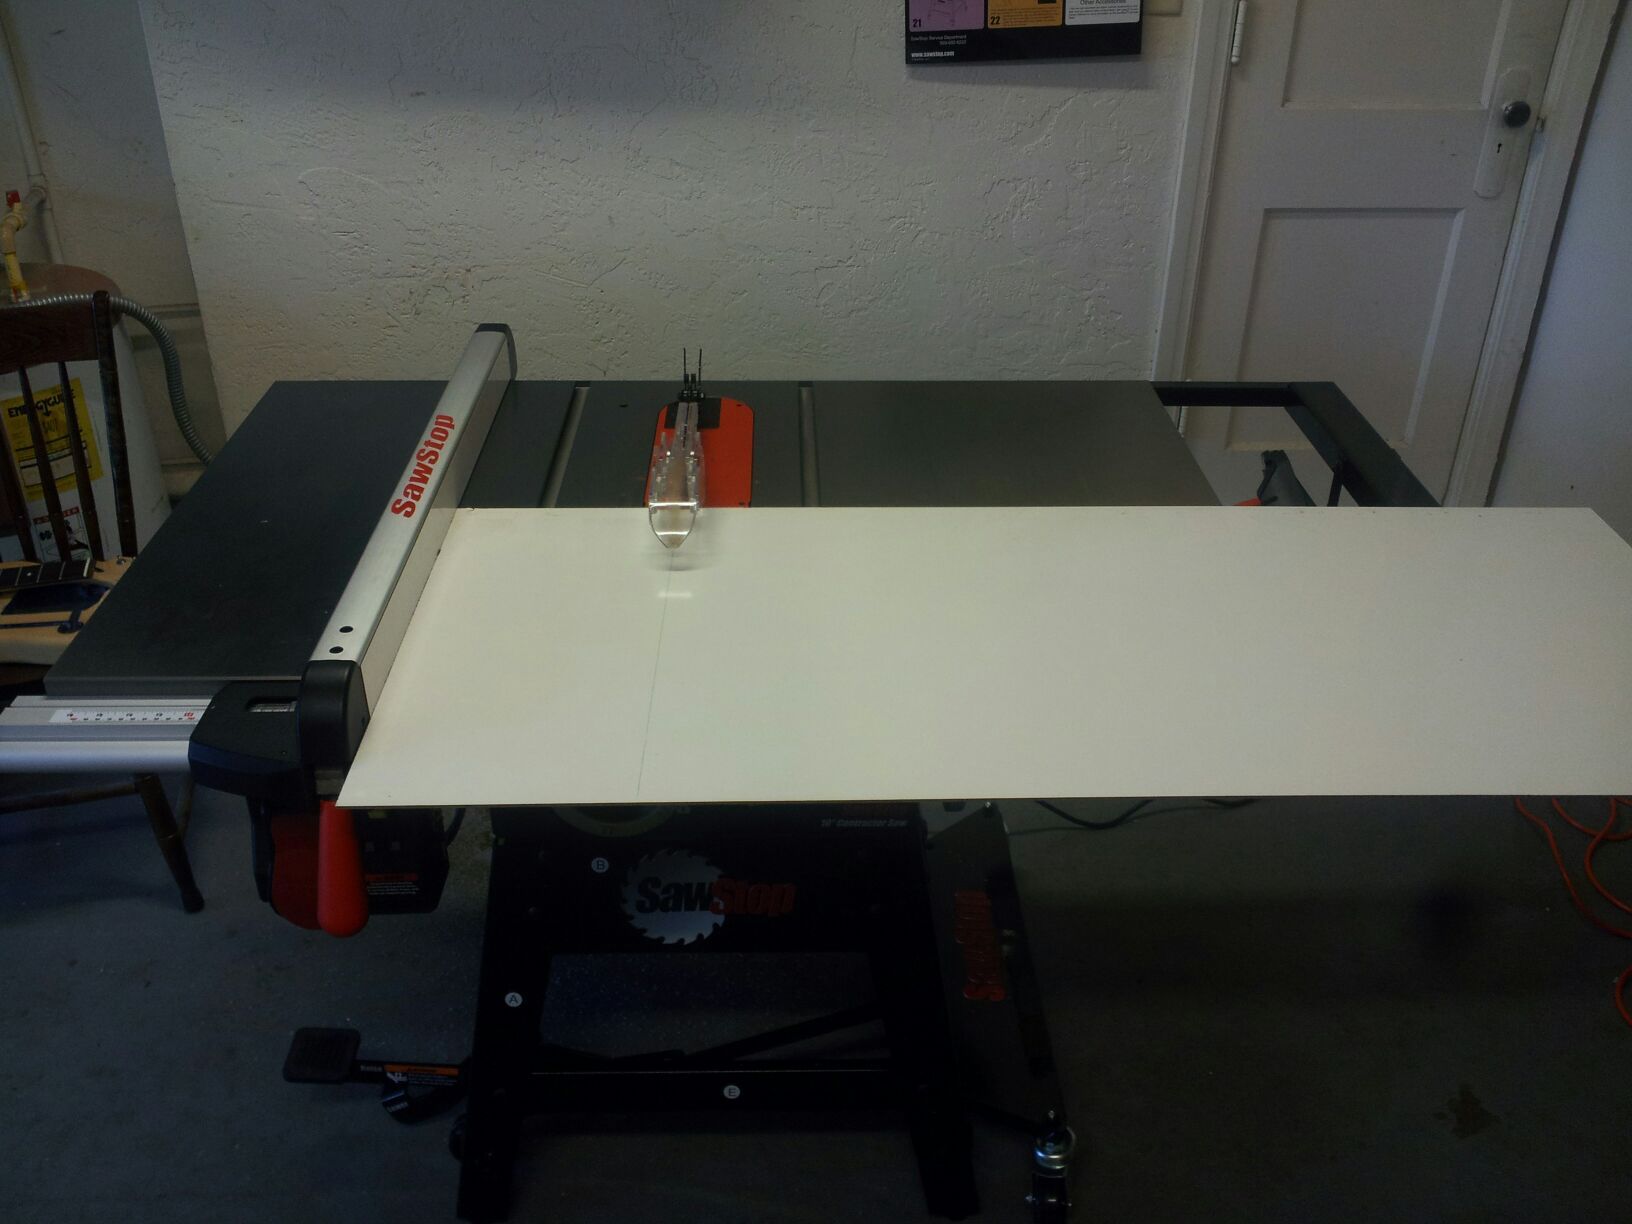
Mark the measurements for the backing board on the sheet of Mark-R-Board and cut it to size. Be sure to use a fence and keep the cut square.

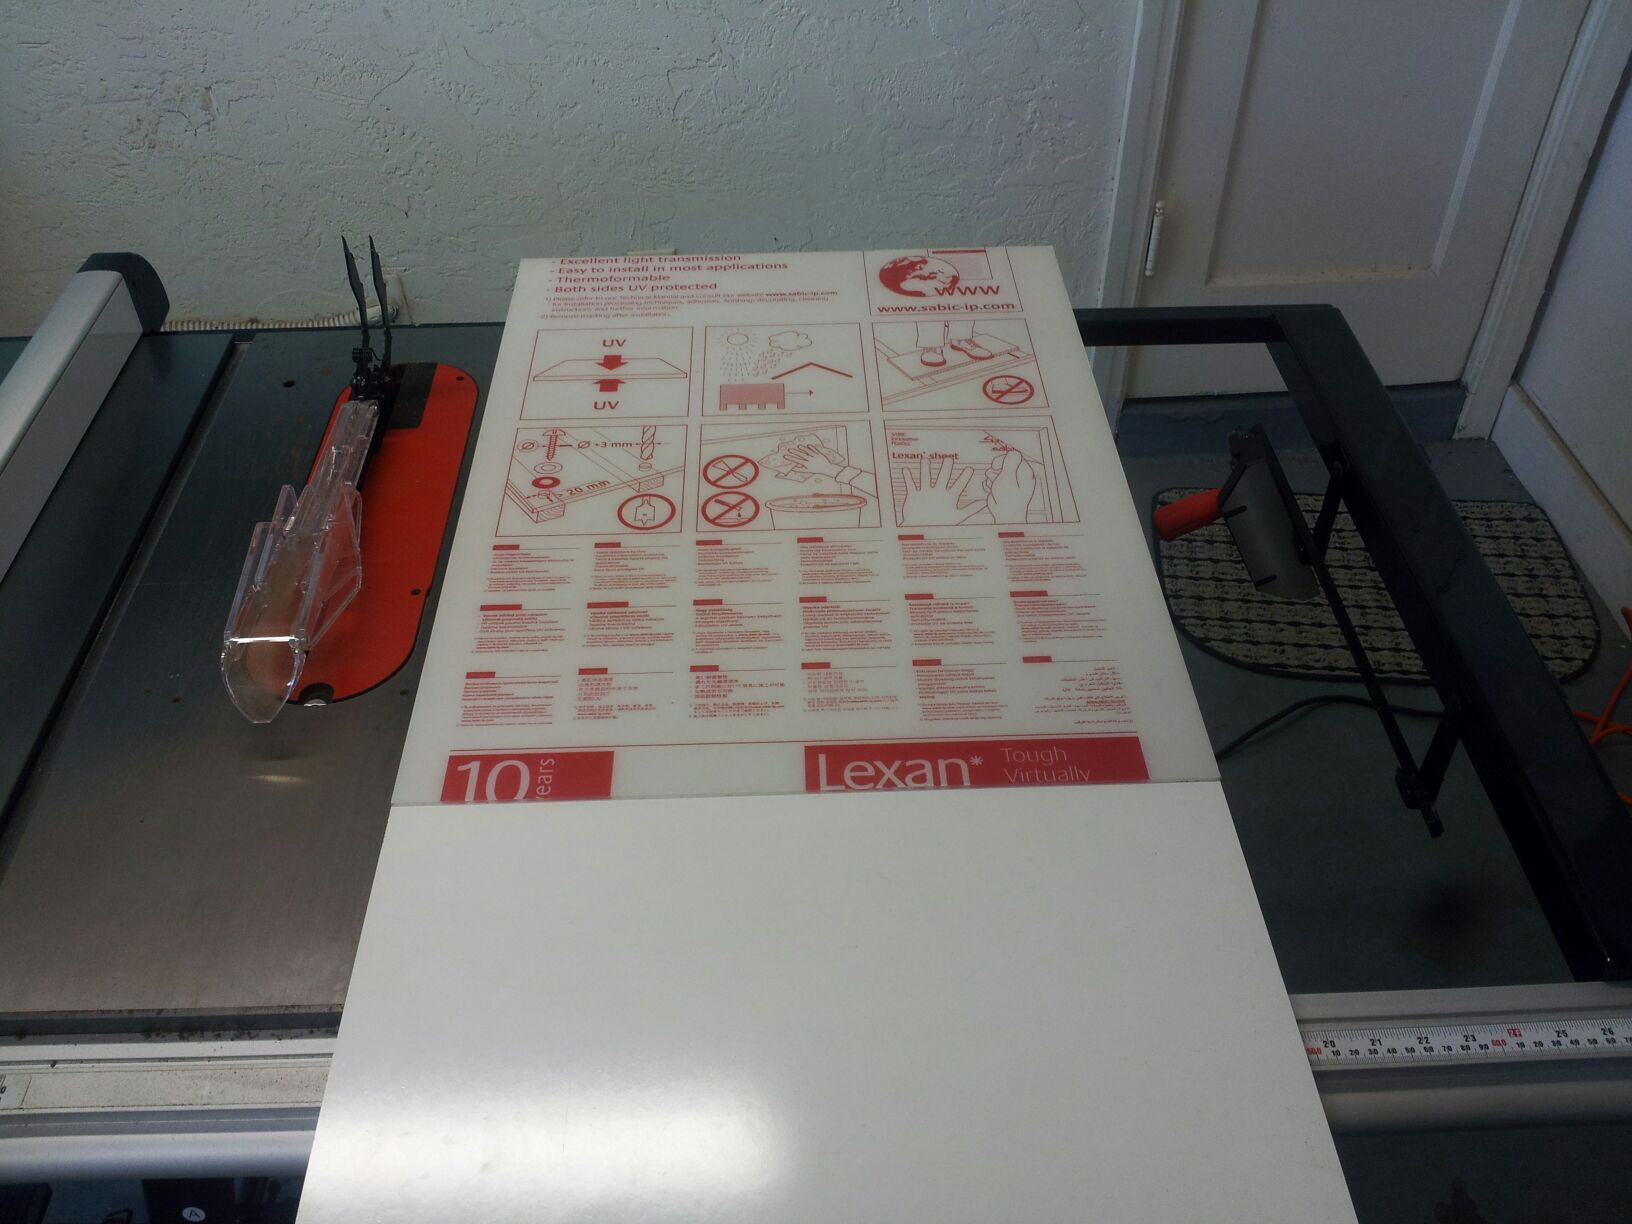
Once the backing board is done, cut your whiteboard section out of the remaining Mark-R-Board. Then cut the Lexan to size. Mark-R-Board and Lexan can both be cut with a good combination blade. The Lexan will chatter a little bit as it’s being cut, but the cut should still be smooth.

Lay the whiteboard and the Lexan sheet on top of the backing board and be sure all of them line up properly. If there are any problems, now is the time to trim.

In the picture, the Lexan and the whiteboard are both lined up on top of the backing board. I leave the plastic coating on the Lexan until I’m totally done, since the Lexan scratches pretty easilly.

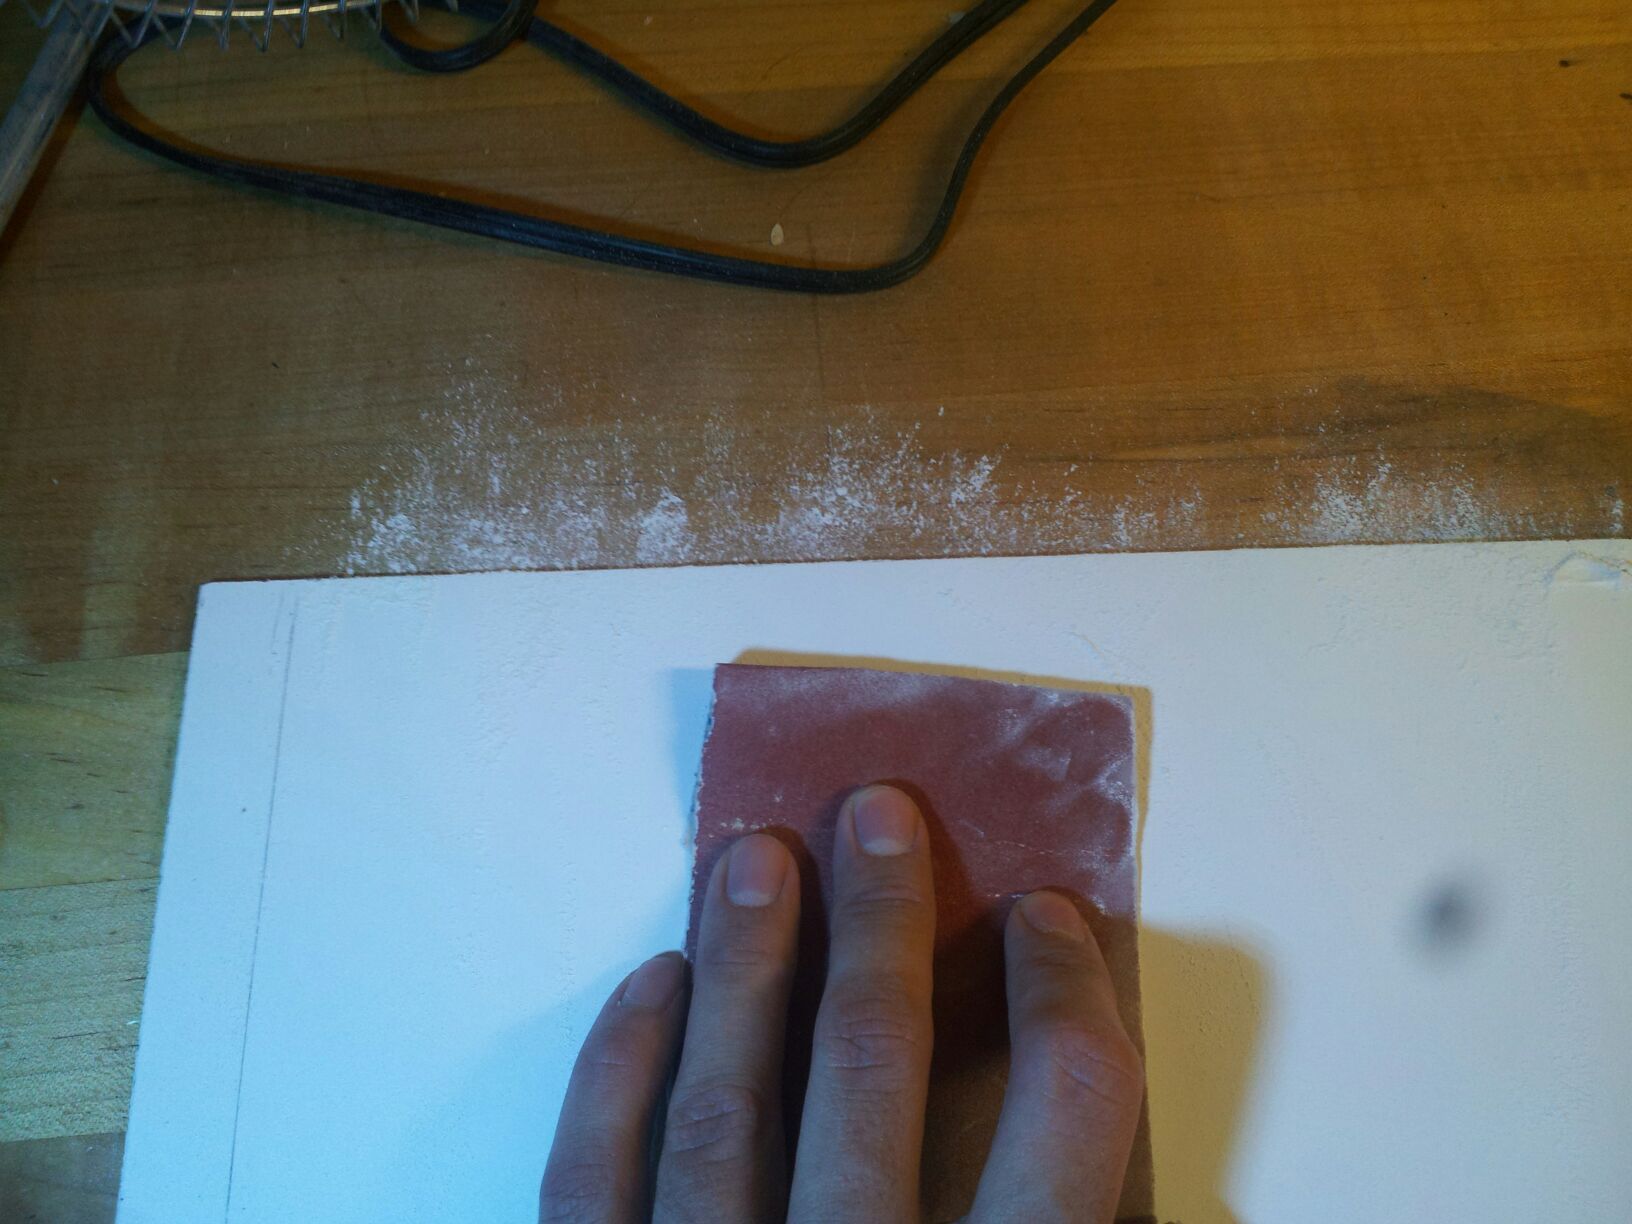
If you’re using Mark-R-Board as your backing board, you’ll need to scuff the white coating before you glue on the whiteboard. Use a course-grit paper and sand until the whole surface to be glued is dull and scratched-looking. Clean off the sanding dust with a vacuum or tack-cloth.

Glue the whiteboard to the backing board with epoxy or another appropriate adhesive, Contact cement would probably also work well. If you use Epoxy, you’ll be using most of a tube.

DO NOT glue the Lexan sheet to the backing board. That piece will remain unattached so that you can put custom elements underneath.

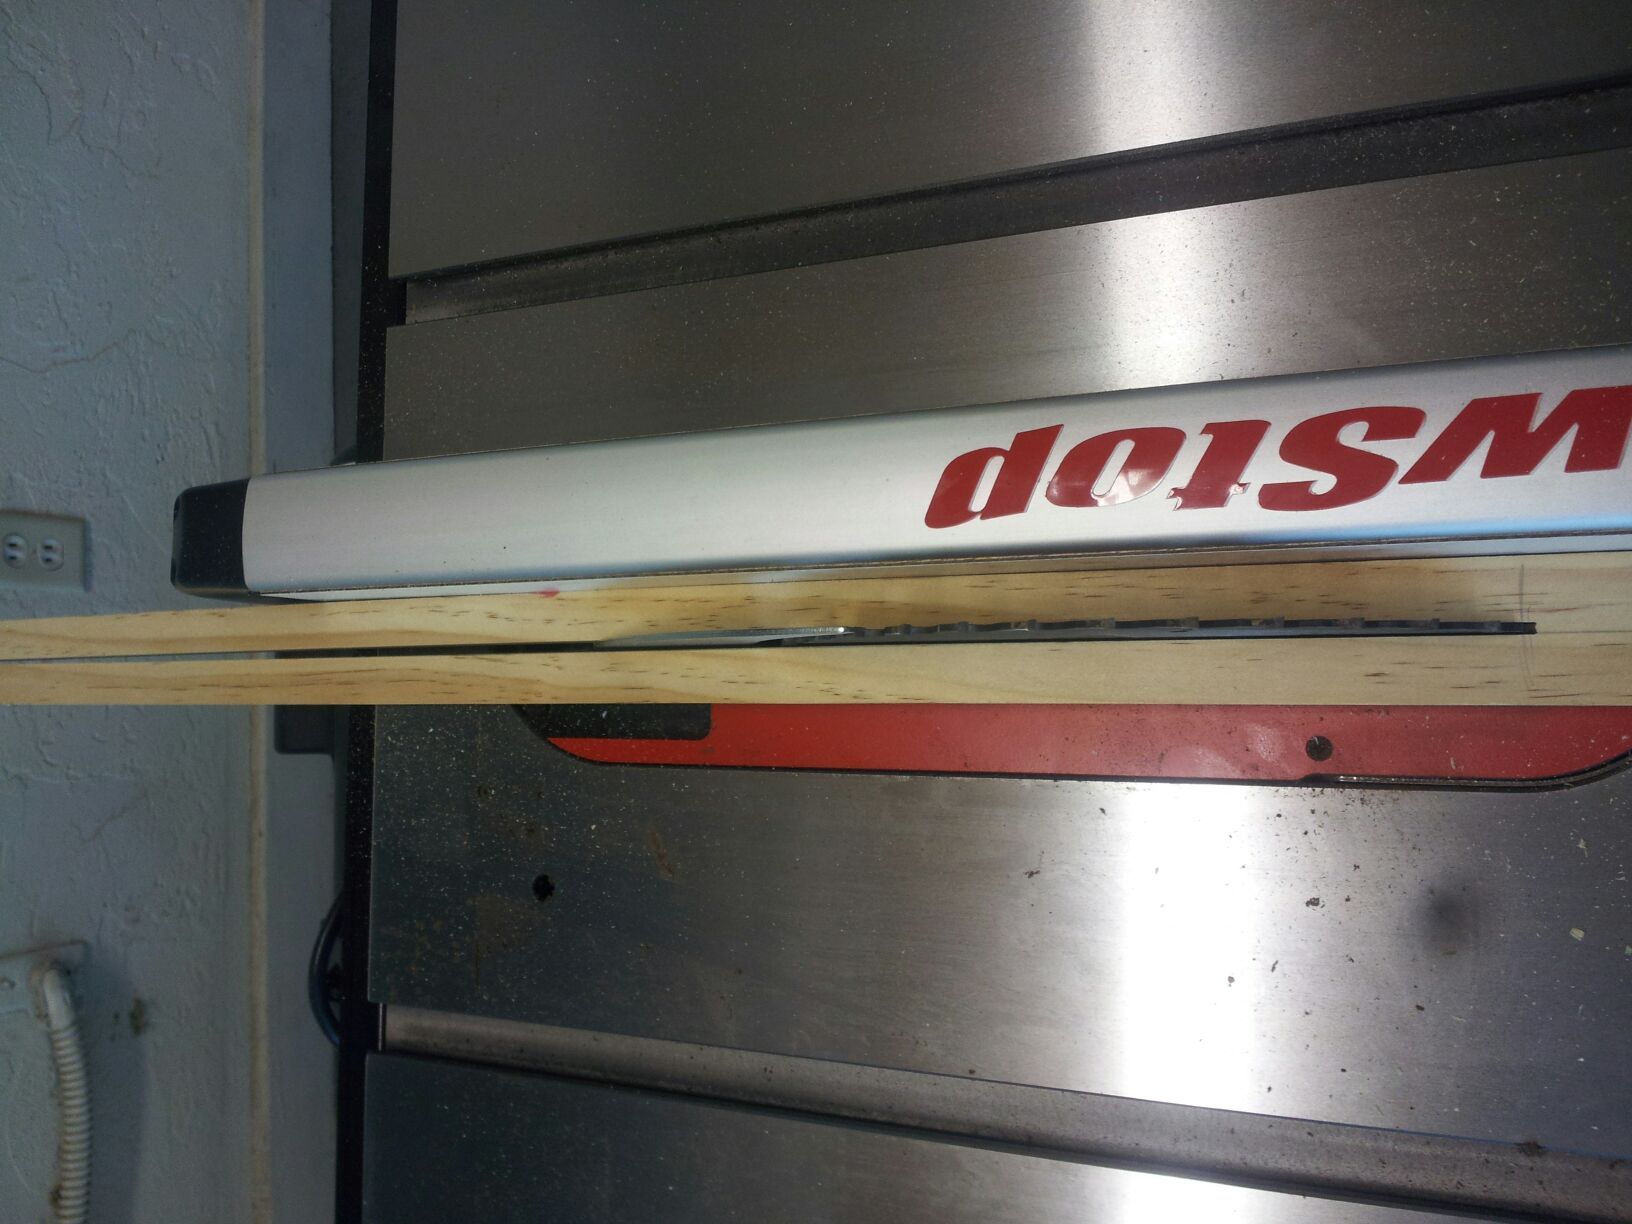
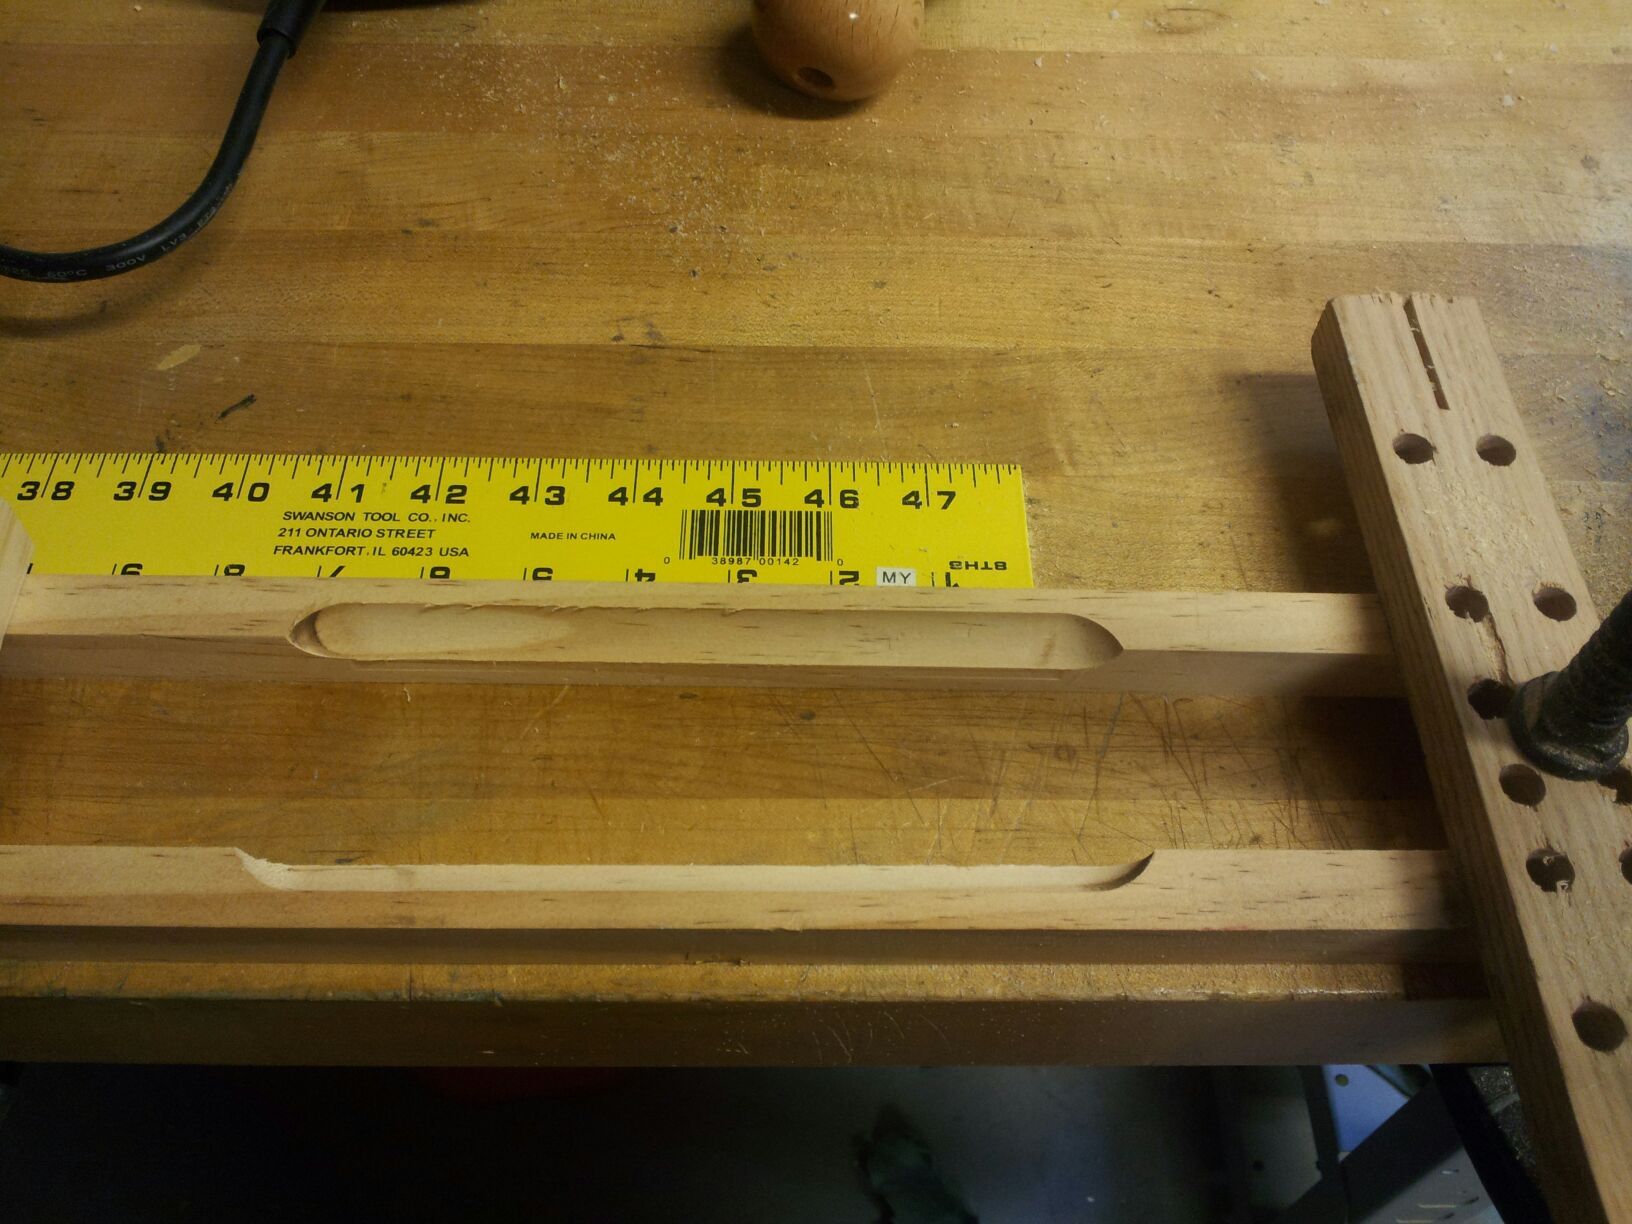
Cut your wood board to whatever length you want your marker-holder to be, then rip the board lengthwise into equal halves.

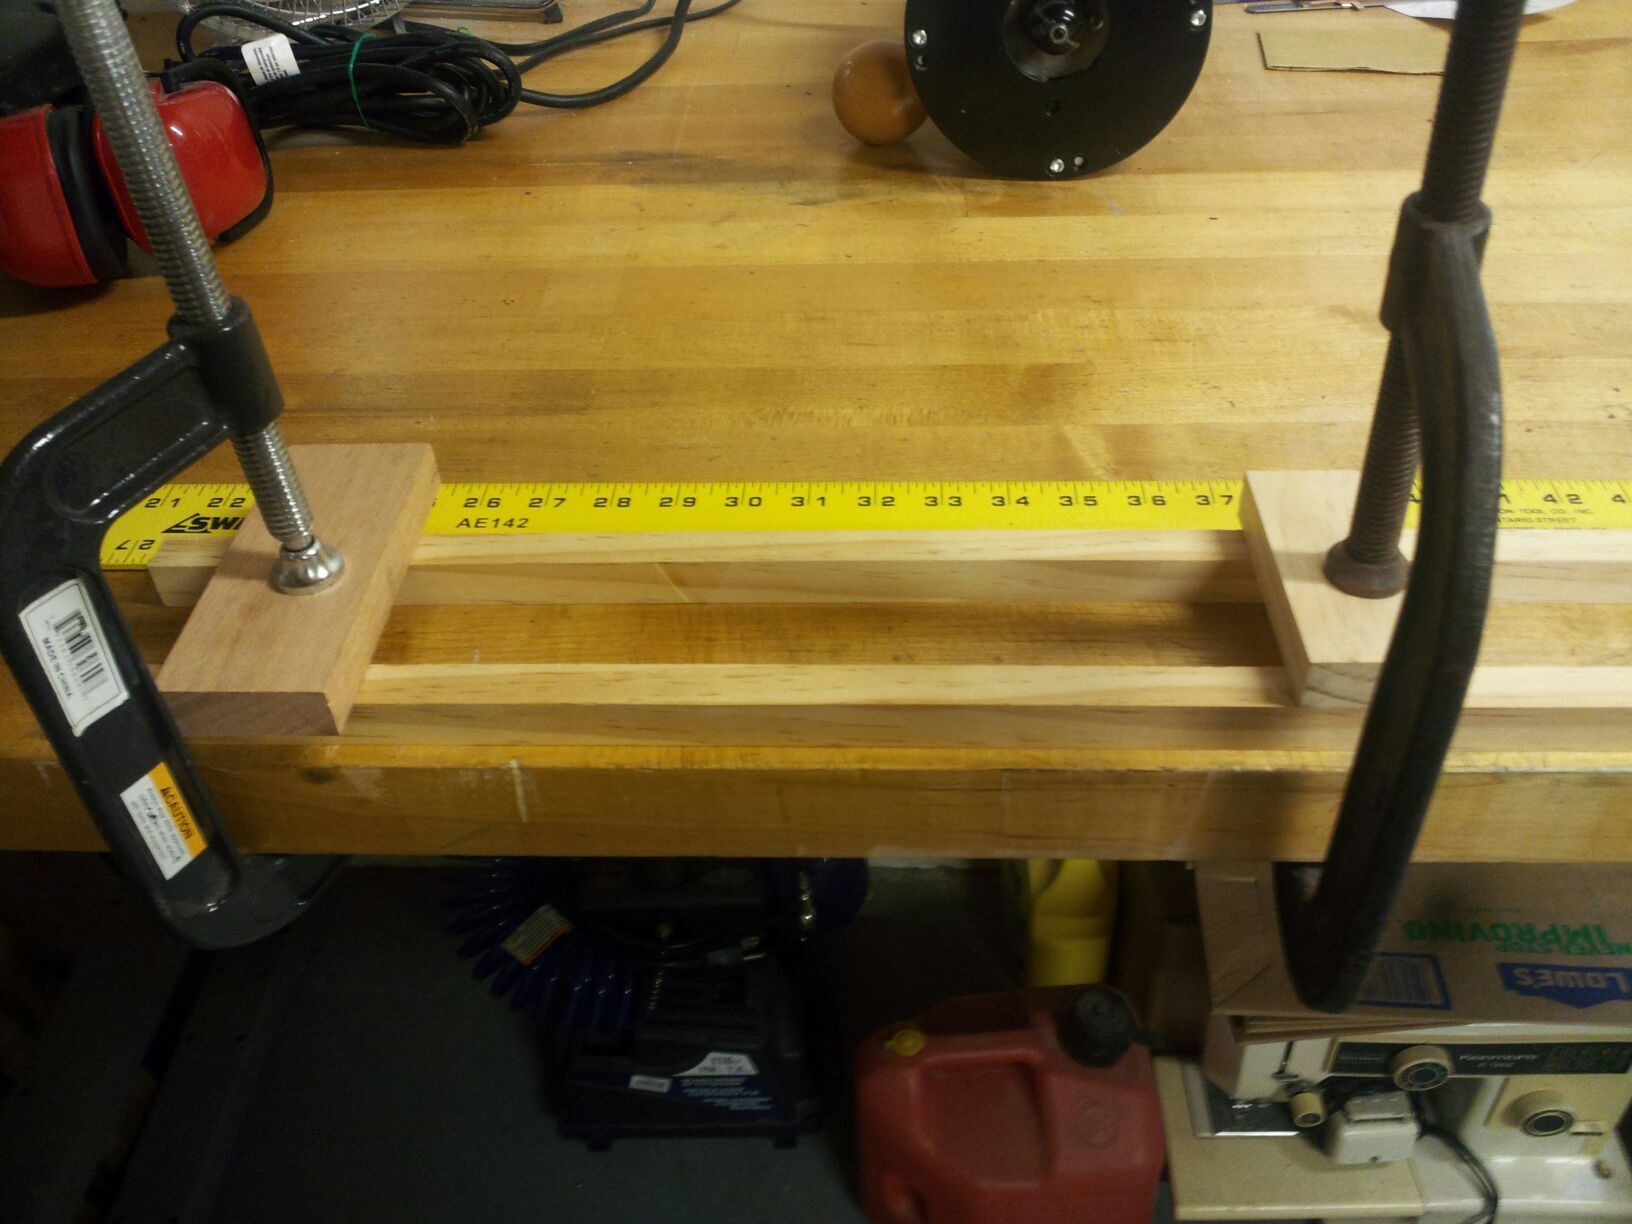
Clamp the pieces of board to a stable surface and chuck a 3/8″ cove bit (with bearing) into the router.

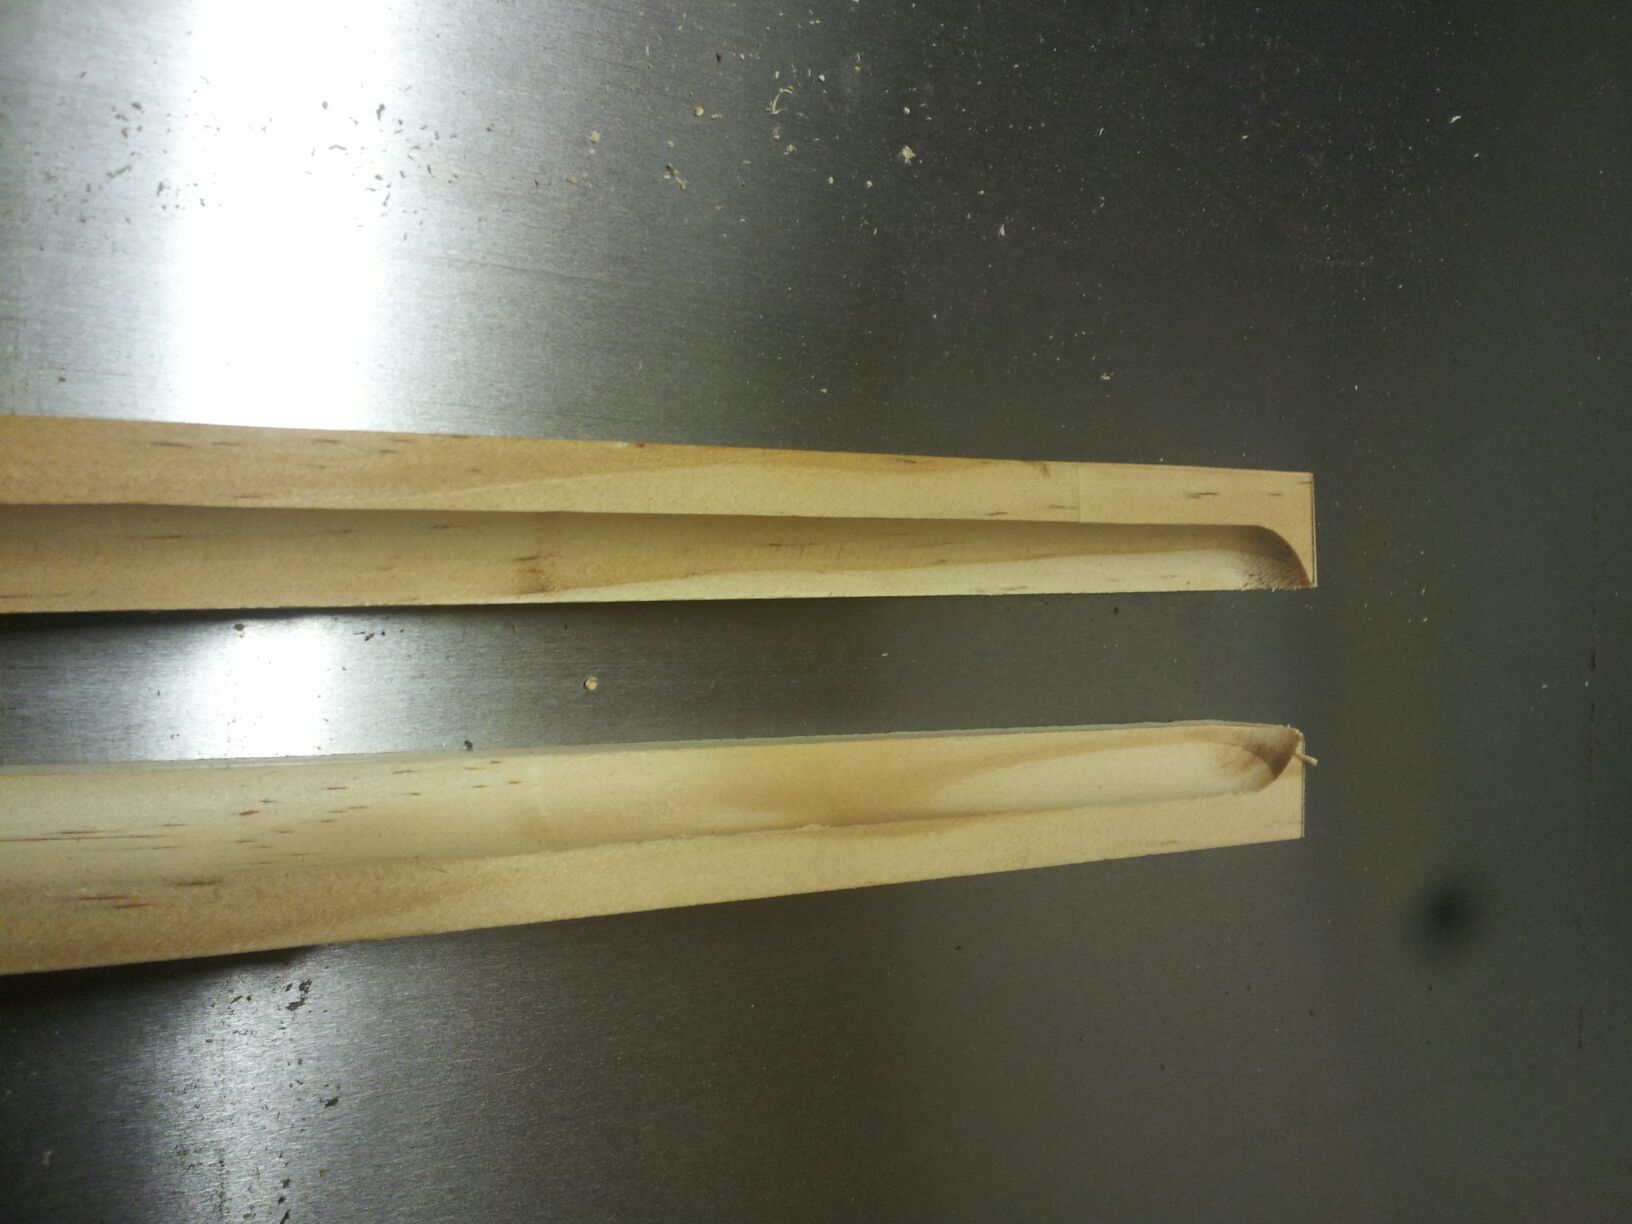
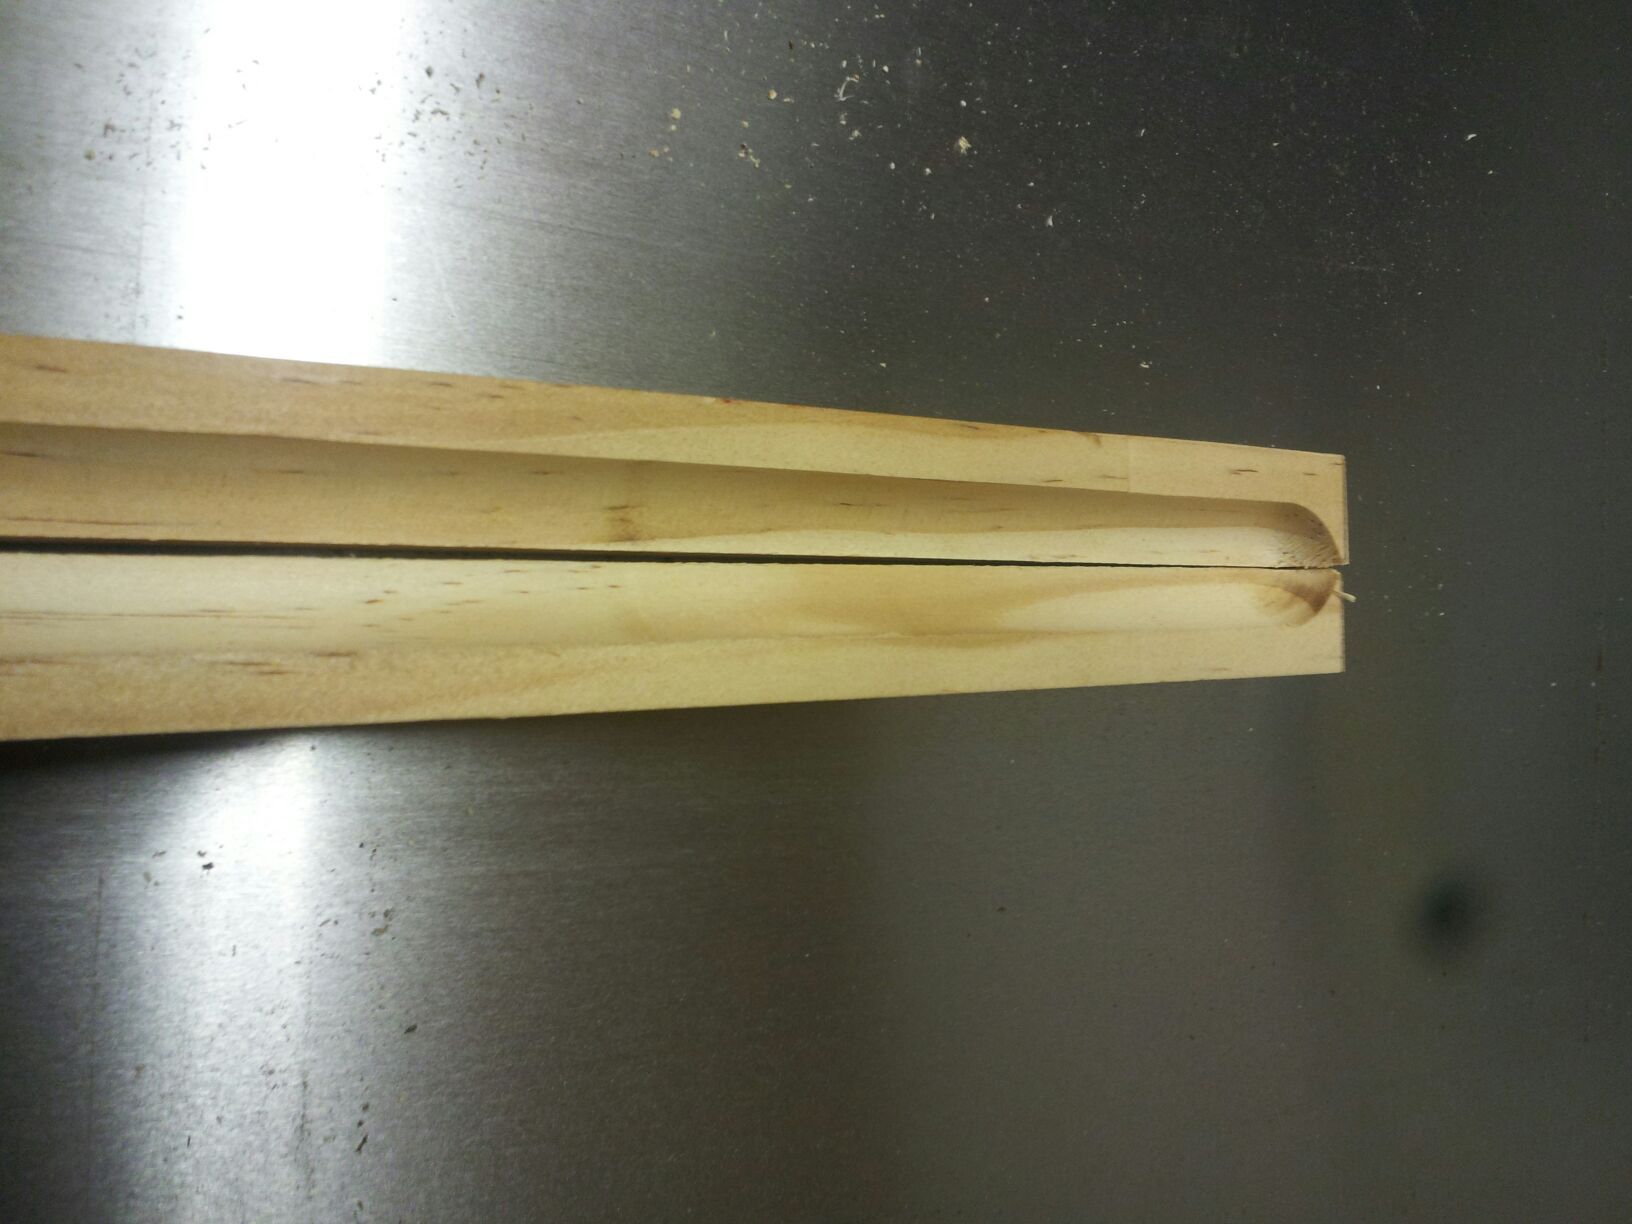
Rout the inside of both pieces of wood so that they will form a channel when glued back together. You will probably need to rout the boards in sections, moving the clamps several times.

It you don’t have a router, you can shape the inside of the wood pieces with a hand-rasp. You don’t need a perfect channel, just an even depression that will hold the markers.

Align the wood pieces and glue them back together. Use a good wood glue and let it dry overnight.

Sand the new marker-holder and spray it with several coats of the clear acrylic. Let the acrylic dry for at least an hour and buff it lightly with 0000 steel wool. Glue your marker-holder to the bottom of the backing board (or anywhere you want it).

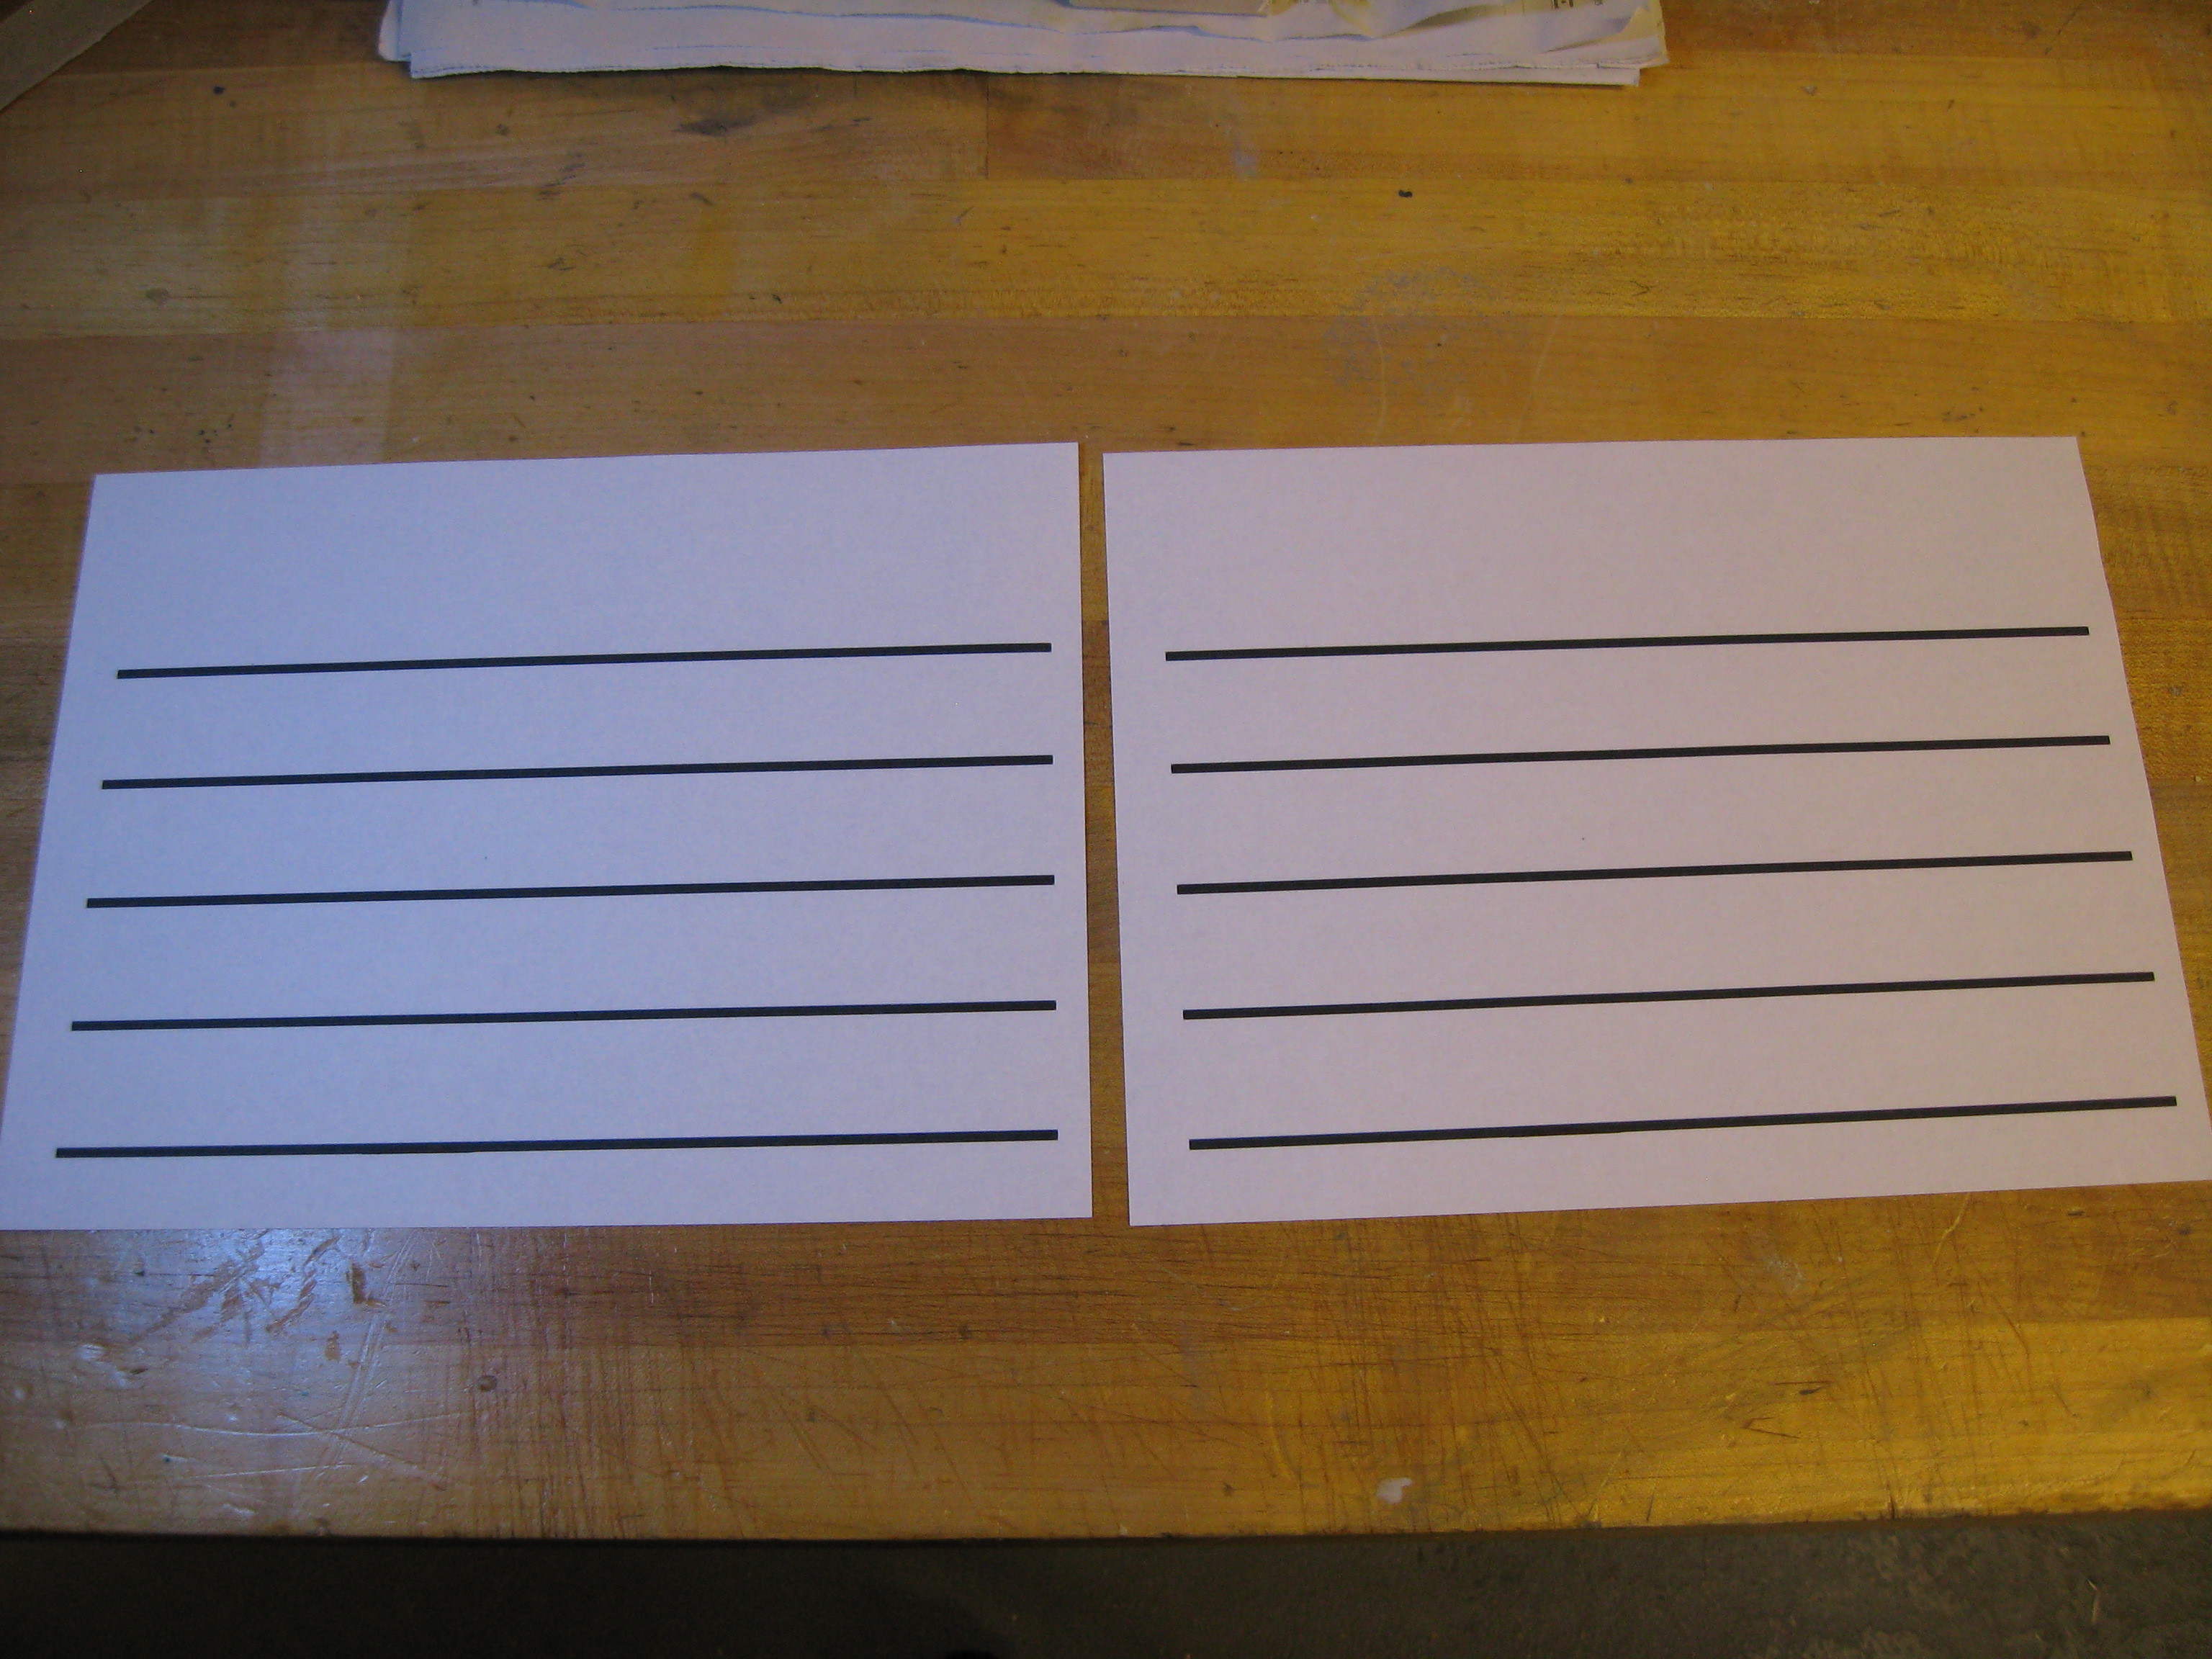
Print out whatever graphics you want on the custom section. I printed mine on regular printer paper, although printable transparencies would also work well.

Peel the plastic coating off BOTH sides of the Lexan and use scotch tape to affix your graphics to one side.

Lay the Lexan sheet in its place on the backing board and get ready to hang the finished product.

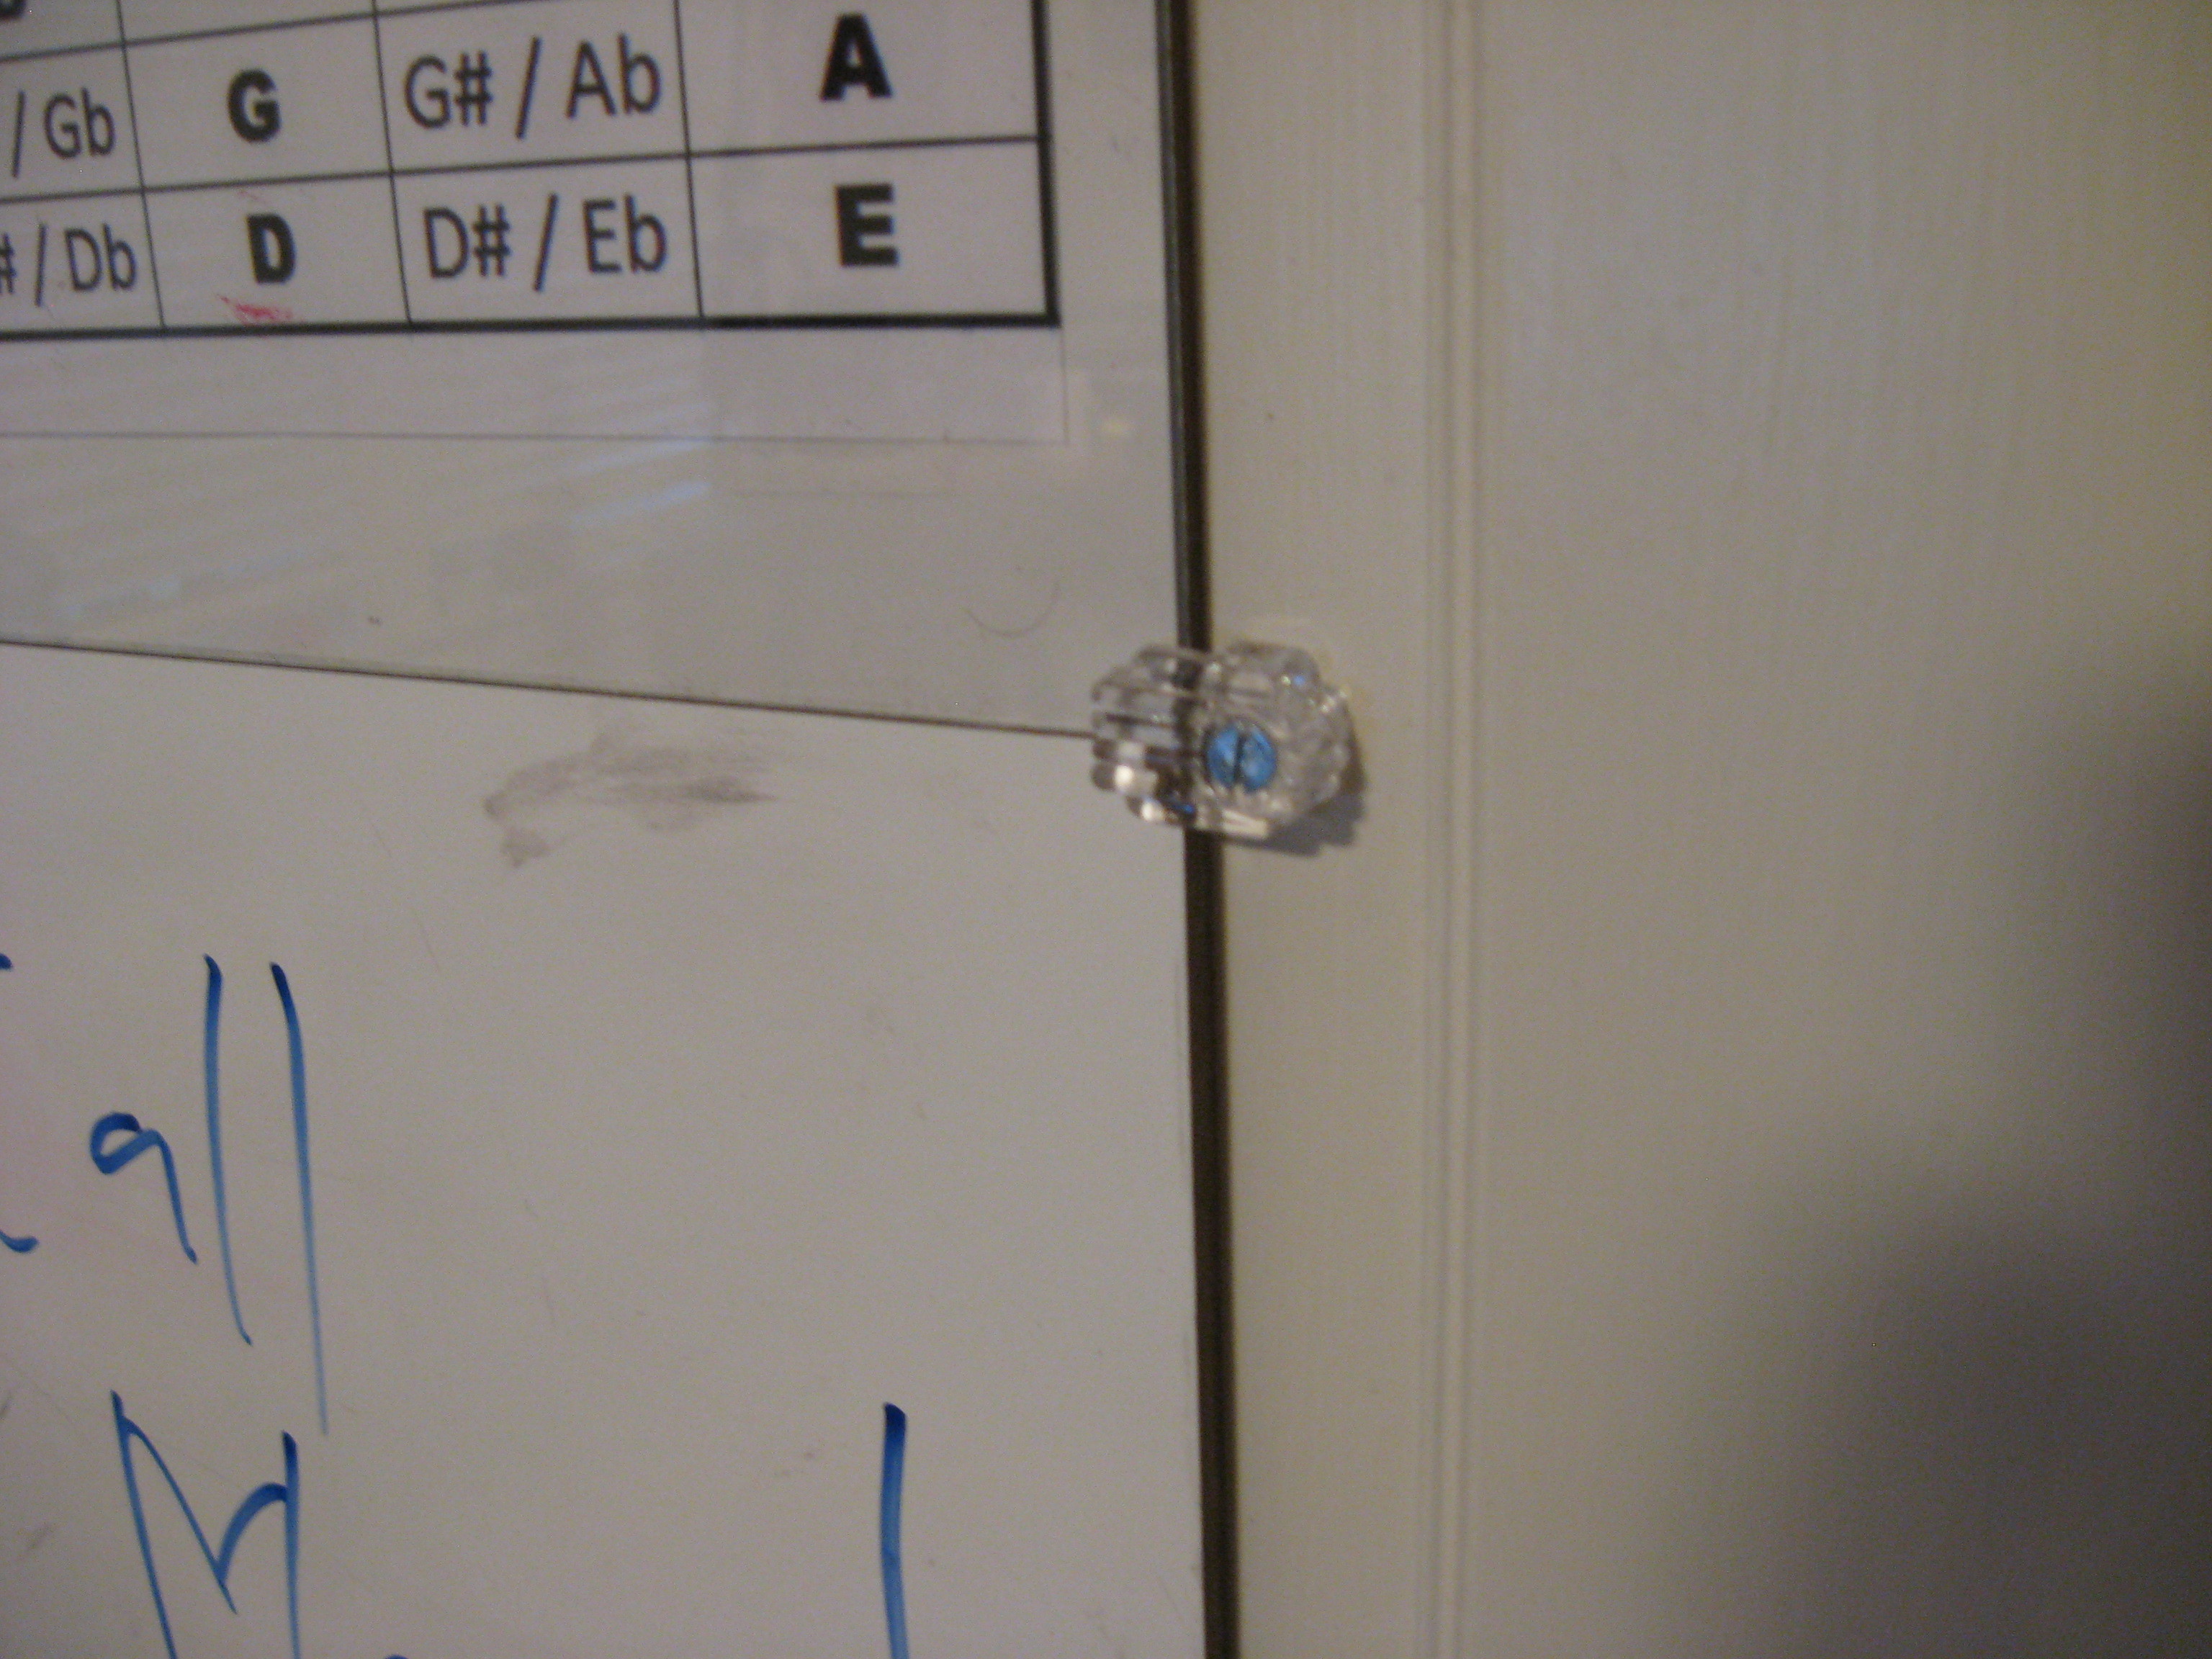
Mount your new whiteboard to any flat surface with the mirror clips. You’ll need at least 6 clips: one for each corner and two for the place where the Lexan meets the whiteboard. The red circles in the picture show where the clips need to be located.

The Lexan will sit on the whiteboard since it’s glued to the backing-board, but you need the clips to hold the Lexan tightly against the backing-board. Install two clips on the edge between the Lexan and the whiteboard.

Anytime you want to change the graphics on the custom section, just loosen the mirror clips and slide the Lexan out.

Conclusion

Mount your board and enjoy!