M31-ching-thing-rendering

In my previous column I described an electronic version of that old fortune-telling favorite, the Magic 8 Ball (Make: Volume 30, “Magic 8 Box”). Now I want to delve deeper into divination — and the deepest you can go is surely the I Ching. This tool of prophesy originated in China thousands of years ago.

The I Ching supposedly offers insight into your current situation, and how it may change in the near future. You use a random system to draw 2 “hexagrams,” each of which consists of 6 lines that can be solid or broken in the middle. (A solid line represents yang energy, while a broken one is yin, in case you were wondering.) The left hexagram interprets your current situation. Some believe the right one suggests your future (seen below).

Screen Shot 2015-04-13 at 3.36.11 PM
Two possible hexagrams describing your present and future. The meanings are quoted from The I Ching: The Book of Answers by Wu Wei.

To find out what the hexagrams mean, you look them up in a book. Dozens are available, but the one I use is The I Ching: The Book of Answers by Wu Wei, because its interpretations are dumbed down to a level where people such as myself, who are philosophically impaired, can make sense out of them.

You draw the hexagrams from the bottom up, by tossing coins — or by “casting yarrow stalks,” if you’re a traditionalist. (Yarrow is a weed, and you can find suppliers of dried stalks online.) Mathematically speaking, there are 4 possible present/future combinations for each pair of lines, as shown in the chart below.

Screen Shot 2015-04-13 at 3.37.18 PM
For any pair of lines spanning present and future hexagrams, there are 4 possible combinations, as shown here. The probability values are simplified if you toss coins instead of using the more traditional “yarrow stalks” to generate the lines.

Now, here’s the catch. The combination probabilities in the chart are what you get when you perform complex operations with yarrow stalks. Using coins will alter this pattern, giving every combination an equal probability. I wanted my electronic I Ching to be as authentic as possible, so I stuck with the ancient, yarrow-stalk probability set, even though this made the circuit a bit more complicated.

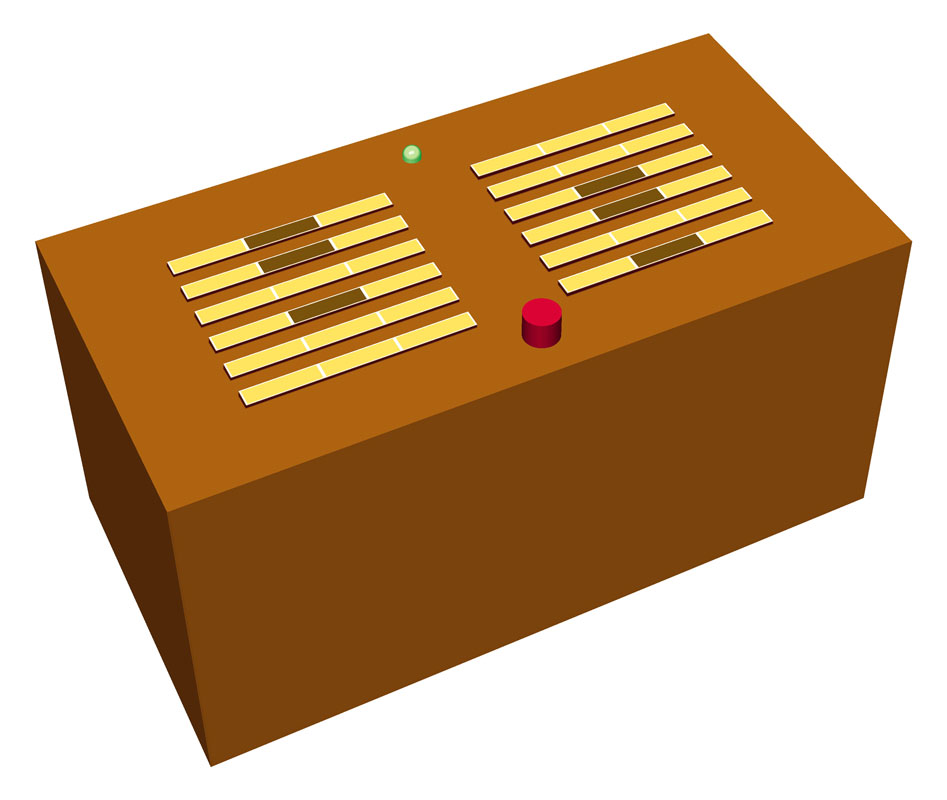
To display the hexagrams, I used light bars — little rectangles containing LEDs. Each line in a hexagram can be represented by 3 bars placed in a row, with the end bars lit and the center bar switched on to represent a solid line, or off to represent a broken line.

This article first appeared in Make: Vol. 31, page 158.

What will the next generation of Make: look like? We’re inviting you to shape the future by investing in Make:. By becoming an investor, you help decide what’s next. The future of Make: is in your hands. Learn More.

Project Steps

Choosing Chips

From the probability chart, you’ll see that the total chance of a line being solid on the left is 3 + 5 = 8 out of 16, and in 5 of those 8 instances, the line will also be solid in the hexagram on the right. As for the chance of a line being broken on the left, once again it is 8 out of 16, but the line will change to solid on the right in 1 of those 8 instances.

We need to make choices from 16 possible outputs, which prompted me to use the same 16-output 74HC4514 decoder chip as in the Magic 8 Box. In the box, I used rotational encoders to generate a random number. For my electronic I Ching (which I call the Ching Thing) the decoder is driven by a 74HC4520 divide-by-16 counter chip. By running the counter very, very fast and sampling it at an arbitrary moment, we can obtain a random number from its 16 possible states.

Now, how do we process this information to drive the light bars? Well, for one pair of bars, if the decoder delivers any of 8 numbers, we can switch on the center segment on the left-hand side. And out of those 8 states, 5 of them will be eligible to switch on the center segment on the right-hand side.

The easy way to arrange this is by using an OR gate with 8 inputs: the seldom-used but easily available 74HC4078. Check the schematic for a block diagram showing how this all works, and if logic gates are new to you, I hope you’ll forgive me for mentioning that my own book, Make: Electronics, explains them in detail.

To create broken lines in the hexagram, we simply leave them switched off. So, the remaining 8 outputs from the decoder chip are unconnected — except that 1 time in those 8 instances, we need to light the center bar on the right. For this purpose, I connected one more output from the decoder to the right-hand OR gate.

Screen Shot 2015-04-13 at 3.38.40 PM
Block diagram showing the basic components of the Ching Thing, and their functions.

Shift Registers

So far, I’ve described how to generate one line on the left and one line on the right. We need to do this 6 times to build complete hexagrams. Is there a way to memorize the first combination of lines, then repeat the process to create the next set of lines?

Yes, all we need is an 8-bit shift register. As its name implies, it has enough memory locations for just 8 on-off bits of data. We load the first location with either a high state (on) or a low state (off), then send a clock pulse to the chip, which shifts the data to the next stage, so that we can reuse the first one. Another shift-register chip can control the right-hand hexagram, and a third chip will control the remaining light bars — the ones that are always on. This way, the bars of the hexagram will all scroll up together as the 3 shift registers move their data.

Our shift registers aren’t powerful enough to drive all the light bars, so we have to amplify their outputs with Darlington arrays, which contain transistors to supply the necessary amperage. Their output side tolerates a higher voltage than the 5V DC required by logic chips. With a little trial and error, I found that if I connected all 4 LEDs inside a light bar in series by soldering pairs of pins together, (see image below), I could run 9V through them, and they would take about 16mA, which is less than their rated 20mA. This eliminated the need for 144 load resistors!

The 4 internal LEDs in a Lite-On LTL-2450Y light bar can be wired in series by bending the pins and soldering them together. Note the tiny notch in the plastic at the left end of the light bar, identifying its cathode (negative end).

Remember: each of the outputs of a Darlington array sinks current when it is “on.” So you’ll apply a positive voltage to each LED bar, and its negative end will be connected to each output pin of the Darlington array.

A 9V source can now run the whole circuit. But be sure to power the logic chips through a voltage regulator such as the LM7805, which lowers the 9V to the 5V DC that logic chips require. A 9V battery can’t deliver the total peak current of 700mA that the circuit will draw, so you’ll need an AC adapter rated for around 1A at 9V DC. You must add smoothing capacitors around the voltage regulator, to protect your logic chips from voltage spikes. See the schematic below. I added a simple power switch and a reset switch that discharges the large capacitor.

Complete schematic for the Ching Thing.

The Details

How will we sample the fast counter at random? By pressing a button. The same button will also tell the shift registers to shift their data along, ready to create new lines in the hexagrams, so you’ll press the button 6 times to create your hexagrams.

Because buttons create noisy signals, I included a second timer (wired in one-shot mode) that transforms the button-press into a single, clean, one-second pulse.

Because we don’t want the user to press the button too rapidly, I added an LED that acts as a prompt: it is illuminated when the system is ready, but goes off for 1 second after the button is pressed. Wait till the LED comes on before pressing the button again.

Note that the timers in this circuit are not old-fashioned TTL 555 timers. I have used a more modern CMOS version, because it has a higher output voltage, compatible with the HC family of chips in this circuit. Be sure to use the parts specified in the Parts list.

Test the circuit one chip at a time. Slow down the free-running timer with a 10µF capacitor and two 47K resistors, instead of the 0.01µF capacitor and 1K resistors in the schematic. You can monitor the outputs of the logic chips with little 5V DC LEDs such as the Chicago 4302F1-5V. These are handy things to have around, as they draw only 10mA, and their load resistors are built in. I spread my circuit across 3 breadboards (shown below).

The breadboarded version, using 5V LEDs to display the outputs and show the pin states of logic chips. The little LEDs can be a significant aid in debugging the circuit.

For the final version, each light bar measures about 0.2″×0.8″, and each set of 3 can be glued into a slot in a box lid (shown below).

A possible plan for the lid of an enclosure for the finished version of the Ching Thing. White areas indicate cutouts.

Does the Ching Thing sound a bit … complicated? Almost like building a small computer? Indeed, but the chips are easy to wire together. I breadboarded the whole thing in a couple of hours. Also, the circuit can teach you some computer fundamentals. For instance, if you wonder why a component such as a shift register exists, consider that it takes a serial input and creates a parallel output — and if you don’t know what a parallel port is, I’ll leave you to find that out for yourself. You can ask the Ching Thing about it, although I have a feeling that Wikipedia may gave you a more helpful answer. Either way — may your fortunes all be electrically positive!