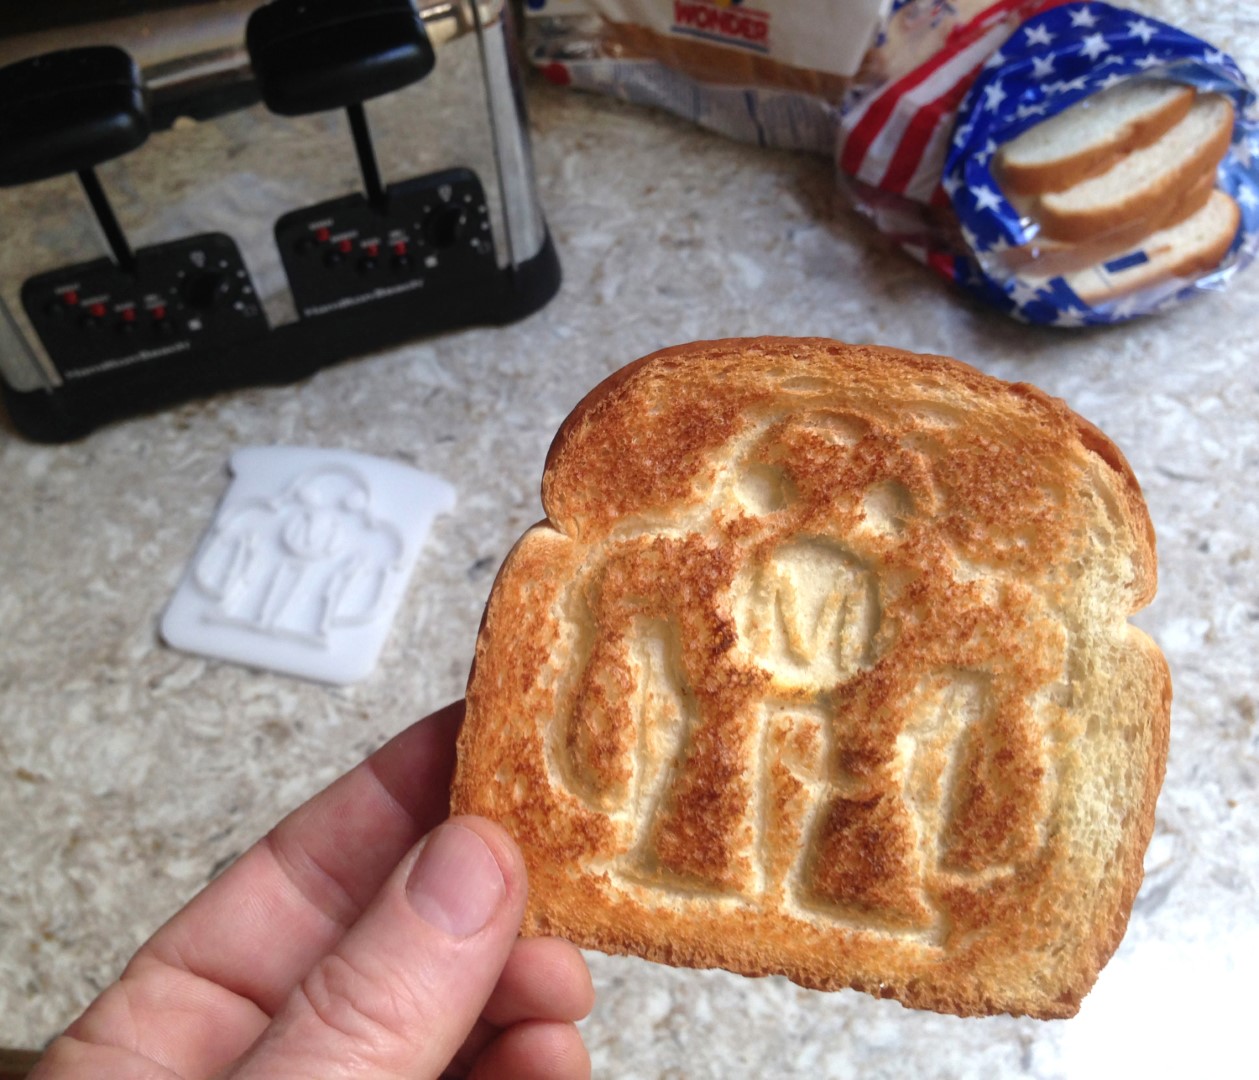
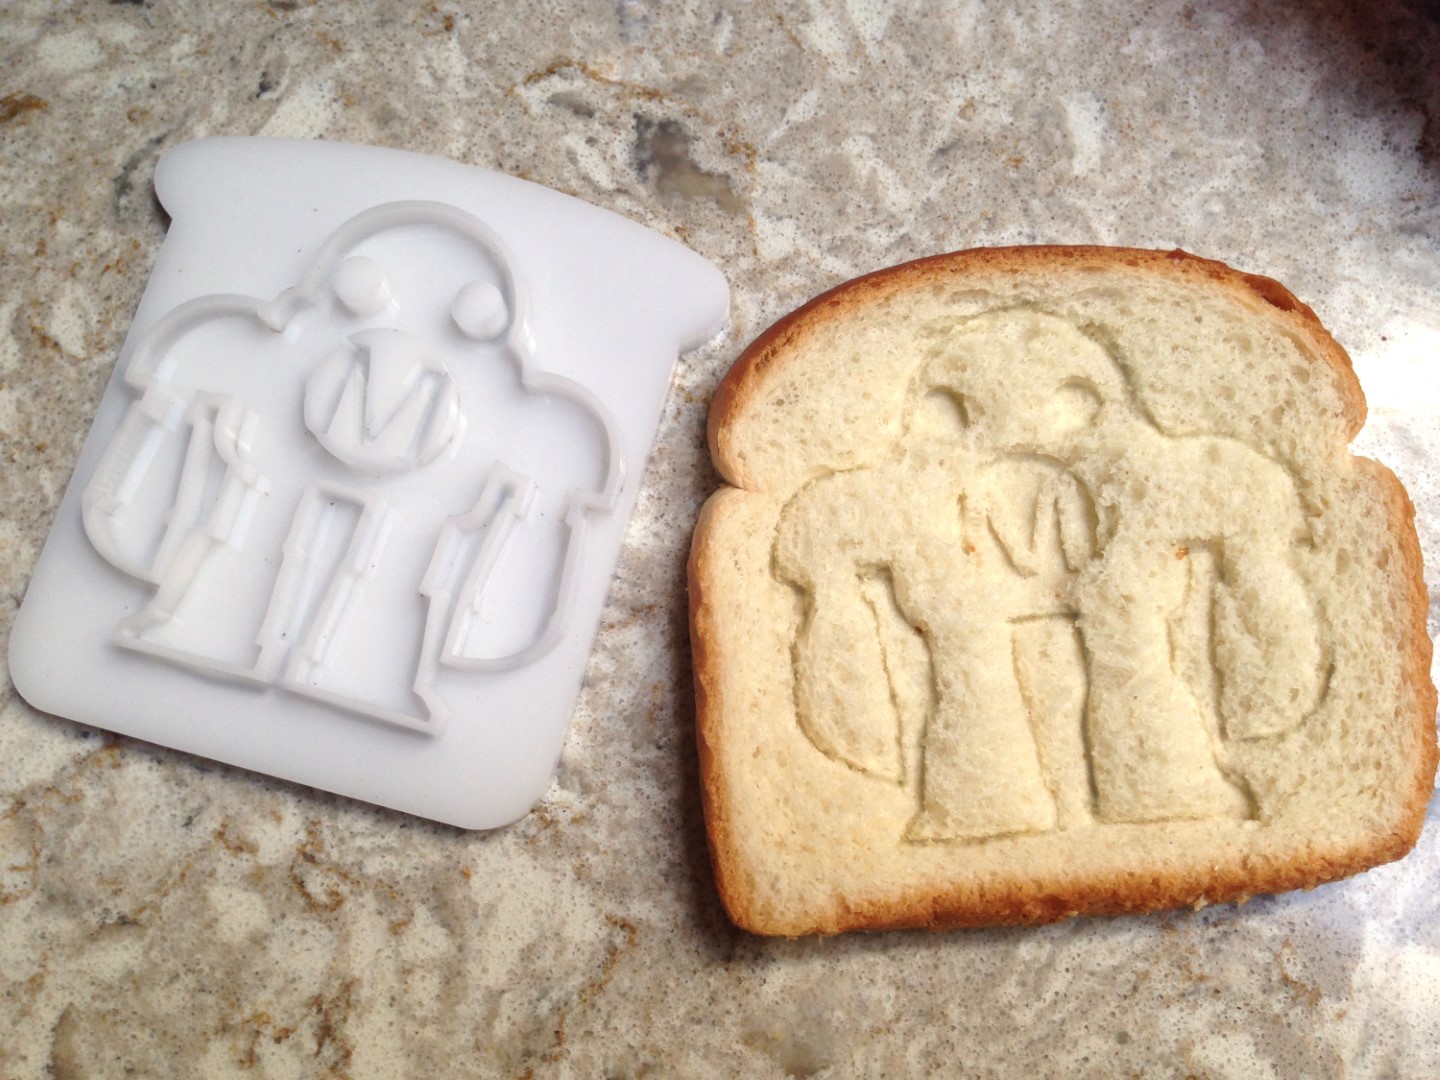
Here’s a “toast” to makers everywhere! This easy project makes a fun, custom stamper that embosses your design onto a piece of toast. It’s a simple 3D form that can be made by hand with minimum equipment, or if you have access to a laser cutter, you can knock it out in just a few minutes. It also lends itself to 3D printing.

The version shown makes cute Makey robot-imprinted toast but you can create your own custom design with any message or image.

What will the next generation of Make: look like? We’re inviting you to shape the future by investing in Make:. By becoming an investor, you help decide what’s next. The future of Make: is in your hands. Learn More.

Project Steps

CUT YOUR OWN TOAST STAMPER

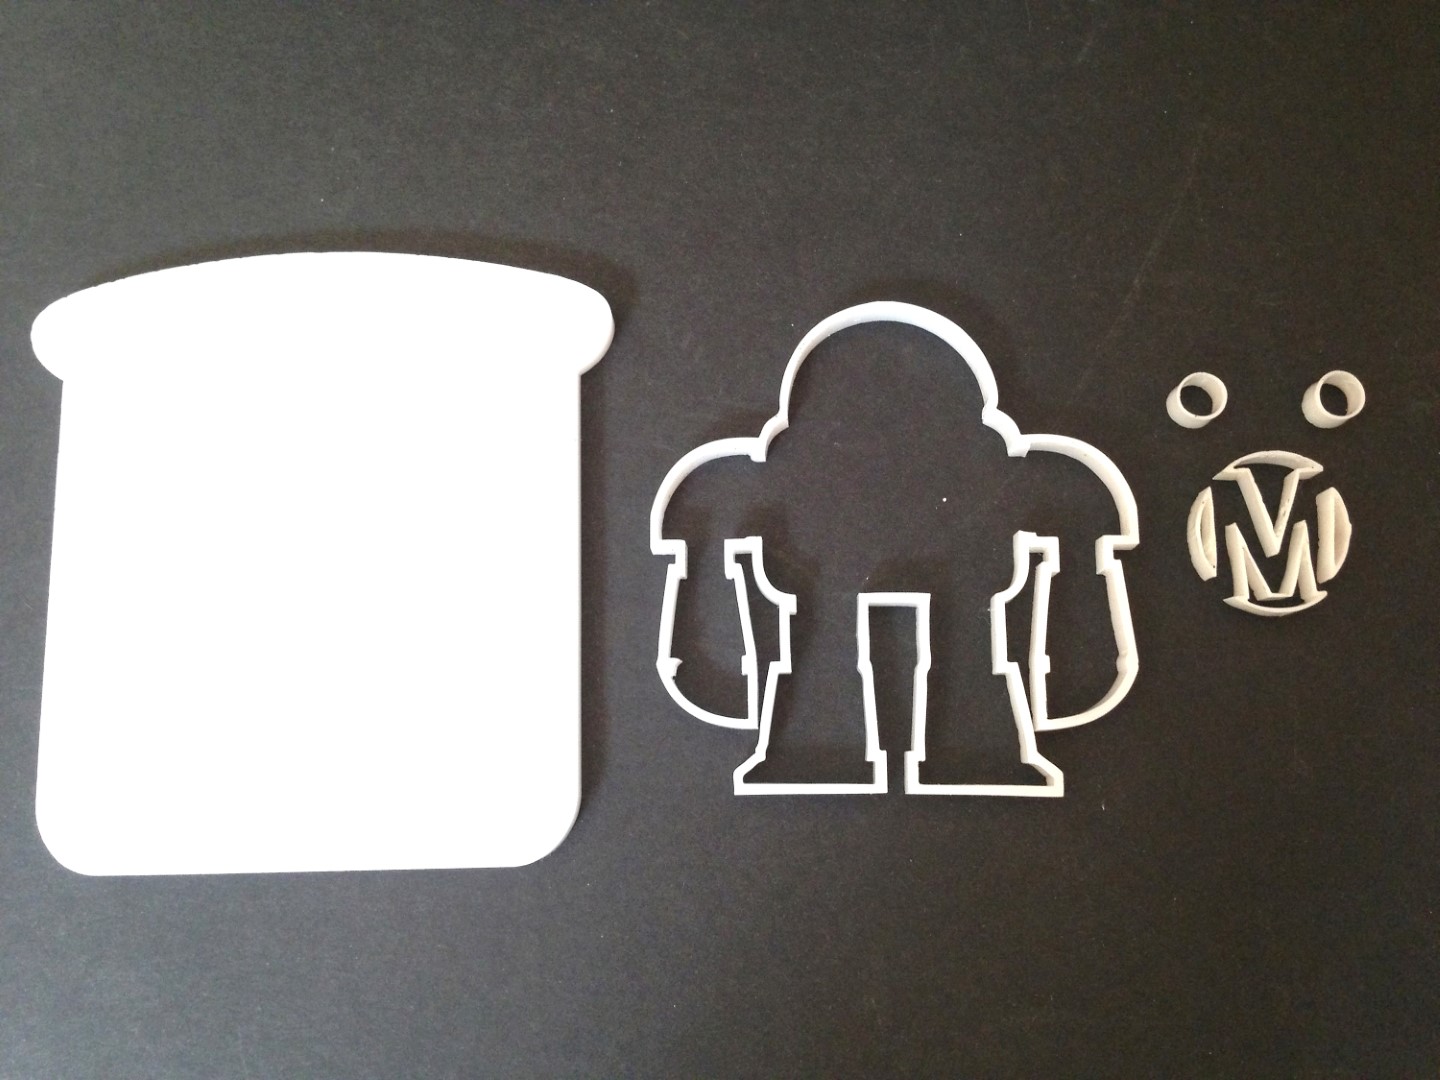
To make your stamper by hand, glue the pattern onto a piece of ¼” acrylic. Download the PDF pattern here.

Cut out the bread slice backing piece and the other smaller parts for the Makey bot shapes. You could use a coping saw or bandsaw. Take your time, as the acrylic can be brittle. If you break a corner, no worries: You’ll be solvent bonding the parts together onto the backing later anyway. Any gaps or cracks won’t show up in your final stamped bread.

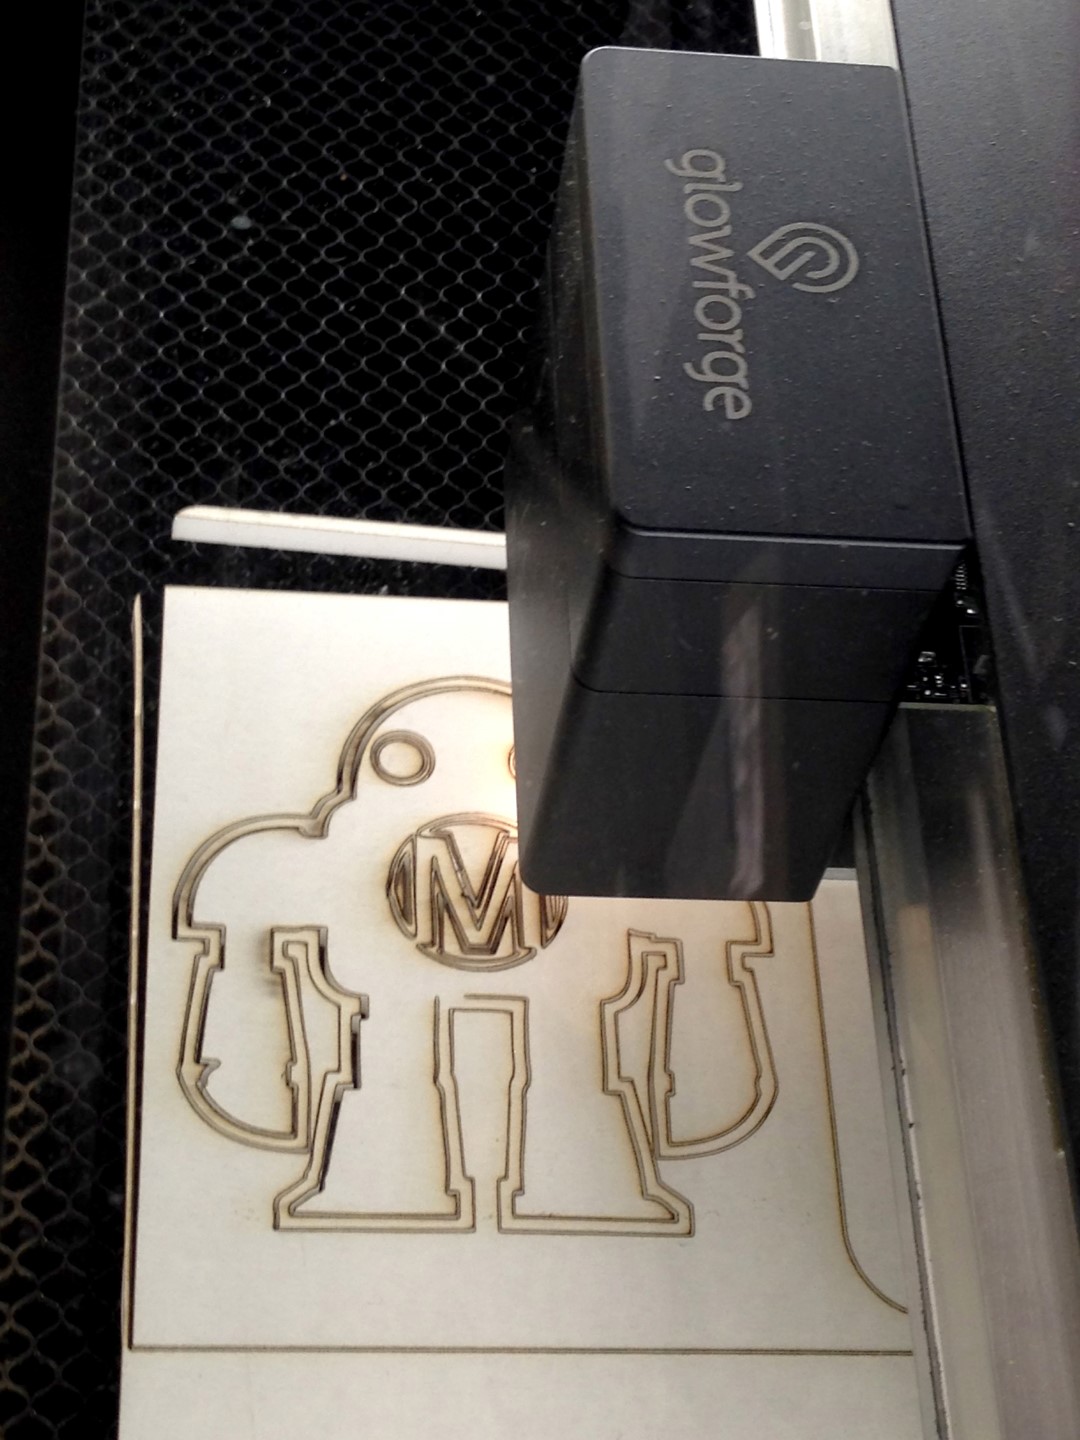
I cut my parts on a Glowforge laser cutter from Proofgrade Thick Acrylic. Or use your own material with Full Power and 1000 Speed settings. Online you’ll also find a .ai vector art file as well as a .svg cutting file.

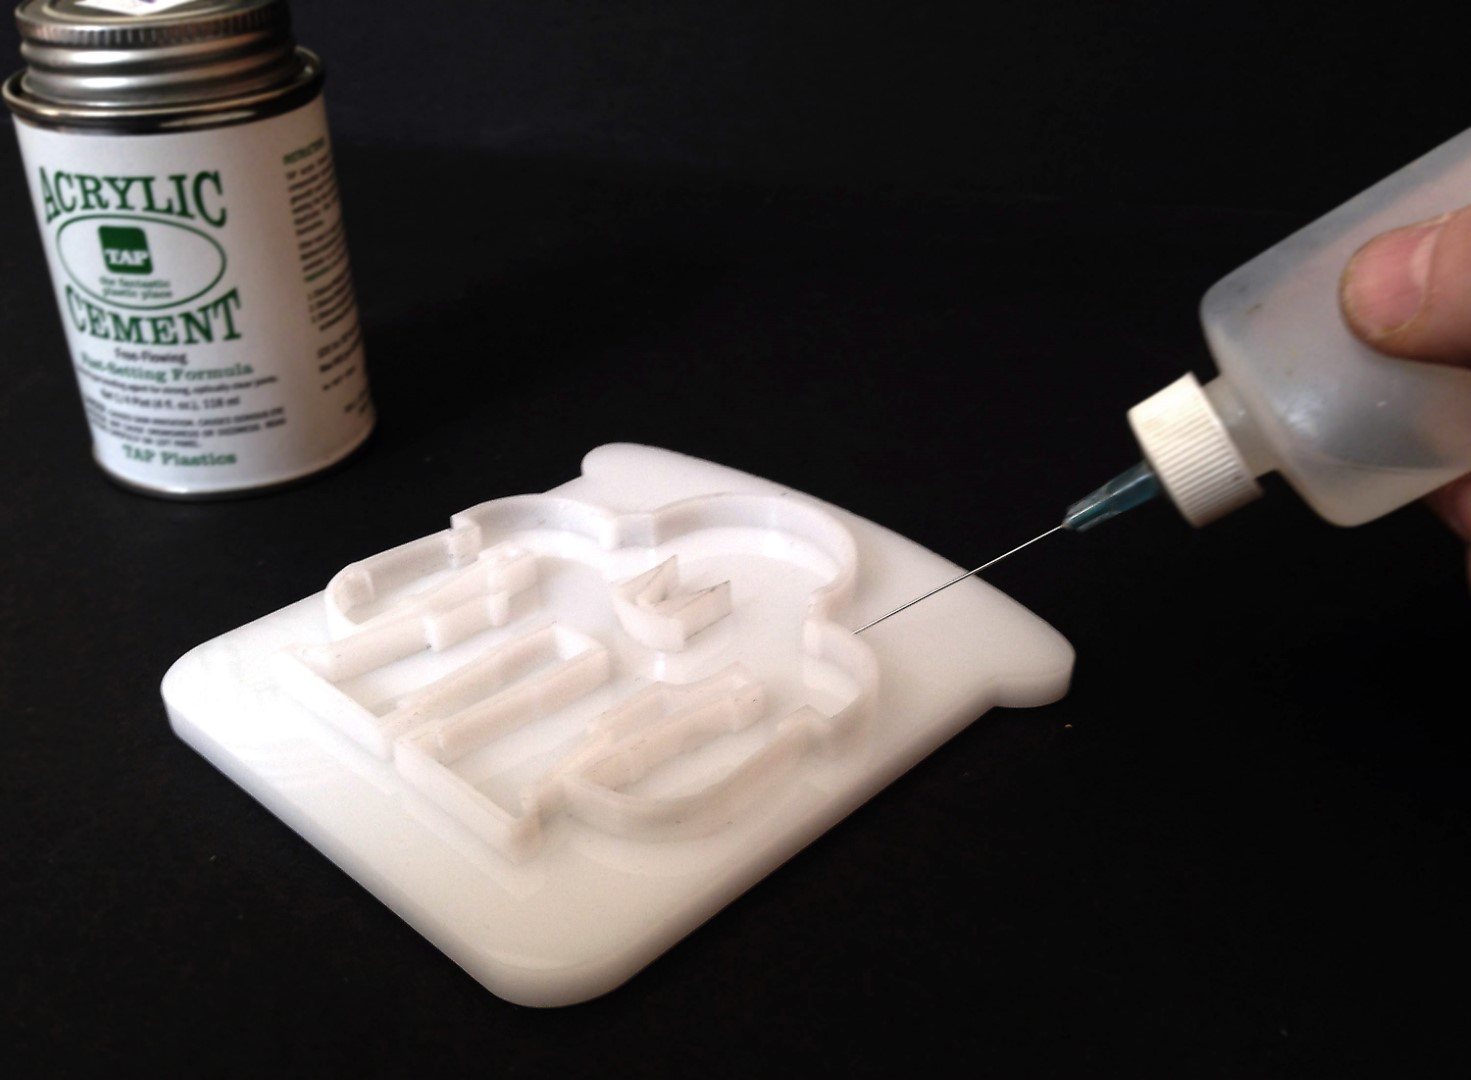
Solvent-bond the parts together with methyl chloride acrylic cement in a well-ventilated area. Be sure to let the bonds set fully before using the stamper with food.

OR 3D PRINT IT

The design is so simple that it could be 3D printed as well. In Tinkercad or your favorite 3D design program, extrude the 2D shapes in the .svg file, then join them together. Orient the shapes so that the backing plate is on the bottom and printed first.

GET CREATIVE

Make a personalized version for a special birthday, Valentine’s, or any personalized message. Emoji toast, anyone?

To make your own design, use the bread slice backing form as the basic size. Also remember to “mirror flip” your design so that any text reads “right” on the final stamped bread.

NOW YOUR TOAST

NOW YOUR TOAST

To use your stamper, just press your design down firmly onto a slice of bread, then toast!

Soft white bread works best: It compresses down well with good “resolution”. The compressed, denser areas stay white while the other areas toast nicely.