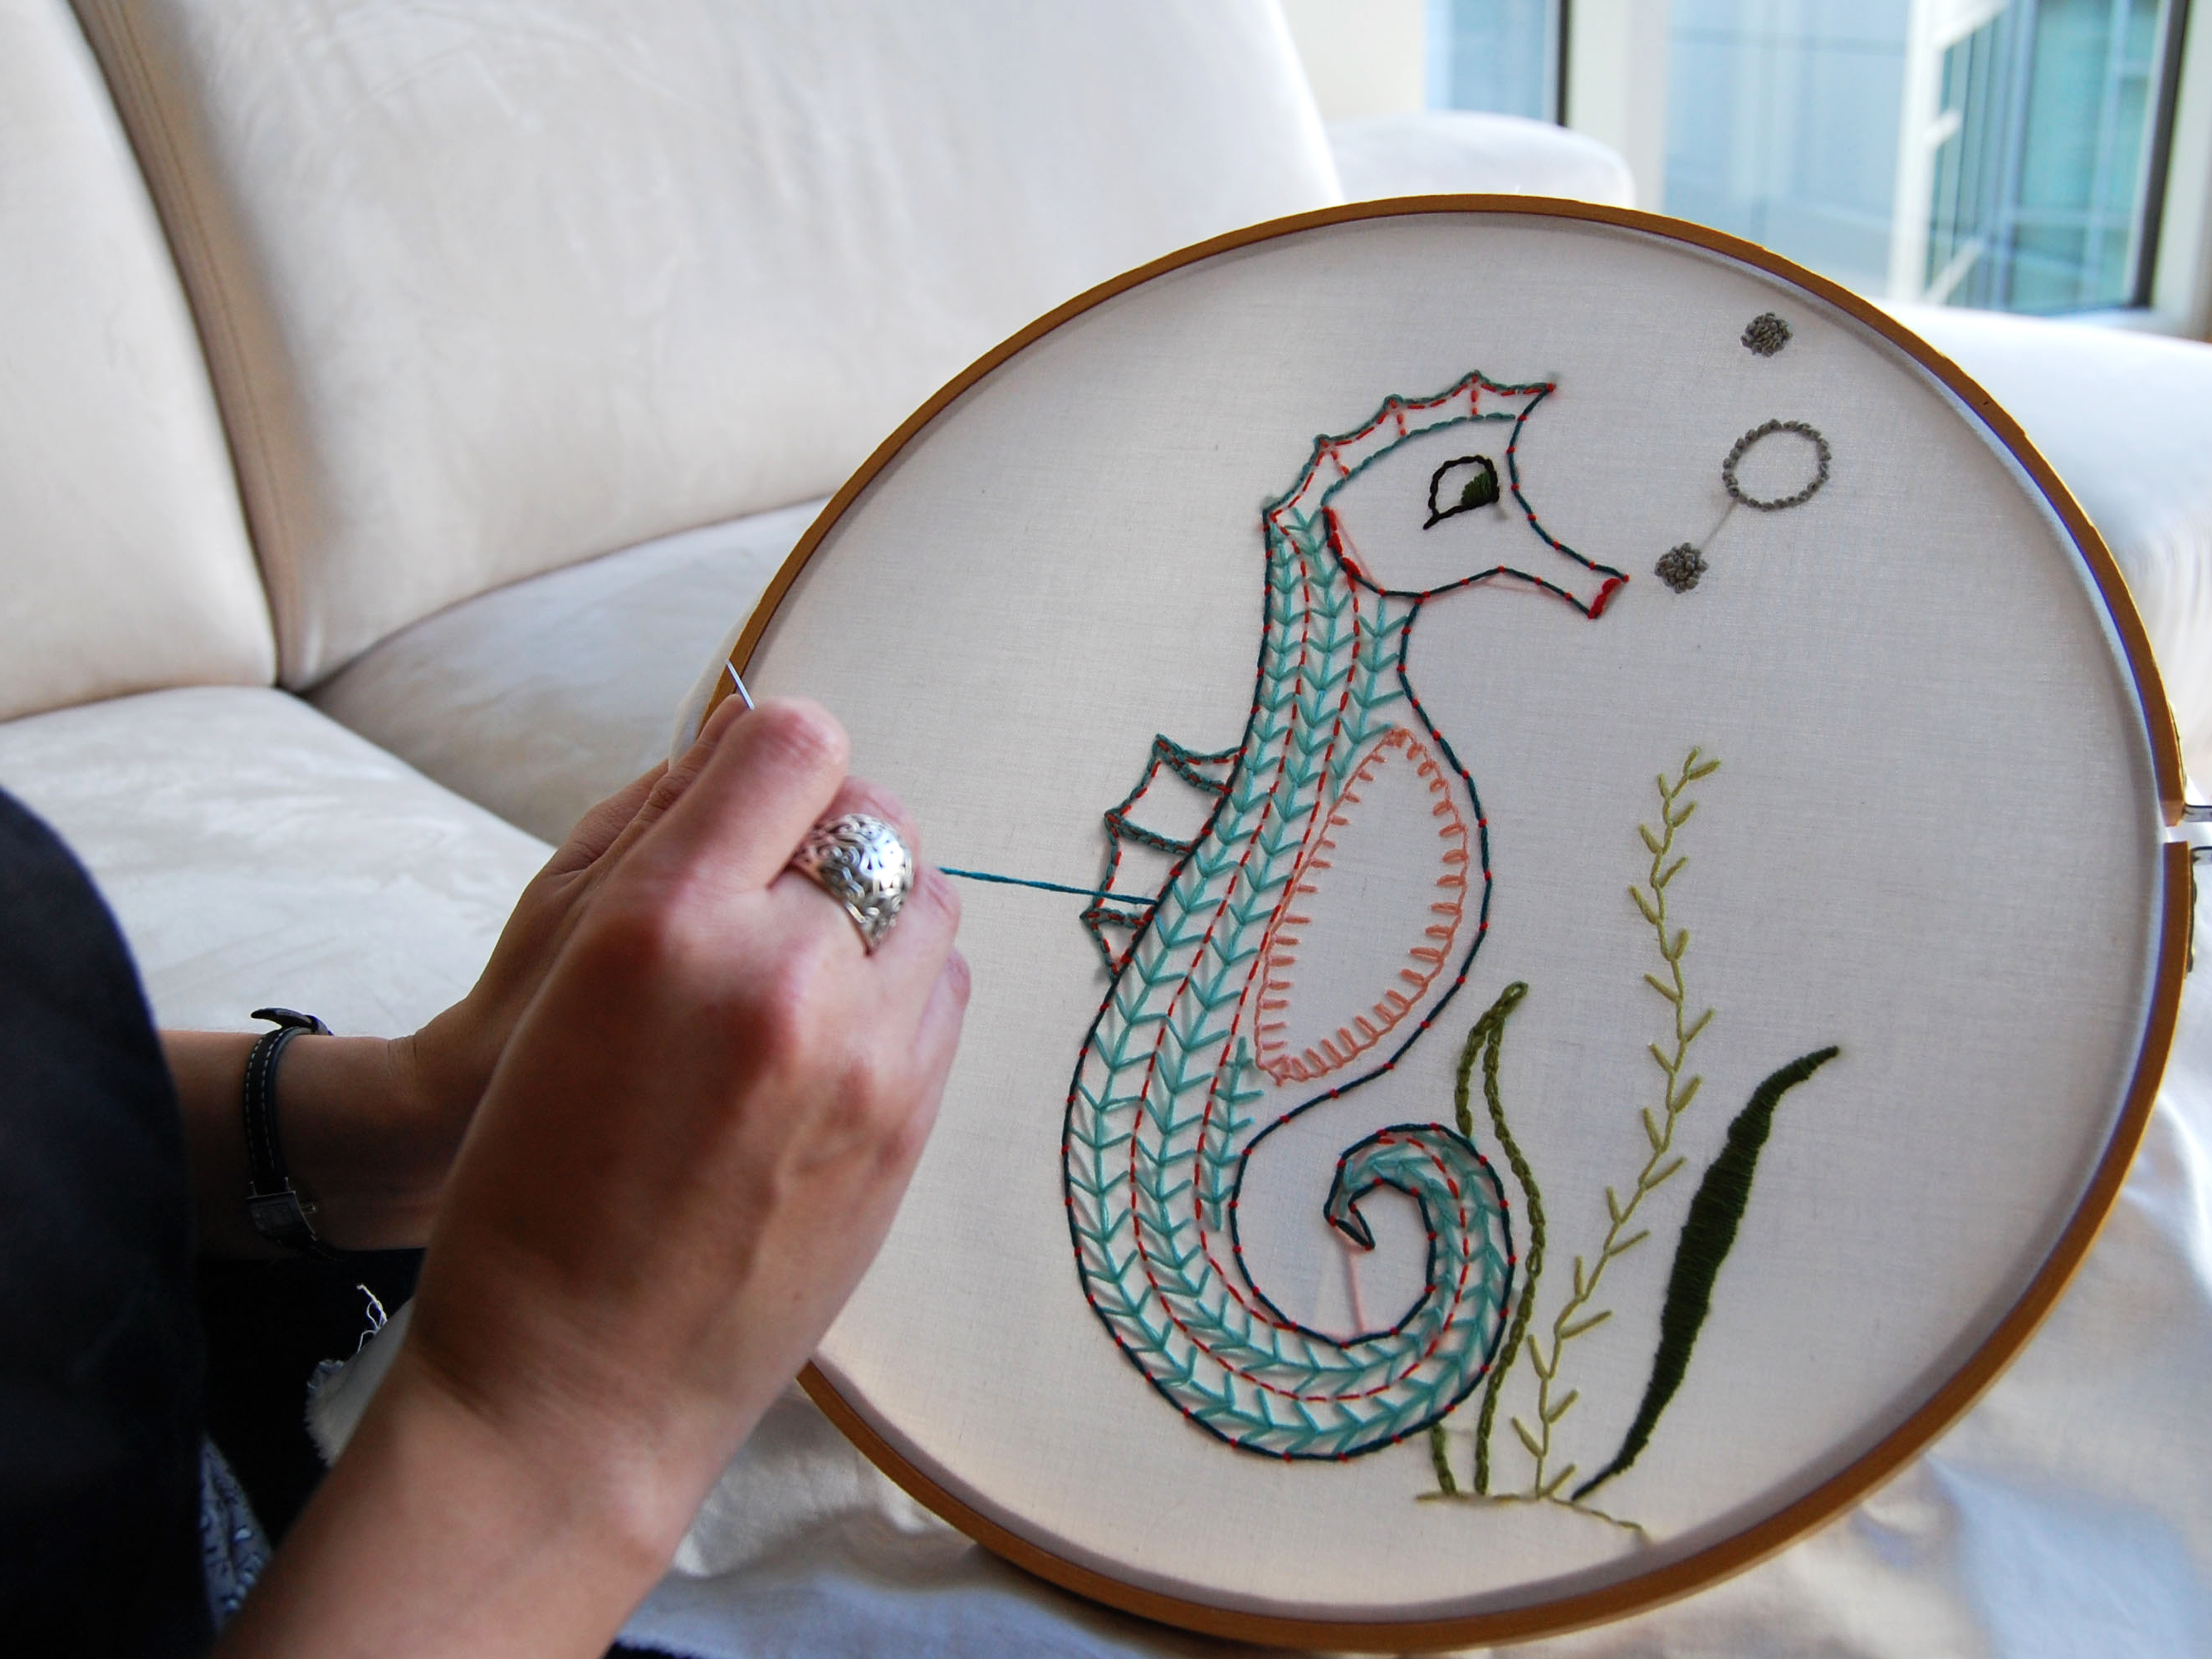
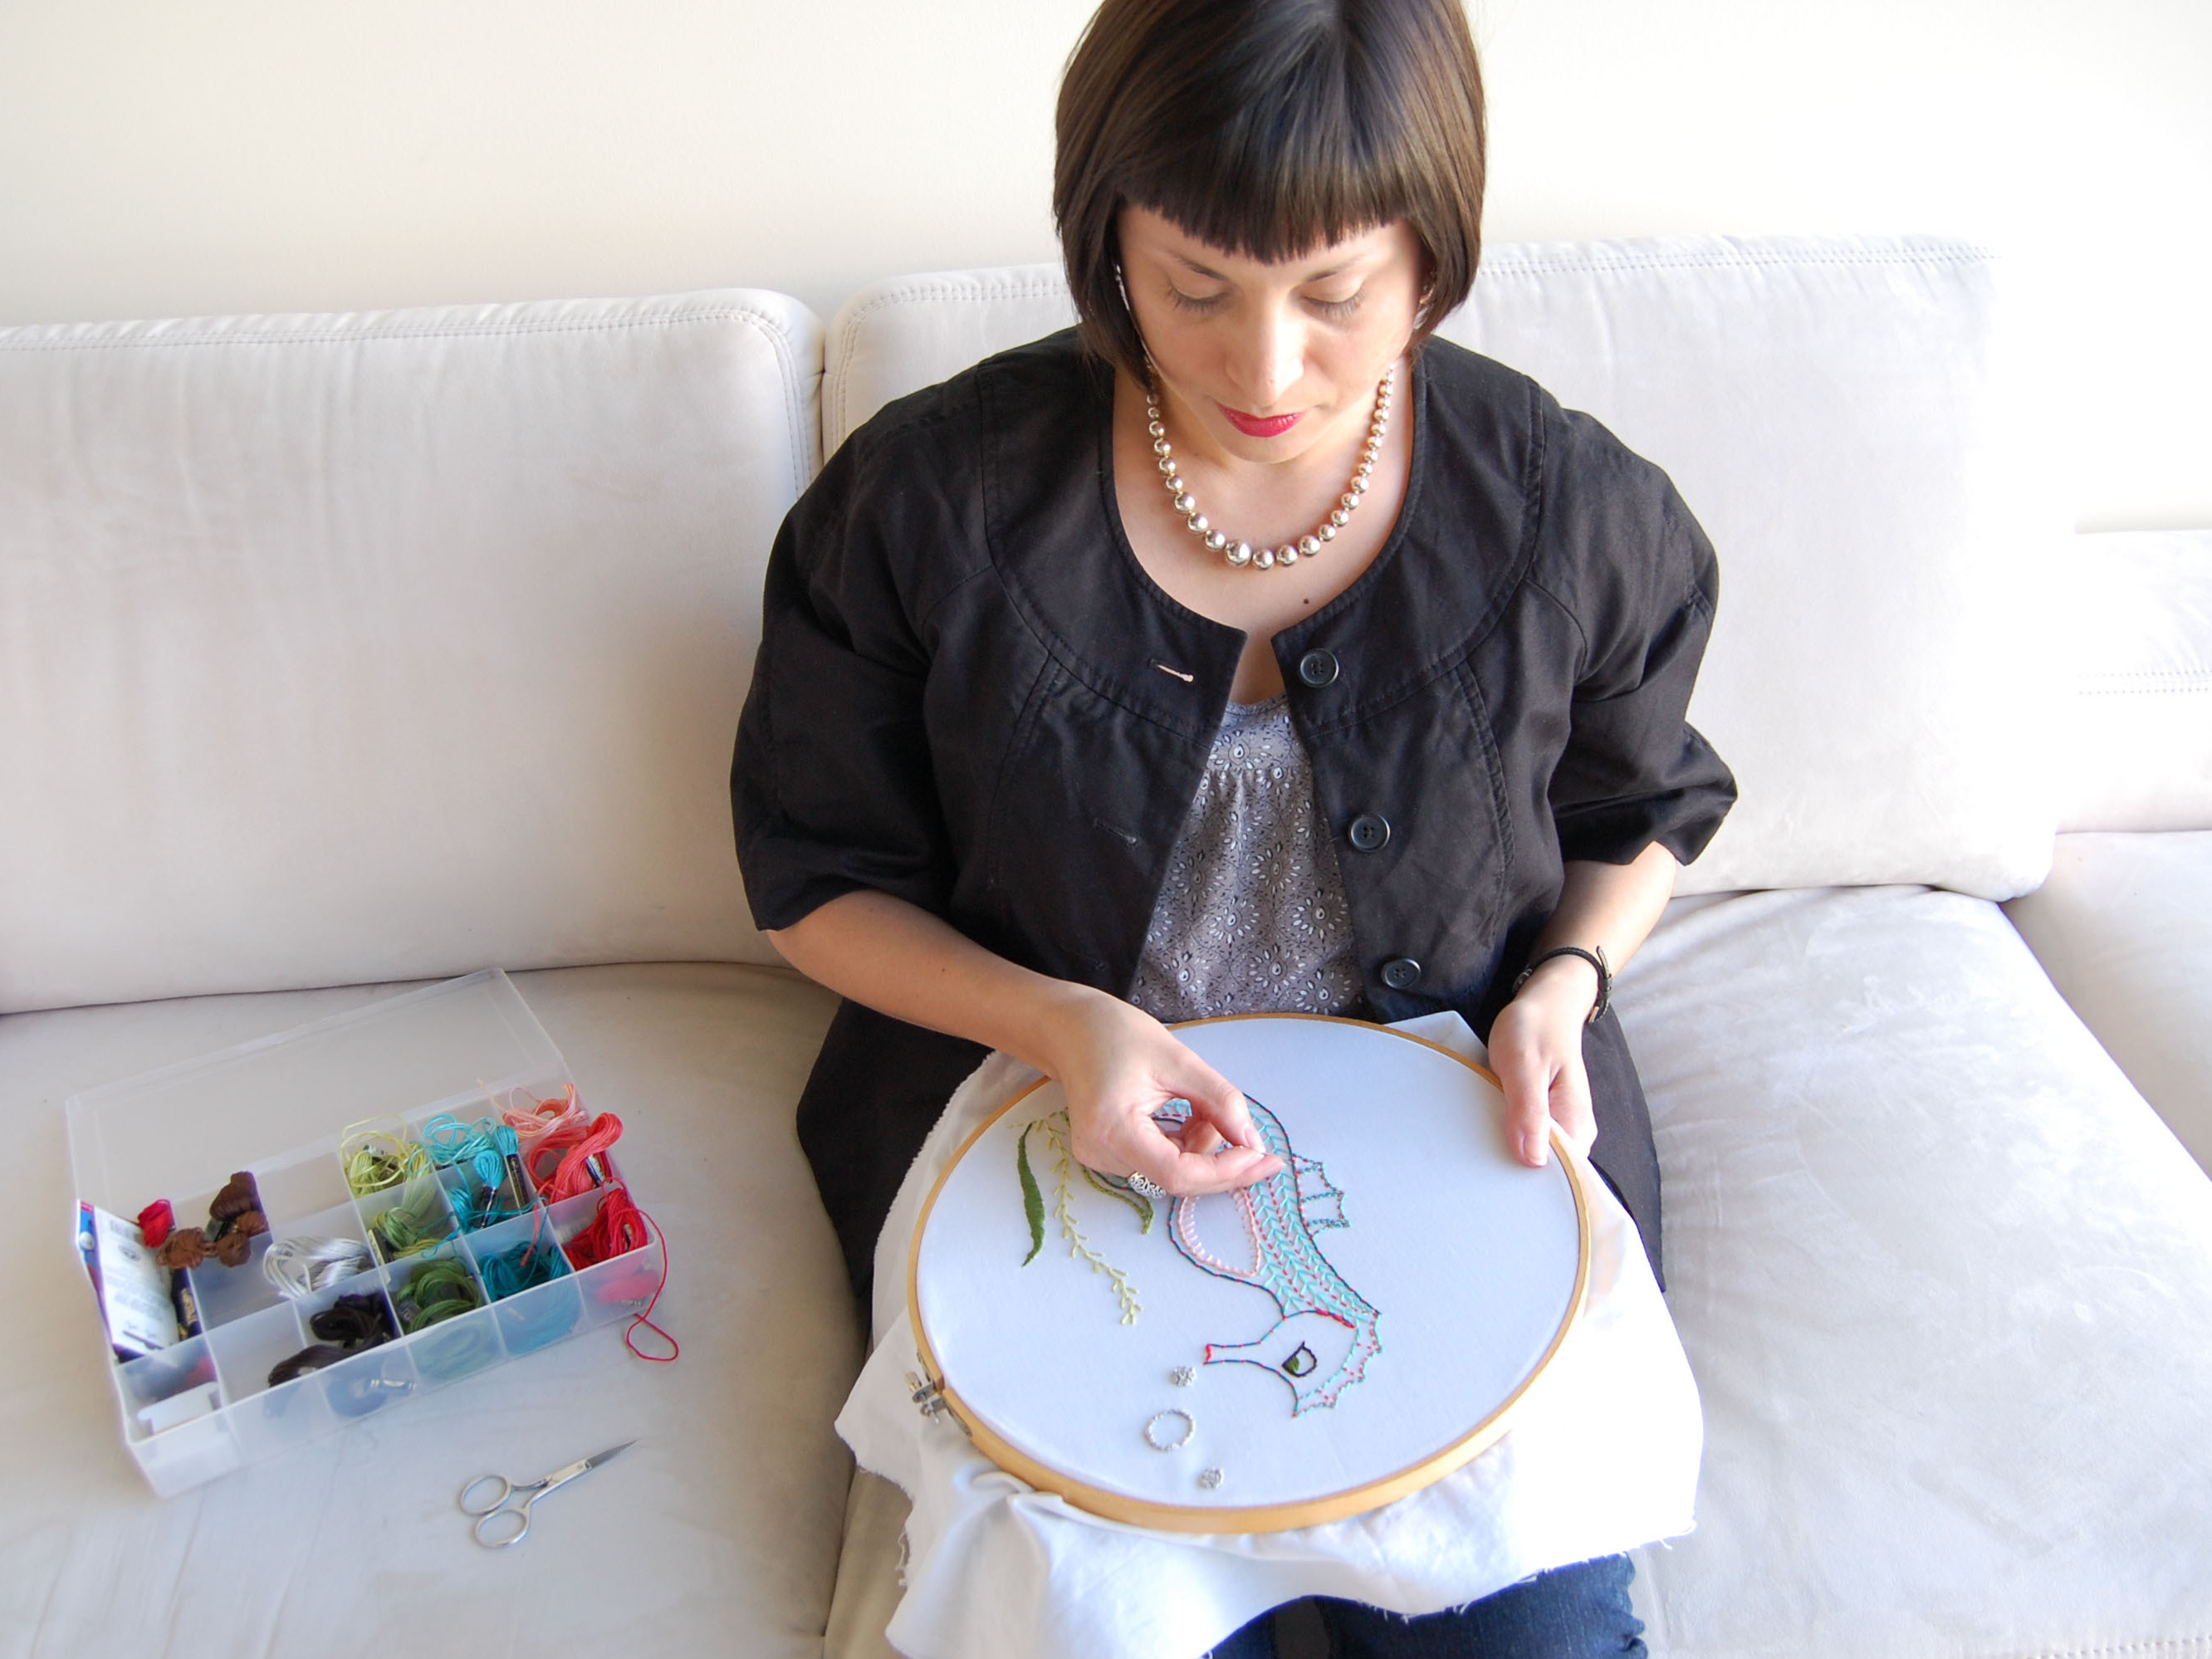
Gussy up some fabric with easy decorative stitches that will wow your friends and family. To embroider basically means to decorate material with needlework. Embroidery is based on hand-sewing stitches, and encompasses many different forms of stitching: cross-stitch, crewel, quilting, needlepoint, and much more. What you’ll be learning here is good ol’ basic embroidery, the type that Jenny Hart of Sublime Stitching has made so hip and cool. Once you know the basics, try experimenting with different types of threads, stitches, and fabrics. I think of embroidering like painting — your floss is the paint and your fabric is the canvas. You can illustrate many beautiful things with just a few stitches under your belt.

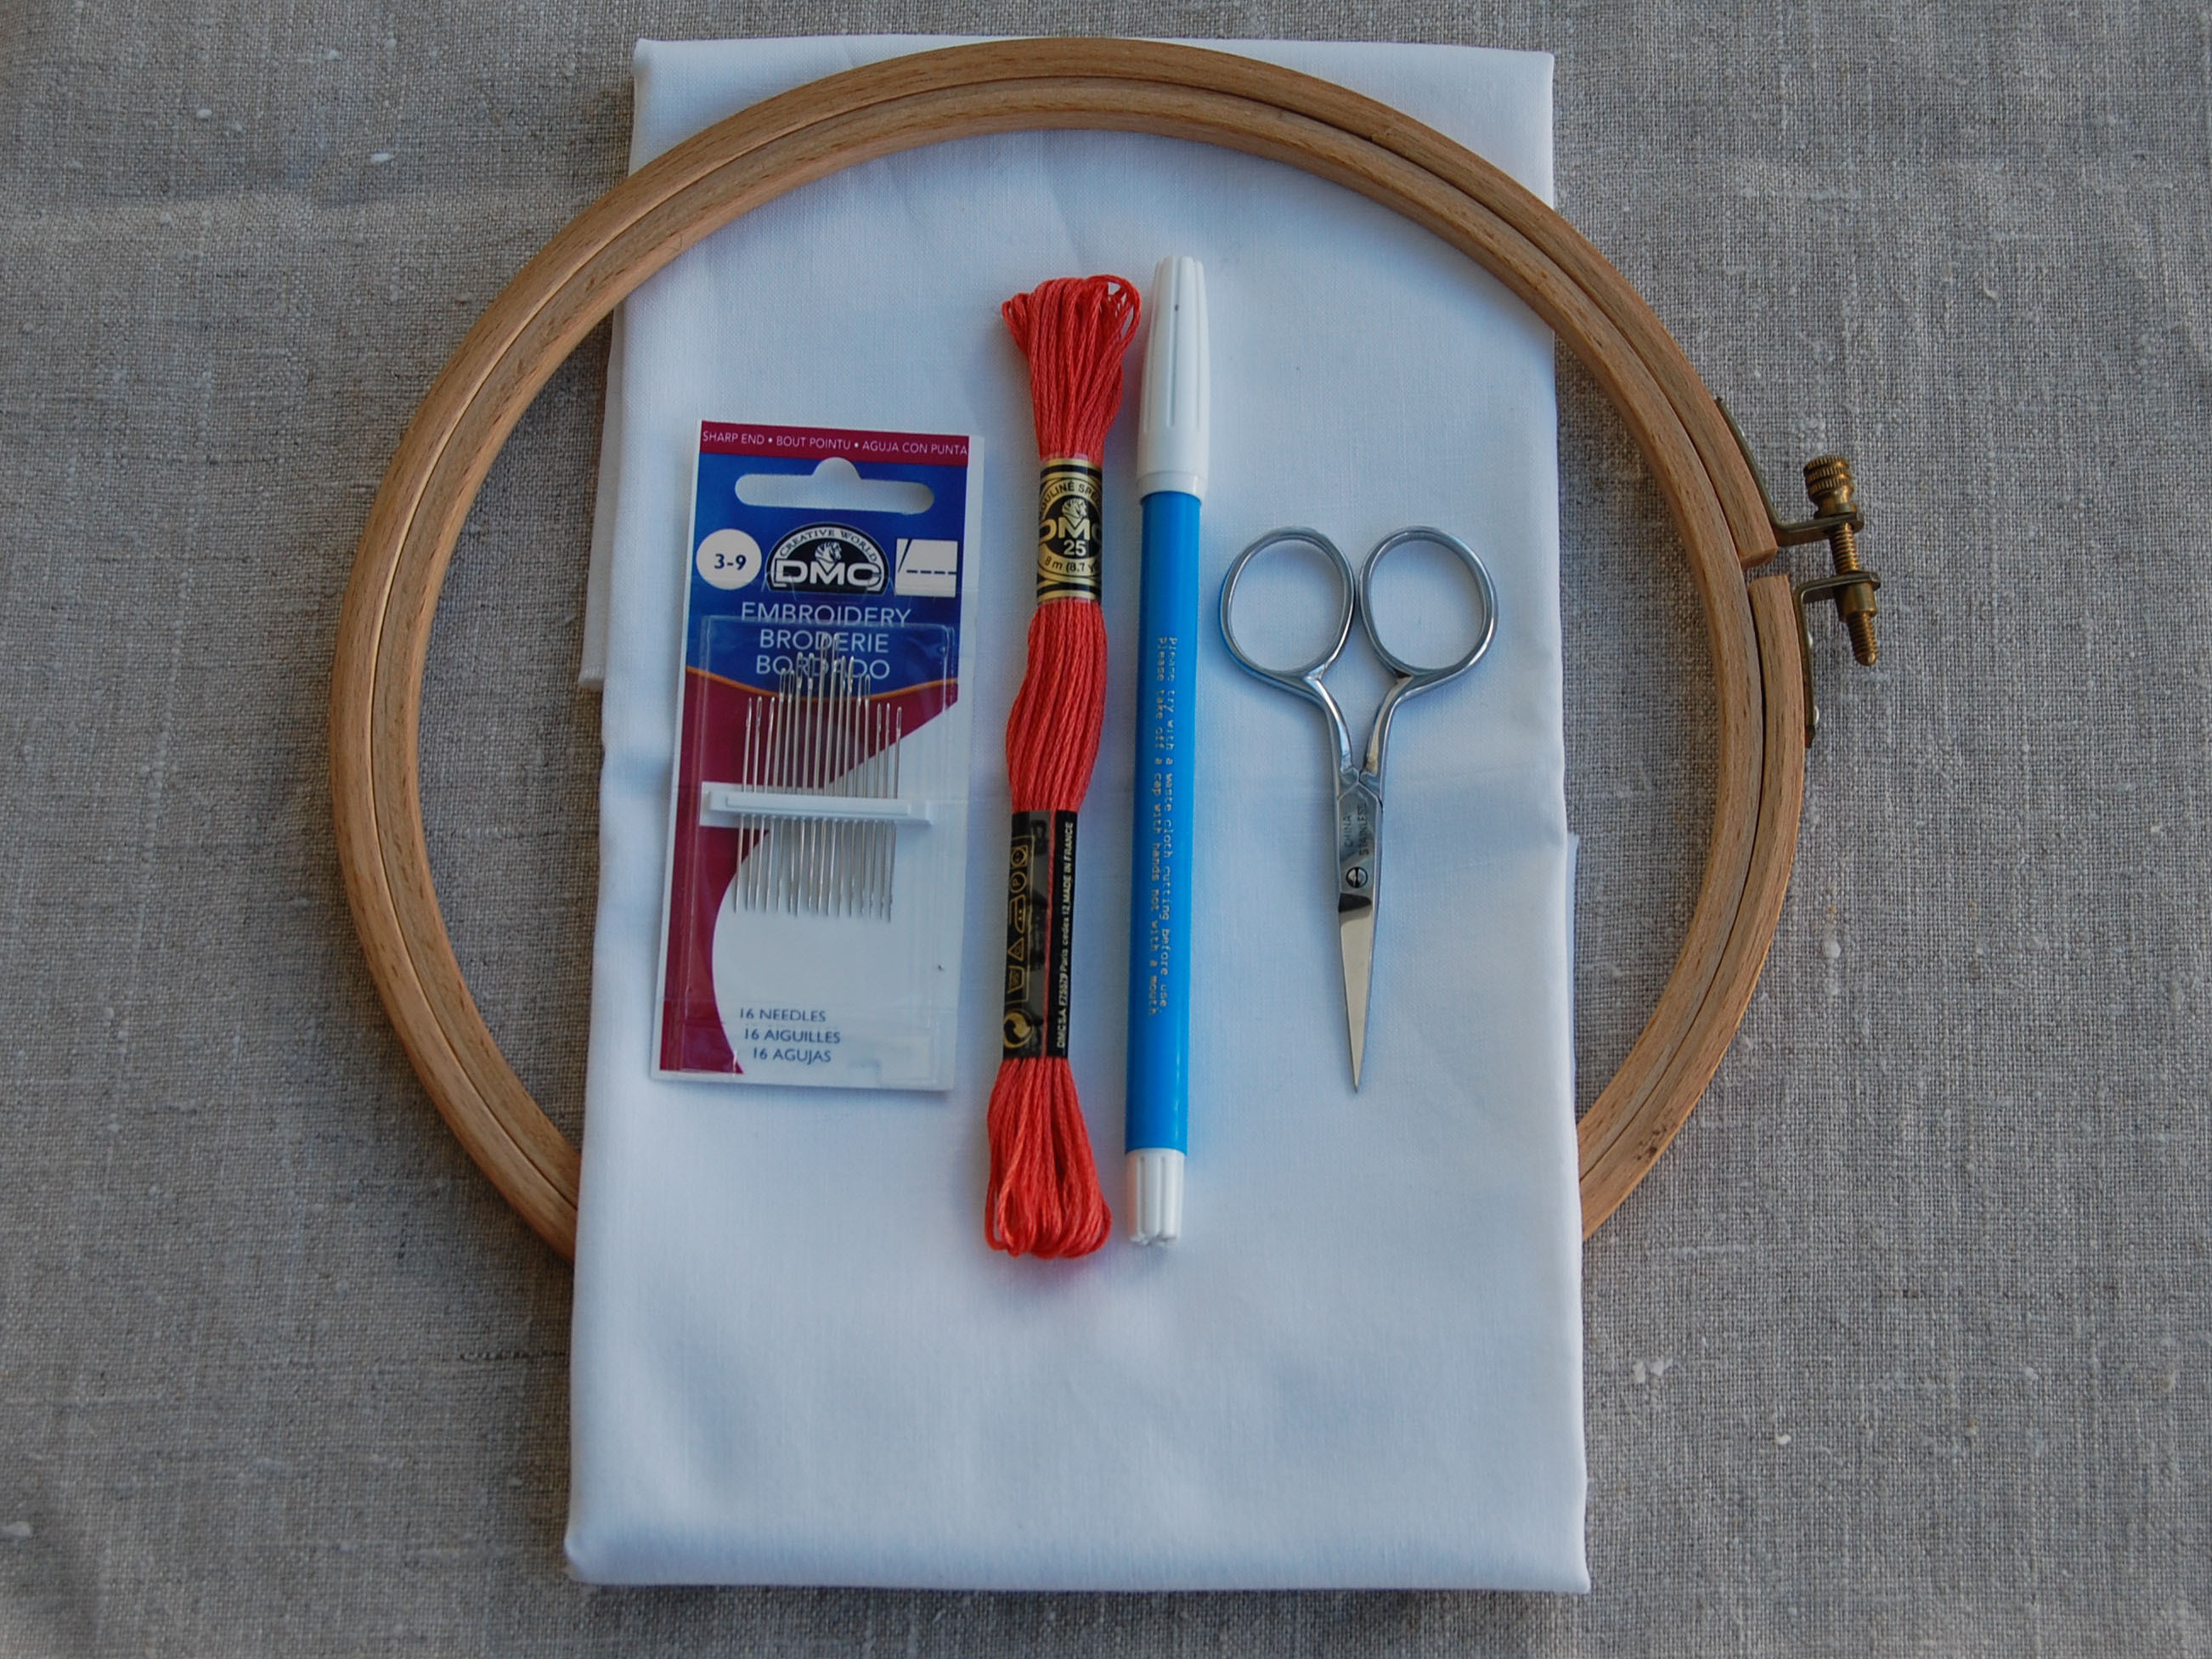
Embroidery is very easy. All you need is a needle, floss, an embroidery hoop, your imagination, and some material. It’s also very portable, so you can do it during your commute, hanging out with your friends, or in front of the TV. If you’re just starting out, your design should be a simple line drawing, or you can use a heat-transferred embroidery design, available for purchase. Gather up all the necessary materials, sit down, get cozy, and start your stitching!

What will the next generation of Make: look like? We’re inviting you to shape the future by investing in Make:. By becoming an investor, you help decide what’s next. The future of Make: is in your hands. Learn More.

Project Steps

Prep the fabric.

Pre-wash the fabric before you start — that way you won’t have to deal with the fabric shrinking and puckering after you’ve done all your fancy needlework.

Your fabric needs to be at least a few inches larger on all sides than the embroidery design, so that you can easily put the embroidery hoop on your fabric. If you’re using a tea towel or an item of clothing, make sure you place your design far enough from the edge so that you can isolate that fabric on the embroidery hoop.

Transfer your design and put the fabric in the hoop.

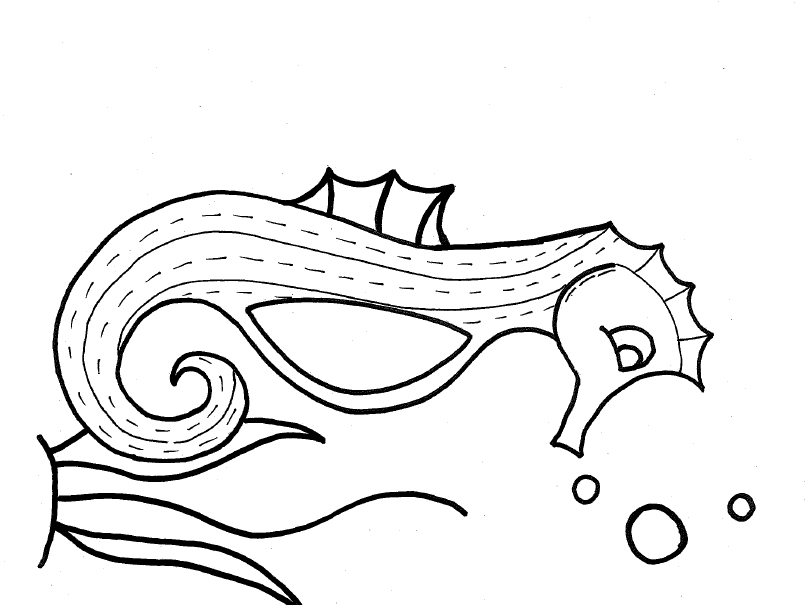
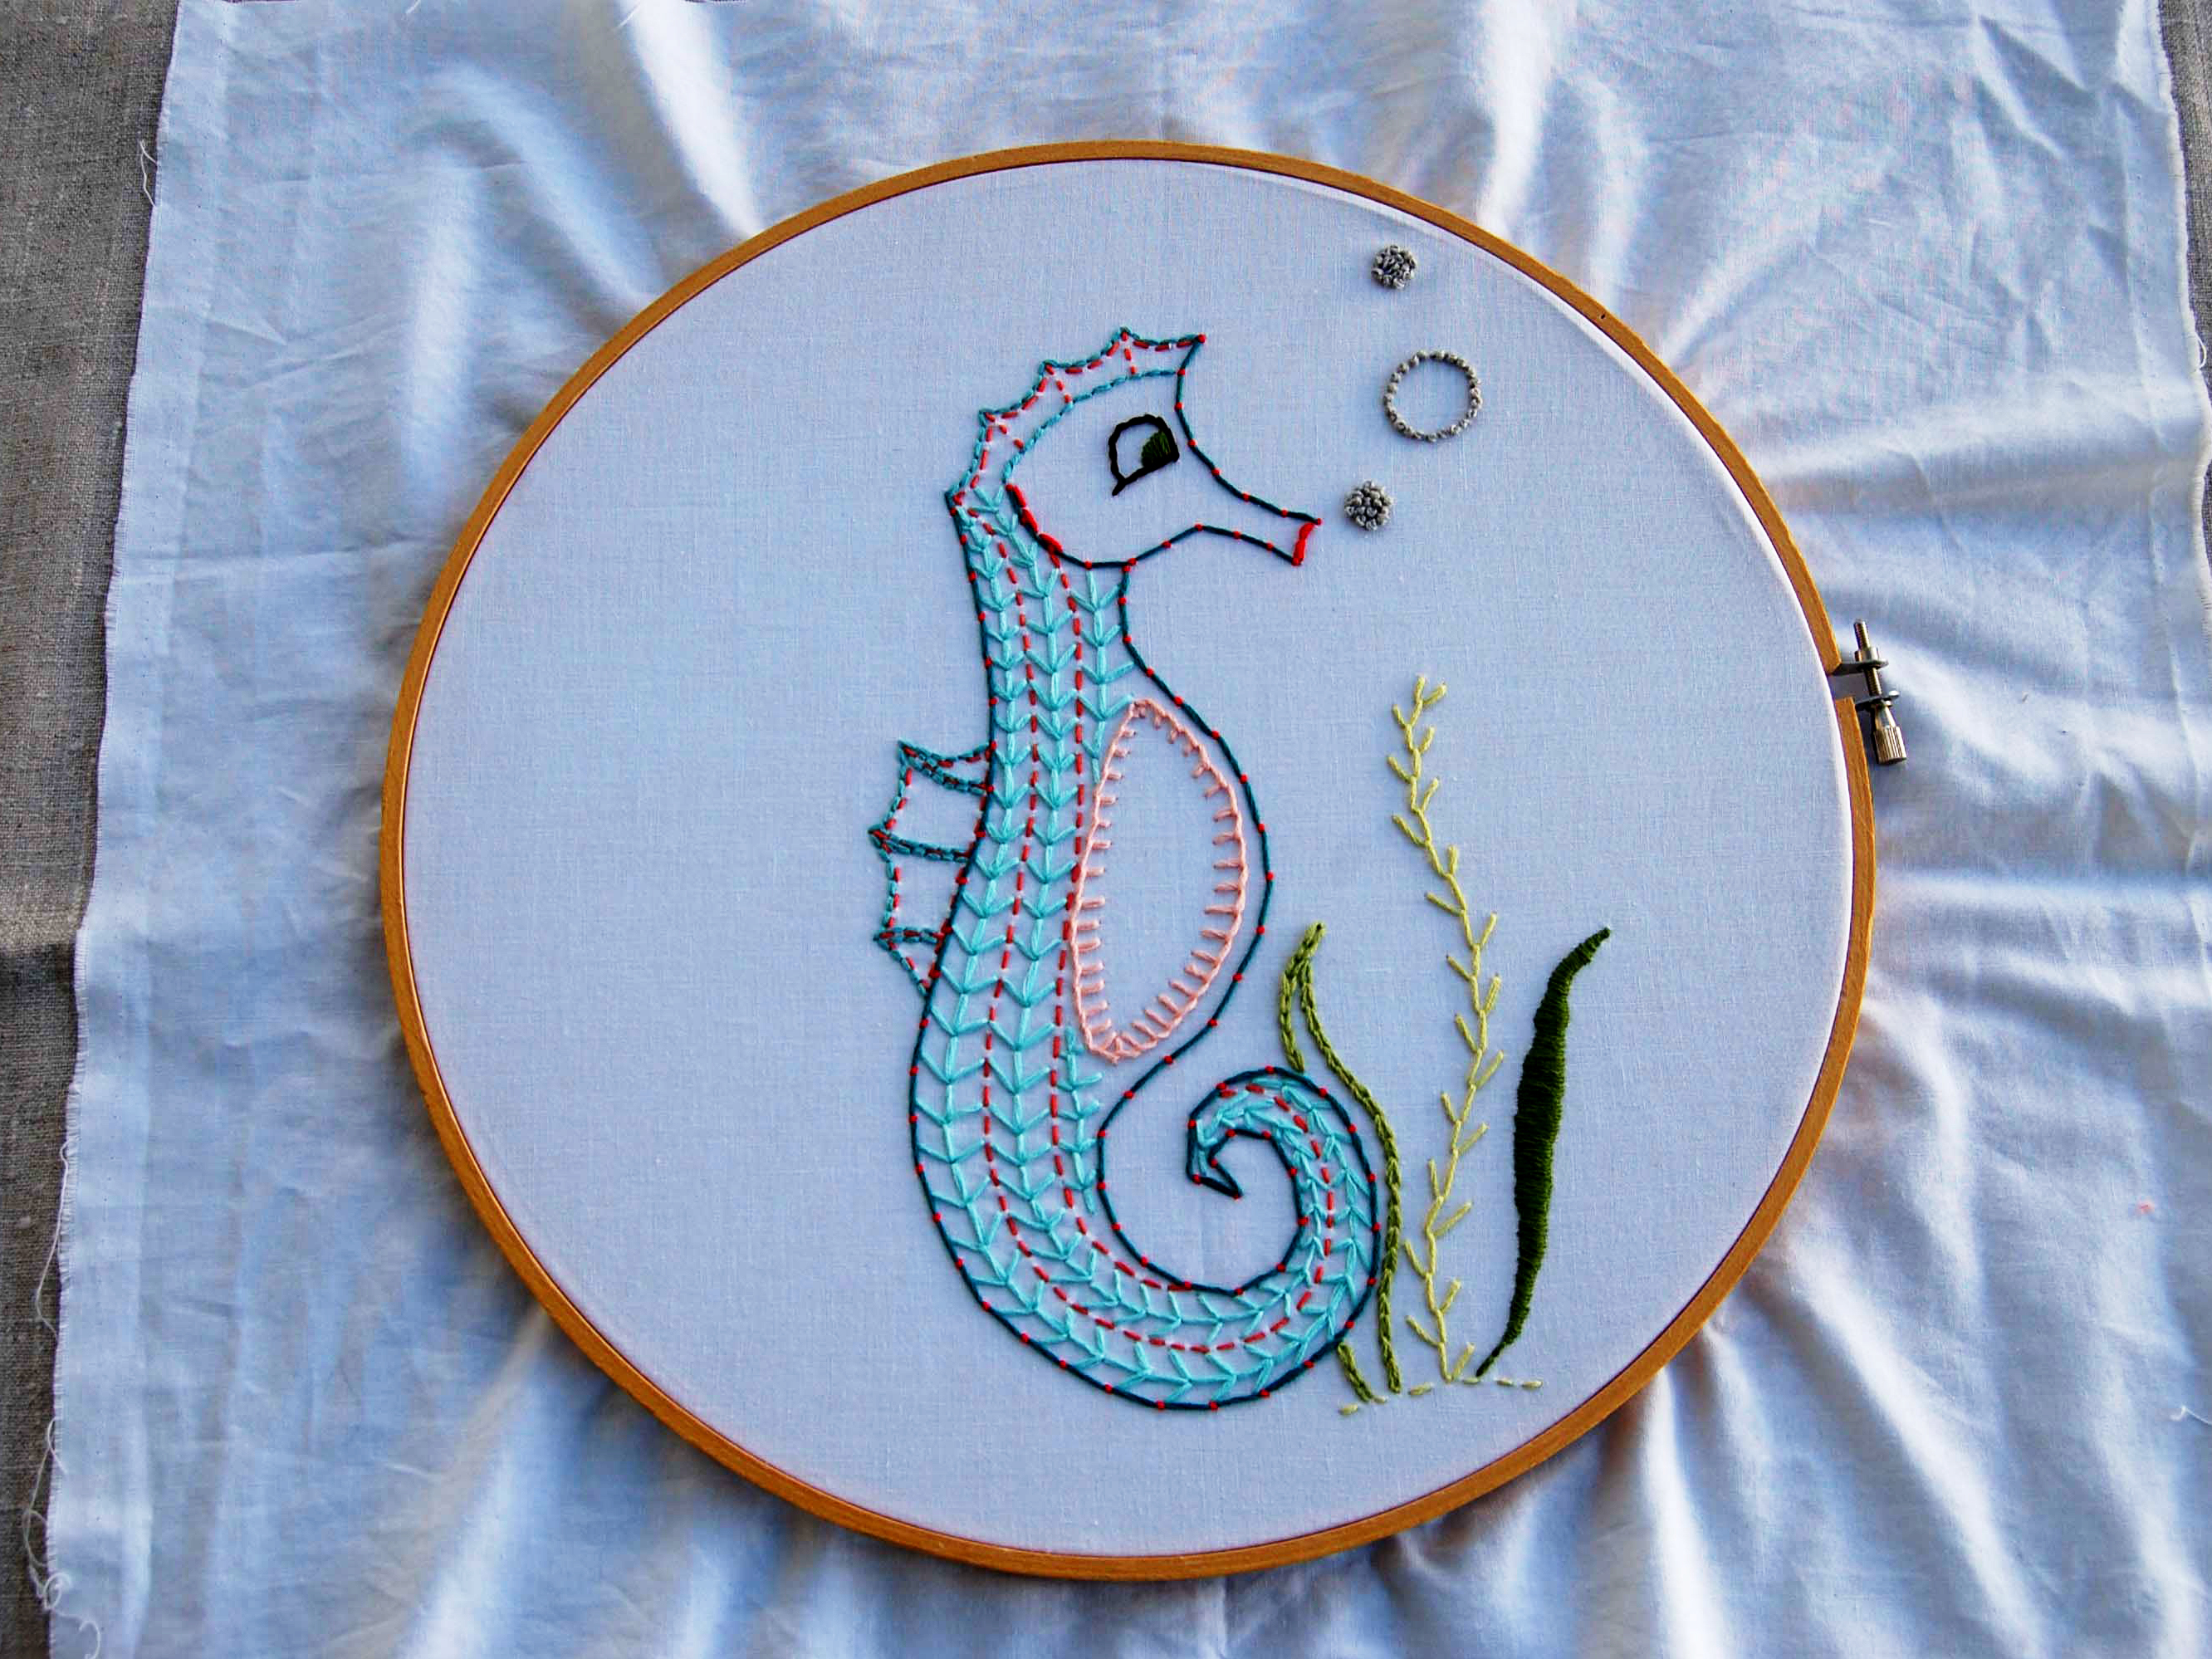
For the seahorse design (available for download under Files), I taped the design with the fabric over it to a bright sunny window, then traced over it with a water-soluble fabric pen. If you’re transferring your design onto darker fabric, you’ll need to get some carbon transfer paper in a light color to trace onto your fabric.

Place the inner embroidery hoop on a flat surface, lay your fabric over the hoop with your design centered, and then place the outer hoop over both inner hoop and fabric. You may need to gently pull the edges of the fabric, after getting the hoop on, to make the fabric taut, like a drum.

Start the stitching.

Cut your floss in lengths 12″–15″. Any longer than that and your stitching arm will get tired from all the pulling and reaching. You’ll also run into more of the dreaded tangling factor with longer pieces of floss.

Thread your needle. You may want to moisten the end of the floss a bit with your mouth, to help keep all the strands together. Pull about 3″–4″ through the eye of the needle; this gives you something to grip onto, so your needle doesn’t come unthreaded. Then knot the other end of the floss.

Some embroidery purists insist on not using any knots when starting and stopping their stitches — they think it can look sloppy and cause excess bulkiness on the back of their work. I say knot away in the beginning, and then if you want to go the purist route later when you’re a pro stitcher, you can.

Go over your design with the stitches of your choice (see the list of stitches, below), making sure to cover as much of the traced lines as possible. If you’re using a heat-transferred pattern, this is really important, as the ink doesn’t always wash out.

Clean up.

Once you’ve finished stitching your design, some of your pen marks may still show. You can spray your fabric lightly with water (while it’s still in the hoop) and those water-soluble pen marks will disappear. Let it dry in the hoop. Once dry, remove your work from the hoop and press with an iron on a terry cloth towel, with your design facedown on the towel. You don’t want to flatten all your fancy stitching. That’s it — so easy!

Stitches.

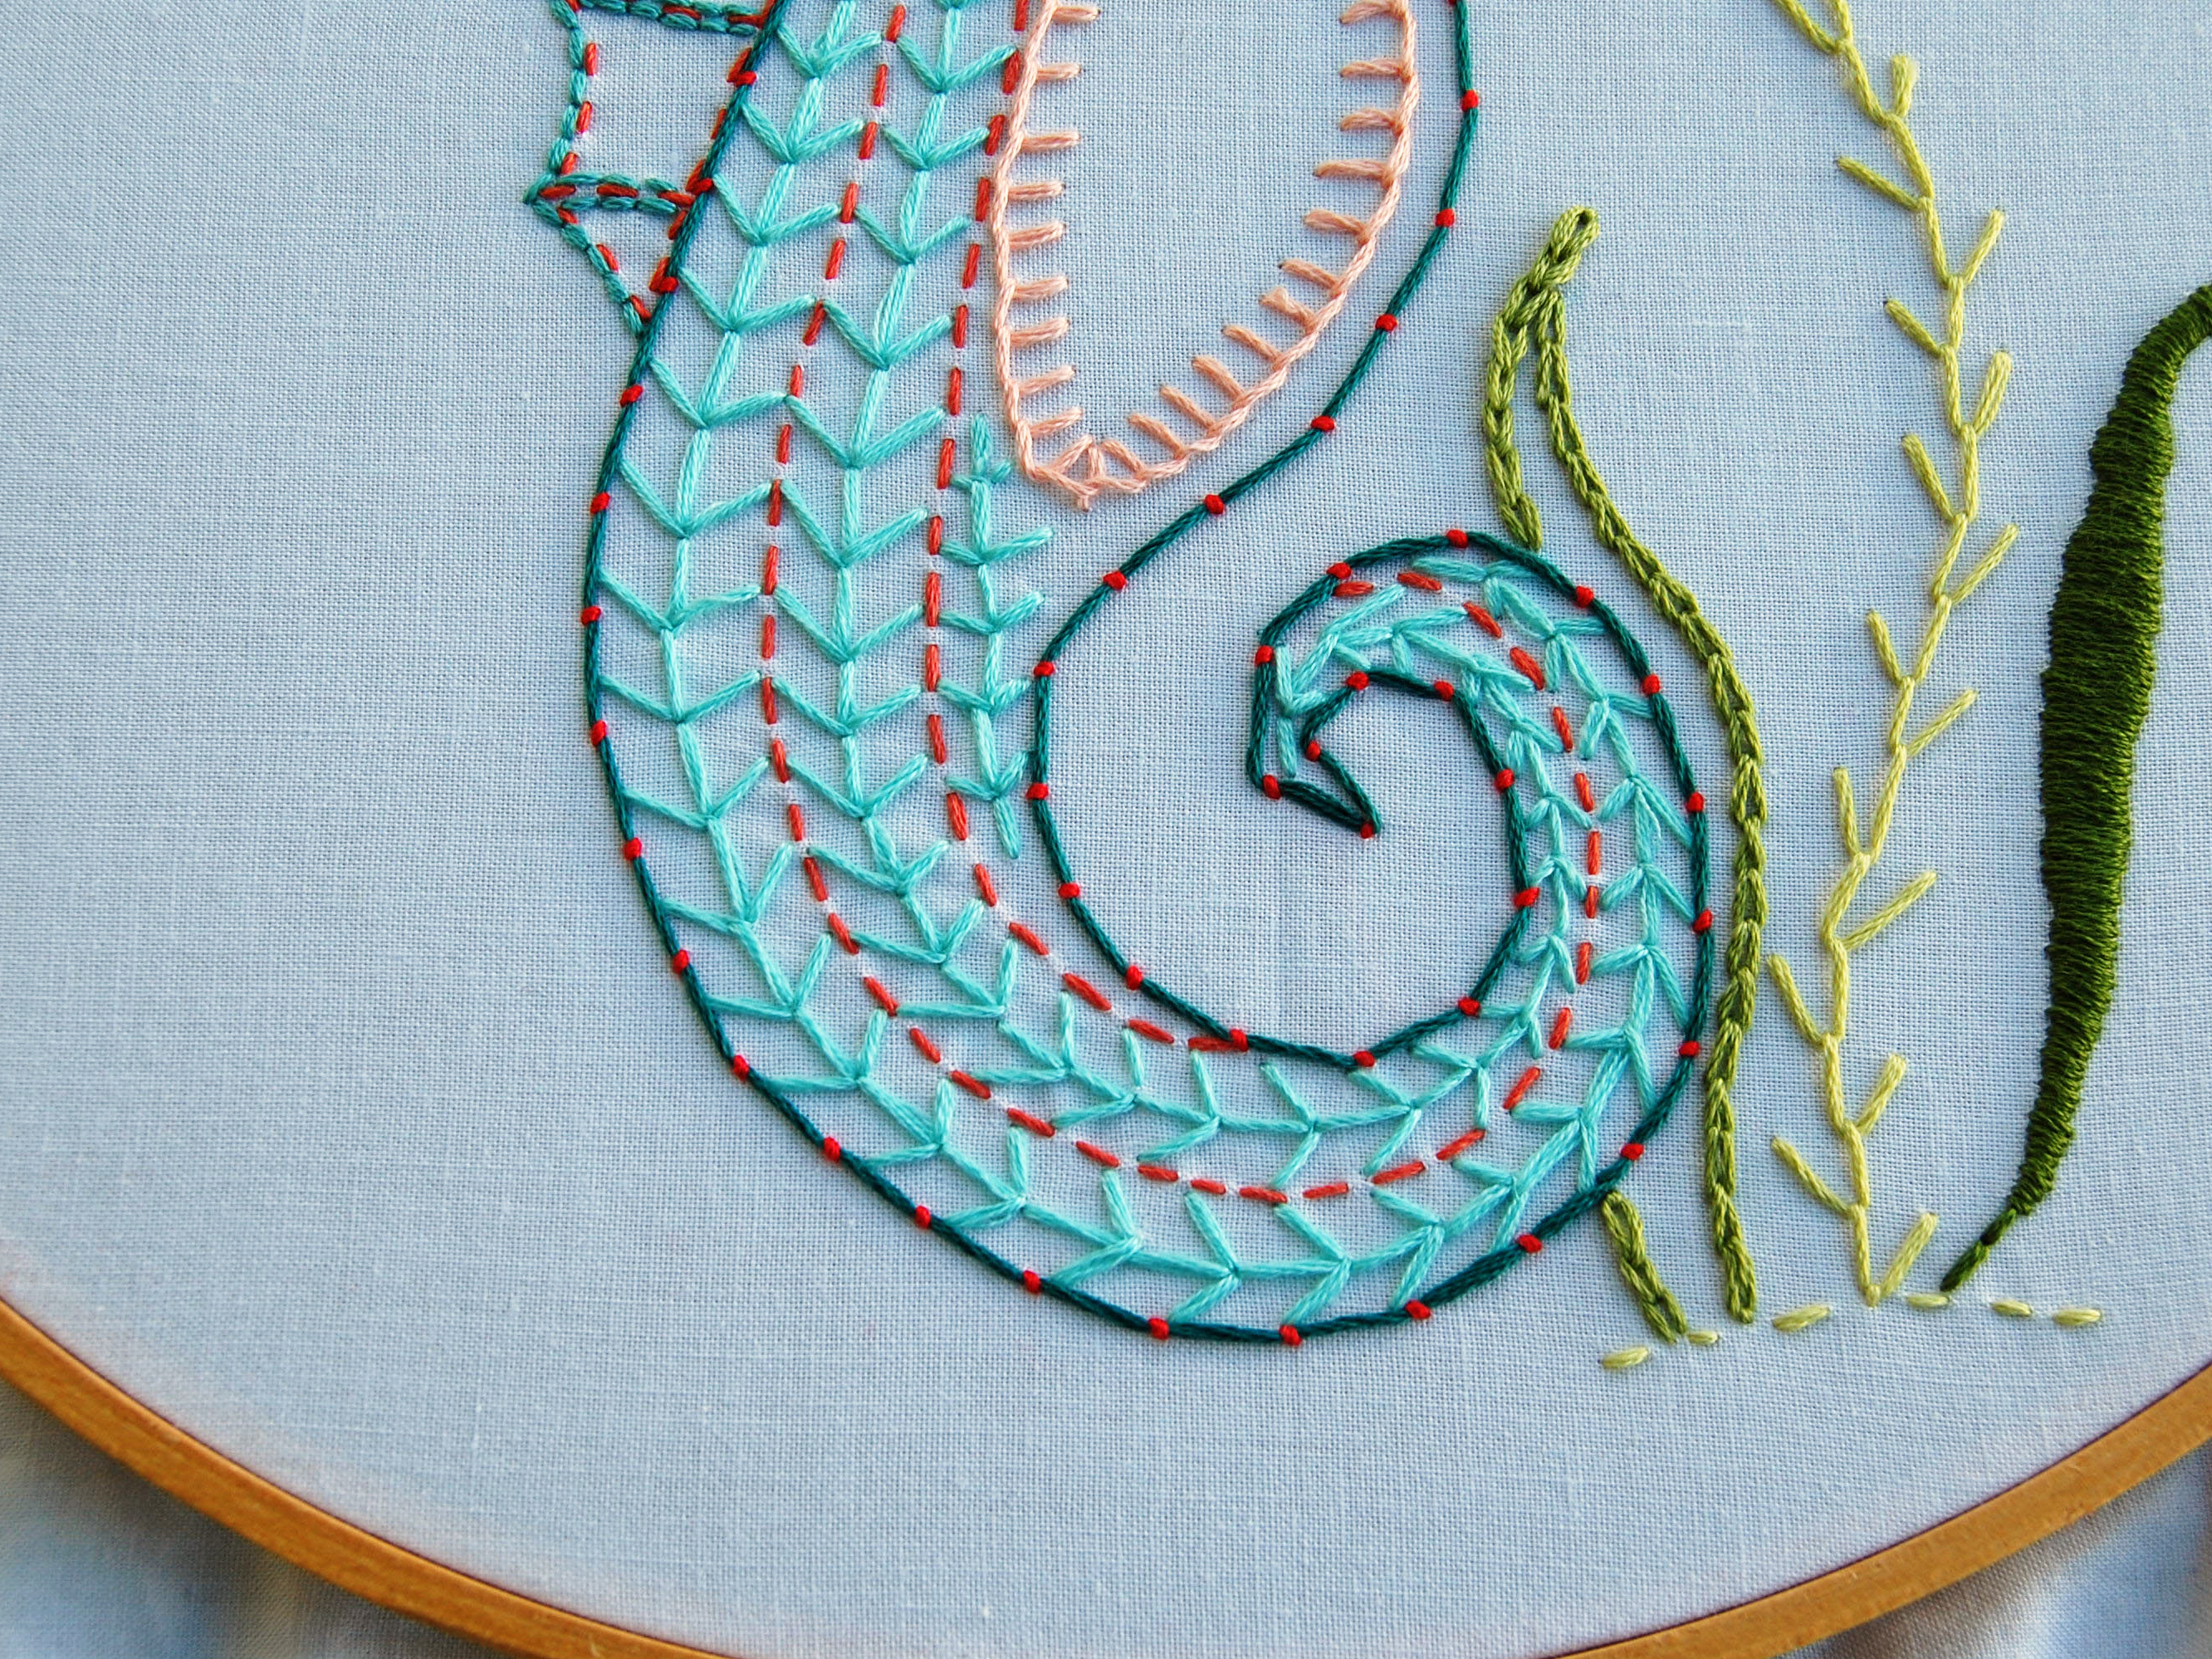
Note: The colors of the stitches on the finished seahorse embroidery correspond with the tutorial images, except for the split stitch.

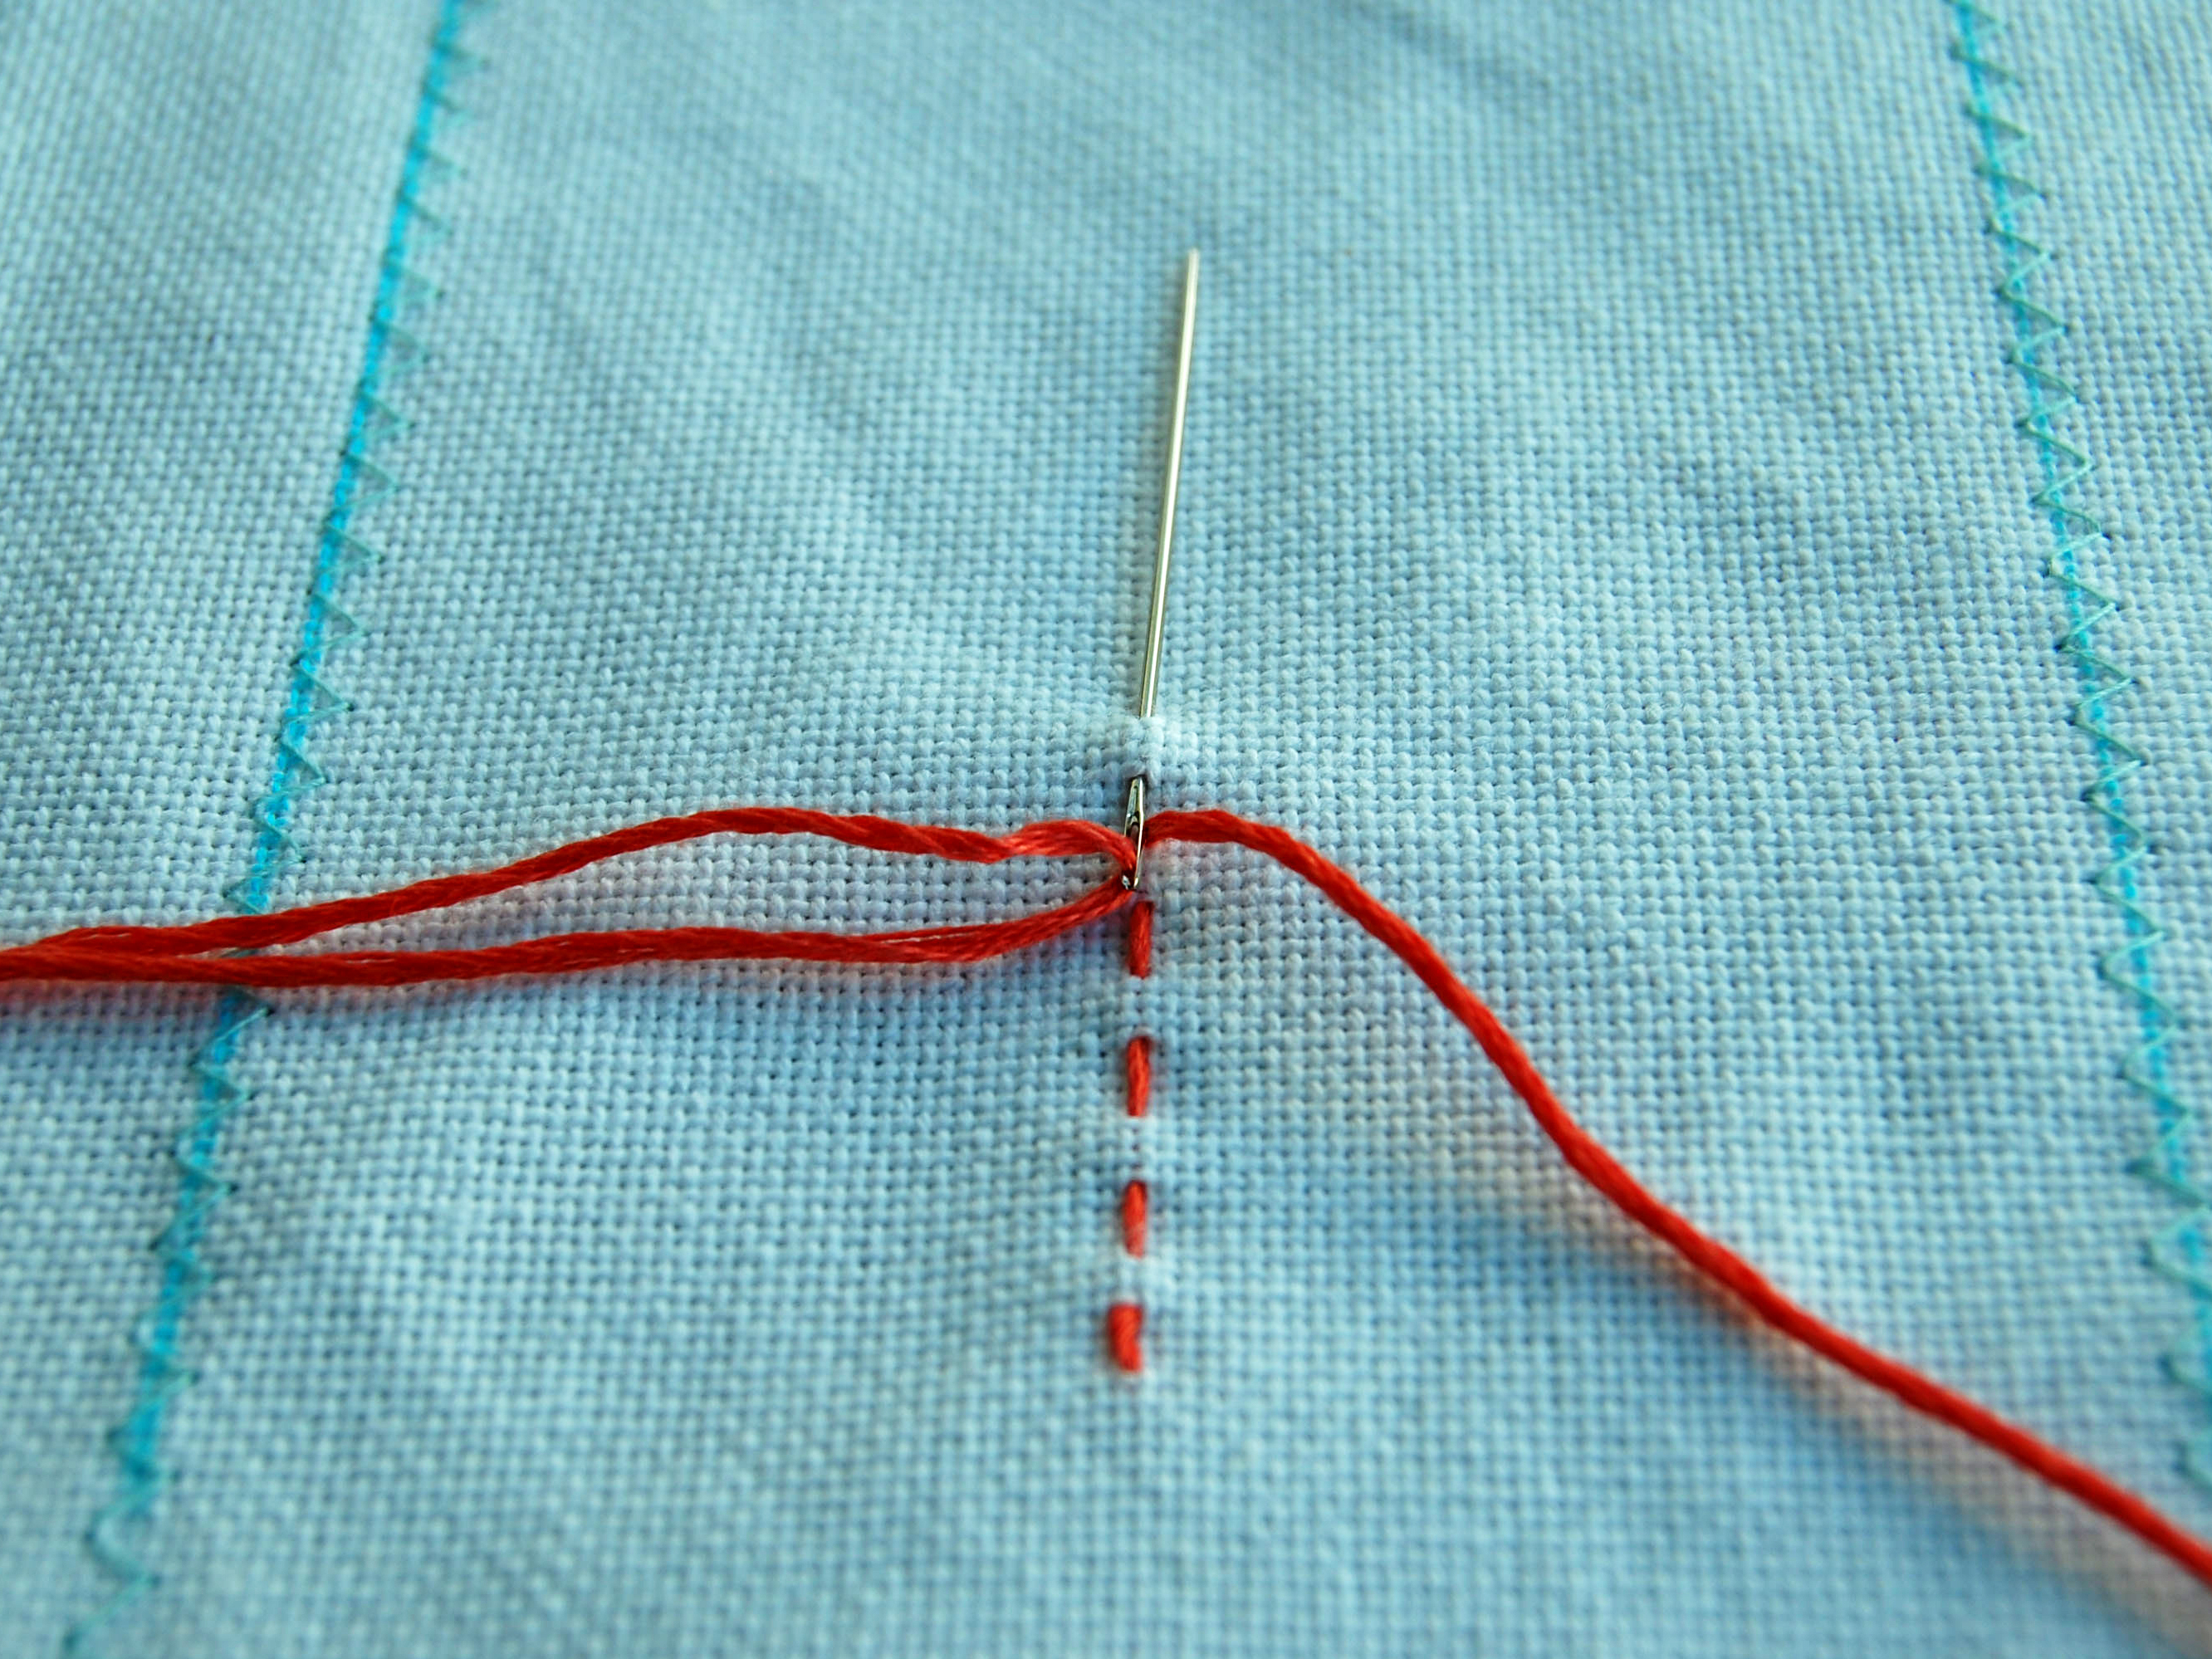
Running stitch (medium coral): One of the most basic stitches, it’s used a lot in hand sewing. Pull your needle over and under the fabric at regular intervals.

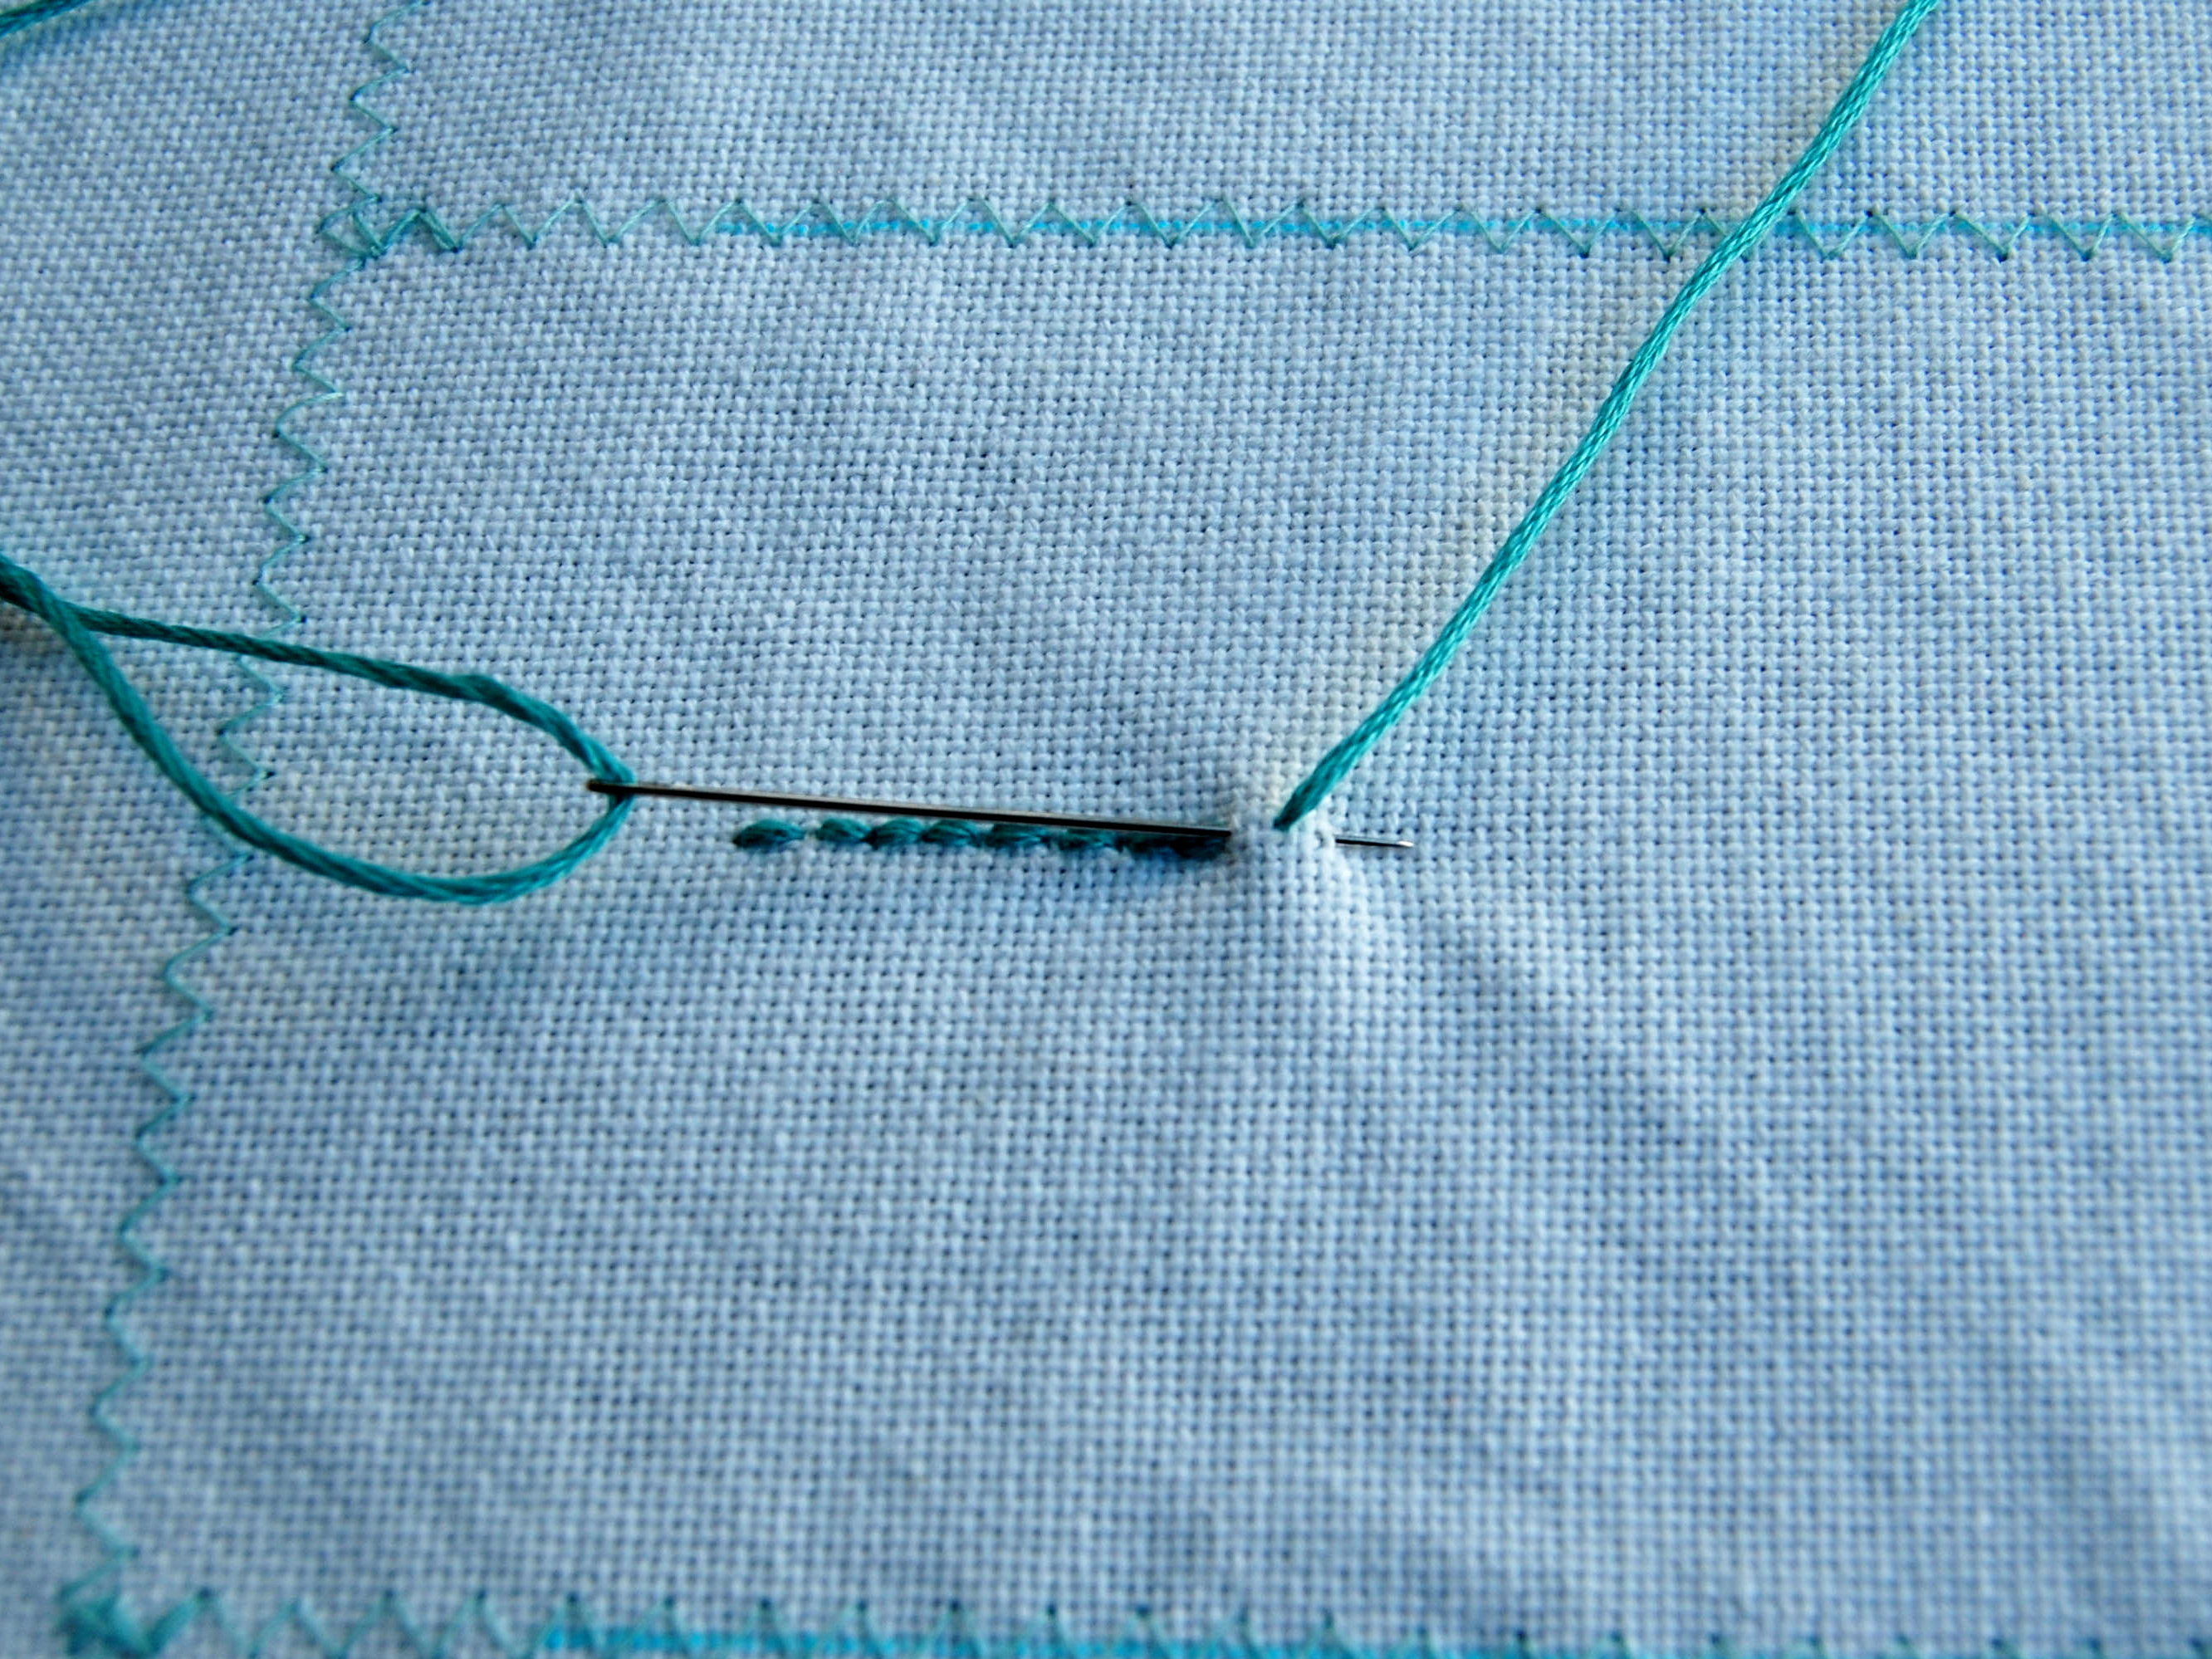
Back stitch (medium turquoise): Another basic stitch you may have learned in hand- sewing. Pull your needle up through the fabric, make a stitch backward, and then bring your needle back up through the fabric in front of the stitch you just made. Continue the backward-and-forward stitching.

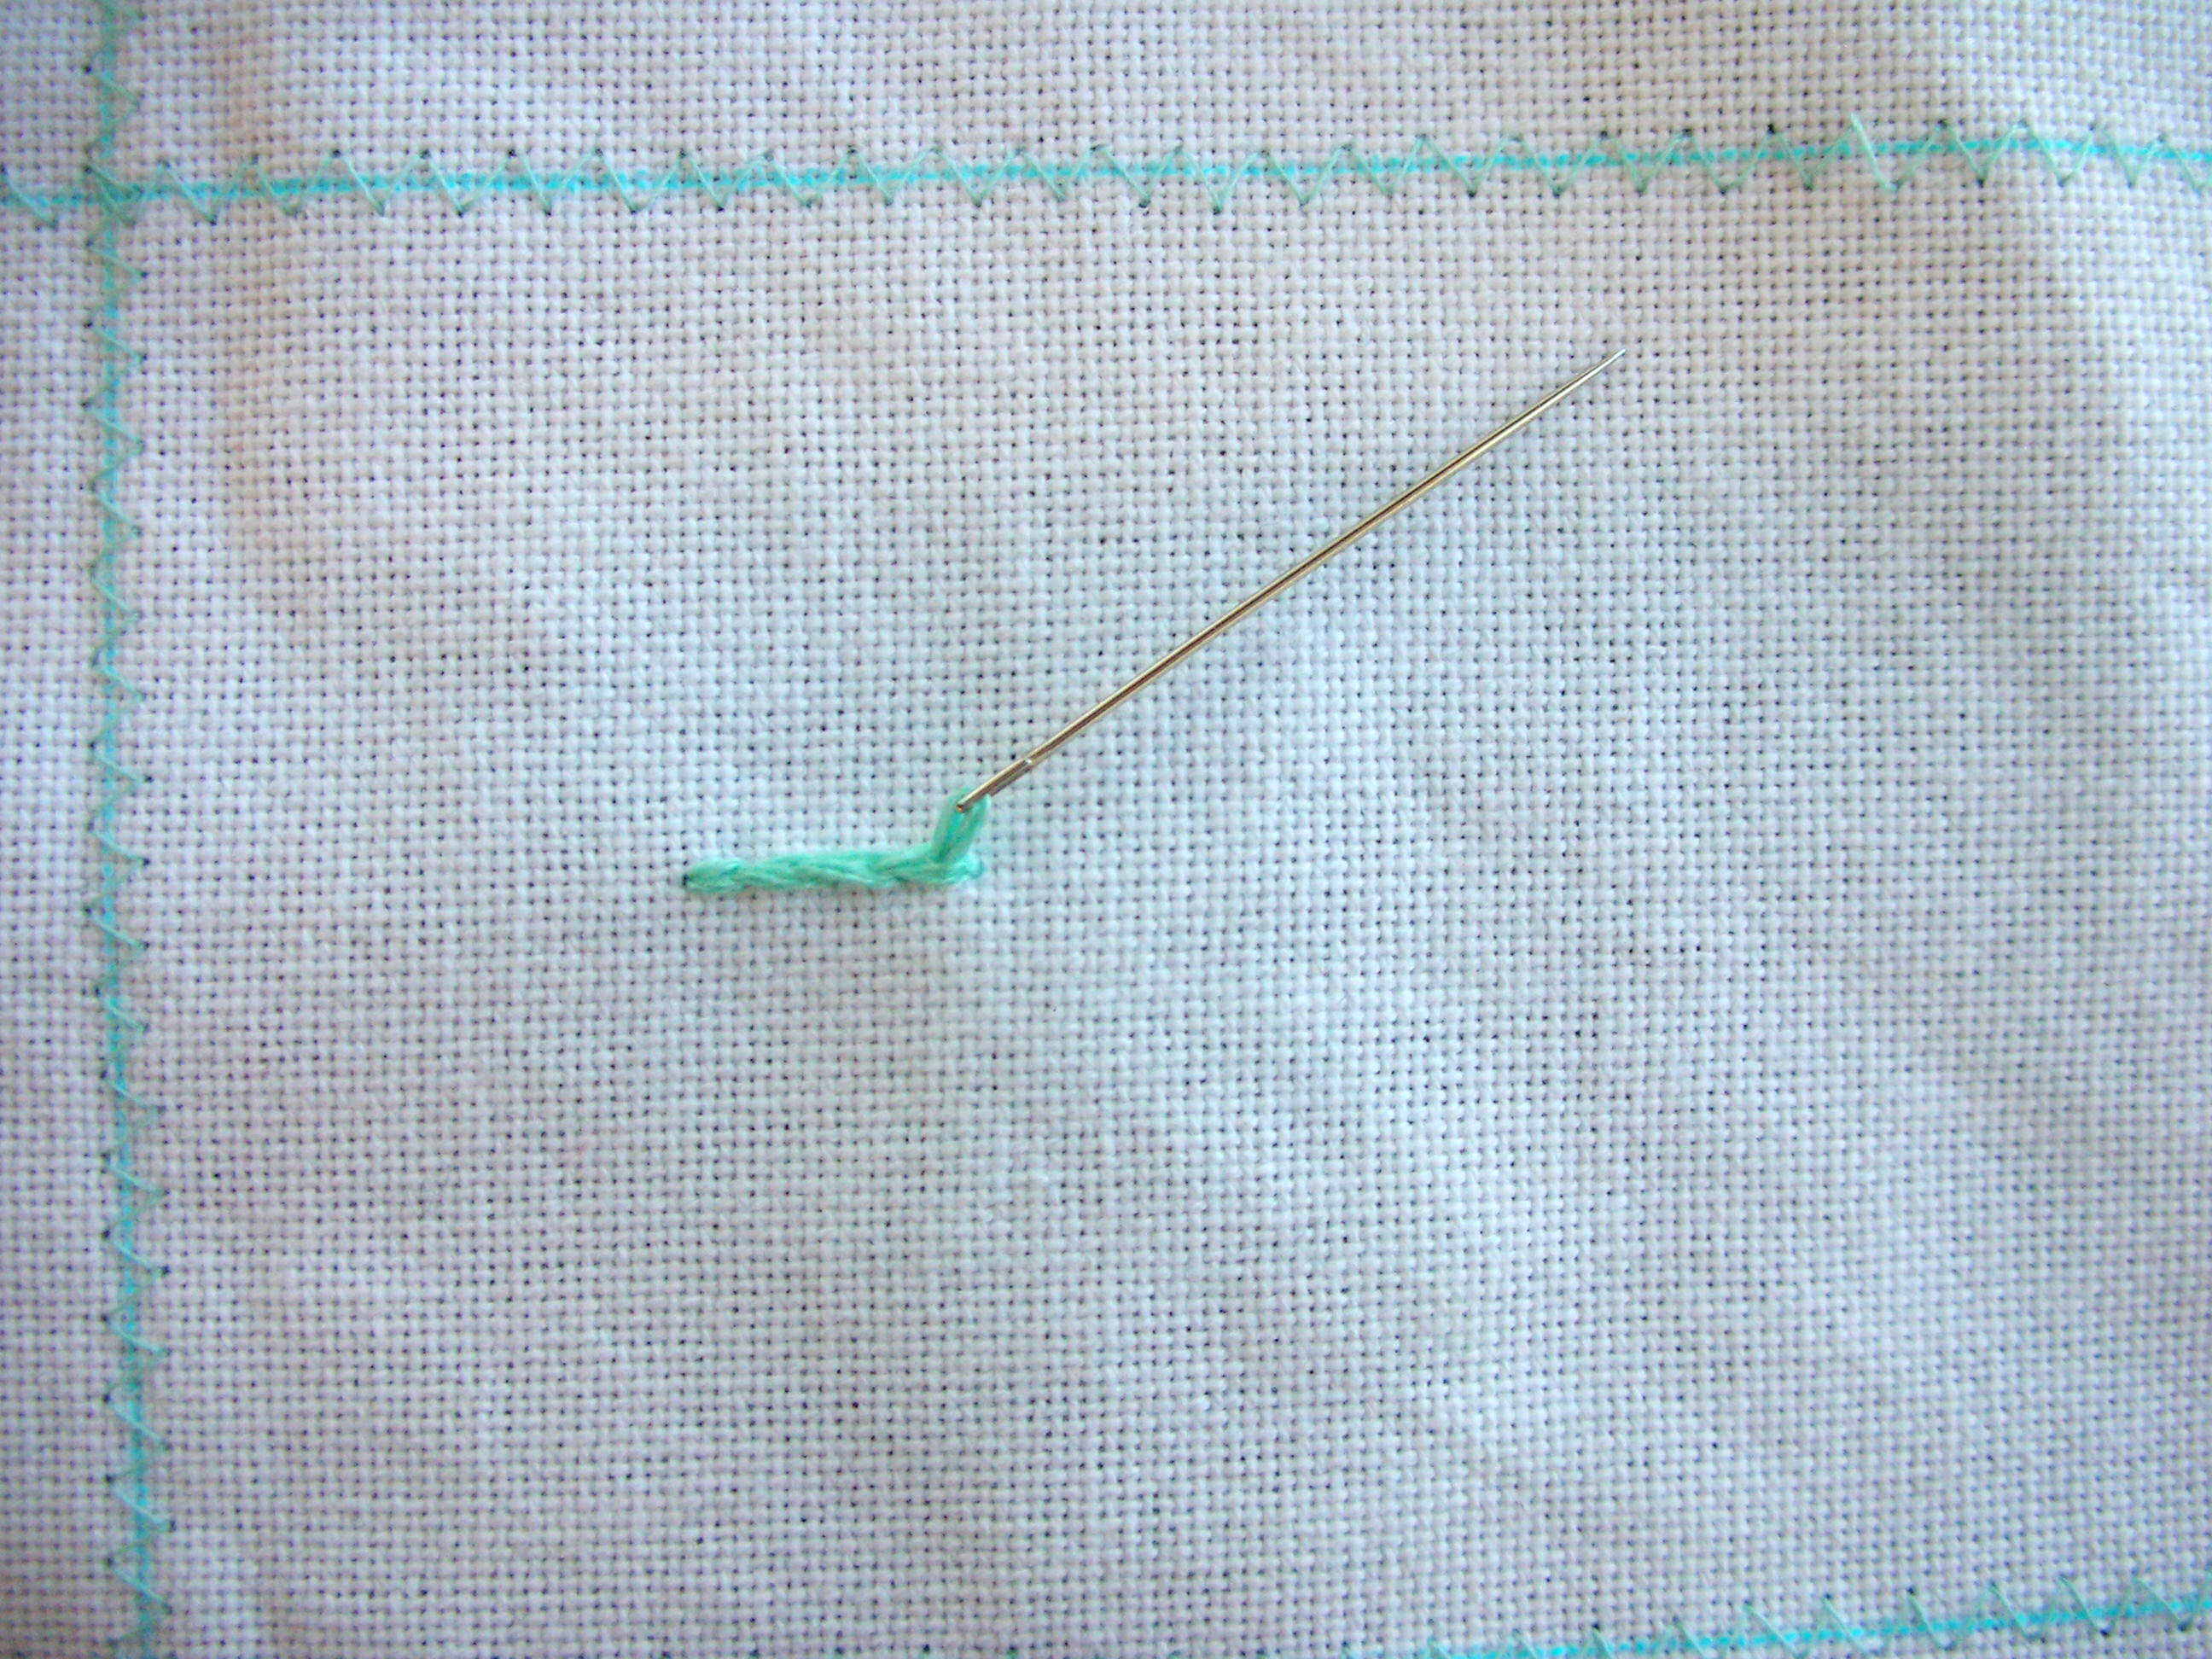
Split stitch (dark brown on seahorse, light turquoise in tutorial): Make a single stitch, then pull your needle up through the middle of the stitch you just made, splitting the strands of the floss.

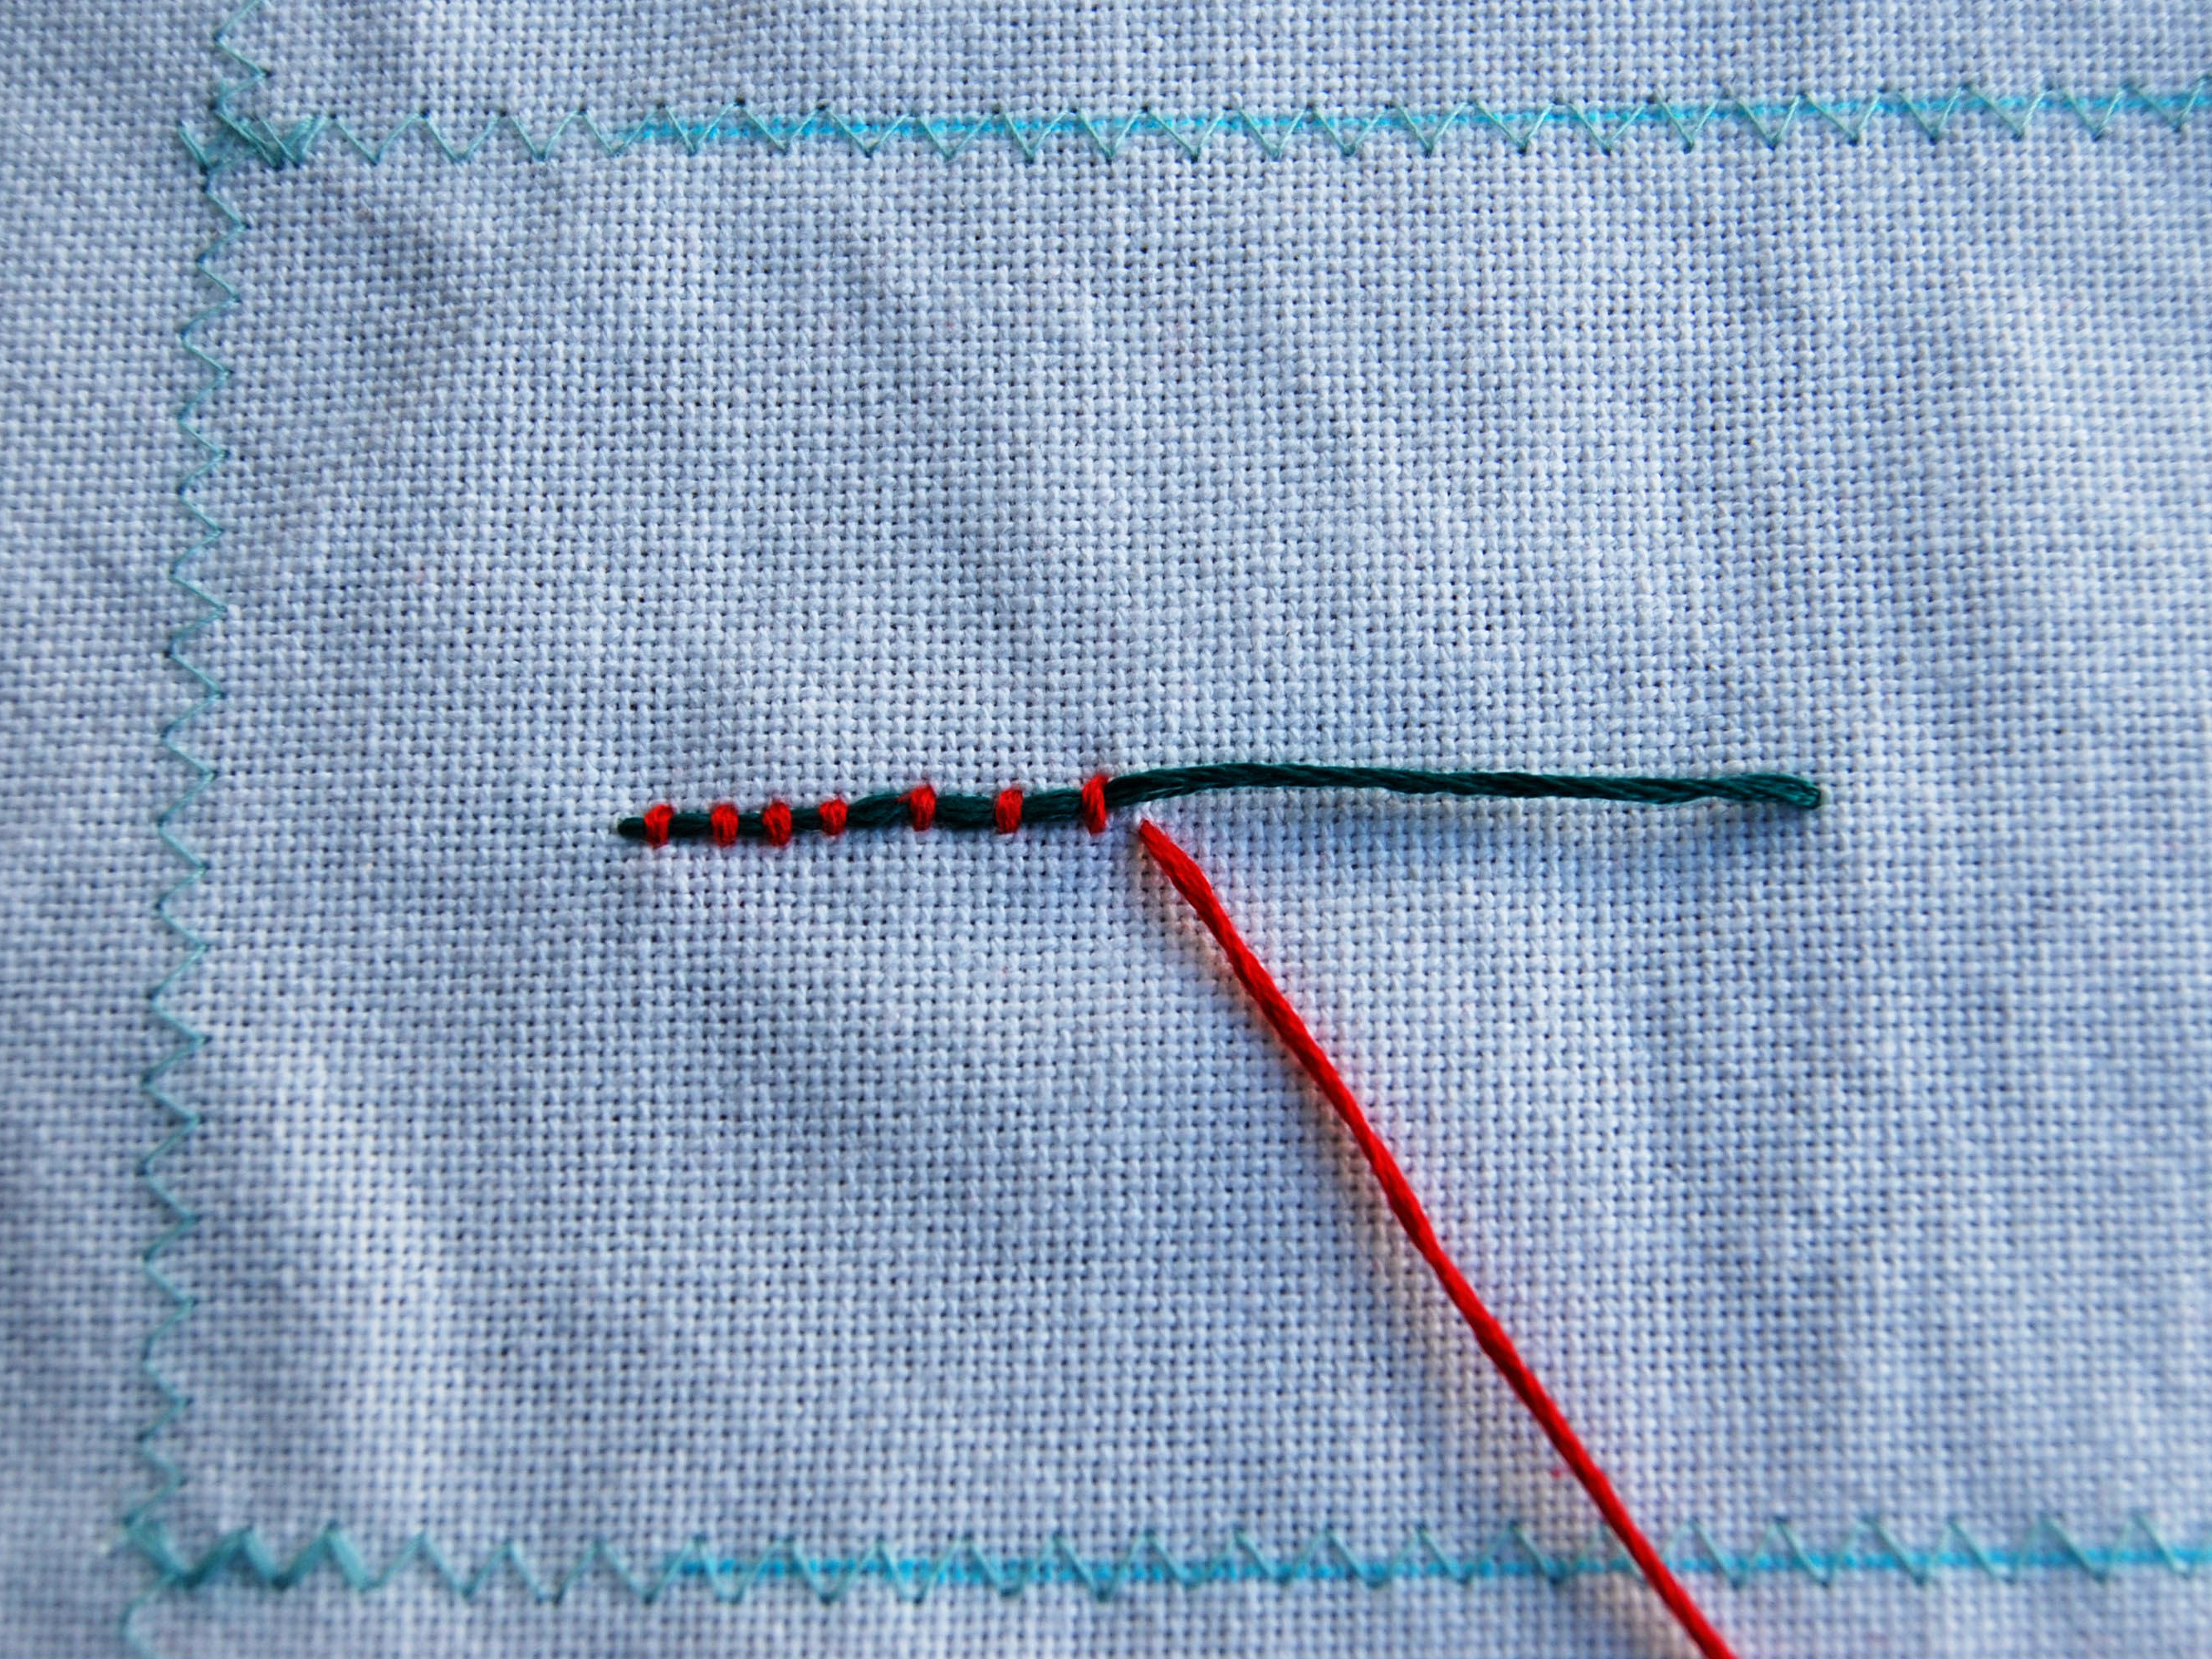
Couching (dark turquoise and dark coral): Place your floss flat along the fabric, then thread a second piece of floss and make small stitches over the floss that’s flat along the fabric.

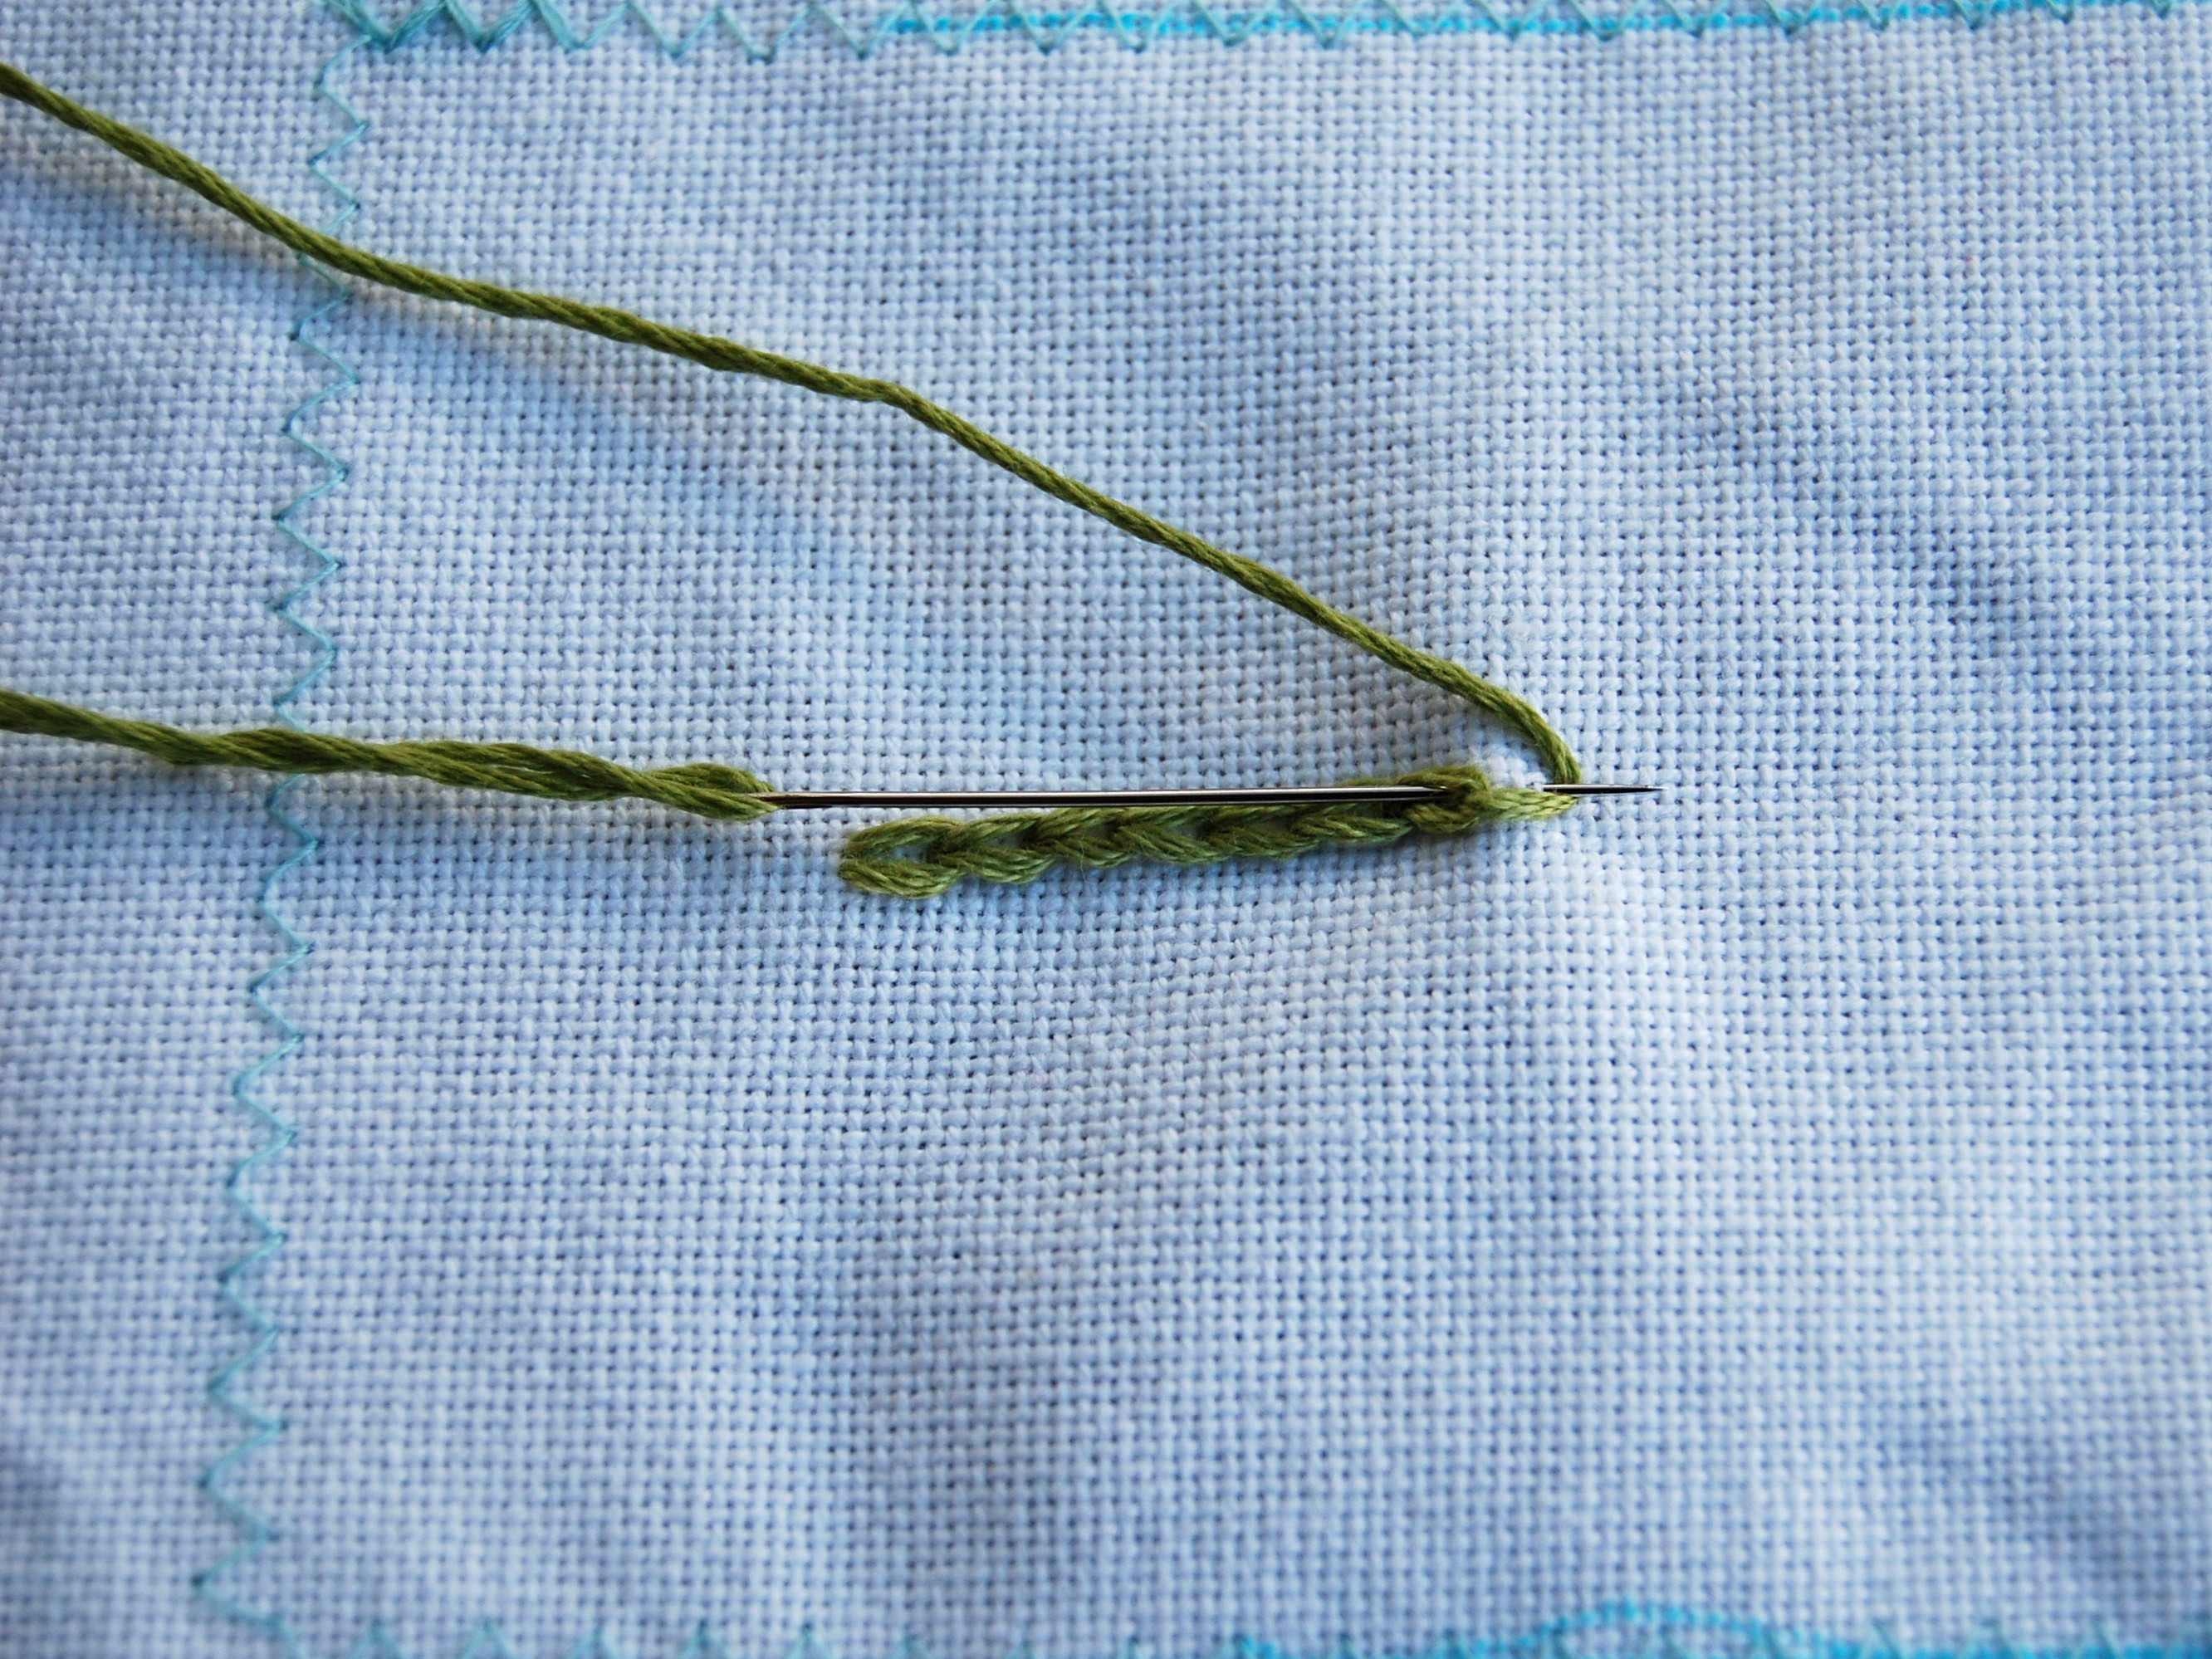
Chain stitch (medium green): Pull your needle up through the fabric, insert it in almost the same place you just pulled it through, making sure to leave a small loop, then bring your needle back up through the inside of the loop you just made.

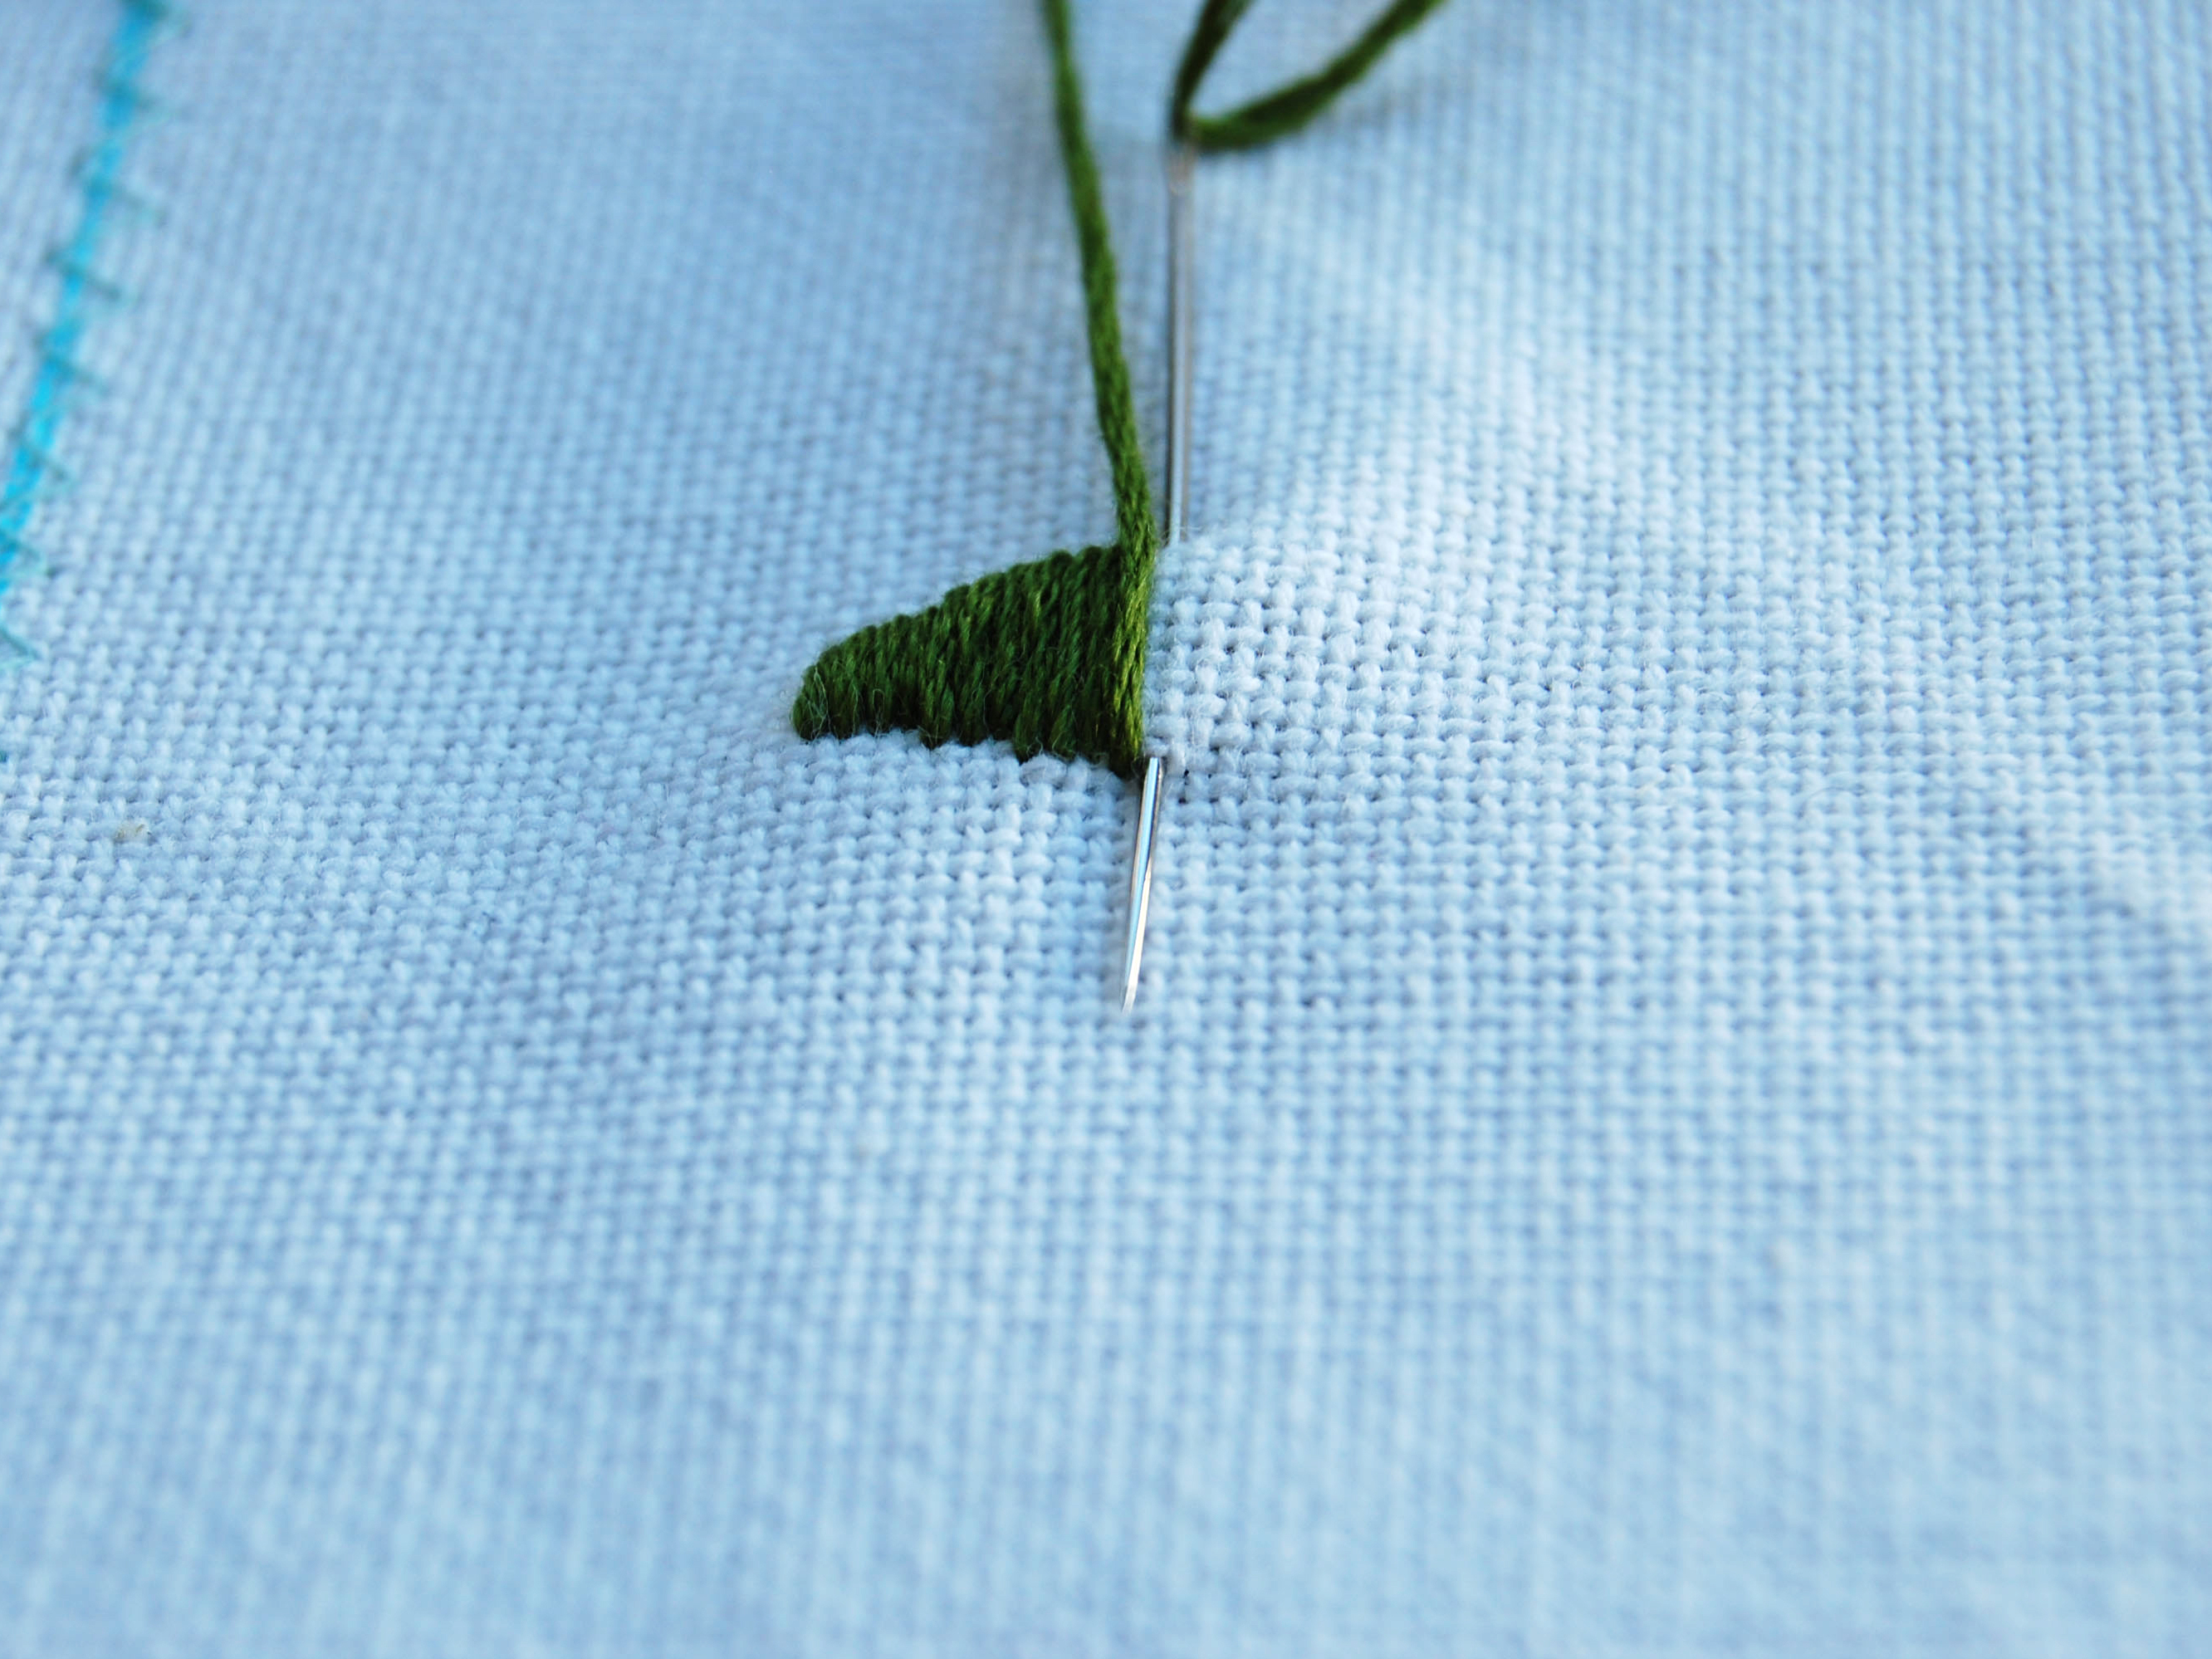
Satin stitch (dark green): This stitch is a series of straight stitches filling in a small area. Stitches are made very close to each other, creating a smooth, filled-in surface.

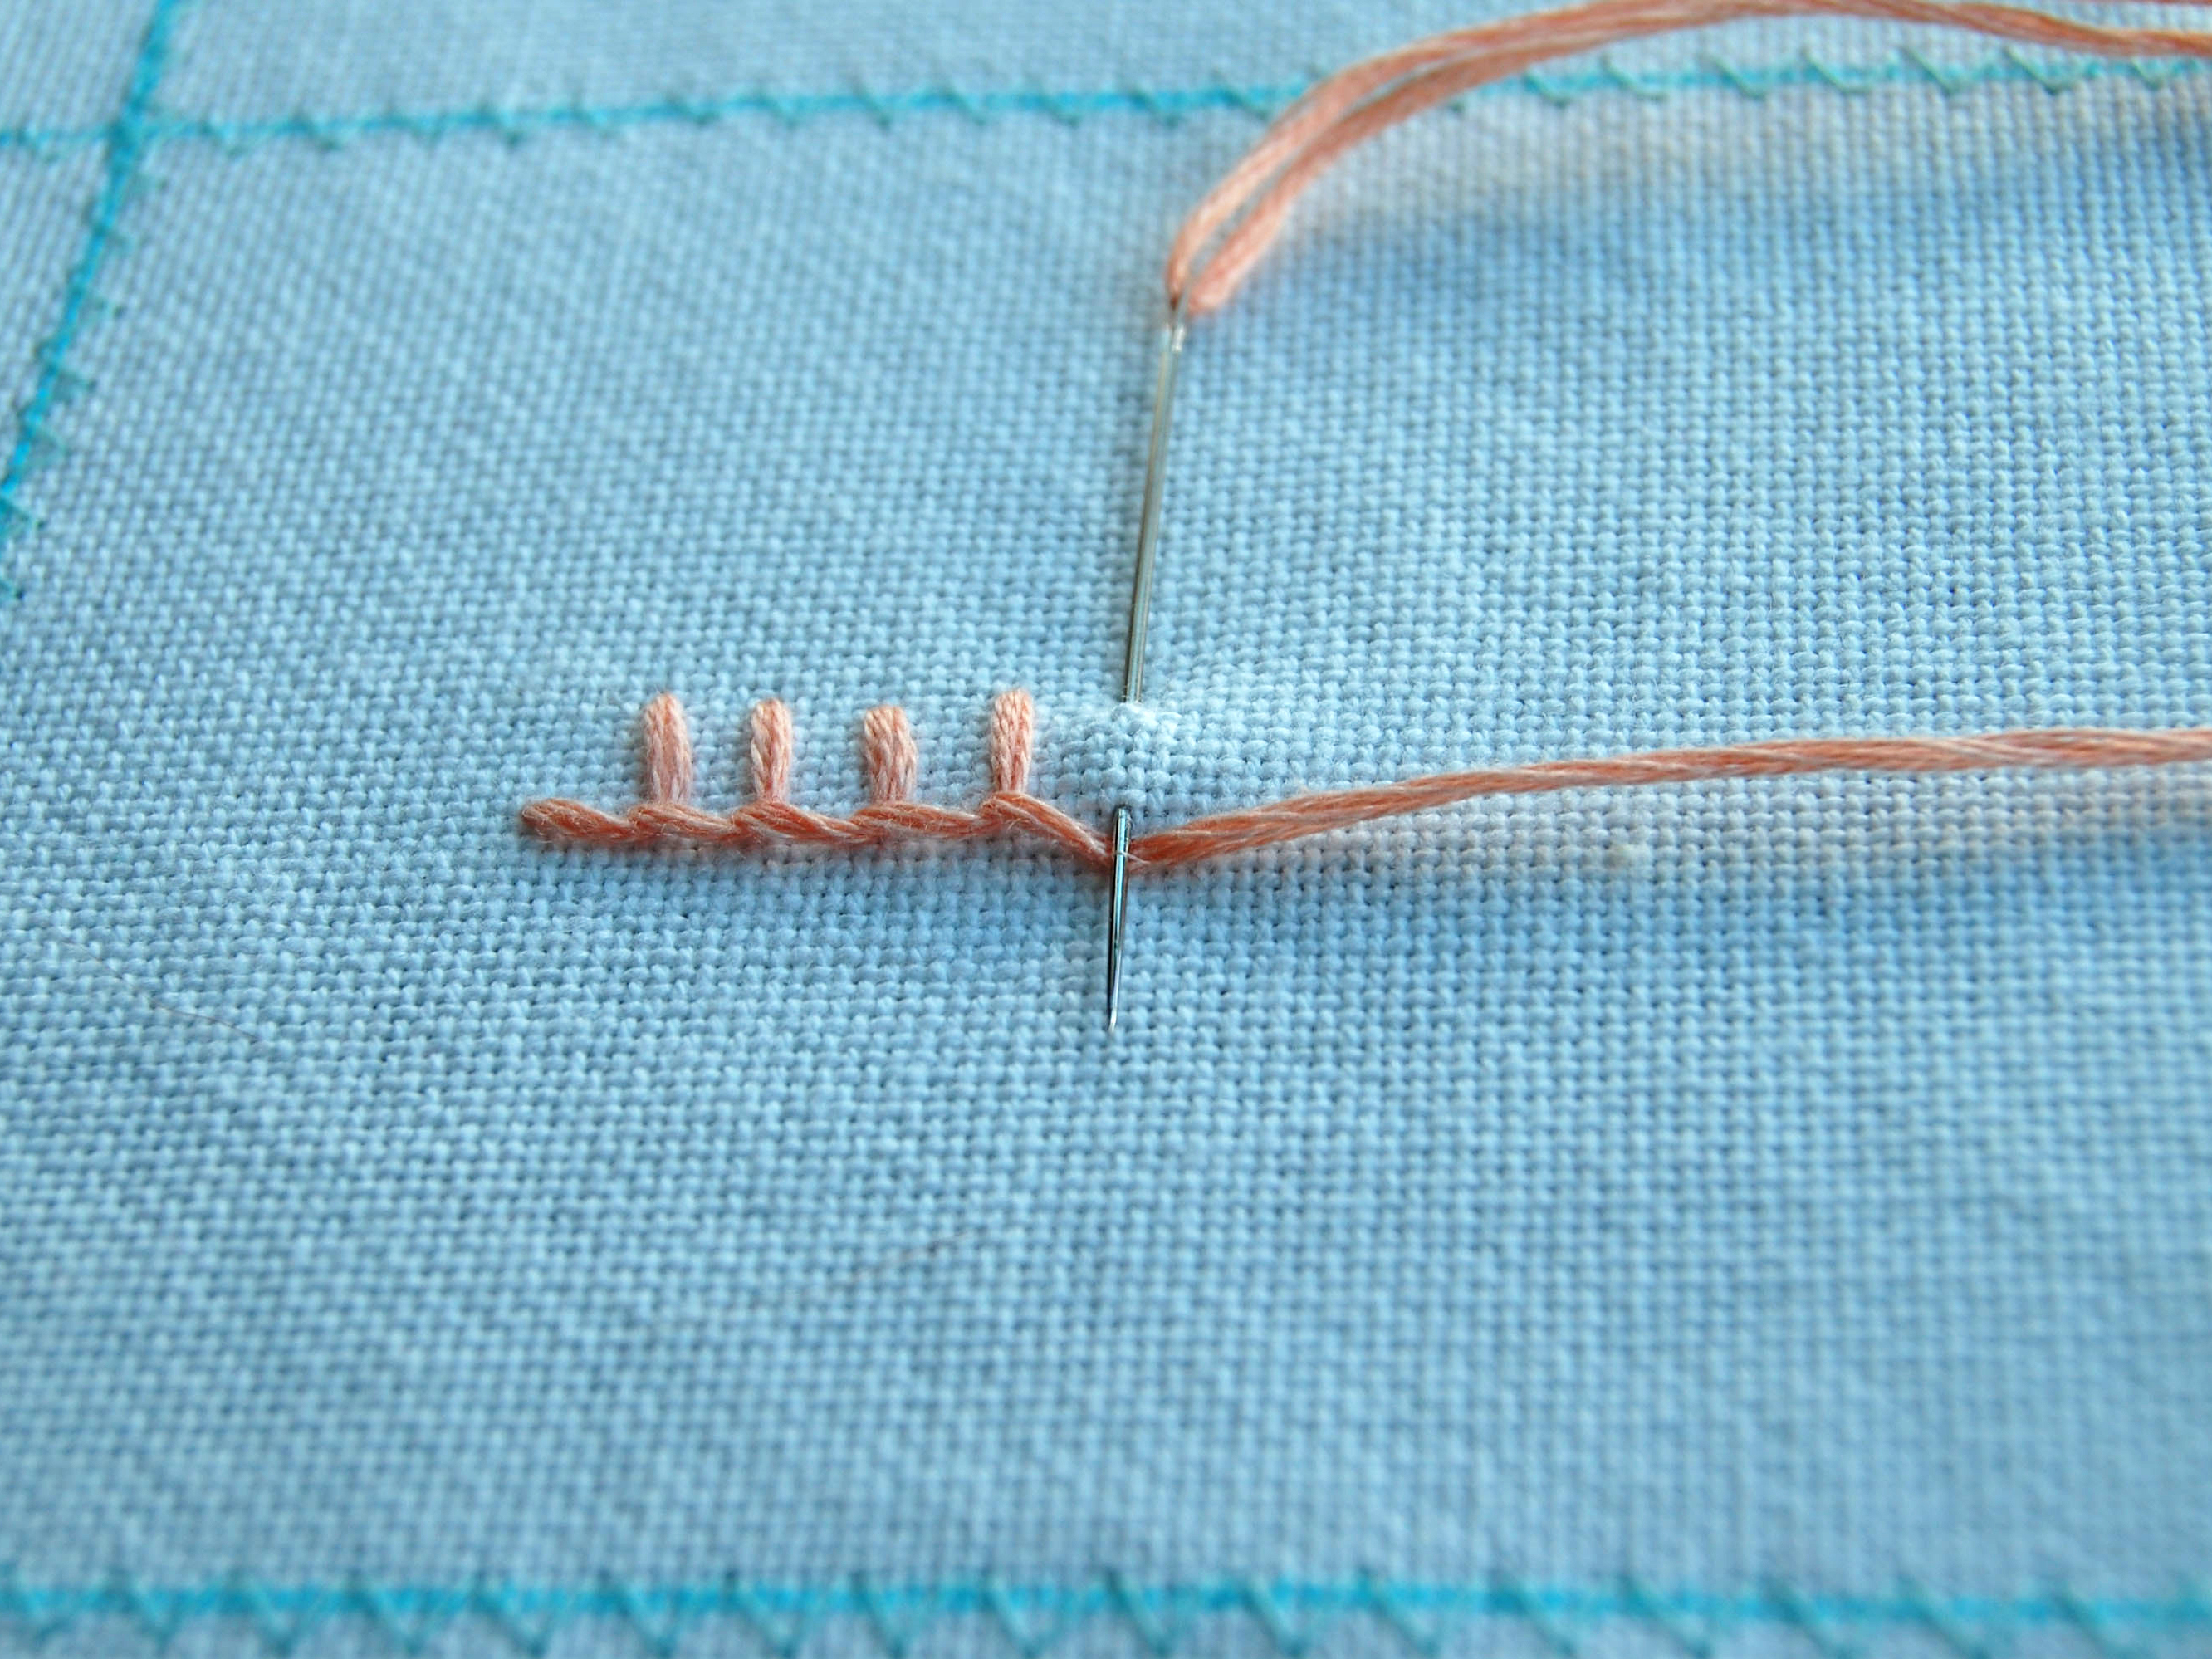
Blanket stitch (peach): Work this stitch from left to right. Pull your needle up through the fabric, and then insert it back down at a point above and to the right of where you just brought it up. Bring your needle back up through the fabric a short distance to the right of the first stitch, making sure the floss loop is caught under your needle.

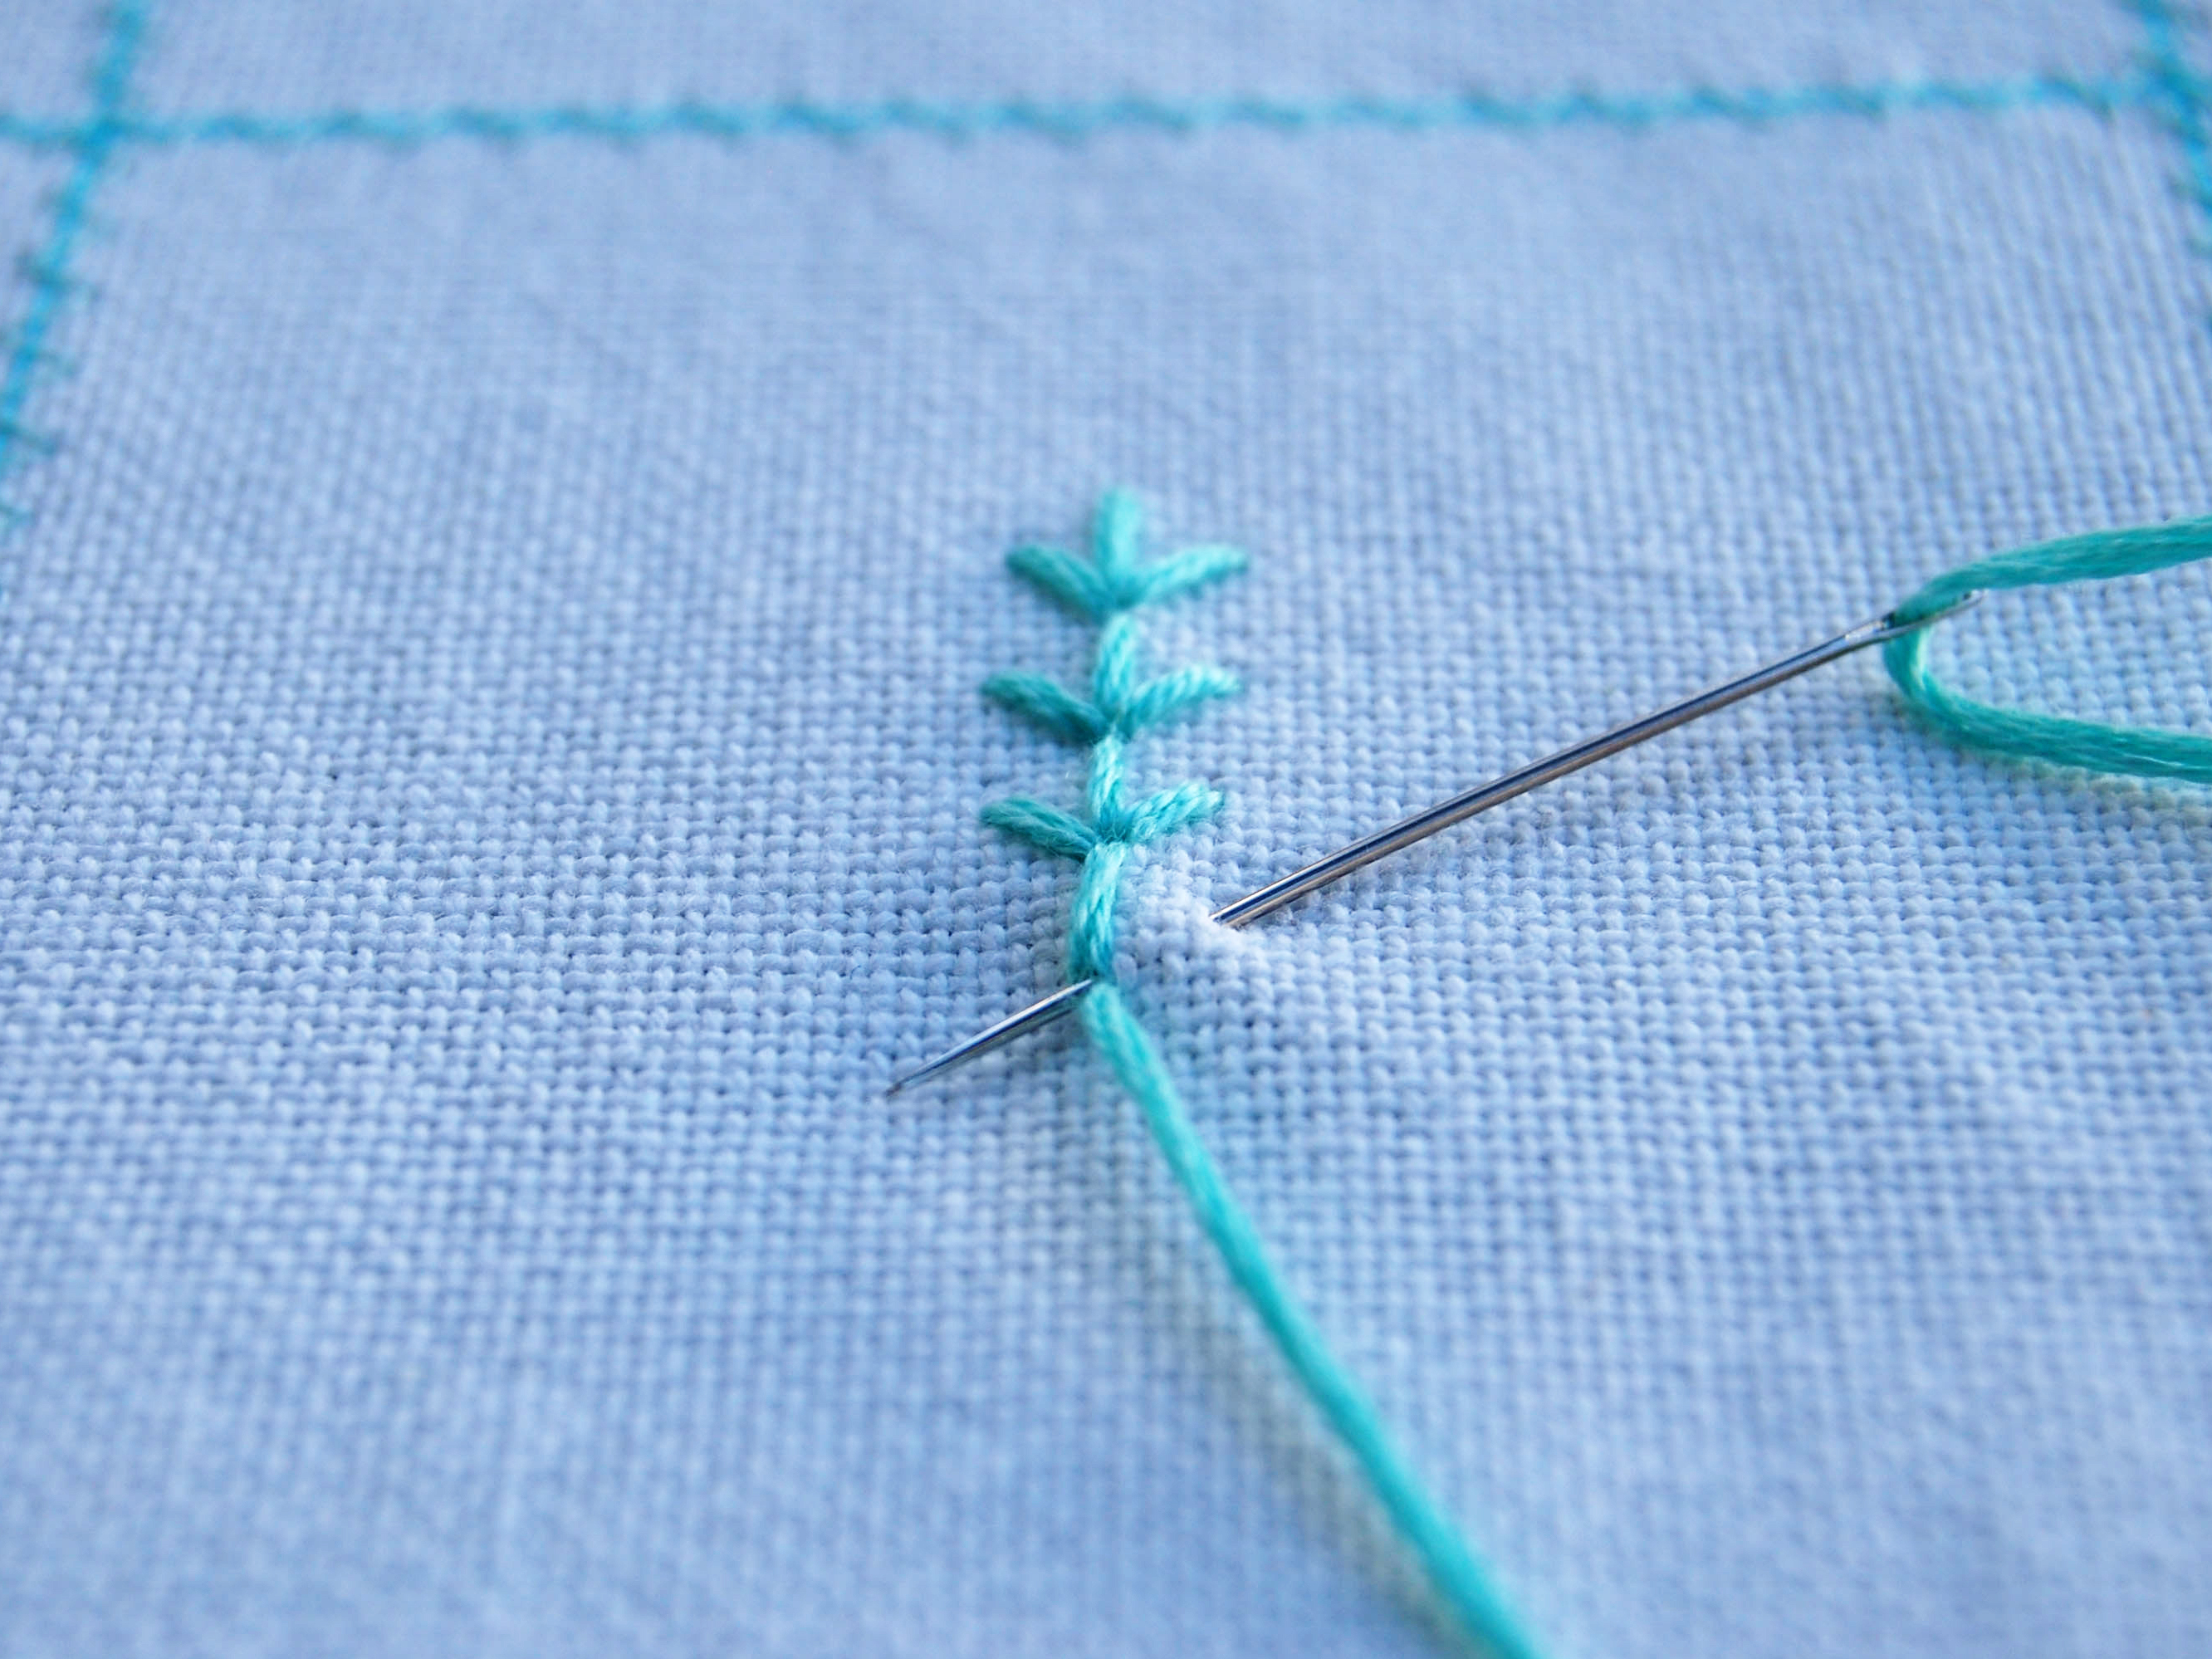
Fern stitch (light turquoise): Make 3 stitches at a slight angle to each other, all starting out of the same hole, and then continue these 3 stitches downward.

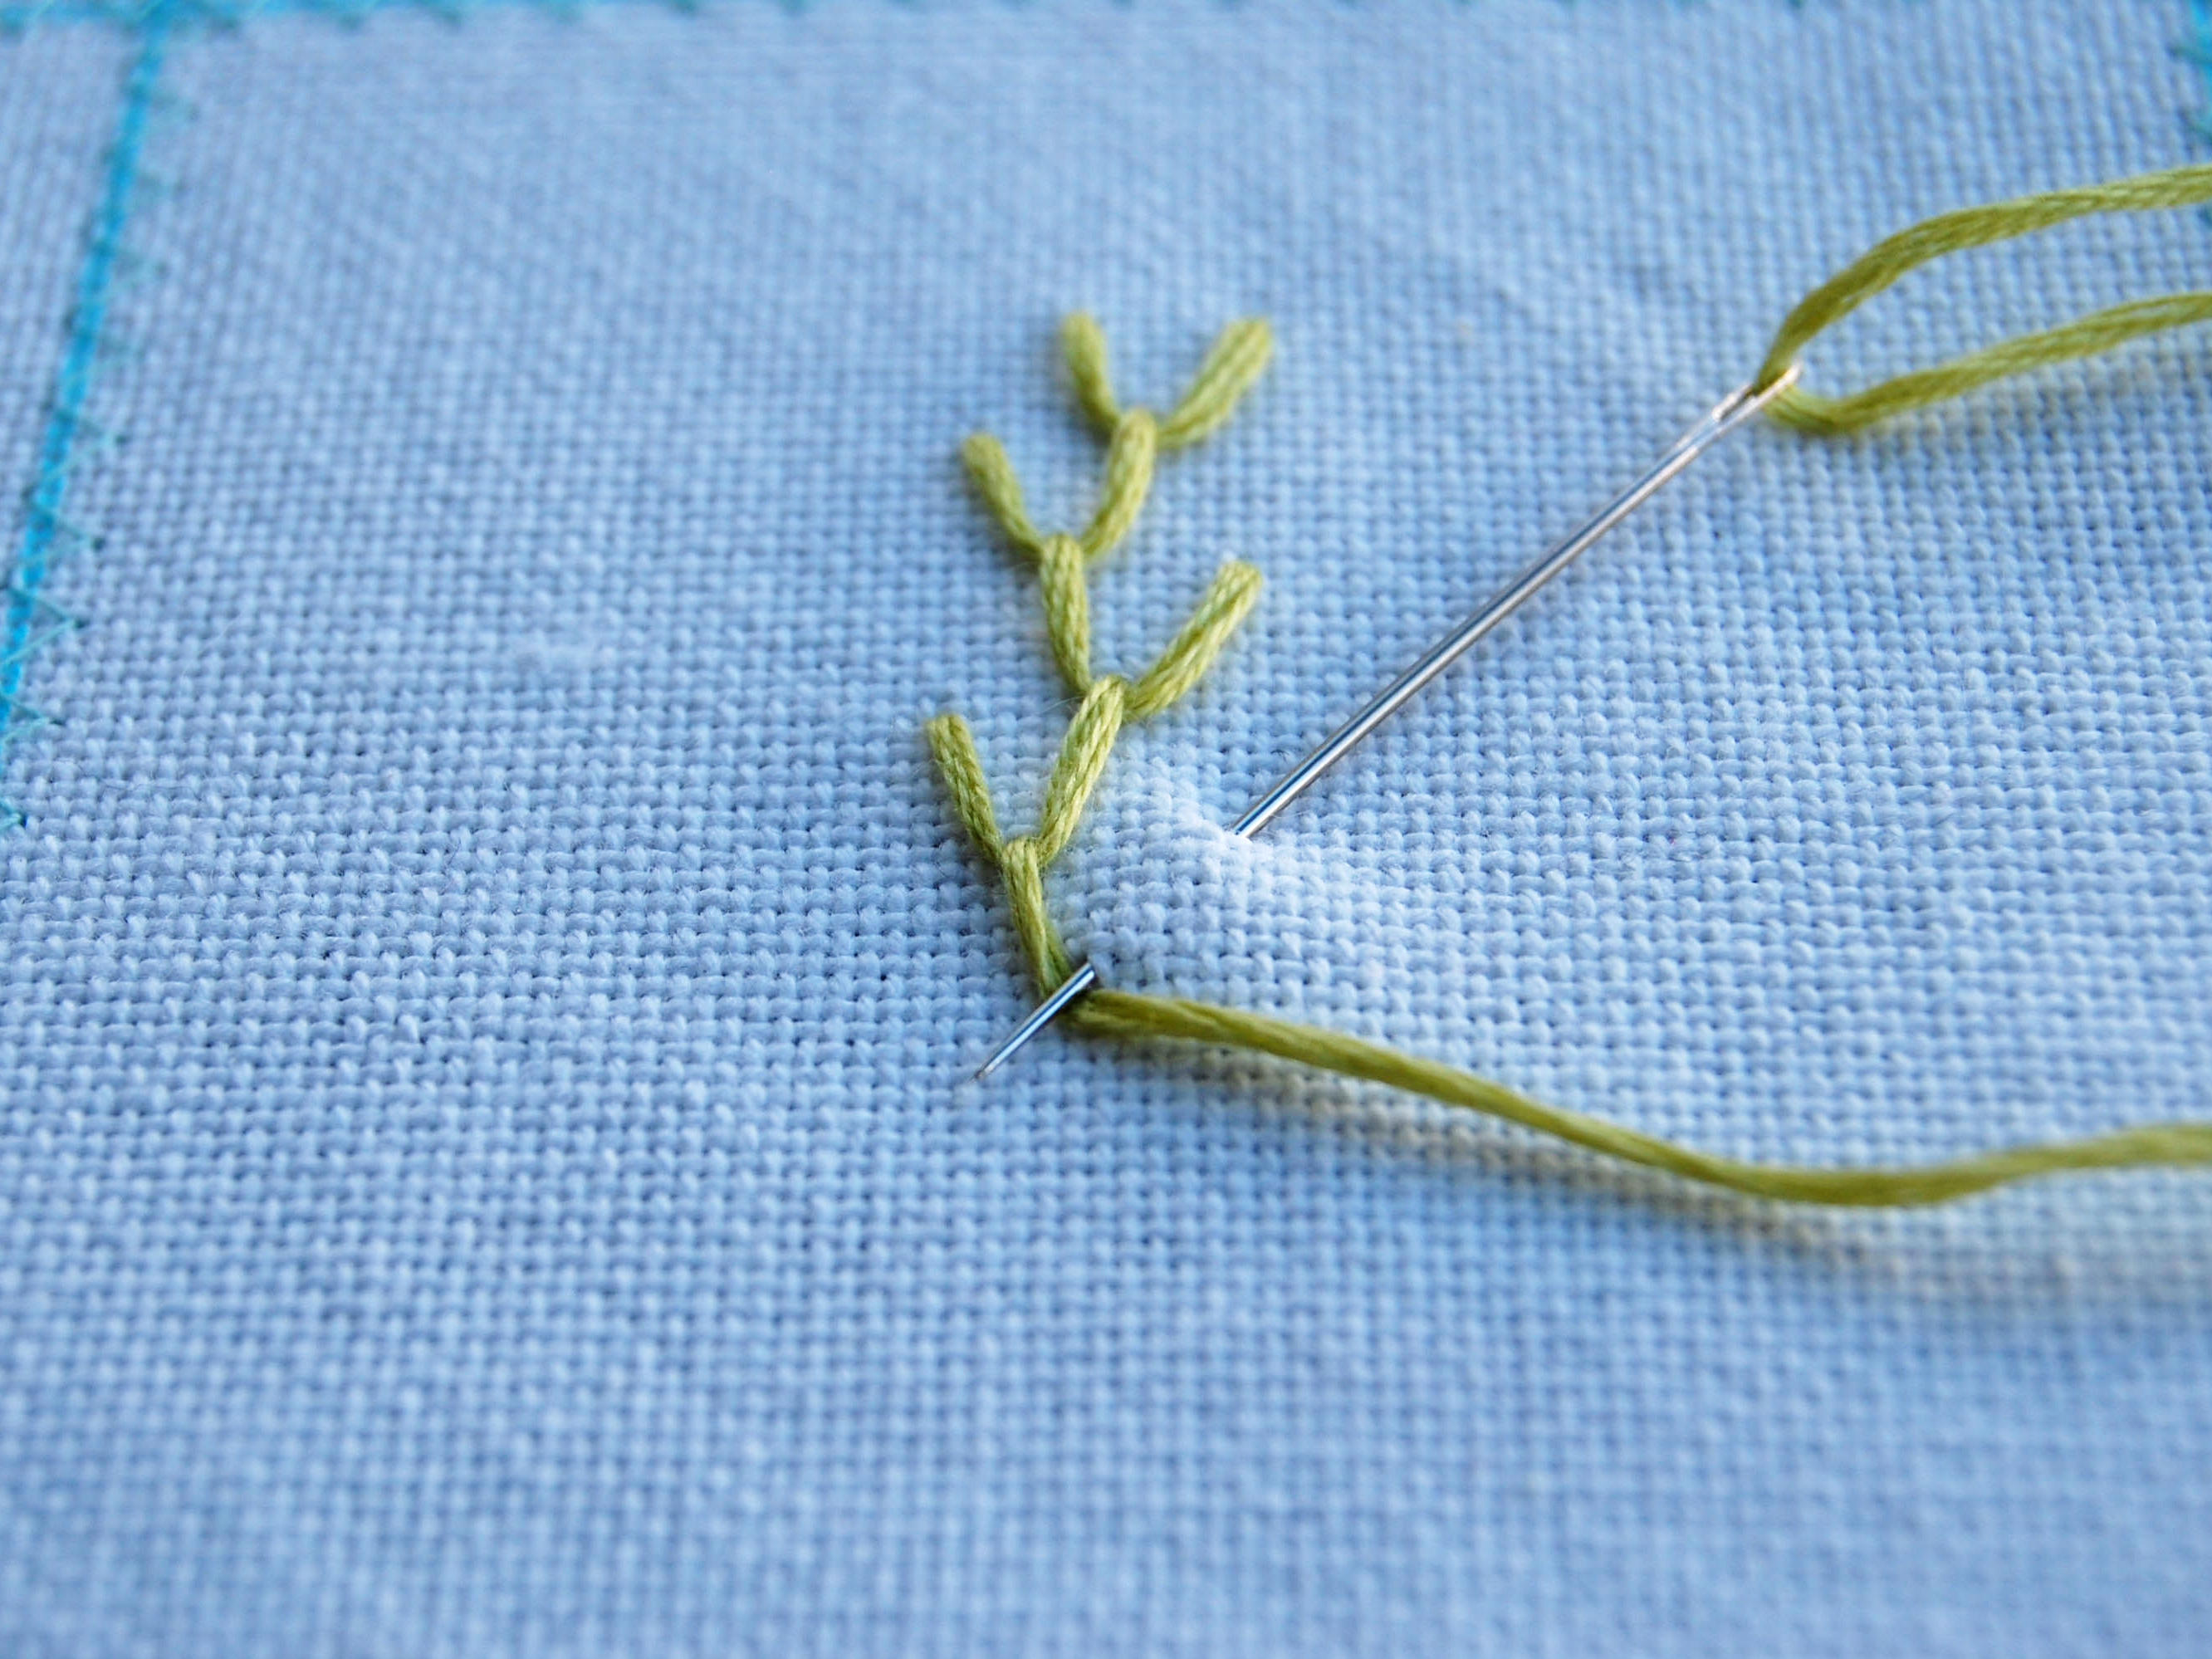
Feather stitch (light green): Pull your needle up through the fabric, then insert it a little to the right, creating a small loop. Bring it back up again a little below the 2 points, making sure to keep the floss loop under the needle. Then repeat the same stitches a little to the left. Continue the left-to-right motion, working this stitch downward.

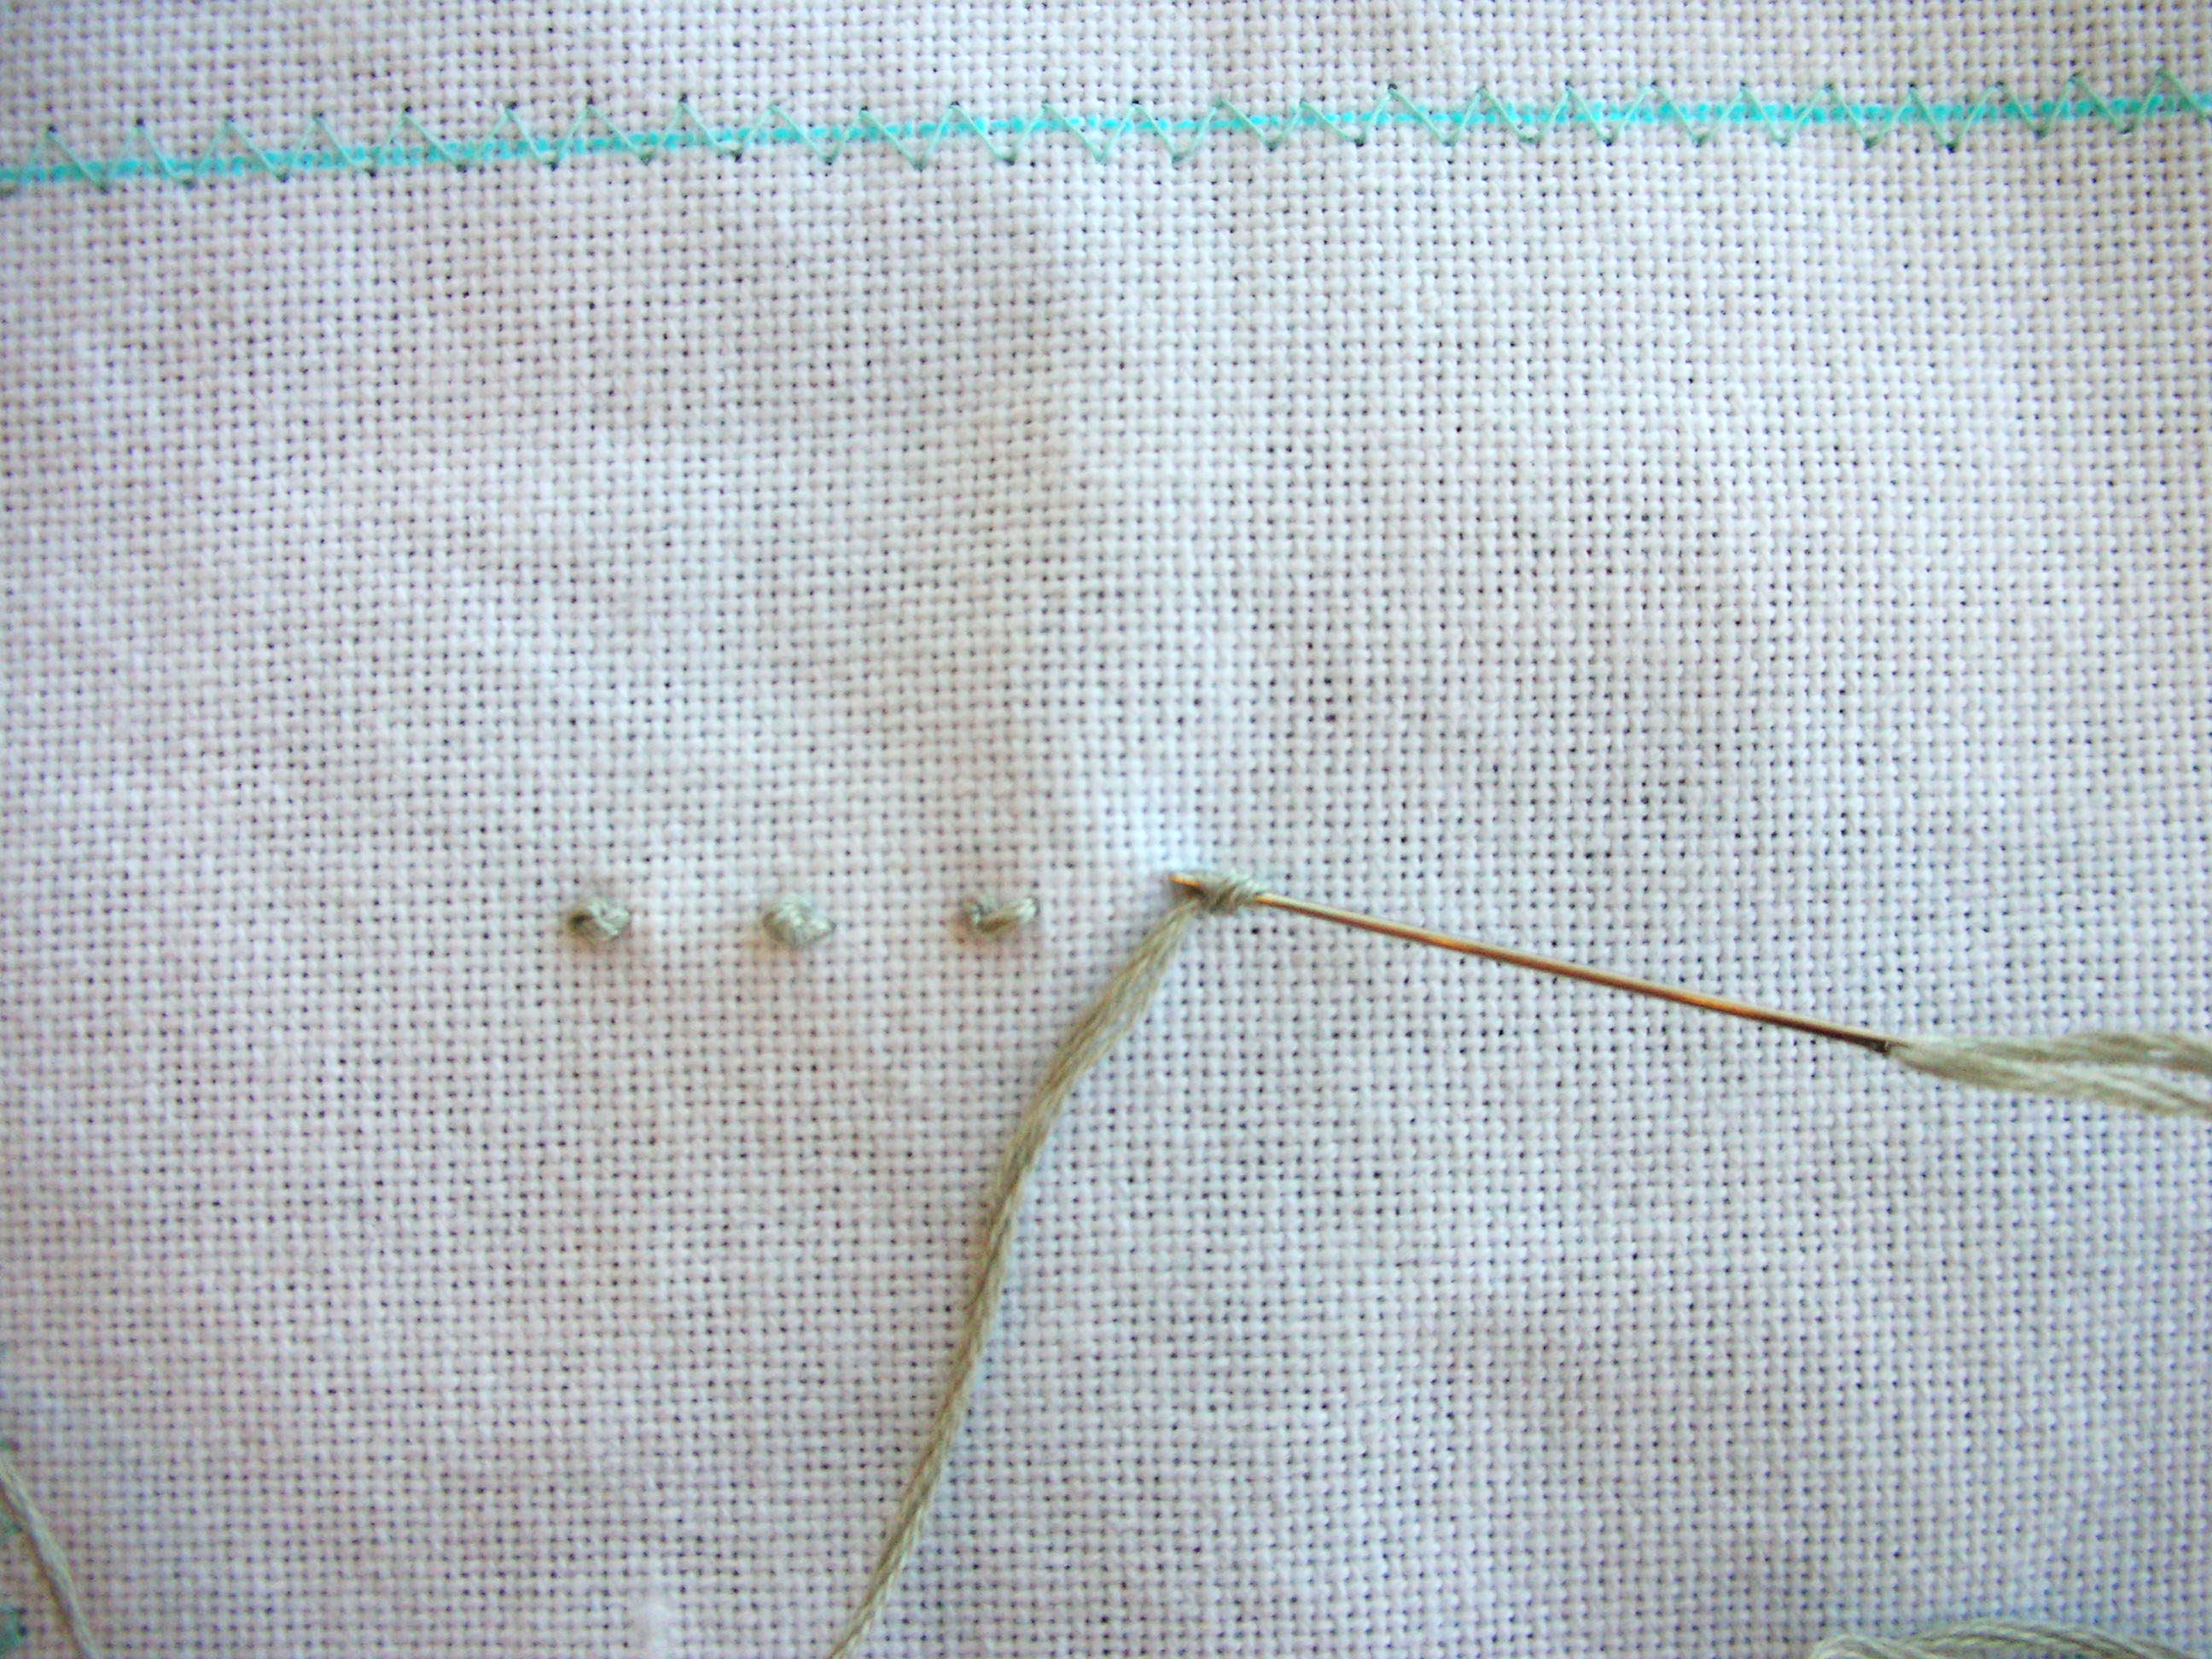
French knot (light gray): Pull your needle up through the fabric, wrap the floss around the needle a couple of times (hold the wrapped floss loops close to the fabric) and insert the needle a very short distance away.

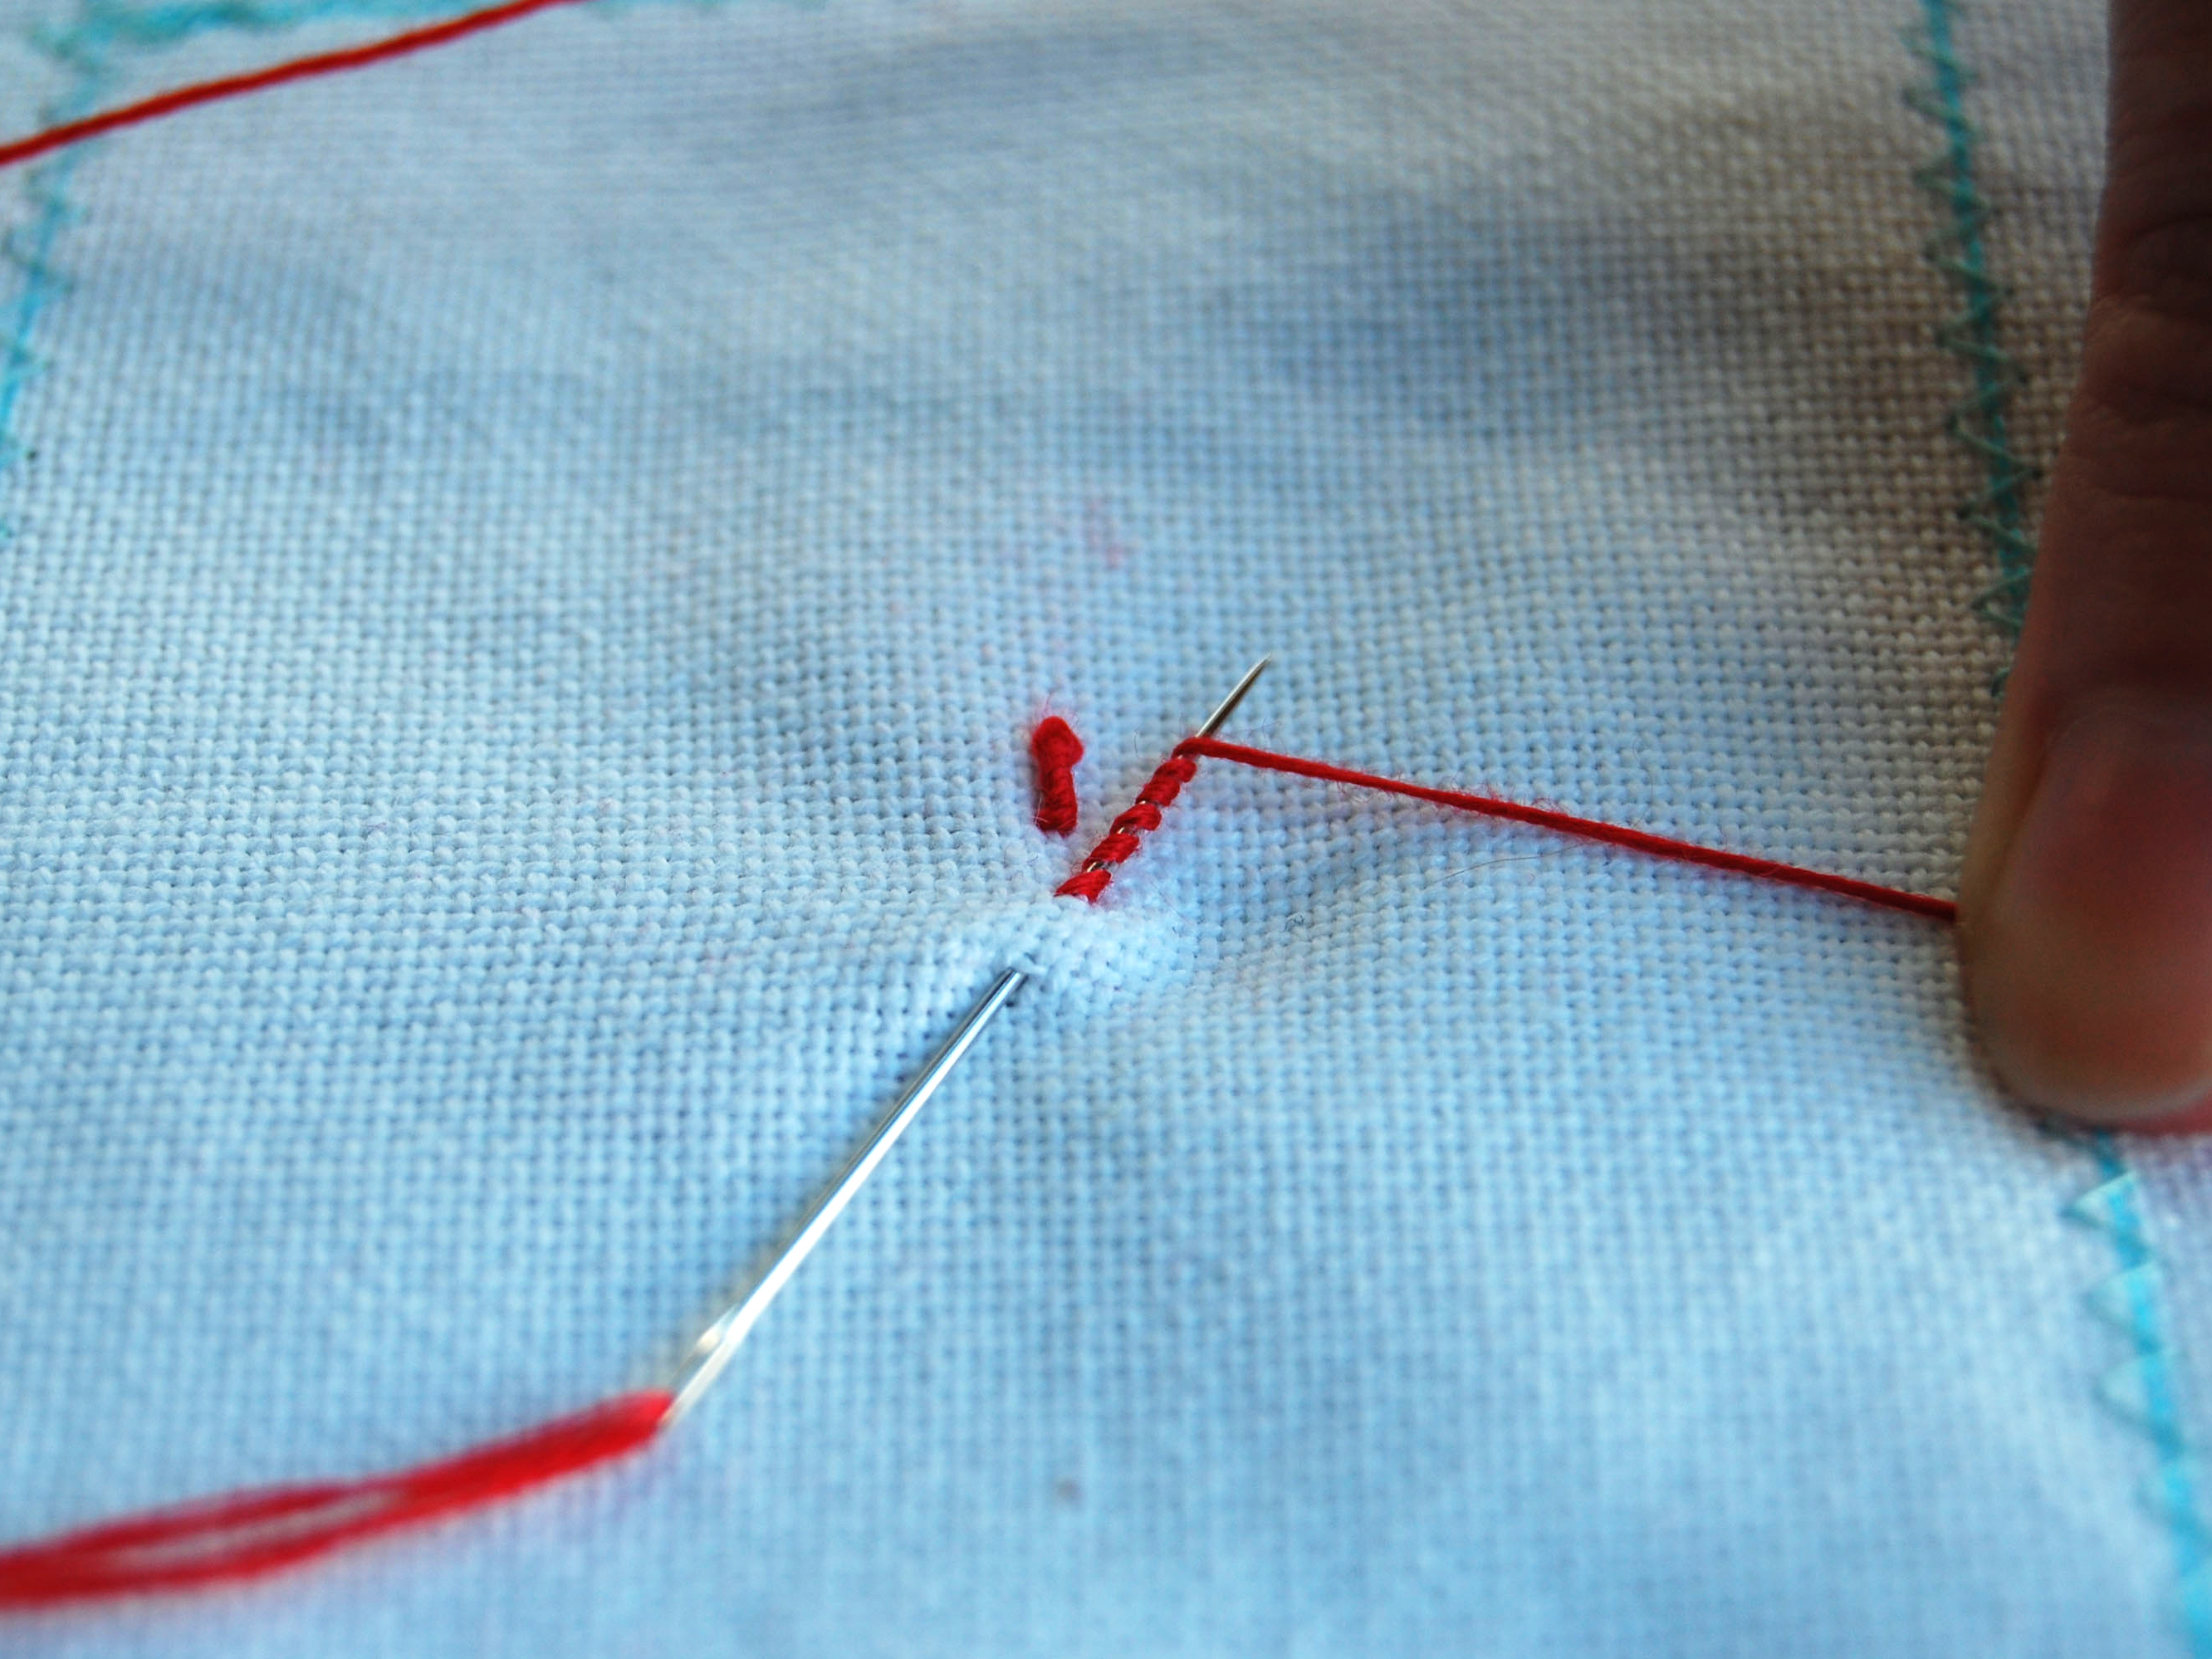
Bullion stitch (dark coral): Insert your needle, then pull just the needle’s point up through the fabric a short distance away (this distance will be the length of your bullion stitch). Wrap your floss around the needle’s point at least 6 times, holding the wrapped floss close to the fabric. Pull the needle up all the way through, and reinsert it back down where you first pulled it through the fabric.

Conclusion

This project first appeared in CRAFT Volume 06 pages 132-137.