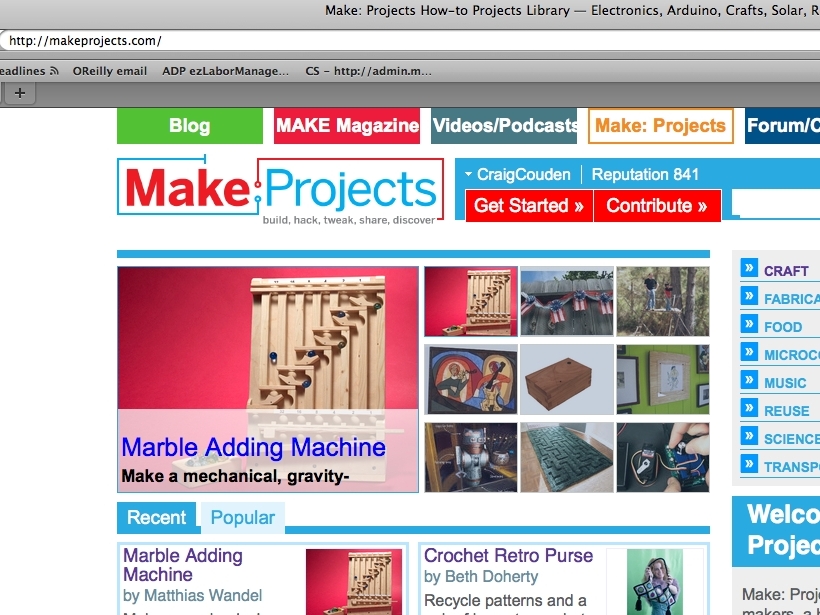
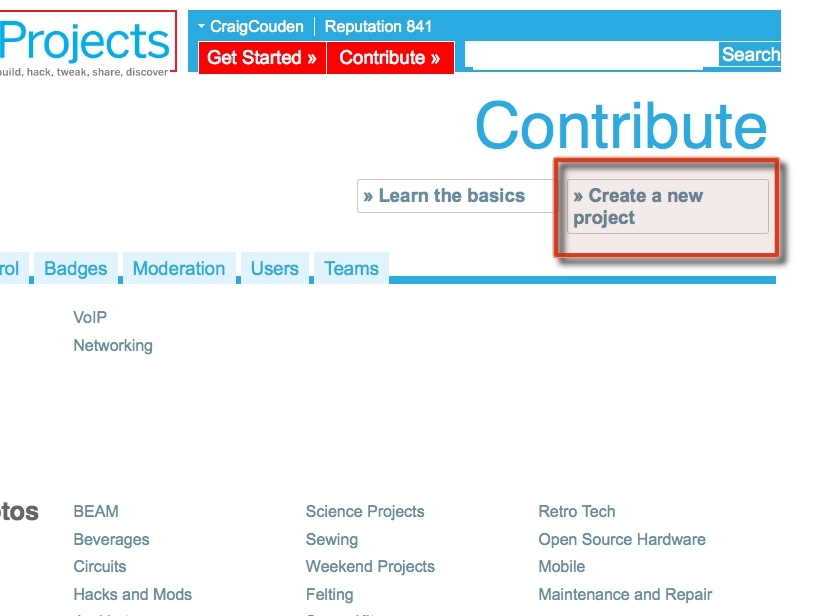
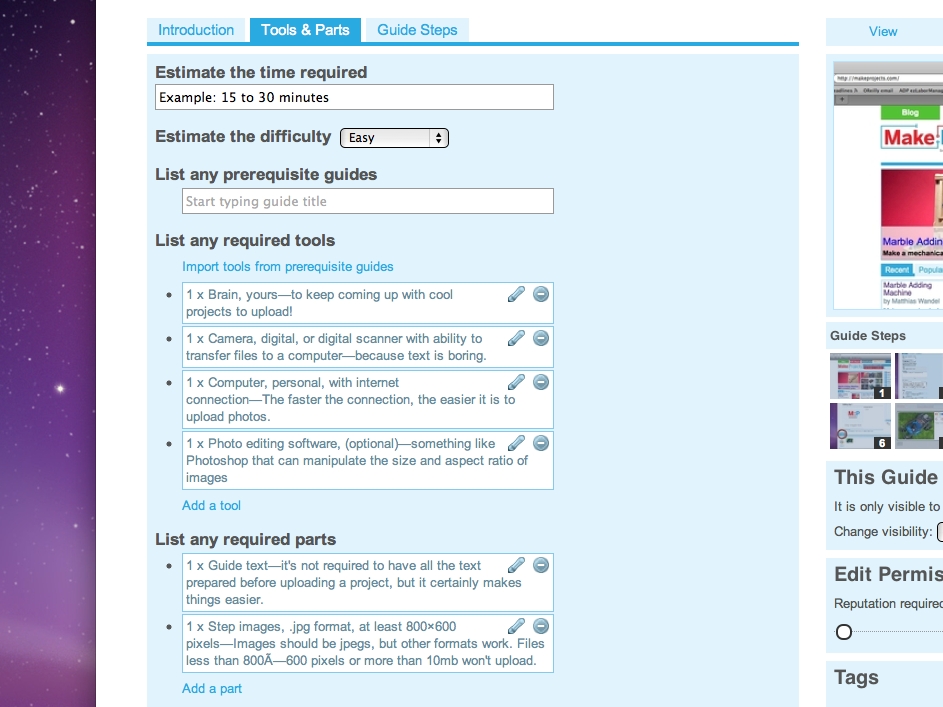
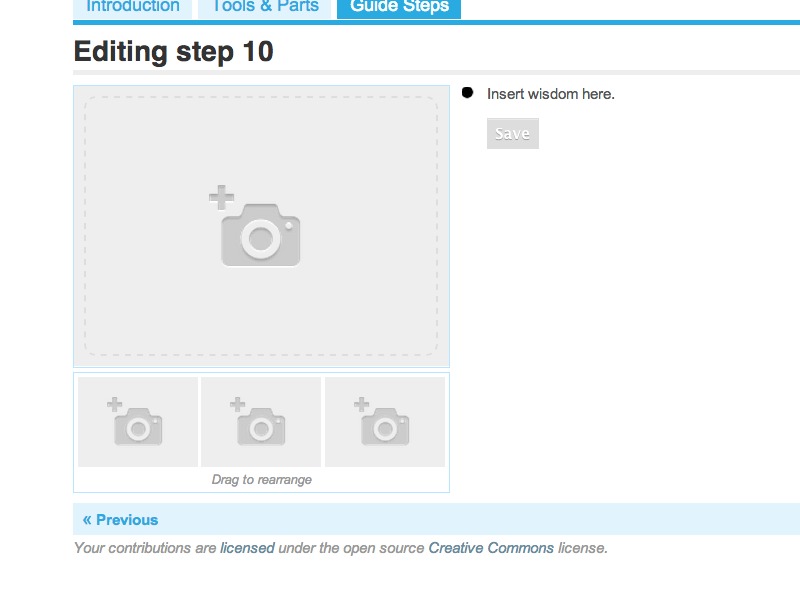
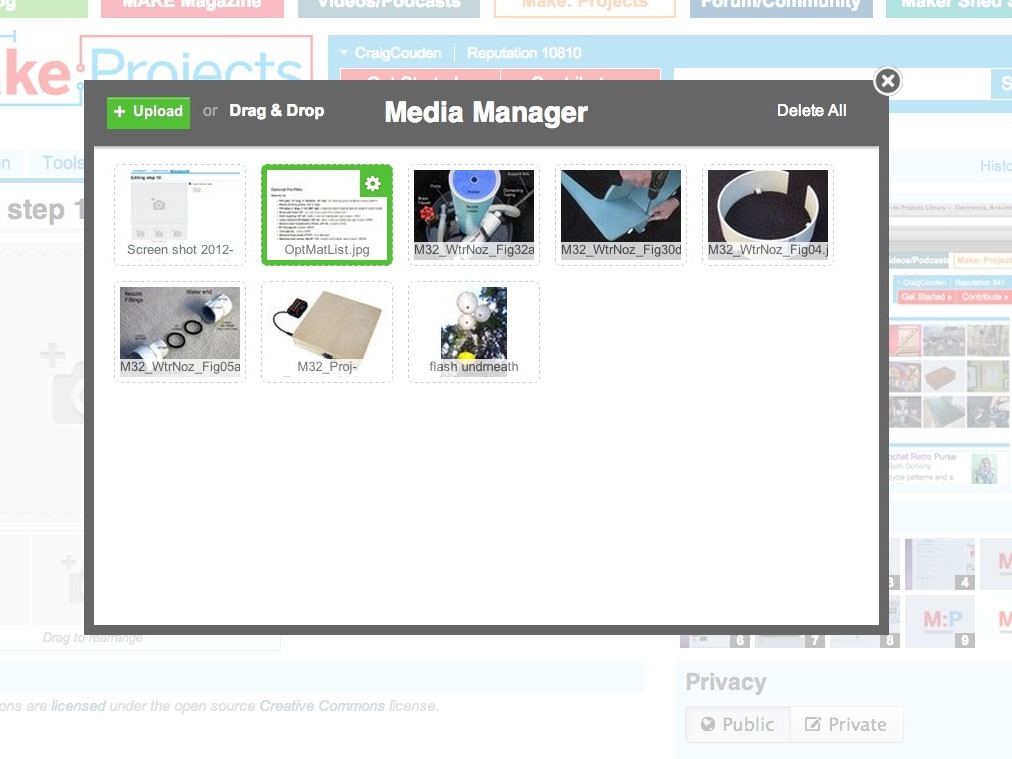
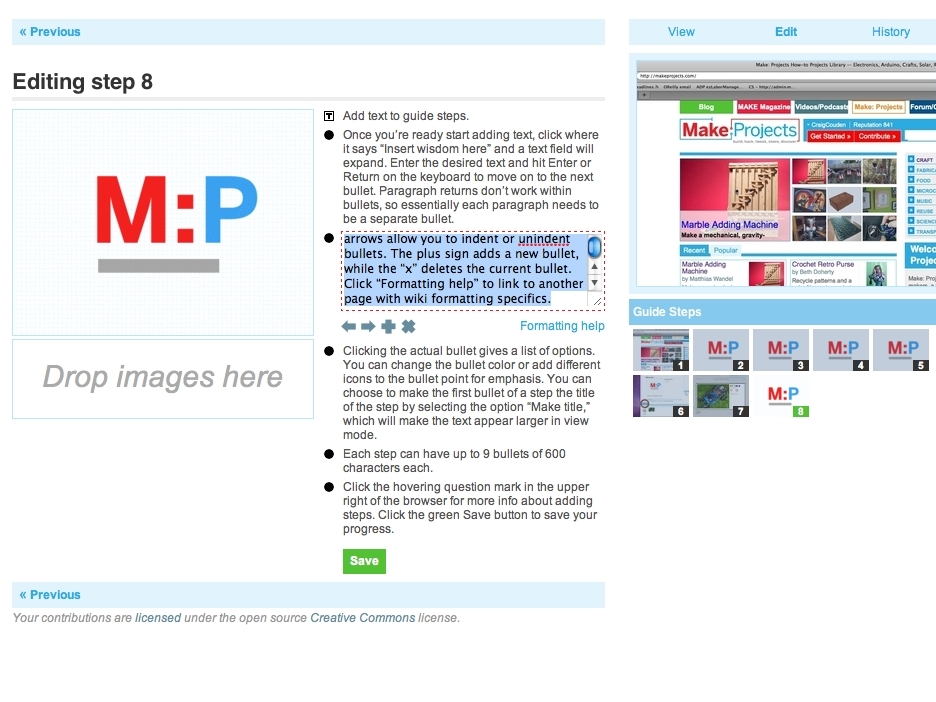
After creating an account and signing in, click on the “Contribute” button at the top of http://makeprojects.com. The Contribute page has a range of options to collaborate and improve on other projects, but to create your own new project, click the “Create a new project” button near the top right.
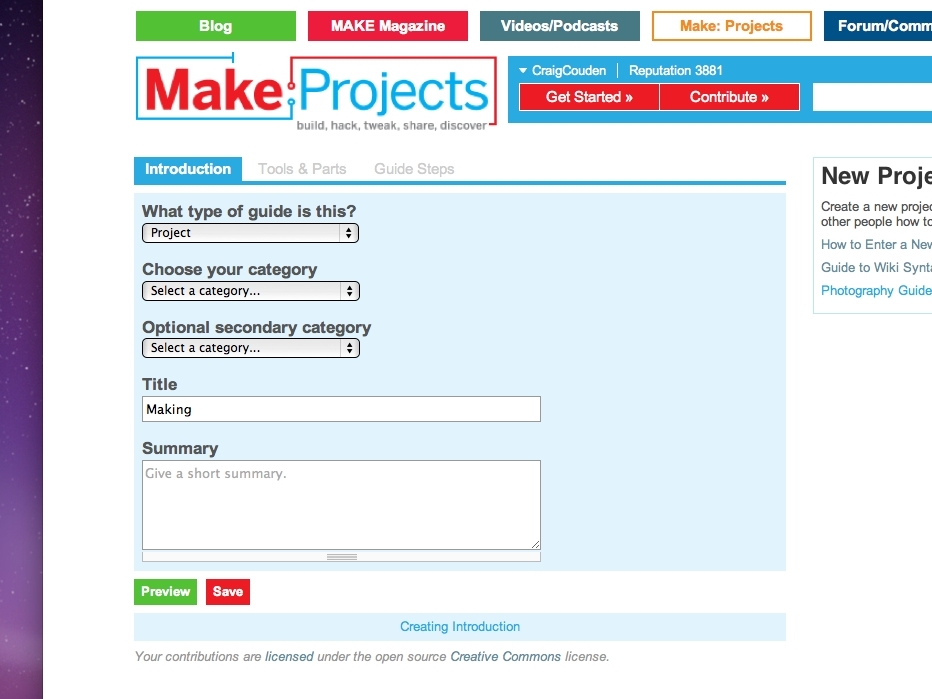
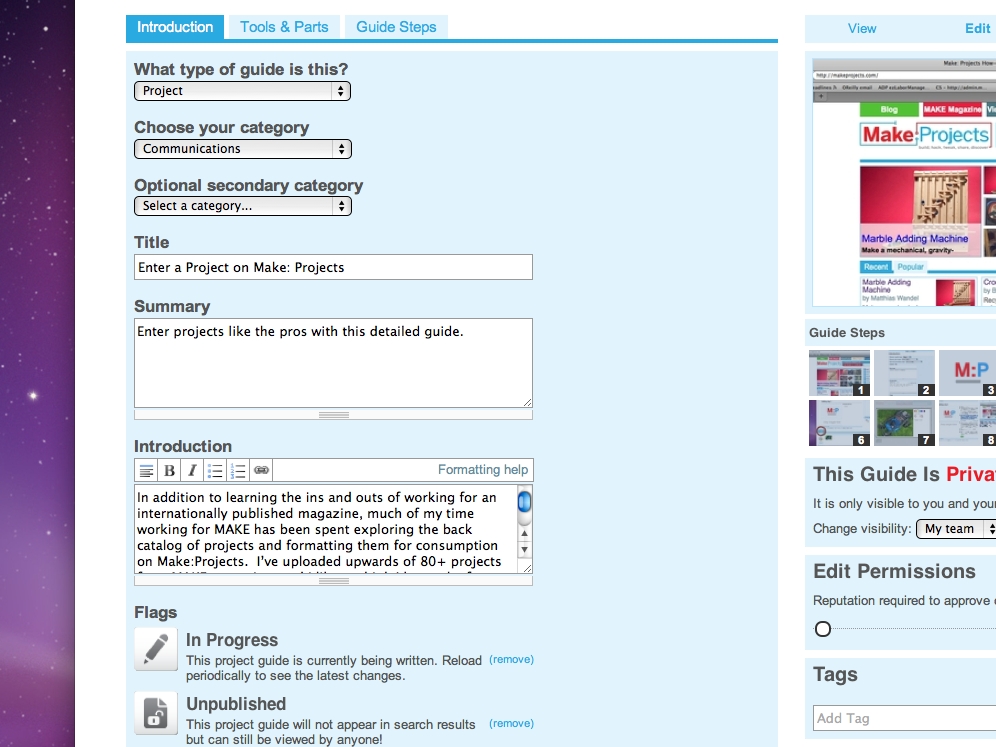
The Introduction page is where you name your project, categorize it for easy searchability, and add a catchy pitch or tell the funny story of how you came up with it.
The first drop-down menu says whether you’re working on a “Project,” which is something new, or a “Technique,” which is modifying an existing thing.
Next pick a primary and secondary category for your project from drop-down menus. You project will mainly be associated with the primary category, but will show up on both category pages. You can only choose from the topics listed, so if the given options don’t completely describe your project perfectly, just pick the best fit. Categories are mandatory, and the system won’t let you move on to the next page without choosing at least one.
Now write a custom Title. It should be descriptive but short, because the title becomes part of the final project URL.
The Summary section is the place to add a short teaser about how cool your project is and how everyone should make it, too. The Summary is primarily used for the search results page, but is not prominently displayed on the actual project page. You can have up to 255 characters, but long summaries tend to get cut off after a line or two. So make it short and sweet.
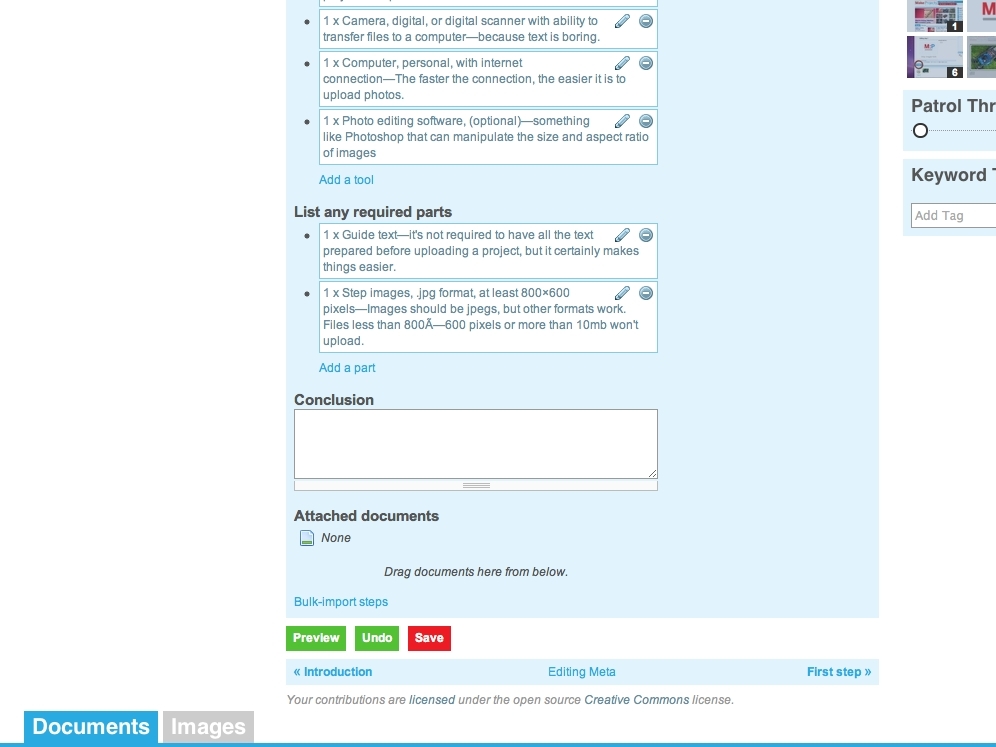
Click the red Save button. M:P will warn you if you leave a page without saving. You’ll be taken to the Step 1 page. However, find the tabs under the M:P logo and click back to the Introduction.


