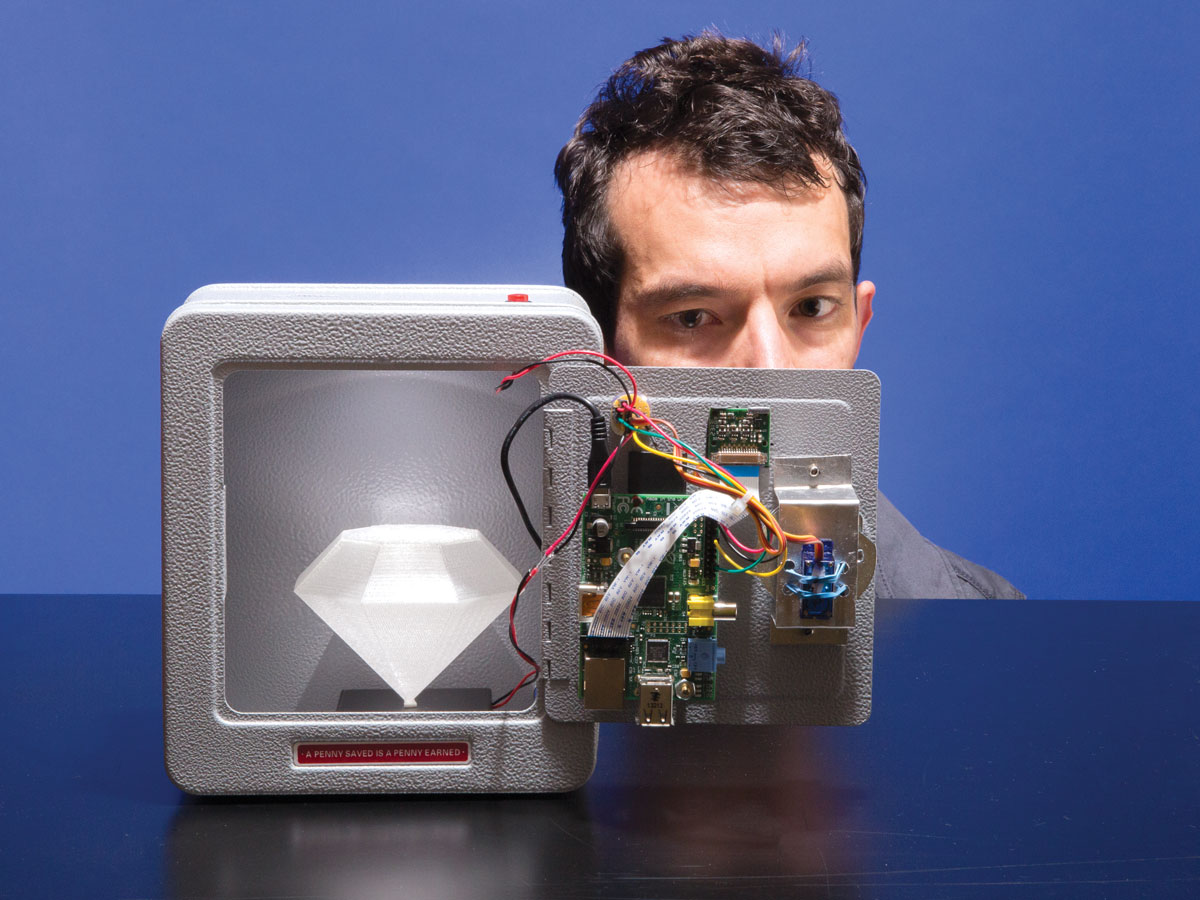
In a terminal session on the Pi, navigate to the directory with the software and execute the following command to start the training script:
sudo python capture-positives.py
Once the training script is running you can press the button on the box to take a picture with the Pi camera. The script will attempt to detect a single face in the captured image and store it as a positive training image in the ./training/positive subdirectory.
This takes about 10 minutes to run and will train the classifier to recognize your face.
Every time an image is captured it is written to the file capture.pgm. You can view this in a graphics editor to see what the Pi camera is picking up and help ensure your face is being detected.
Use the button to capture around 5 or more images of your face as positive training data. Try to get pictures from different angles, with different lighting, etc. You can see the images I captured as positive training data above.
NOTE: If you’re curious you can also look at the ./training/negative directory to see training data from an AT&T face recognition database that will be used as examples of people who are not allowed to open the box.
Finally, once you’ve captured positive training images of your face, run the following command to process the positive and negative training images and train the face recognition algorithm (note that this training will take around 10 minutes to run):
python train.py


