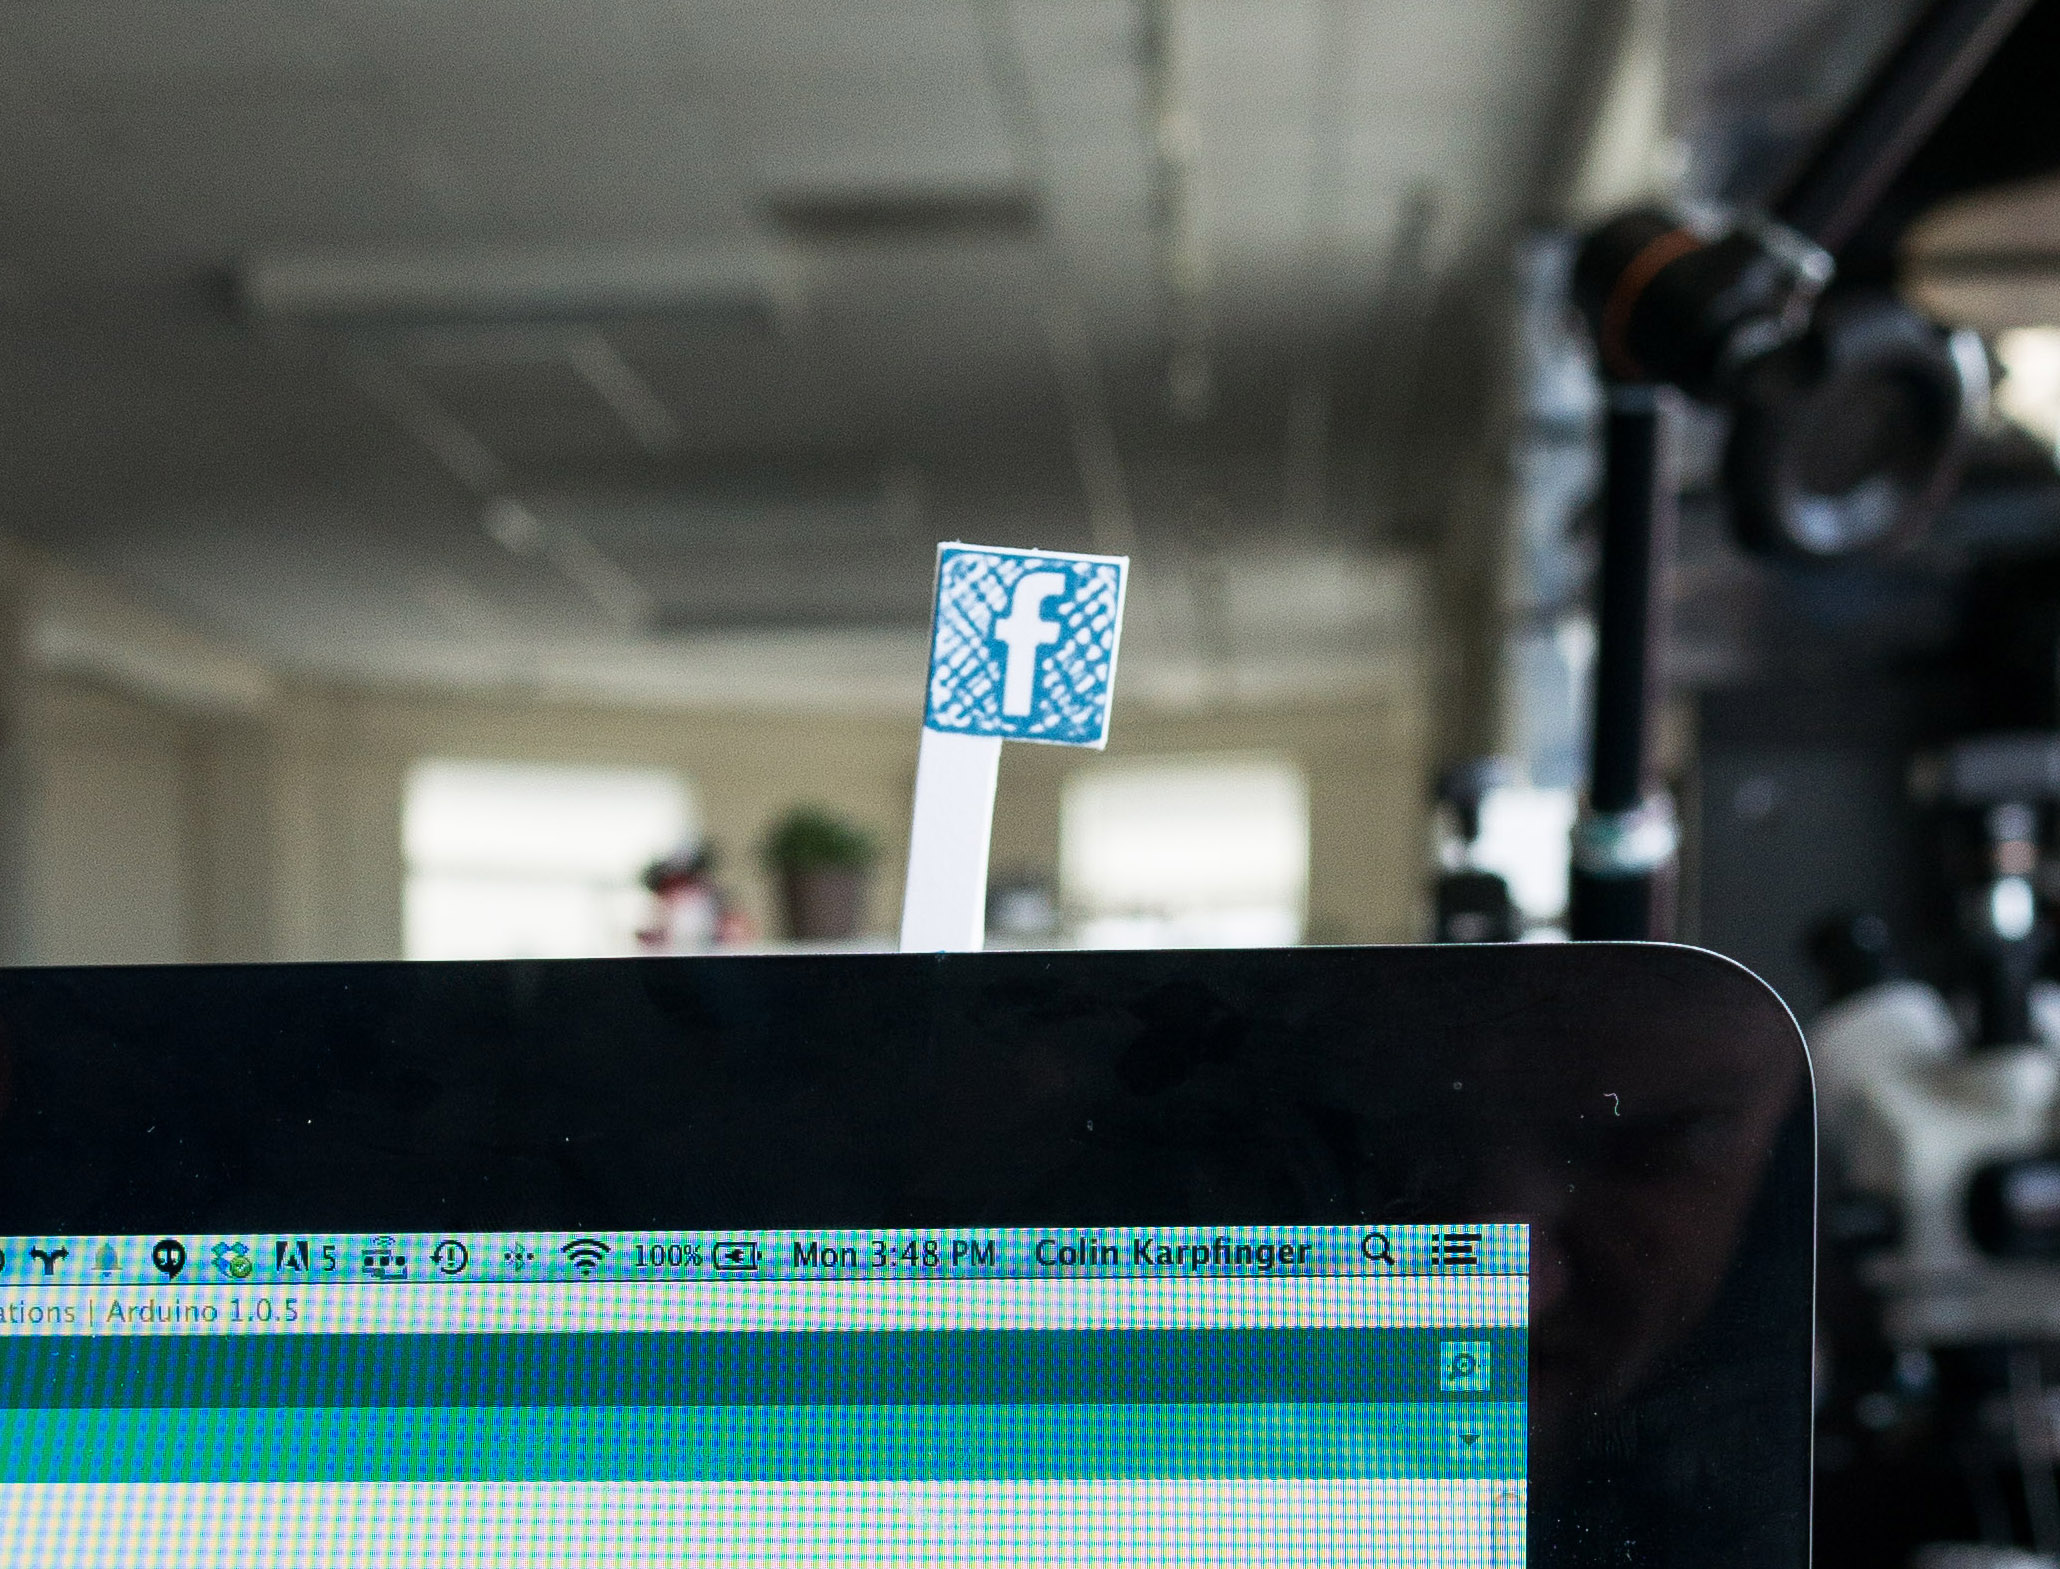
Building hardware is exciting because you get to interact with the “real world”. In this project you will use the LightBlue Bean to receive notifications from Facebook and Twitter (and any other sources!) and pop up a notification flag using a servo. It’s a fun, physical indicator for your Twitter mentions or Facebook messages! Best of all, you clear the notification by just putting the flag back down, just like an old-fashioned mailbox.

The LightBlue Bean is a fun little Arduino compatible platform that you interact with over Bluetooth Low Energy. It’s like a normal Arduino, but you’ll never have to plug it in–you program it wirelessly. The Bean is what we’ll use to receive the notifications and move the servo.

FBNotify-47-withlogoadded

What will the next generation of Make: look like? We’re inviting you to shape the future by investing in Make:. By becoming an investor, you help decide what’s next. The future of Make: is in your hands. Learn More.

Project Steps

Customize your Bean

First we have to make a couple modifications to our [Bean](http://www.makershed.com/products/lightblue-bean-bluetooth-4-0?utm_source=makezine&utm_medium=project&utm_content=bean) to add a battery pack and servo connector. All the parts are available in the Maker Kit.

Solder the battery pack on the pins labeled BAT and GND. The Red wire goes to BAT and black to GND. This will provide the additional power needed to move the [servo](http://www.makershed.com/products/micro-servo?utm_source=makezine&utm_medium=project&utm_content=bean).

Solder the [servo](http://www.makershed.com/products/micro-servo?utm_source=makezine&utm_medium=project&utm_content=bean) connector to the proto-board on the [Bean](http://www.makershed.com/products/lightblue-bean-bluetooth-4-0?utm_source=makezine&utm_medium=project&utm_content=bean). Note the pinout; the yellow wire from the [servo](http://www.makershed.com/products/micro-servo?utm_source=makezine&utm_medium=project&utm_content=bean) cable is the signal pin. It should go to the pin labeled “0” on the [Bean](http://www.makershed.com/products/lightblue-bean-bluetooth-4-0?utm_source=makezine&utm_medium=project&utm_content=bean) (digital IO zero). The red wire from the [servo](http://www.makershed.com/products/micro-servo?utm_source=makezine&utm_medium=project&utm_content=bean) is power, connect it to VCC on the [Bean](http://www.makershed.com/products/lightblue-bean-bluetooth-4-0?utm_source=makezine&utm_medium=project&utm_content=bean). The black wire on the [servo](http://www.makershed.com/products/micro-servo?utm_source=makezine&utm_medium=project&utm_content=bean) cable is ground, connect it to GND on the [Bean](http://www.makershed.com/products/lightblue-bean-bluetooth-4-0?utm_source=makezine&utm_medium=project&utm_content=bean).

Fly your Facebook flag high

Cut out your flag from a sturdy material like foam core or cardboard.

Print out whatever icon you would like. Our graphics for the icons and dials used are available here. Or get creative and print or draw your own!

Glue the icon onto your card-stock or foam core base. You can either use rubber cement or superglue to glue the flag onto the servo arm that comes with your [servo](http://www.makershed.com/products/micro-servo?utm_source=makezine&utm_medium=project&utm_content=bean).

Install the Bean Software

Currently you must run OS X 10.9 Mavericks to program the [Bean](http://www.makershed.com/products/lightblue-bean-bluetooth-4-0?utm_source=makezine&utm_medium=project&utm_content=bean). We will be releasing other platforms soon and you can track our progress [here](http://punchthrough.com/bean/development-schedule/).

[Install the Bean Software by following these directions](http://punchthrough.com/bean/getting-started/).

Arduino Goodness

All of the code is [available on github](https://github.com/PunchThrough/FacebookFlagger).

Open the Sketch and hit Build. If you have [LightBlue Bean](http://www.makershed.com/products/lightblue-bean-bluetooth-4-0?utm_source=makezine&utm_medium=project&utm_content=bean) selected it will open the Bean Loader Application.

Connect to your Bean using the Loader App, and program the sketch.

We will use a virtual serial port to send the Facebook / Twitter notifications. Right Click on the Bean and select ‘Use for Virtual Serial’.

Get the Notifications Ready

We will use Python (an easy scripting language) to pull email notifications using the gmail module, check if the sender is Facebook or Twitter, and then send them using the pyserial module.

If you haven’t already, download the code, [available on github](https://github.com/PunchThrough/FacebookFlagger). and install the gmail and pyserial modules. This is easily done by running `pip install requirements.txt` in the root directory of the repo.

I recommend creating a new [Gmail](http://mail.google.com) account to receive notifications. This prevents you from needing to store your password credentials to your main account in your Python code.

Set up Facebook and Twitter to send email notifications to your new email address. If you like, you can forward them back to your main account as well.

Run the Python code in terminal by browsing to the directory and typing `python Bean_Notification.py`

Form a Servo Mount

You can use Sugru or Thermoplastic to form a nice holder for your [servo](http://www.makershed.com/products/micro-servo?utm_source=makezine&utm_medium=project&utm_content=bean). It should hold the [servo](http://www.makershed.com/products/micro-servo?utm_source=makezine&utm_medium=project&utm_content=bean) so it can be mounted securely to your monitor, or wherever you want to place it.

Which way is up

You may have to do a bit of calibration to get your Flag to sit straight up after a notification. If you send an email to your account with the subject “test”, the flag will go to it’s upright position. If that doesn’t suit your set up, you can pop off the [servo](http://www.makershed.com/products/micro-servo?utm_source=makezine&utm_medium=project&utm_content=bean) arm, and remount it any angle you wish. Alternatively, you can edit `FACEBOOK_SERVO_NOTIFY_POSITION` in the Arduino sketch to whatever value you want.

Get Socializin'

Alright, you’re all set! Go post this project on your Facebook page, or Tweet it, and wait for the comments to roll in. When you get a notification email, your Flag will pop up. When you want to clear the notification, just push the flag back down.

Like the [Punch Through facebook page](https://www.facebook.com/punchthroughdesign) and trigger a flag in our office!

The Arduino sketch disables the [servo](http://www.makershed.com/products/micro-servo?utm_source=makezine&utm_medium=project&utm_content=bean) after moving it into position, so you won’t hear any annoying buzzing sounds.

Go one step further!

Ready for more? We have some ideas on how to extend the project. Create a San Francisco summer weather indicator! We have one image listed to get you started. [Icon credit](http://www.visualpharm.com/).

Or, add another servo to track Facebook and Twitter notifications. You could track other things like sports scores, page visits, or [earthquake activity](https://makezine.com/projects/data-dial-dashboard/)!