I certainly appreciate the craftsmanship of stained glass, but I’ve come up with something that gives a similar effect without the prerequisite labor. Though it may not look exactly like stained glass, it’s a quick and easy rendition that easily jazzes up my windows.
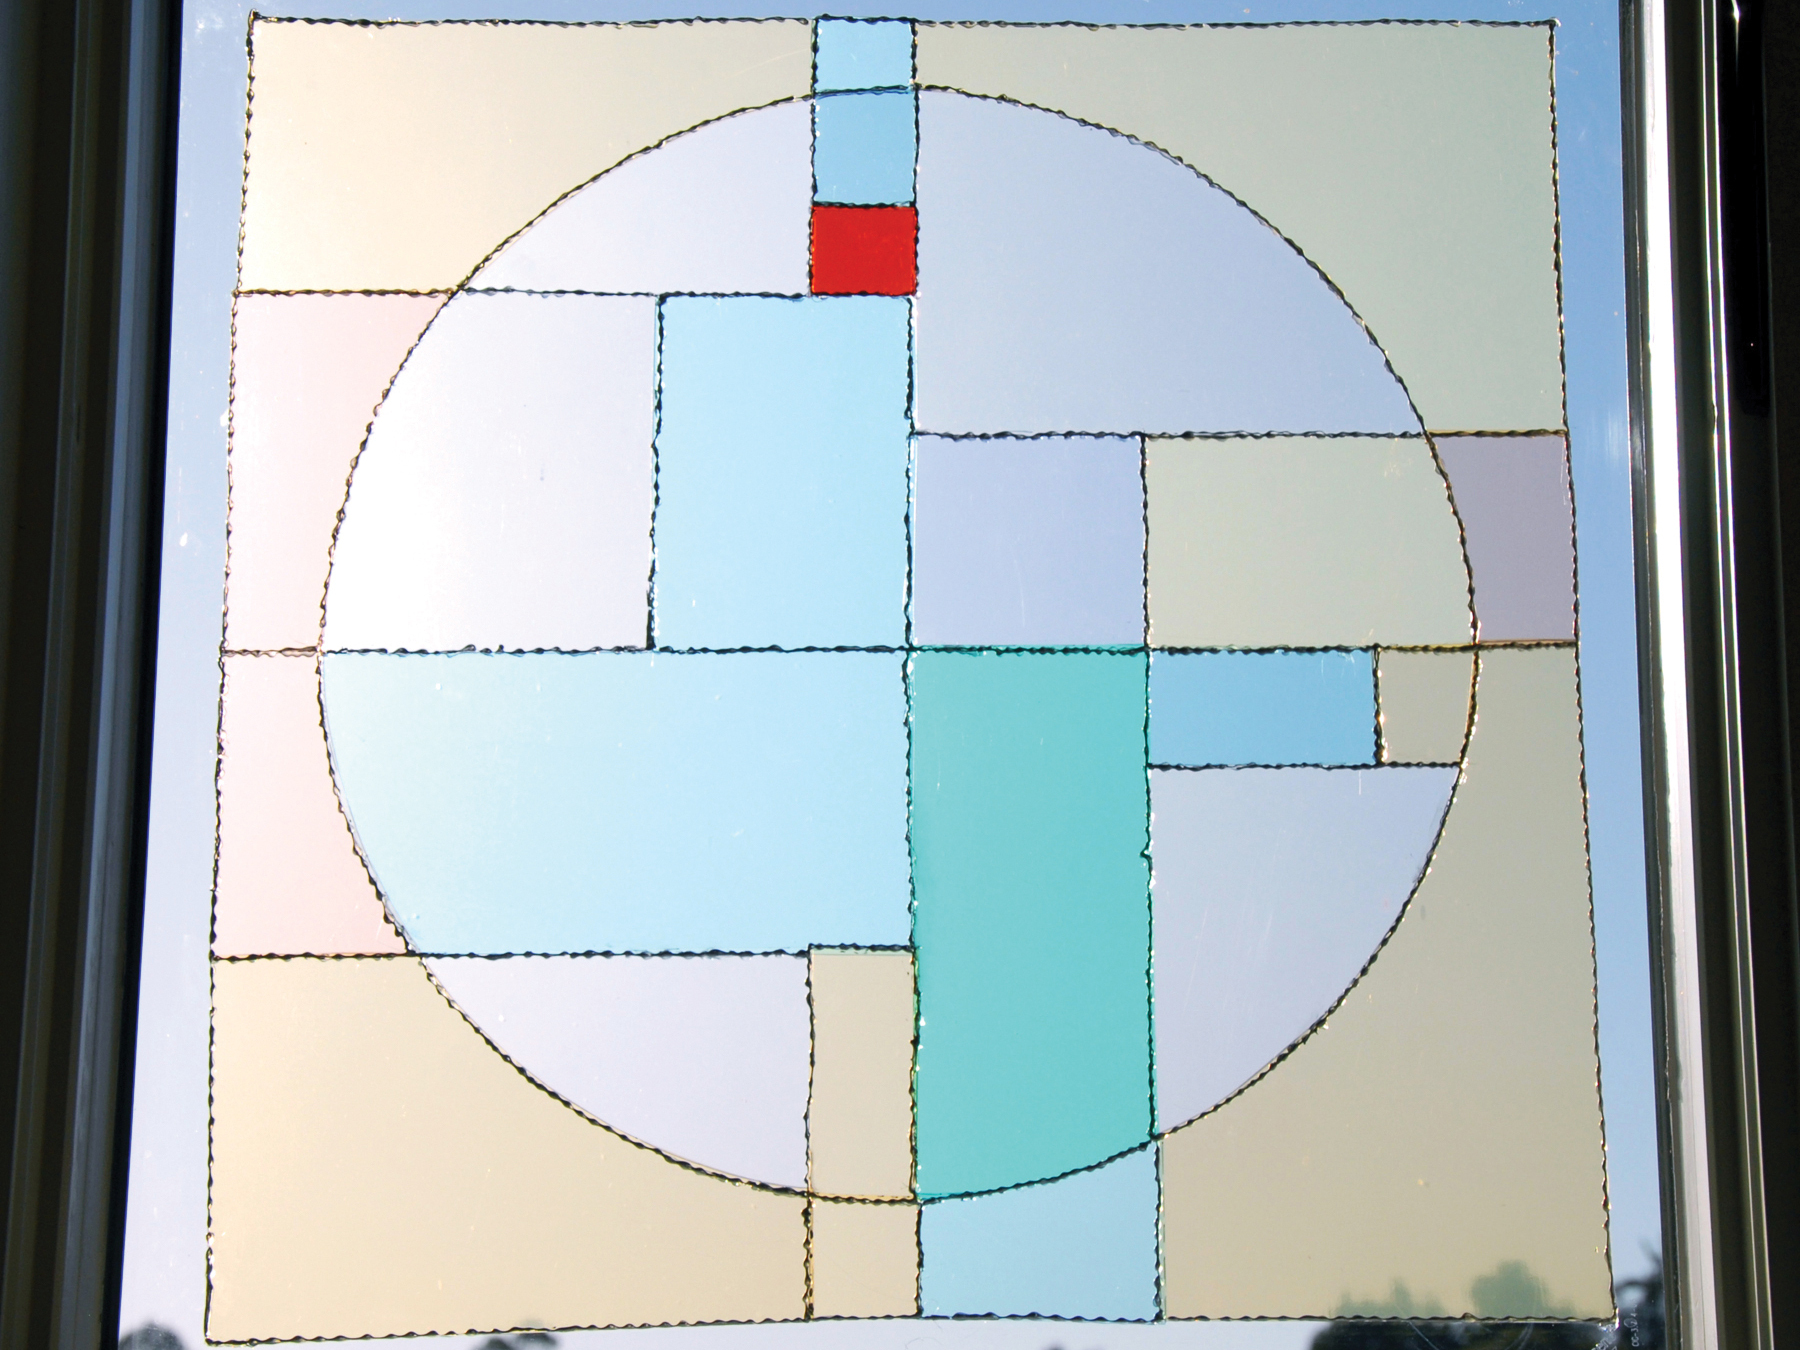
Draw your design.
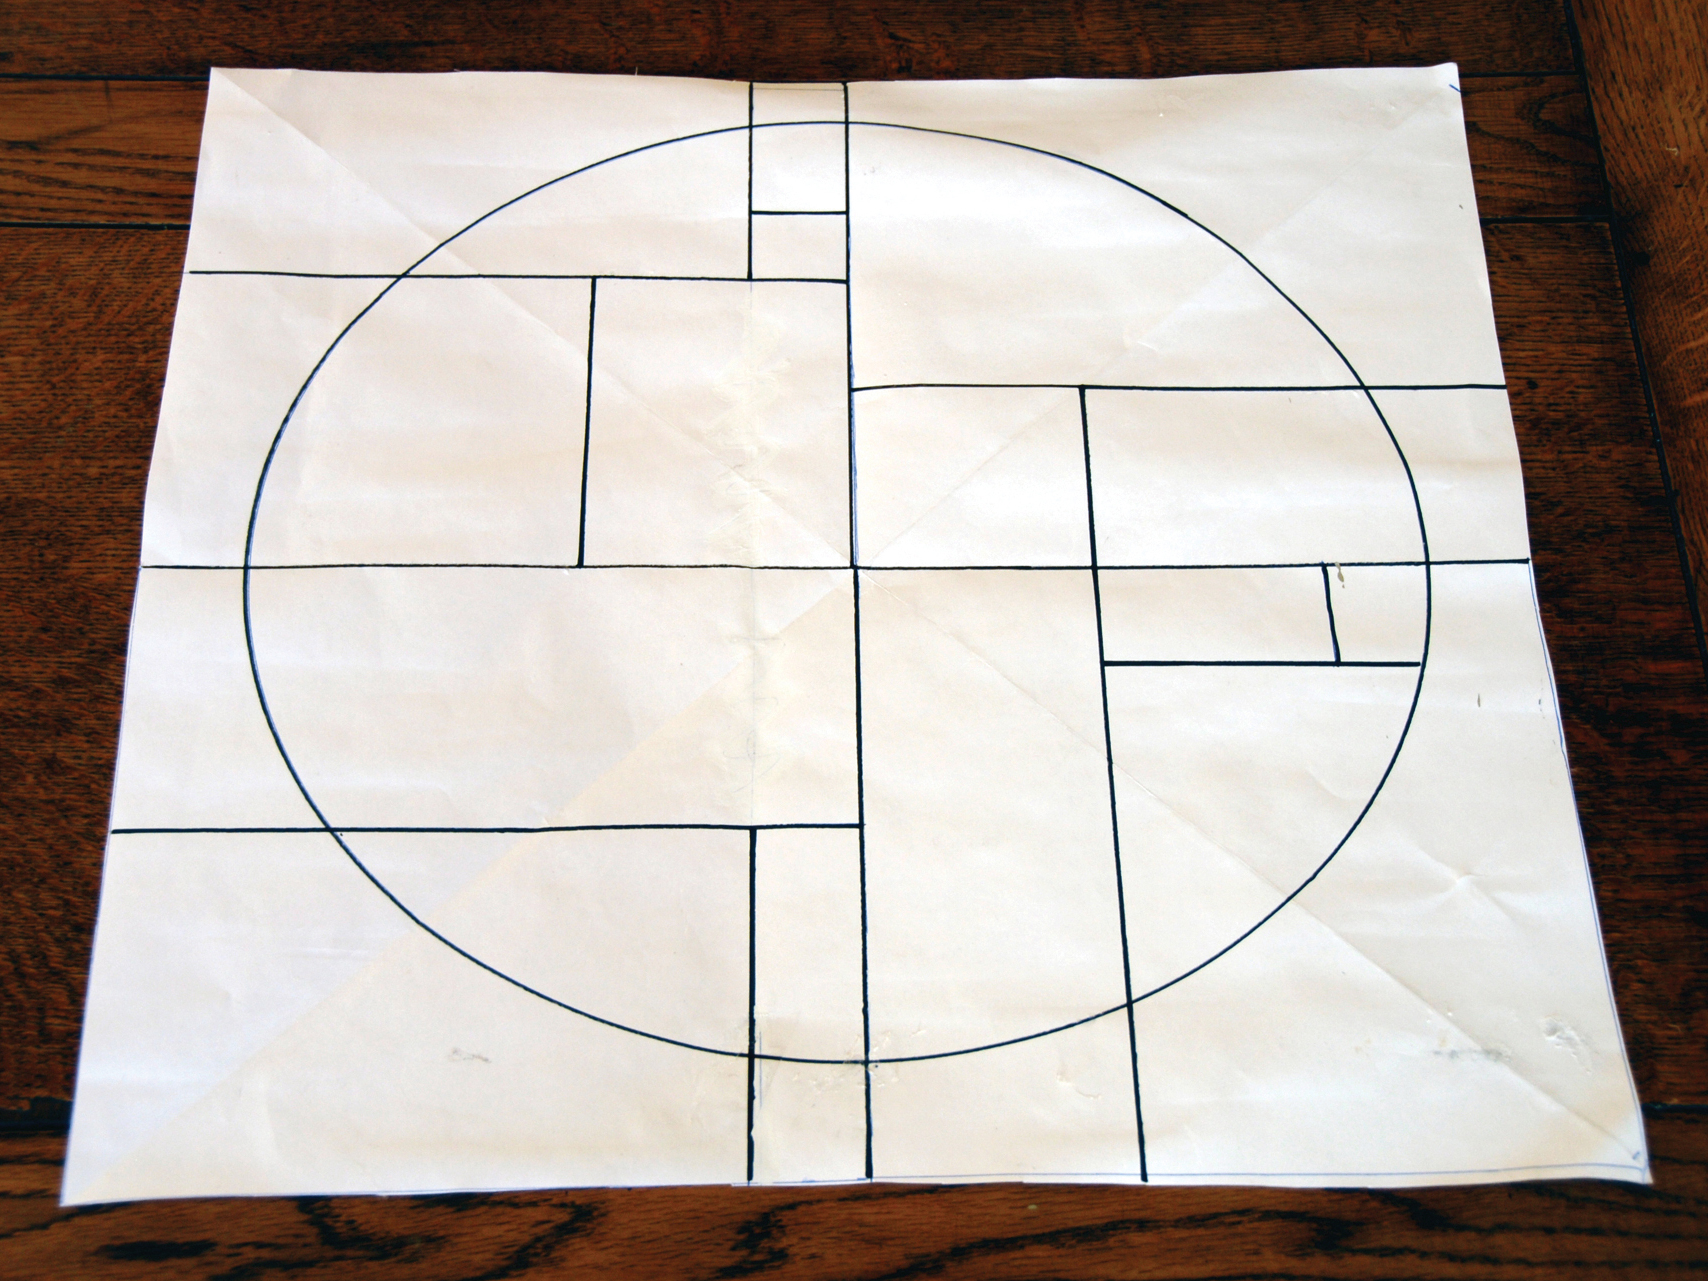
Draw your design on a large piece of paper with a thick marker. This will allow you to see it under the plastic pieces.
Pick your colors.
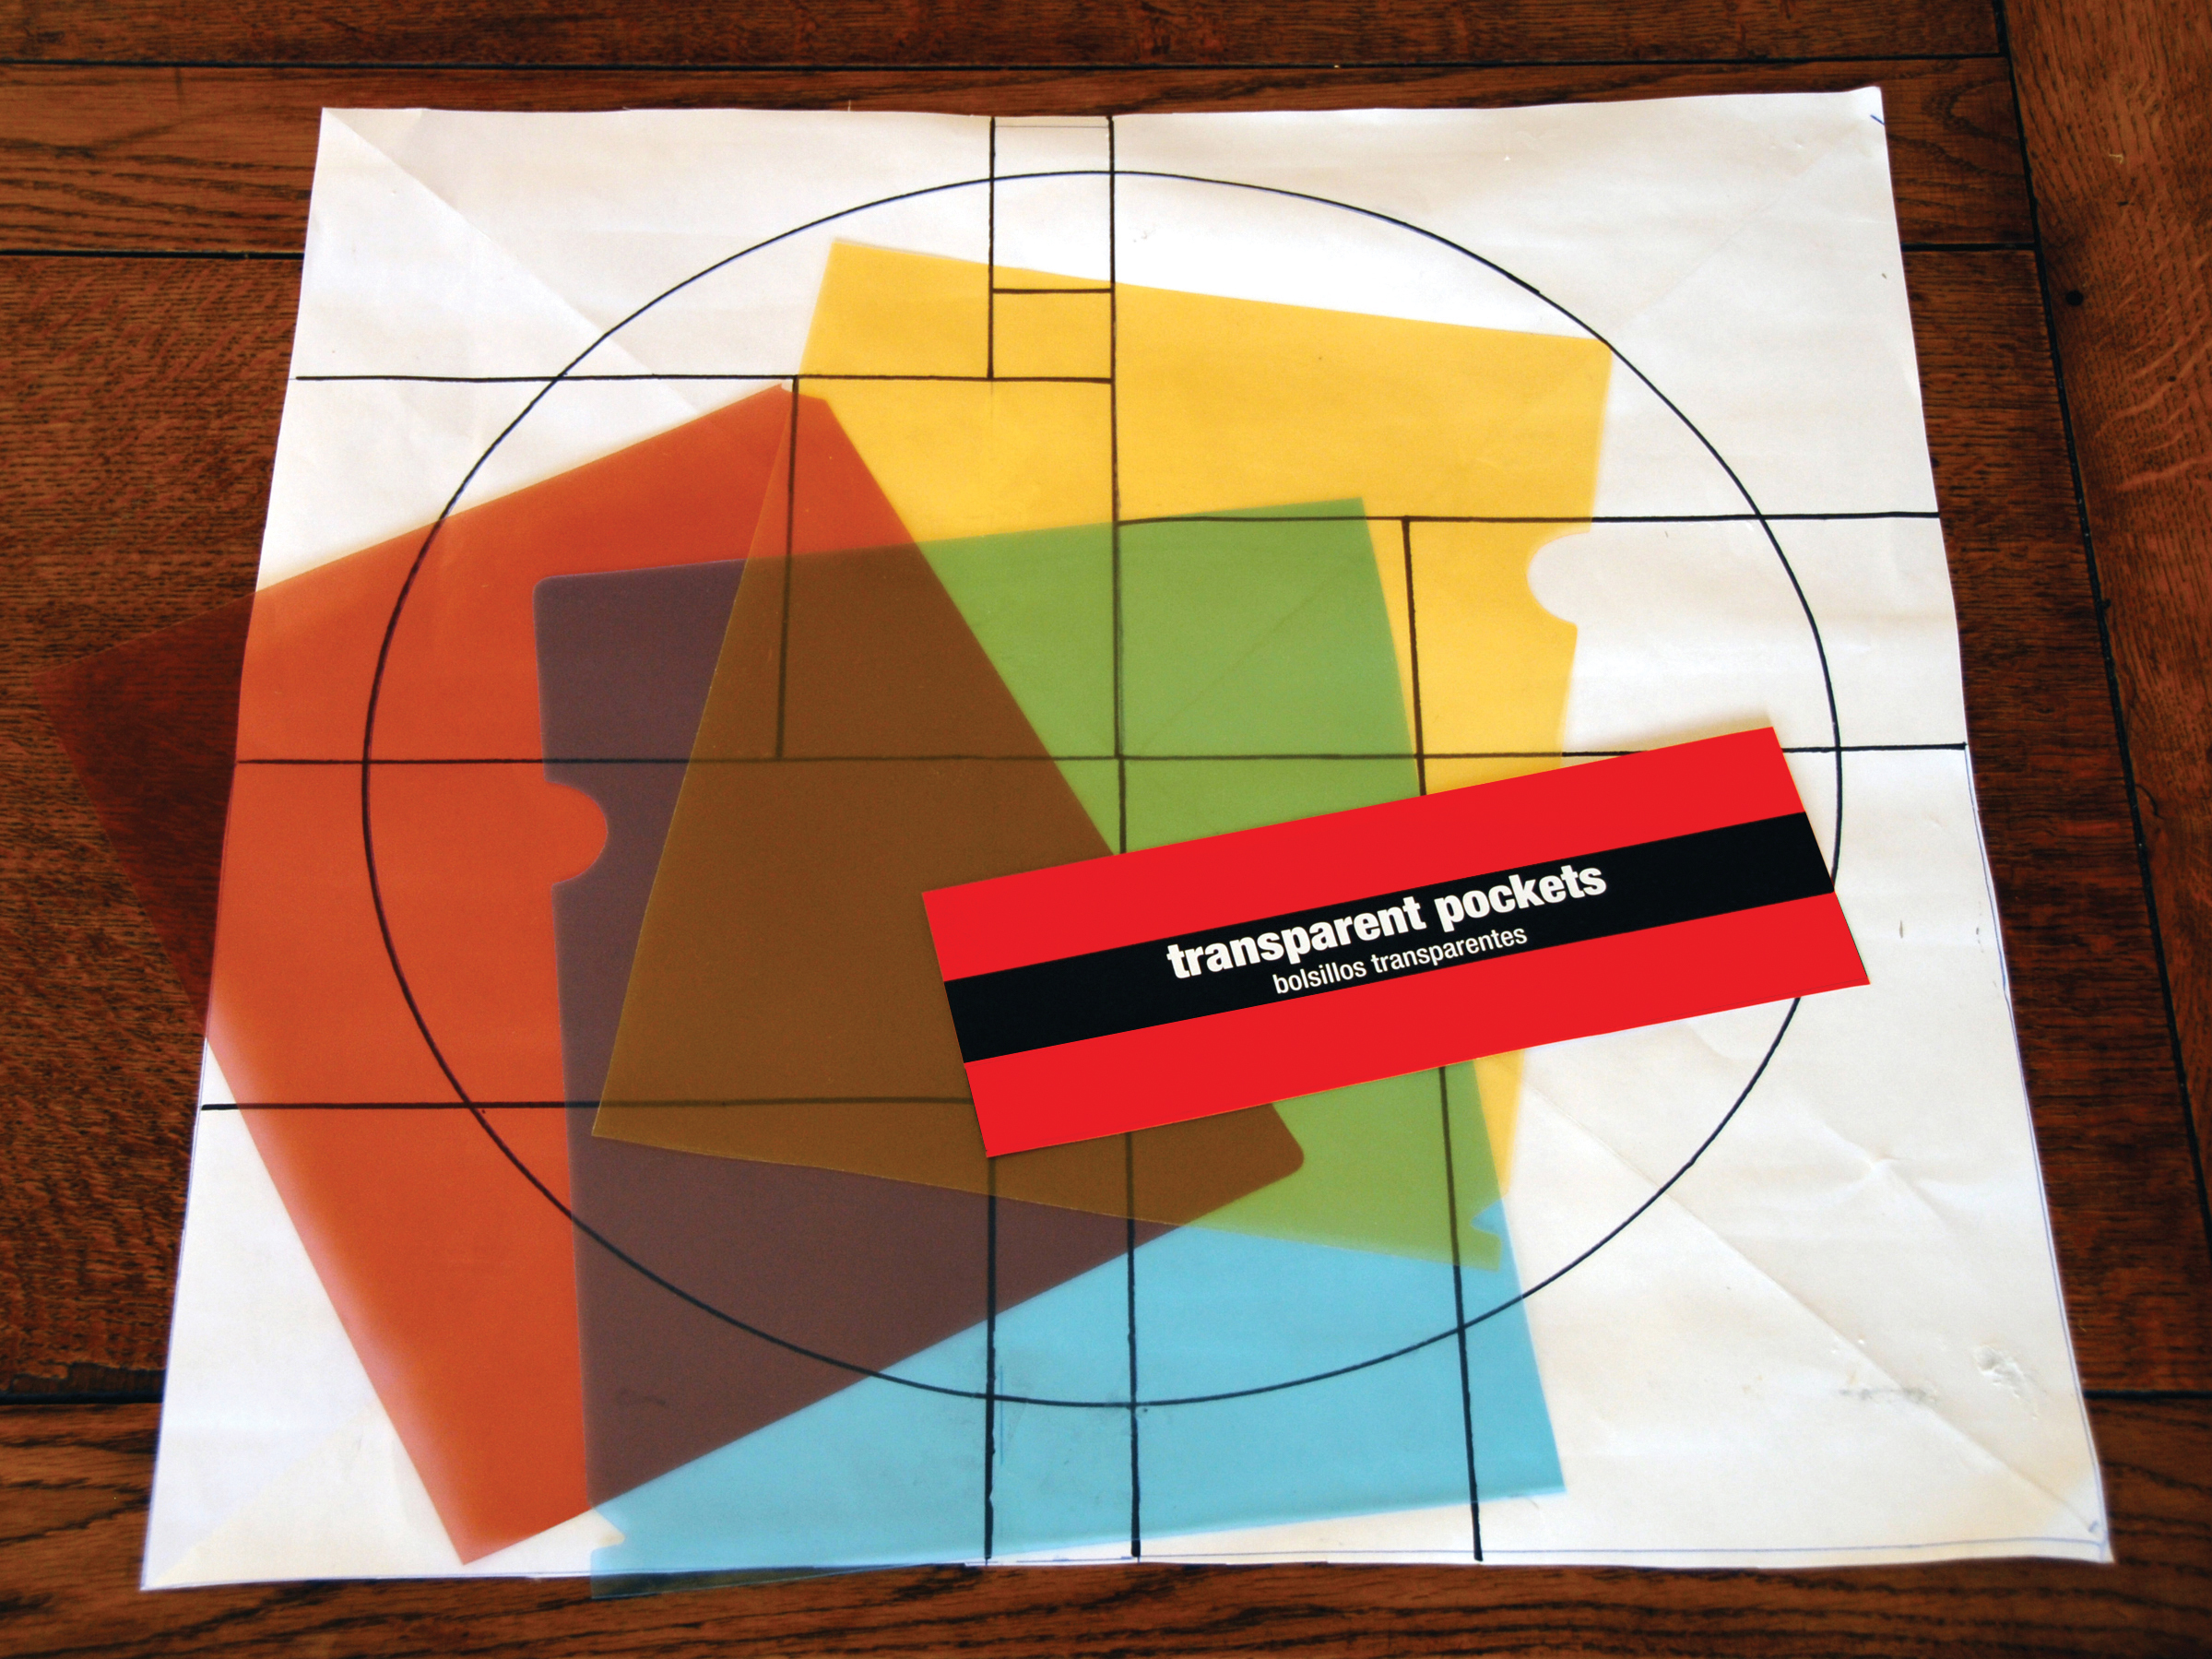
Decide which colors go where, then lay your plastic folders over your drawing and start tracing the shapes. Use 2 colors together to create different colors, such as blue and red to make purple, just as with paint.
Cut and place color pieces.
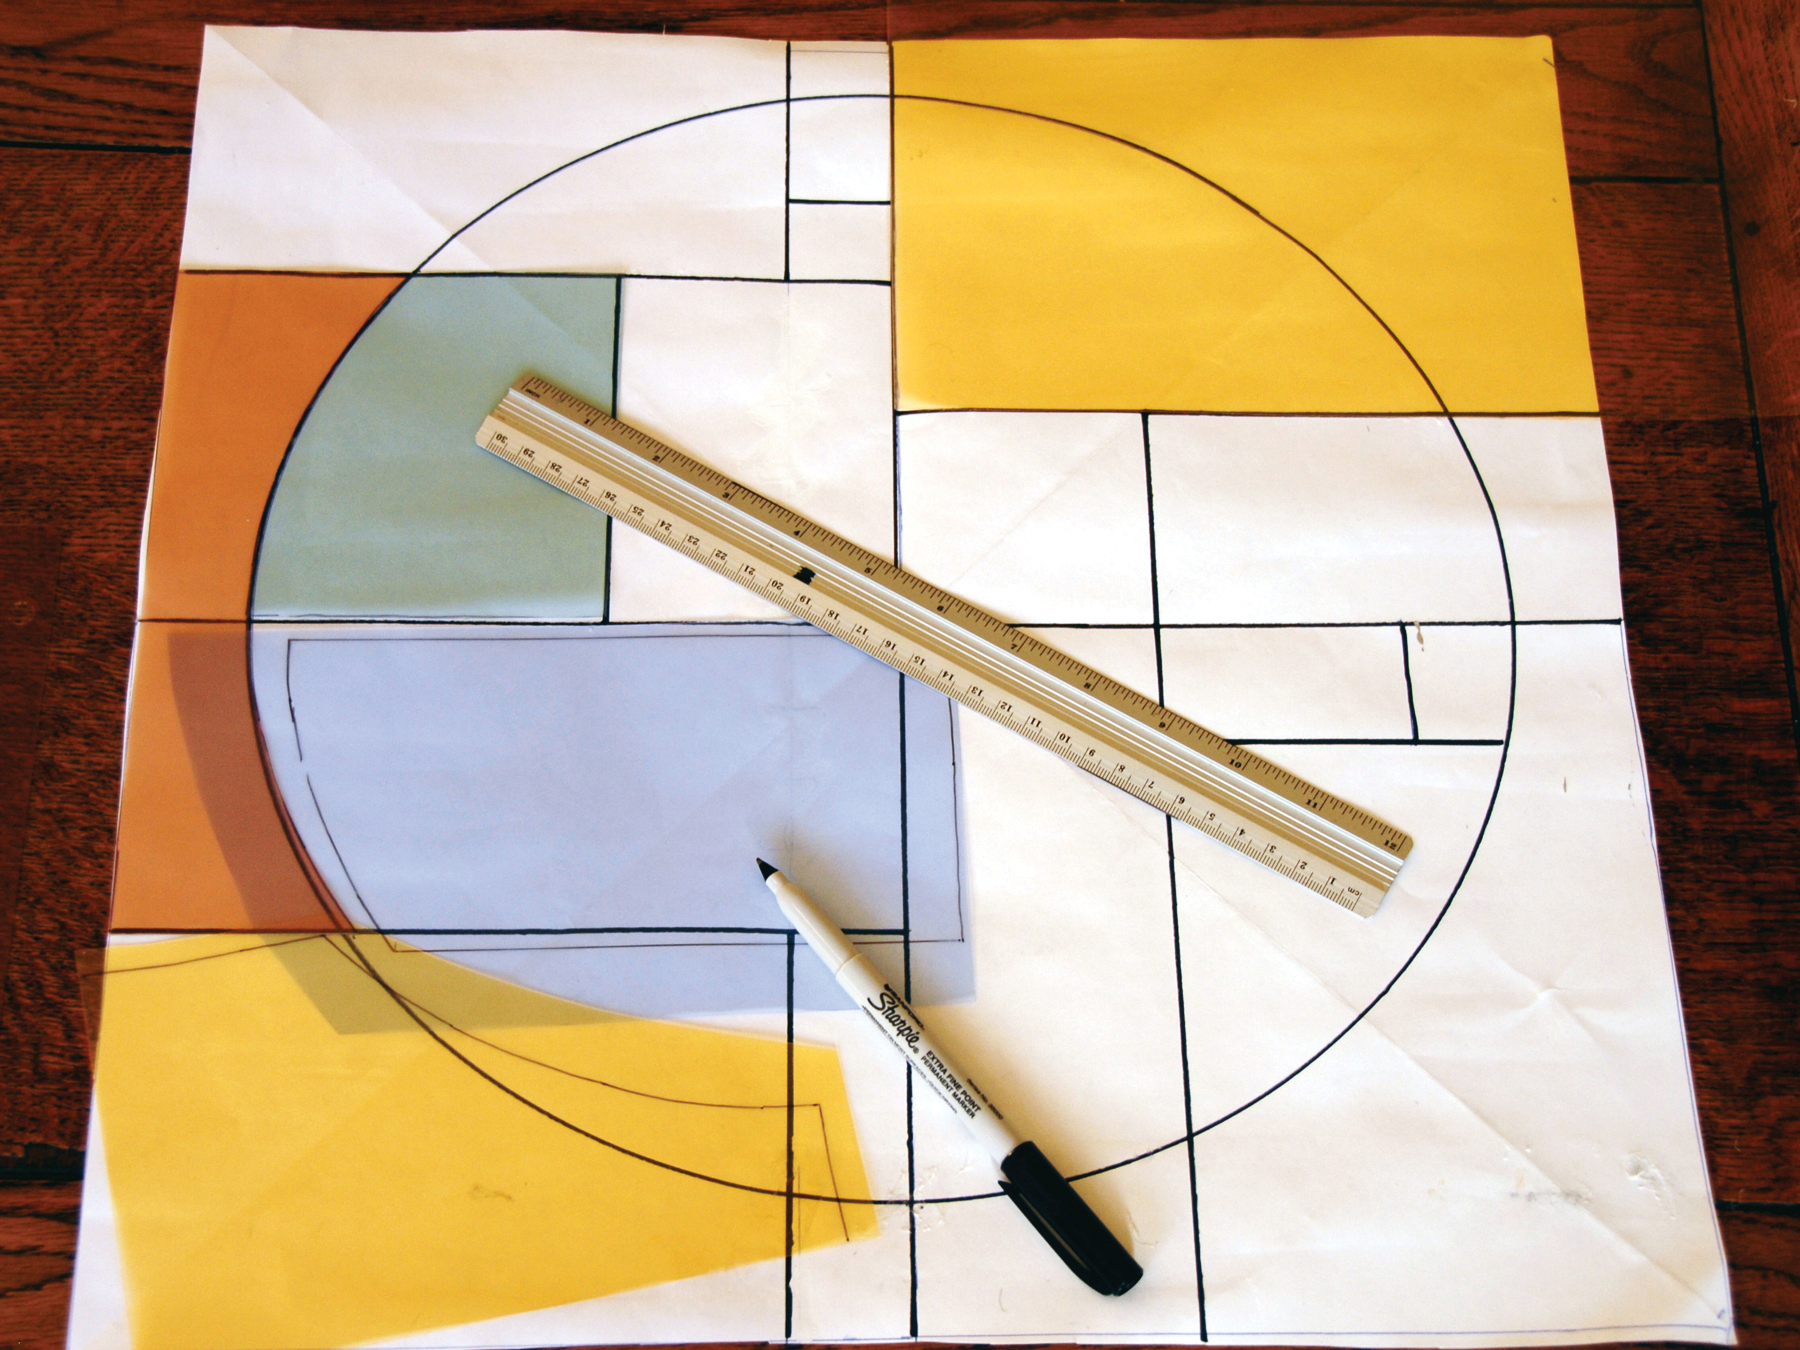
Cut out your shapes and place them on your drawing.
Once all the pieces are cut out and placed on the design, tape them together with very small pieces of tape. Fold over the end of the tape so it’s easy to remove while you work.
Glue your window together.
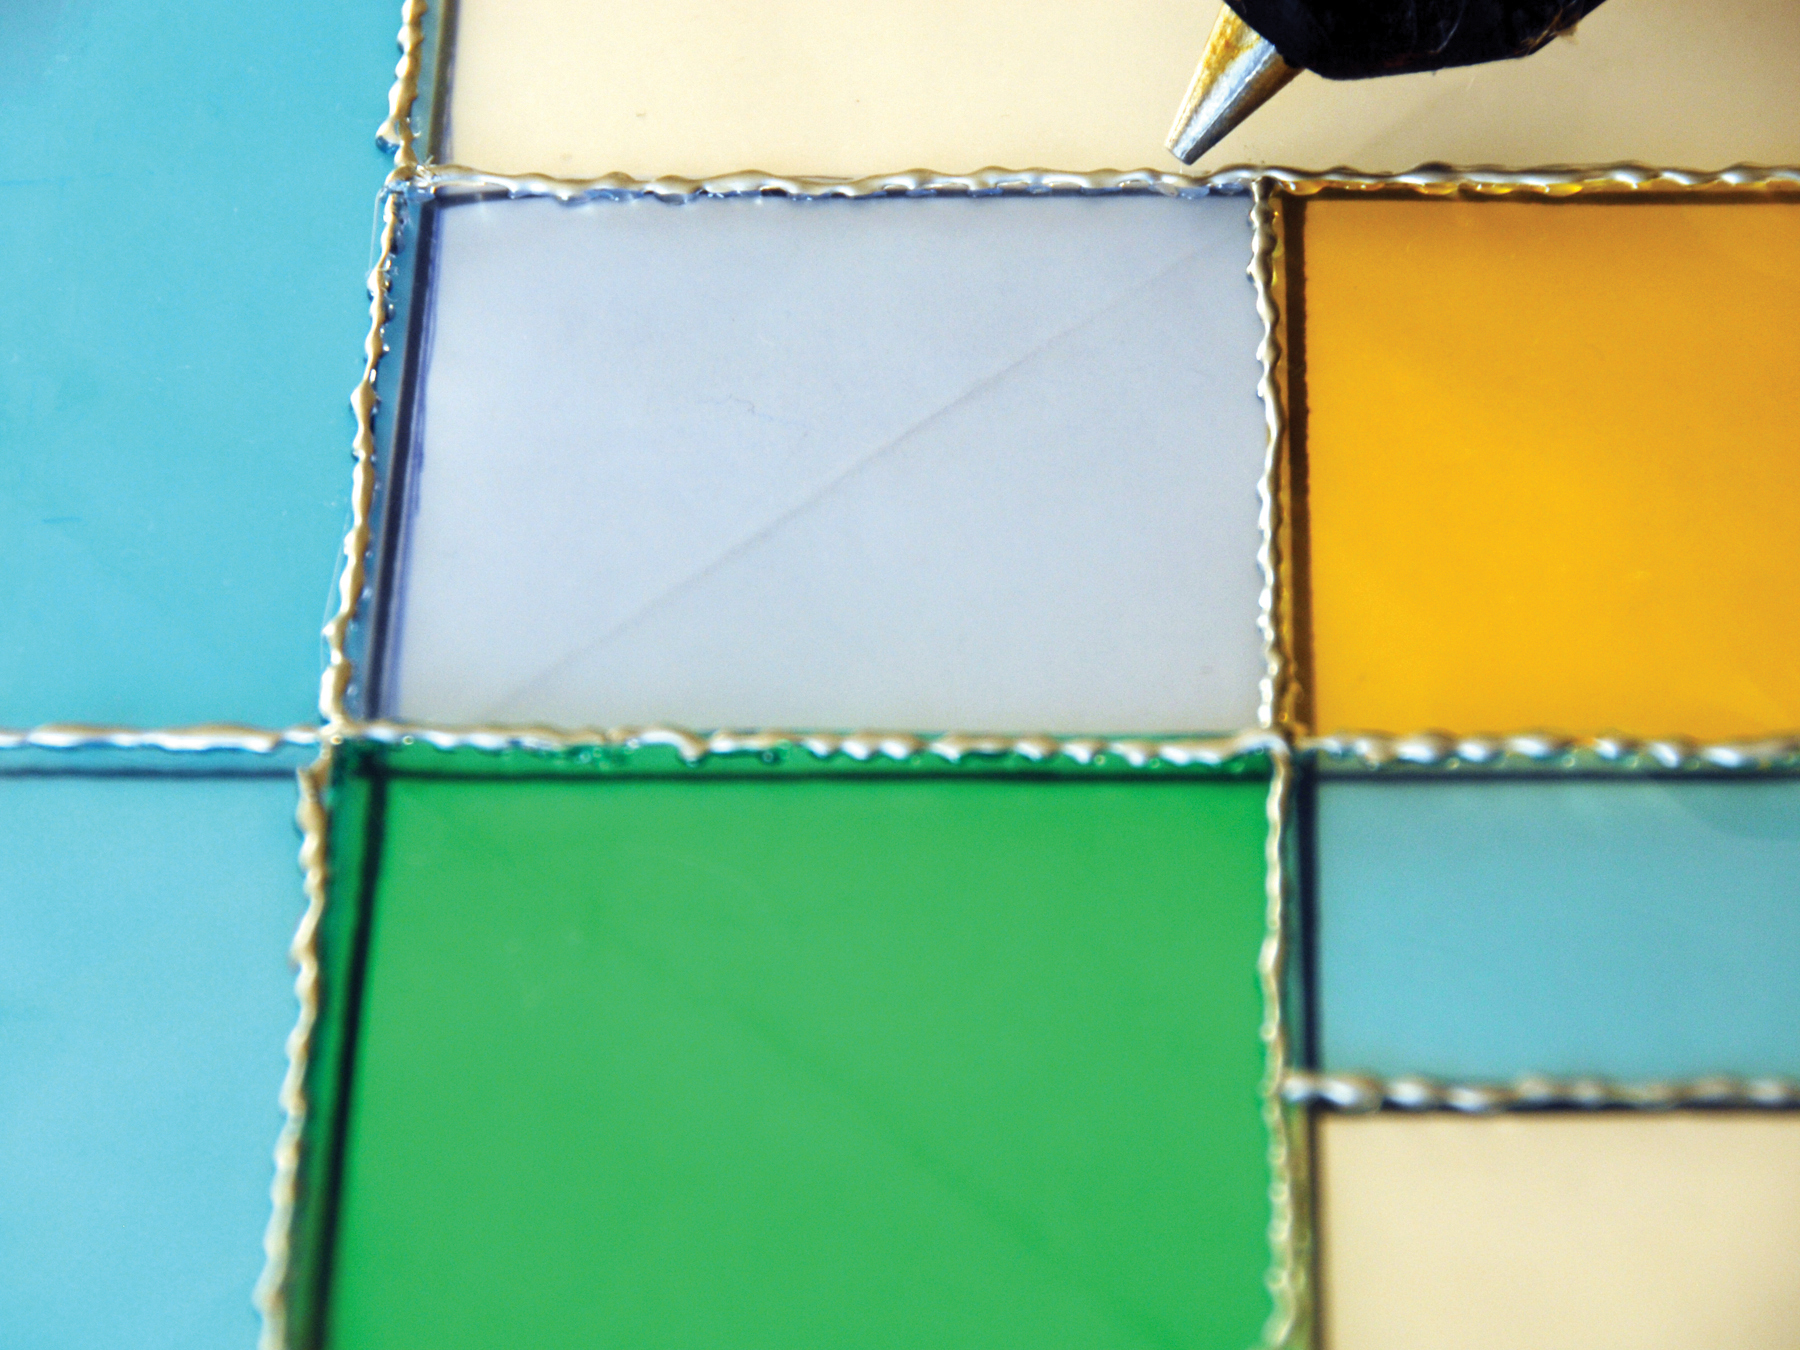
Using your hot glue gun, glue your pieces together along the seams where they meet. Wipe off the tip of the glue gun regularly with an old rag to keep your beads of glue neat.
Glue all around the edges of your stained glass piece to give it a finished edge.
Using small pieces of tape, place the faux stained glass on your window to position it where you want it.
Using tiny beads of clear hot glue, adhere the stained glass piece to your window every 5″ or so. You can easily remove it when it’s time for a change.
Conclusion
This project first appeared in CRAFT Volume 08, page 88.


