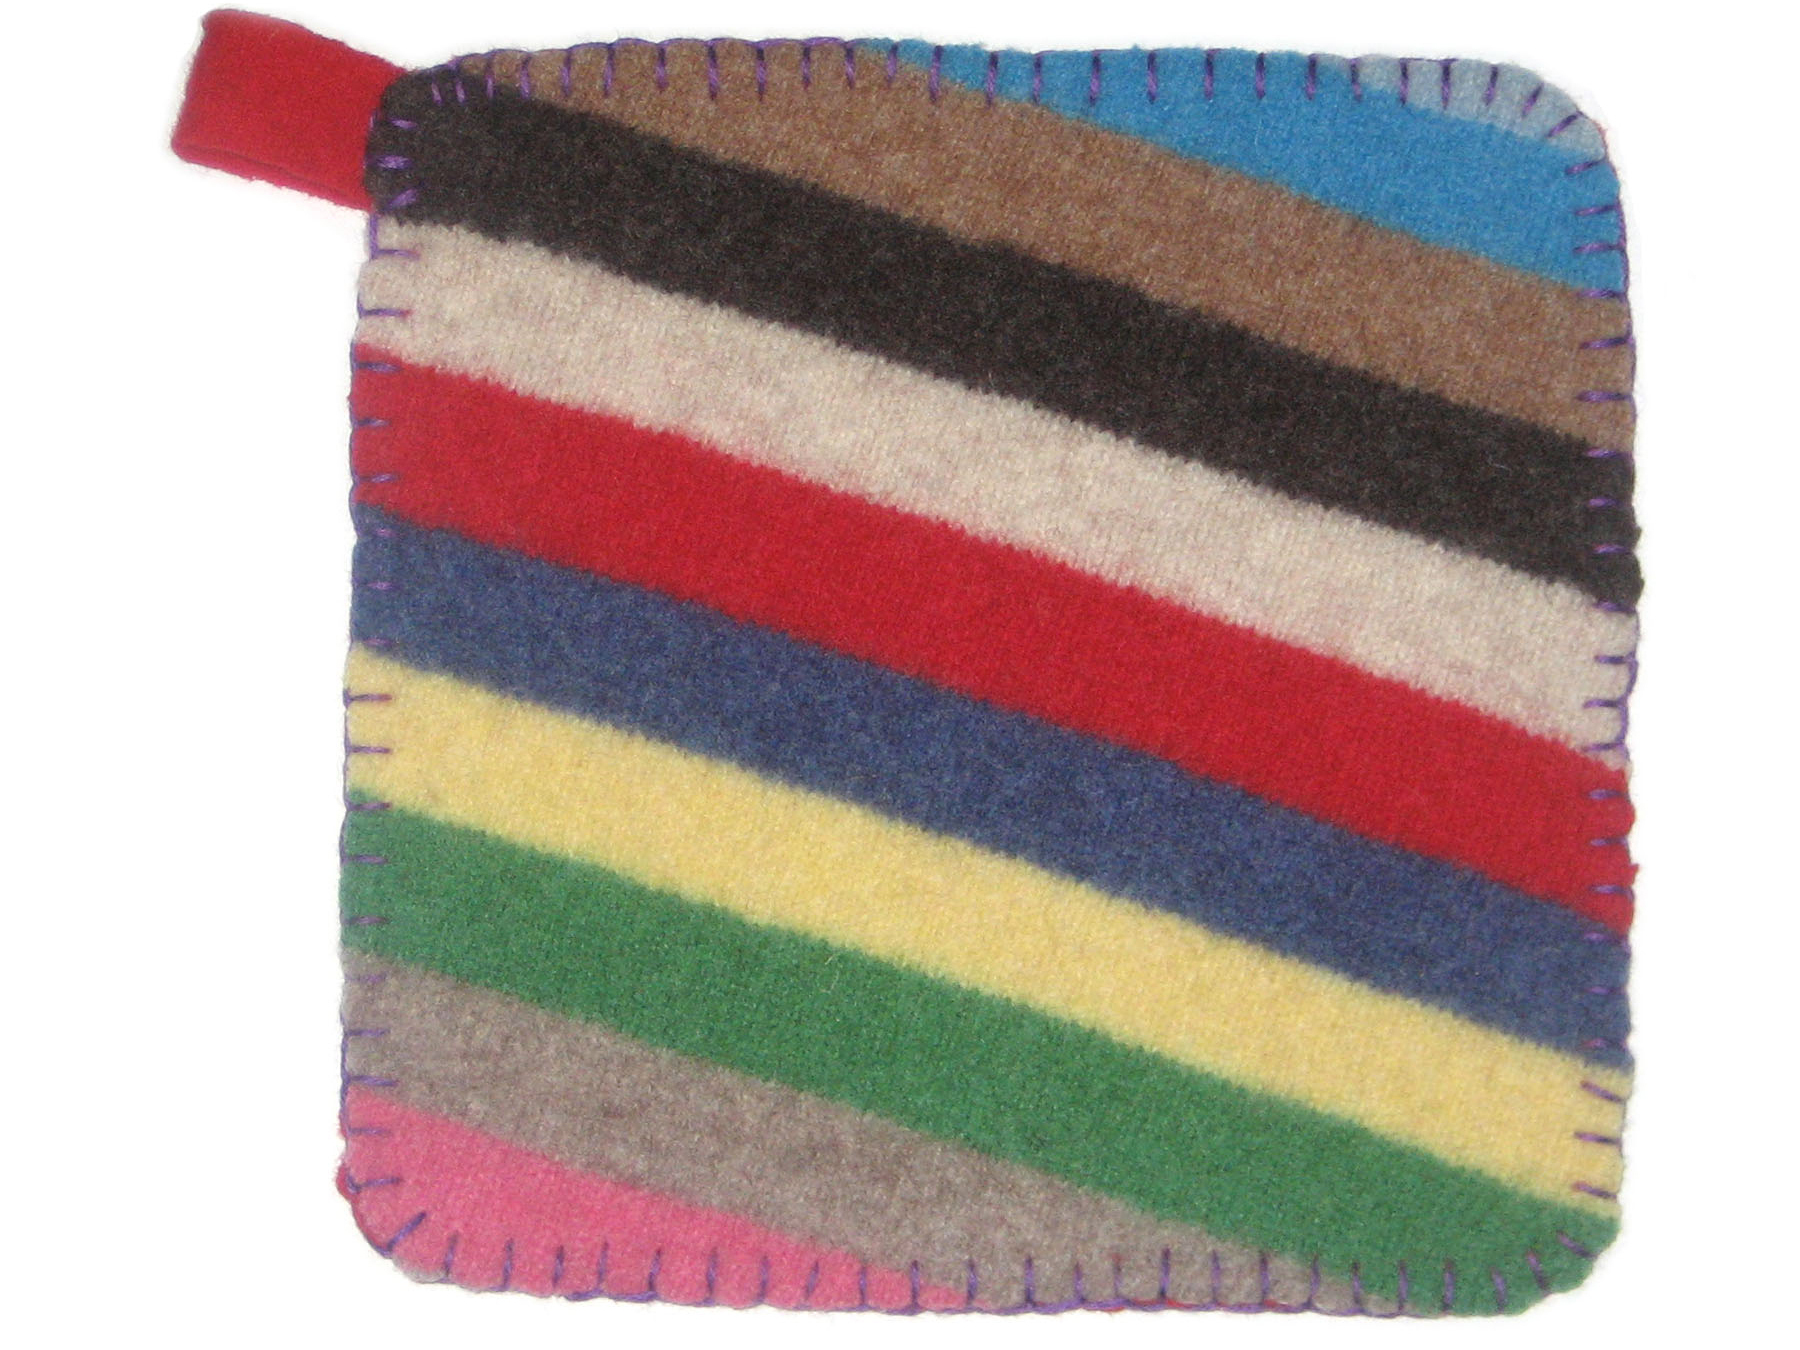
Agitating wool in water causes the fibers to bind onto each other and shrink. The great news is that this binding action creates a dense, soft material whose raw edges won’t fray. This is known as felting.

The next time your favorite wool sweater accidentally slips into the wash and shrinks to oblivion, take another look. See it as raw material for your next craft project. You might even start shrinking sweaters on purpose.

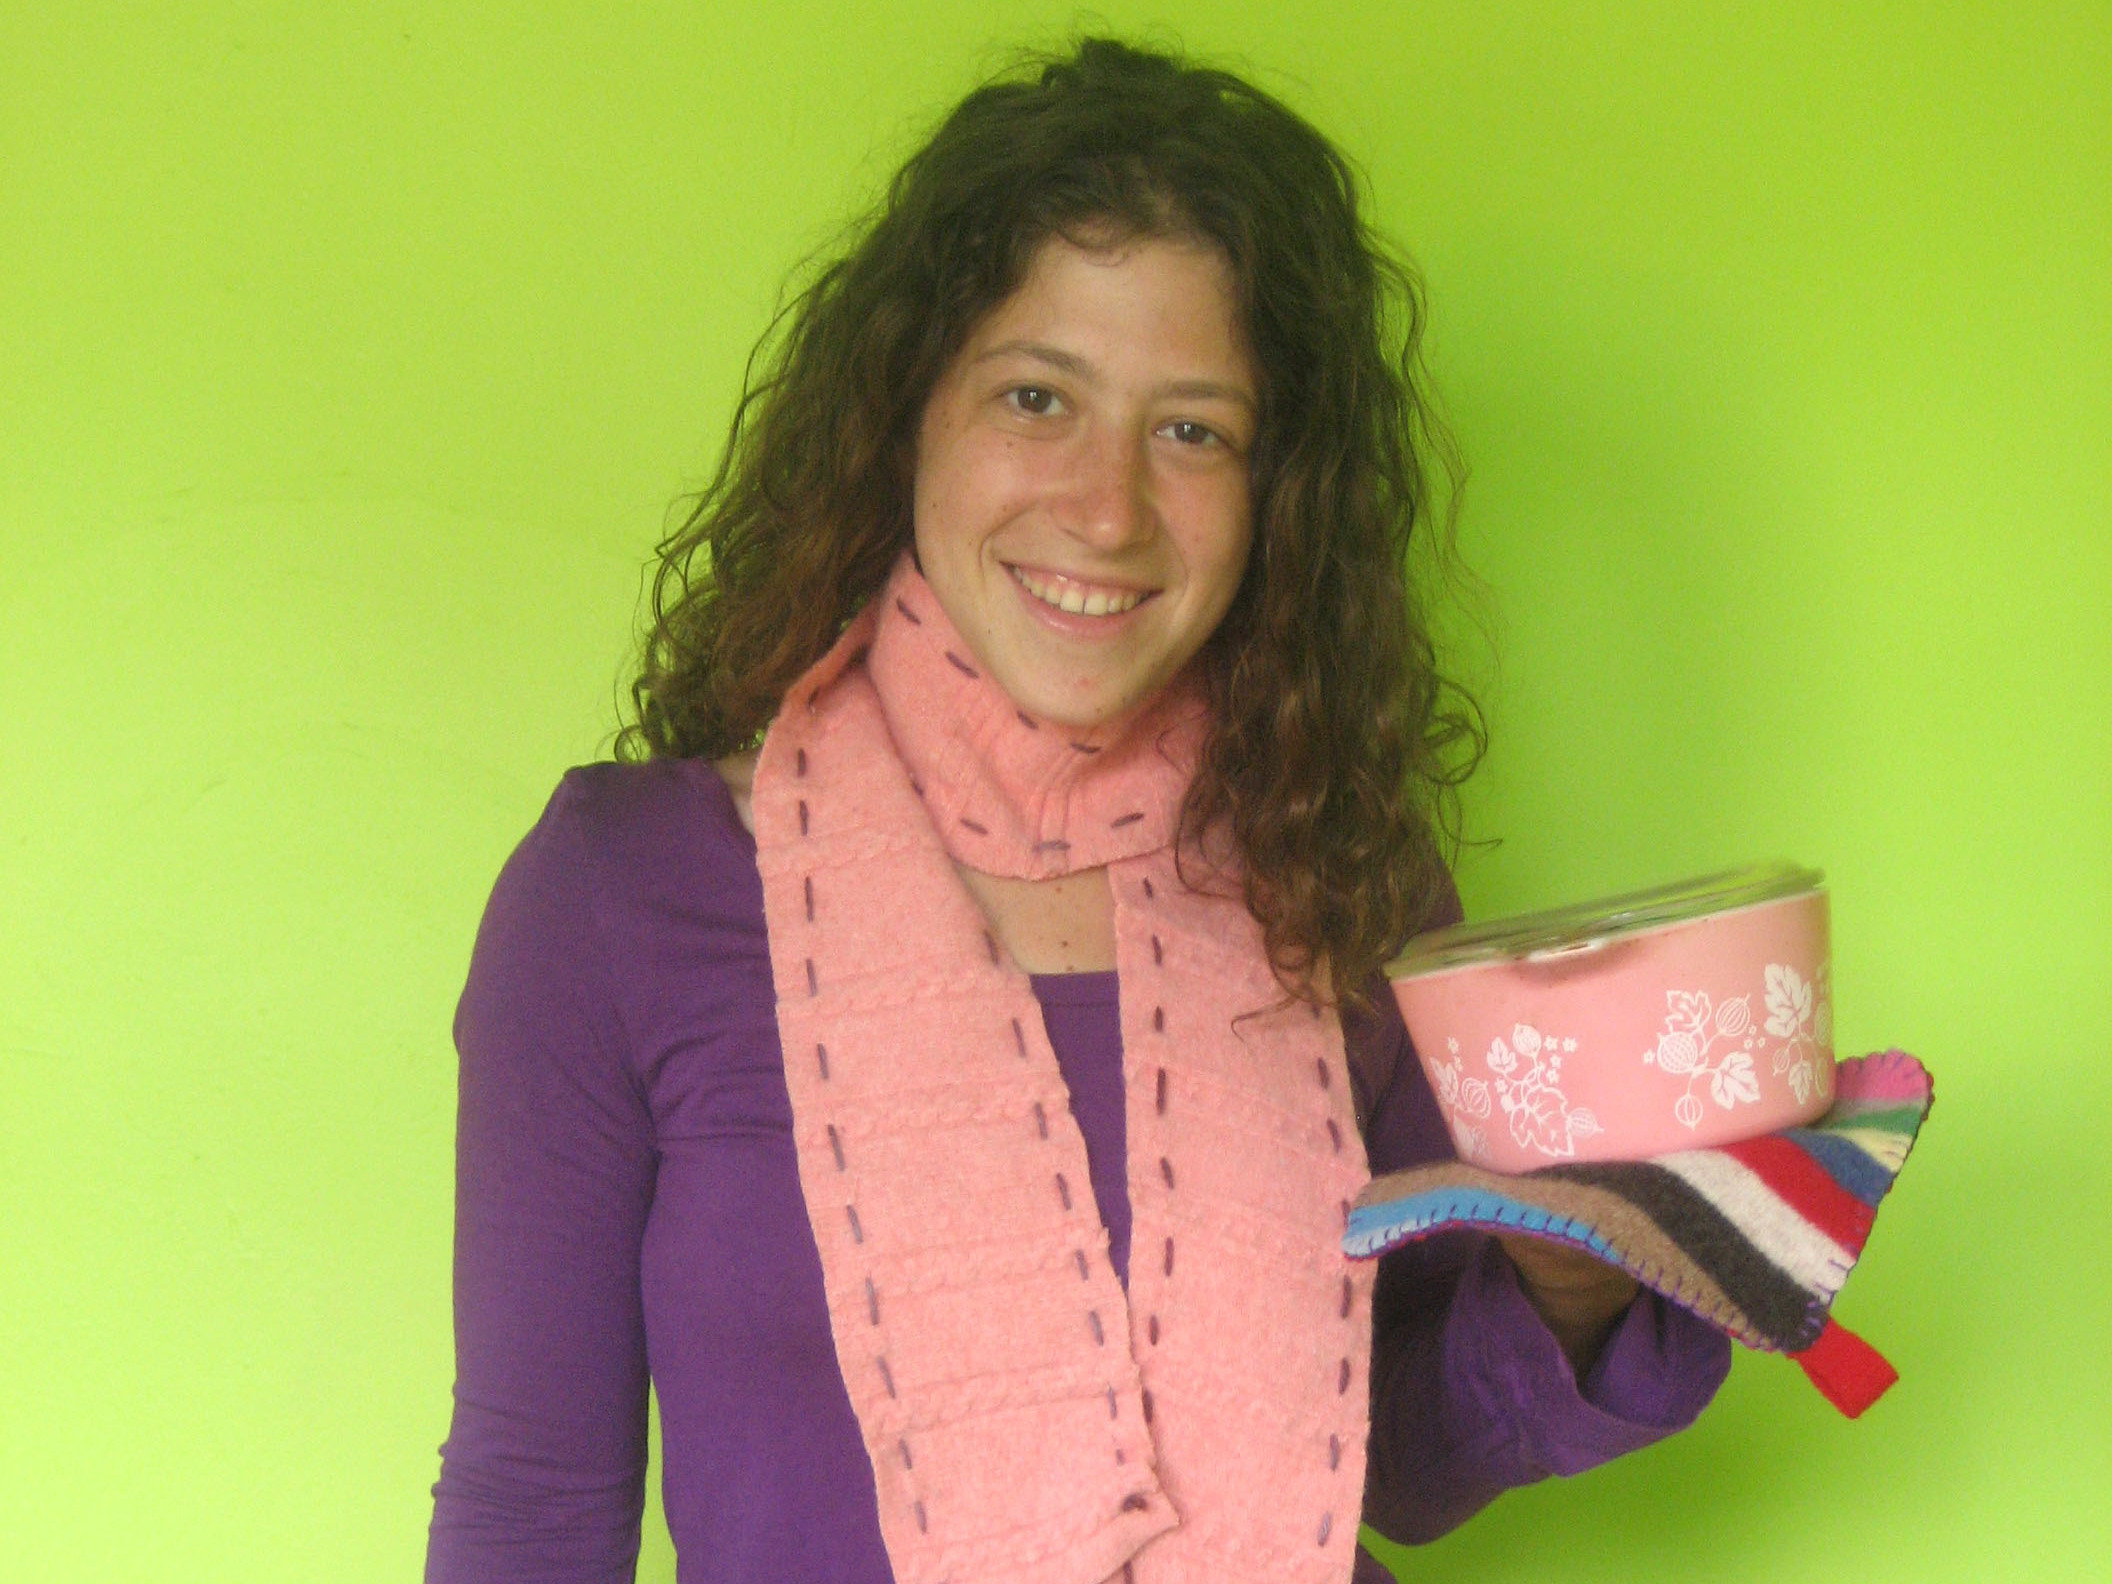
Wool is a natural fire retardant, so it works well as a potholder. That doesn’t mean you should put it directly on a flaming stove, but it will resist fire better than cotton or polyester.

What will the next generation of Make: look like? We’re inviting you to shape the future by investing in Make:. By becoming an investor, you help decide what’s next. The future of Make: is in your hands. Learn More.

Project Steps

Felt your sweaters.

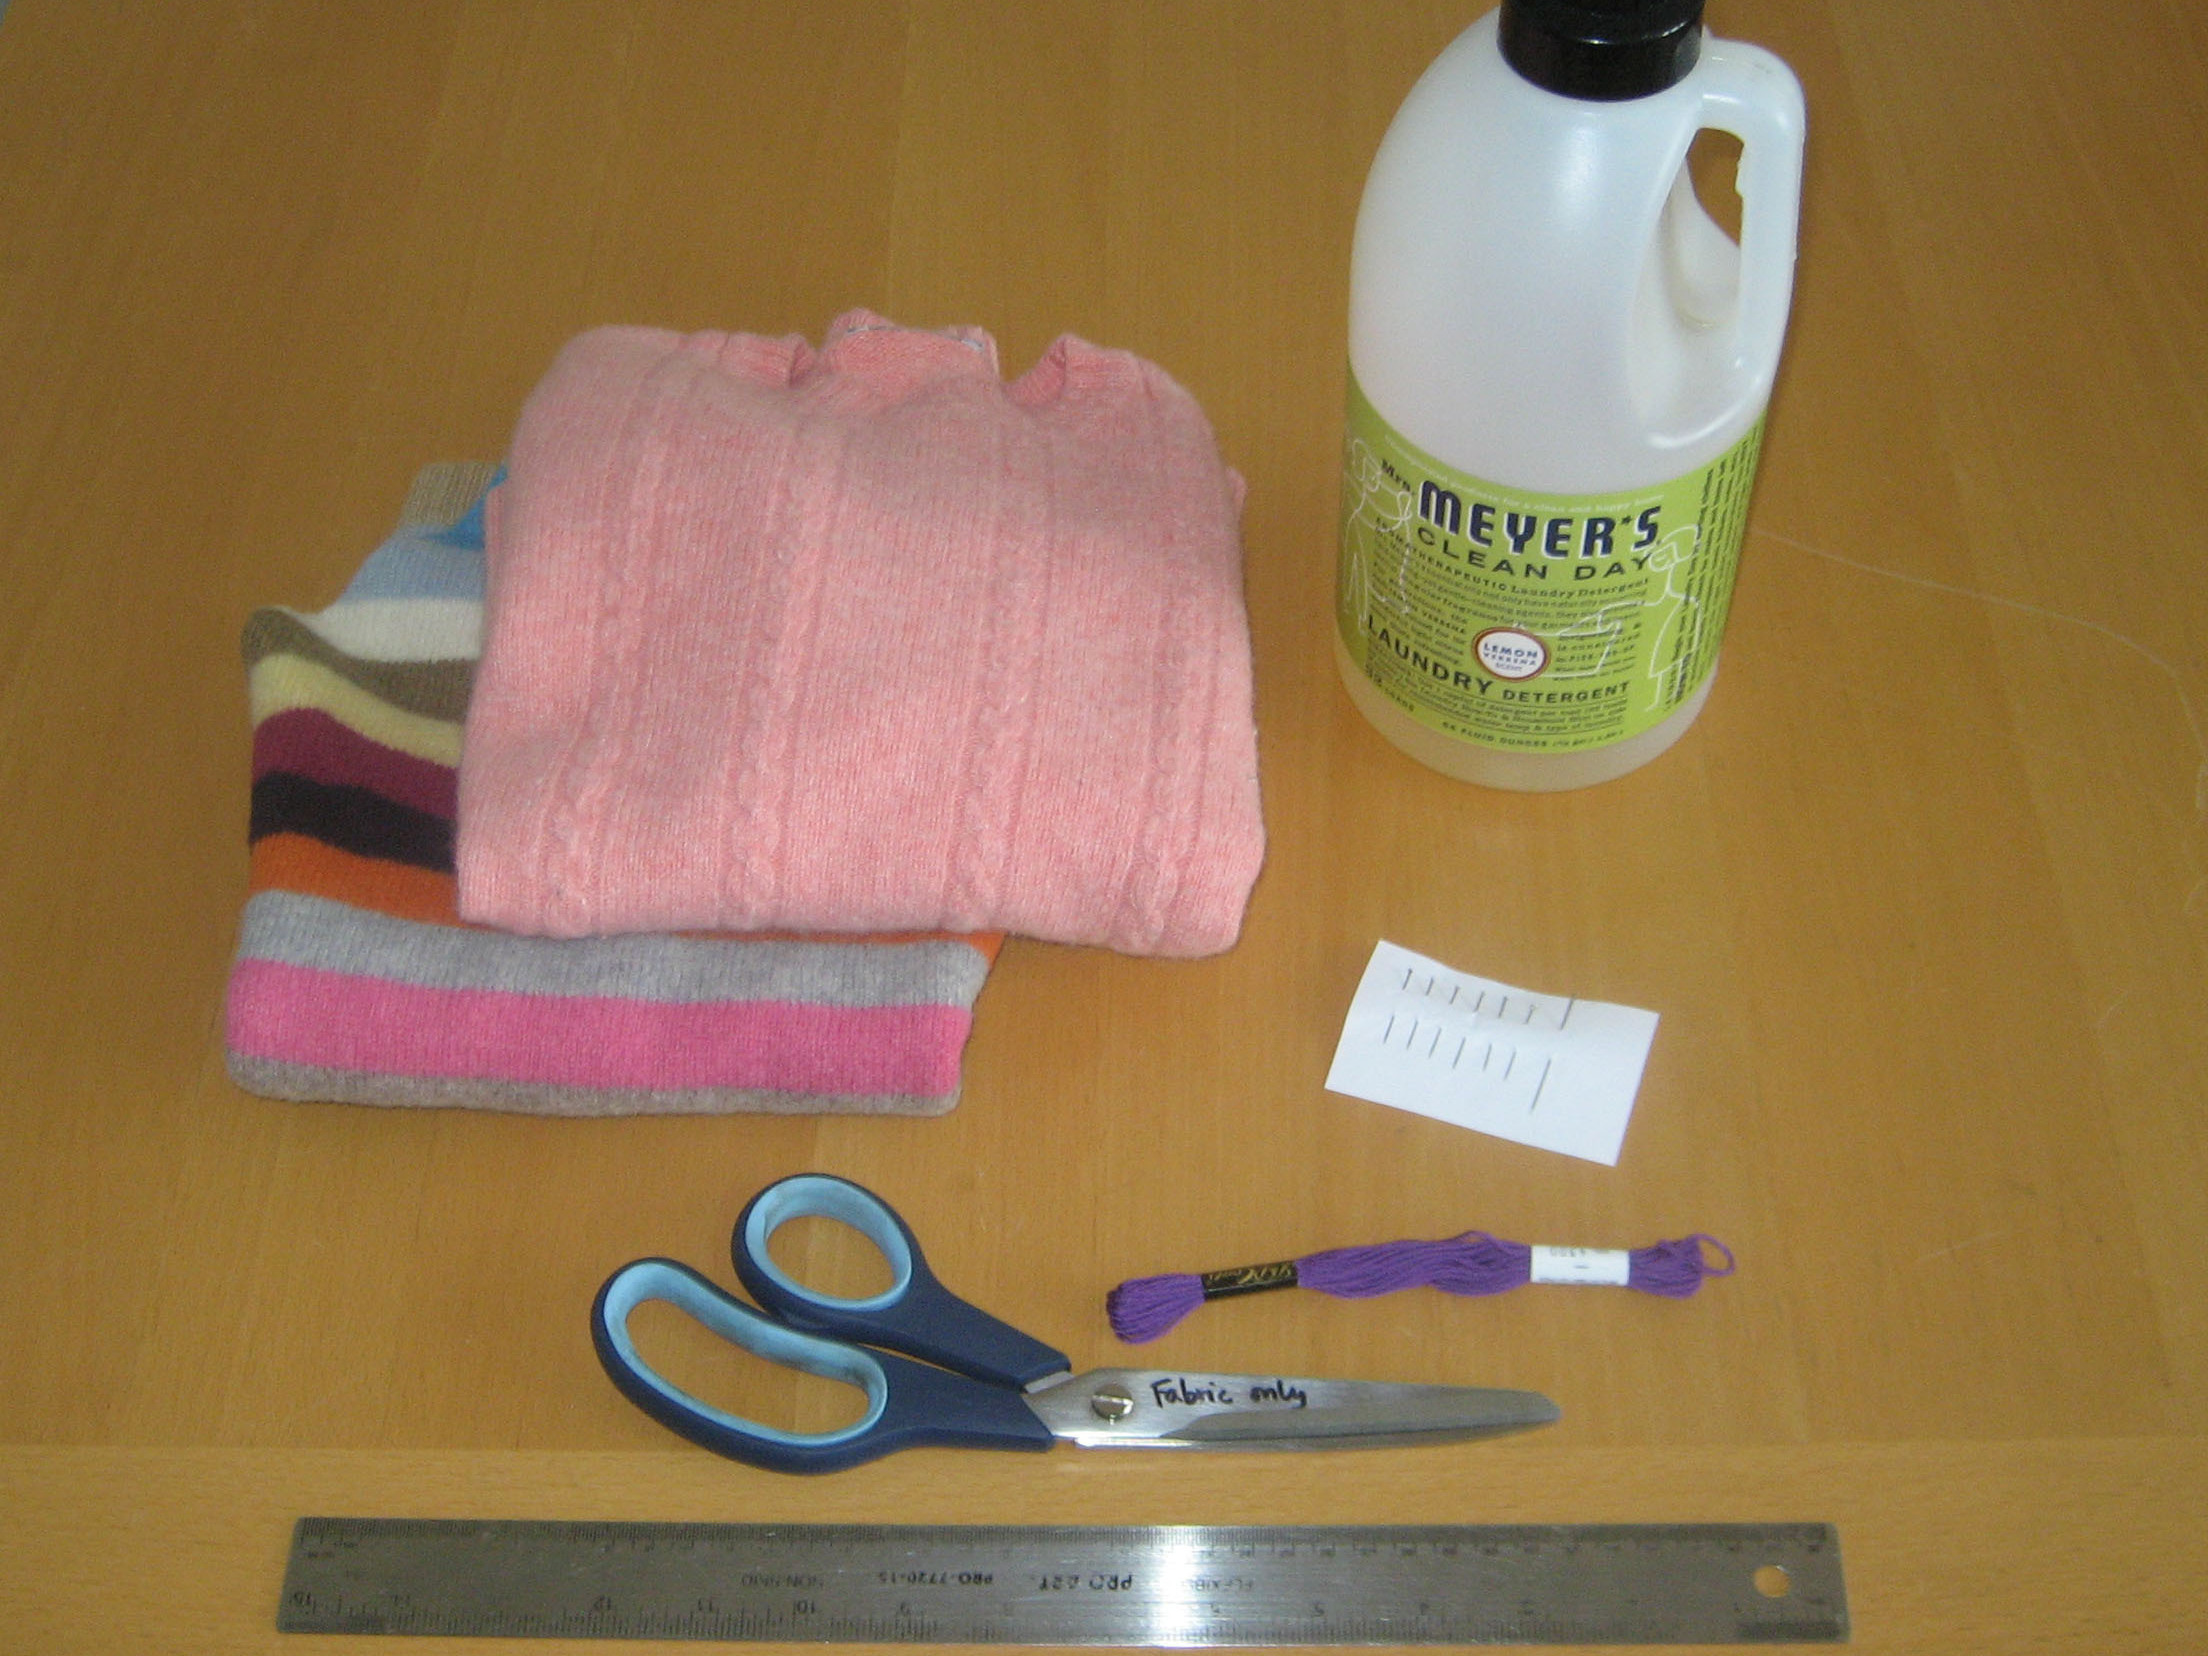
Put your sweater in the washing machine on the hottest setting. Add a small amount of detergent, and wash.

Then dry on the hottest setting.

Cut your pieces.

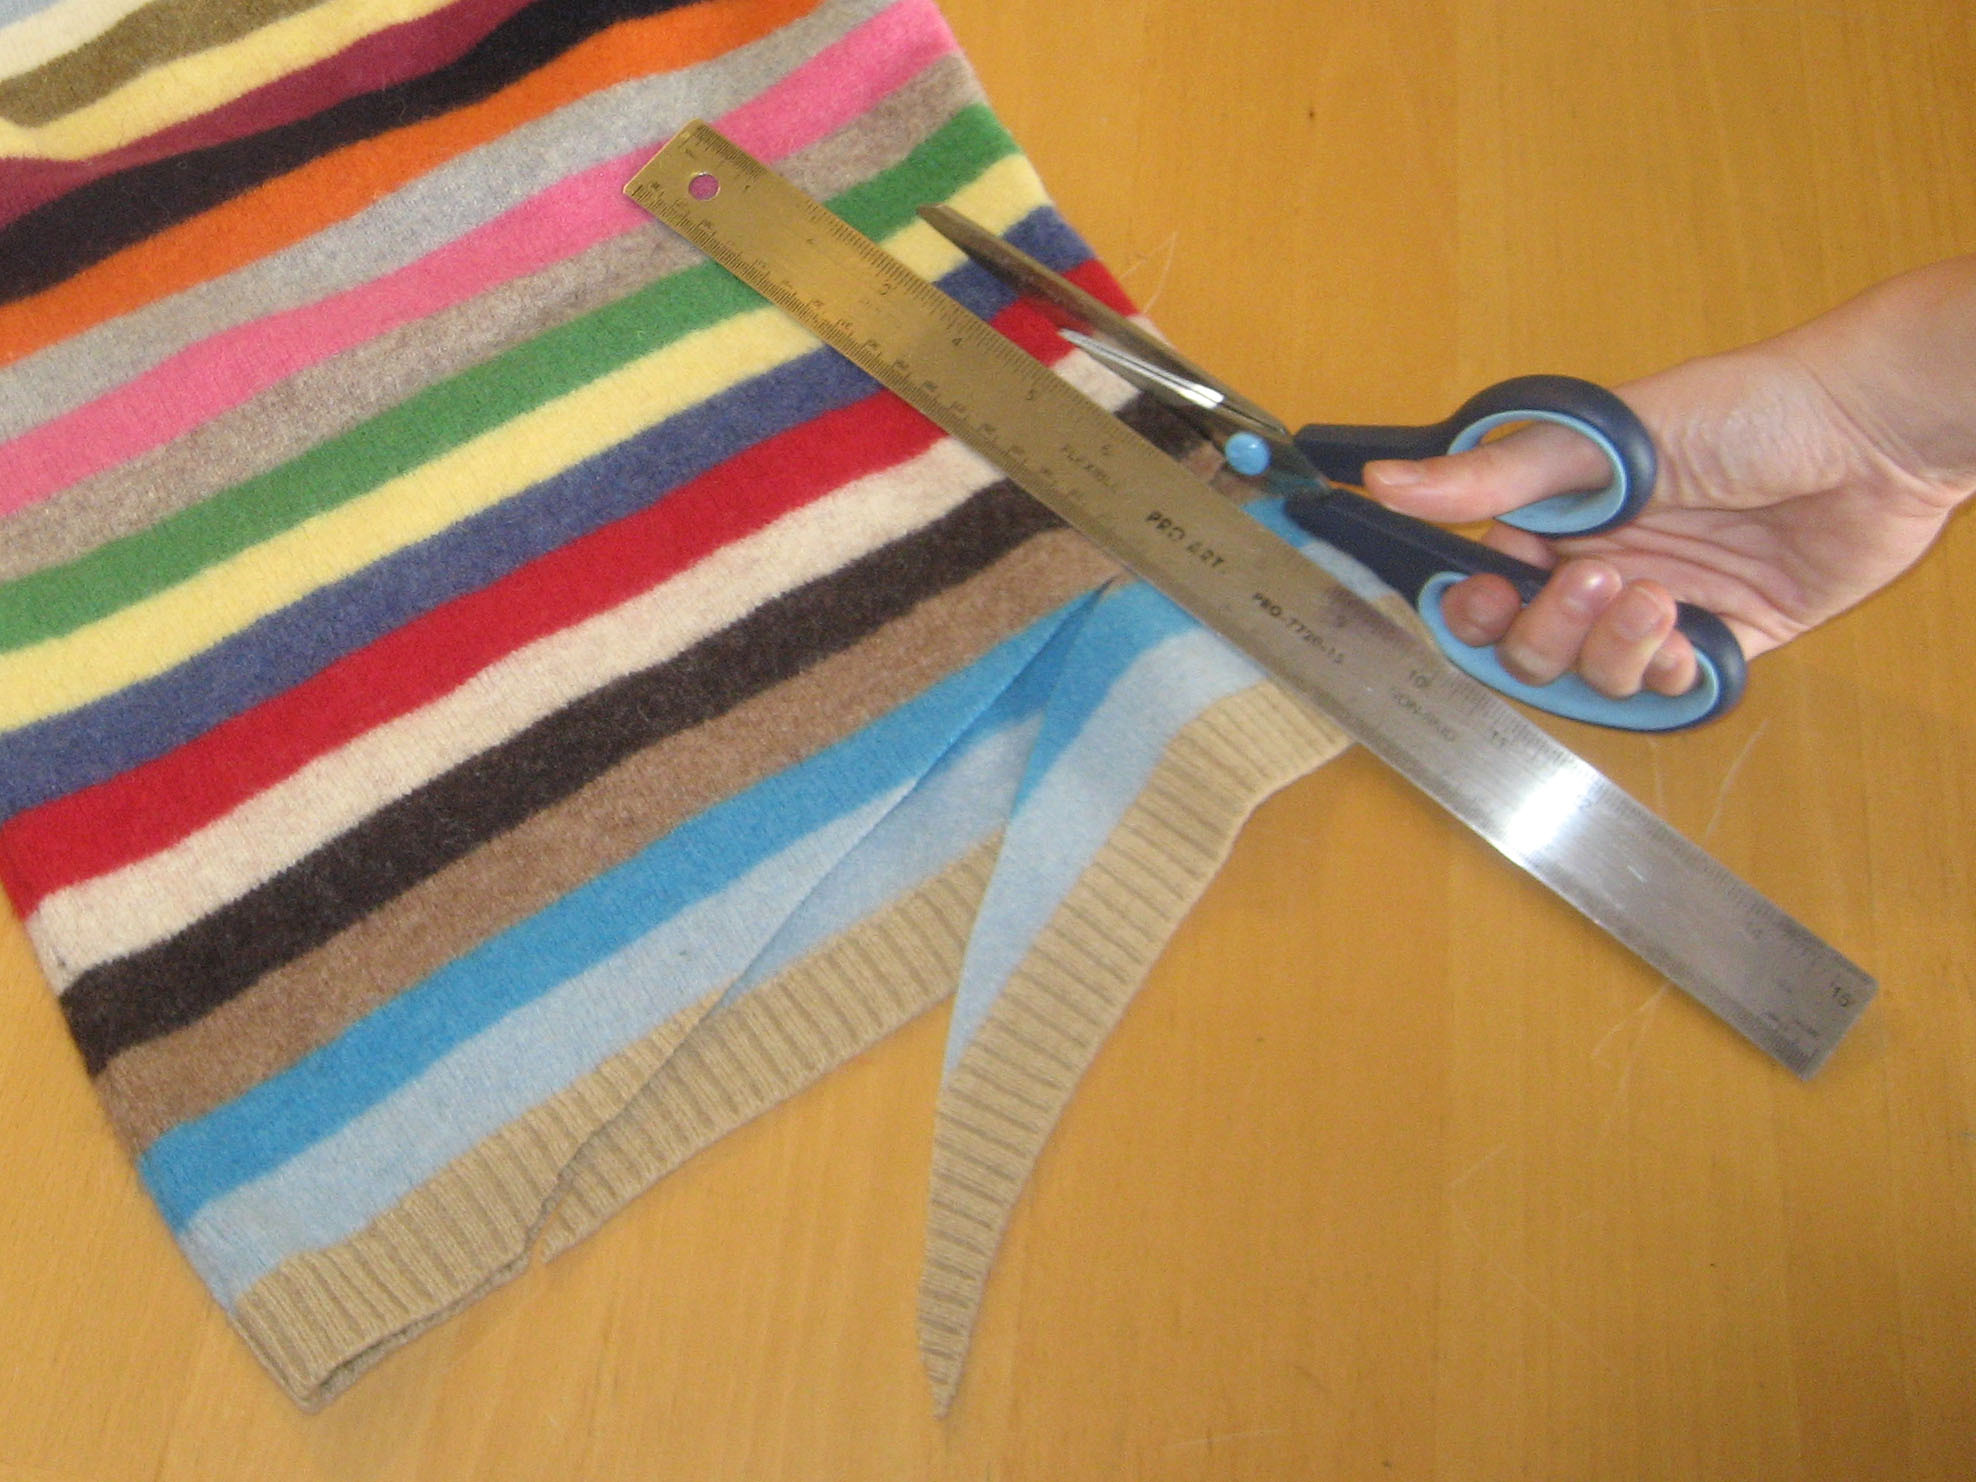
Cut a 7″ square from each sweater.

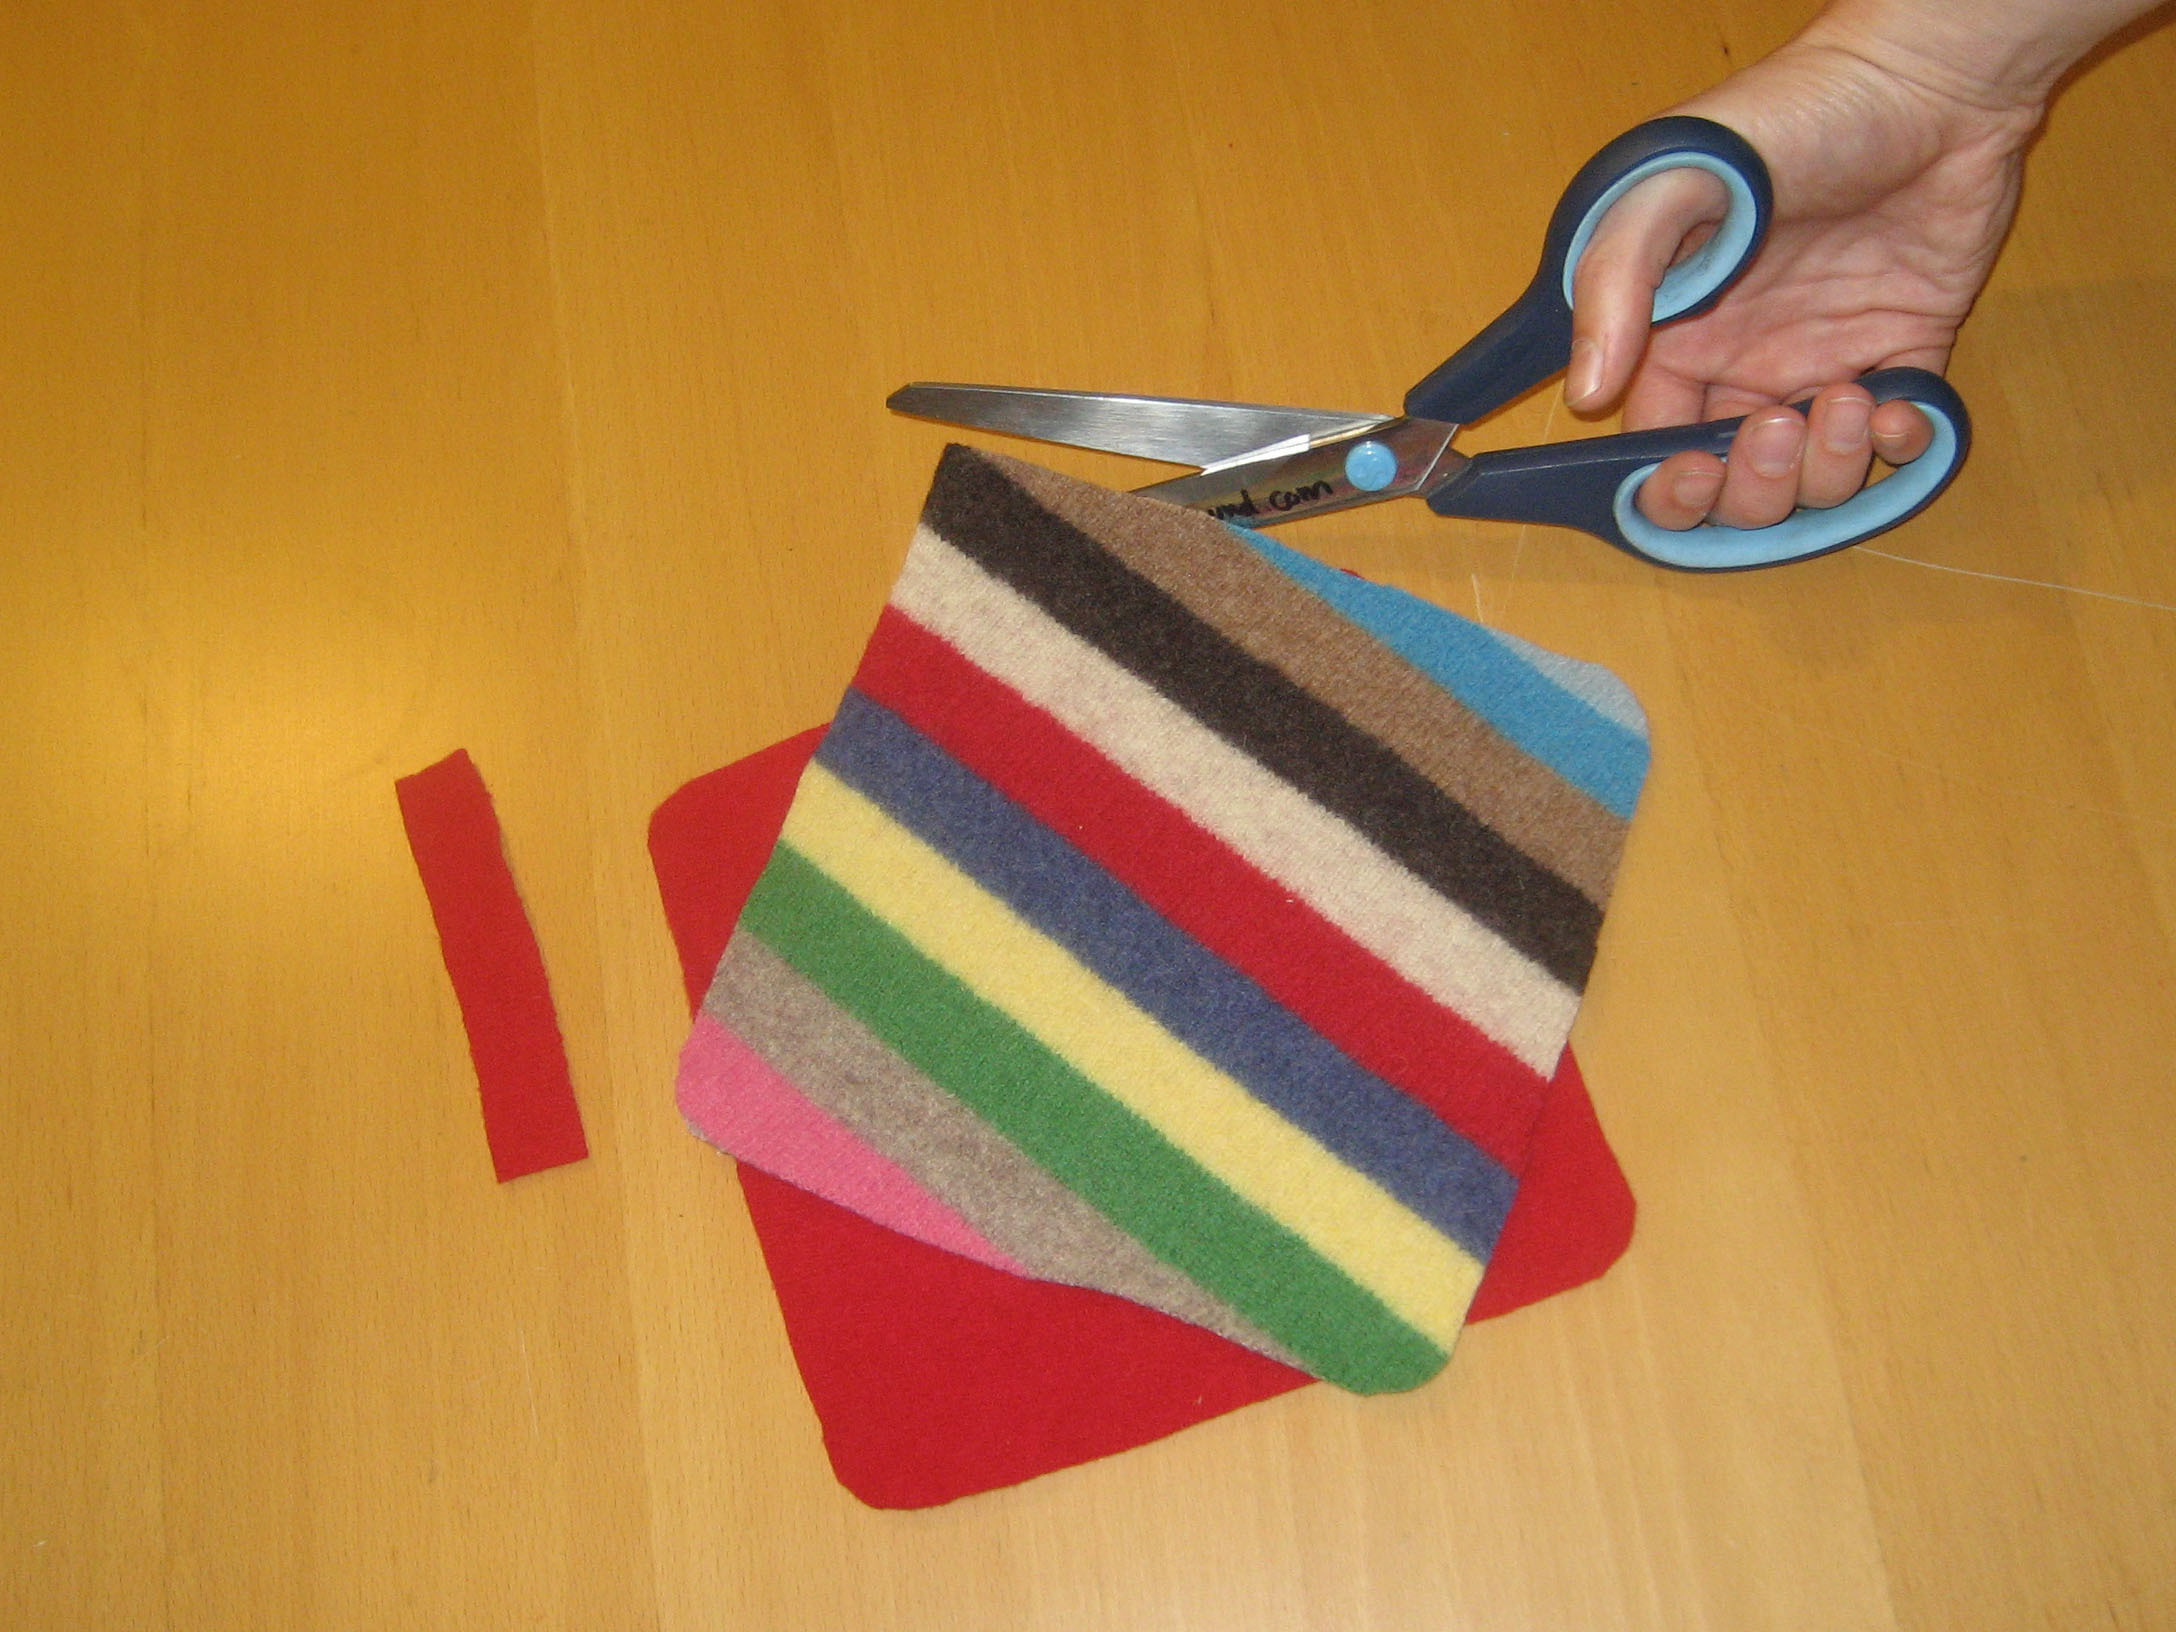
Round the corners.

Then cut a third piece 4″×¾”. This will become the hang tab.

Assemble the potholder.

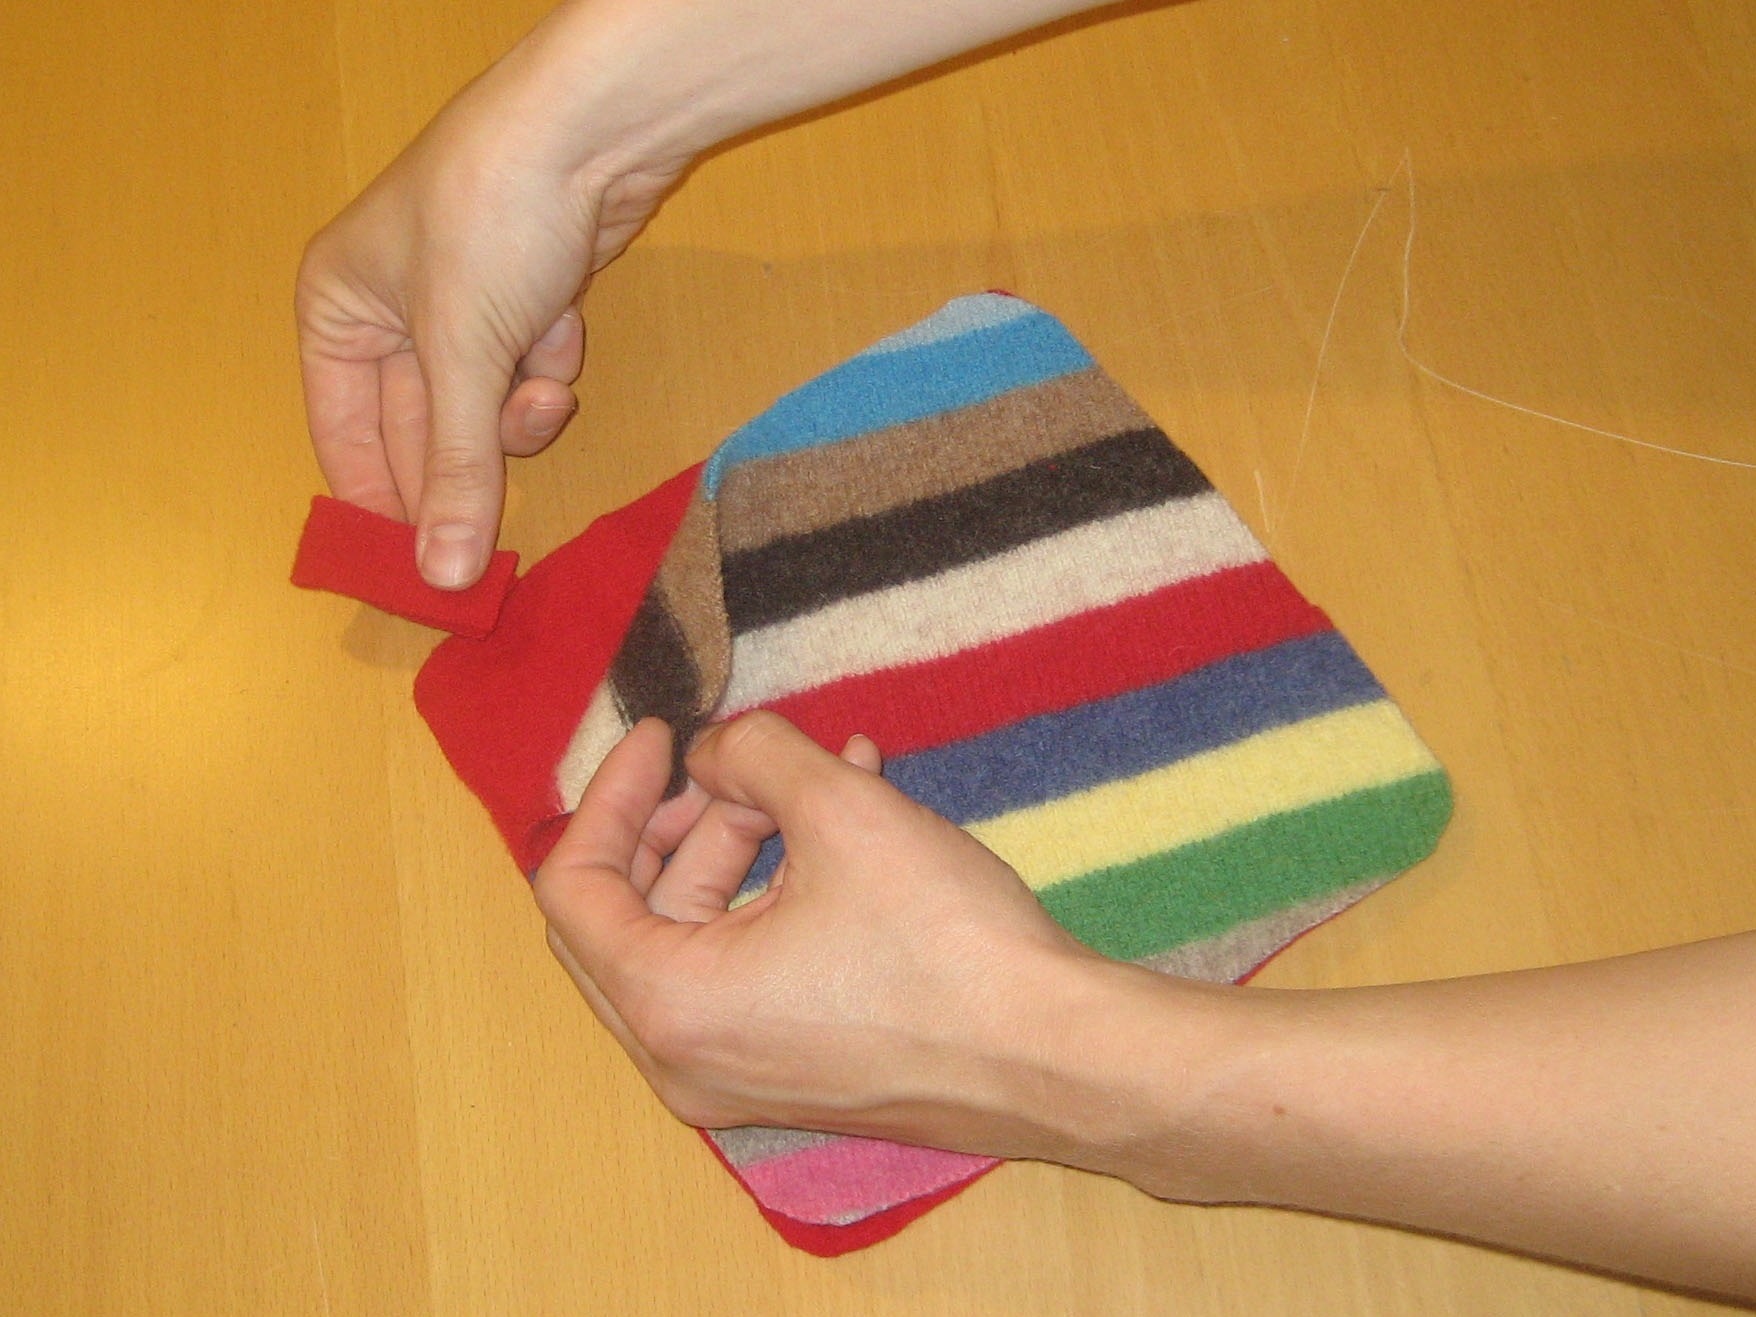
Stack the 2 squares with their right sides facing out.

Fold the hang tab piece in half. Insert its open ends between the 2 squares in a corner and pin in place.

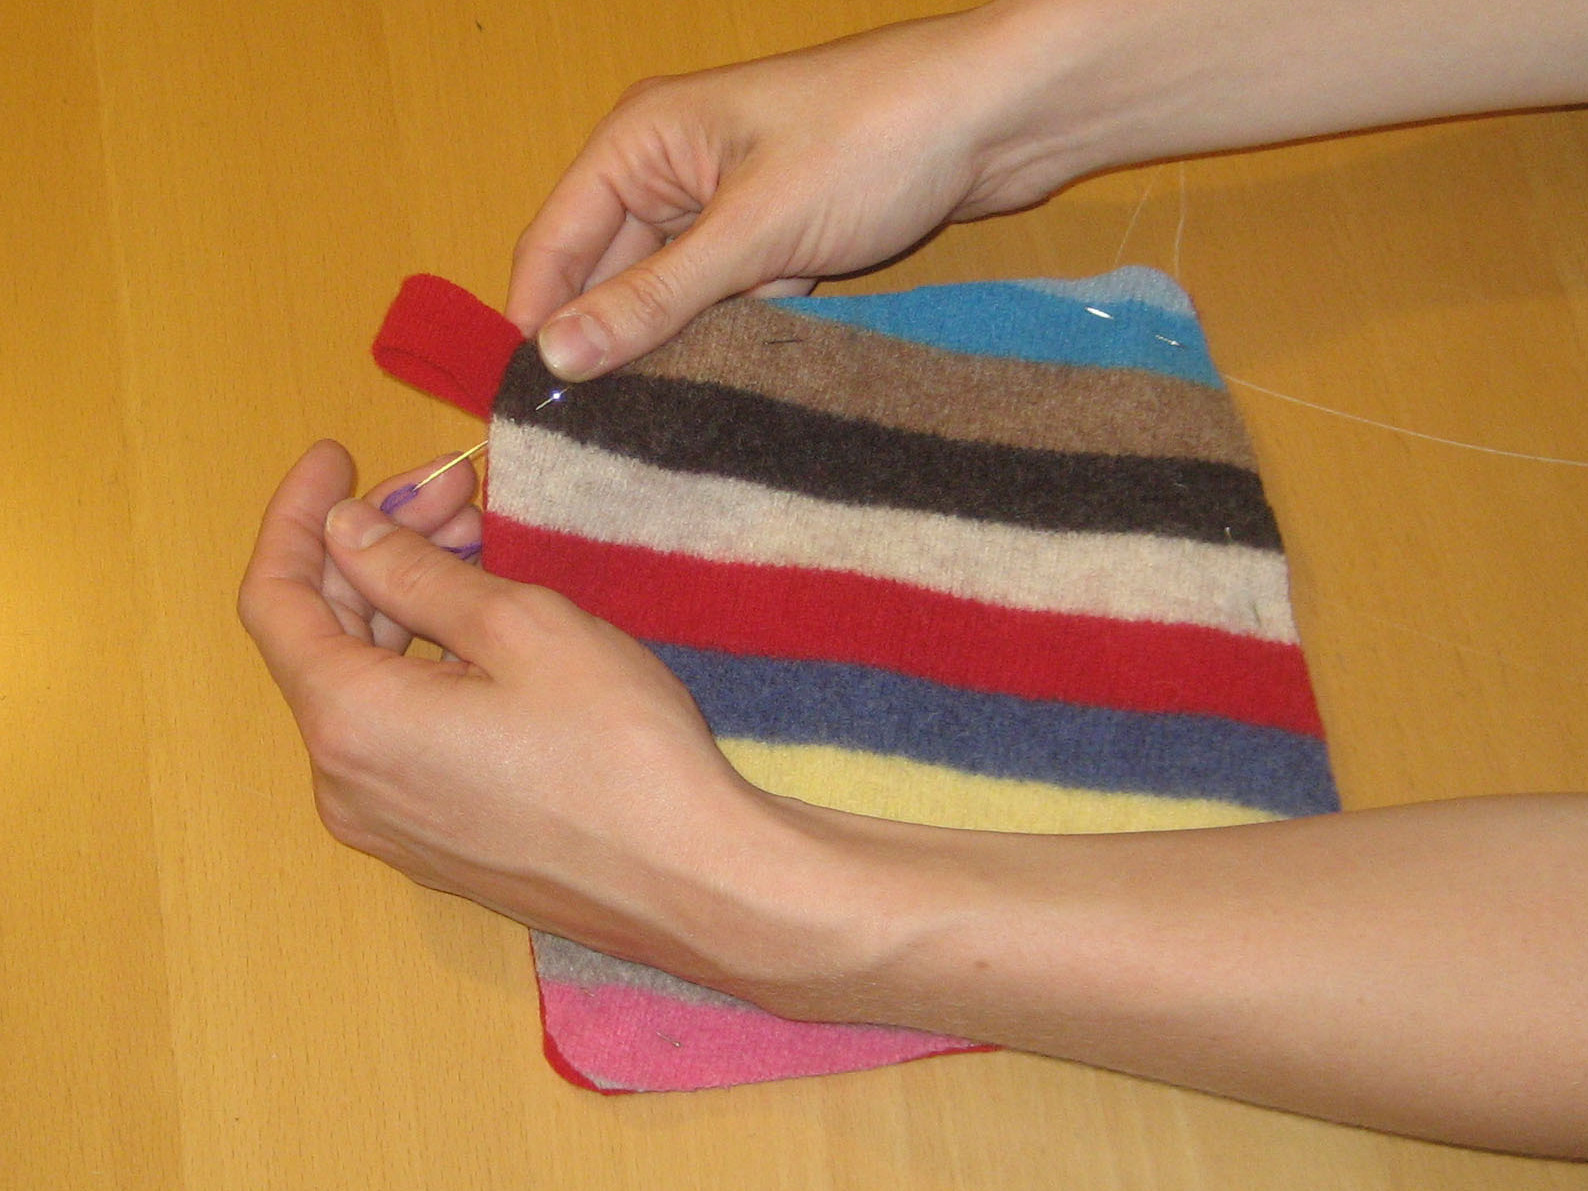
Then pin around the perimeter of the potholder.

Blanket-stitch the perimeter.

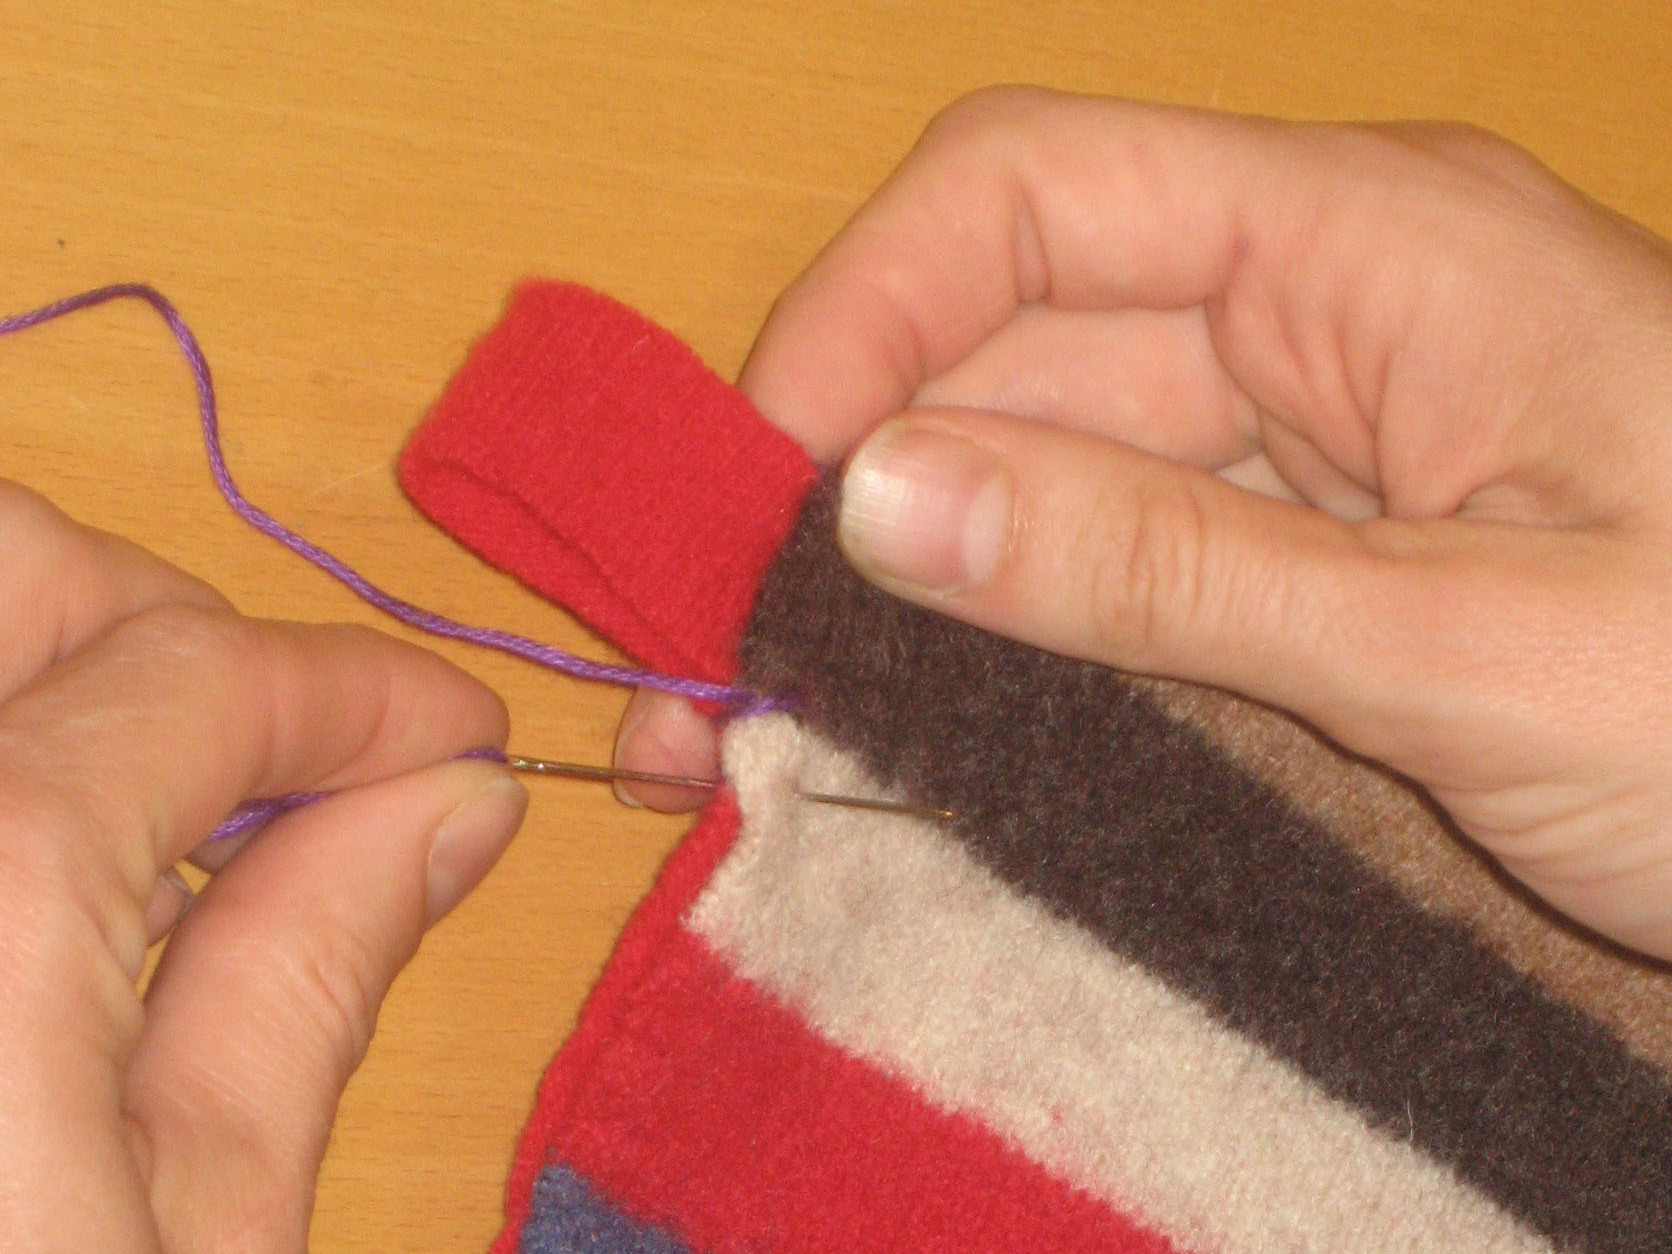
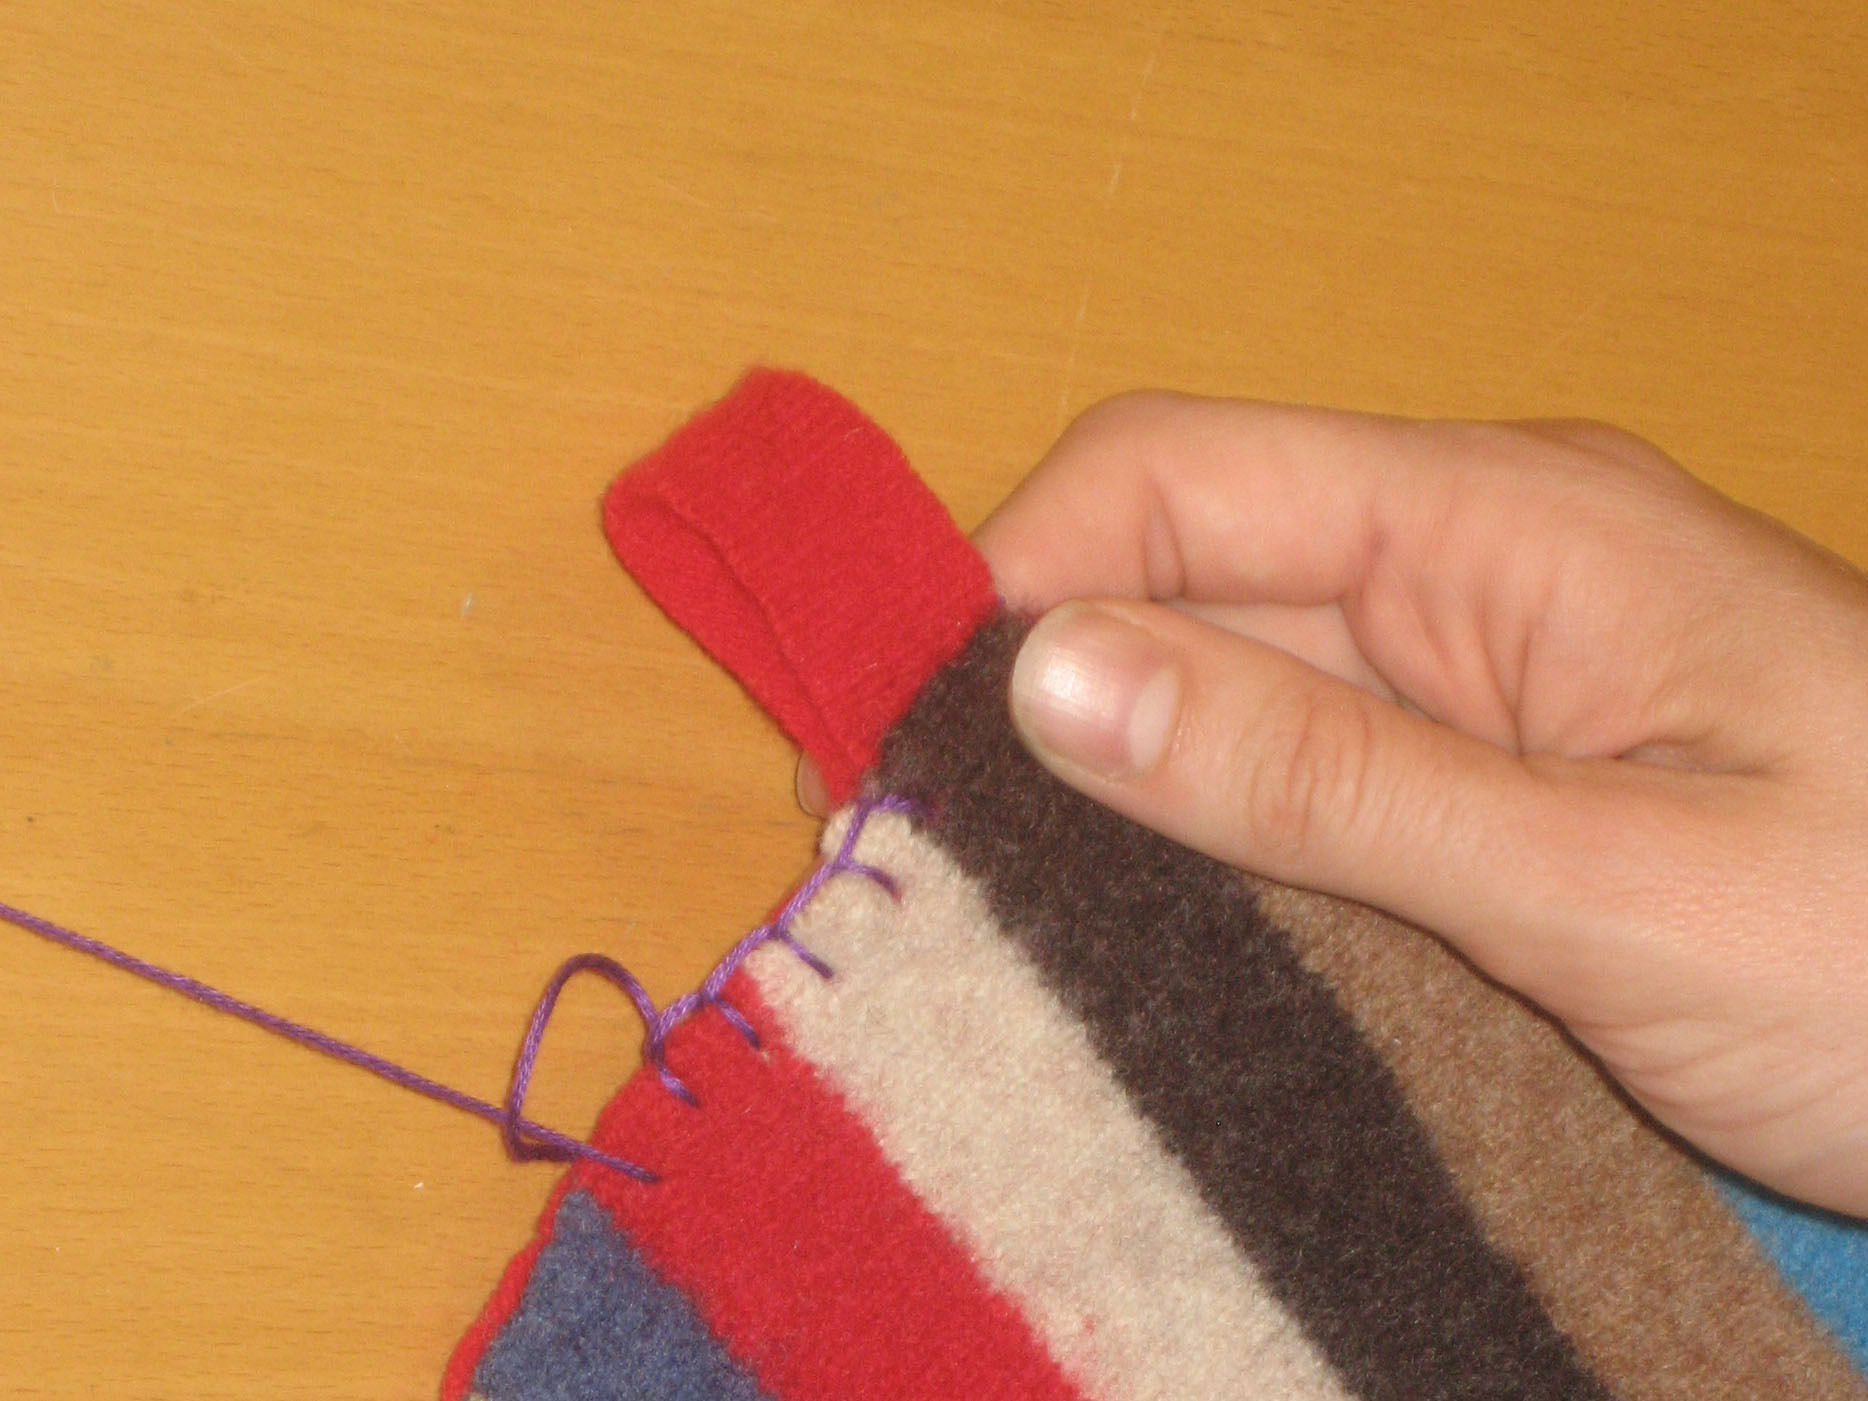
Thread your needle with embroidery floss and tie a double knot. Start a stitch to the left of the hang tab and about ¼” from the edge. Then pull the floss up and around in a loop, coming out at the same starting point. Thread the floss through the top of the stitch.

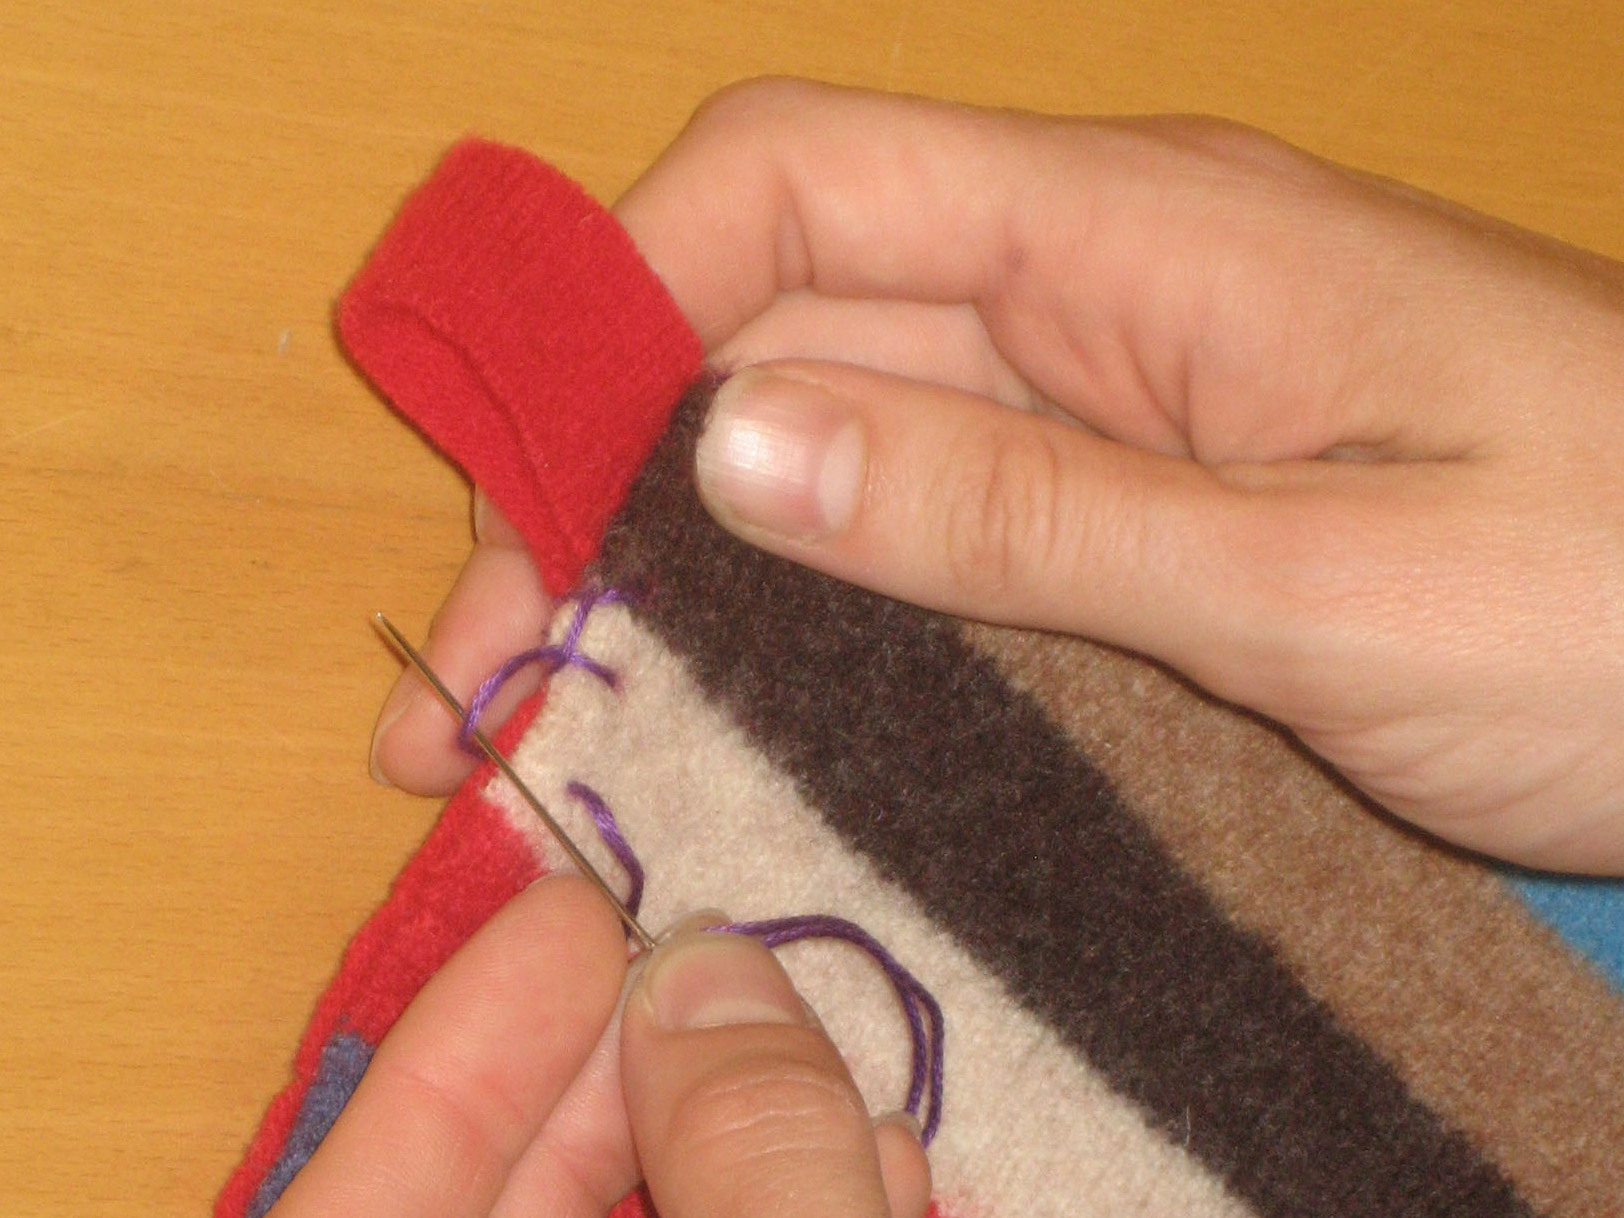
Stitch up and around, making a second stitch about ¼” from the first. Before pulling the floss tight, bring the needle through the top of the stitch.

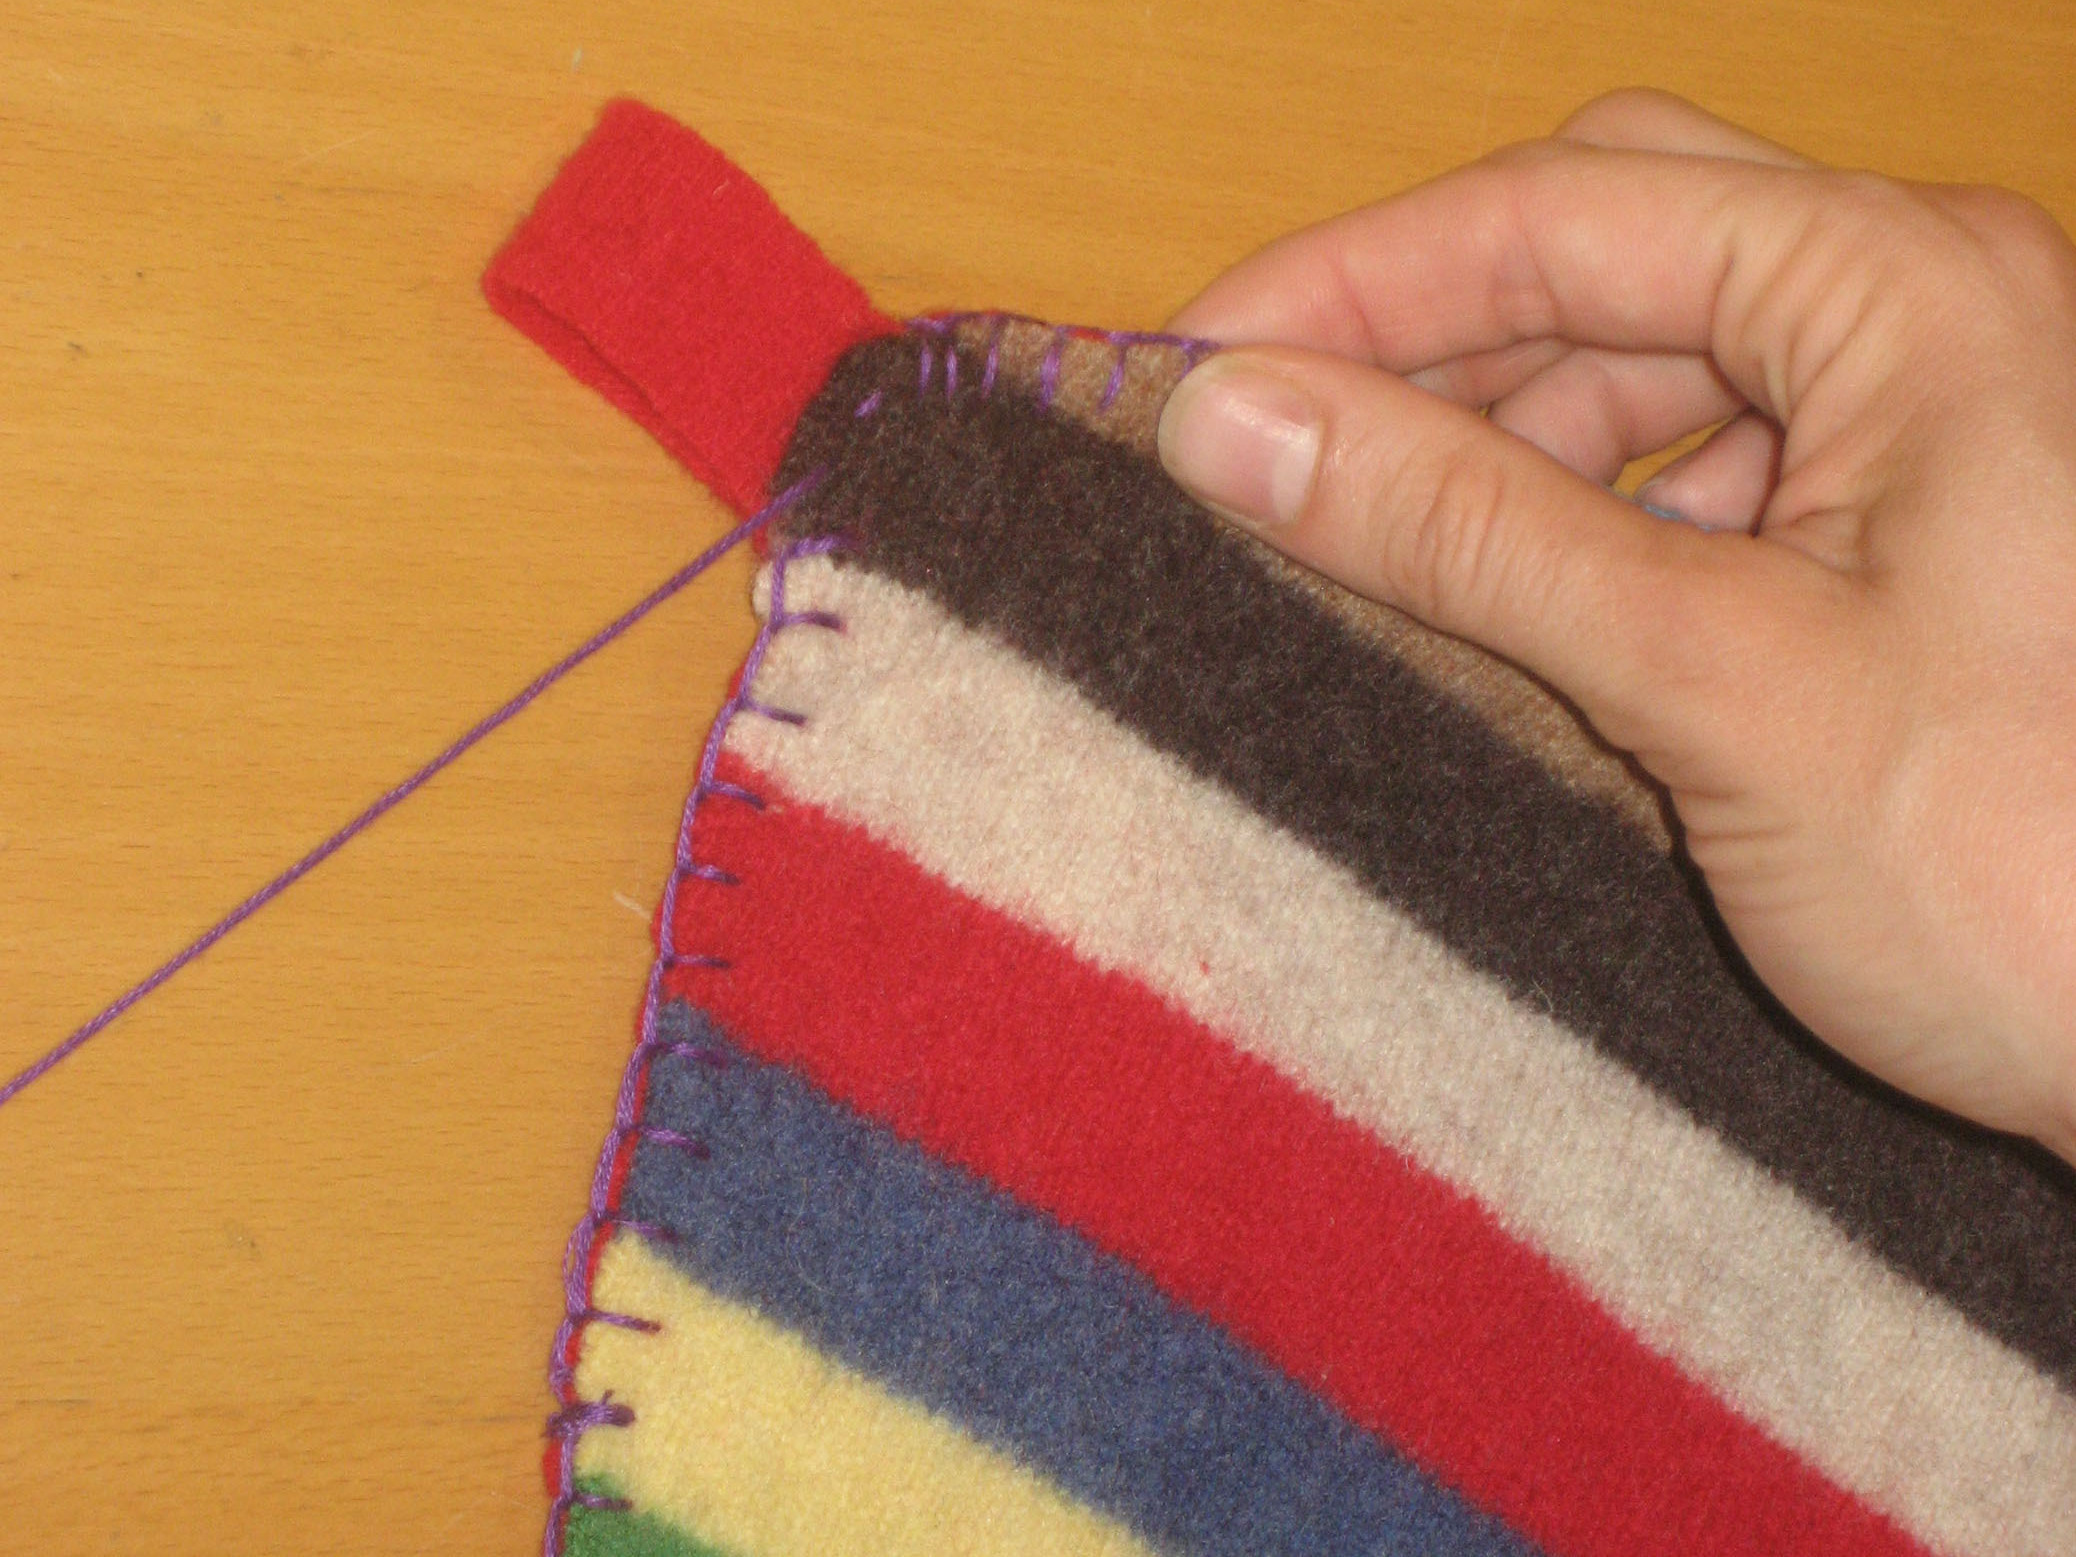
Continue stitching ½” from the previous stitch and bring the needle back through the loop before you pull the stitch tight. Stitch around the entire perimeter of the potholder in this way.

Finish with a running stitch.

When you come back around to the hang tab, simply sew a running stitch through it. Secure the floss on the ends with a double knot and start using your new creation.