cat shelf 4

My cats love to climb, so I decided to build some elevated shelves for them in our living room. Since a cat weighs much less than a stack of books, there was no need for a heavy-duty installation, so I devised a simple, elegant “floating shelf.” It’s also appropriate for ornaments and framed photos, if for some reason you don’t have cats.

cat shelf 5

Figure A shows the concept. Steel rods are partially embedded in the wooden studs in the wall. Holes are drilled in the back edge of the shelves, and the rods fit into the holes. No supporting brackets are needed.

Figure A
Figure A

What will the next generation of Make: look like? We’re inviting you to shape the future by investing in Make:. By becoming an investor, you help decide what’s next. The future of Make: is in your hands. Learn More.

Project Steps

BUILDING THE FLOATING SHELF

At the McMaster-Carr website, I found precut 6″ sections of ¼”-diameter steel rod for $1 each. To encourage the rods to slide smoothly into holes in the shelf, I beveled their ends on a grinding wheel, although this may not be strictly necessary.

1.

cat shelf 1

I drew a horizontal line on the wall, then went along it with a stud finder. To verify the results, I gripped a carpet needle in pliers and pushed it through the sheetrock at small intervals until I found the precise edges of each stud. Then I used an extra-long drill bit to make holes about 3″ deep in the stud centers. The long bit made it easier to drill at exactly 90°, because I could place a speed square along the bit while drilling.

2.

I hammered the steel rods tightly into the holes, then laid my 1×8 pine shelf on top of the rods, and marked the location of each rod on the underside of the wood. Now the tricky part: drilling precisely. The speed square was essential.

cat6

3.

After rounding the front edge with a router, finishing the board with polyurethane, and stapling a strip of carpet to the top, I came to the anxious moment. Would the shelf fit onto the rods? The trick was to turn it at a slight angle to the wall, to engage the rods one at a time (Figure B). A hammer finished the job, and friction with the rods held the shelf securely.

Figure-B-catshelves
Figure B

SUSPENDED IN SPACE

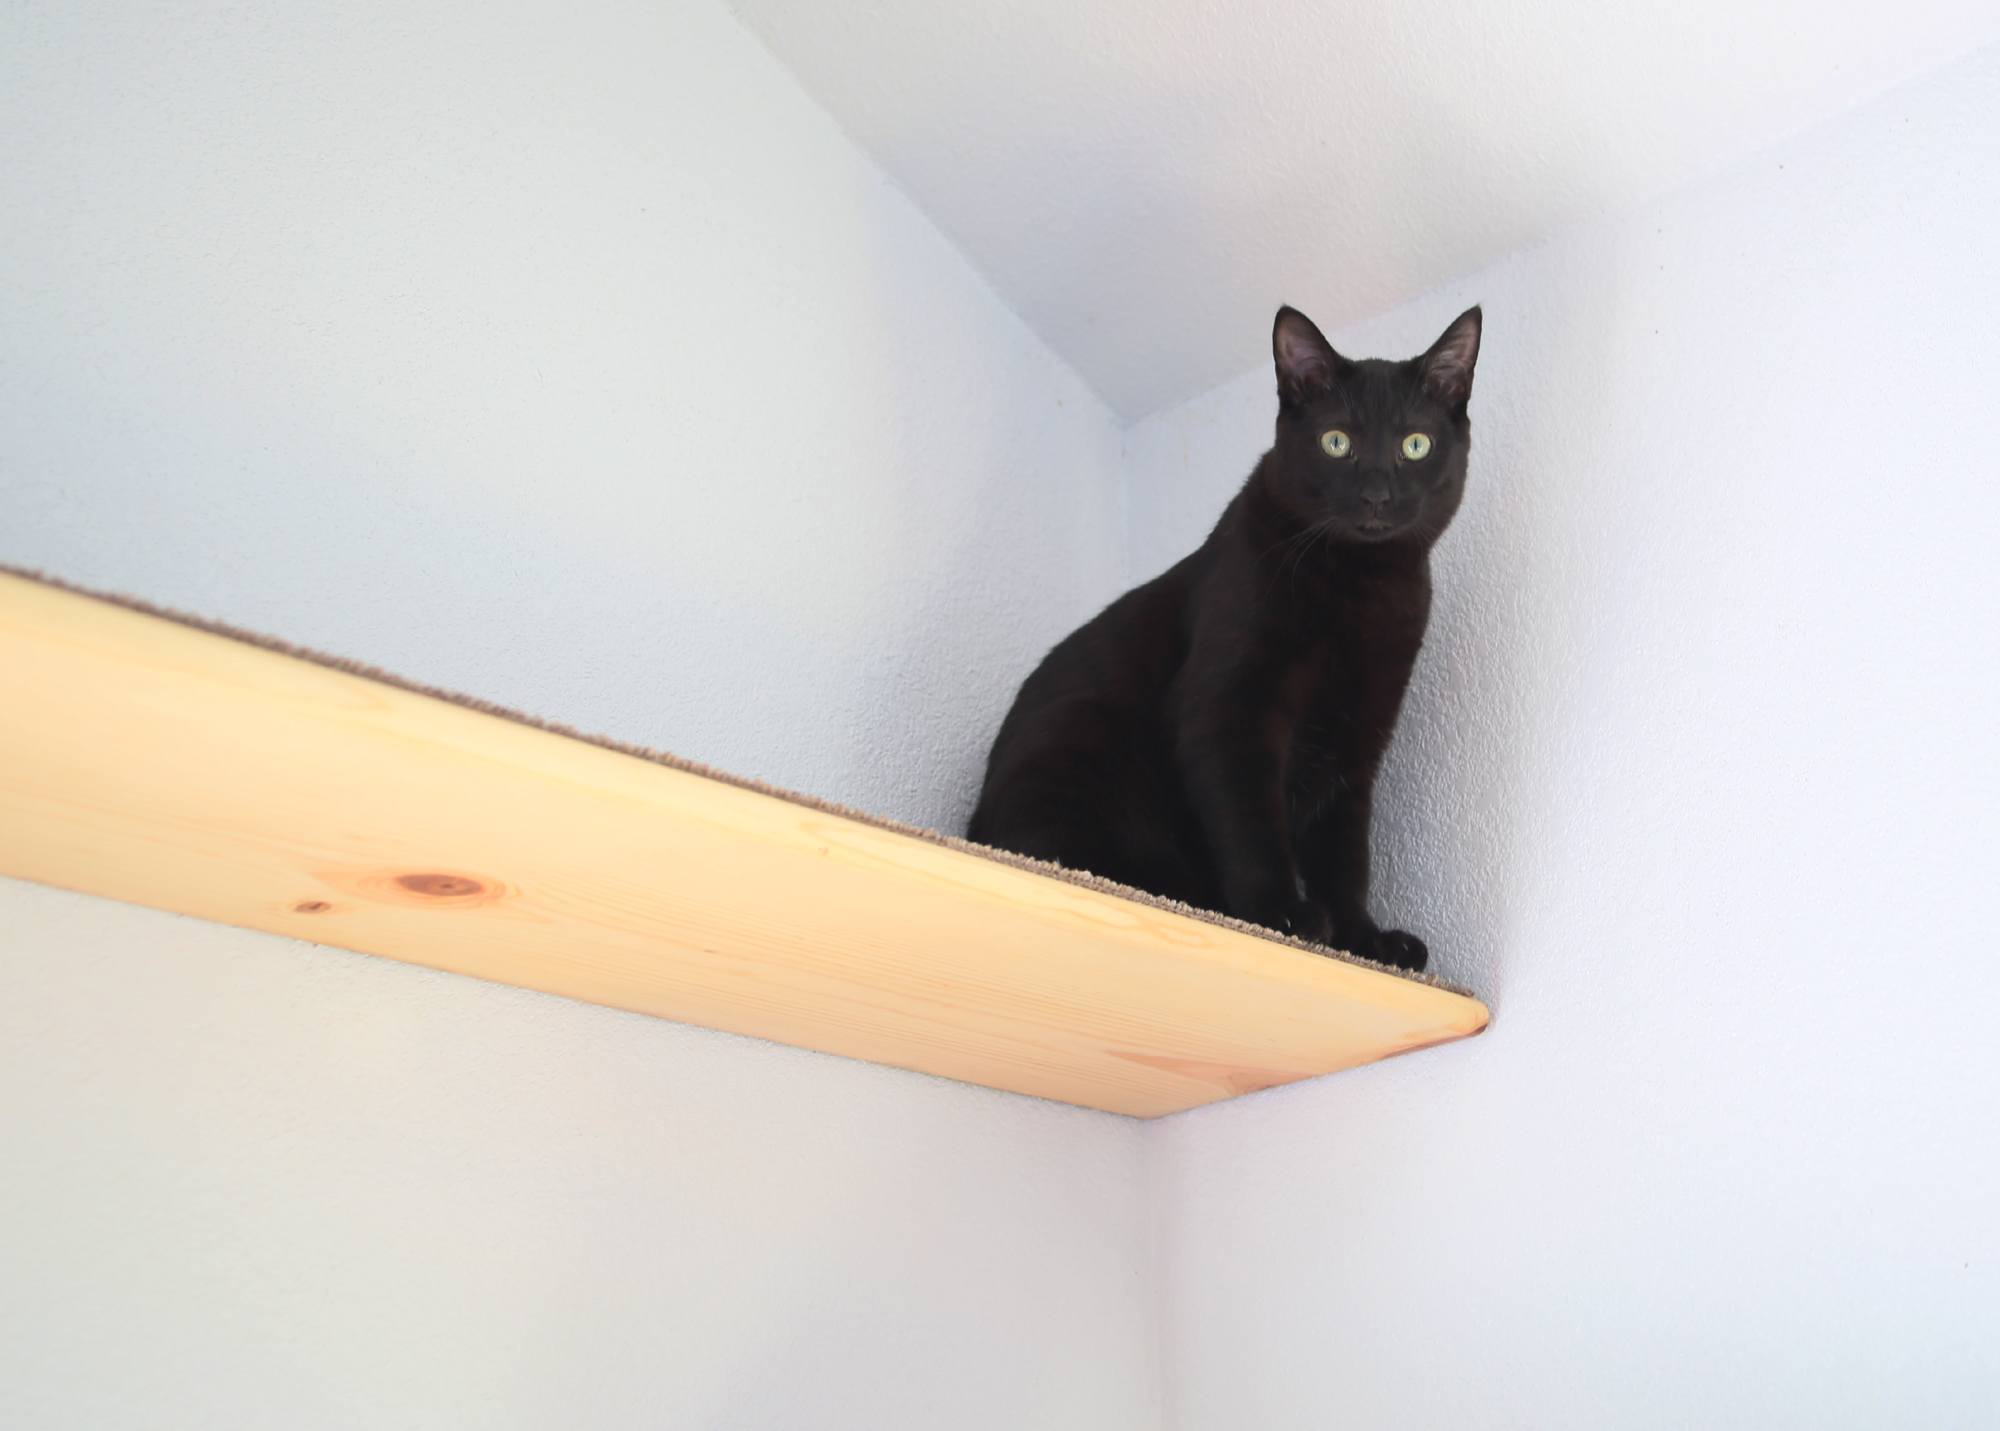
My cats enjoy their elevated perch (you can see one of them in Figure C, waiting for an additional section to be added), and visitors admire the floating shelf while wondering what could possibly support it. One cautionary note: This technique won’t support a heavy load, and isn’t appropriate for boards wider than 8″.

Figure C
Figure C