Papier-mâché has been around for many years. I will be using one of the easiest ways to make it, although not the cheapest. Papier-mâché is basically cutting strips of paper, saturating them in a mixture of glue and water and layering them across a pre-shaped form to dry. After drying, it may be painted.

Many of these items you can find around your home or substitute to make the project less expensive.

What will the next generation of Make: look like? We’re inviting you to shape the future by investing in Make:. By becoming an investor, you help decide what’s next. The future of Make: is in your hands. Learn More.

Project Steps

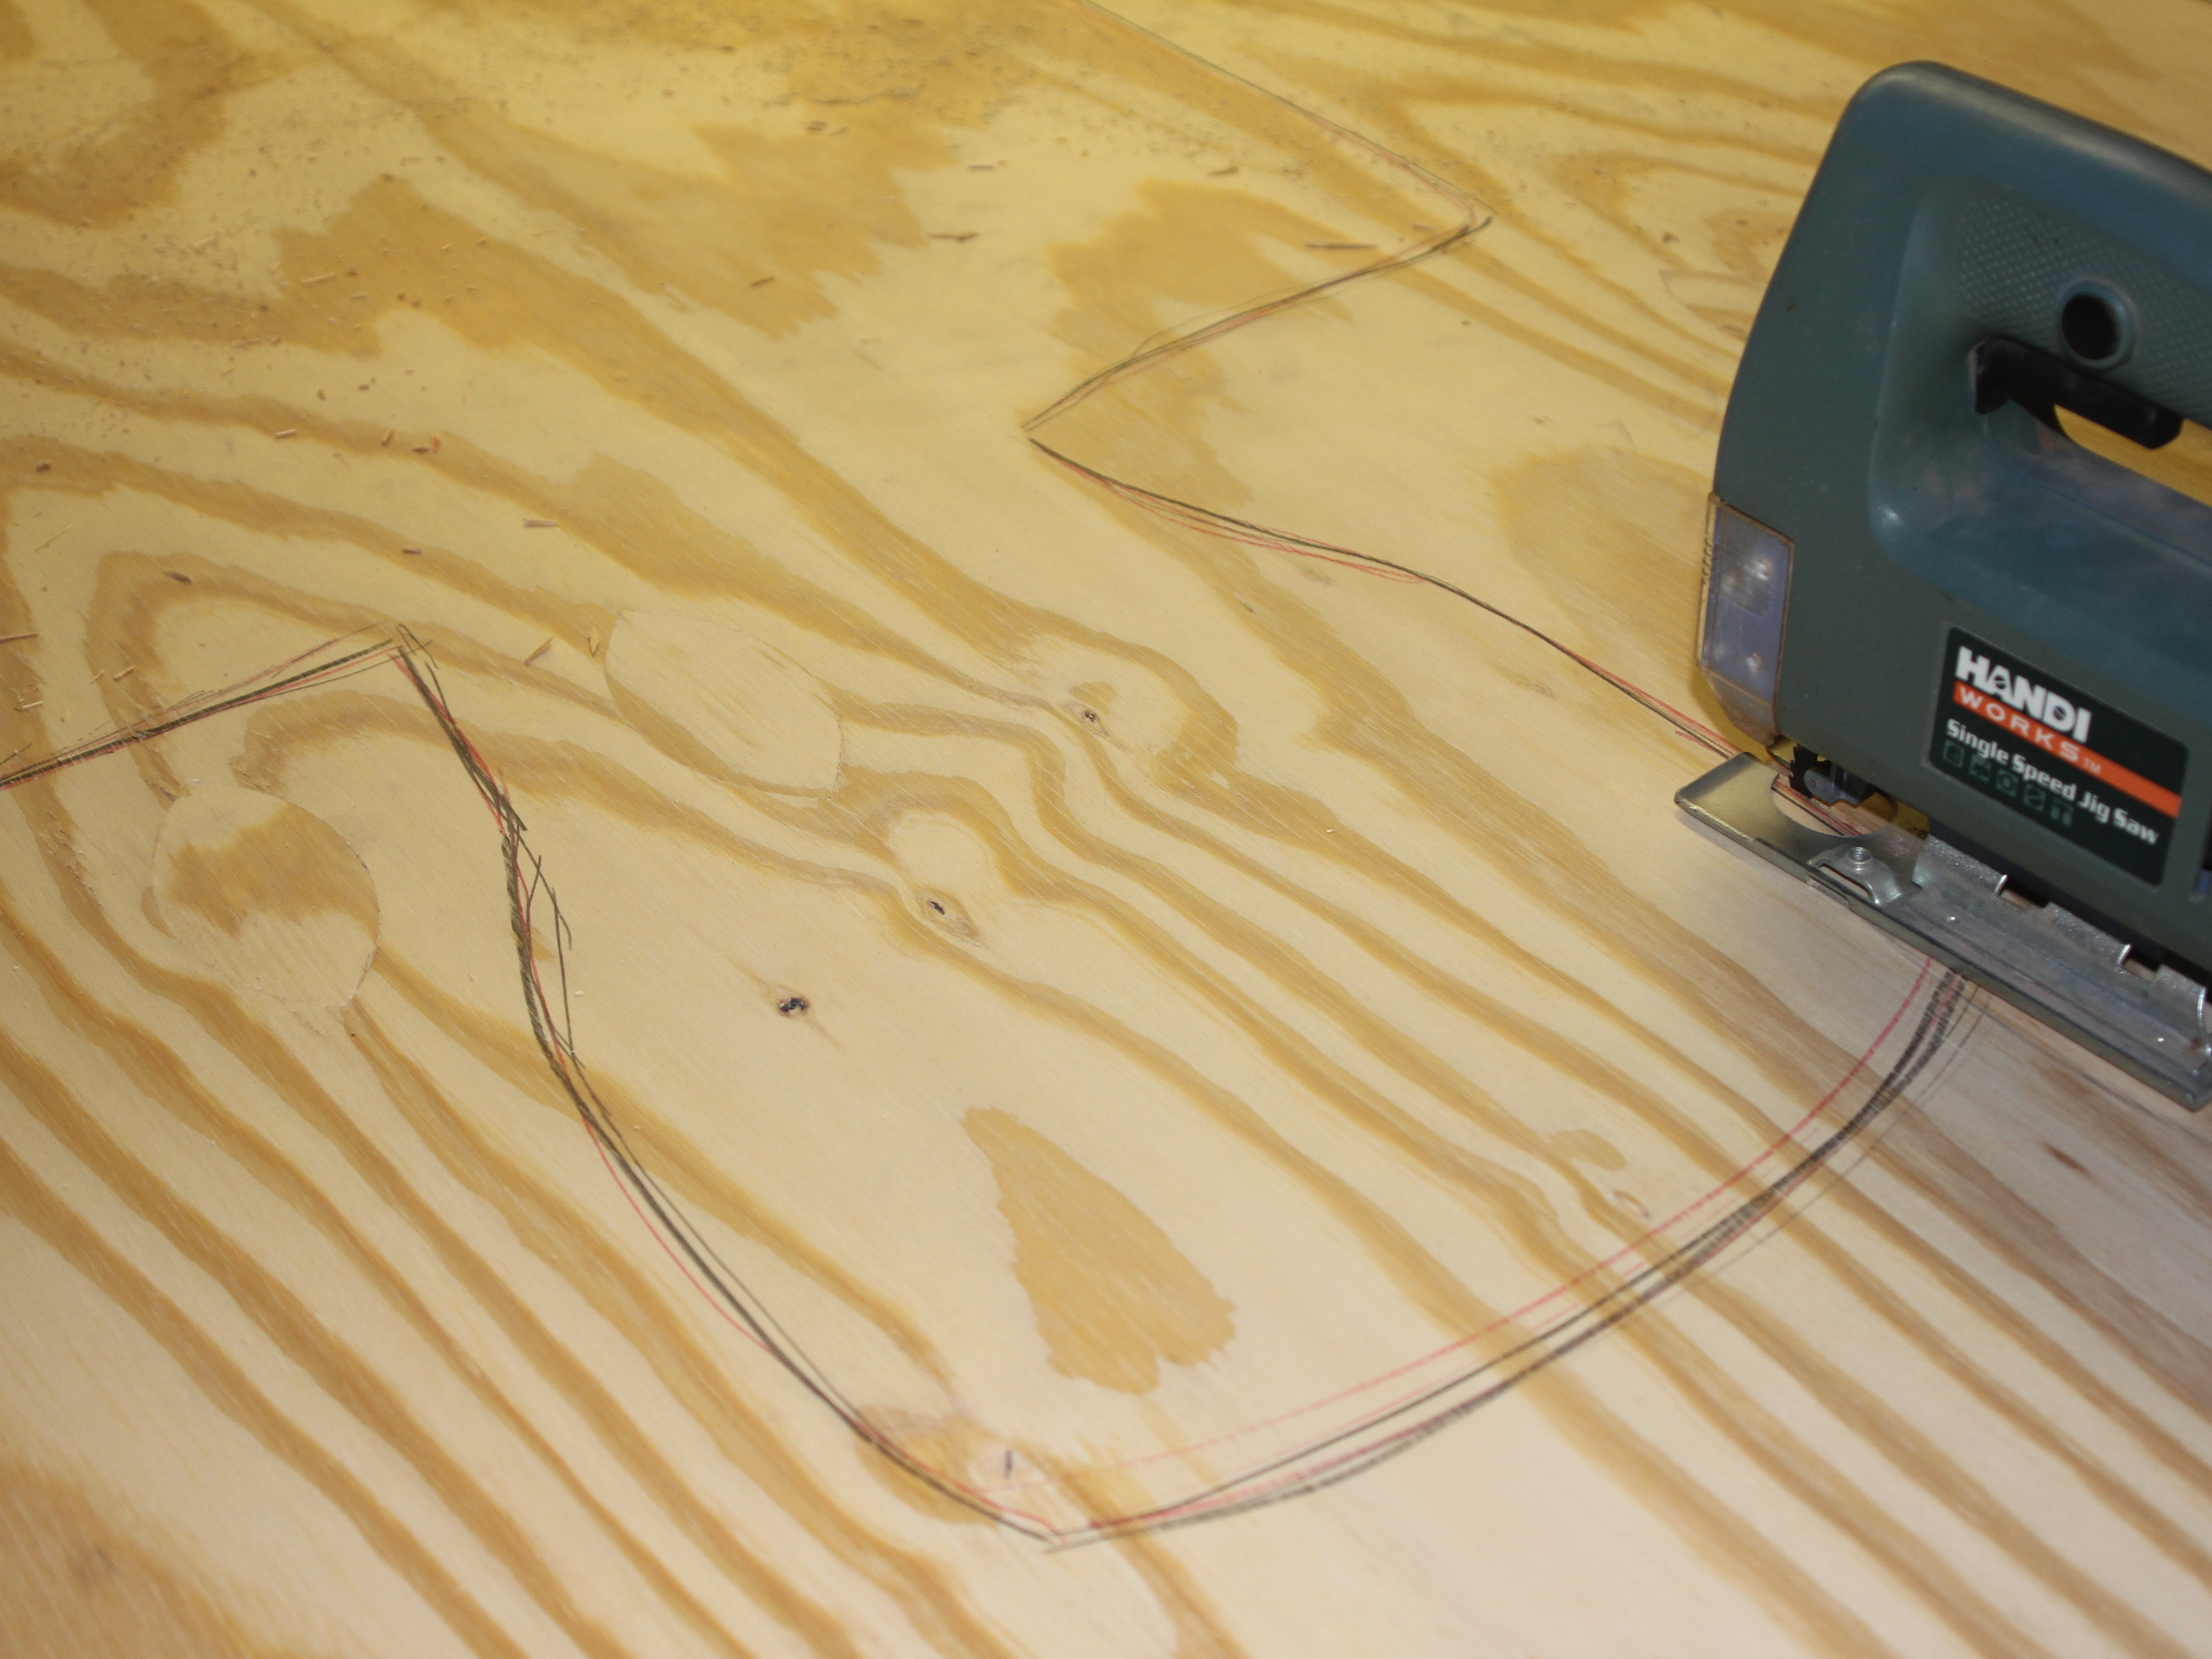
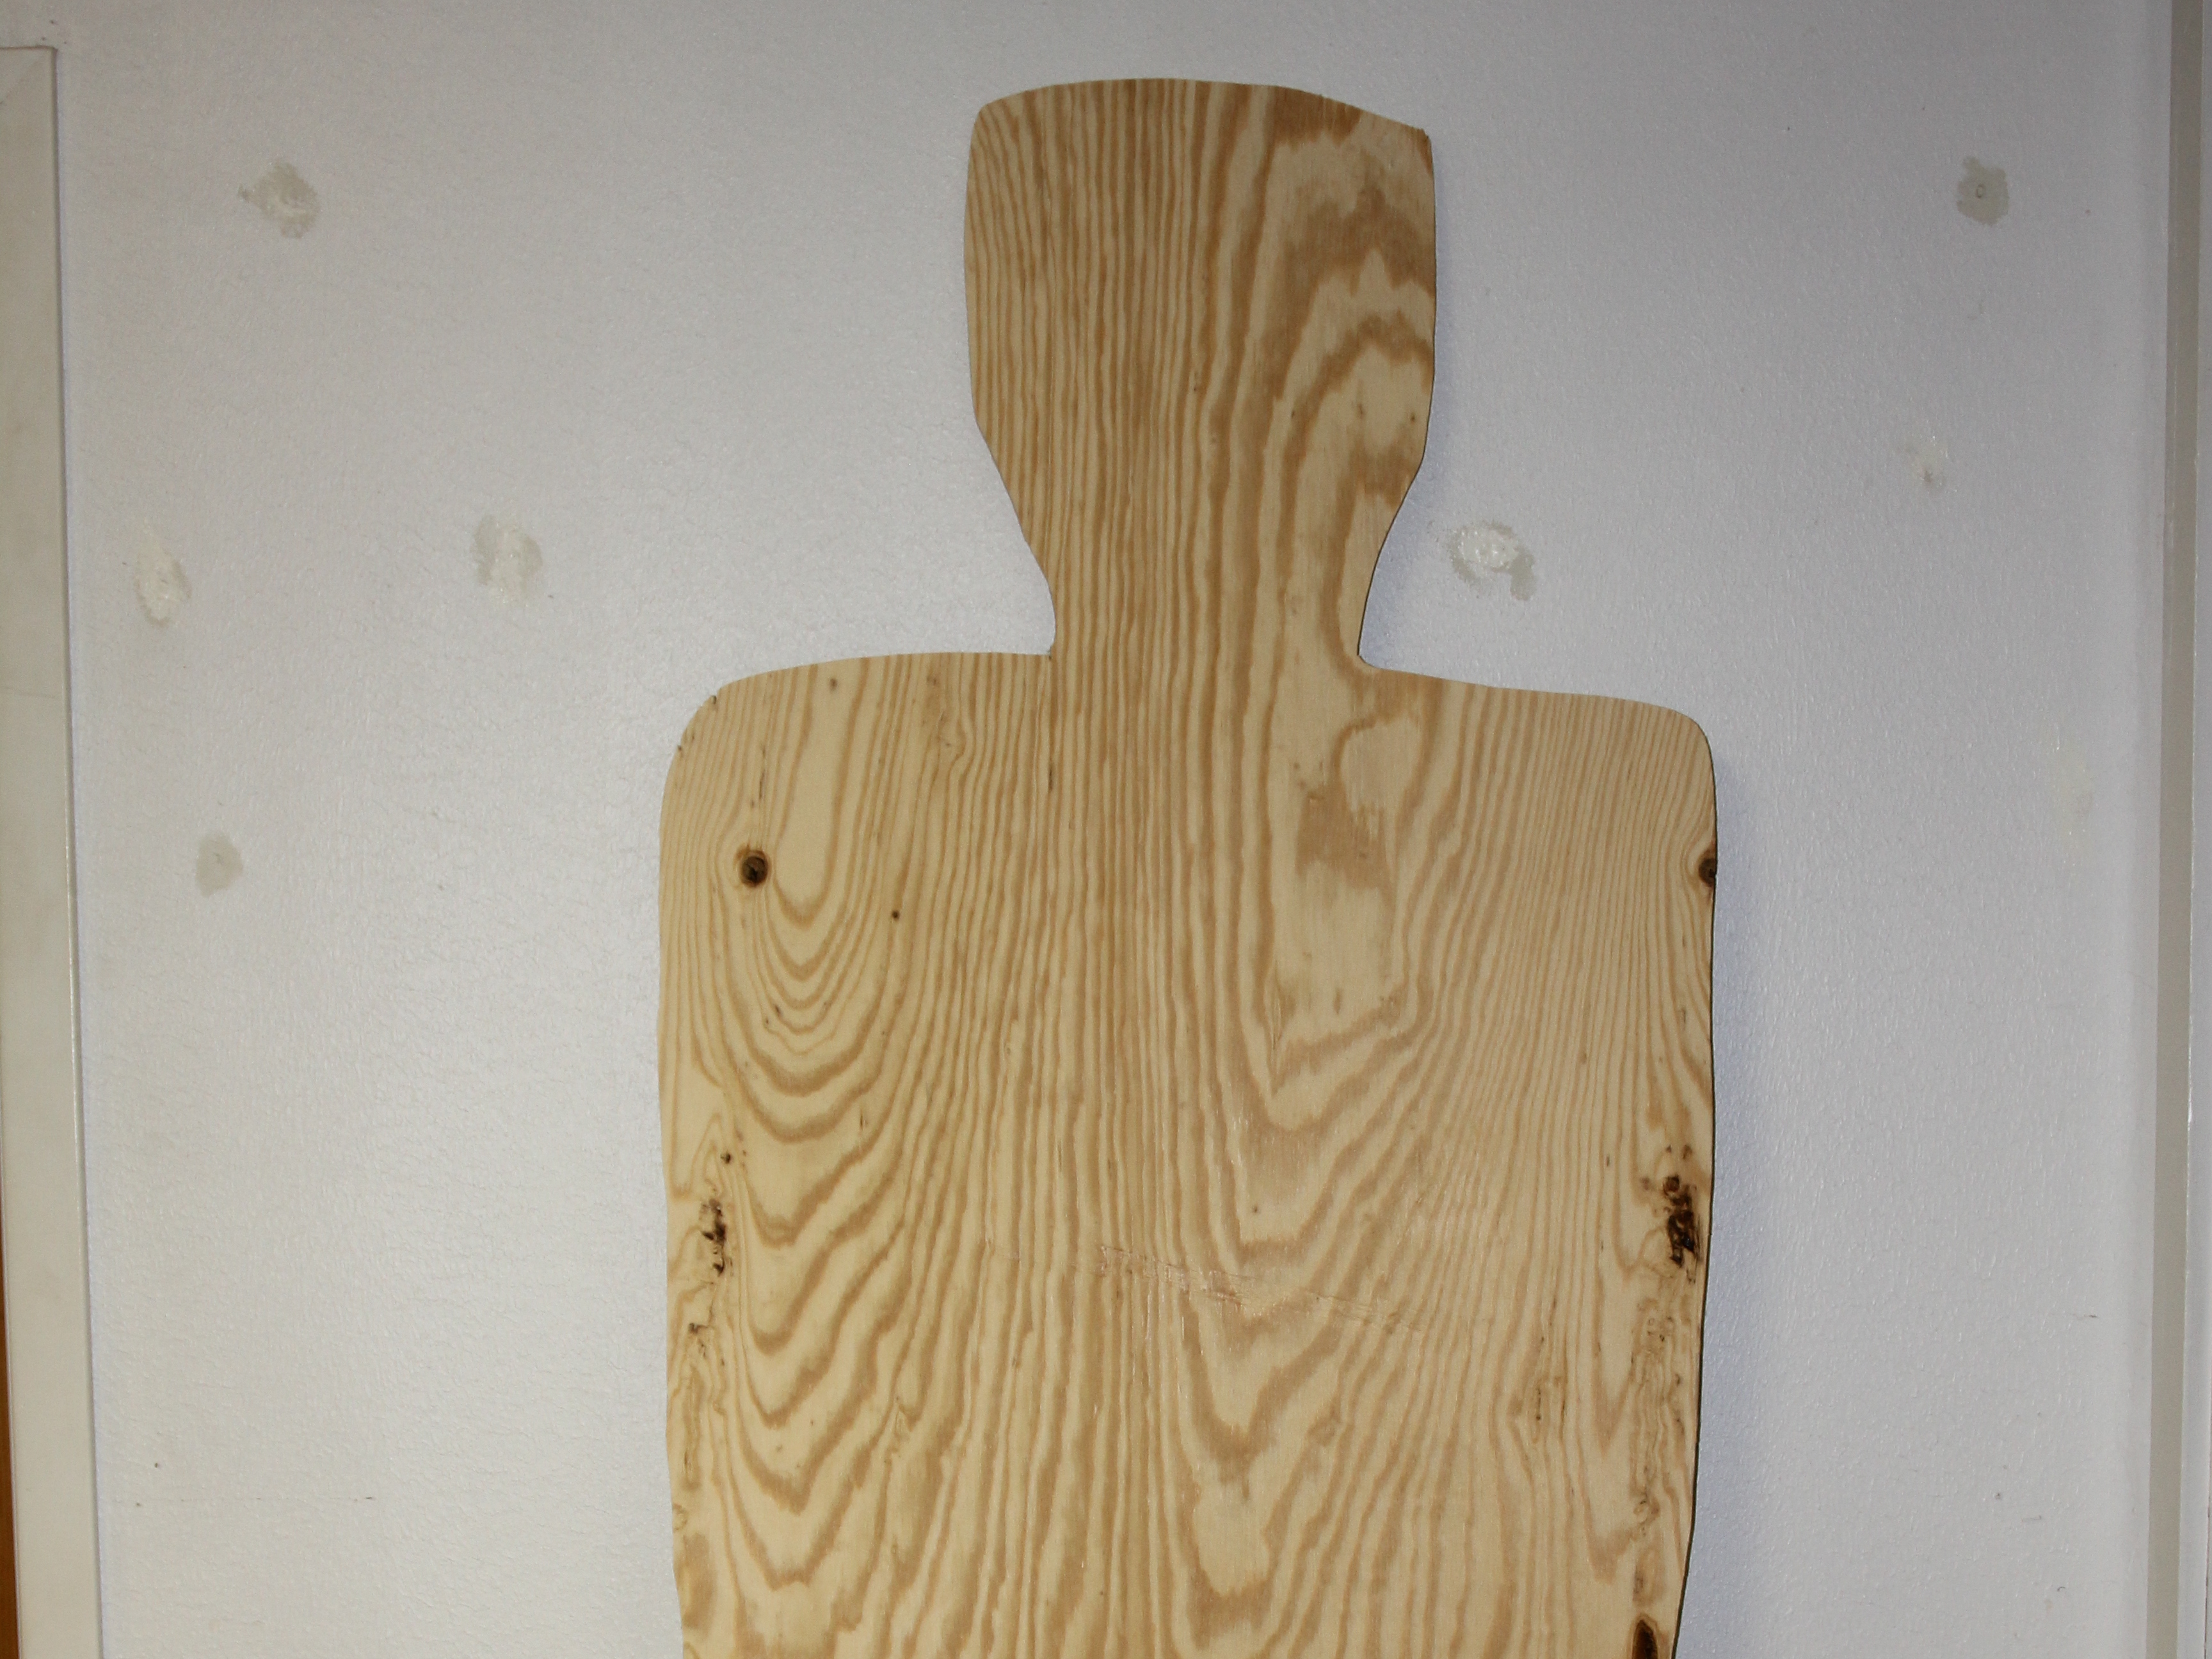
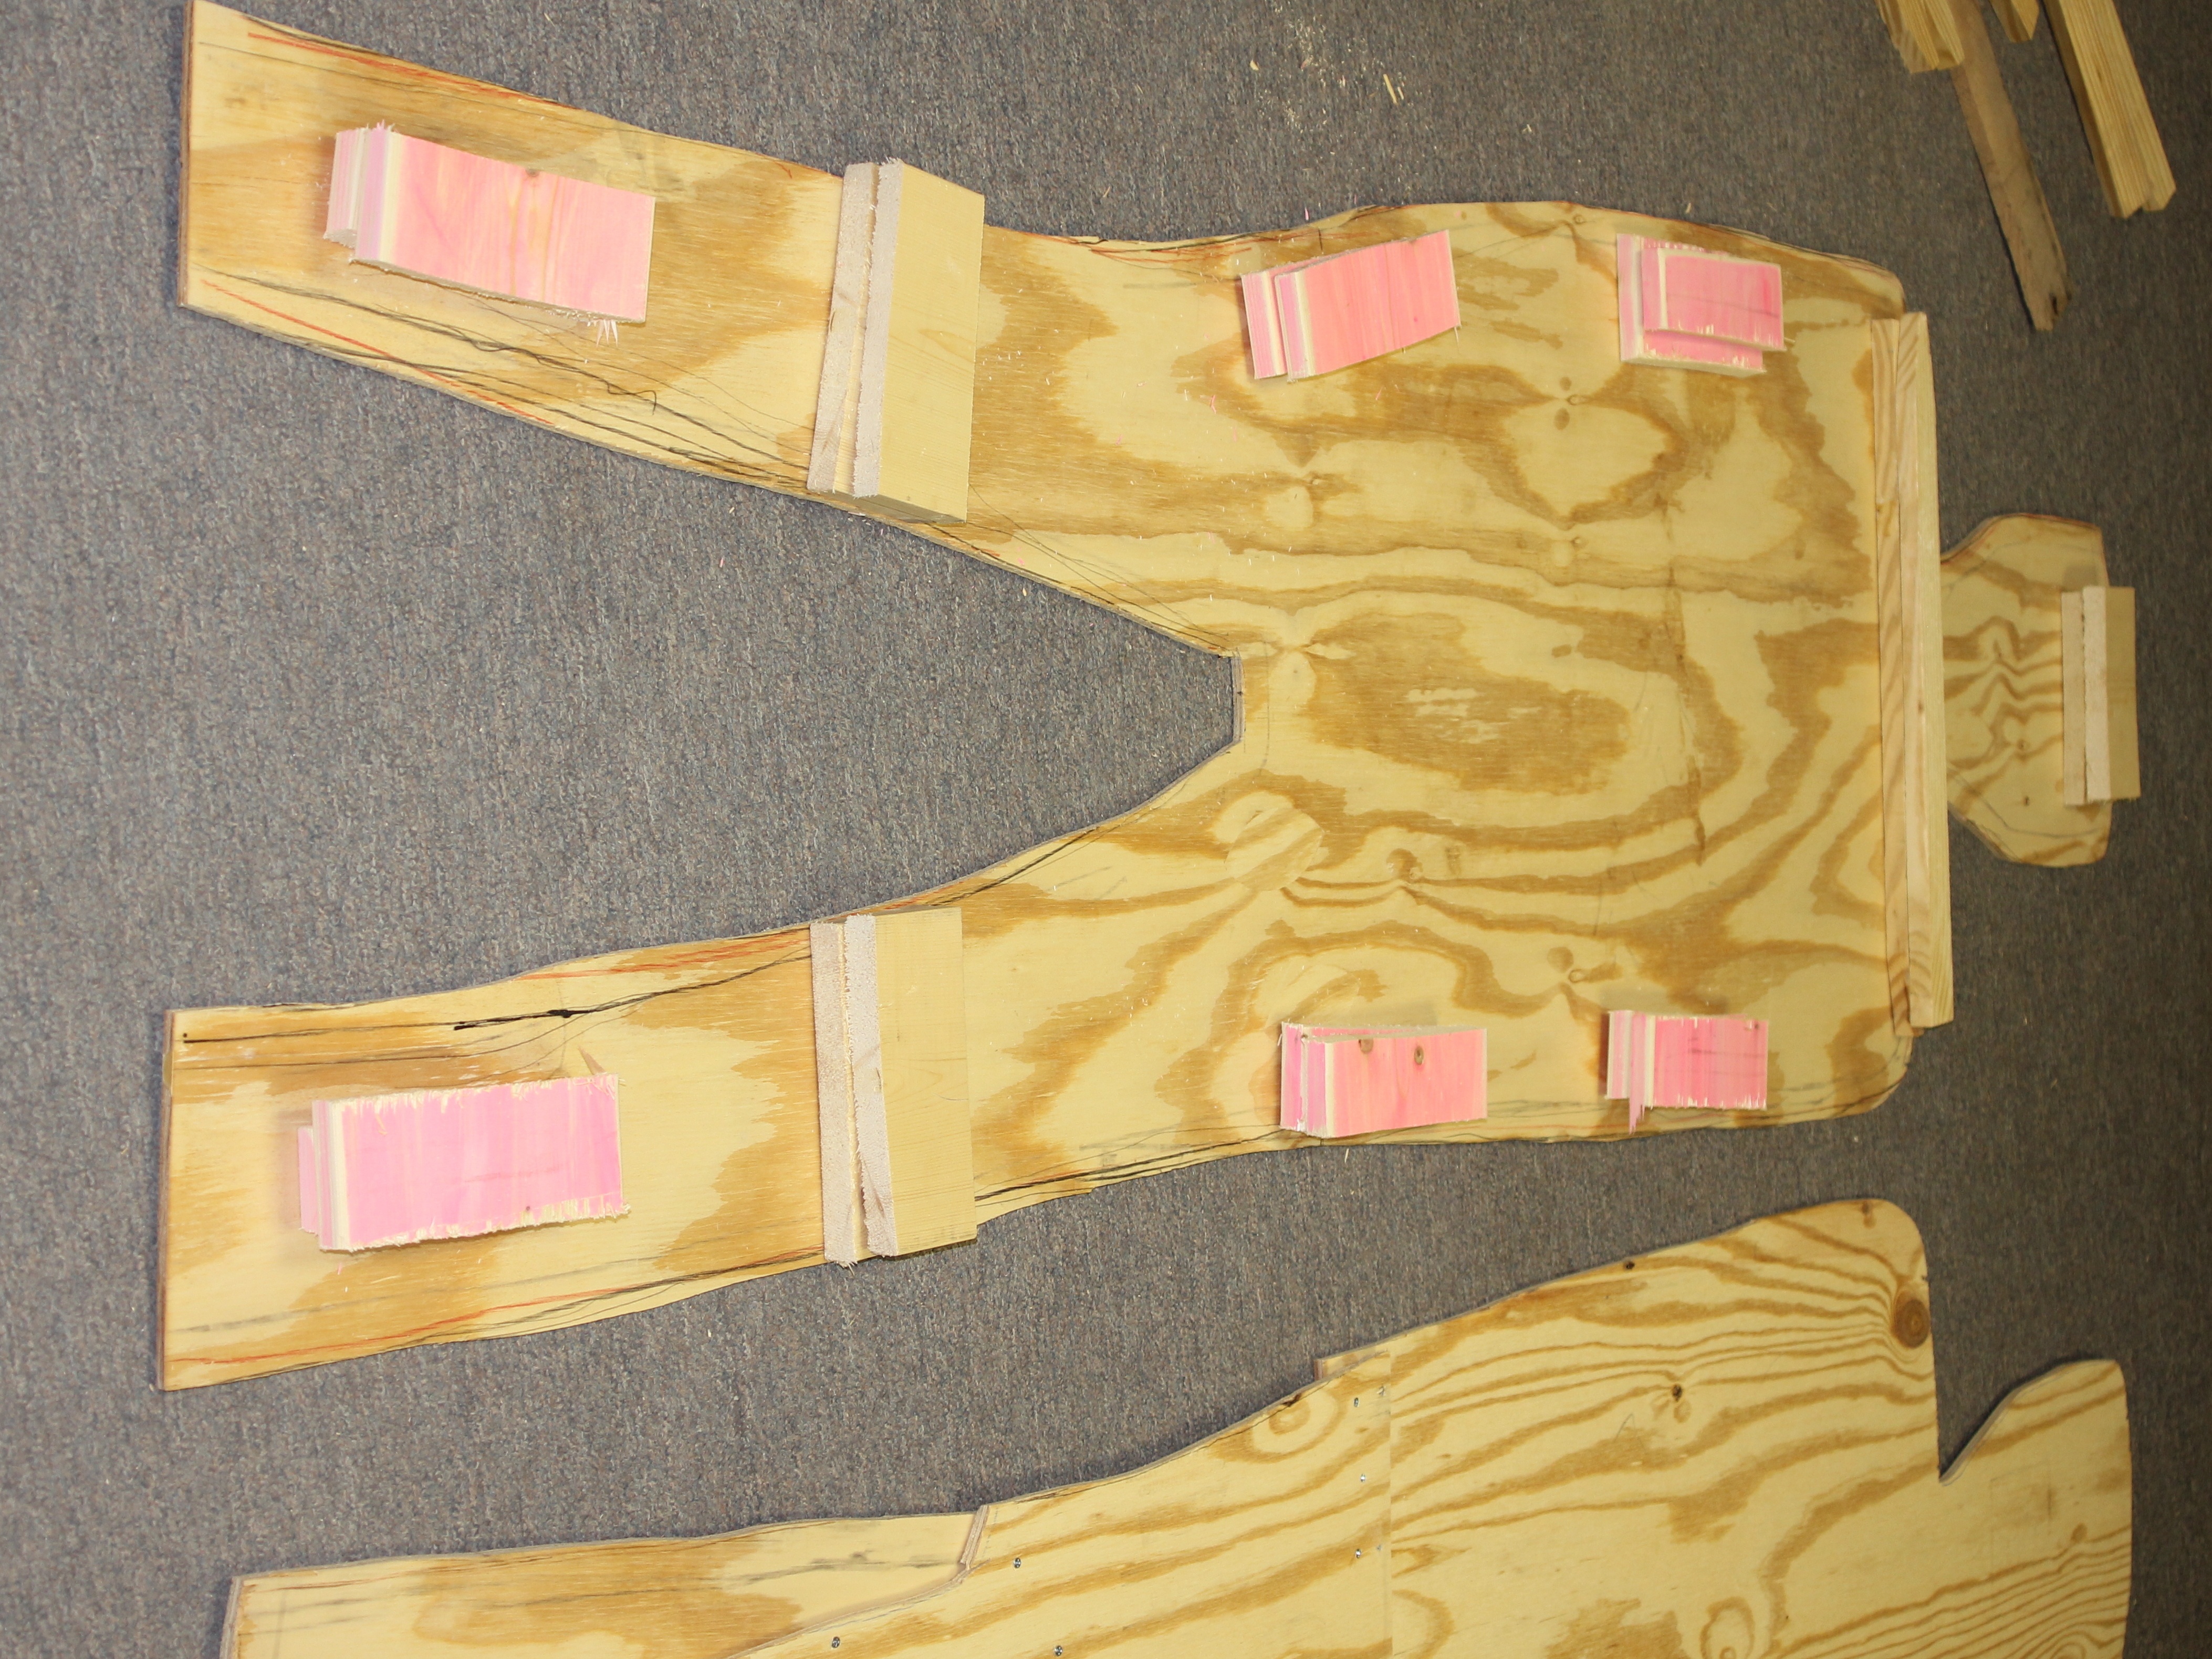
Lay two pieces of plywood flat. If you can, freehand-draw the body on the first piece of plywood. Cut out using a jig-saw. I laid on the wood and roughly traced around my body. Make this fun; you only need a guide.

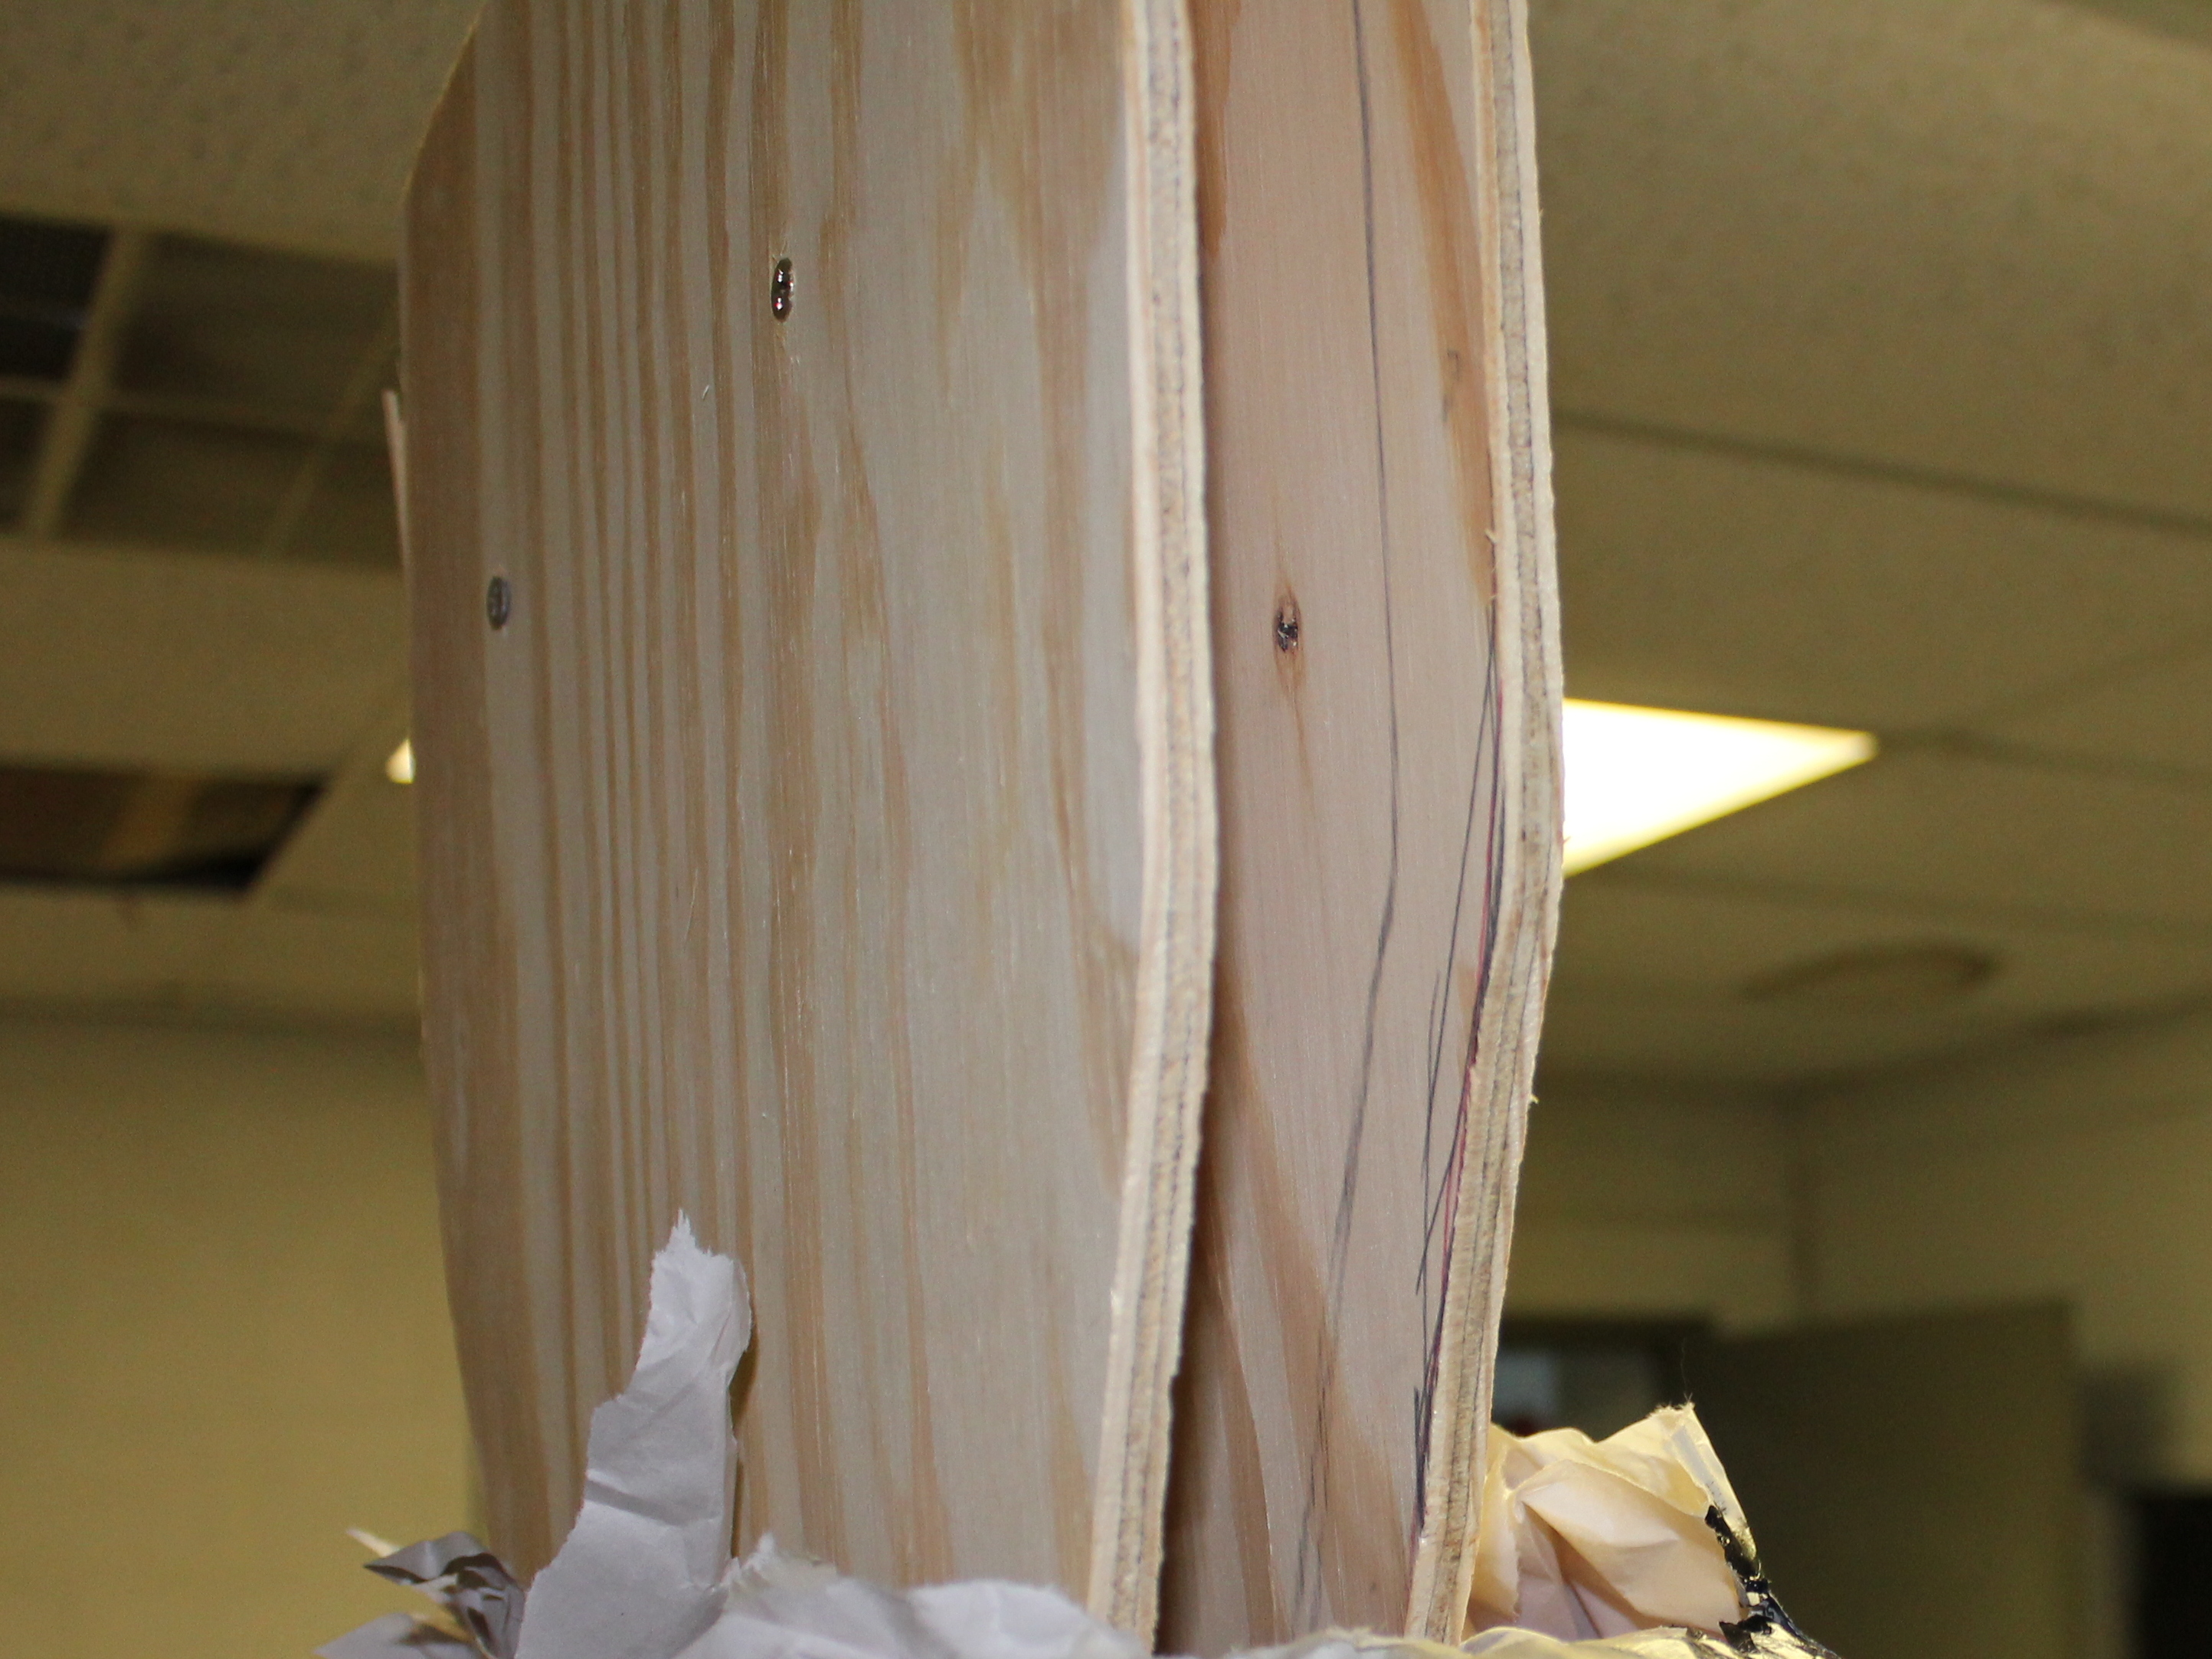
Using the first cut-out as a pattern, trace and cut a second body piece.

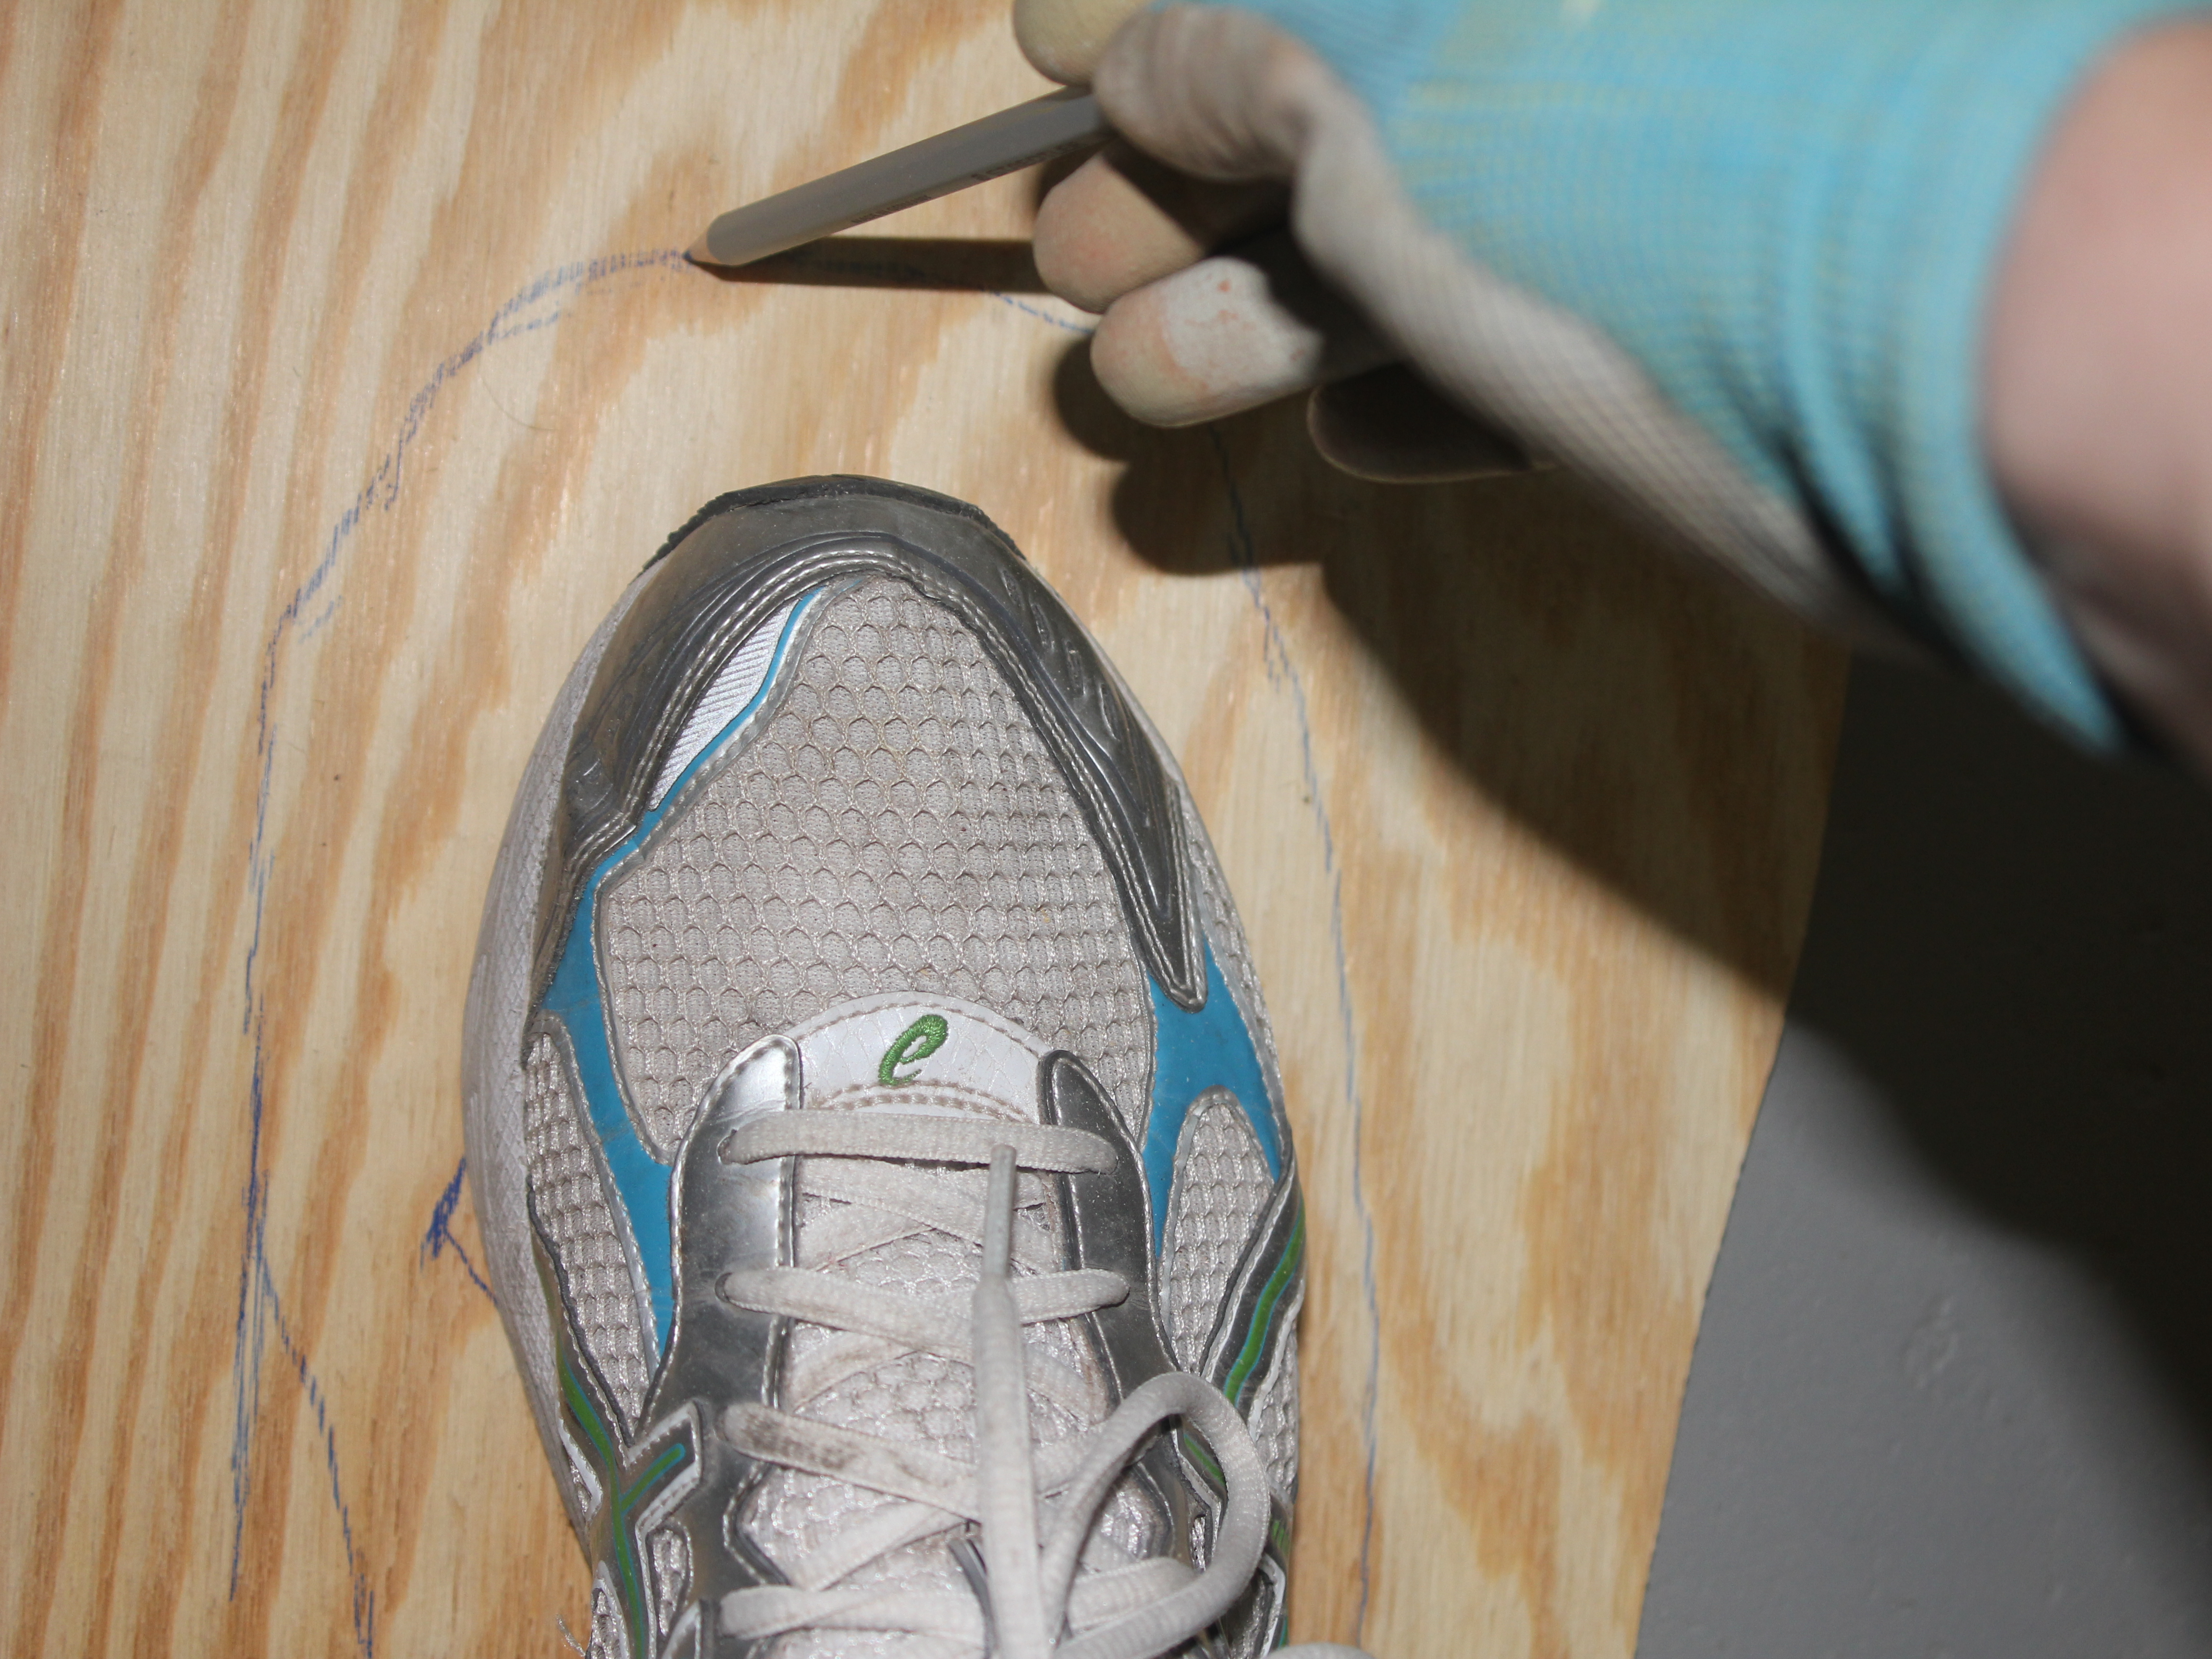
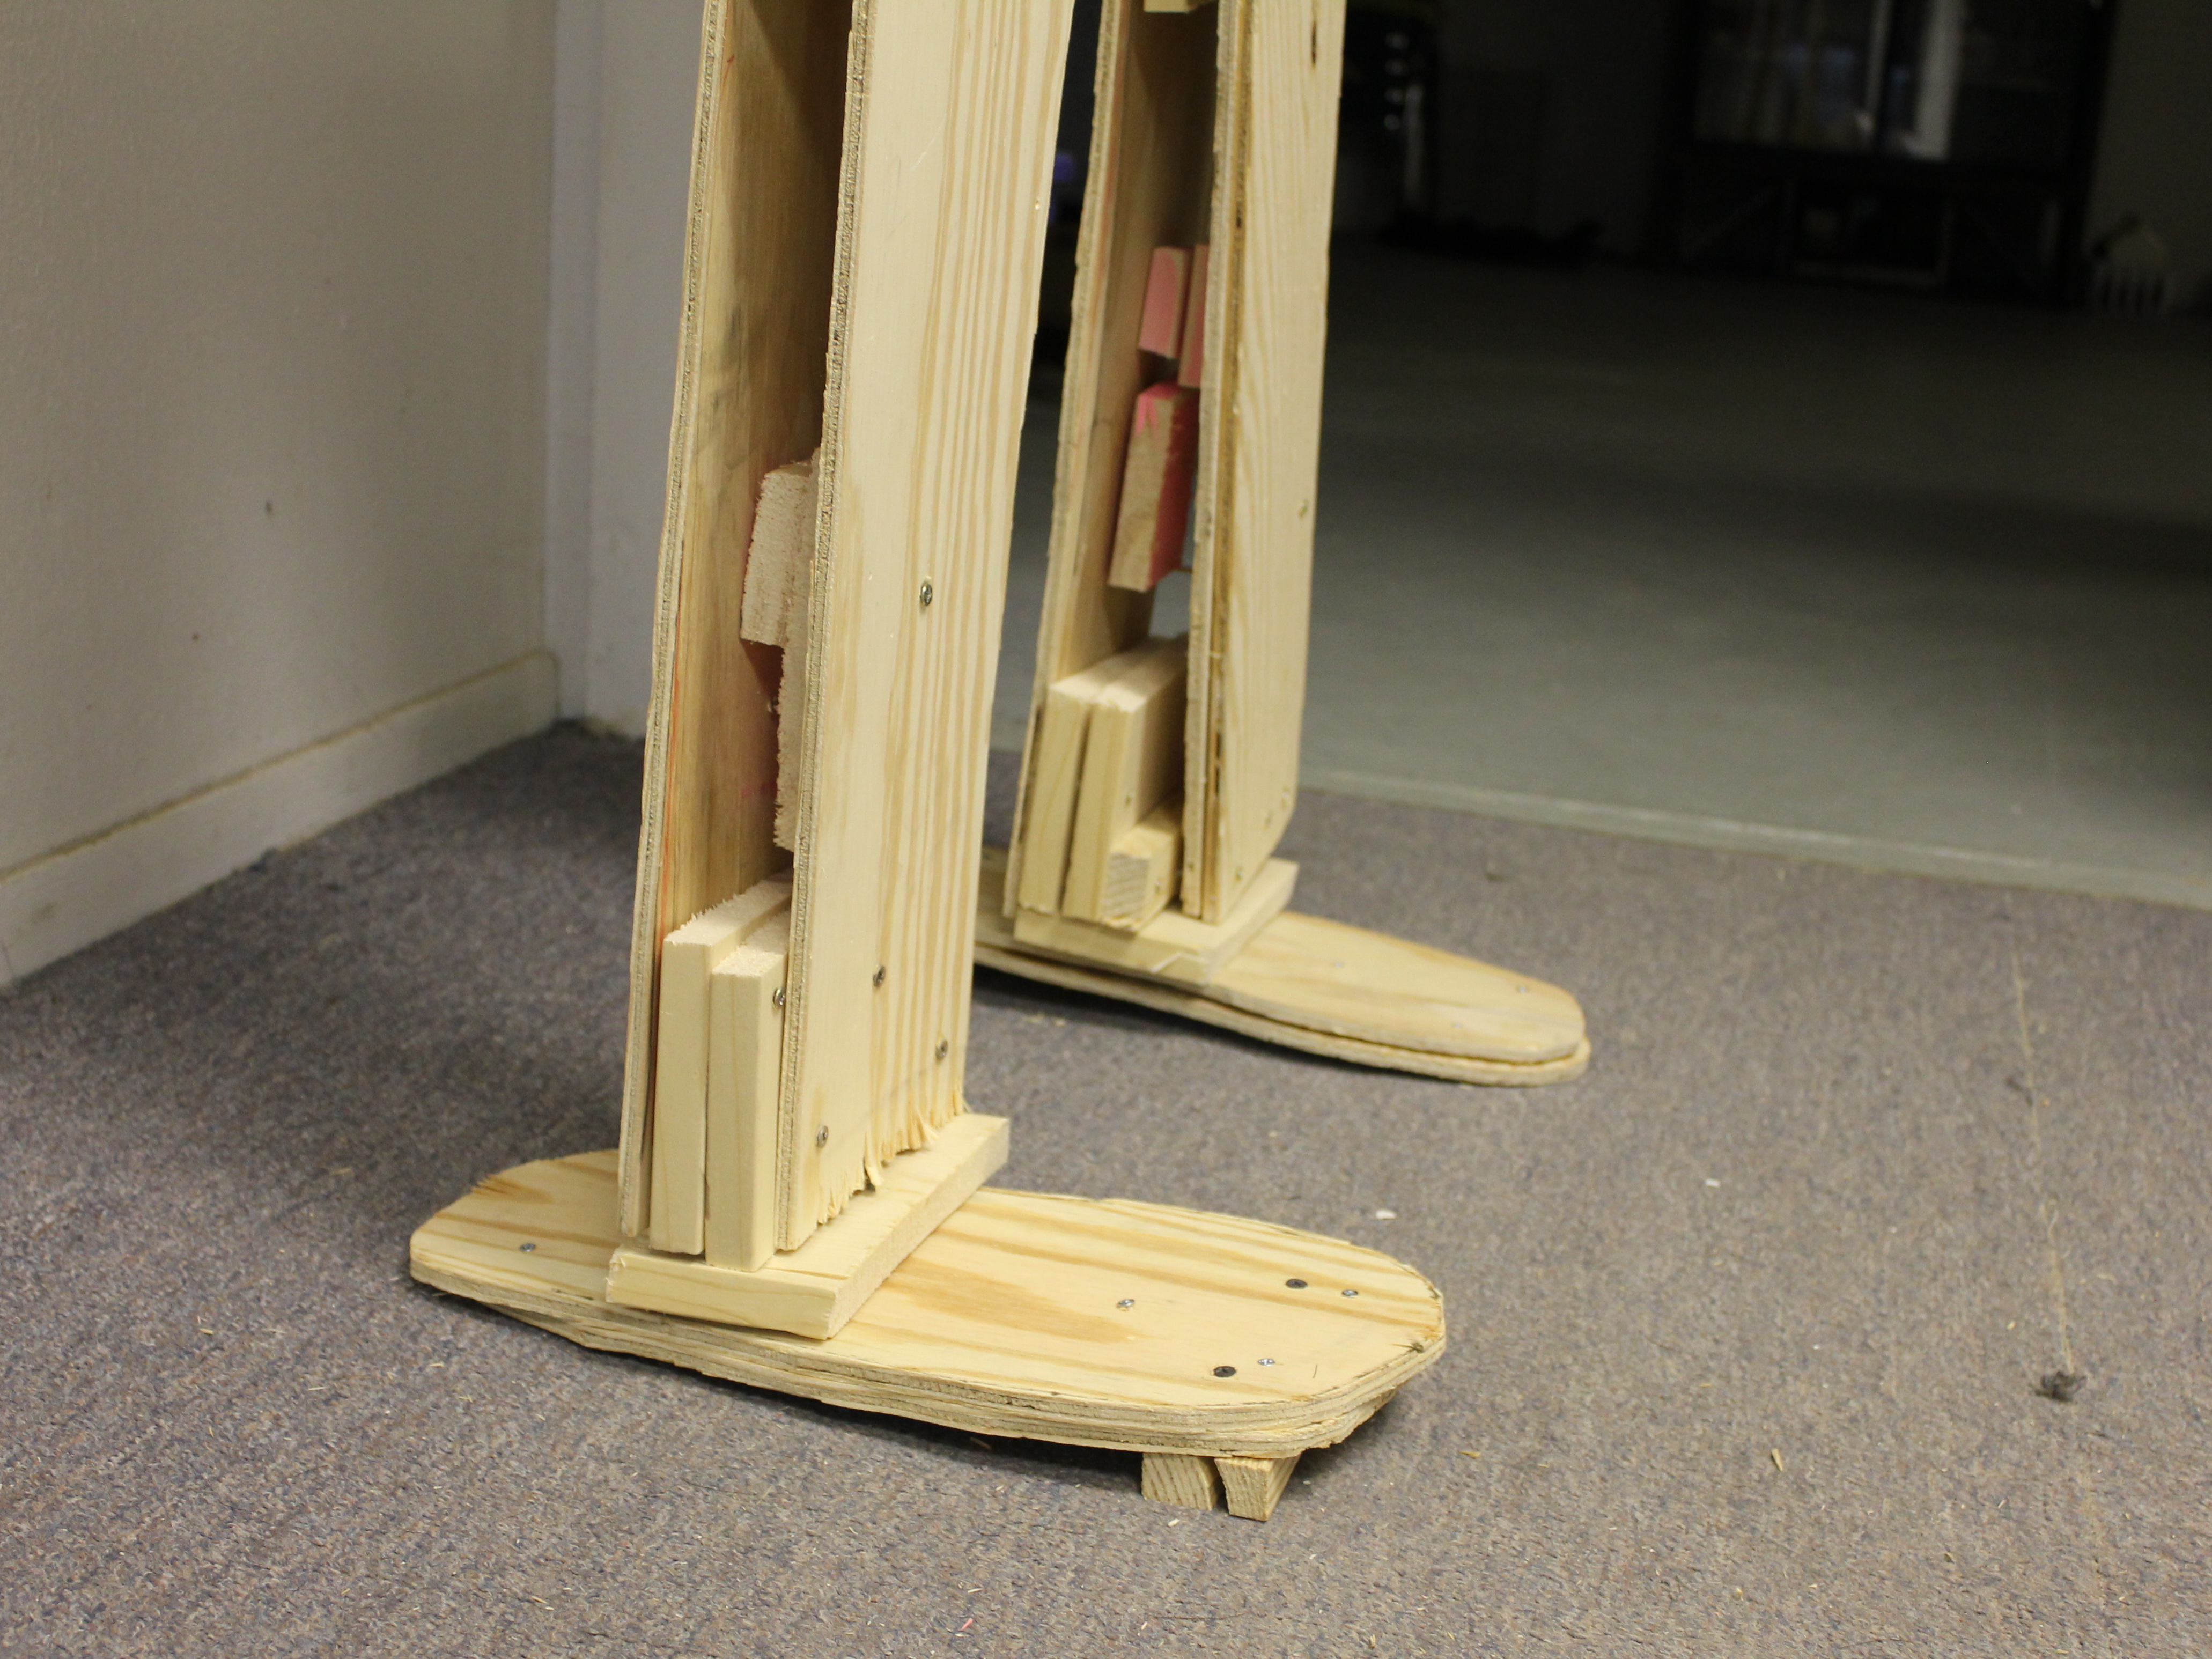
On scrap wood trace 4 shoe patterns. Cut out.

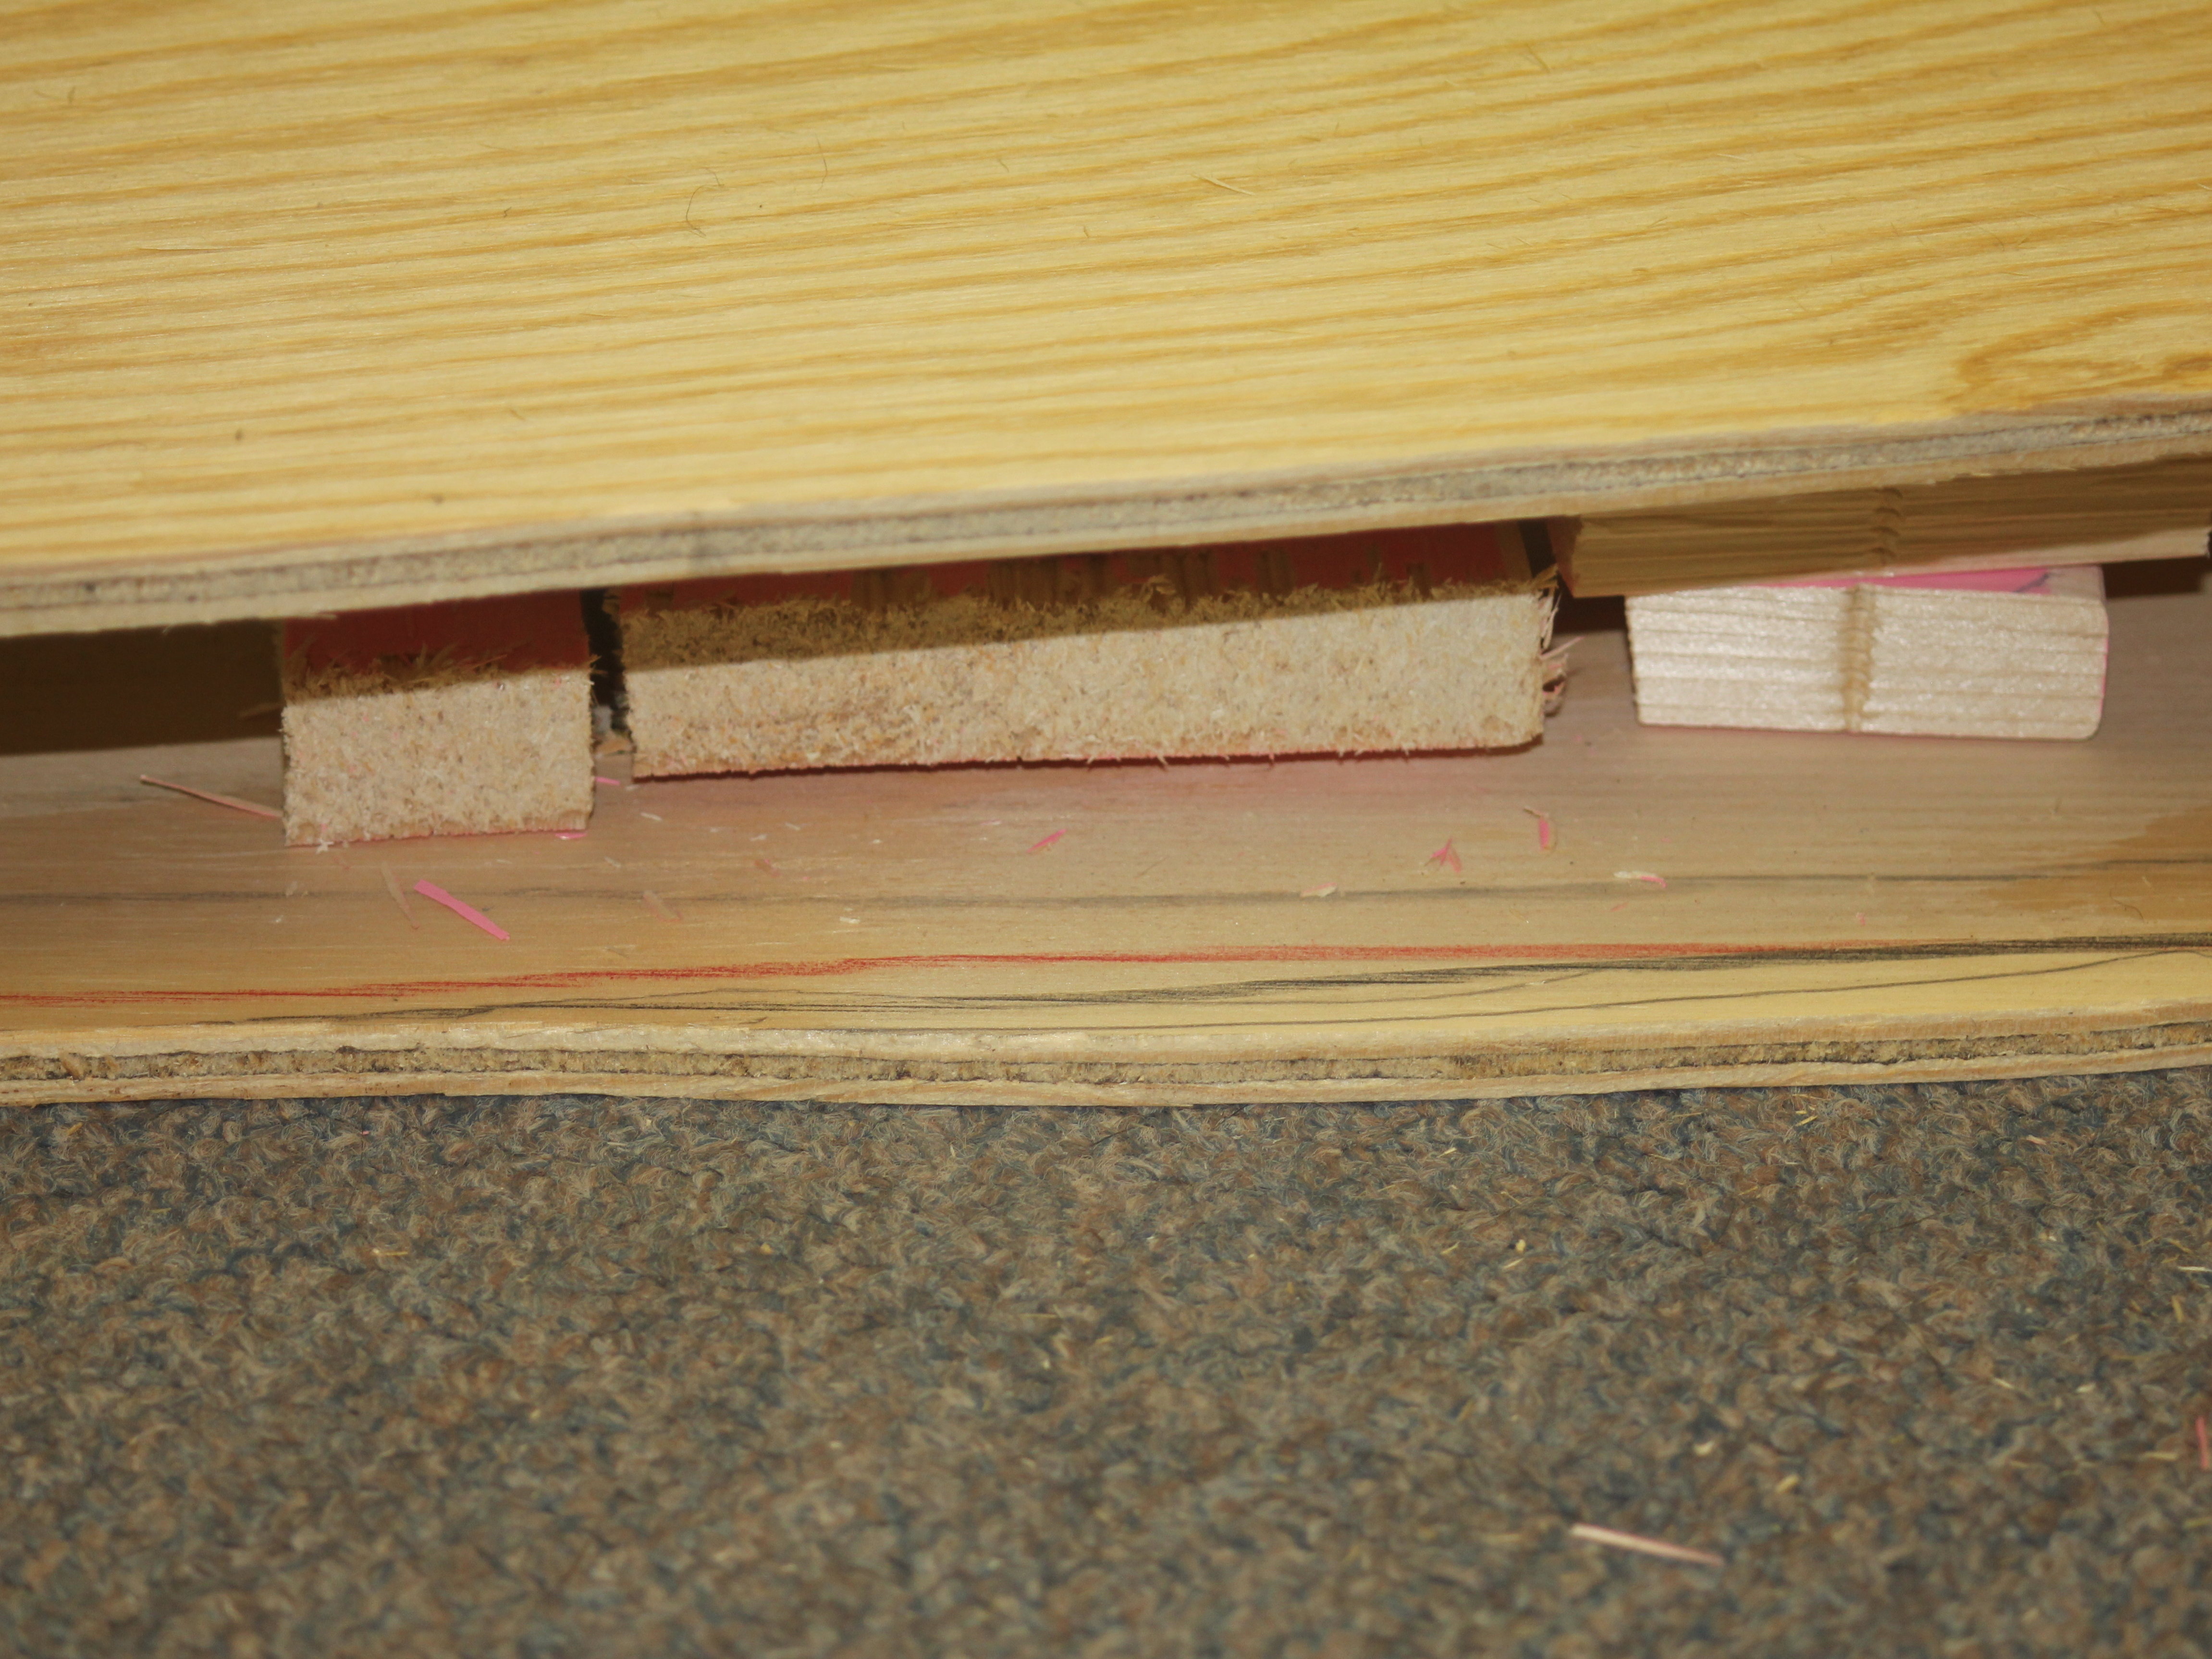
Place scrap wood on one of the body pieces to form a two-inch rise.

Position the second board on top. Using a drill, screw through all layers avoiding screwing completely through the back of the bottom board.

Place scrap wood on bottom edge of legs to allow “shoes” to be attached. Now is the time to adjust bottom of shoes to balance Frankenstein.

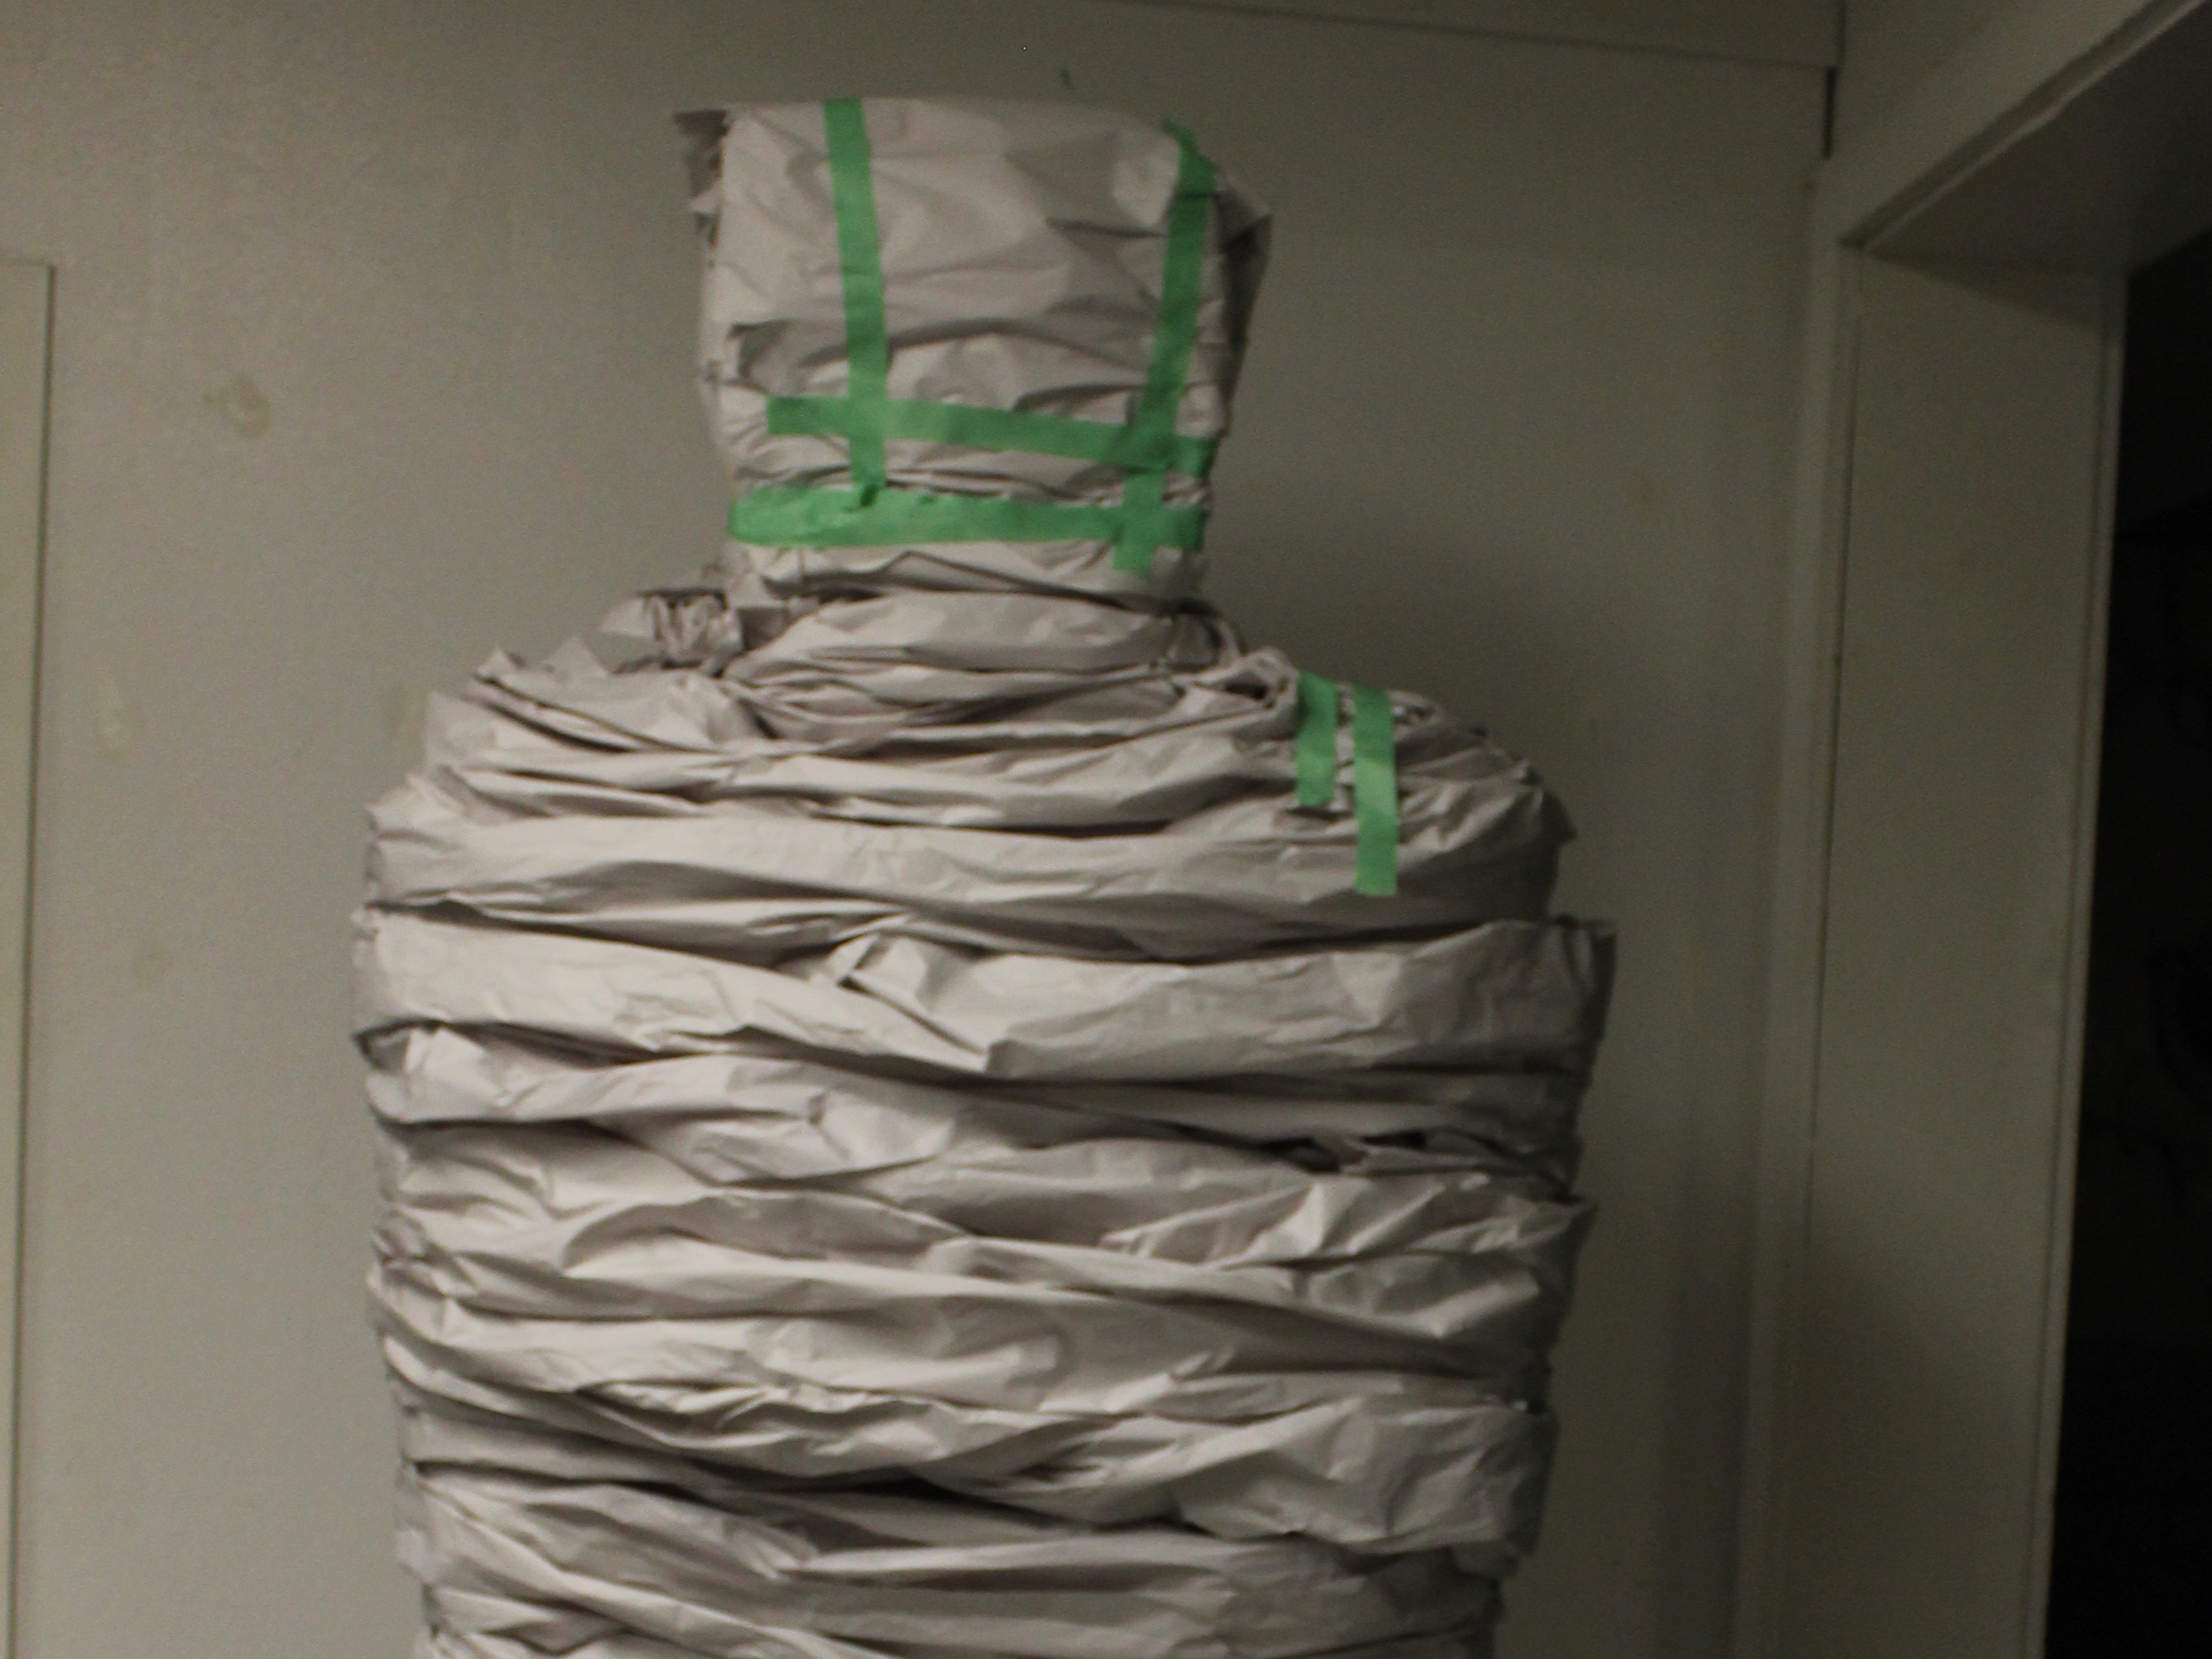
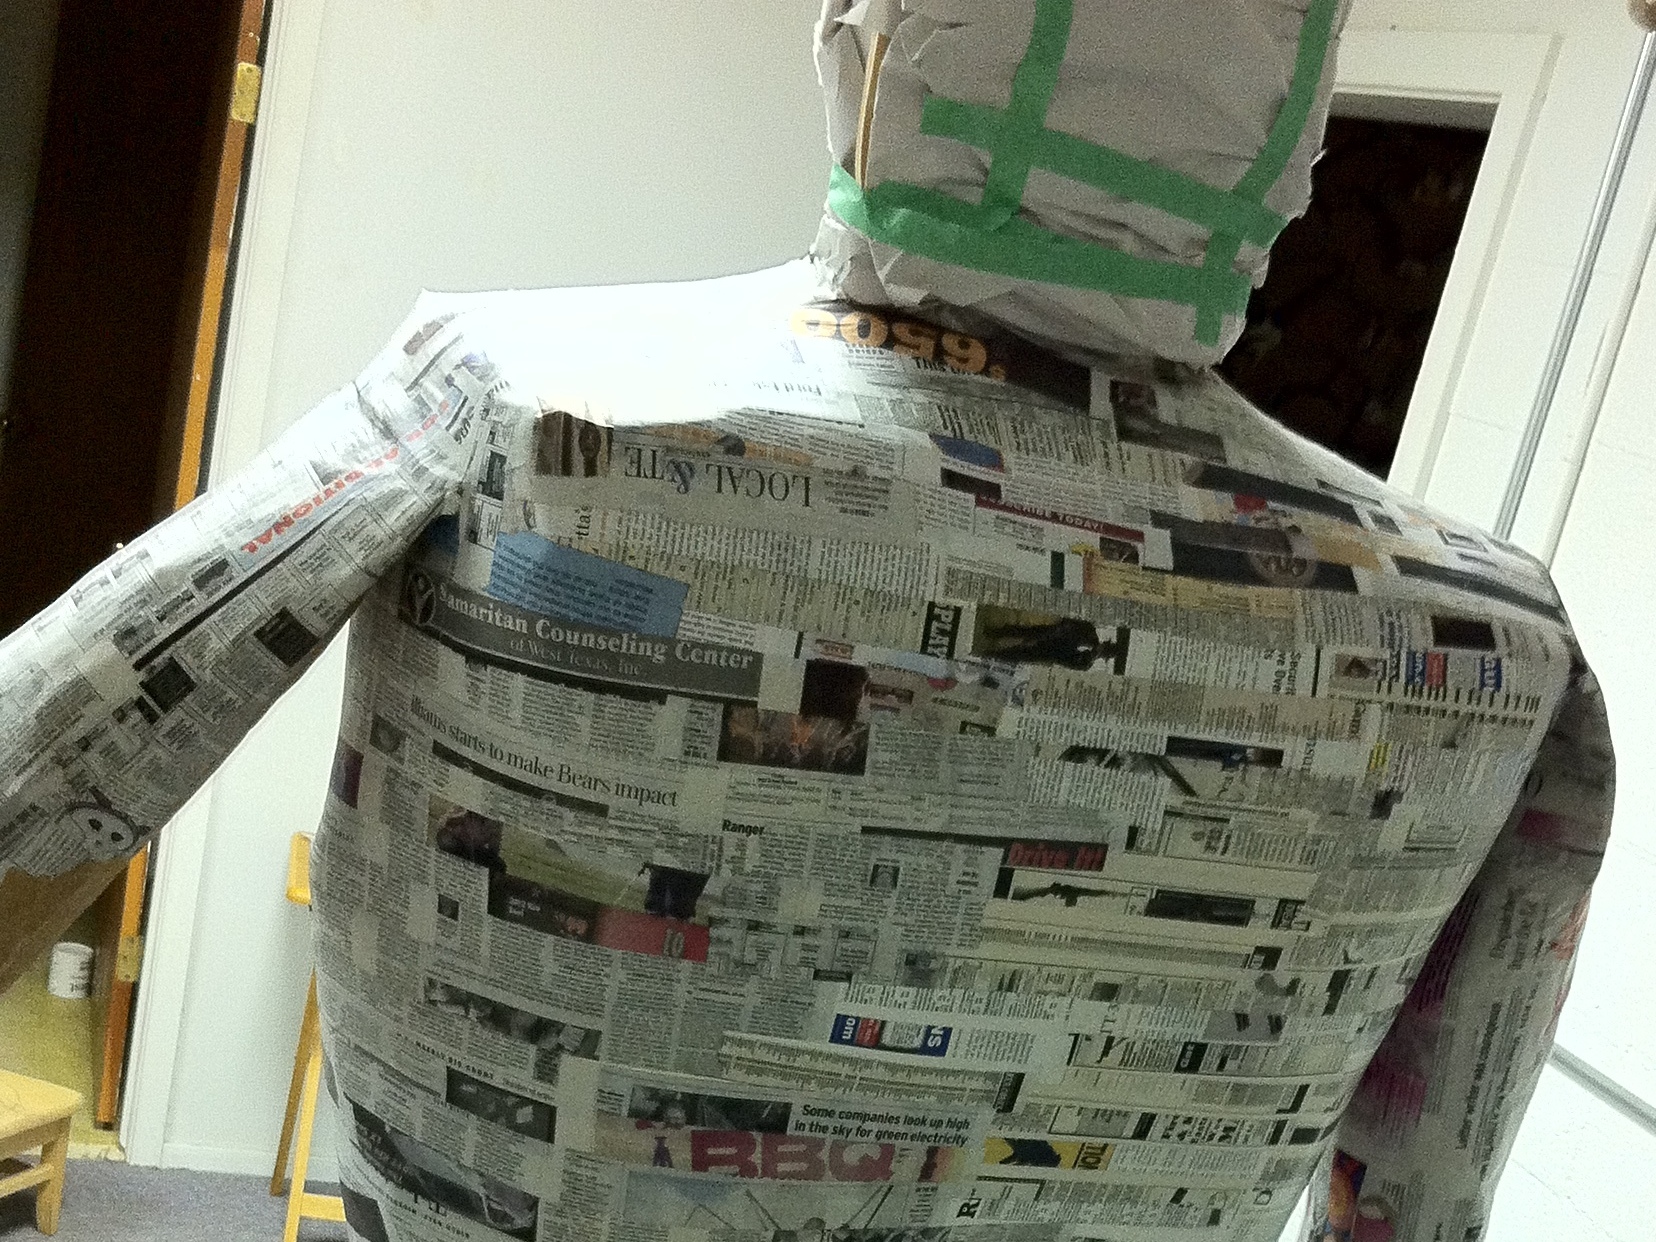
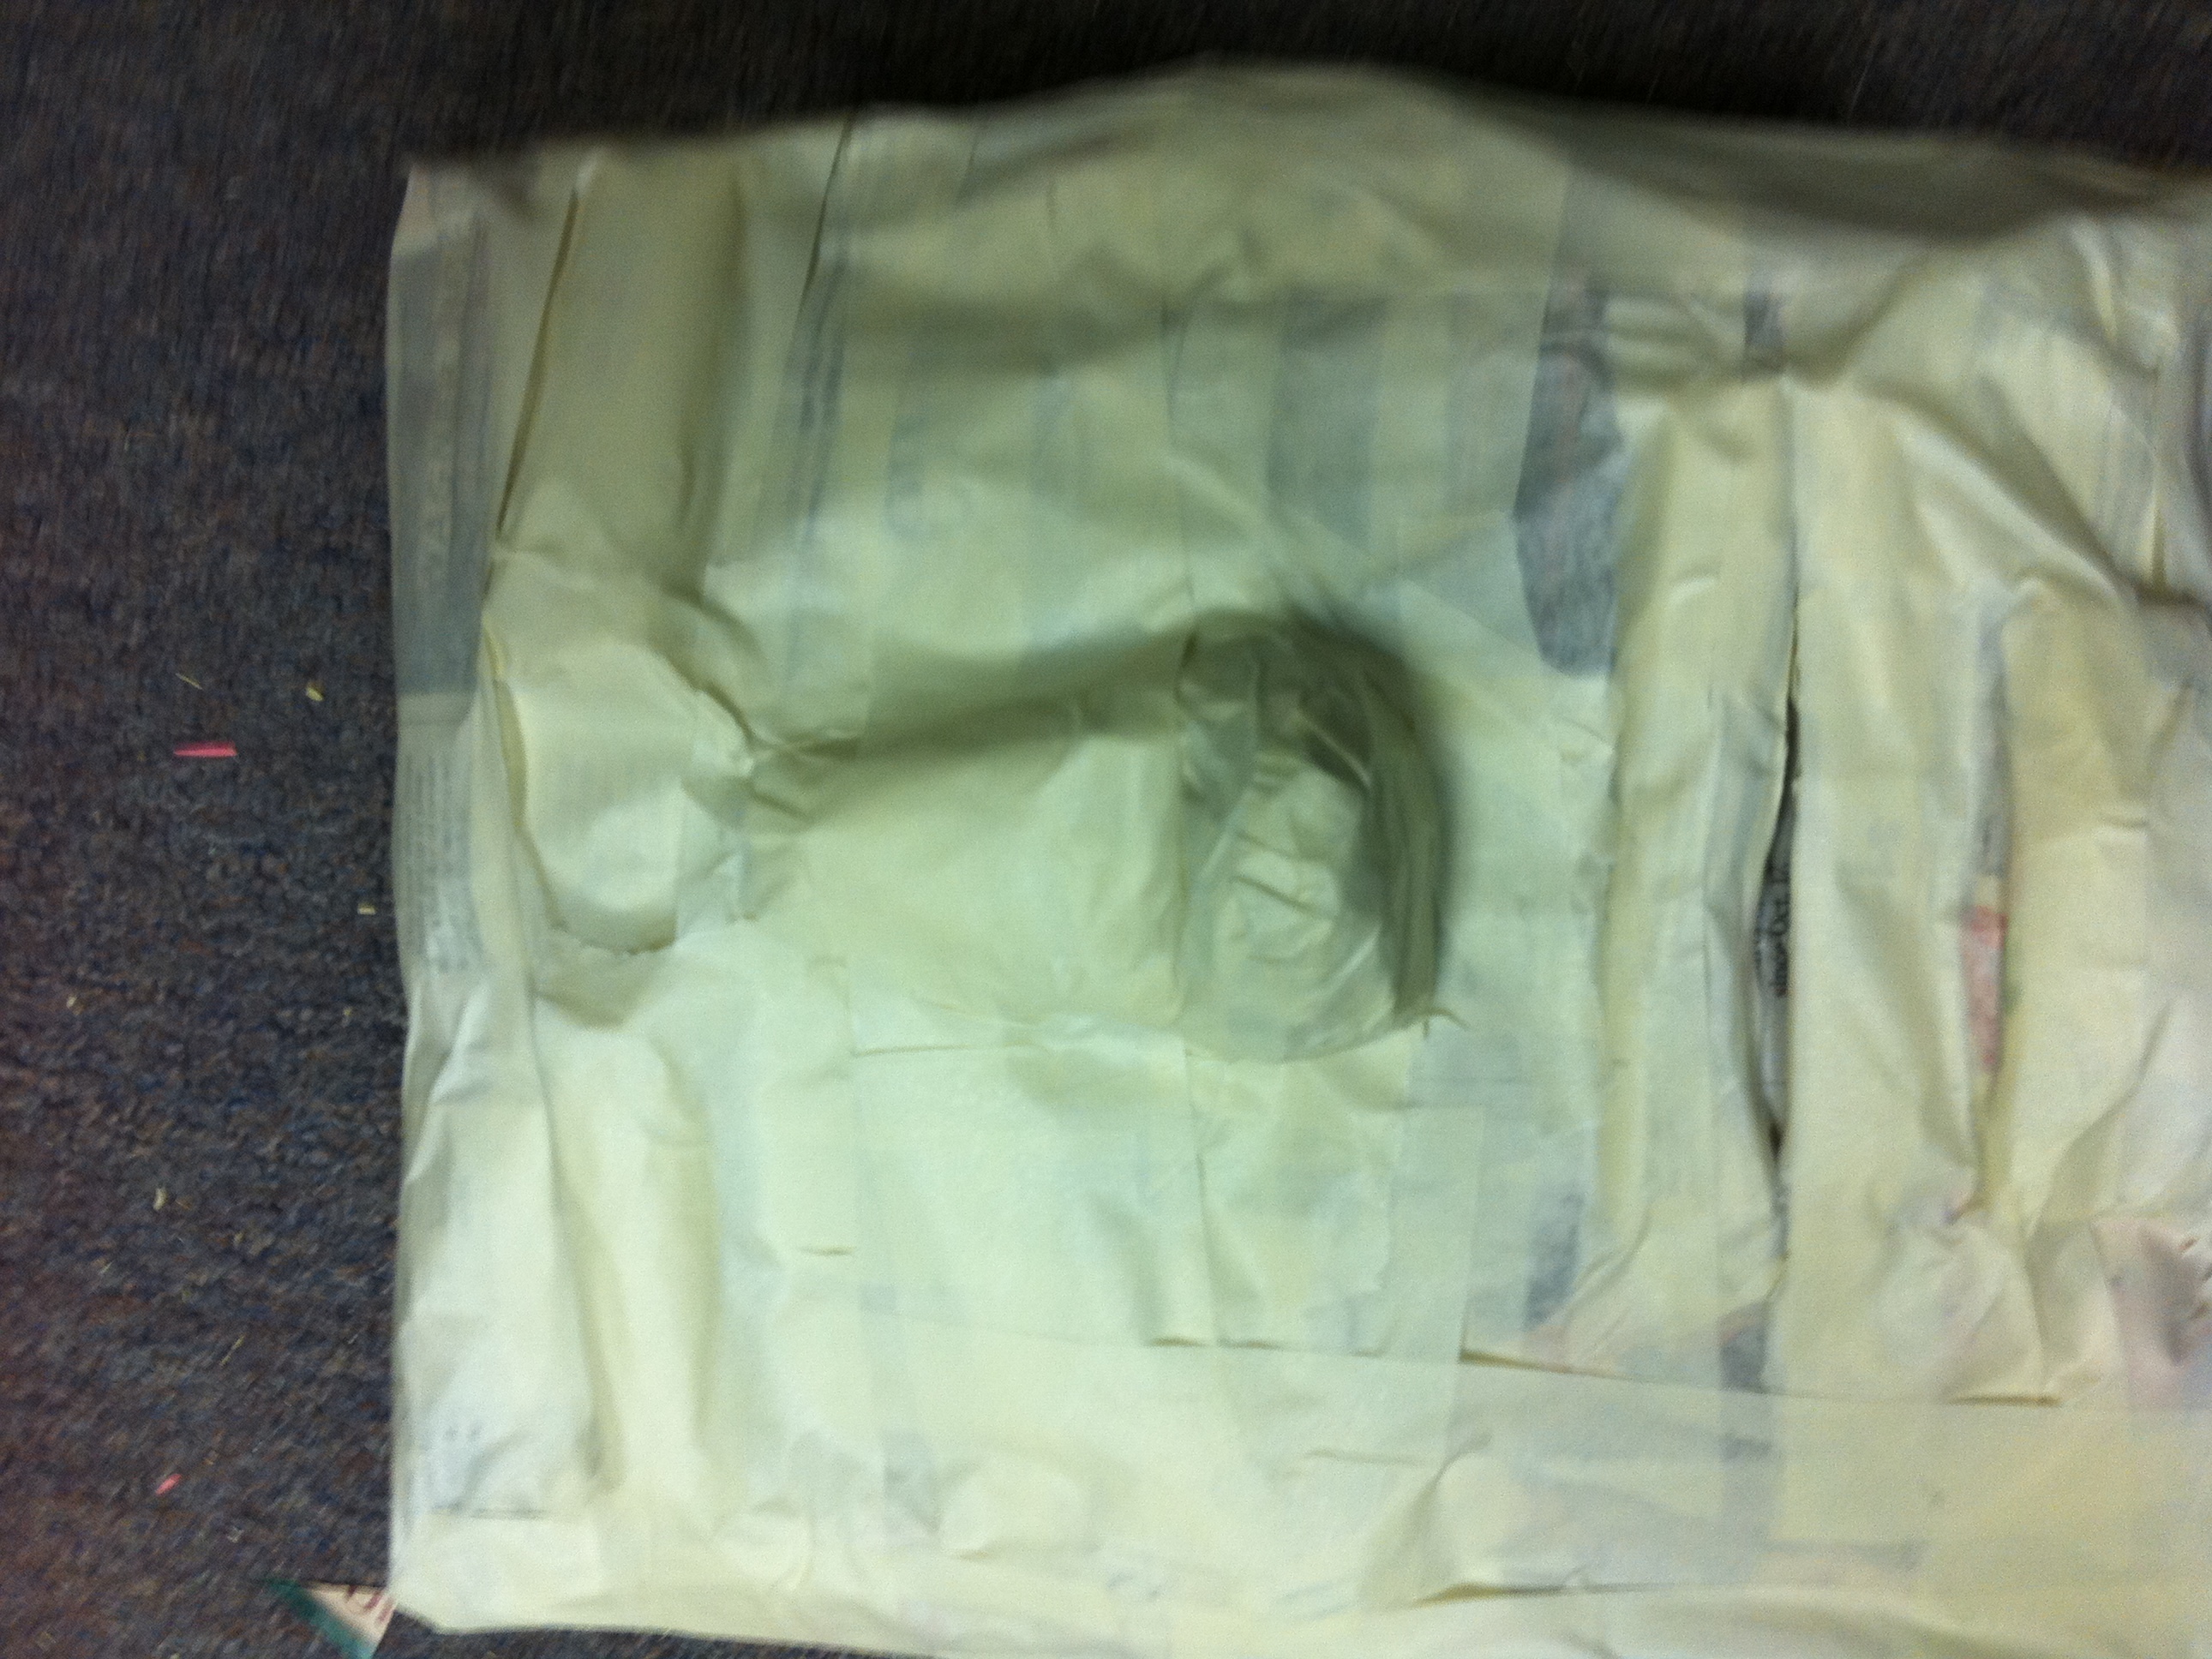
Begin wrapping newsprint around form. Use more newsprint where body parts need bulk. Use masking tape to hold paper in place

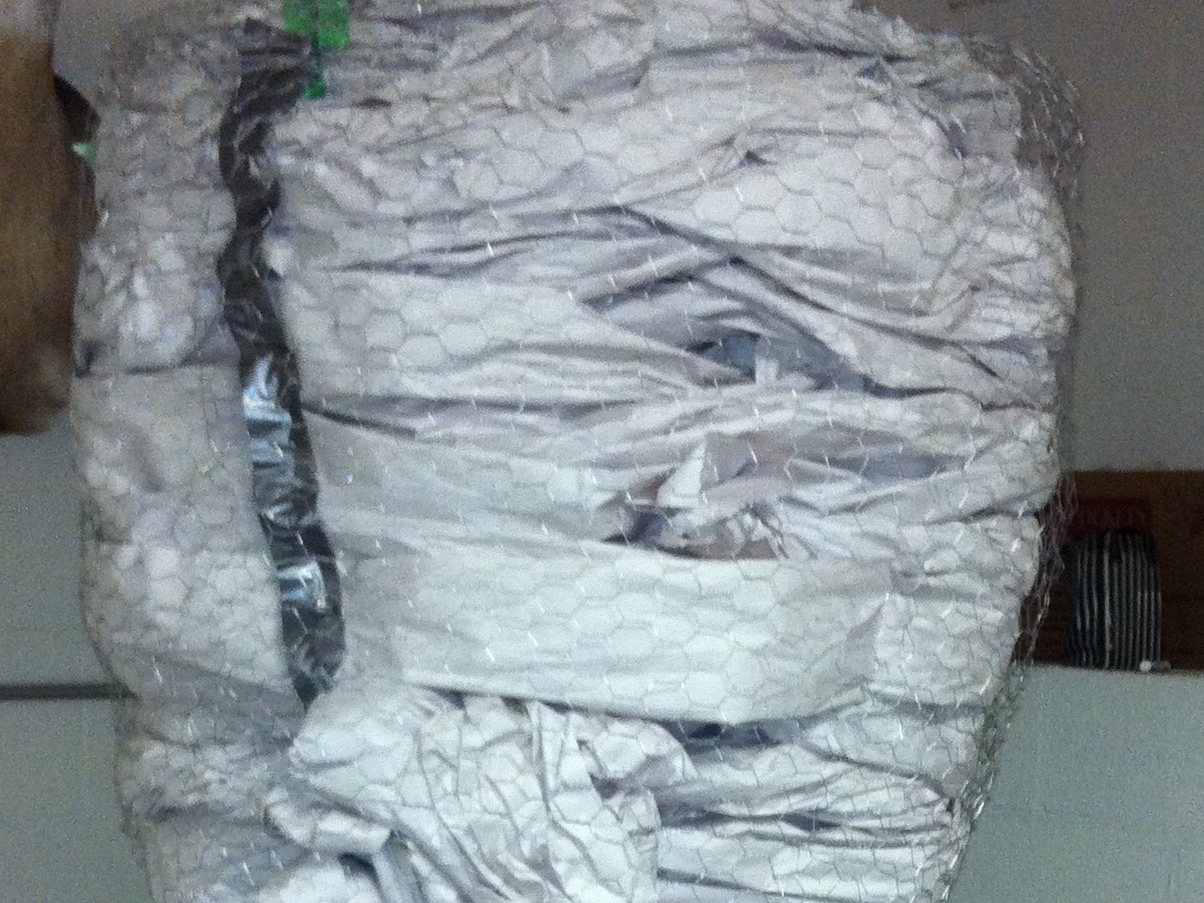
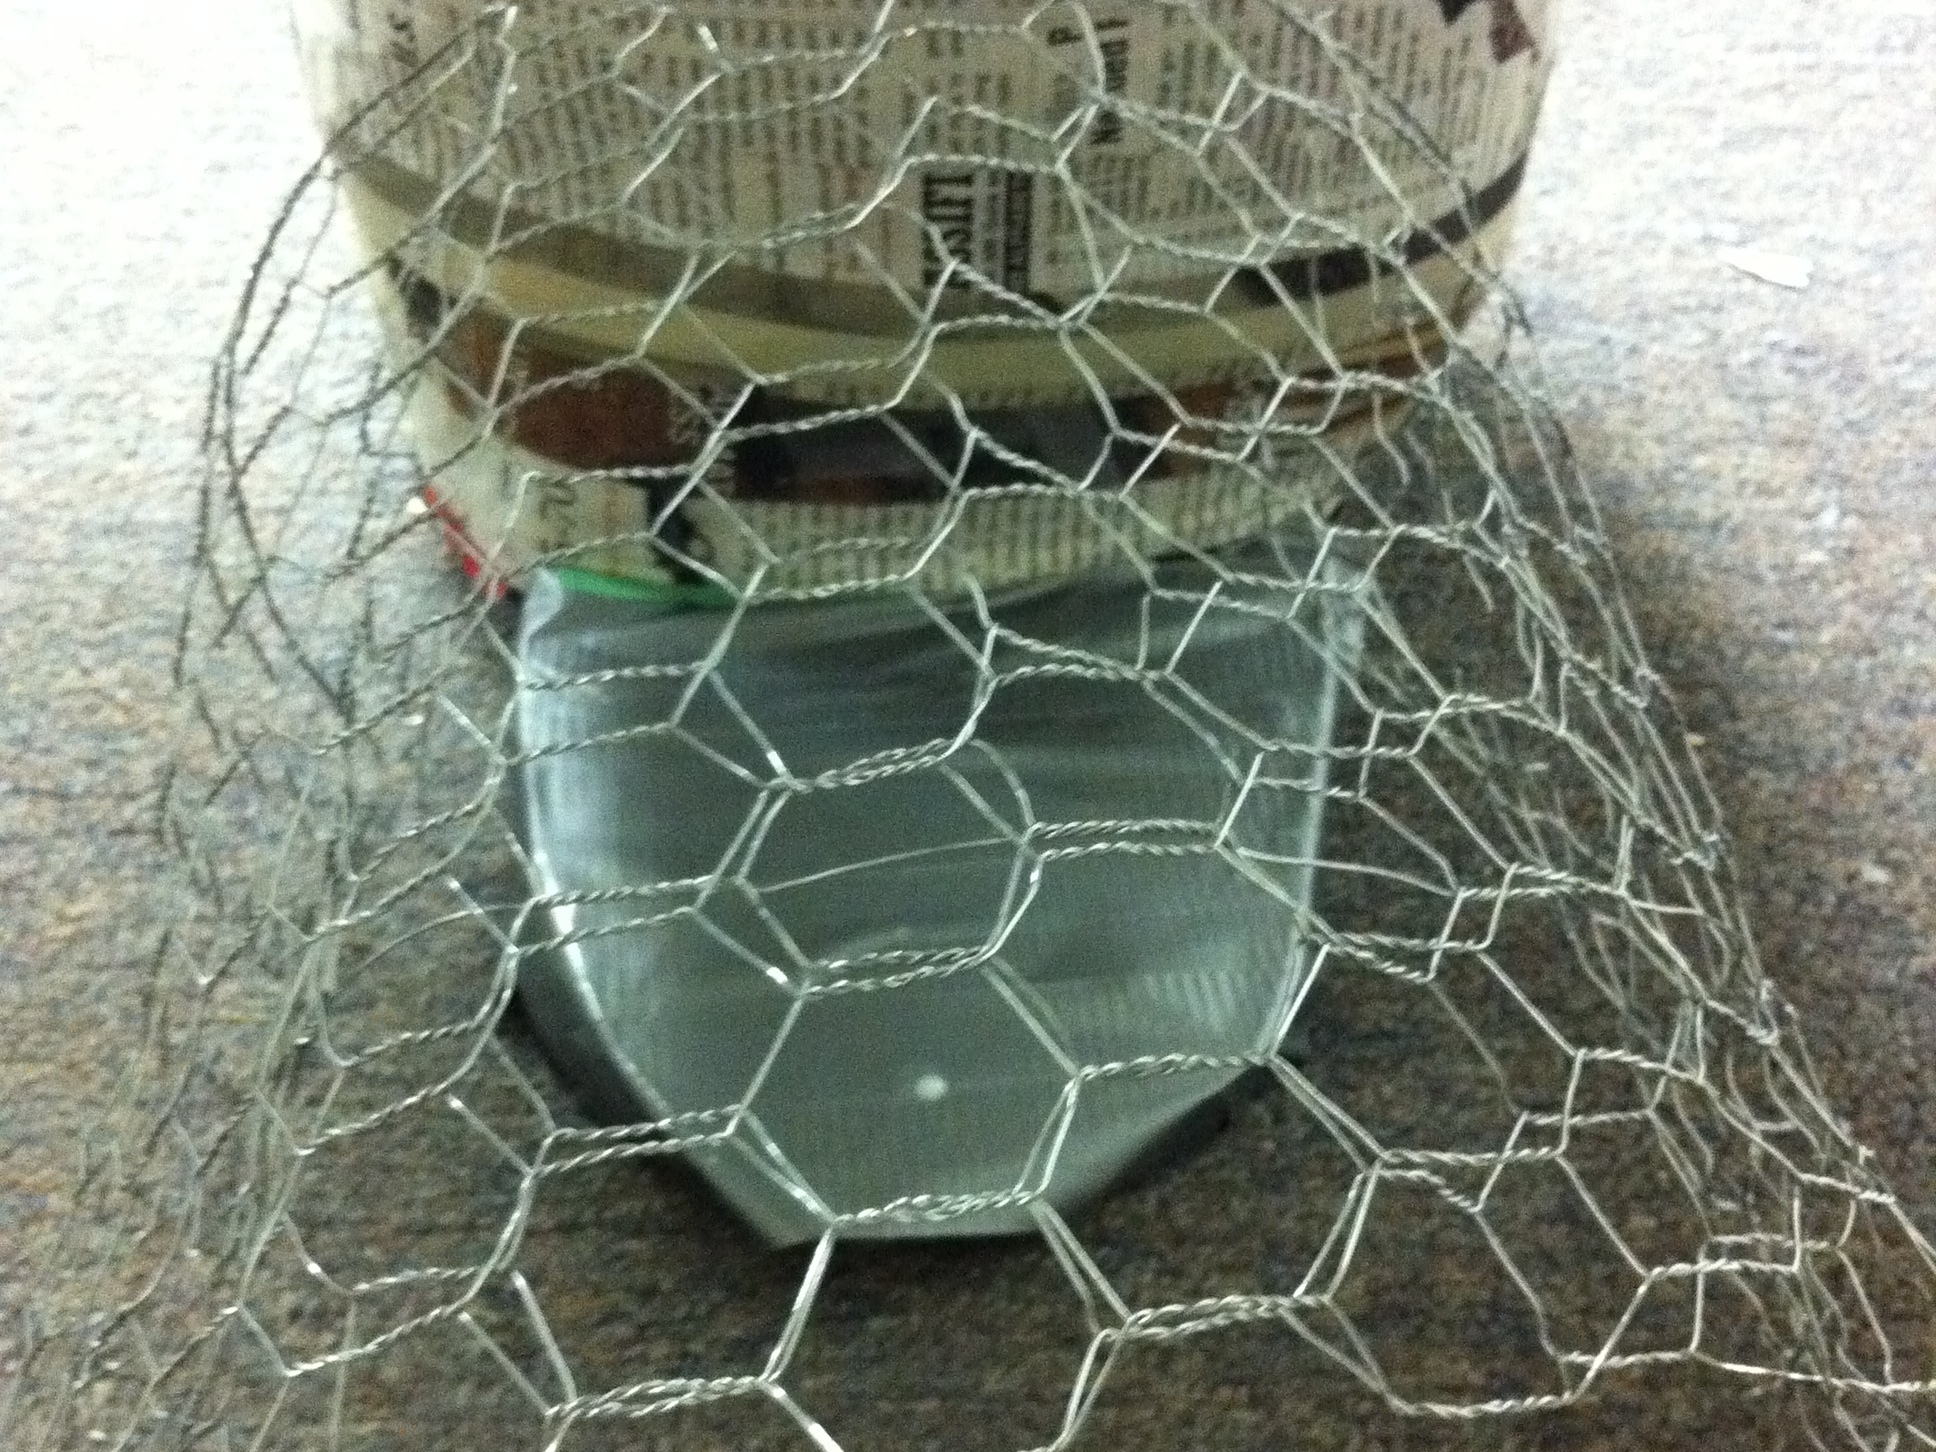
For chest and shoulder area, form hex wire around form and stuff with additional paper. Wrap wire with newsprint and secure with masking tape.

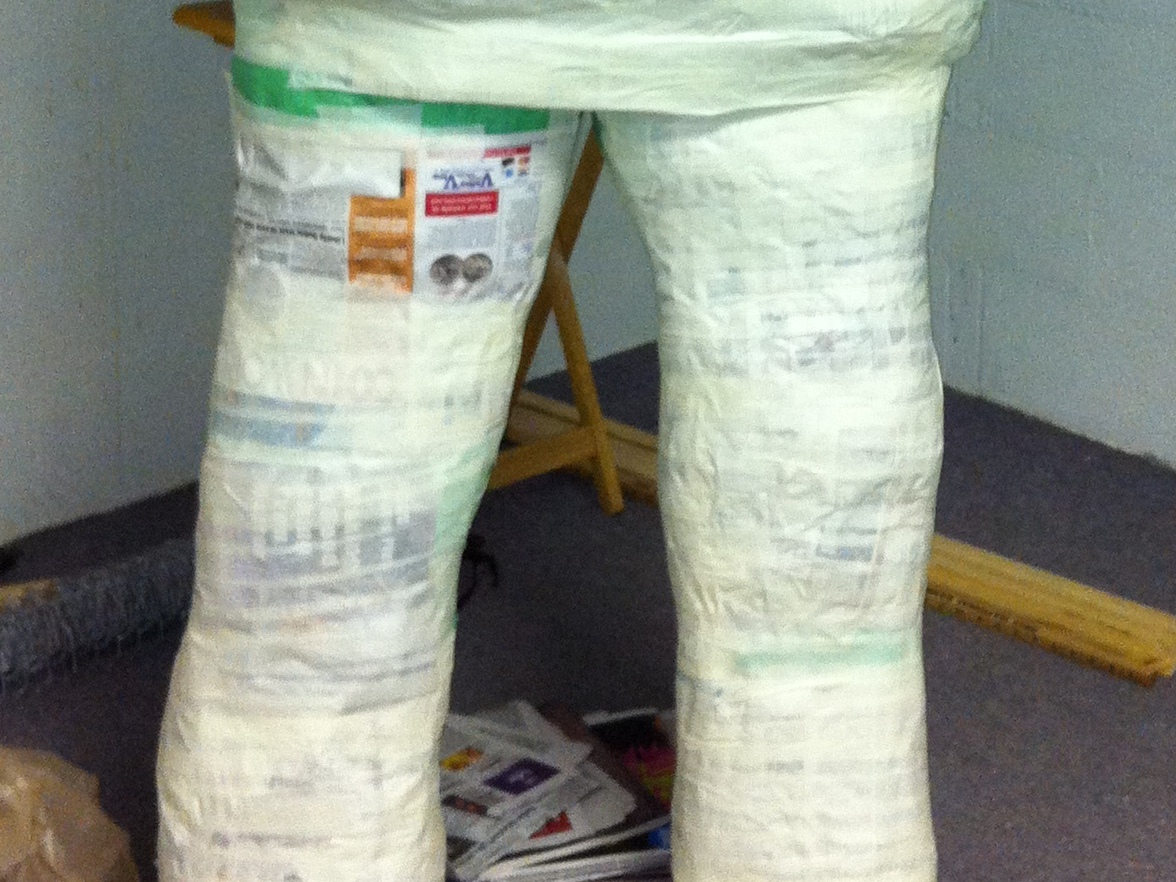
Wrap legs with sheets of newspaper and tightly secure with masking tape. You will now begin the task of covering from the neck to the feet with strips of masking tape. Run the tape in different directions, carefully covering every inch of newsprint.

PLEASE USE CAUTION WHEN WORKING WITH WIRE. USE GLOVES AND OTHER SAFETY PRECAUTIONS.

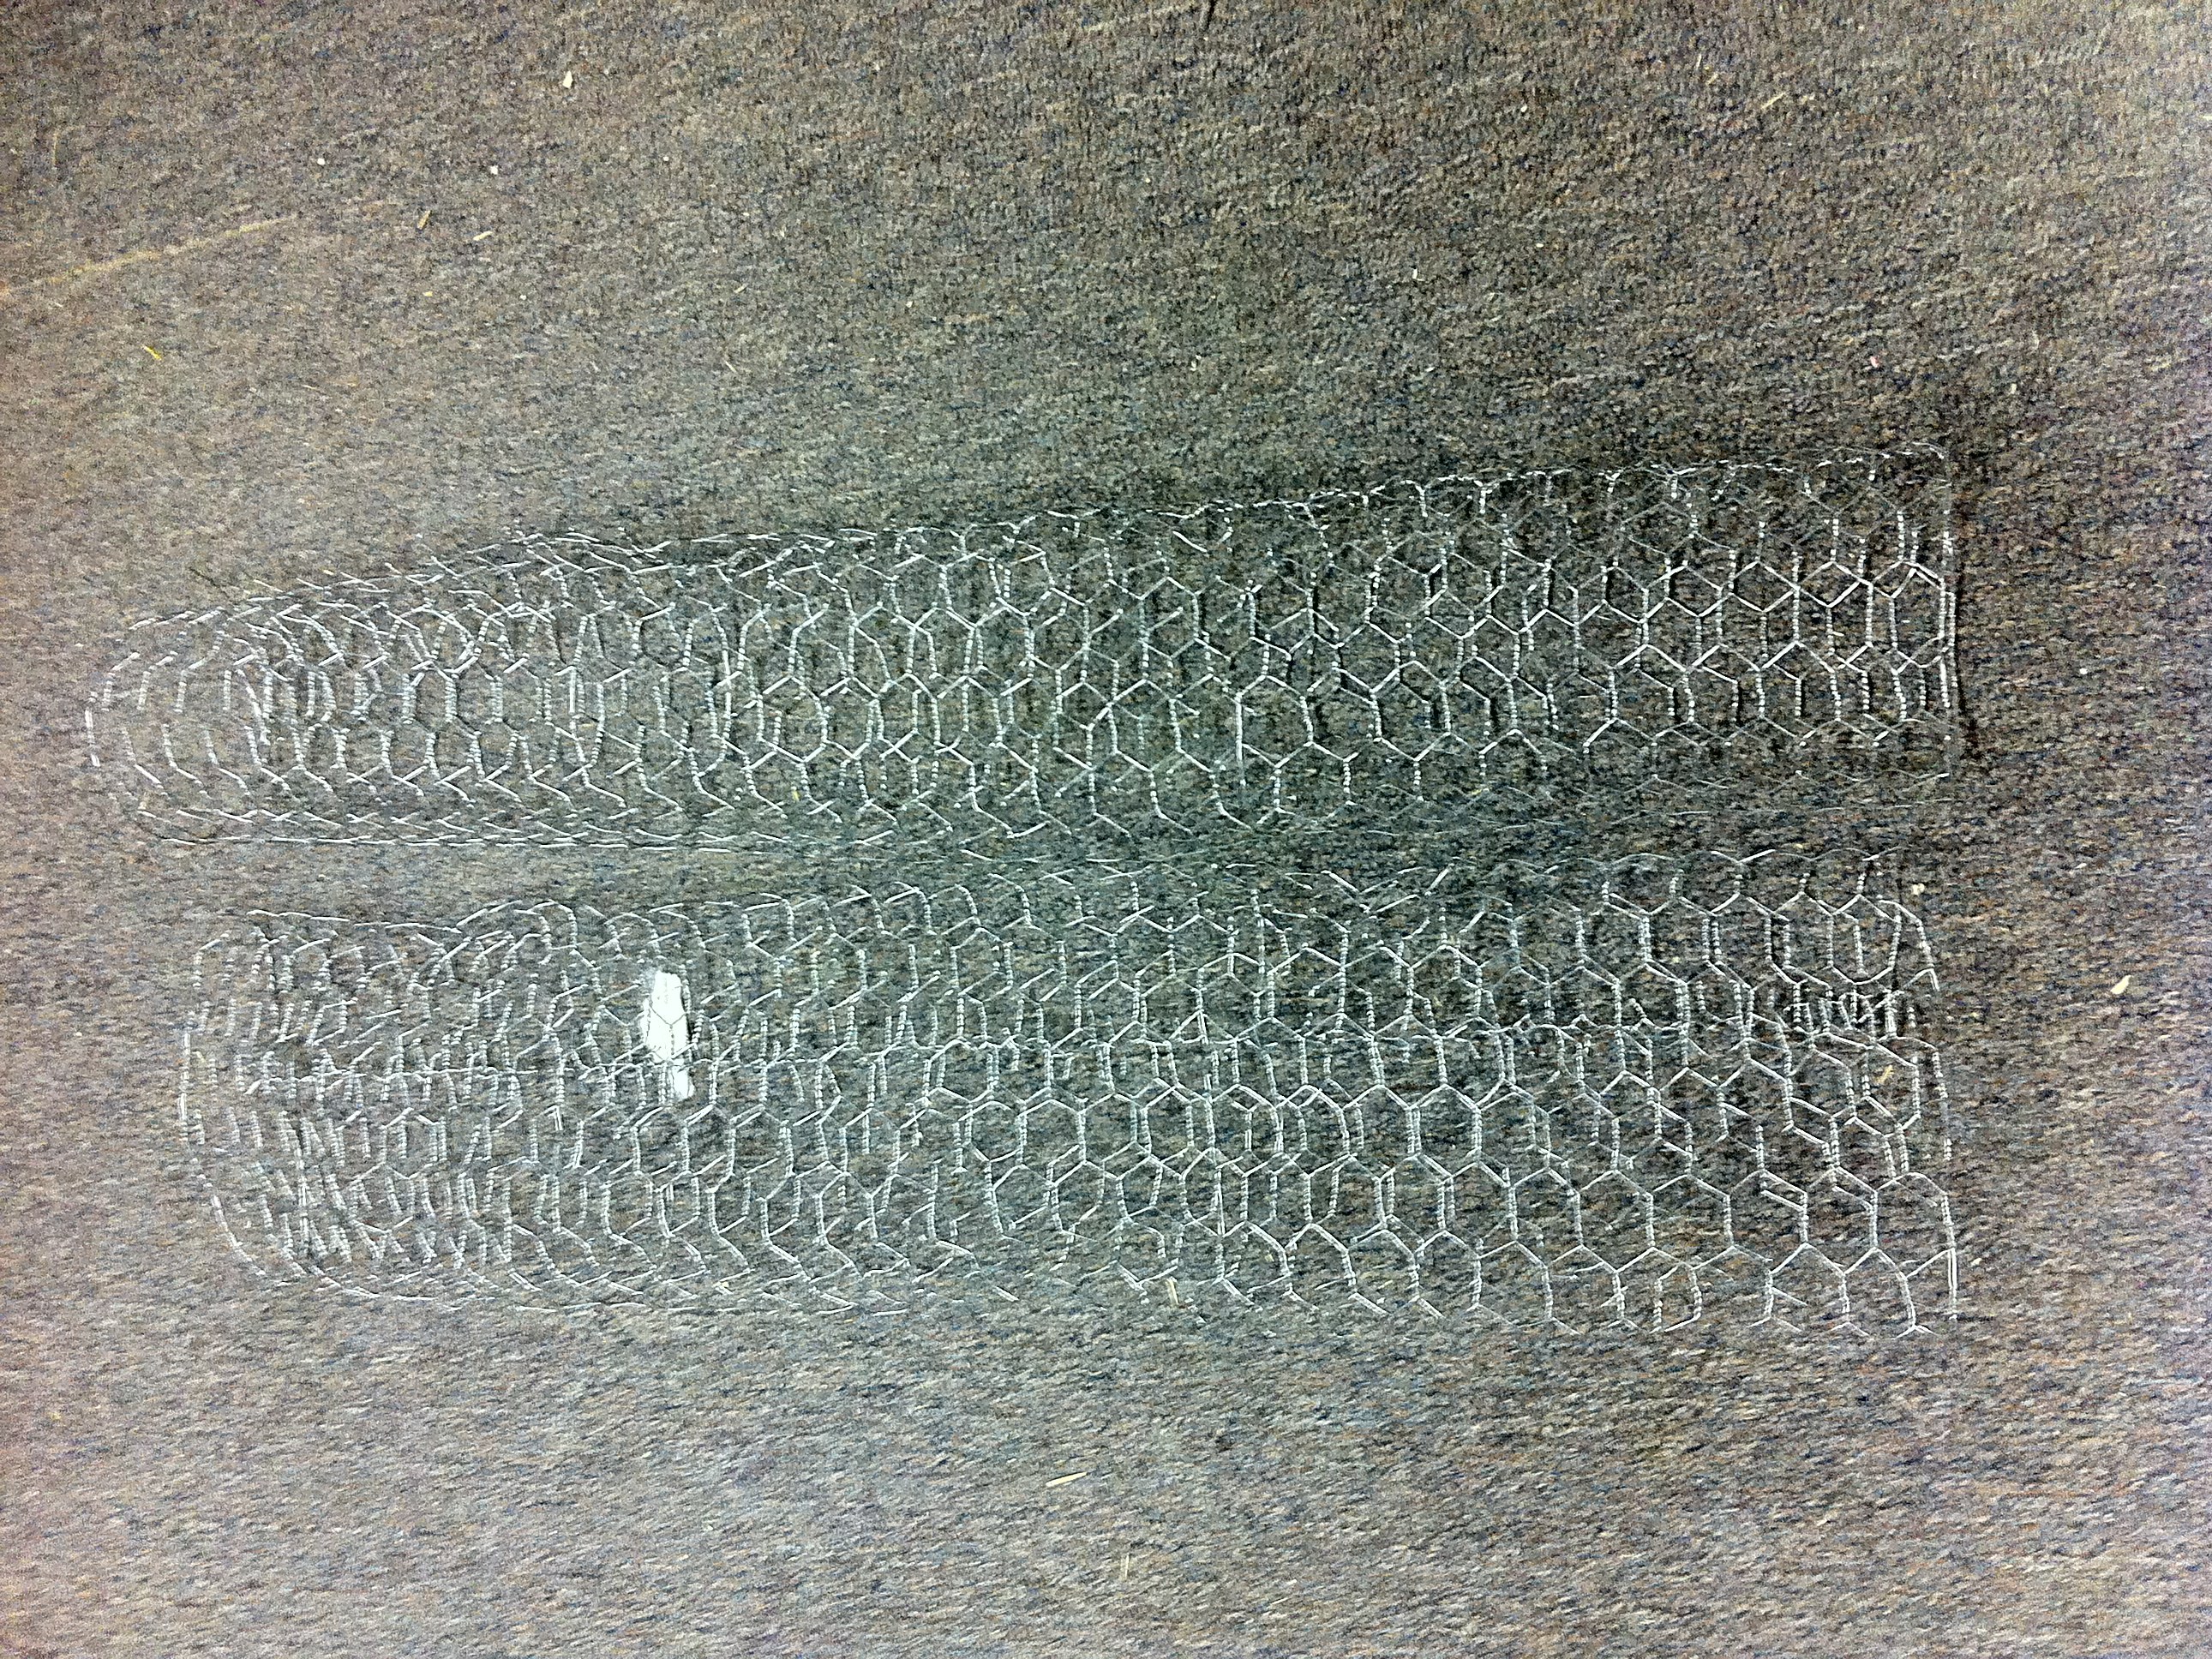
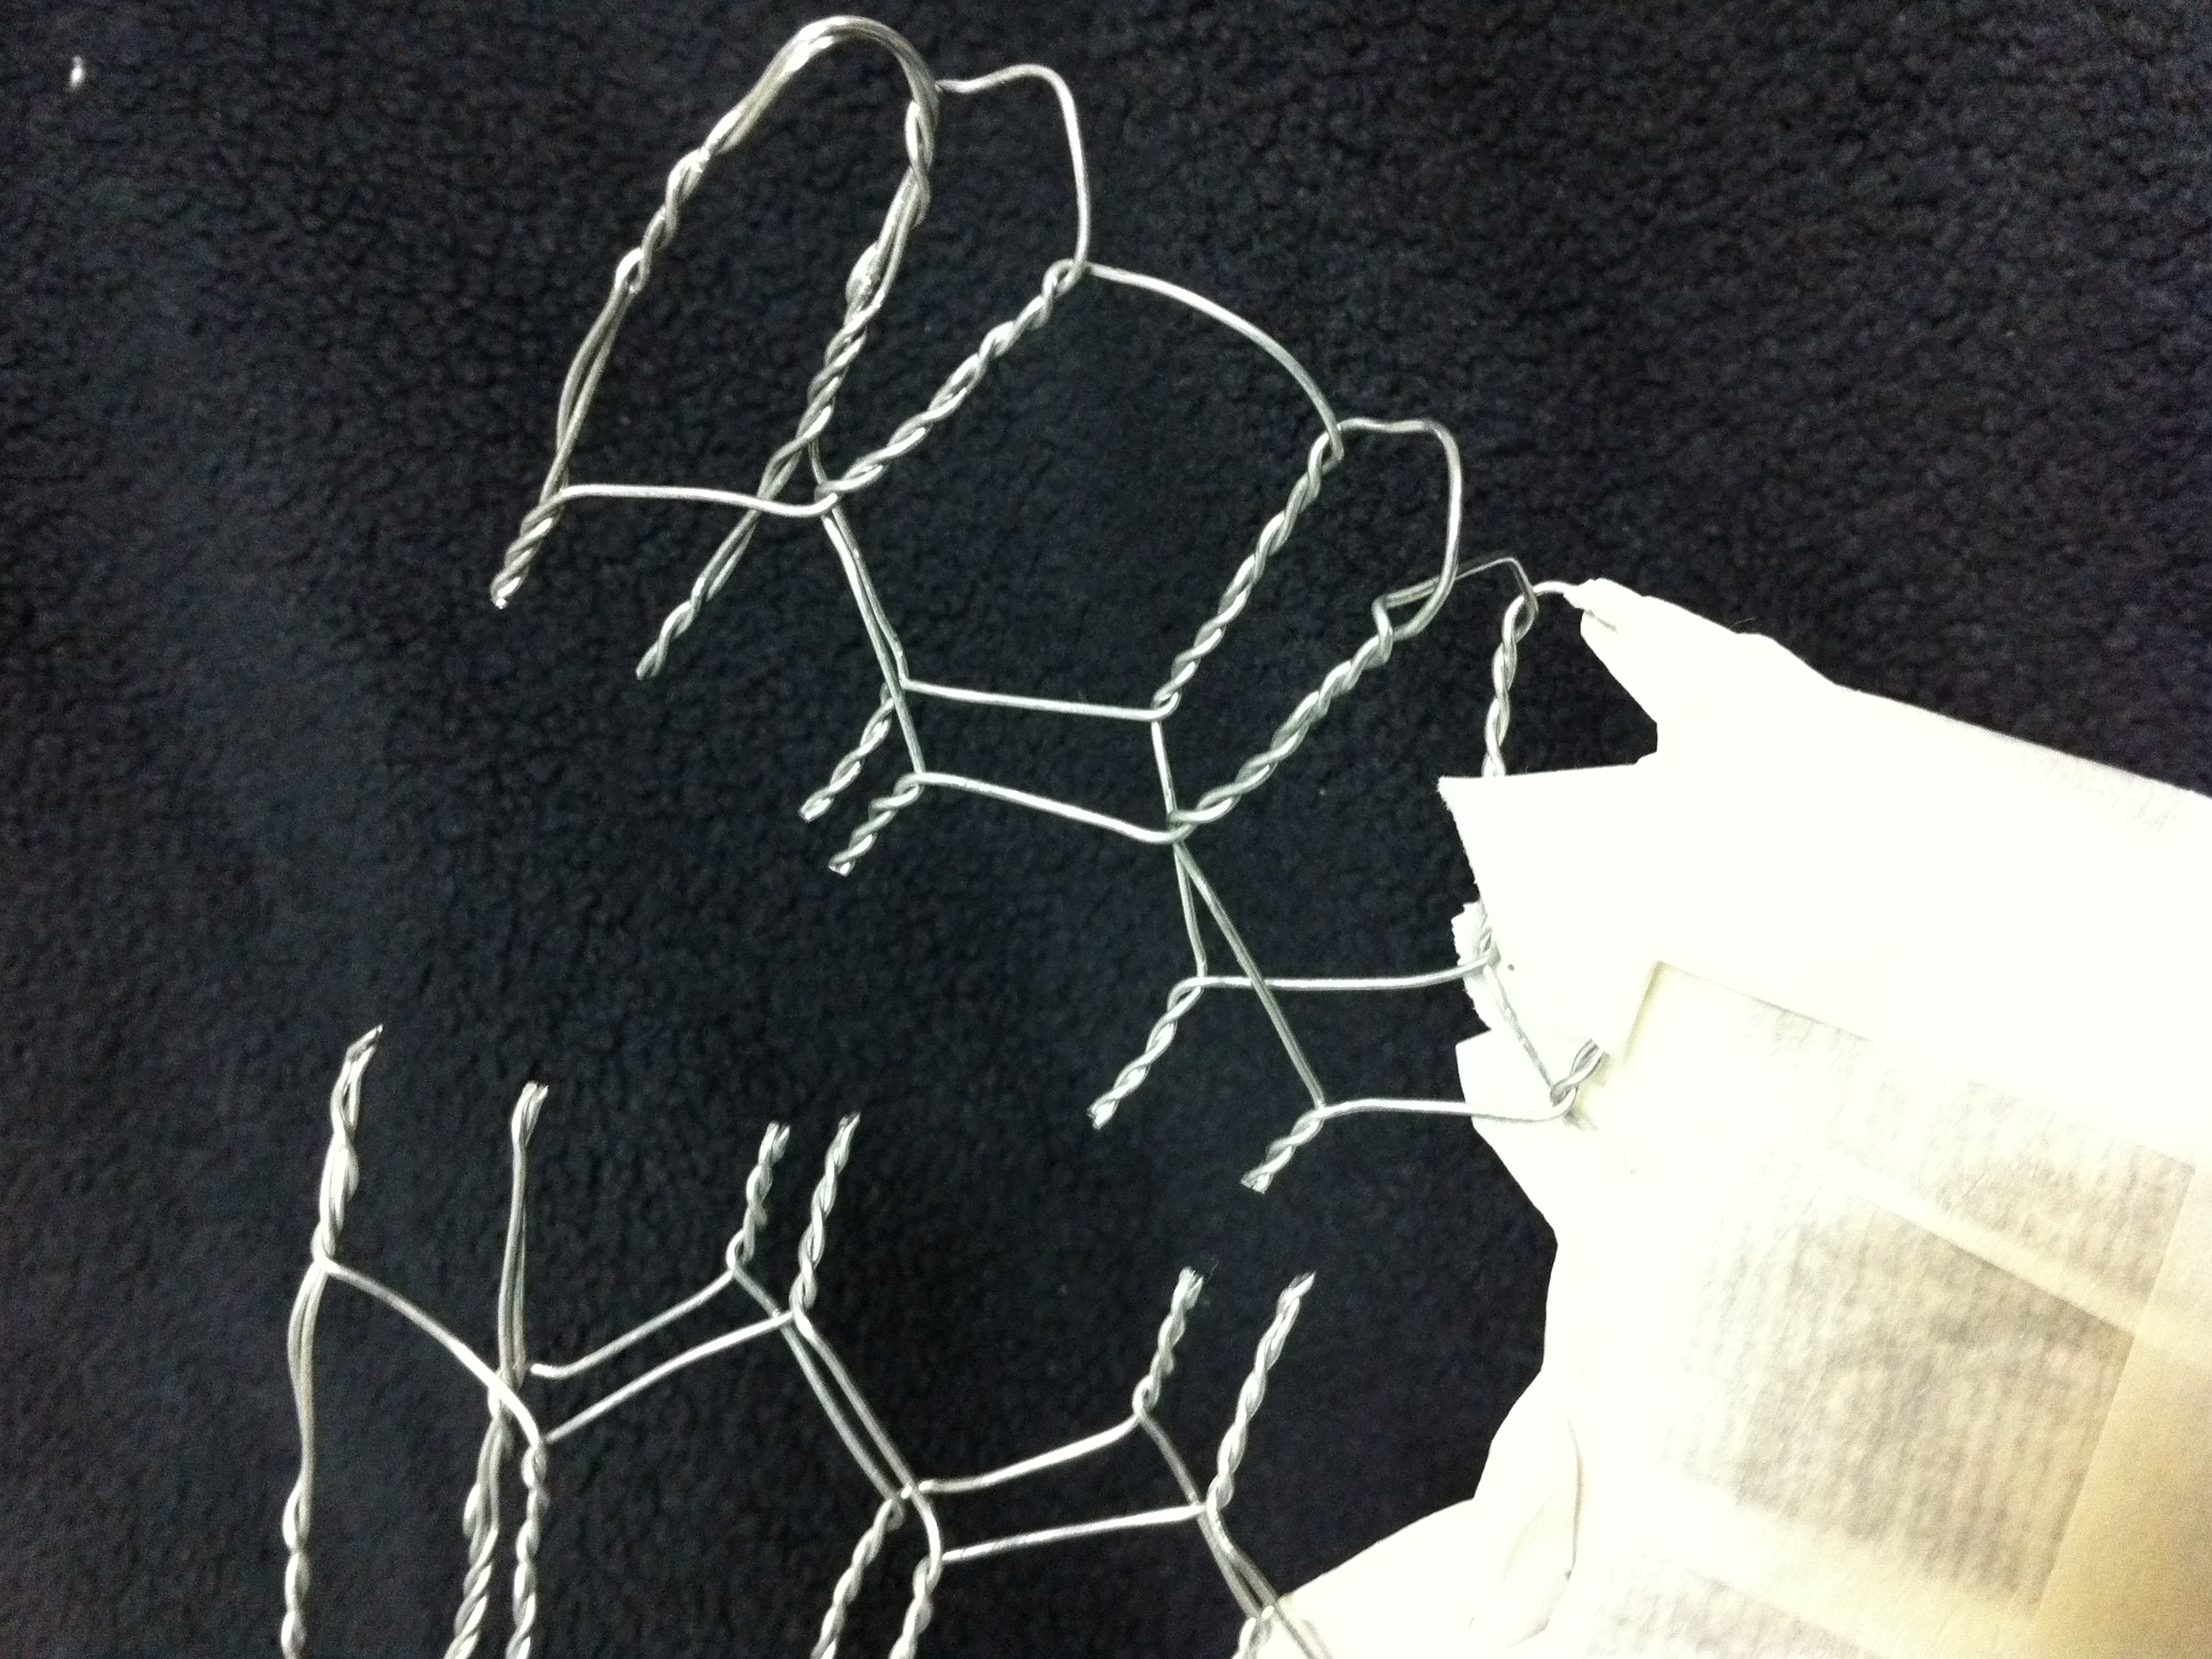
Form arms from hex wire.

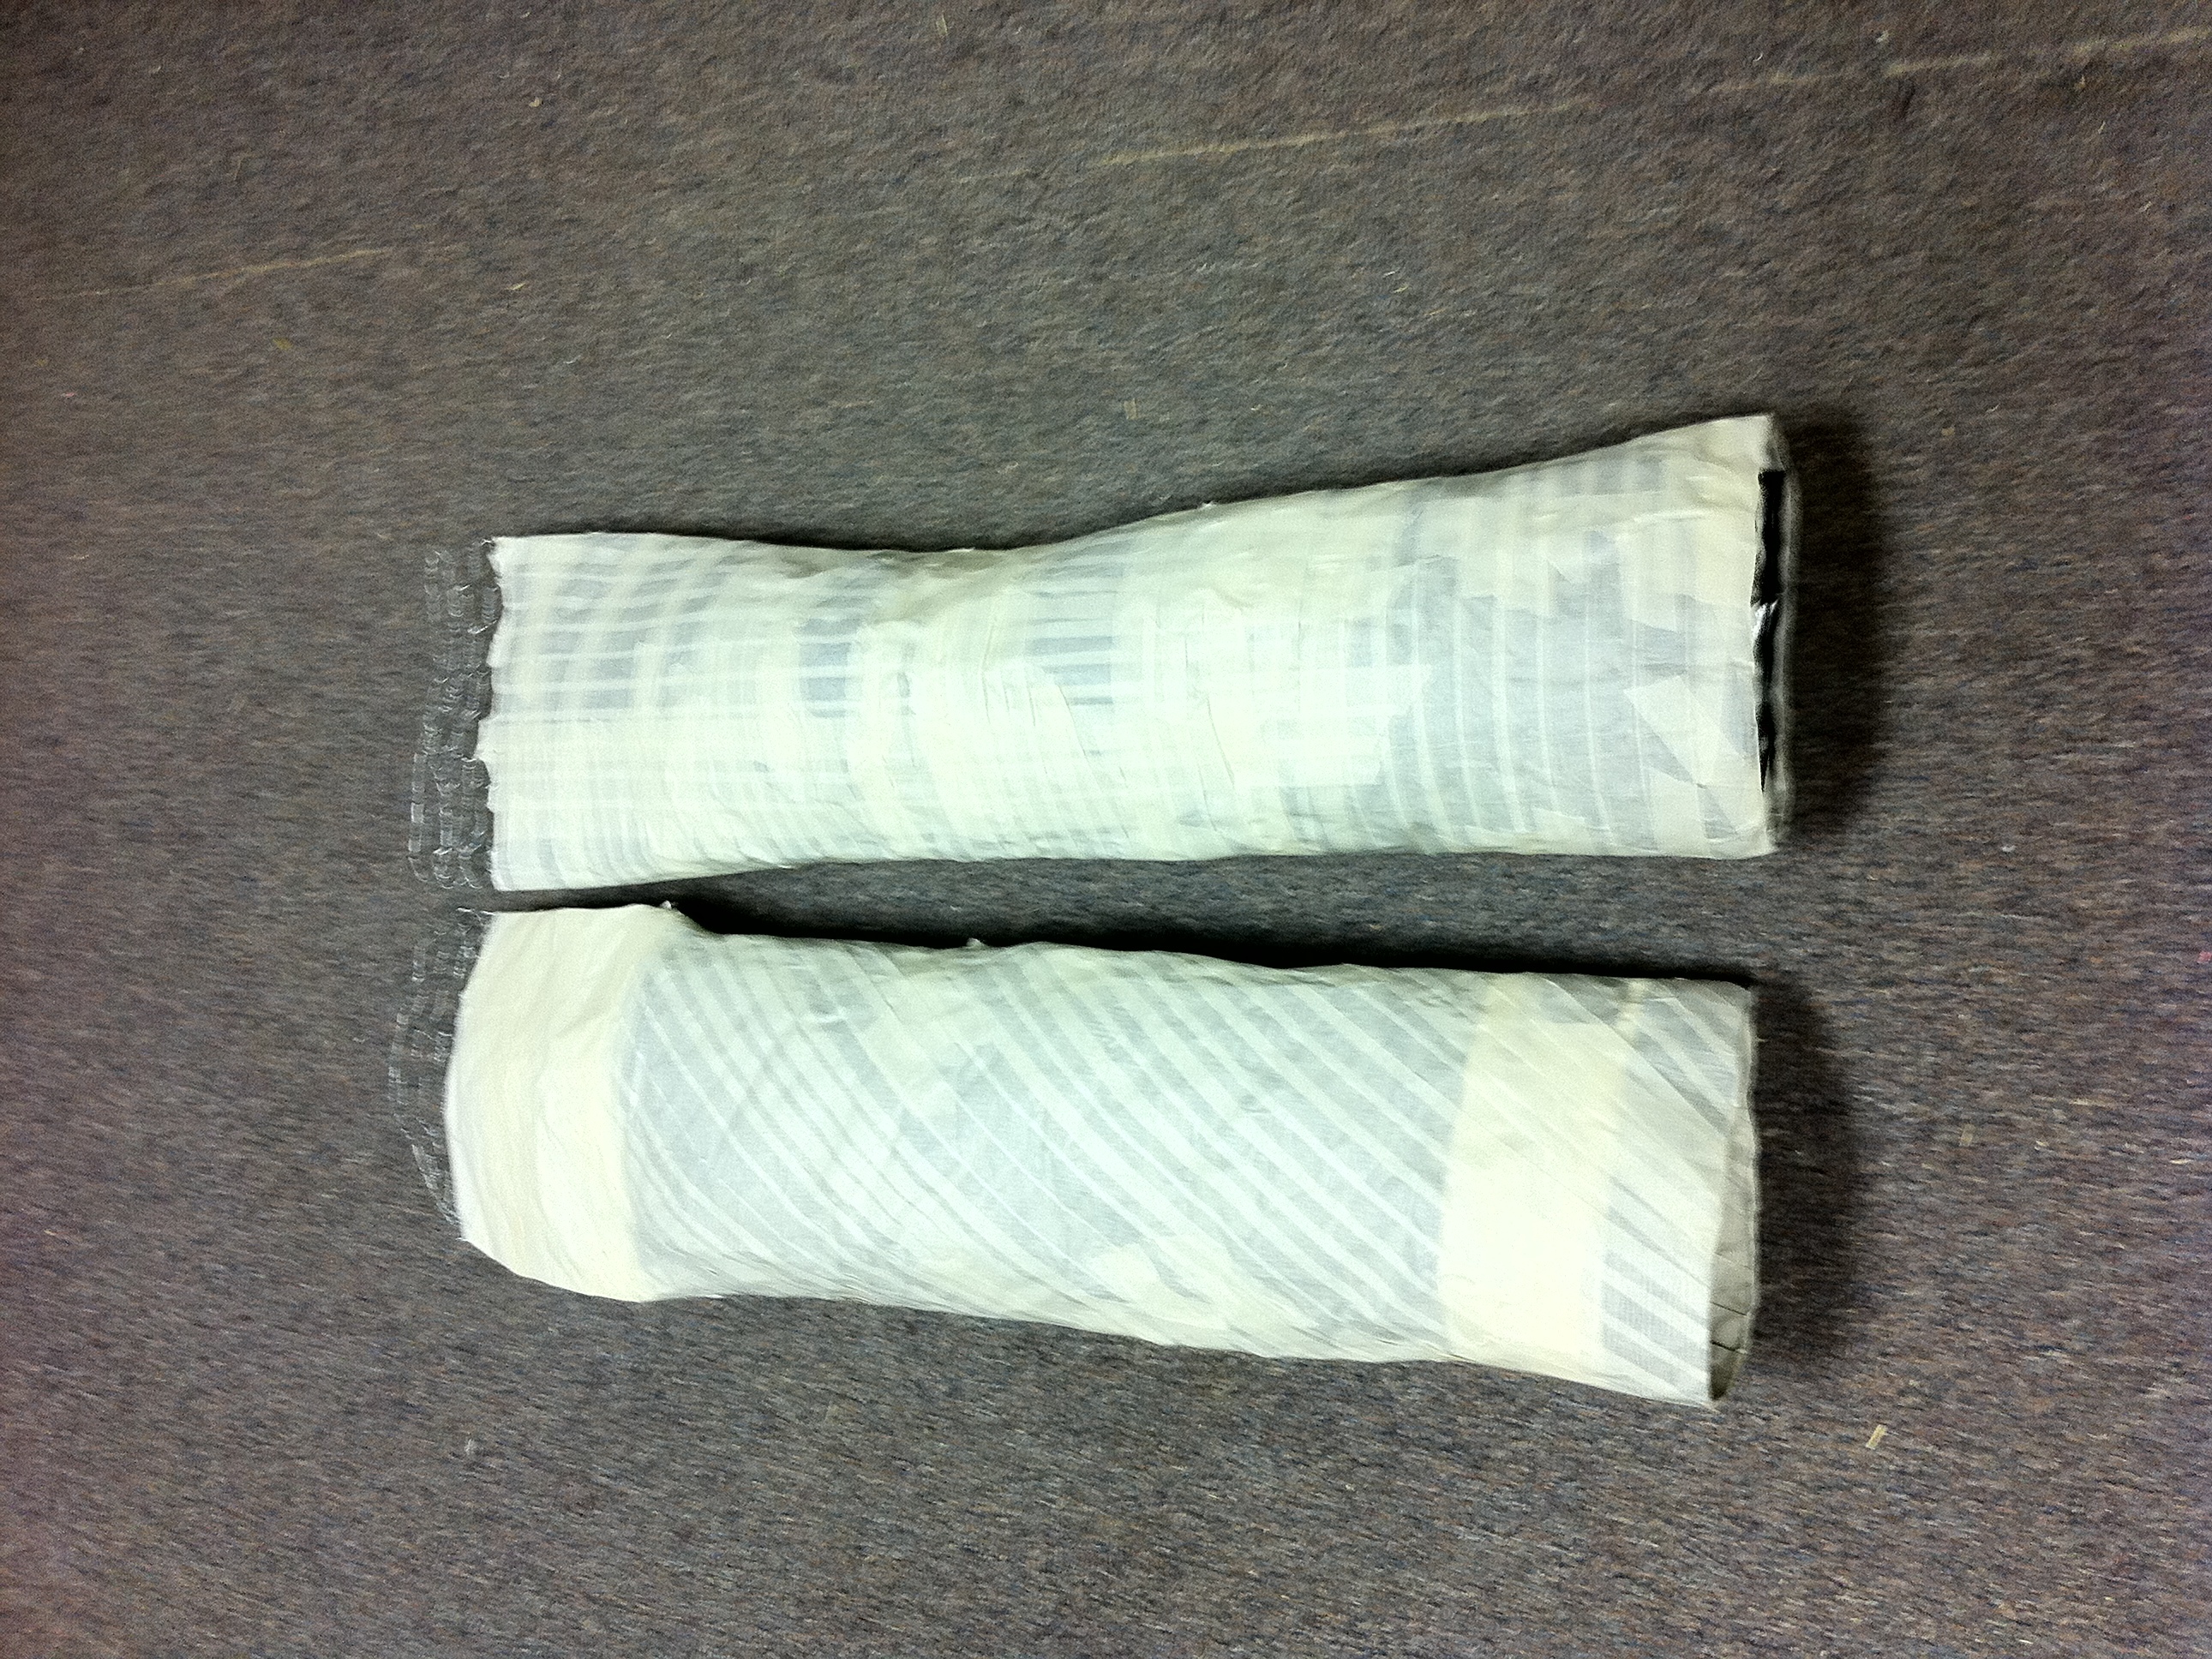
Cover with newsprint and masking tape.

Leave ends out and cut with wire cutters to form ends to attach arms to body.

Insert wire from arm into wire at shoulder. Using pliers or wire cutters pull through one of the hex openings and twist to tighten. Turn down any sharp edges.

For feet, form boxy feet and stuff with paper. Hex wire needs to go under feet as well.

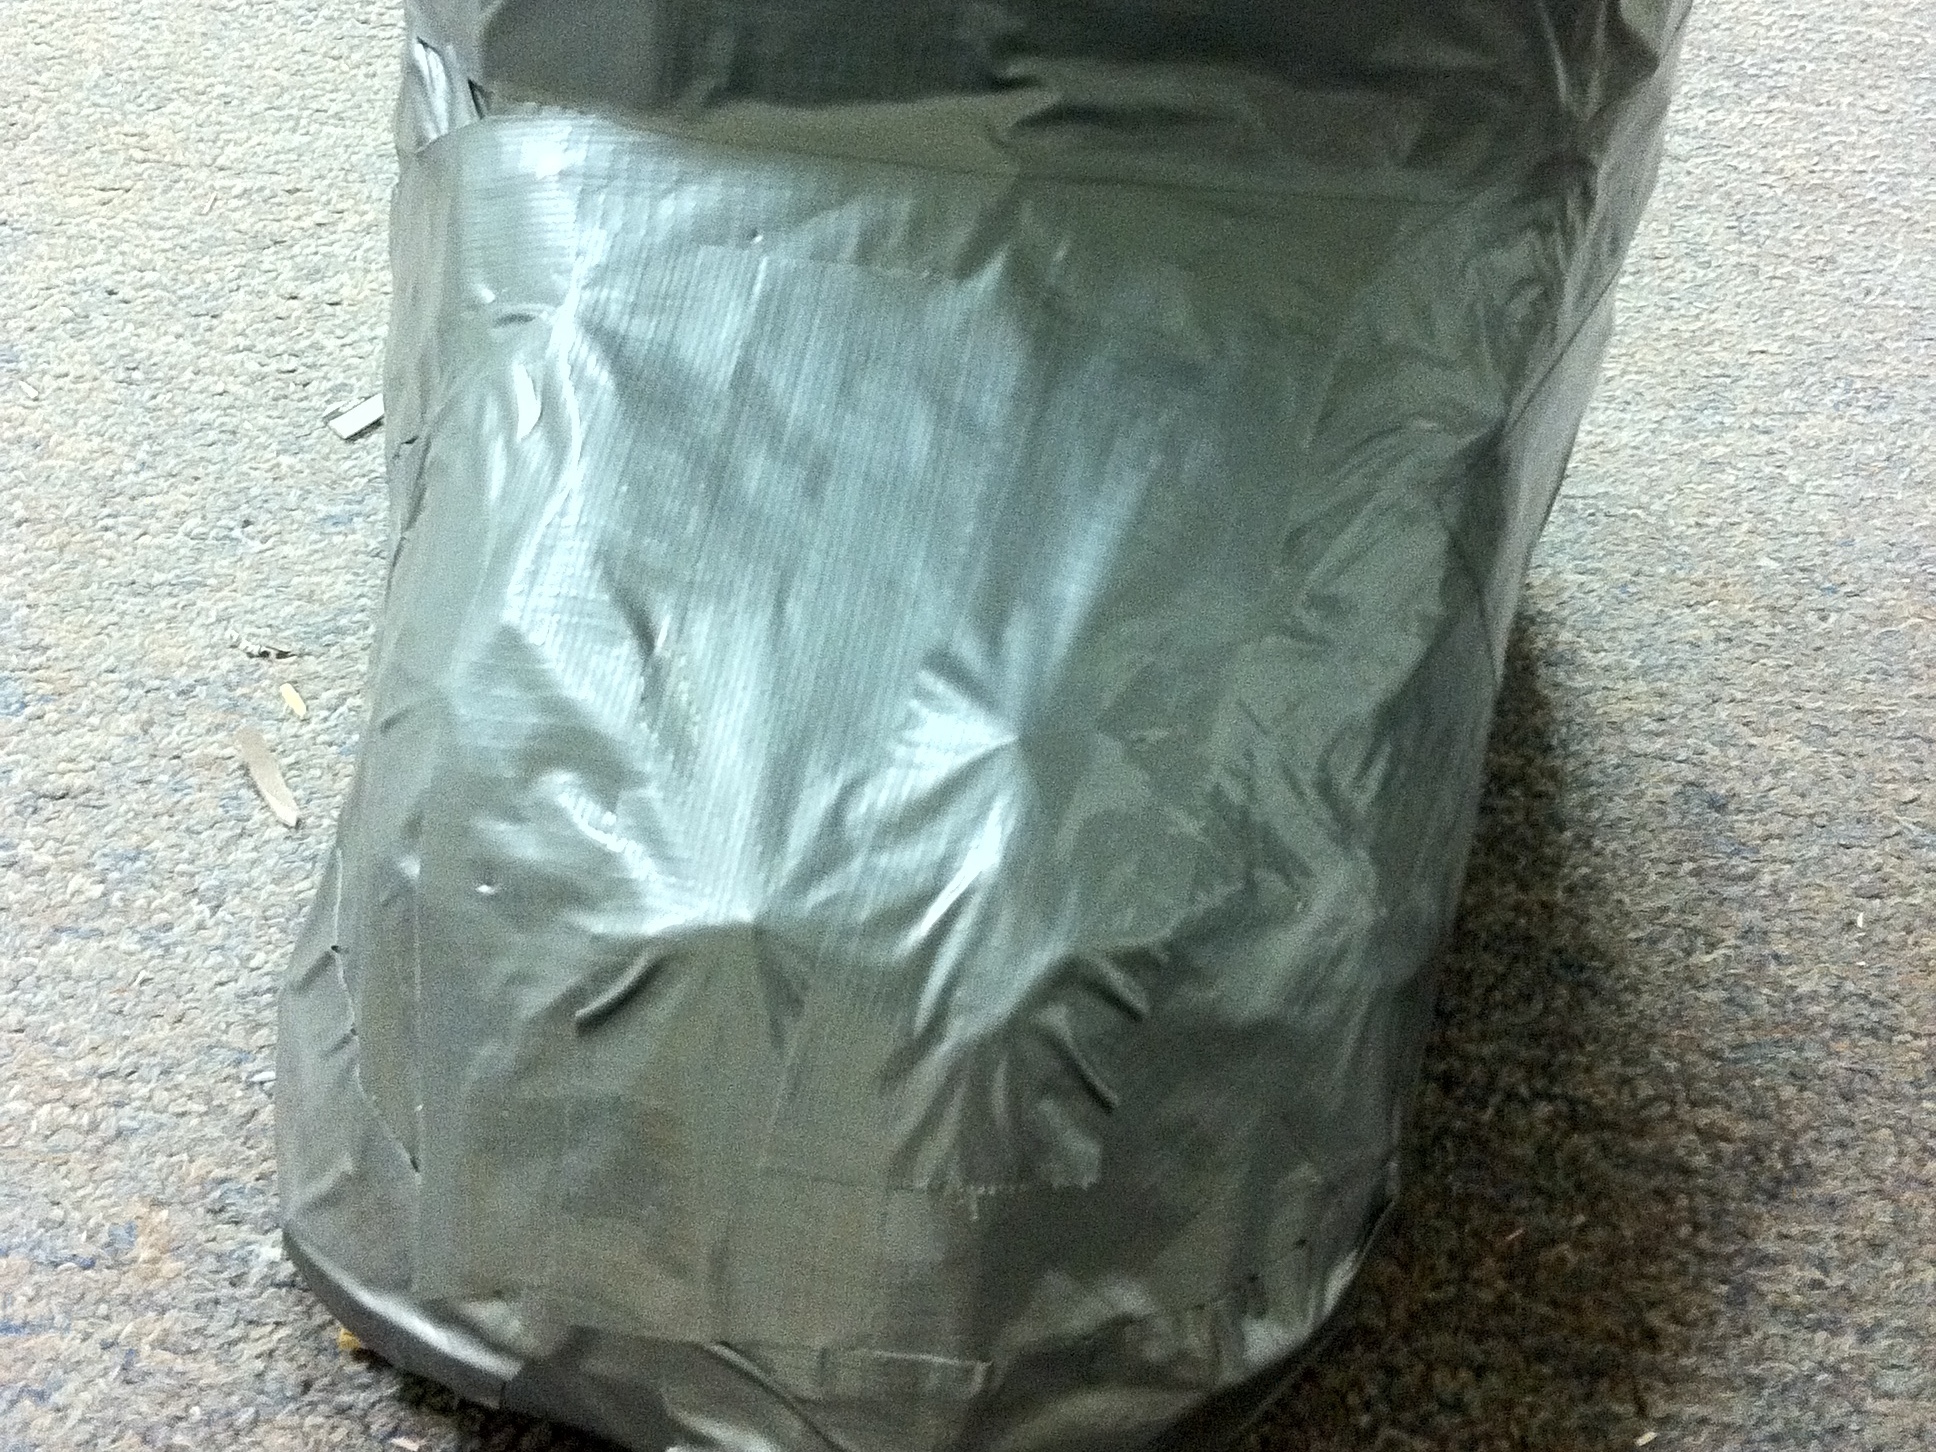
Cover with duct tape and then with masking tape to make this area stronger since this part is more prone to being stepped on or bumped.

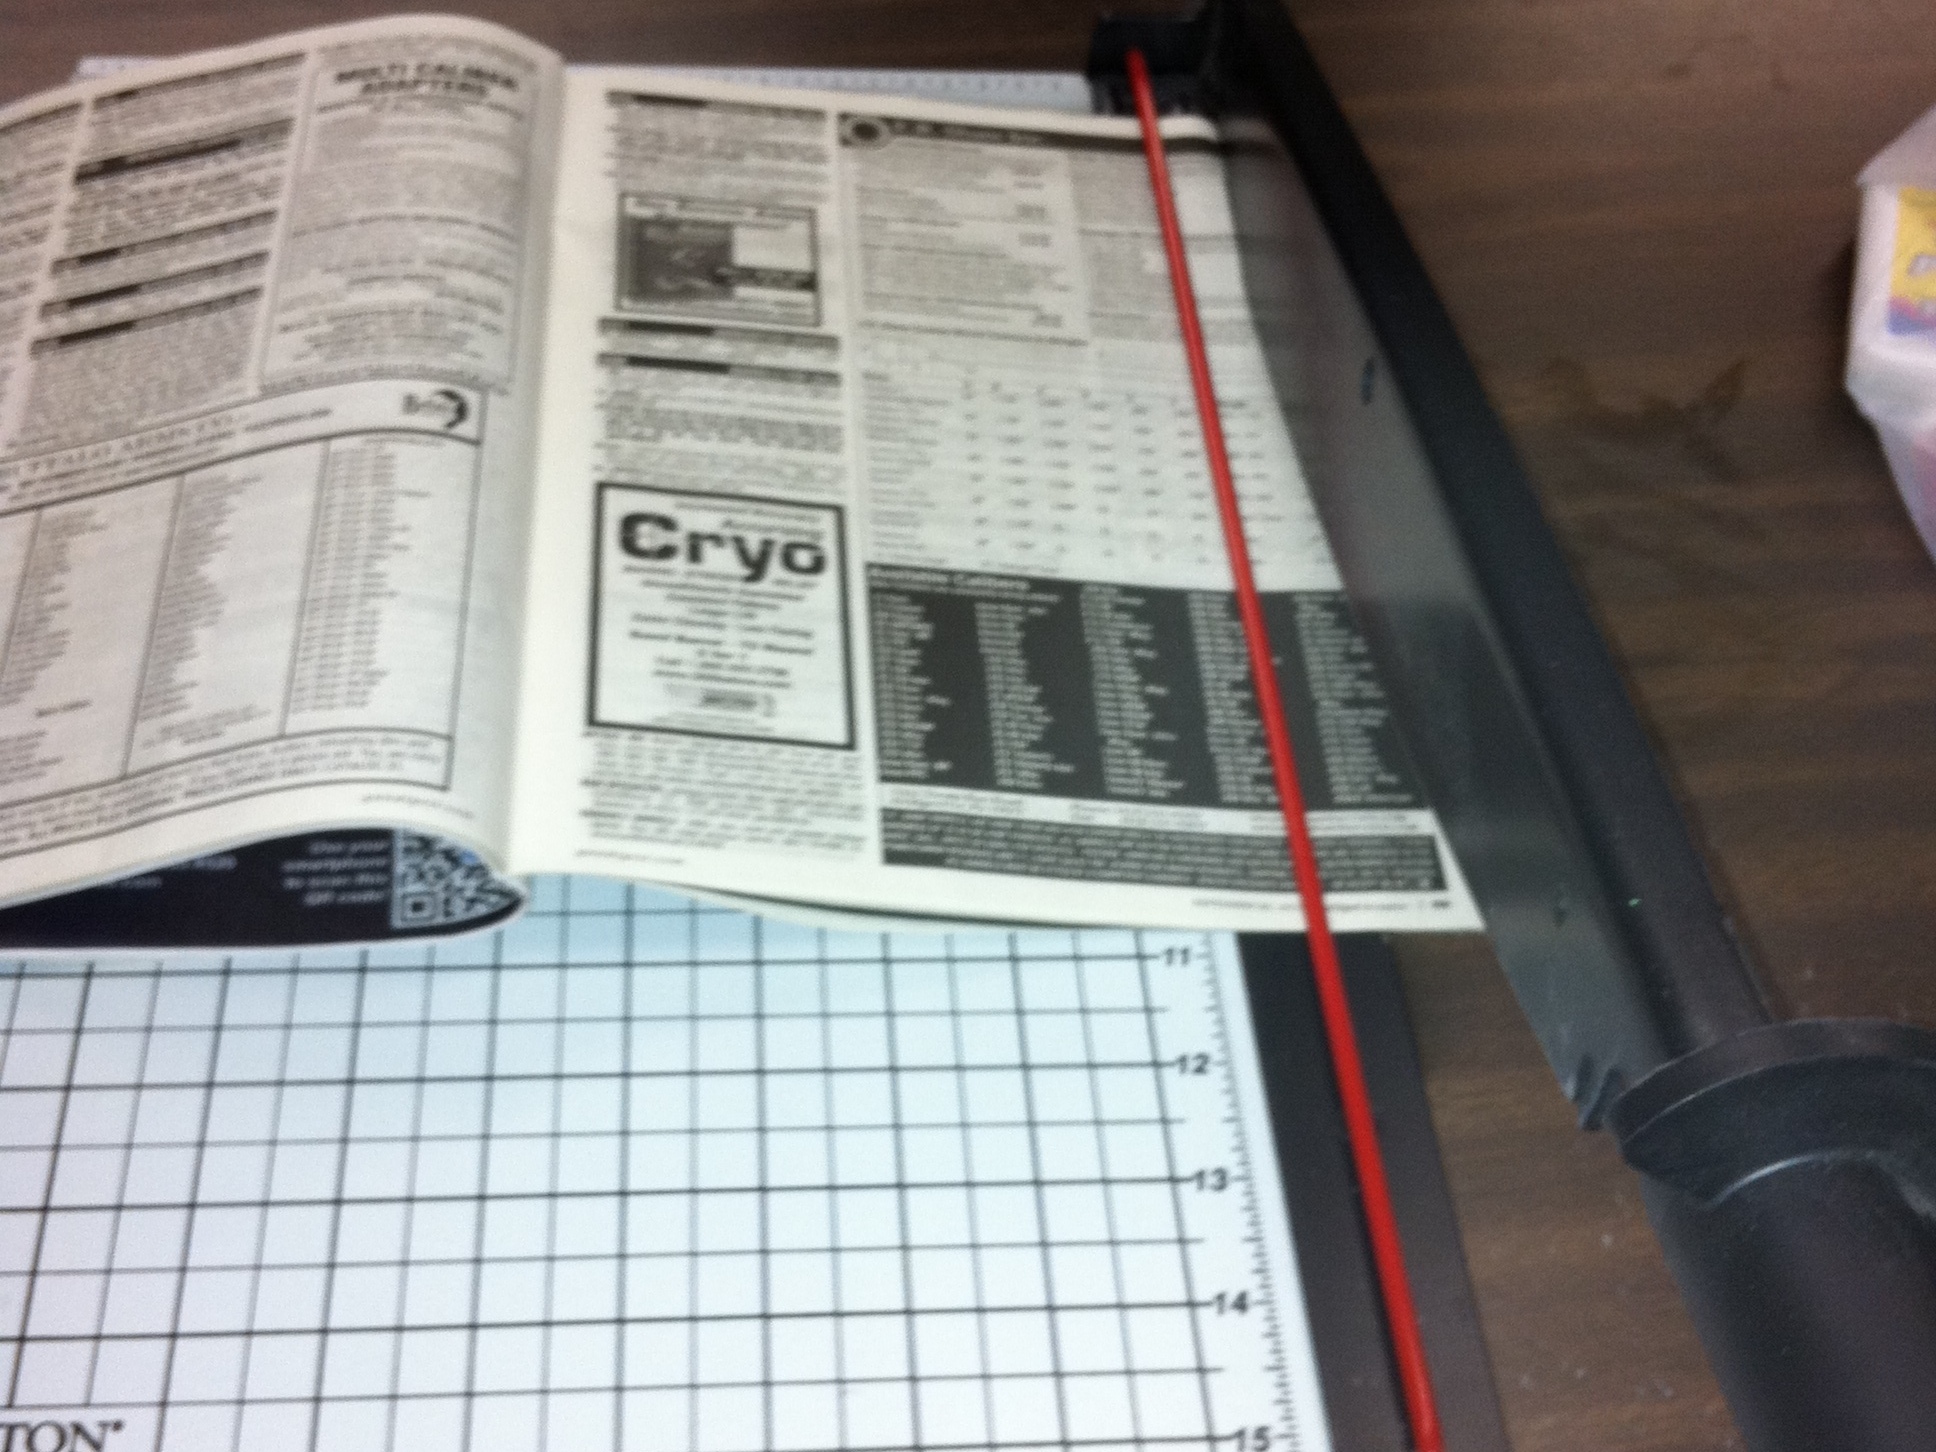
Cut newsprint into 1.5-inch-wide strips. Cut each strip into manageable lengths. If you like, now is a great time to get the gloves out! This is the messy part.

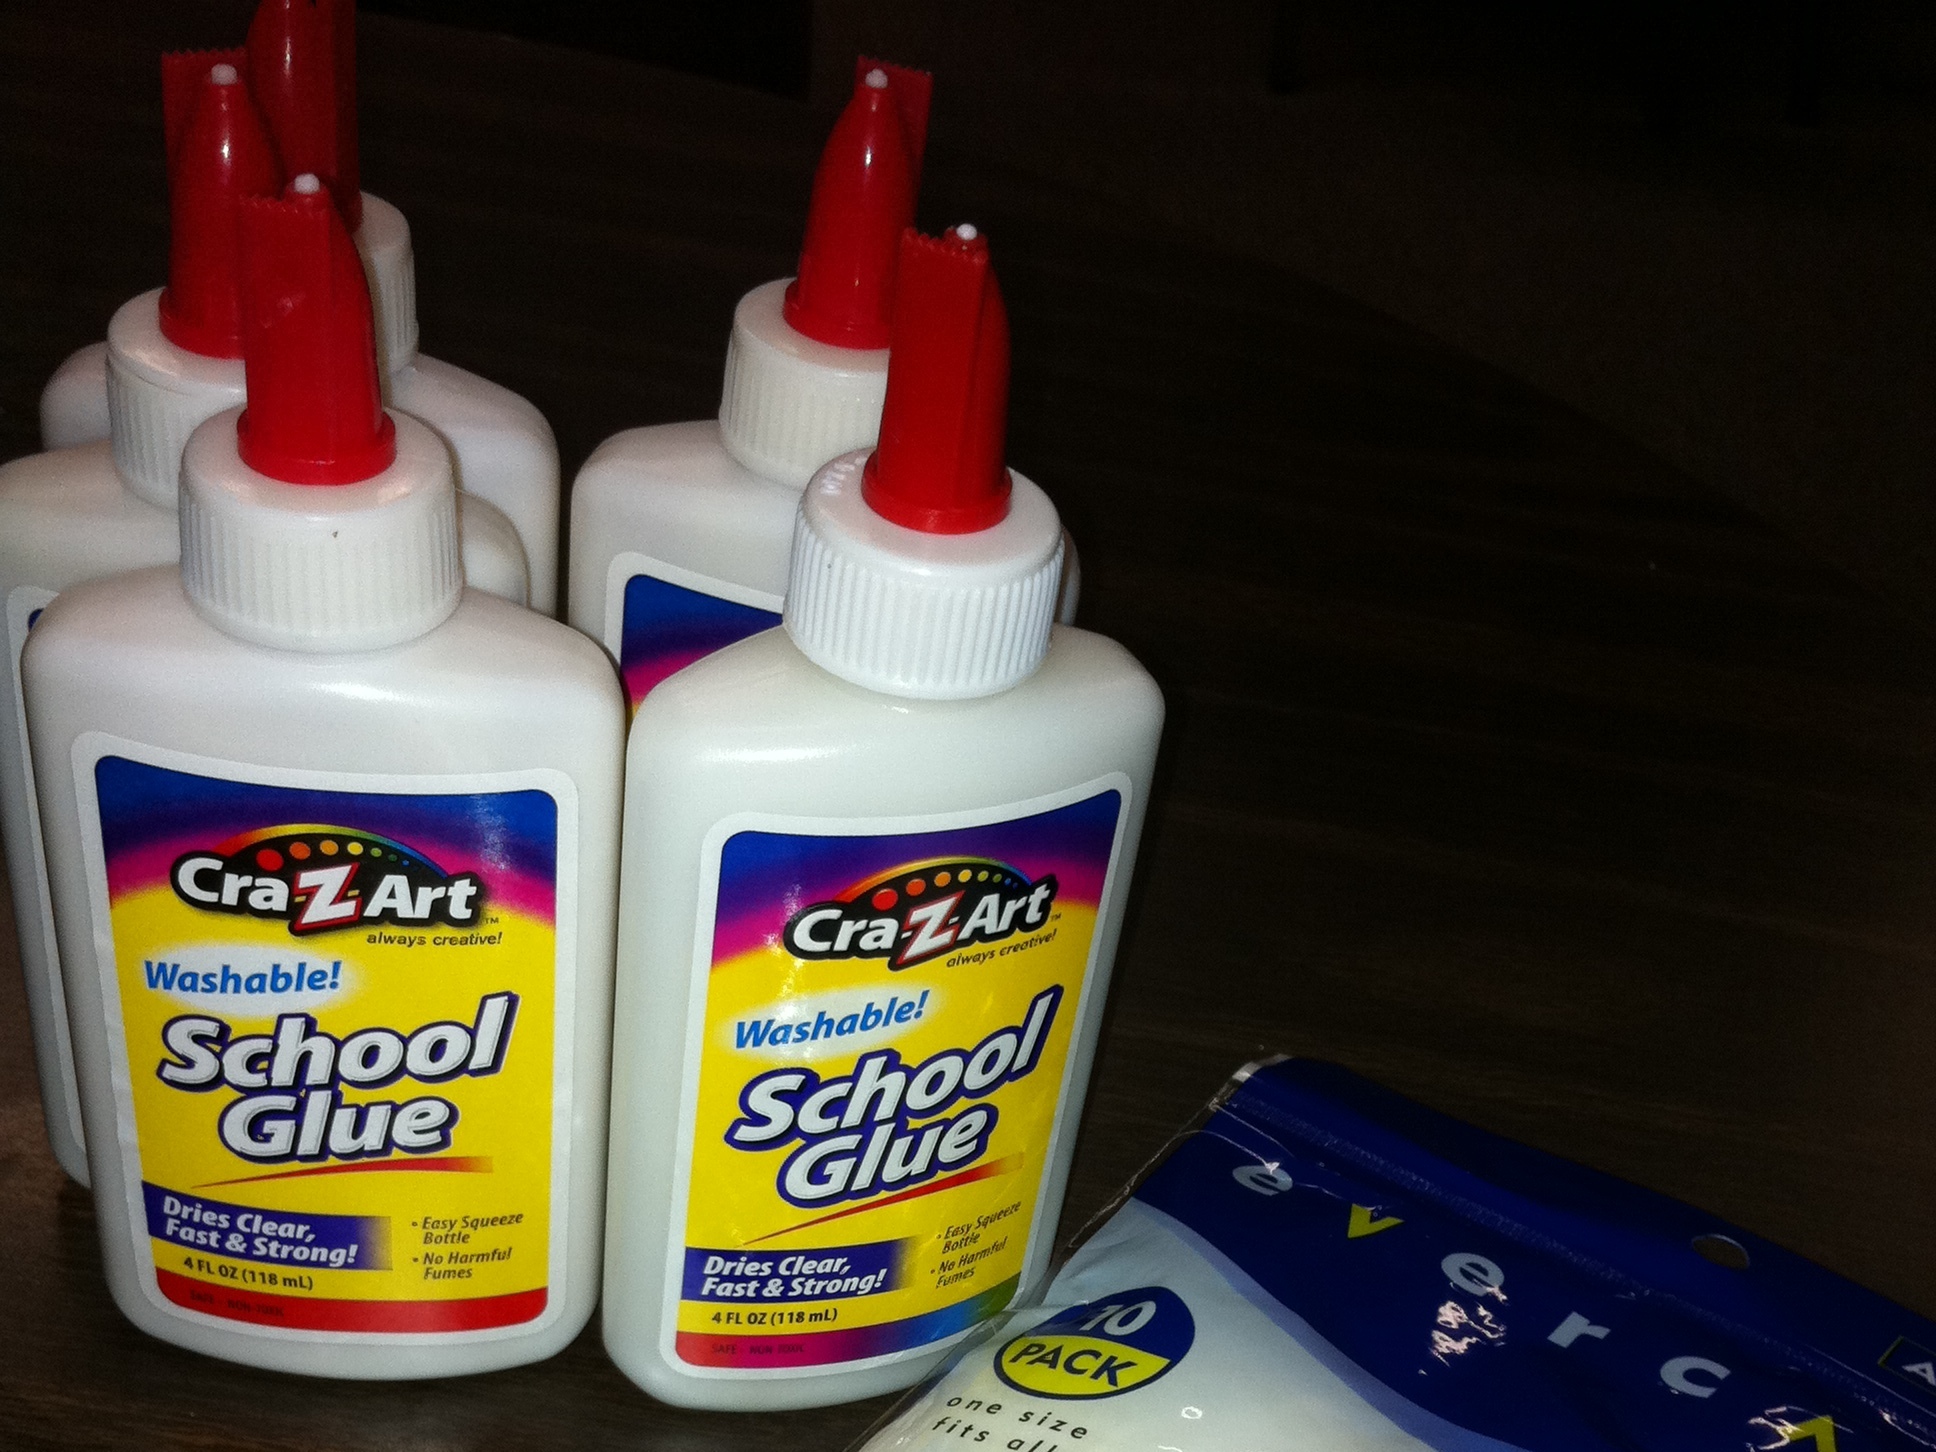
In a medium shallow bowl, mix 2 parts school glue (Elmer’s Glue is best) to 1 part water. Mix well. Mixture should be creamy in consistency, not watery.

Lay a strip of newsprint across mixture, allowing one side to become damp with glue. Raise strip up with one hand and while holding, pull strip through two fingers as if forming scissors, thus removing excess glue from strip. Repeat to coat other side. Immediately place strip on form, smoothing as you go.

Repeat process overlapping next strip by 1/8 inch-1/4 inch until all form is covered.

Paper should not be soggy! If drips appear, gently rub off and try to remove more glue before placing strips on form.

Cut one of the two head forms off. This will allow for the papier-mâché to be set back some and still have a sturdy base.

Make Frankenstein’s head. Do not be intimidated by this. Remember that Frankenstein himself was far from perfect! This can be as realistic or folk-art as you want it to be.

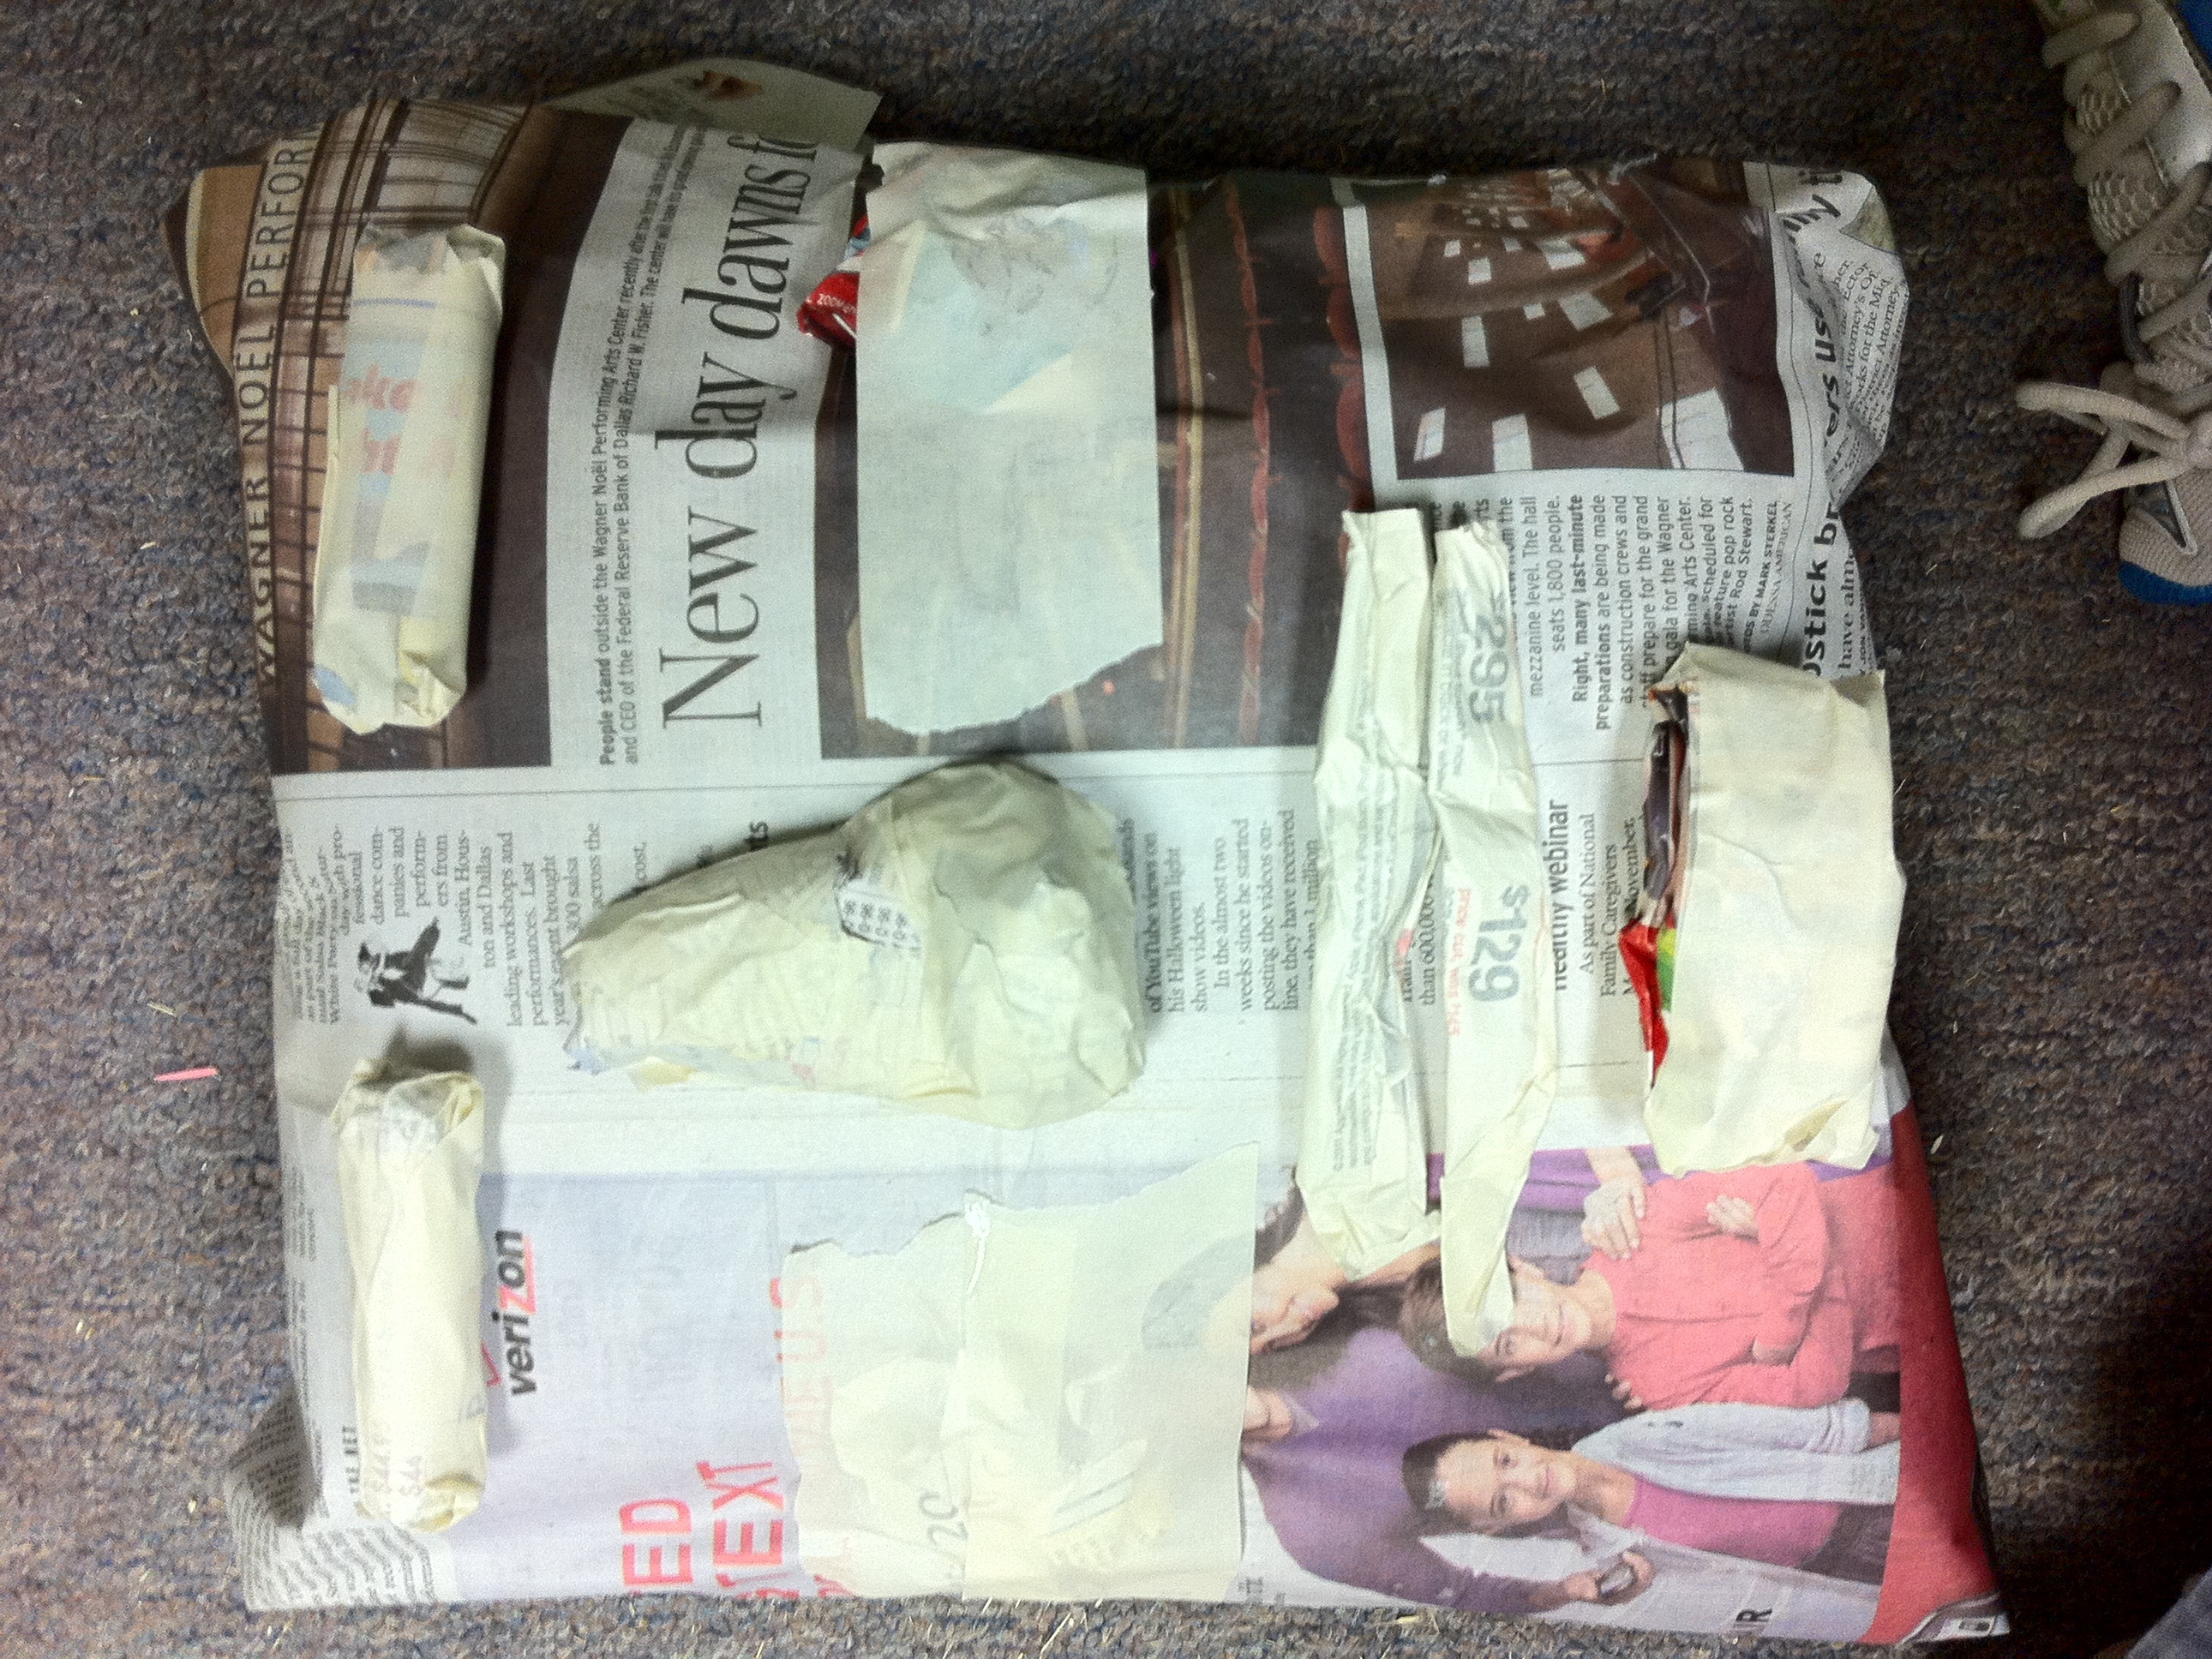
Layer many pieces of newspaper/magazines into a square or oval shape securing tightly with masking tape. Roll pieces up for eyebrow bones and lips and cheek bones. For a nose, tear off paper and crumple into a triangle, pushing and forming into shape of a nose. Add pieces of paper where needed to add shape, holding together with masking tape. Lay pieces out on head, taping them down. Continue to tape the remainder of head. Using blank newsprint, papier-mâché face. Let dry. Sketch on facial features.

Place this head on the wooden part of the Frankenstein head. Using a drill, screw a couple of screws into the wood, catching the back of the papier-mâché head. Cover wood with newsprint and masking tape extending around to front of head. Papier-mâché back of head, feathering into front of head to form one complete head. By making this a two-part head, there will not be the possibility of a broken neck later. At this time, “bolts” may be added if desired. They are simply rolled newsprint that has been papier-mâchéd and taped to side of neck area.

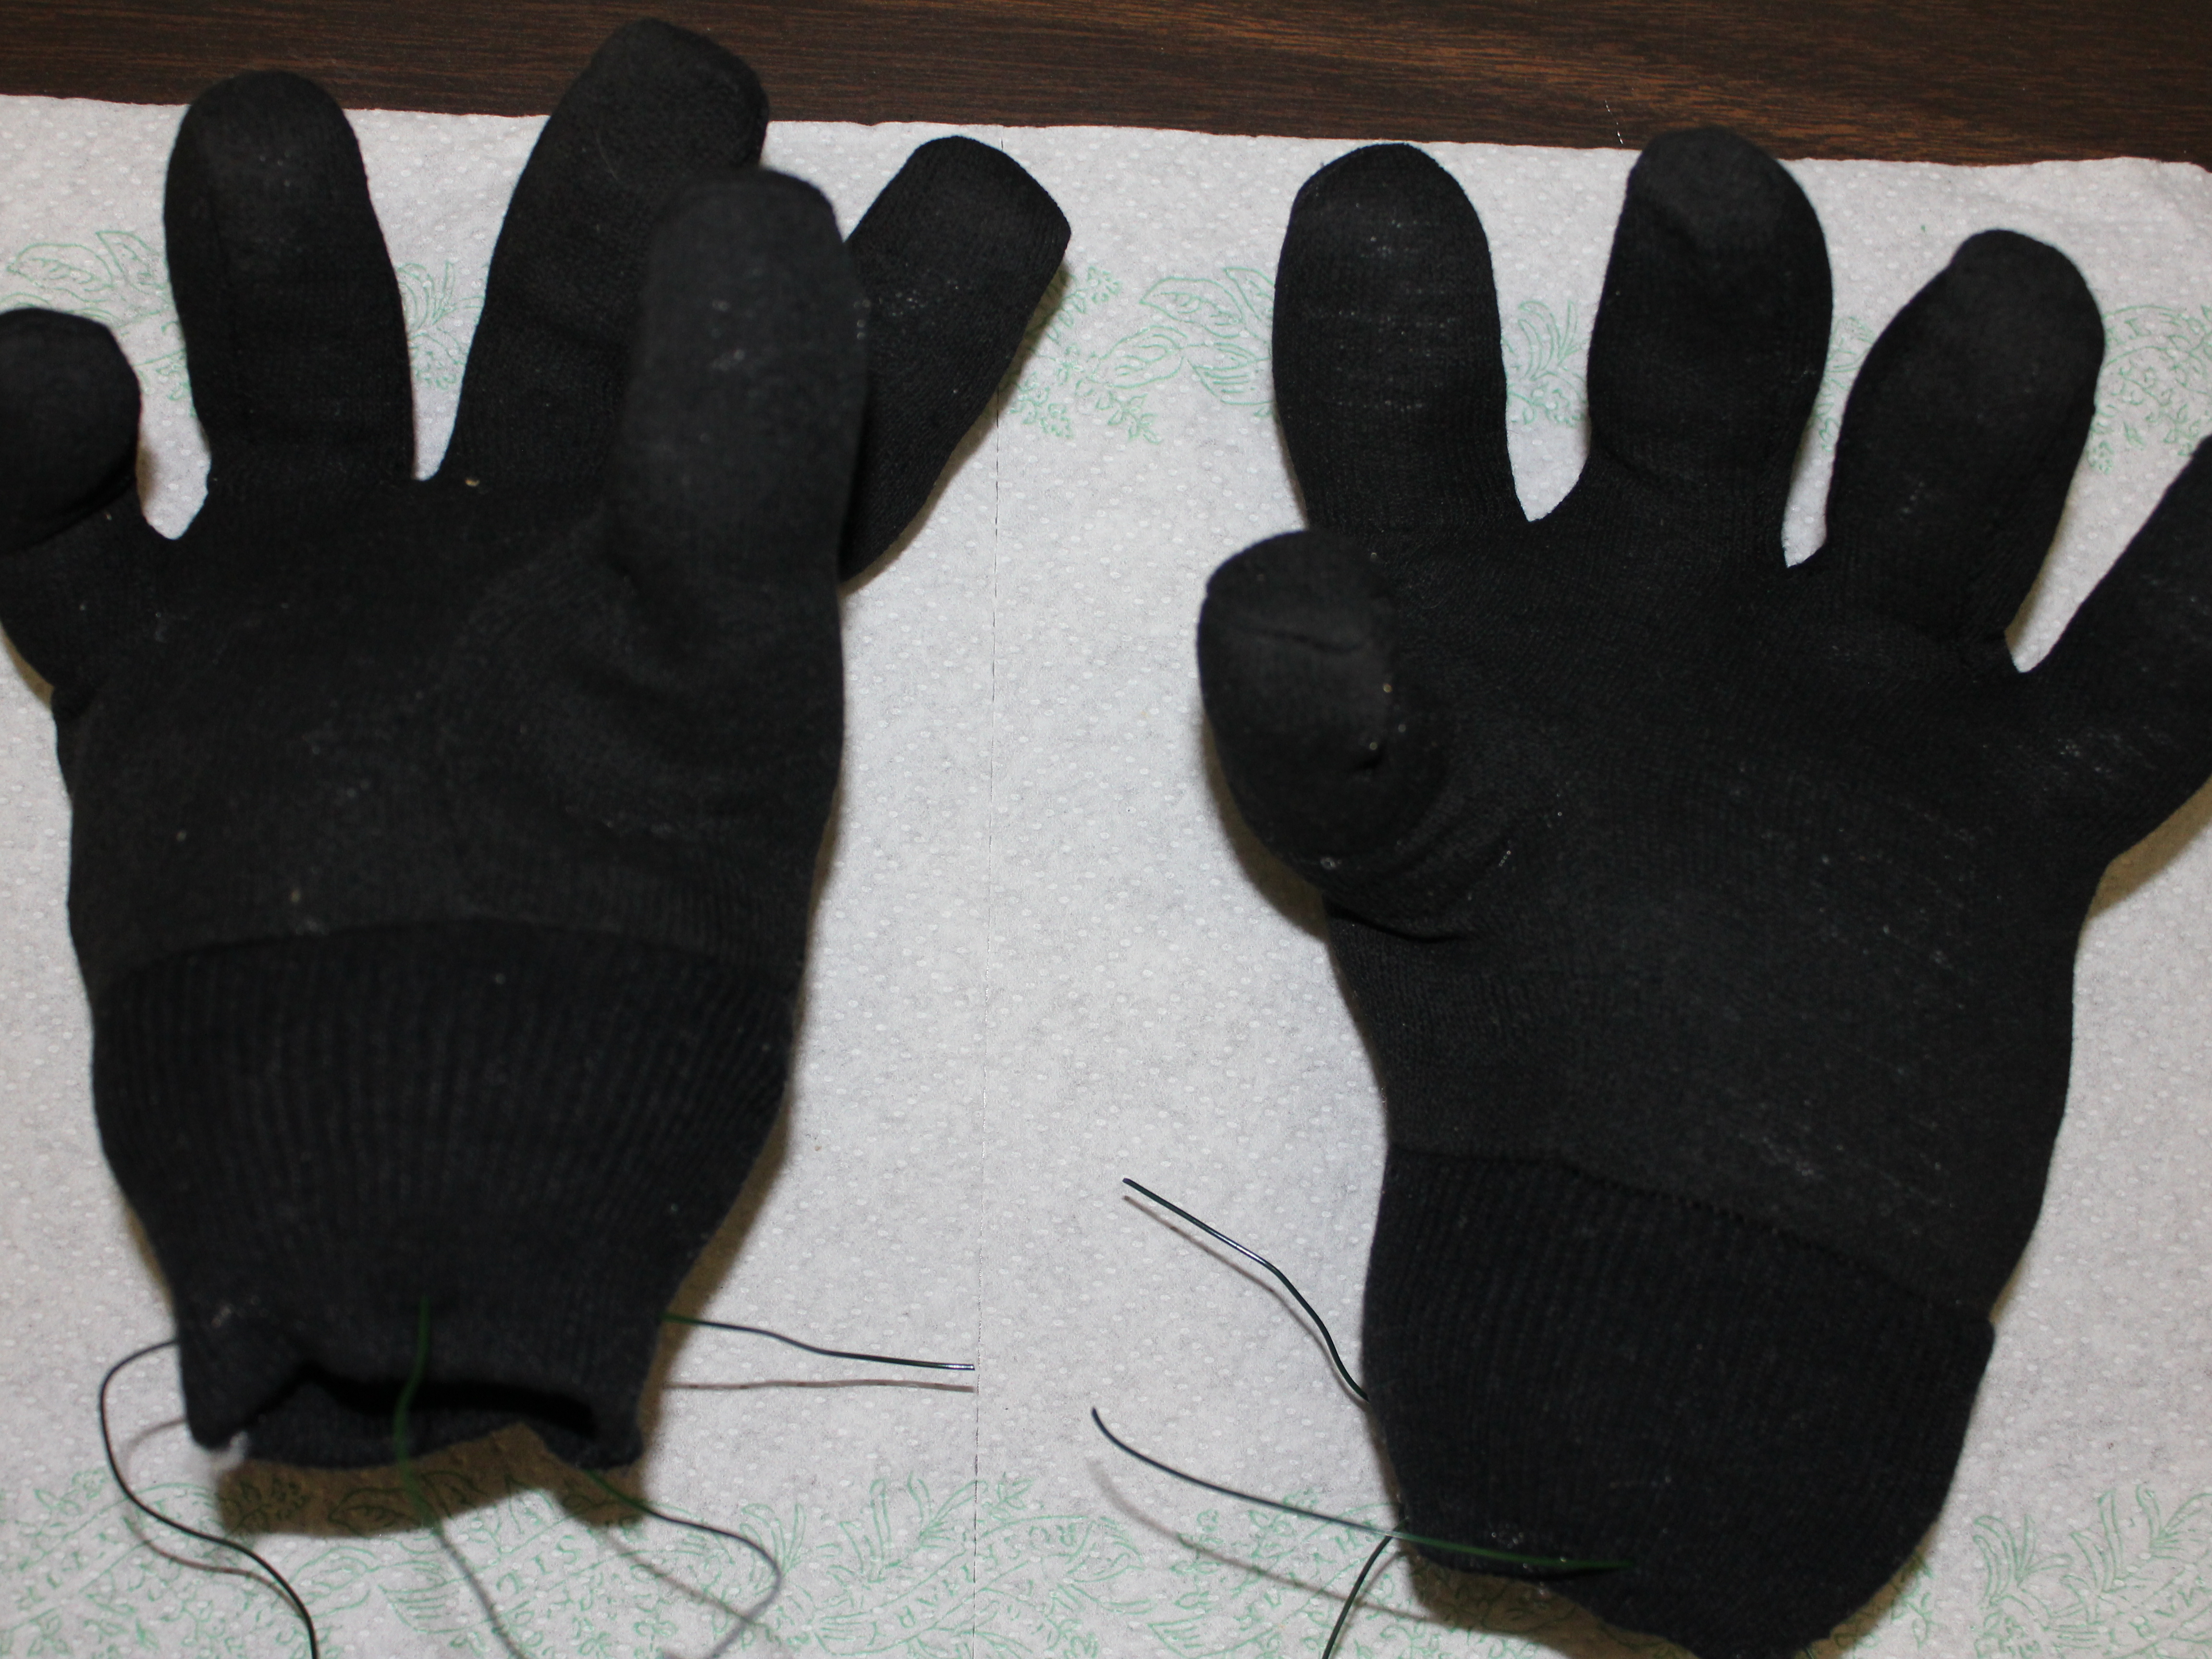
I chose to use gloves for hands. Stuff gloves with fiberfill and insert wire into fingers to allow fingers to be bent. Use wire to thread up into sleeve and tie to hex wire.

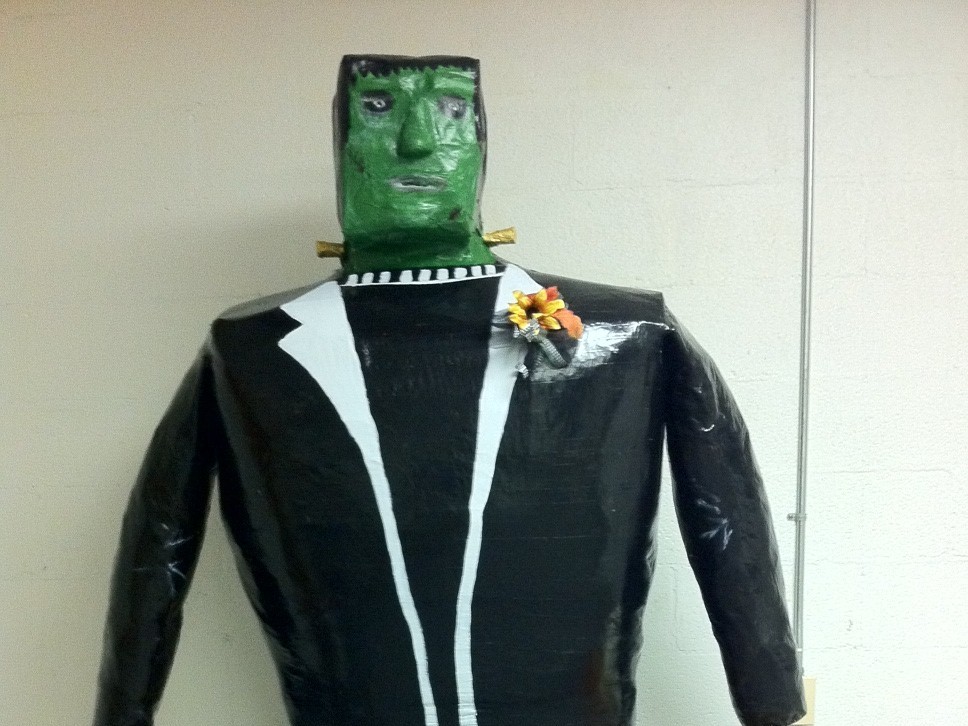
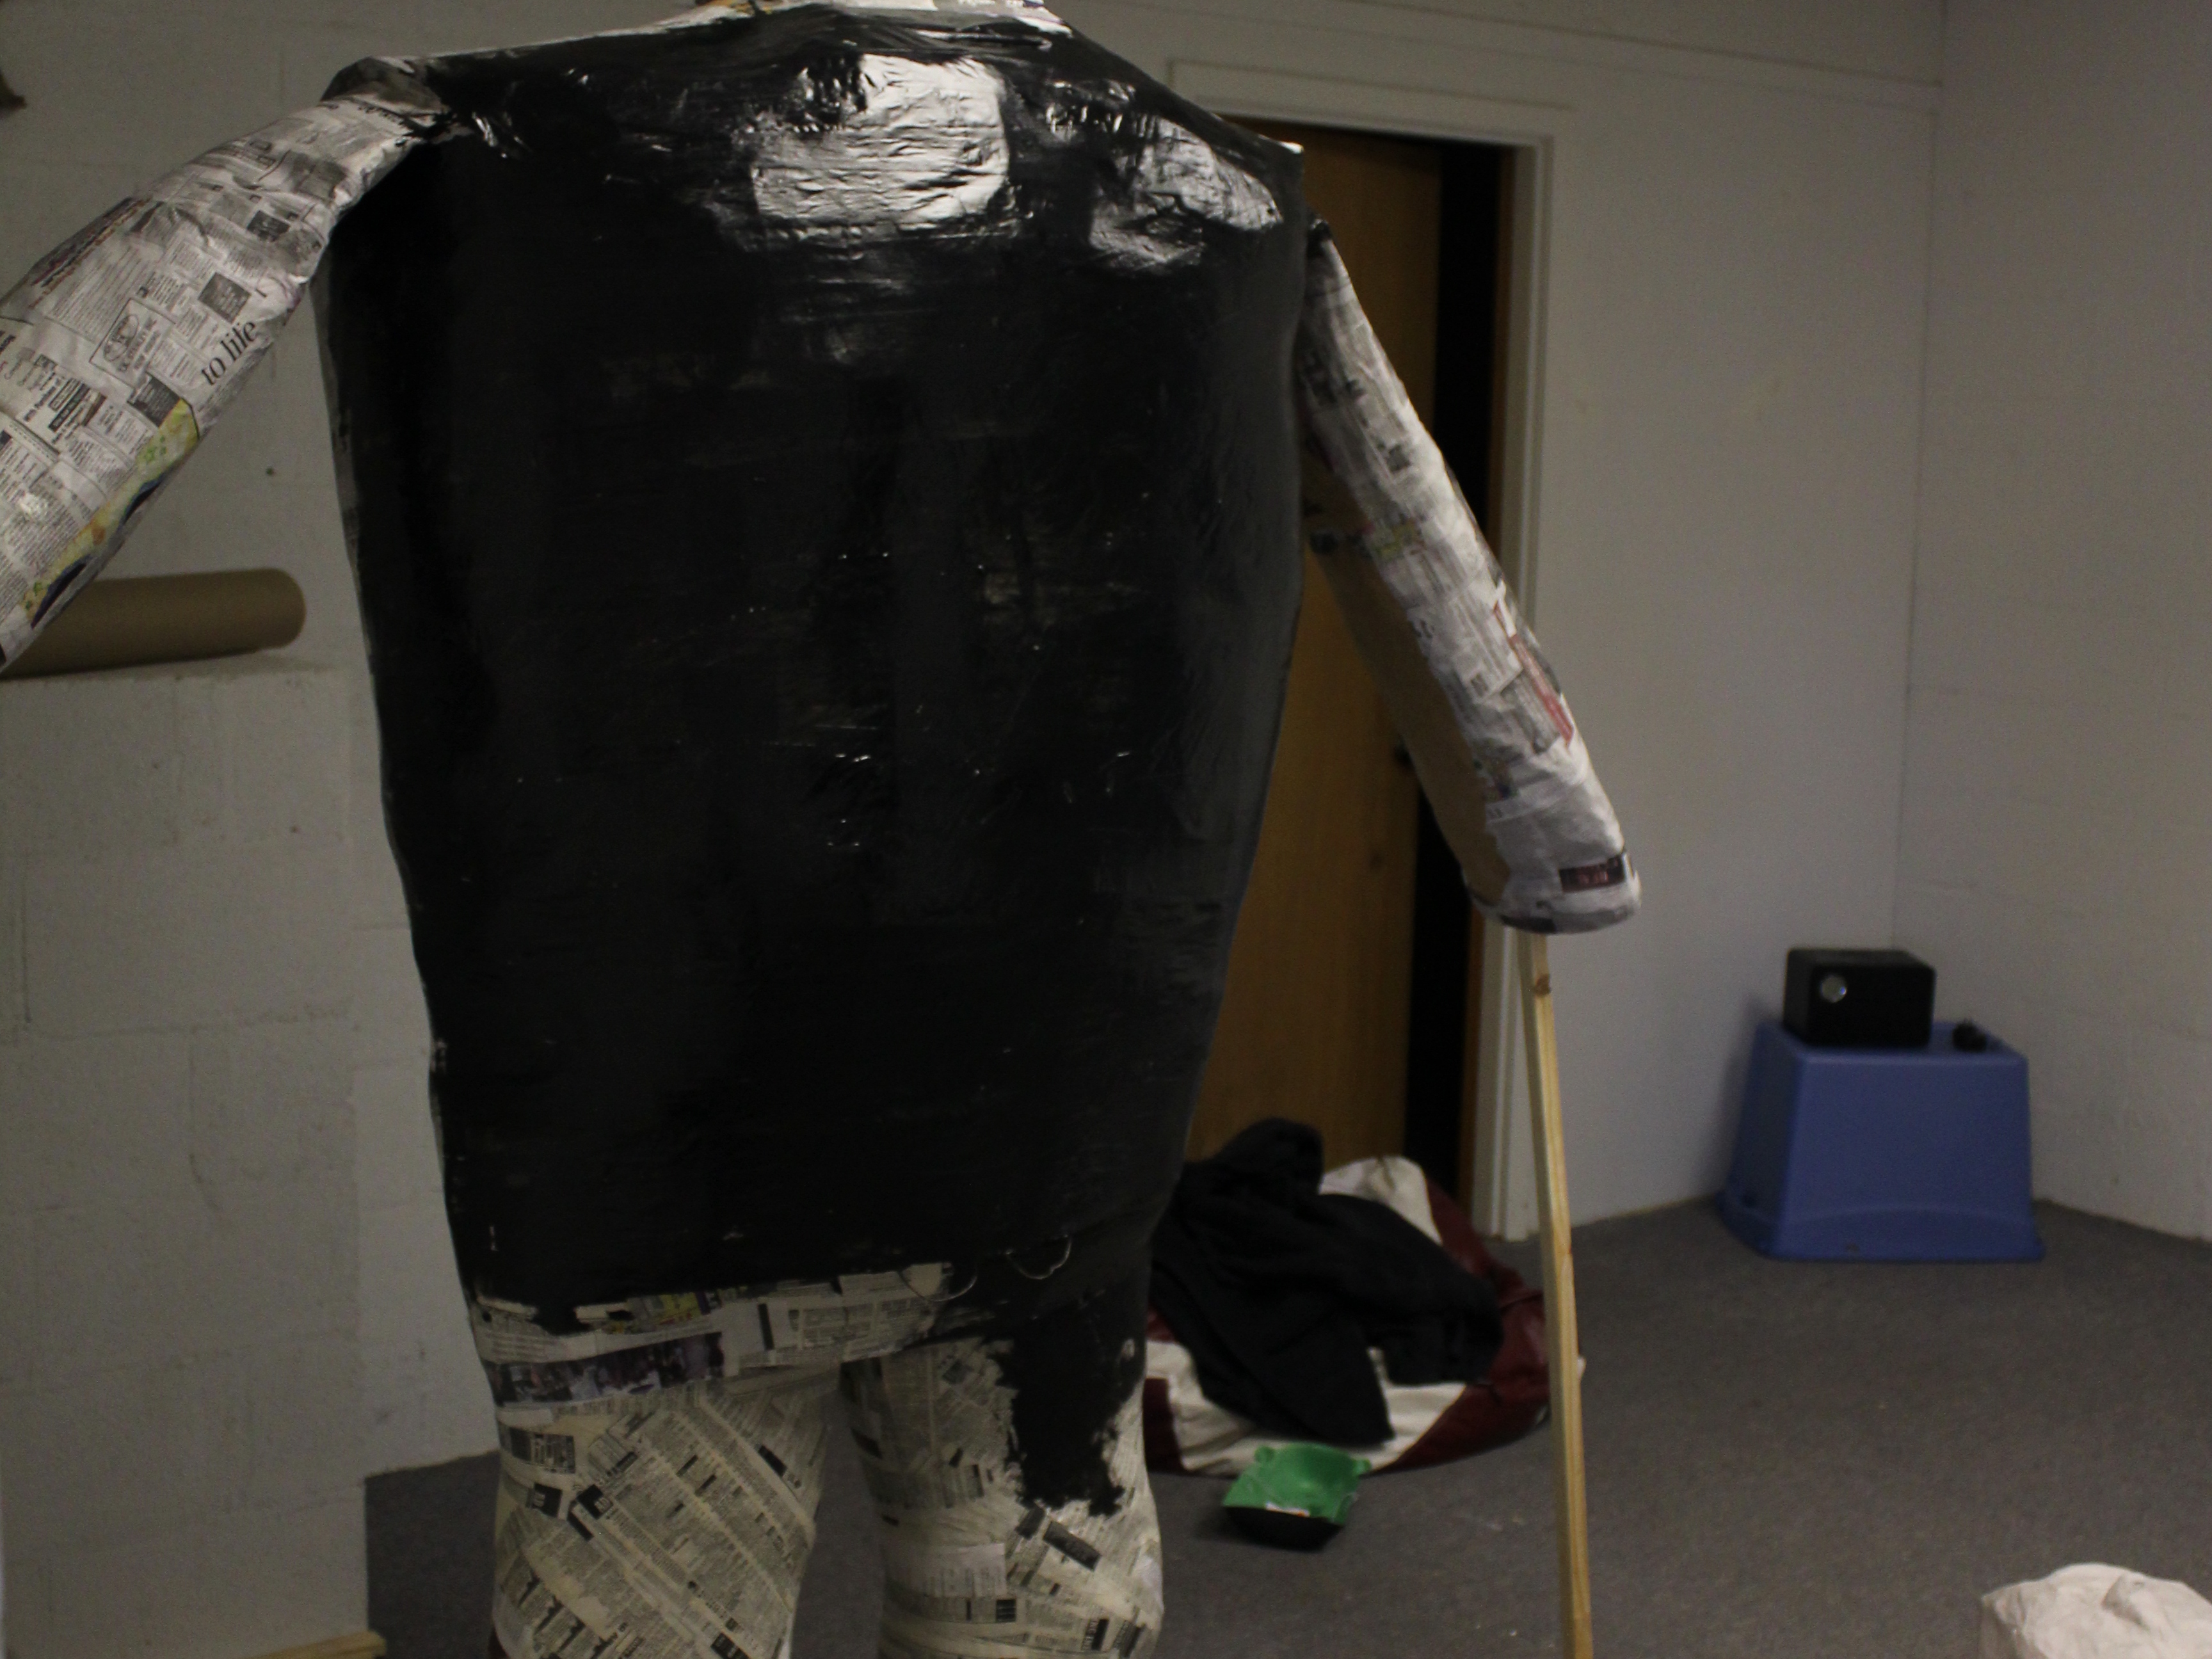
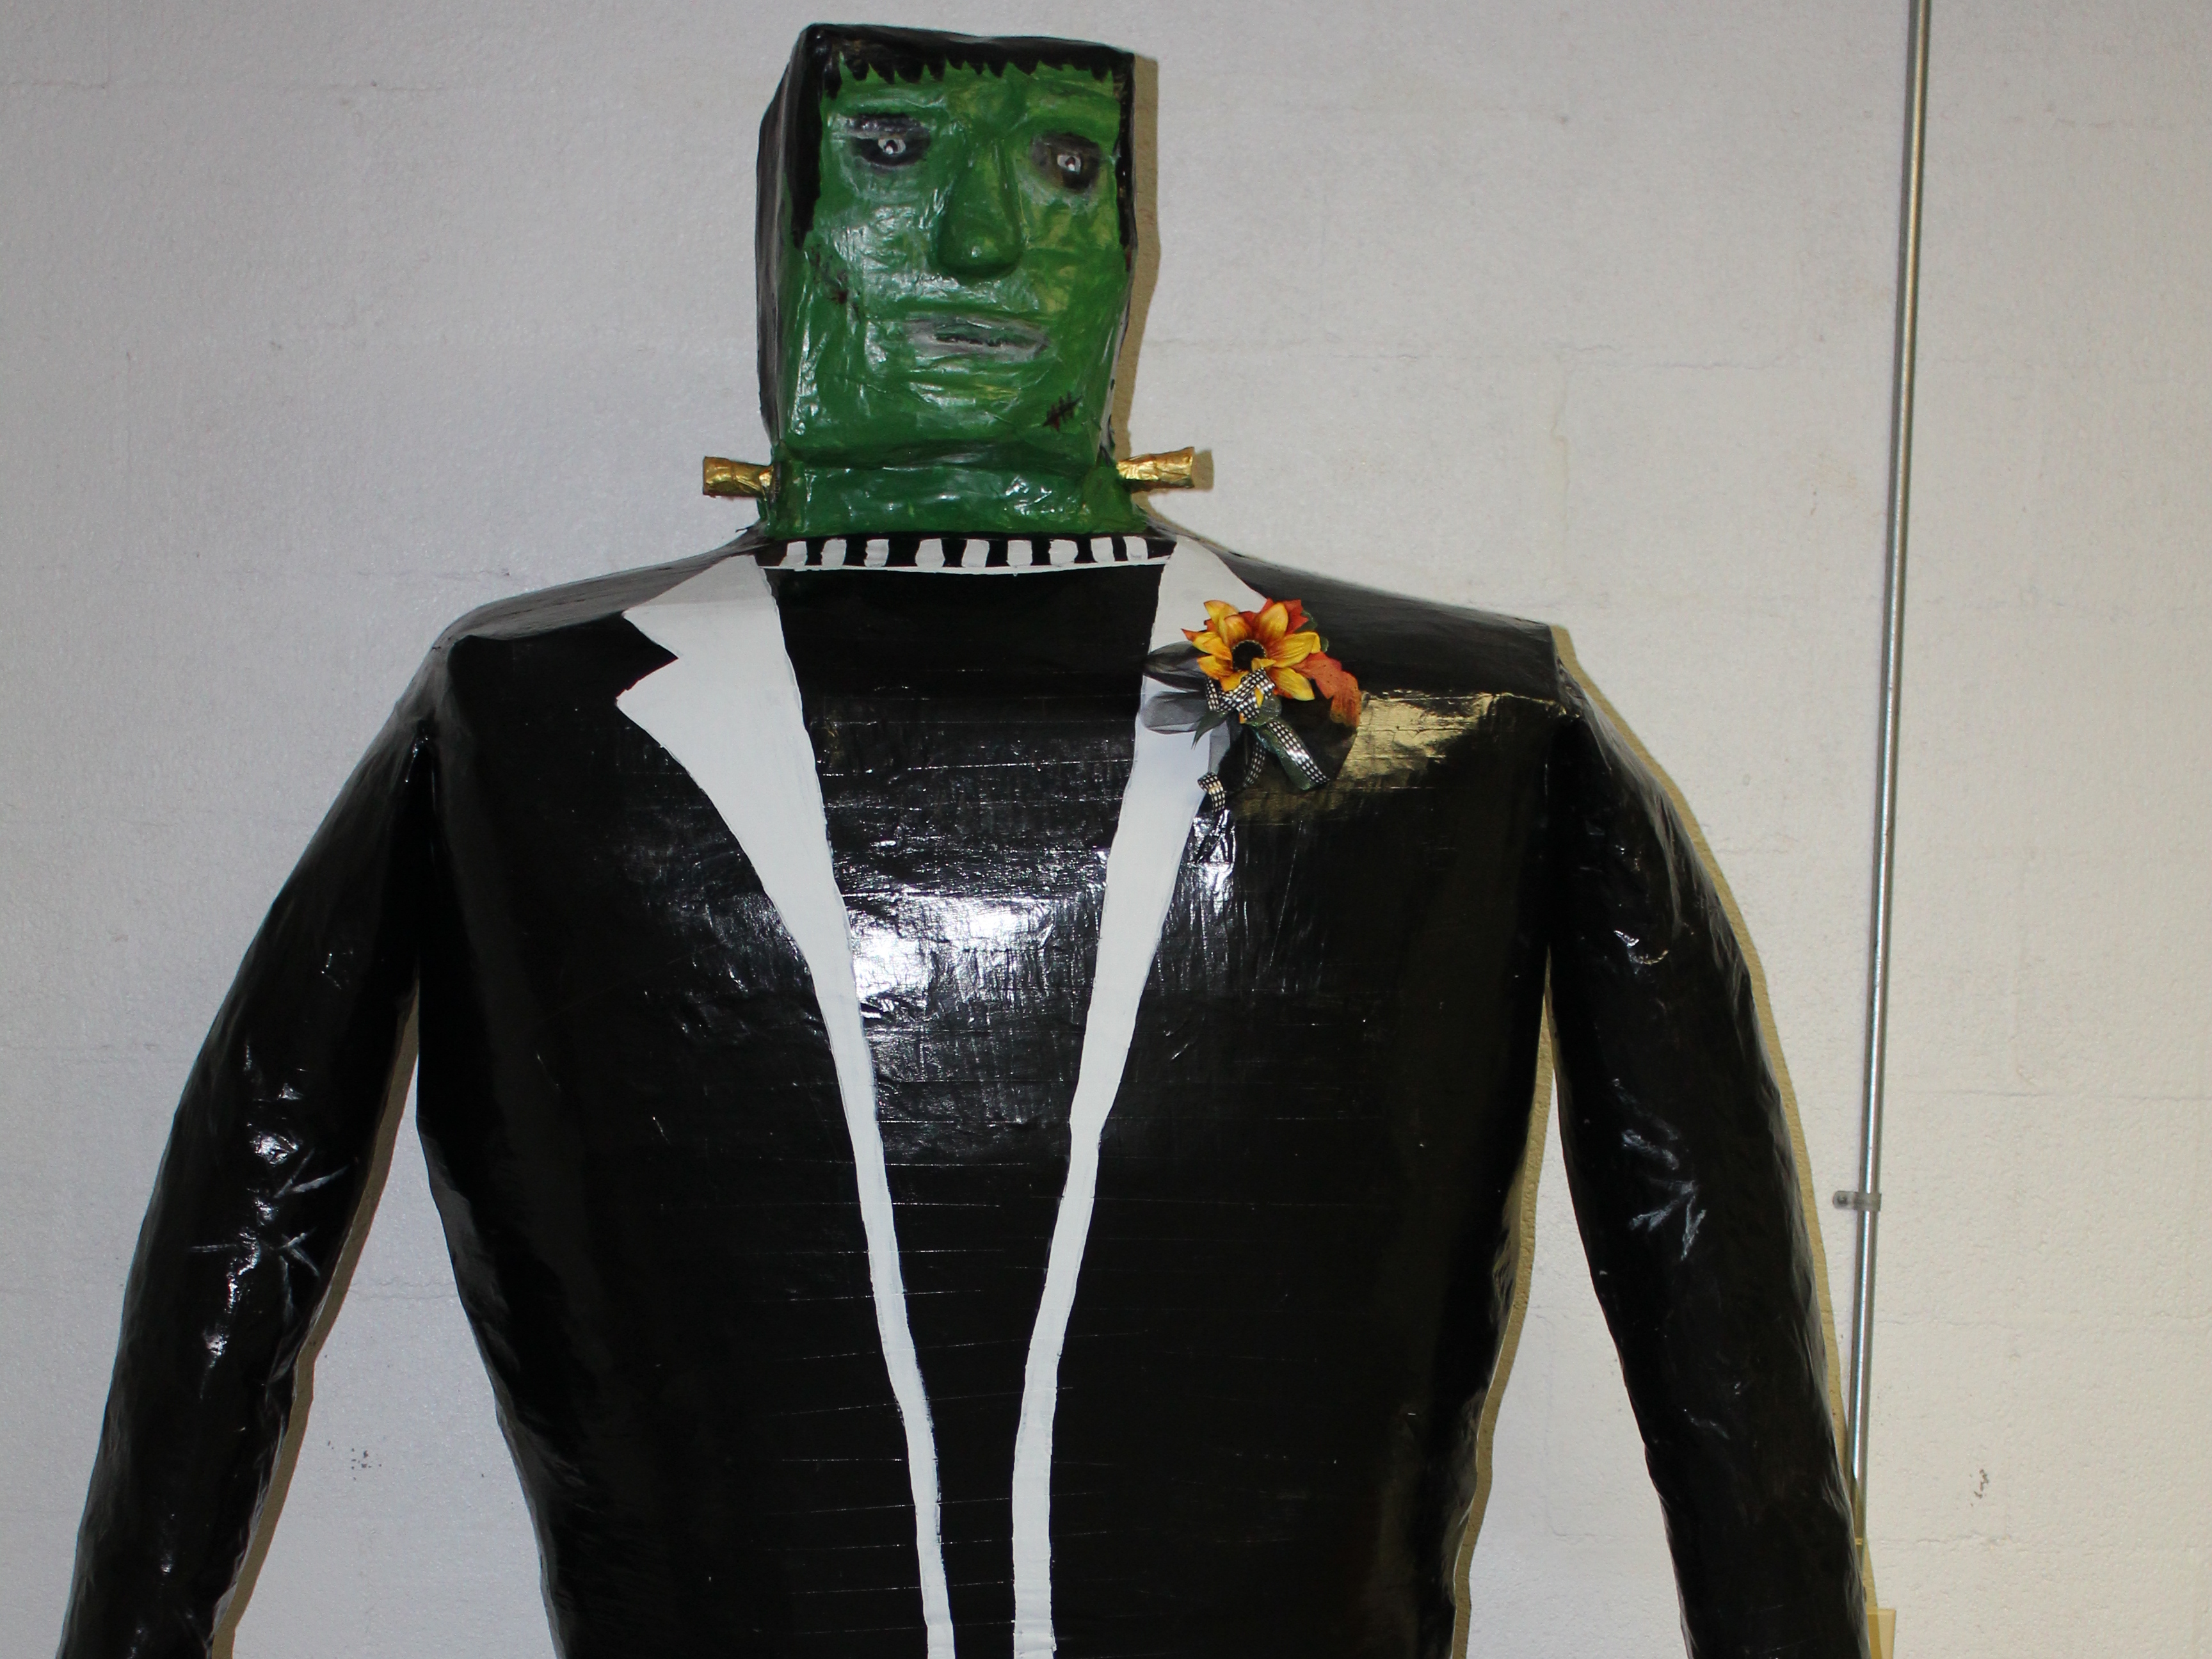
Paint body black with gray/white lapels and mock turtleneck. Shadow body around bends in arms, around knees and to divide pants and shoes. Also shadow around bottom of jacket.

Finish painting face and hair. Shadow and highlight where needed. Finish off by adding a little flower for Frankie to wear.

If you are going to use this outdoors, please understand that it must be finished with an outdoor varnish. Also, it is best kept protected from the elements.