We have all used something like these battery-operated stick-up lights for closets and dark places. And we forget about them. Note: You should check all of your battery-powered devices at least once a year. When batteries leak they can damage everything and rust metal contacts.

Most of the older stick-up lights use light bulbs, not LEDs. This is a good thing for us. Why? You can do more with more voltage. Four AA batteries equal six volts. That will run electronics like 555 timers and microprocessors (Basic Stamps and Arduinos, for example) and that makes for much more fun projects.

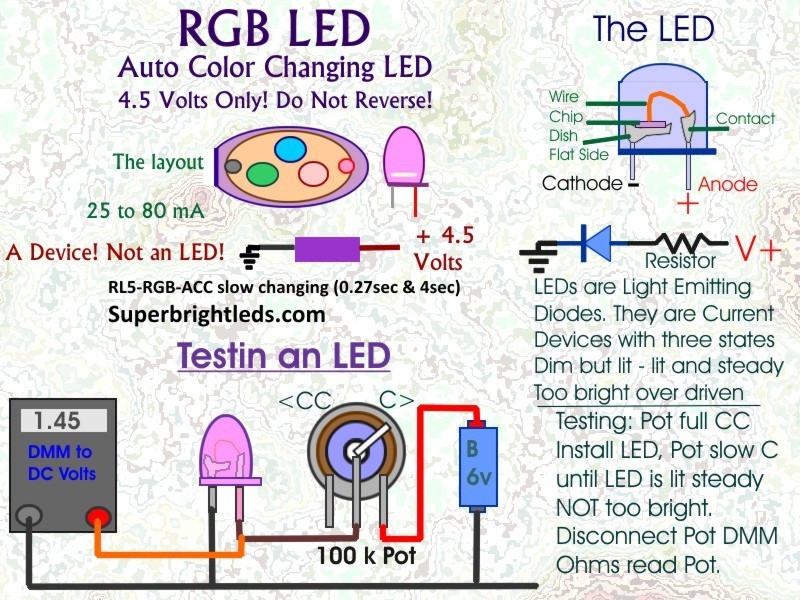
This is a simple modification of a battery-operated light to use LEDs instead of a light bulb. LEDs use different voltages than a light bulb does in most cases. You need to wire in the LEDs to the right voltage to get them to work right. The RGB LEDs need 4.5 volts and the work LEDs can run on 6 volts.

What will the next generation of Make: look like? We’re inviting you to shape the future by investing in Make:. By becoming an investor, you help decide what’s next. The future of Make: is in your hands. Learn More.

Project Steps

The original light. I got the project done before I took pictures of all of the steps. It is an easy project.

Get your light and open it up. Clean battery contacts and any places where wires connect. I cleaned off all of the old wires and I had to clean all of the contacts with a wire brush before I could solder them. A Dremel works great for this.

Modify the basic wiring of your light to fit your plans. Find where to tap into the voltages you need. See my wiring diagram. The RGB LEDs use 25 to 60 mA each so three will give you about an evening of fun. The work LEDs use about 200 mA so the batteries won’t last too long, but that is OK. The brighter the LED the more current they use. If you need more power you may need a wall adapter.

To use the RGB LEDs on higher voltage use a current-limiting resistor on the positive lead of each LED. Use about 22 ohms for six volts and about 33 ohms for 9 & 12 volts. Stay within the recommended current.

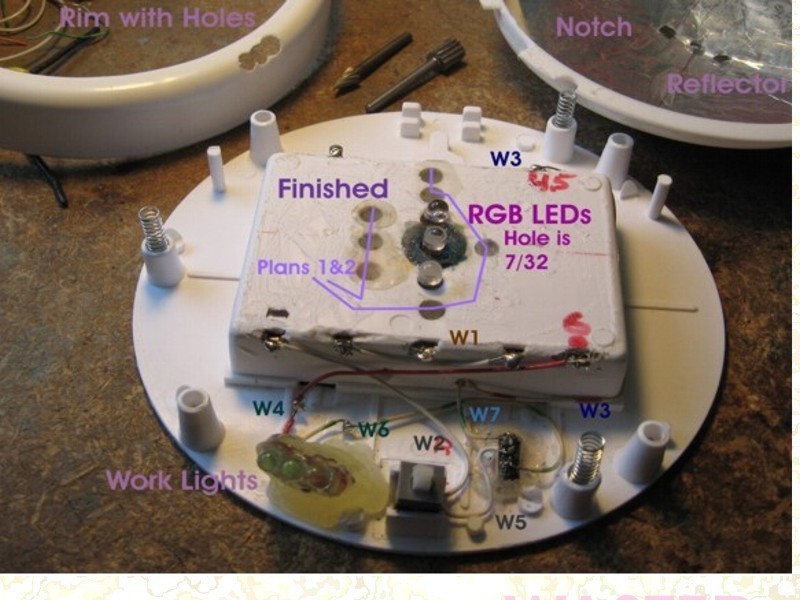
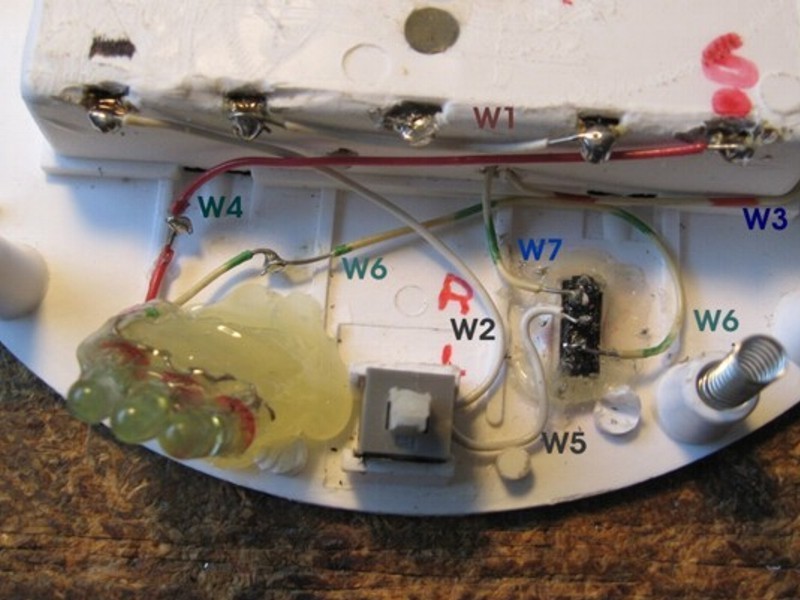
This is my wiring diagram.

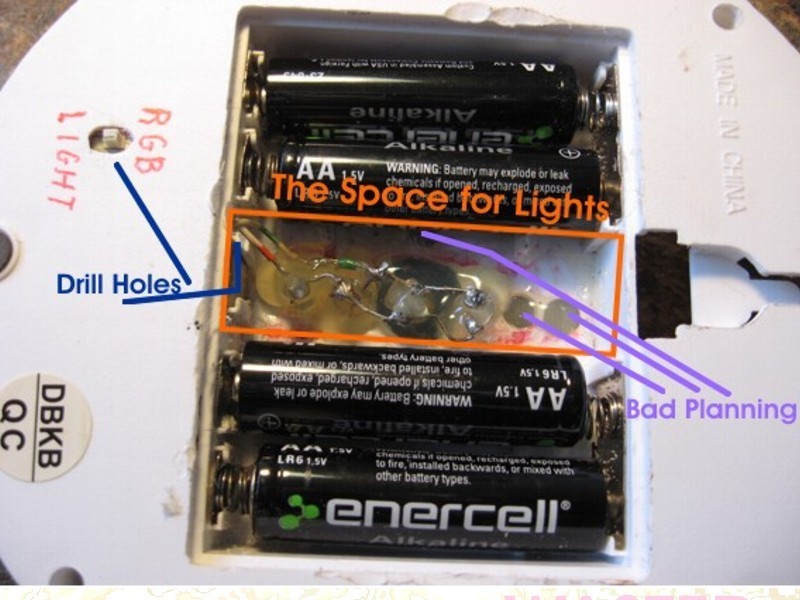
The placement of the LEDs is up to you. My layout looks beautiful and lights up a corner. The work lights work OK too. The hole for the RGB LEDs is 7/32 and that worked for my work lights too. By making your holes loose you can aim your LEDs in different directions for any look that you like.

When you’re ready you can start the project. Note: Take time for a little rest and keep your eyes open for things that can make your project better or just easier. Do not rush anything because if something doesn’t work right you will just have to tear everything apart and start over. Just look at all of the extra holes I have.

Some large bright LEDs need a resistor so you should test everything. Normal LEDs run at about 1.4 – 2.2 volts forward voltage and about 7 – 20 mA. A 430 ohm resistor should work just fine for 6 volts.

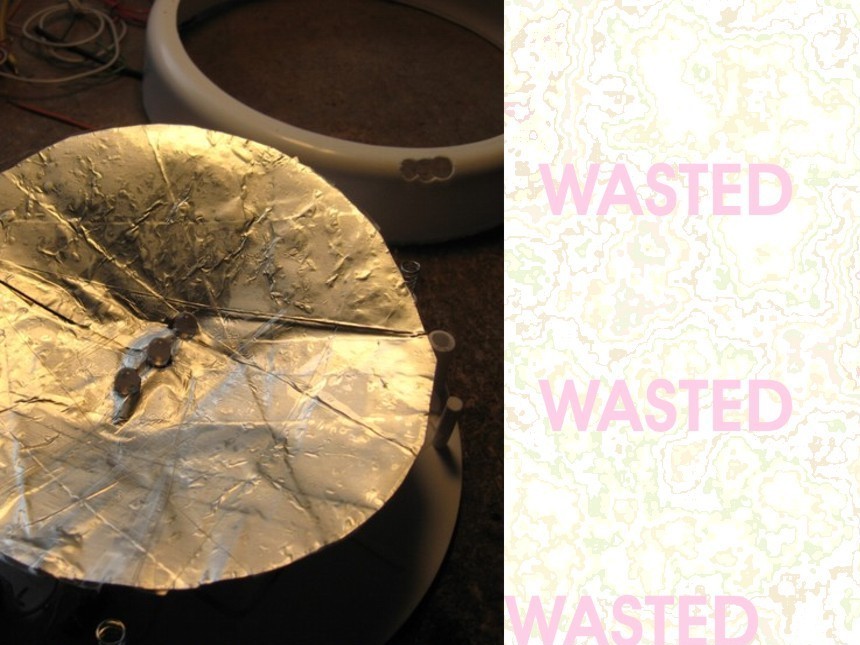
Done! This image shows all parts and the tools I used. On the left is the rim with LED holes and on the right is the dome with the reflector and the notch in it.

For holes that just let the LED poke through, a Dremel diamond-shaped metal cutter works very well. You can just make little holes for the LED leads and other wires and make any design that you want to.

Keep playing with your plans until it makes you happy. You can light up anything including you. Have fun with LEDs.

Review it.

Test the things you can test.

Make a plan and stick to it.

The wiring.

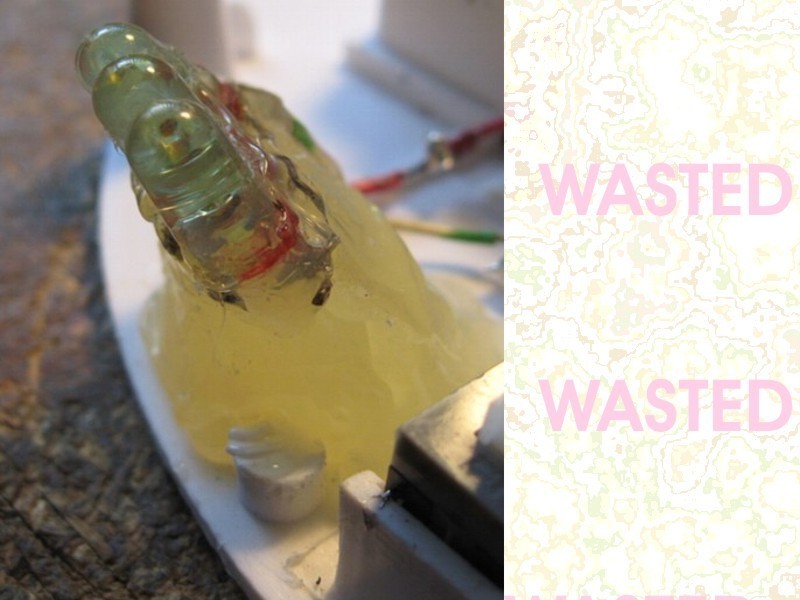
Make sure there are no wires to poke anyone changing the batteries. I used hot glue to cover the LEDs and the wires.

Install additional switches as needed for your plans. I have one switch to change from RGB to the work lights. My switch changes who gets the ground connection. The RGB LEDs are 4.5 volts only and my work LEDS work fine at 6 volts with no resistor.

Some professional LEDs have a resistor or a circuit in them that controls the current and voltage for that LED. They do not light up until they reach their minimum operating voltage. These LEDs can usually run at up to 9 or 12 volts, but test them first.

Test everything before you hot glue everything up. That is why we have breadboards in so many sizes and colors. If you do not have one then go buy one of the many starter packs that come with a breadboard and hook-up wires. Some come with a collection of electronic parts. They are so much fun.

Work-Lights

Because they were not bright enough through the dome I moved them to the rim. I just kept putting globs of hot glue down and let it cool and then more globs until the LEDs fit into their holes. I used the glue gun tip to clean it up.

Make the reflector.

For the reflector you will need: Tin foil, clear 2-inch-wide packing tape, a hole guide for your LEDs and parts layout, single paper punch and heavy scissors.

After I drilled my holes I flipped my light over and I traced through my holes onto a piece of paper. Measuring things always comes up with too many errors. I put things together and I mark where I need to do something. Sharpie ink comes off with alcohol.

Cut the tin foil into a square about an inch bigger than the dome of your light. With the shiny side down layer 3 to 10 layers of the packing tape evenly onto the foil. You need to keep the tape even, but not neat around the edges. You’ll cut it to size later.

Peel the tape and foil off of the work bench and flip it over. You can trim off the excess tape around the edges. Place the foil shiny side up on a hard surface like glass.

Burnish the tin foil with a smooth hard metal or plastic tool like the back of a spoon or something until it’s shiny. Be gentle or you will tear the foil. It helps to have the tape on evenly, but you can play with things to make it look any way that you want it to look.

Find the center of your dome by placing it upside down on a level surface and place a small round bead, ball bearing or something so it rolls to the center. Using a non-permeating marker, put a dot where the ball is. Make the mark big enough to see through your dome. Hold your dome right side towards you facing some bright light. Using the same marker make a dot over the center dot on the outside of your doom. Make sure you can clean the marker off with alcohol or something.

Place your dome face up. Using a compass, gently hold the compass point to the dot on your dome and spread the compass to the edge of your dome. You now have the radius of your dome. I taped a marker to my compass where the pencil would go. Place the point of the compass into the center of your foil and draw to mark the outside edge of your reflector.

If your dome has straight sides going into the rim then go to the edge of the curved part of your dome. Leave enough room around the edge of your reflector for any springs, switches or screws and anything else that would interfere with the pushing action of your dome. Test the fit and trim as needed.

Cut out your reflector. Cut your reflector to the center so you can get a paper punch in to make the holes for the LEDs. To make a cone, overlap the edges of the center cut until the cone is about a half-inch high, or so it fits your dome. Use double-stick tape to secure the overlapped edges and even out the surface with more packing tape.

See how beautiful it is.

Notes:

I found that older solid wires like phone-company wire can be difficult to tin with solder. You should always pre-tin your wires when working with LEDs, transistors, diodes, IC chips and other items because too much heat can damage things. Place your components in first. Then cut, strip, tin and bend your wires to minimize the time it takes you to solder things up. Good planning helps keep parts healthy. It is no fun to find a bad part on final check-out.

Hot-glue guns put things together in a hurry. A small glue gun does so many things well that there is the smell of hot glue in my room most of the time. If you need a big glue gun then get one.

Hot glue does not stick to most LEDs because they are made of polycarbonate plastic. This a very smooth plastic with a high melt point. Glue your LEDs from behind, getting the glue into the leads and the wires. You can spot-glue your LEDs in while you adjust position and aim. Test everything.

Conclusion

This requires simple soldering and wiring. There are many soldering guides available on this site.

Anyone can add or fix anything on my prject.