You don’t just wake up one day and decide you are going to send a camera into space. But I kind of did. I teach high school at Beaufort High in Beaufort, South Carolina. I think it was the first or second day of the Christmas break for the 2009-2010 school year that I was having coffee one morning and reading an online photography forum, Photography on the Net. That’s where I ran across a small post that basically said, “Look at this link! It’s cool.” The link was to the 1337 Arts site; the guys from MIT that put a camera into space attached to a weather balloon. My first thought was, “Hey, I could do that!” Then it occurred to me that I could do that with the photography class I was teaching. So, it changed to, “We could do that!” And we did.

This project is actually the culmination of a lot of smaller projects. I’ve tried to separate them into a few projects of a manageable size.

The first problem to be solved was how to track the payload across the sky, allowing us to recover it. We could have used a smart phone running any number of apps that would transmit location, but the GPS in smart phones won’t transmit above 60,000 feet. There is a government regulation that says that a GPS must not work if it is moving faster than 1,200 mph and above 60,000 feet. Basically, they don’t want anyone making a DIY GPS-guided missile.

The answer was a non-cellular tracker using a GPS that is unlocked for altitudes above 60,000 feet attached to a VHF data transmitter.

What will the next generation of Make: look like? We’re inviting you to shape the future by investing in Make:. By becoming an investor, you help decide what’s next. The future of Make: is in your hands. Learn More.

Project Steps

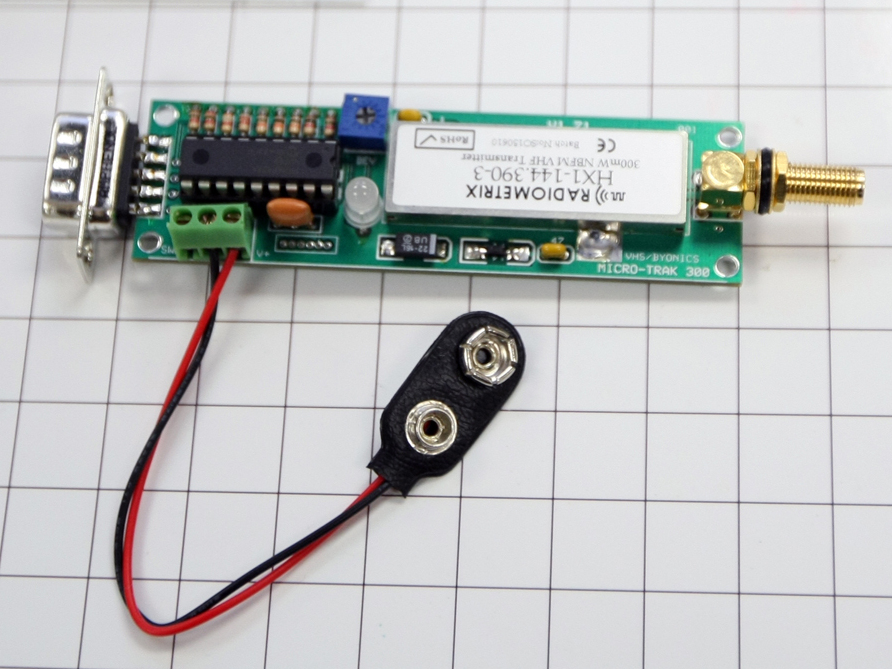
Deconstruct the MT-300

Get yourself an MT-300.

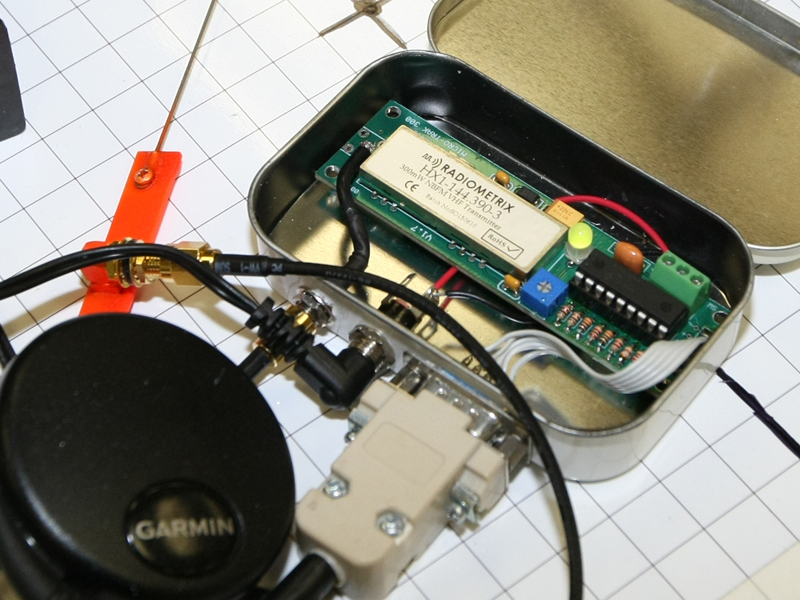
Once you have the MT-300 the first thing that needs to be done is to remove the 90-degree SMA connector that comes attached to one end of the board.

Sometimes the DB-9 connector comes soldered to the board. If it’s soldered, it has to be desoldered and removed. If it is just wedged on, pull it off.

Attach all the wires

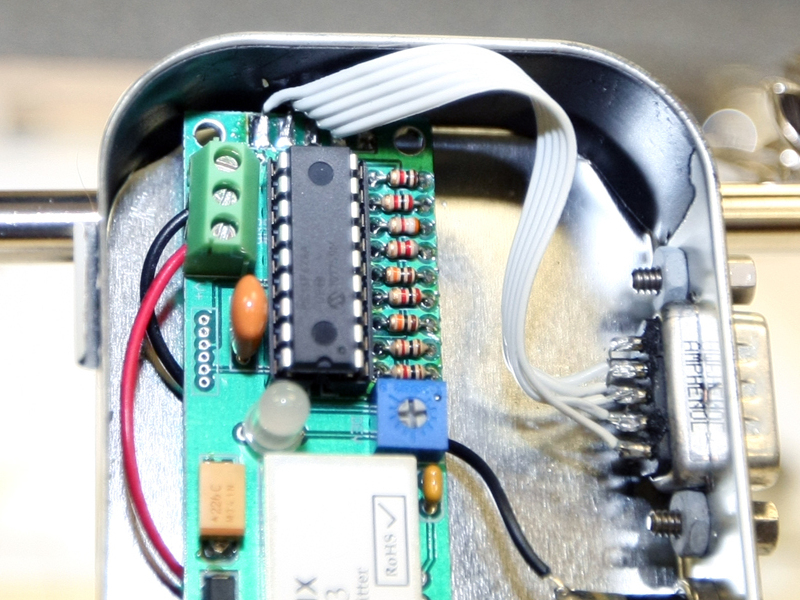
Although the DB-9 has cups for nine wires, you only need to attach four:

Pin 2: Serial Data In (GPS and programming)

Pin 3: Serial Data Out

Pin 4: + 5 Regulated output (optional for GPS power)

Pin 5: Ground

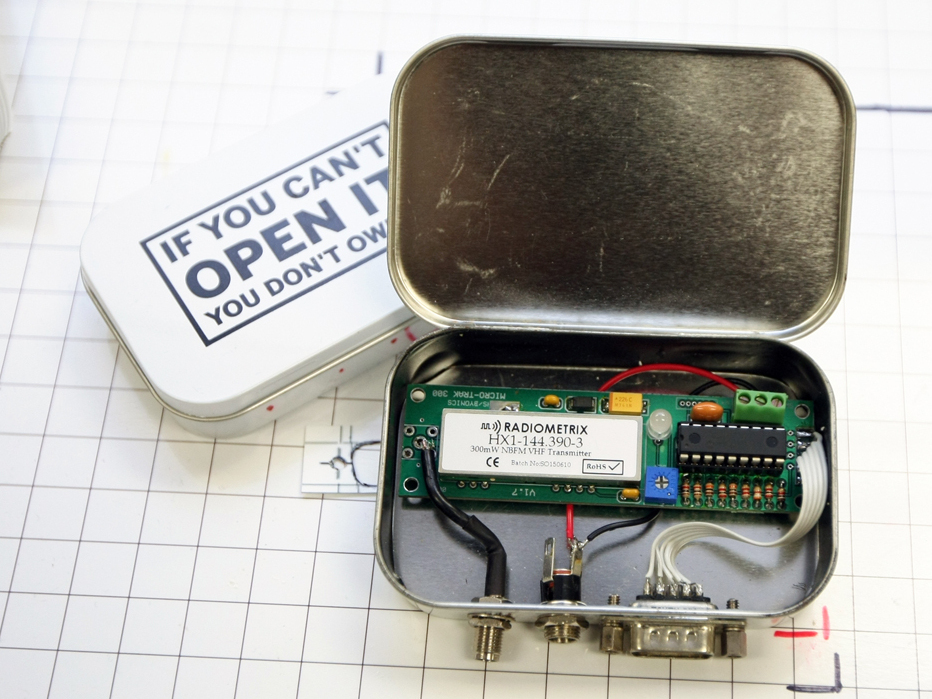
Attach two wires to the three-screw input terminal; one for the power and the other for the ground.

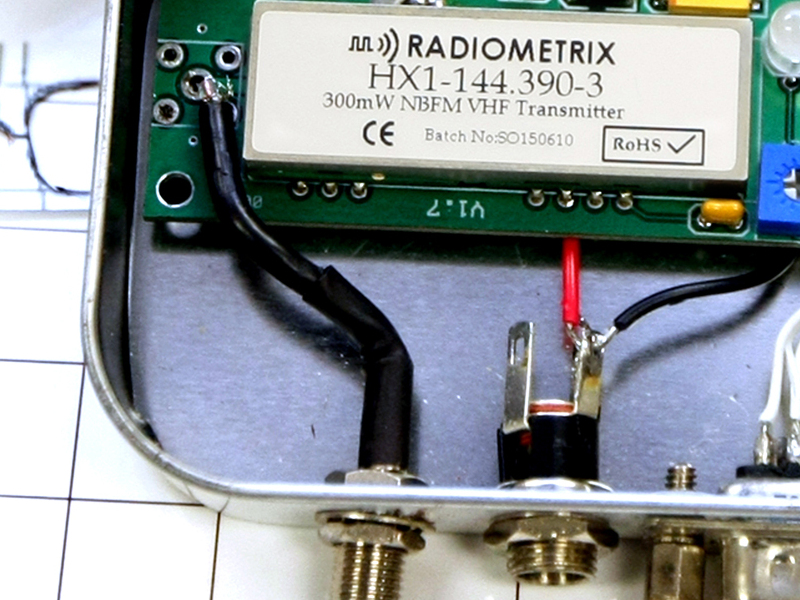
Solder a short length of cable and attach it to the RF output.

Prepare the tin

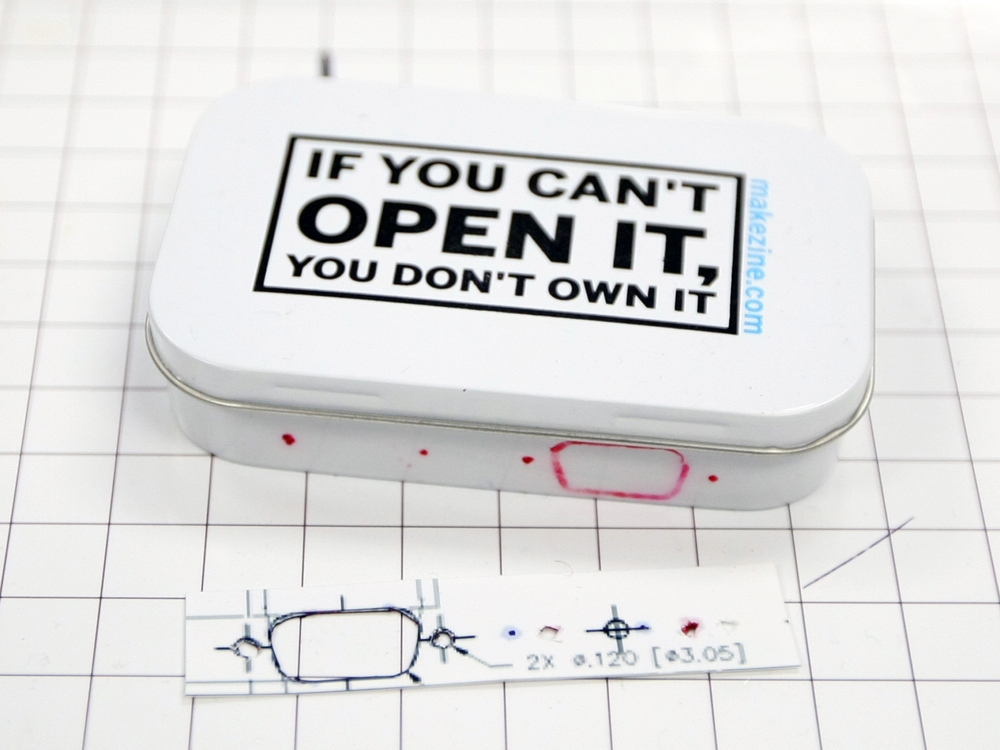
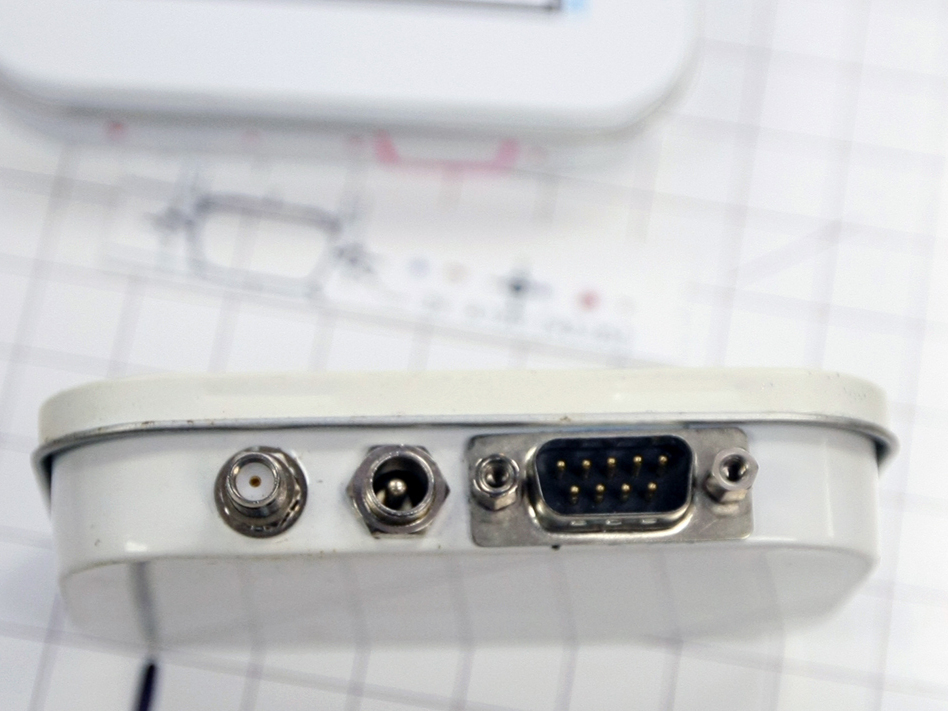
The holes for the antenna and power connector can be drilled. The easiest way to create the opening for the DB-9 is to cut it with a Dremel tool.

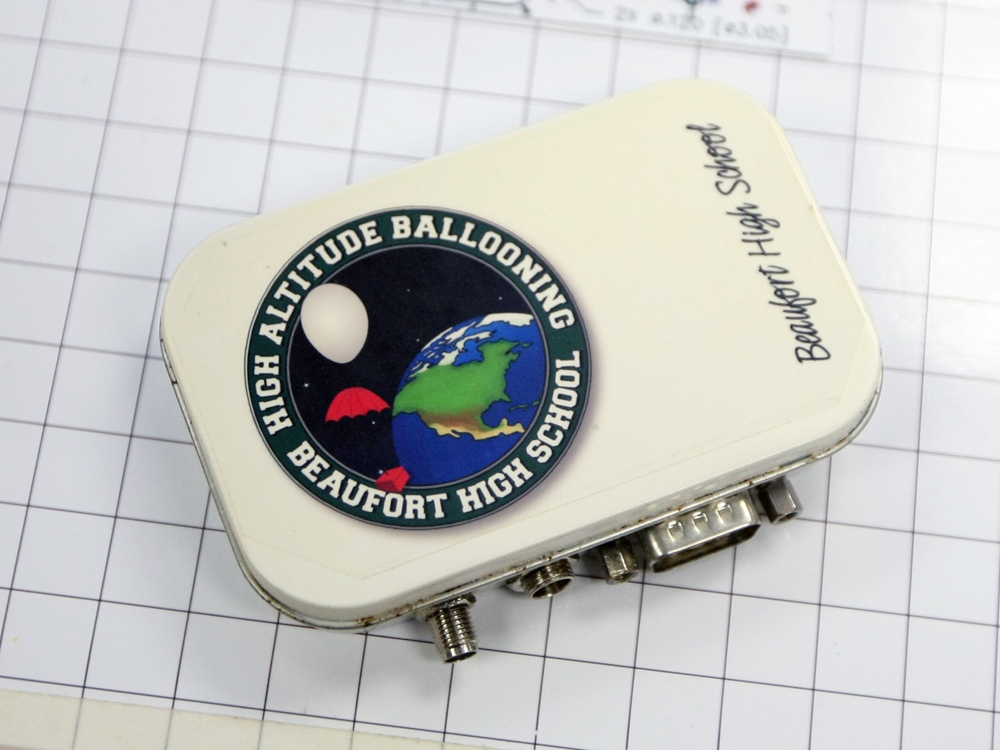
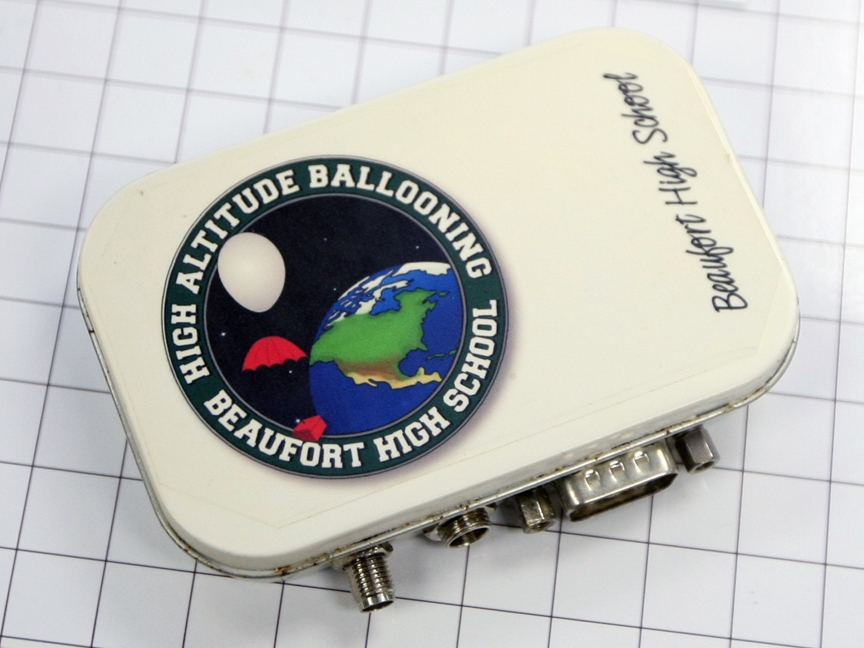
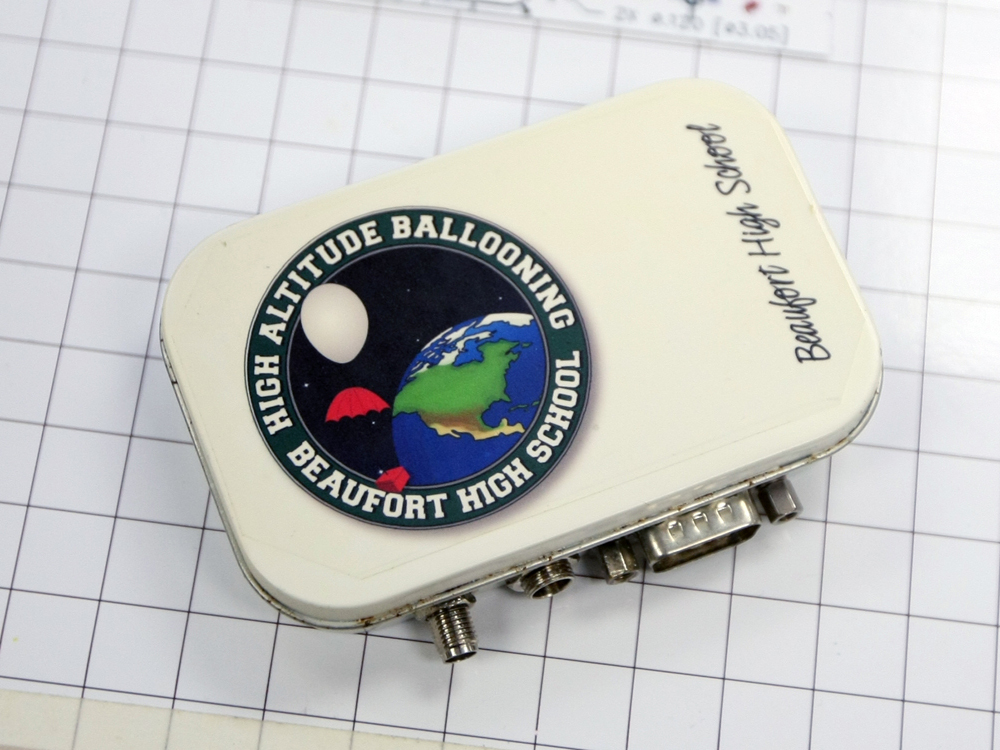
Paint over the lovely label that comes on the Maker: tin. Then take your favorite high altitude balloon club logo, print it on a clear adhesive label and apply it to the lid.

Put it all together

Once the holes are cut into the tin you can attach the DB-9 solder cup connector, the DC power connector and the SMA bulkhead connector.

A few pieces of double-sided tape are used to raise the board off of the tin.

A liner of electrical tape is used to insulate the inside of the box.

Now the device can be powered up and programmed. Be careful not to power up the transmitter without an antenna attached.

Notes

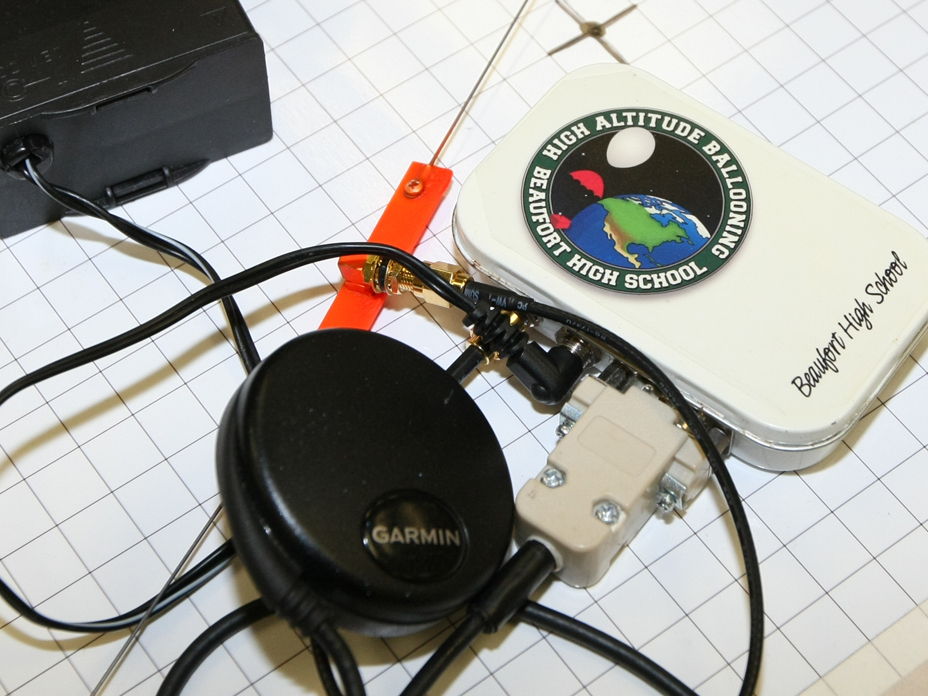
To use this device as an APRS transmitter you will have to attach it to a GPS. I use a Garmin 18x LVC. There are lots of others out there and a quick Google search will help you find them. Just make sure the one you use will work over 60,000 feet. Not all will; see here for more info.

The MT-300 is no longer in production. Byonics is currently working on a dedicated high-altitude balloon tracker. If you can’t wait, there is the MT-RTG (Ready to Go) by Byonics.

For this project I used Byonics products. There are lots of other companies that make hardware that can be used for APRS transmitters. I like Byonics because they make good products that are reliable and their support is top-notch. They also get them to you quickly.