img_8621

HSIP_CVR_LR
Love Halloween? Love making? Check out our special Halloween issue for more projects to scare and delight! Available now online and in print at fine retailers everywhere.

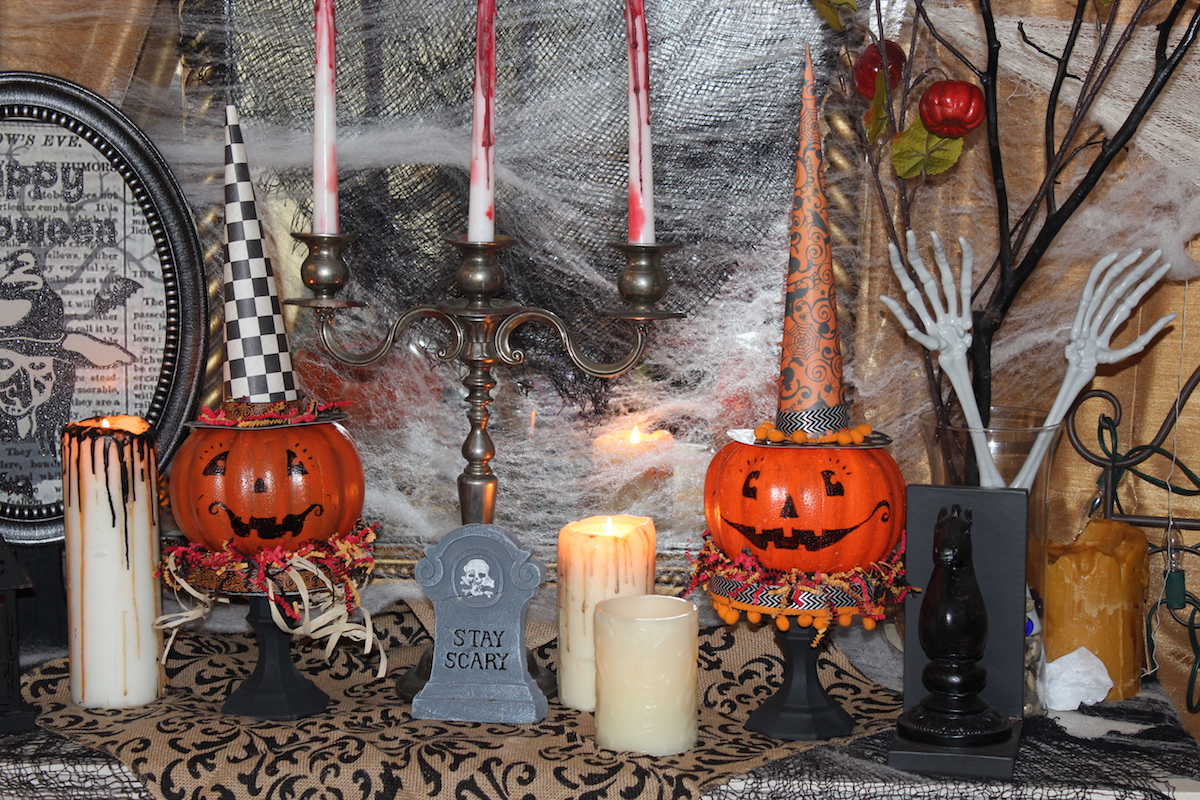
There is something endearing about celebrating Halloween with old fashioned décor. And what better way than to make these inexpensive pumpkin stands? Similar decorations retail for $25 at most home stores, but you can purchase most of the supplies for this project at your local dollar store or craft store and it takes less than an hour to make.

Follow along with me over on my YouTube channel for more Halloween crafting ideas!

What will the next generation of Make: look like? We’re inviting you to shape the future by investing in Make:. By becoming an investor, you help decide what’s next. The future of Make: is in your hands. Learn More.

Project Steps

STEP 1

step1-vintagepump

Take the foam pumpkin and age or antique the pumpkin by blending orange and brown paint. Once you have blended to the color you desire paint the pumpkin and put it aside to dry.

STEP 2

step2-vintagepump

Using either the spray paint or the acrylic pain in matte black, paint the glass taper candle holder. Make sure to cover with two coats. Put aside to dry.

STEP 3

step3-vintagepump

Using the Styrofoam disk that will be the platform for the pumpkin, trace a pattern on either the scrapbook paper or use pages from a book. Cut out two covers for the Styrofoam disk top and bottom.

STEP 4

step4-vintagepump

Using the glue gun, glue the cut paper to cover the disk. Make sure to glue in the center of the disk and all the way to the edges.

STEP 5

step5-vintagepump

Using the disk, measure out ribbon to cover the side of the styrofoam disk. Set aside to dry.

STEP 6

step6and7-vintagepump

Once the taper candle holder is dry, this will be the pedestal for the decoration. Take the pedestal and the Styrofoam disk and glue the disk to the pedestal using a glue gun. Make sure to turn the pedestal over so that the disk is level on the table to ensure the pedestal glues well to the disk.

STEP 7

Turn over the pedestal so the disk is now on top, glue the pumpkin to the foam platform.

STEP 8

step8-vintagepump

Take the scrapbook paper and use the same foam disk diameter for the bottom of the hat. Take the rest of the paper and make a cone for the top of the hat. Glue a ribbon around the witch’s hat as to your liking. Glue the hat to the pumpkin.

STEP 9

Use the raffia or the decorative shredded paper to further embellish the platform.

STEP 10

img_8621

If you prefer you can use a Sharpie marker to create a face.