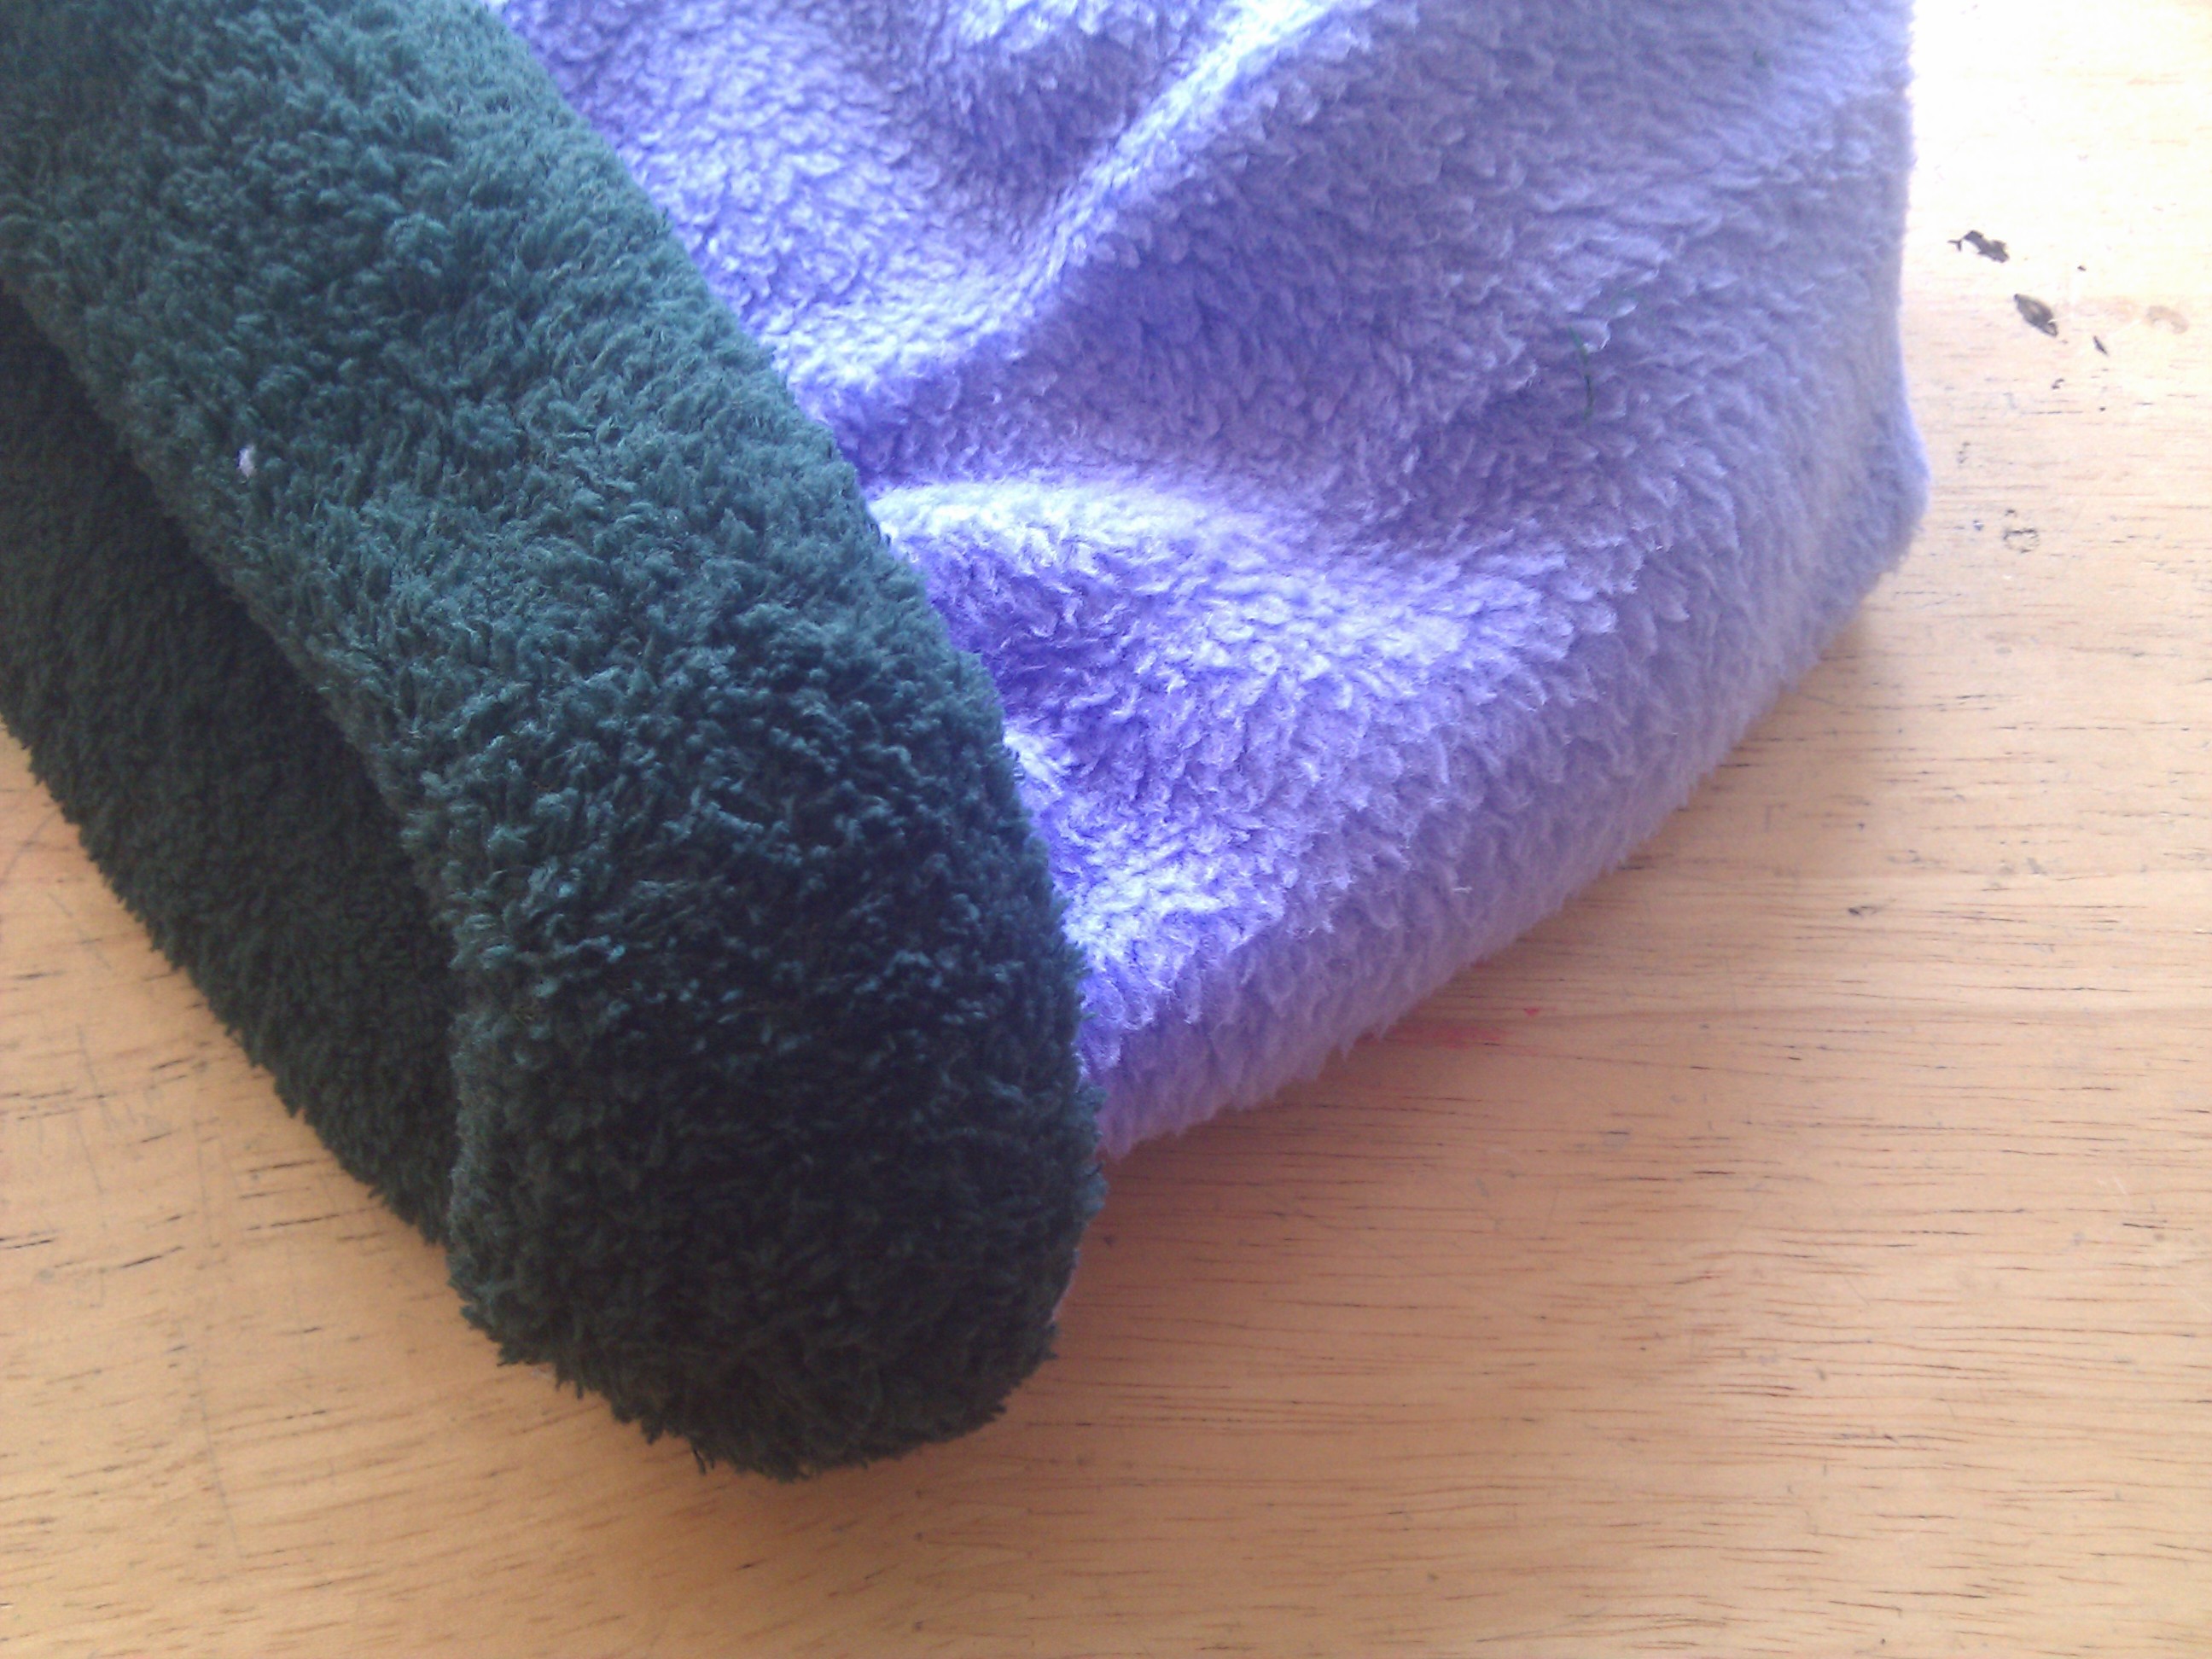
This project can take about an hour, more if you want to be more precise or add more customization to your hats. Your hat will be made to fit your head, or could be used as a gift.

Photos of the development of this project:

Deconstructing Hats set: http://www.flickr.com/photos/connors934/…

One Hour Hat set: http://www.flickr.com/photos/connors934/…

Hatmaking set: http://www.flickr.com/photos/connors934/…

What will the next generation of Make: look like? We’re inviting you to shape the future by investing in Make:. By becoming an investor, you help decide what’s next. The future of Make: is in your hands. Learn More.

Project Steps

Make the template or pattern for the hat.

Measure the circumference of your head.

Make a rectangle of paper that is the length of your head’s circumference, with a some extra allowance for the seams.

Fold this piece of paper in half, and then into thirds. This will give you six segments.

Make a crease at the center of the folded paper; this will be the middle of the segments.

The middle of the segments will be the peaks, and the folds on the edge of the segments will be the valleys.

Pin your template or pattern to the fabric.

Cut along the edge of the paper.

Remove the template/pattern from the fabric.

Decide which will be the outside of the hat and which will be the inside.

Pin the two valleys closest to the ends so that the inside fabric is showing.

Using a whip stitch, sew the valleys closest to the ends from the valley to the peak.

Pin the next valleys towards the center.

Sew these valleys from the valley to the peak.

Sew from the bottom of the center valley to the back of the head.

Try your new hat on.

If you want your hat to be reversible, make another just like the one you just made.

Turn the first hat inside out and place the second hat inside it with the seams visible.

Pin the two hats together with the seams meeting at the same point.

Sew the hem along the bottom edge of the hat.

Before sewing the last segment of the hem, pull the hat right side out and fit one of the hats into the other. Finishing off the hem will seal the hat.

When you sew the bottom edge, you will make the hat tighter. If you start with a snug-fitting hat, the finished reversible hat may not fit.

Sew the tops together so they stay put.

You now have a reversible hat that can be changed to suit your mood and/or outfit. Stay warm!

After making your first hat, you may discover that you can make hats in lots of different styles, with various materials.

You can use fleece from a blanket, or less fuzzy materials.

You can also alternate between warm fuzzy and durable like denim.

After you’ve made the hat, you can also add features like headphones, LED lights for nighttime visibility or other electronics.

As a classroom project, here are the items that students would hand in: http://pemtech.pbworks.com/w/page/477167…