- How to build a coffin for Halloween
- Hacking Halloween decorations to make the box come alive
- All for under $100
Projects from Make: Magazine
Haunted Coffin Card Holder
Build a coffin-shaped card box. Cards get inserted, the spirits get excited!
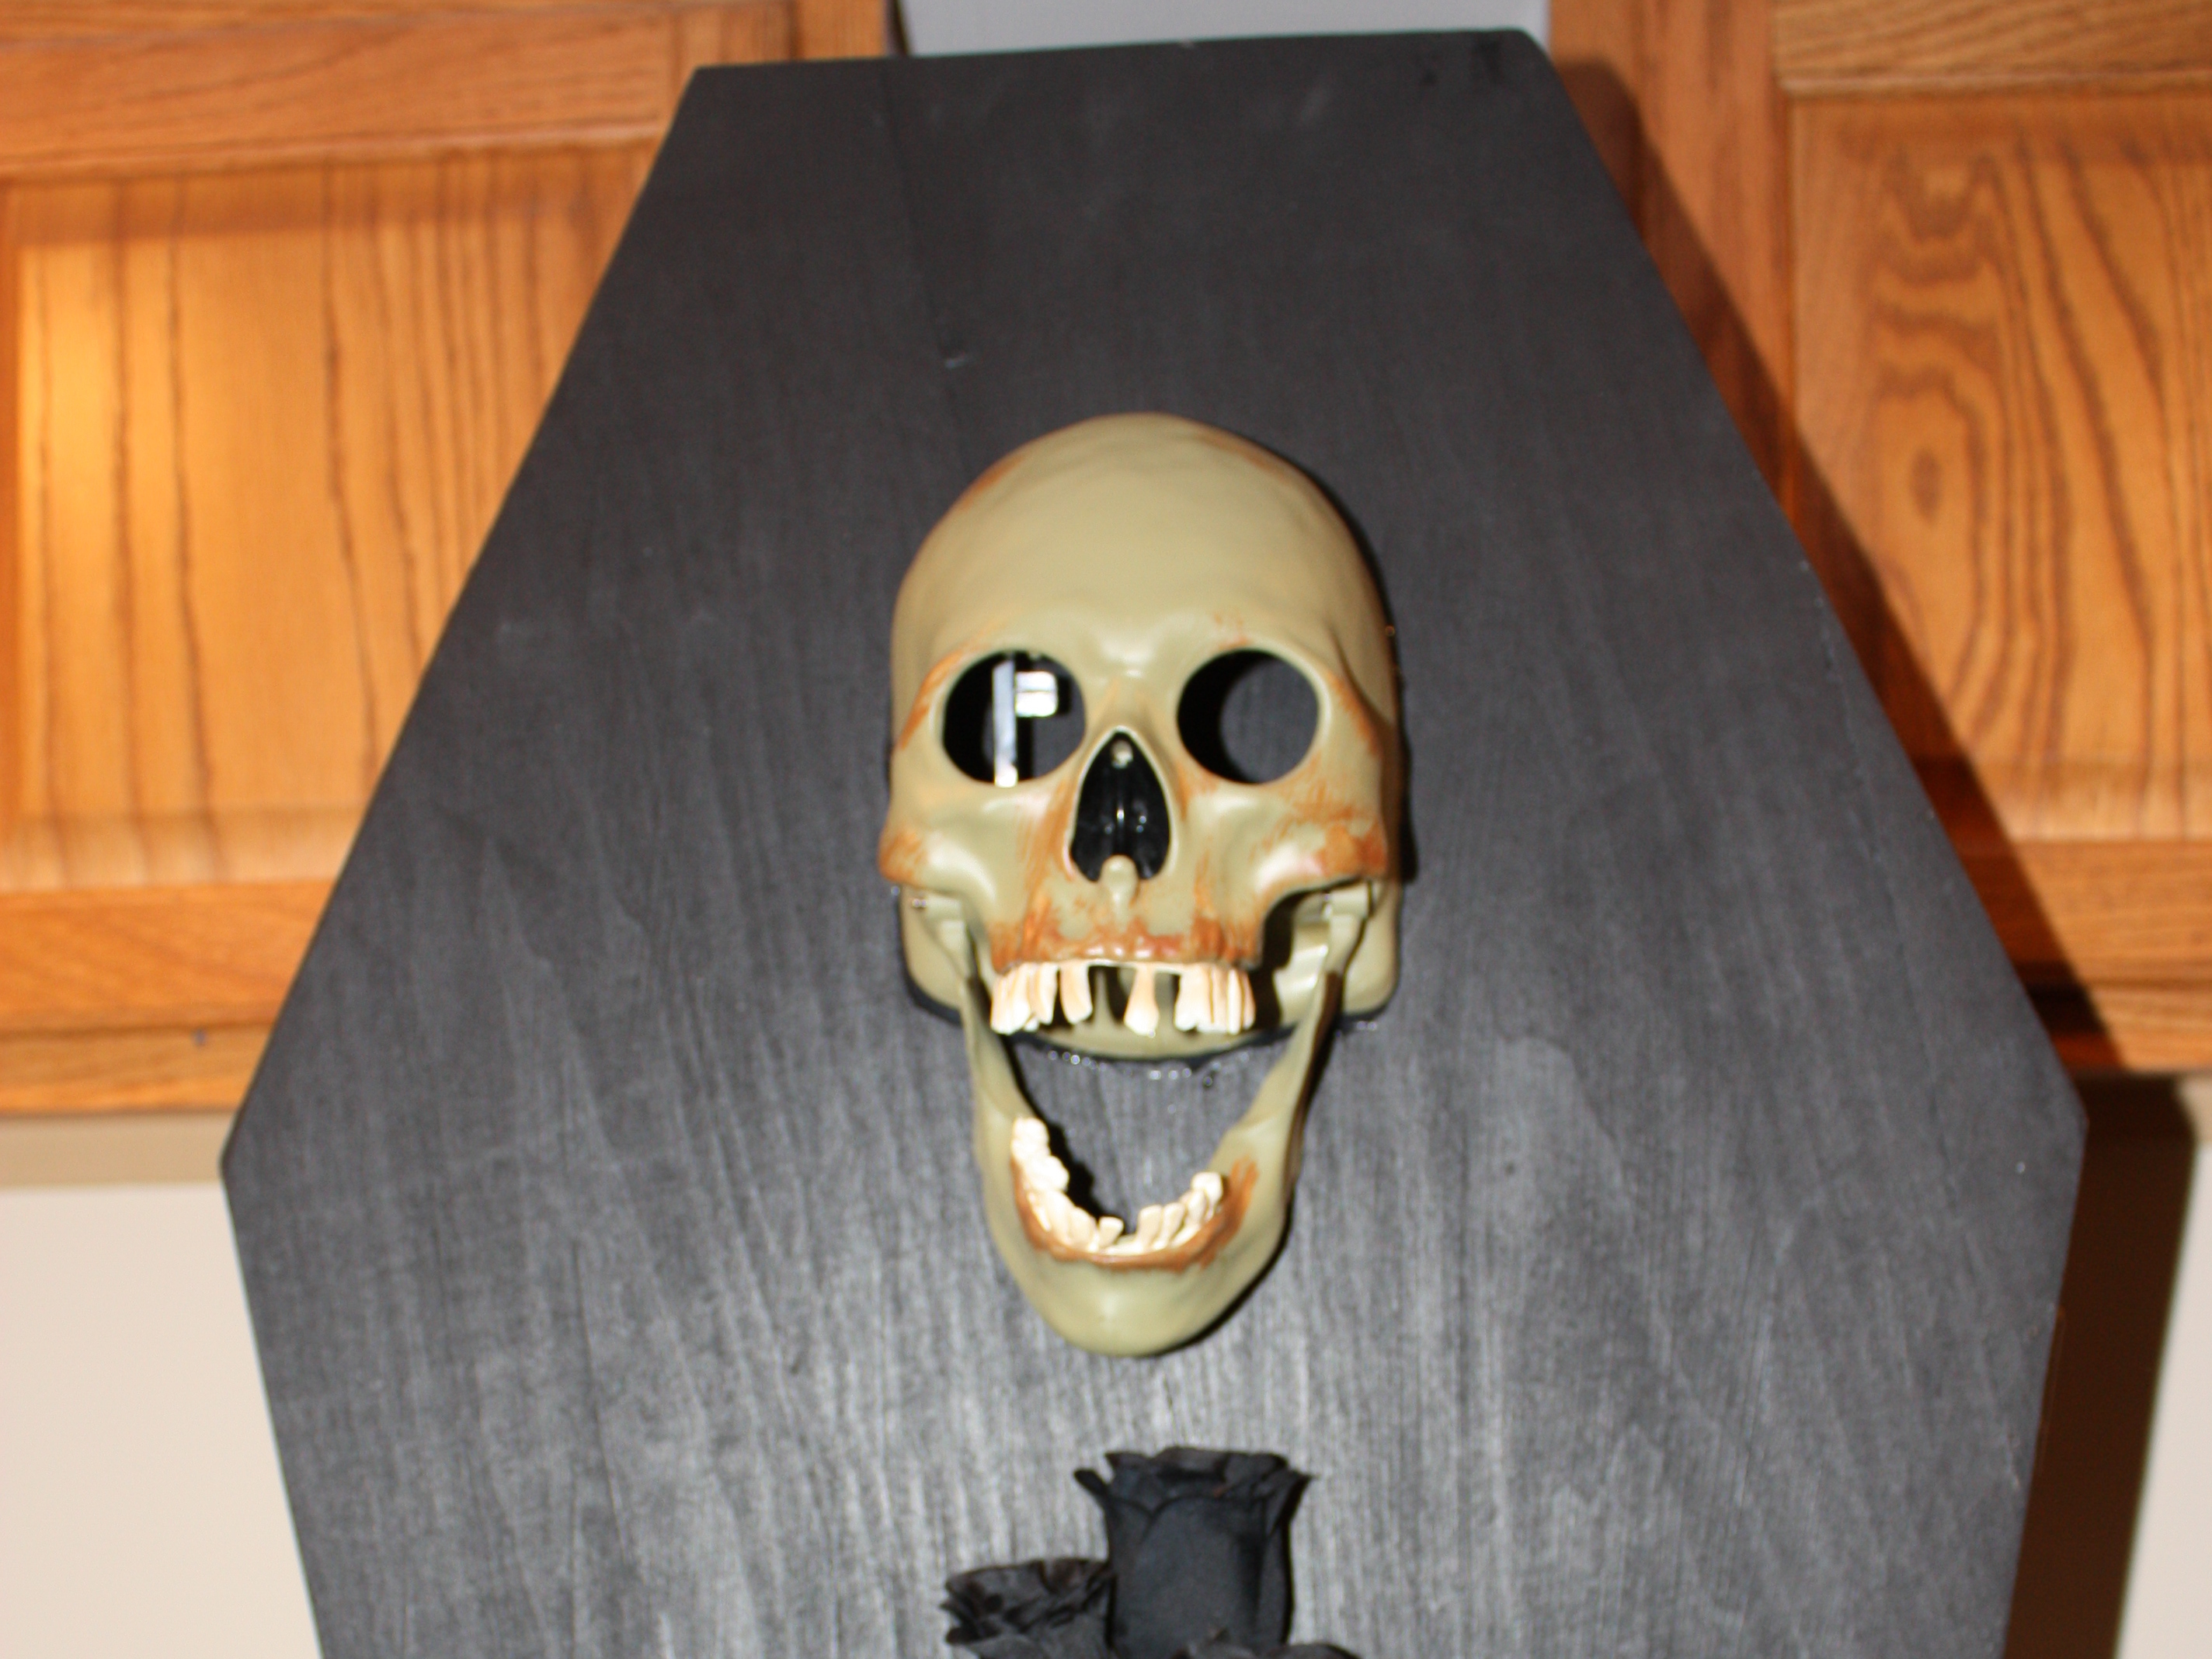
Build a coffin-shaped card box. Cards get inserted, the spirits get excited!


My wife’s cousin (cousin-in-law?) is getting married on Halloween. I am actually really looking forward to the wedding. The couple seems to be having a good time with all the possibilities for decoration, favors and the like. The bridesmaids are all wearing black and orange, the “Save the Date” was a severed finger and they were researching coffin-shaped card boxes. My wife ended up offering up my woodworking skills to make this dream a reality.
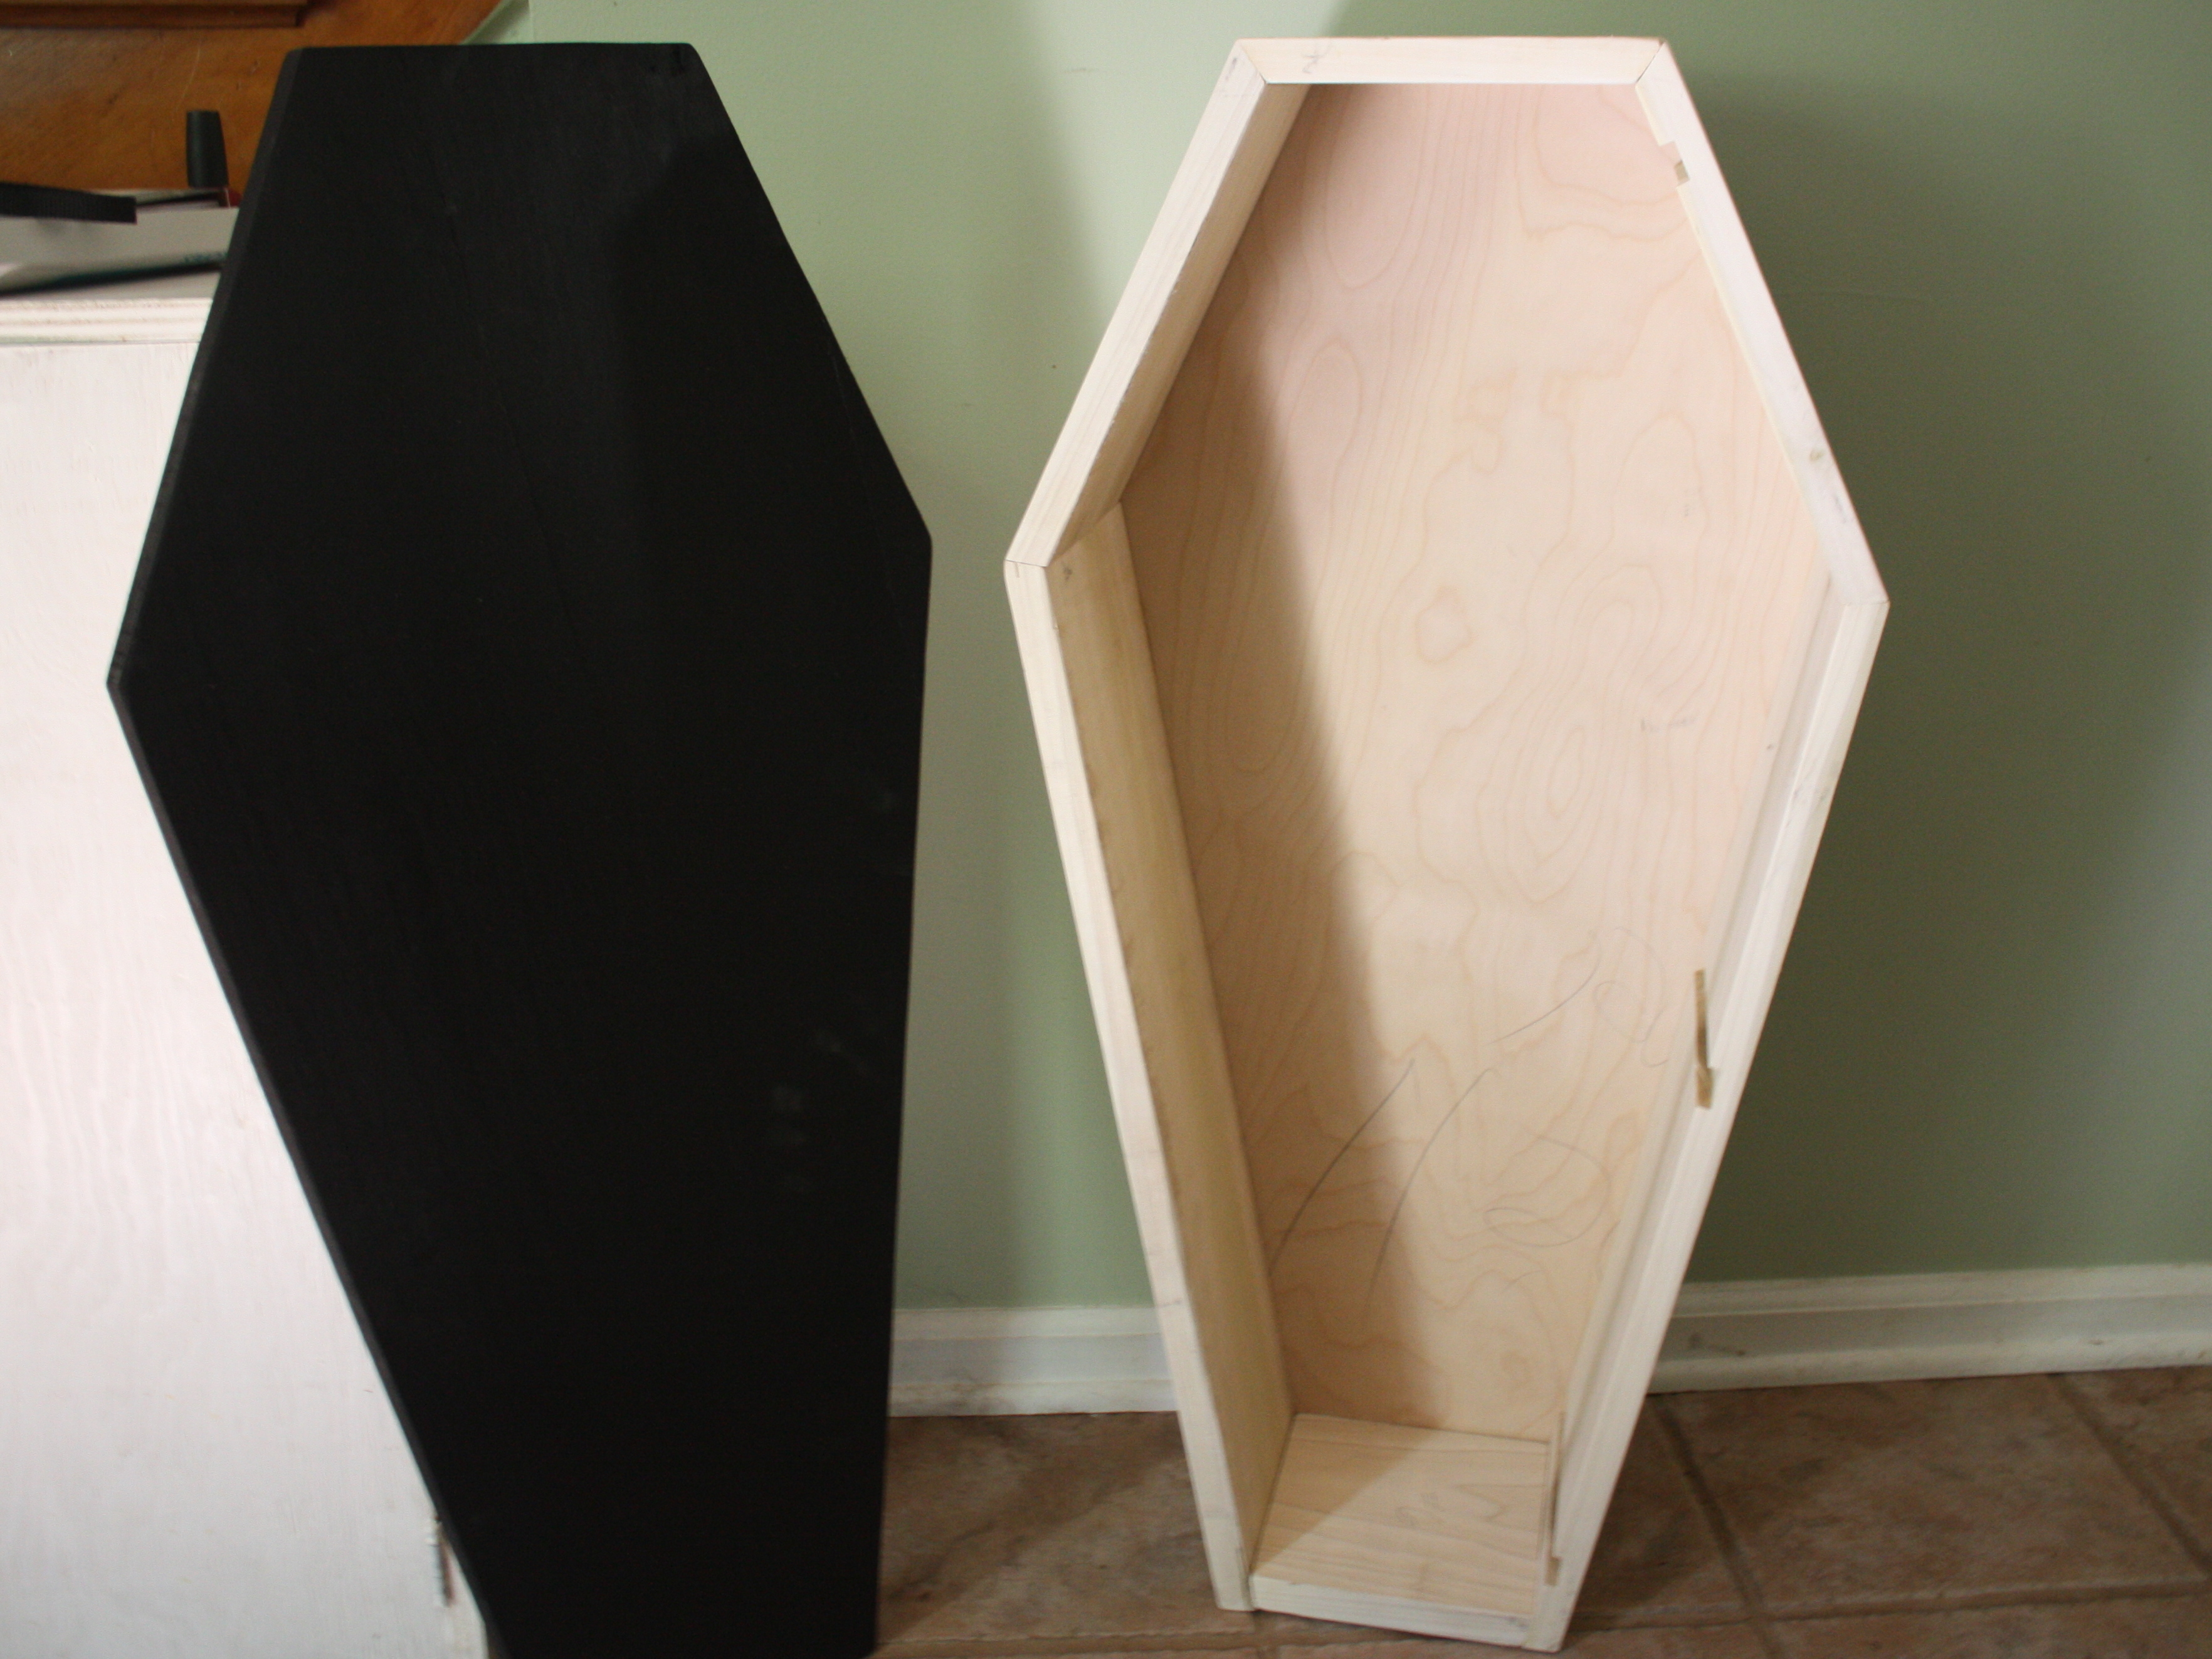
At school the next day (I teach high school woodworking) I designed a basic coffin in AutoCAD. I had a student help make sure the sizes and angles looked appropriate. During a free period I cut all the parts and assembled the coffin. I made the bottom out of ¾” ply and the rest out of ¾” poplar, which takes paint very well. I also added a 3/8” x ¾” rabbet to recess the bottom into the coffin so no one would see the end grain of the ply. I then traced the shape onto another piece of poplar and cut out the lid. Once it was assembled and sanded, I took my coffin home to be painted.

Next, it was time to go shopping. I went to Walmart to check out the Halloween crap they normally have every year. I ended up purchasing an “Animated Scary Skull” for $10, a couple of hinges, Elmer’s glue, and 3 fake black roses. Wife and I then went to a craft store and got 2 yards of purple leopard-print fleece (her cousin has a thing for leopard print).
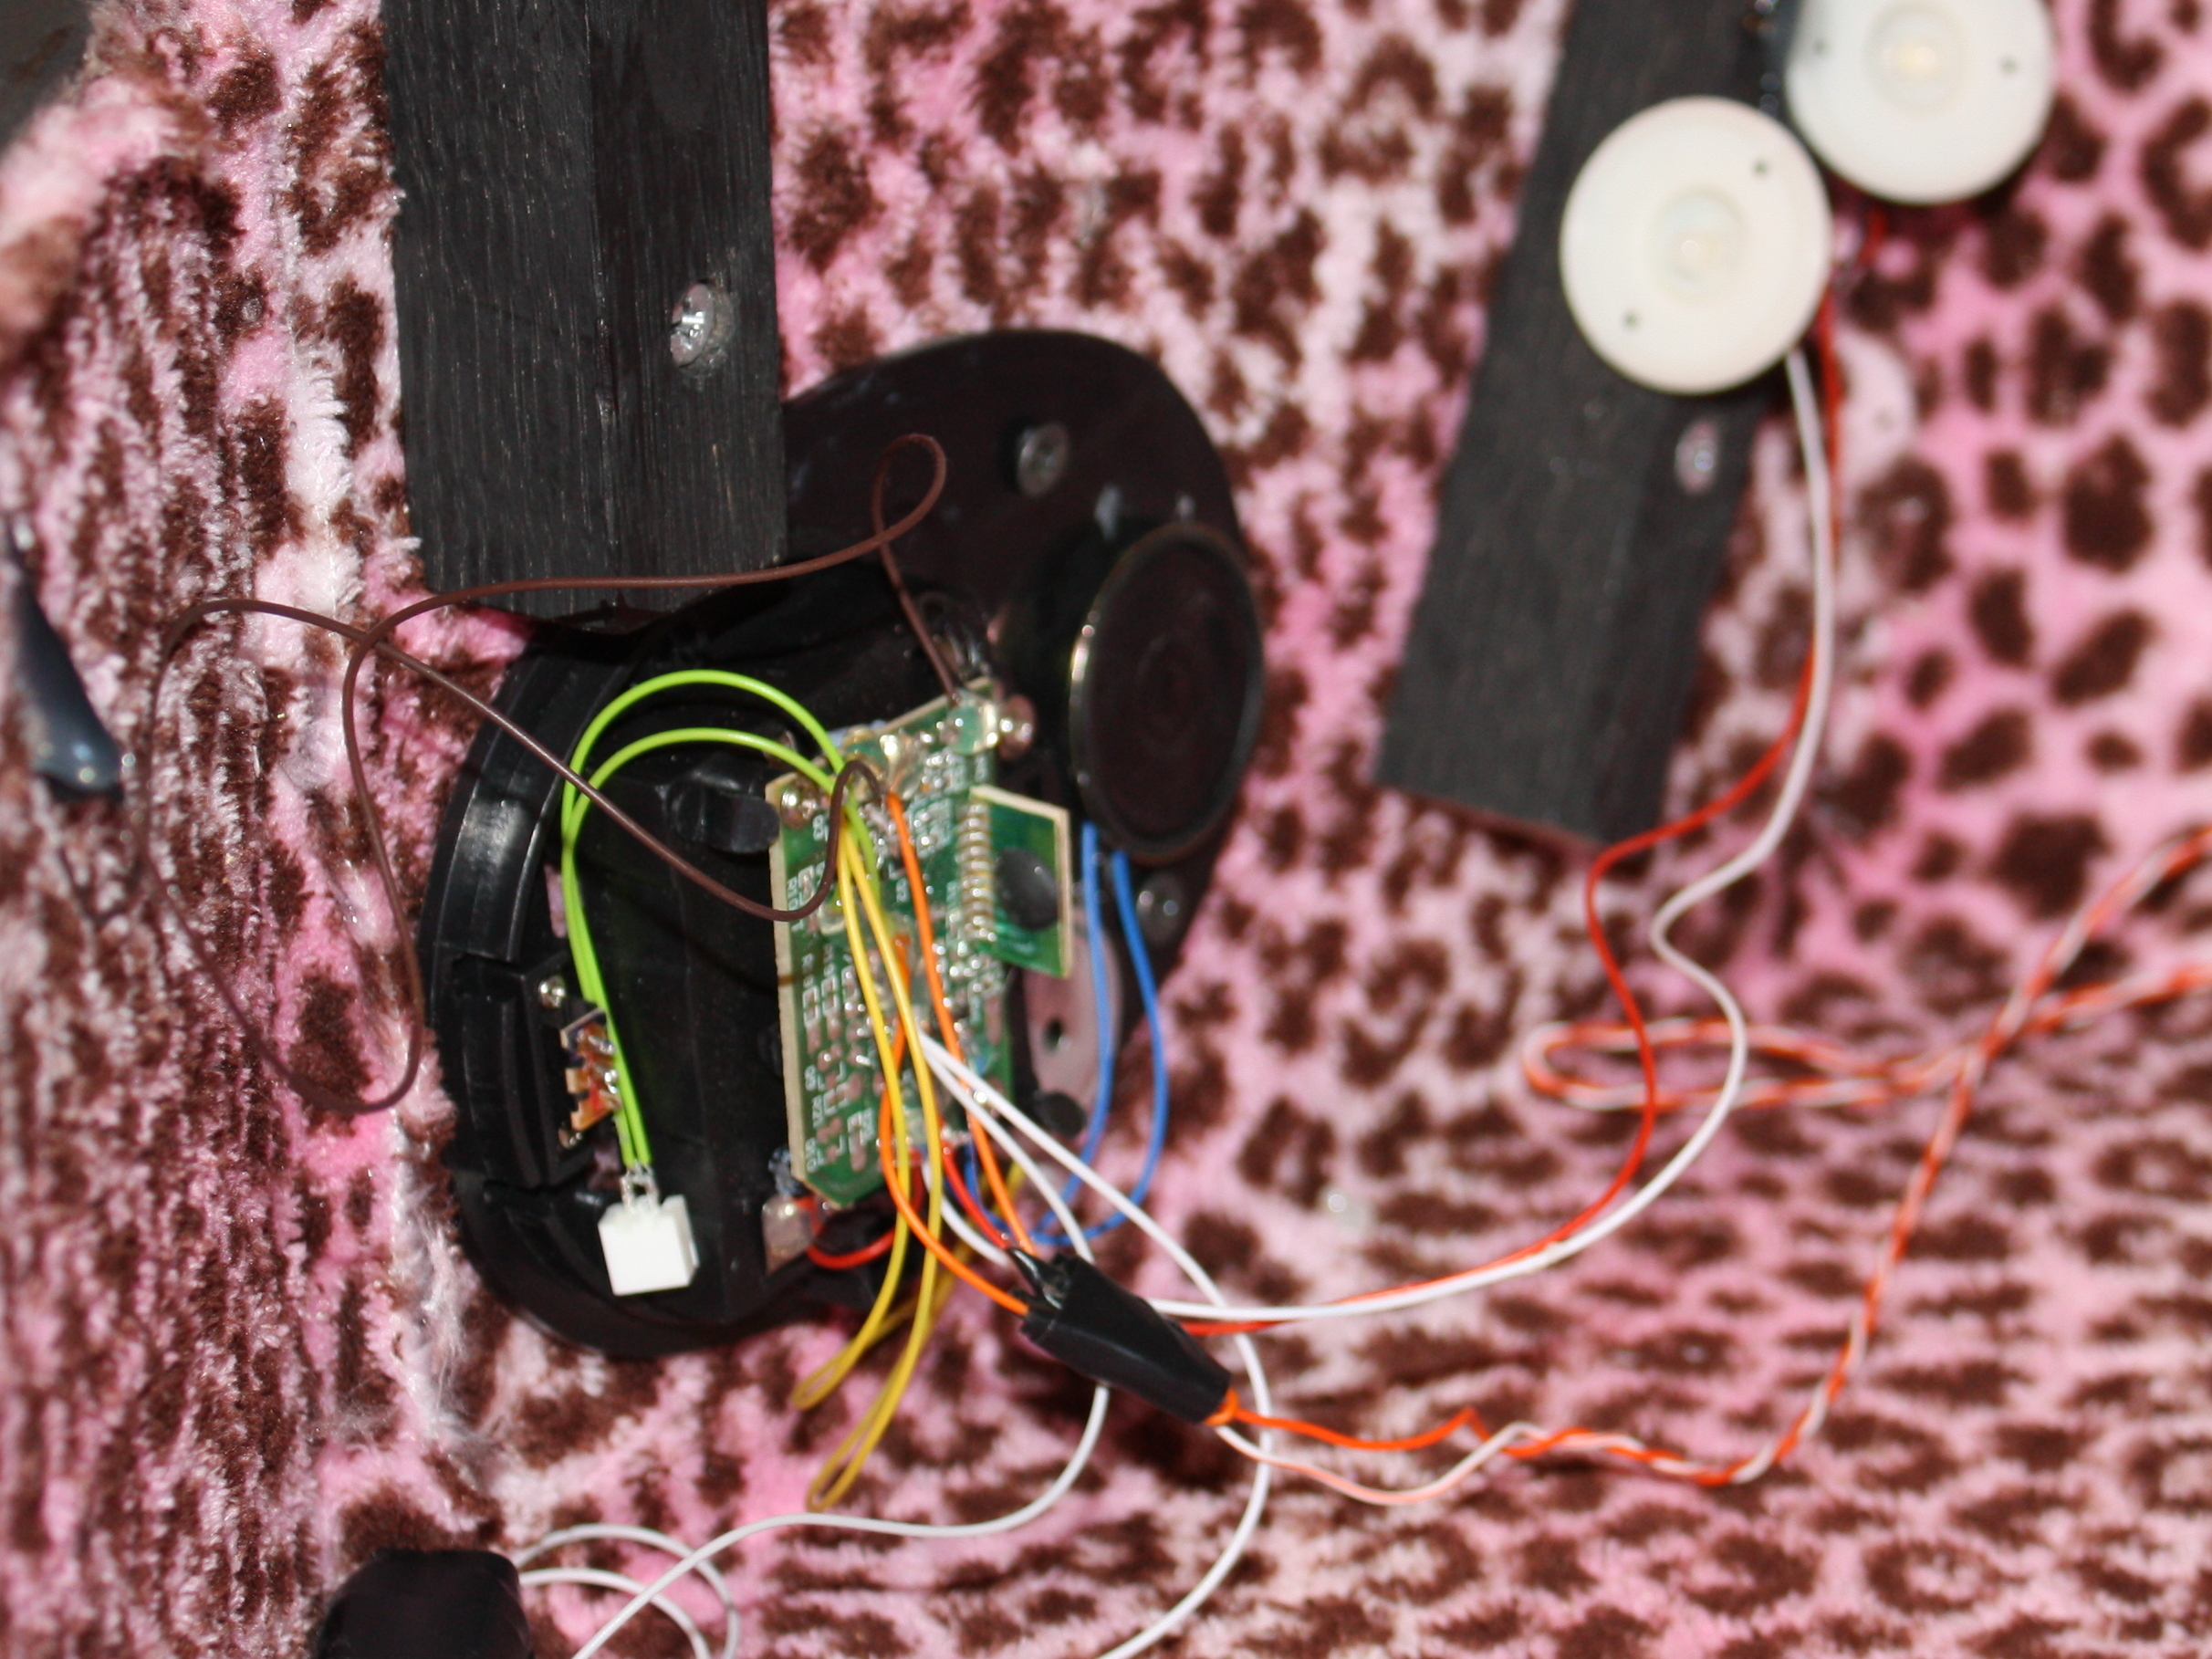
Carefully take the skull apart and remove the electronics. Be careful of all the soldering joints. They are very weak and can break easily. Taking a picture of the board may be a good idea in case something comes loose and you don’t know where the lead goes. Adding some hot glue to the connections will help too. I ended up gluing the speakers to the base, due to their fragility. Then mounted the base to the inside of the box, which I had already lined with the fleece.
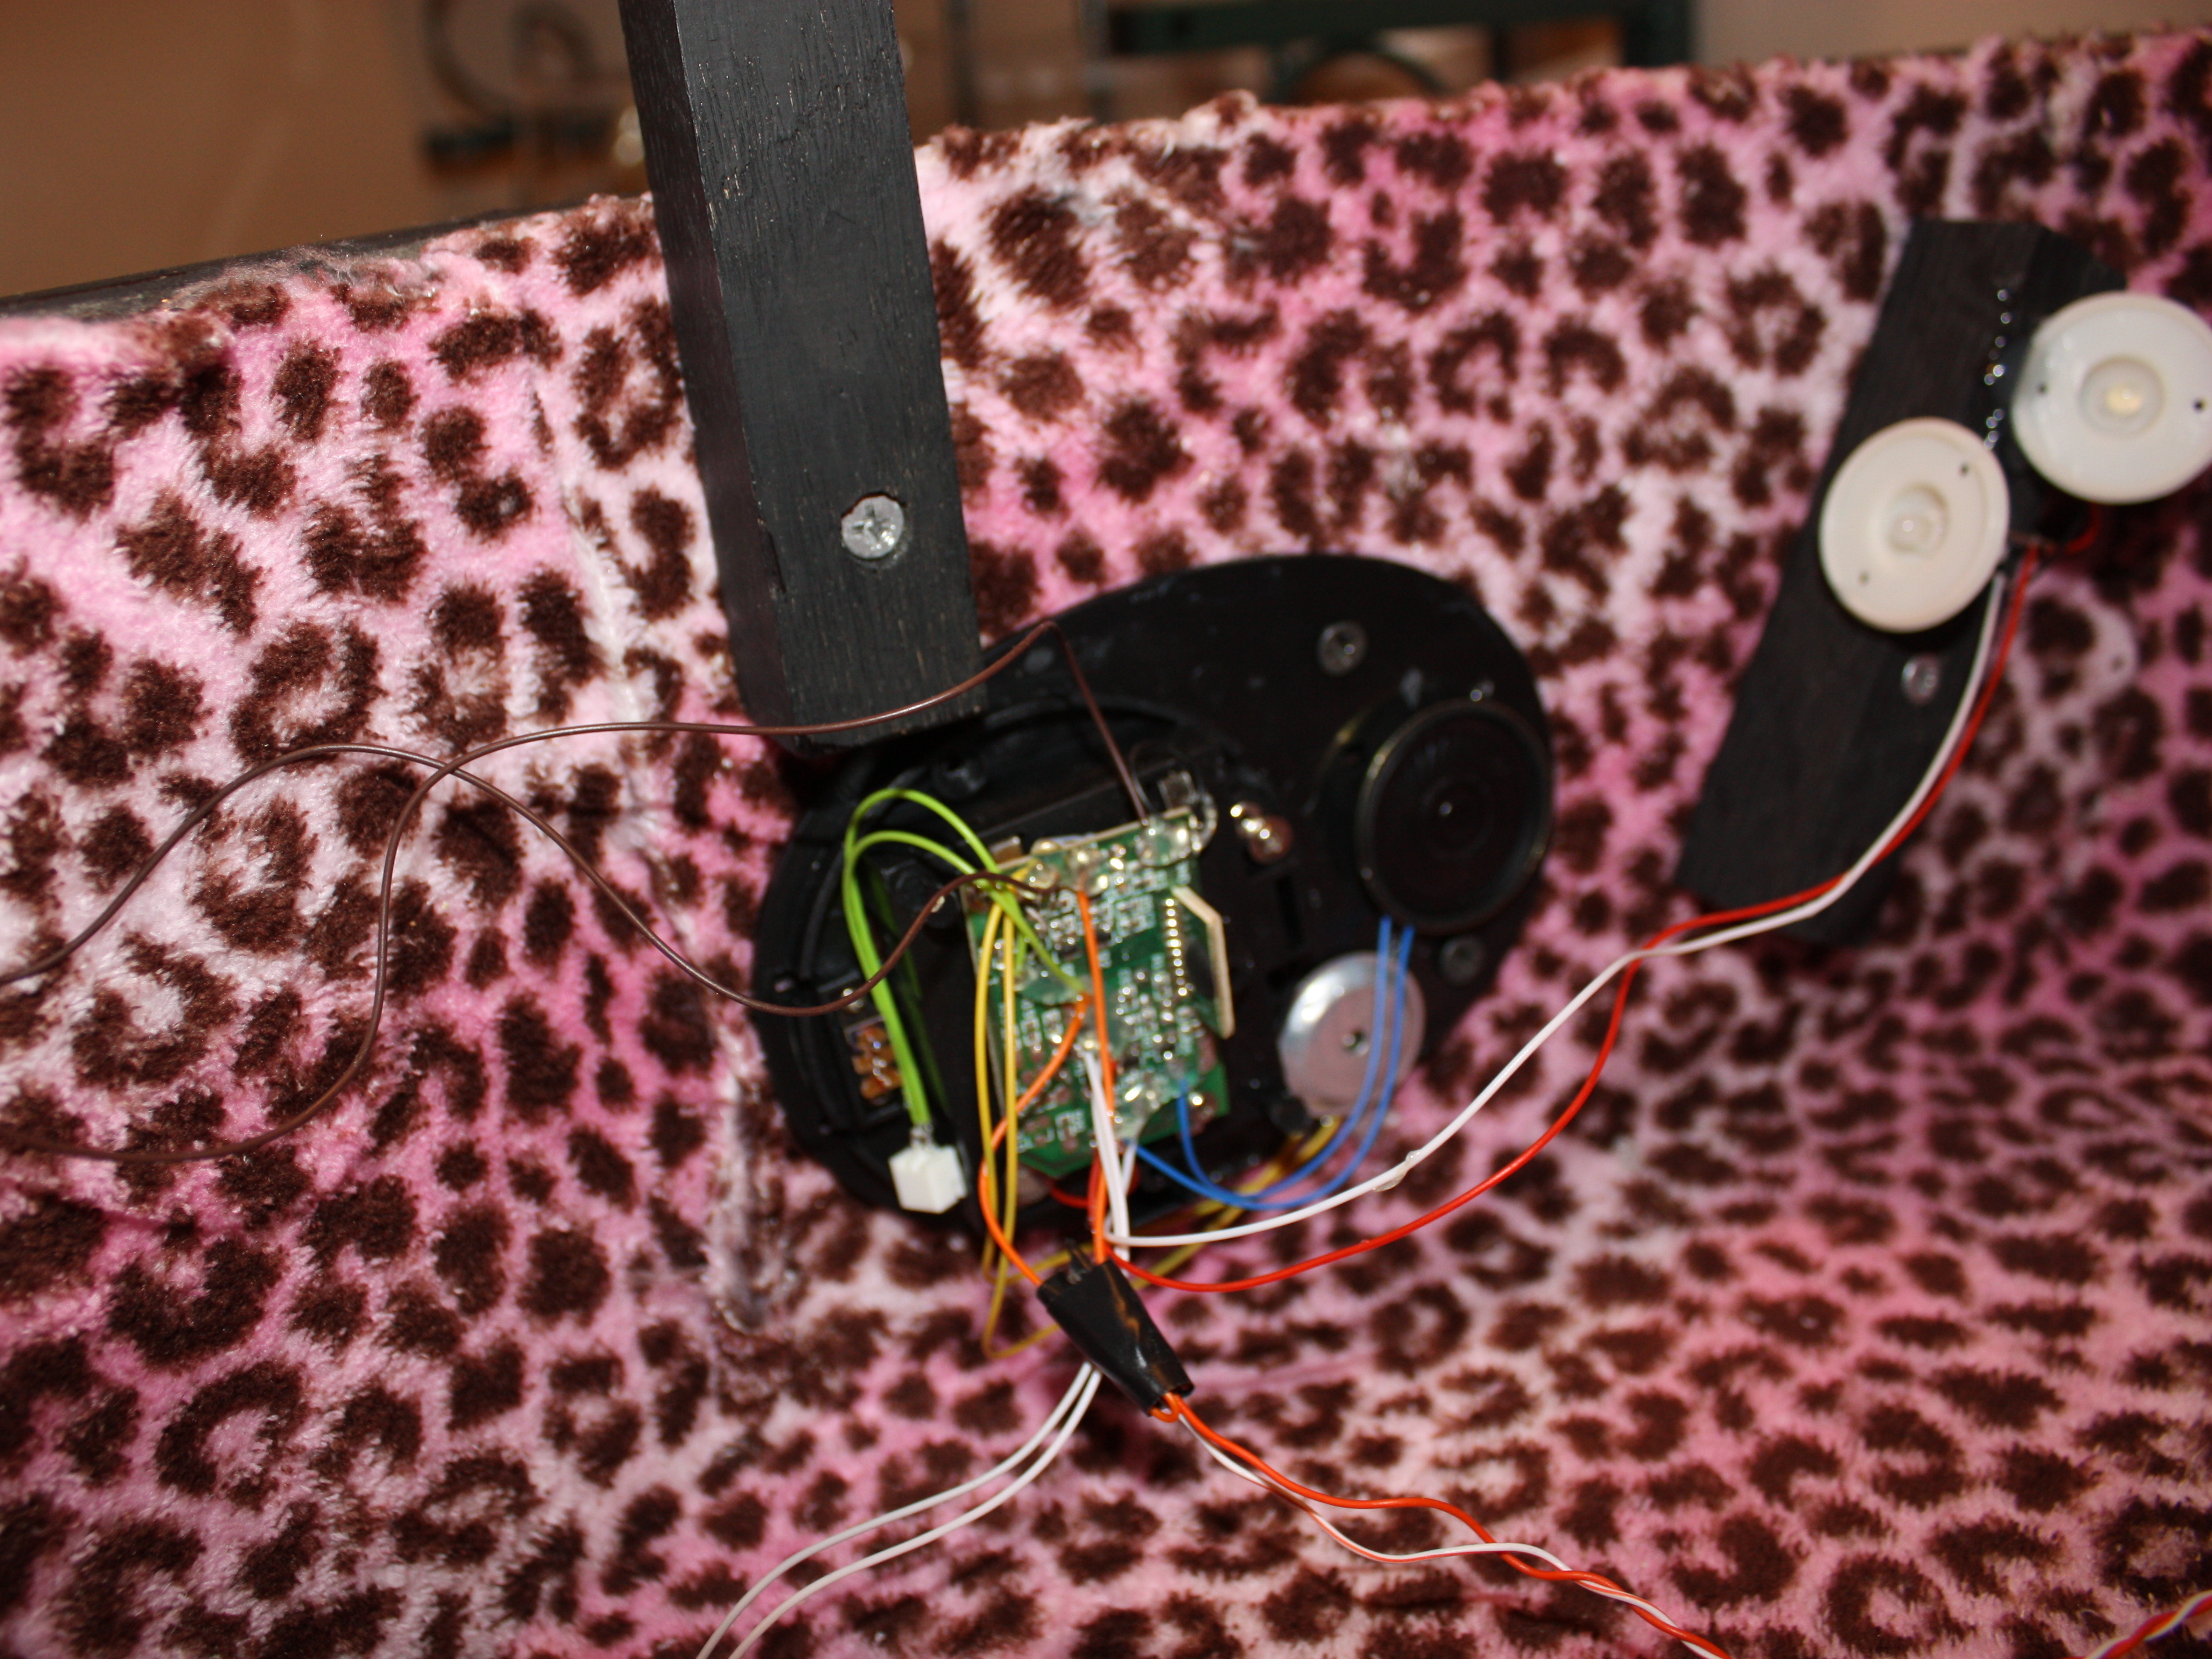
Mounting a block of wood to the side will allow the lid to be propped open about an inch to act as a card slot. I also mounted the lights from the skull’s eyes to the inside of the coffin.
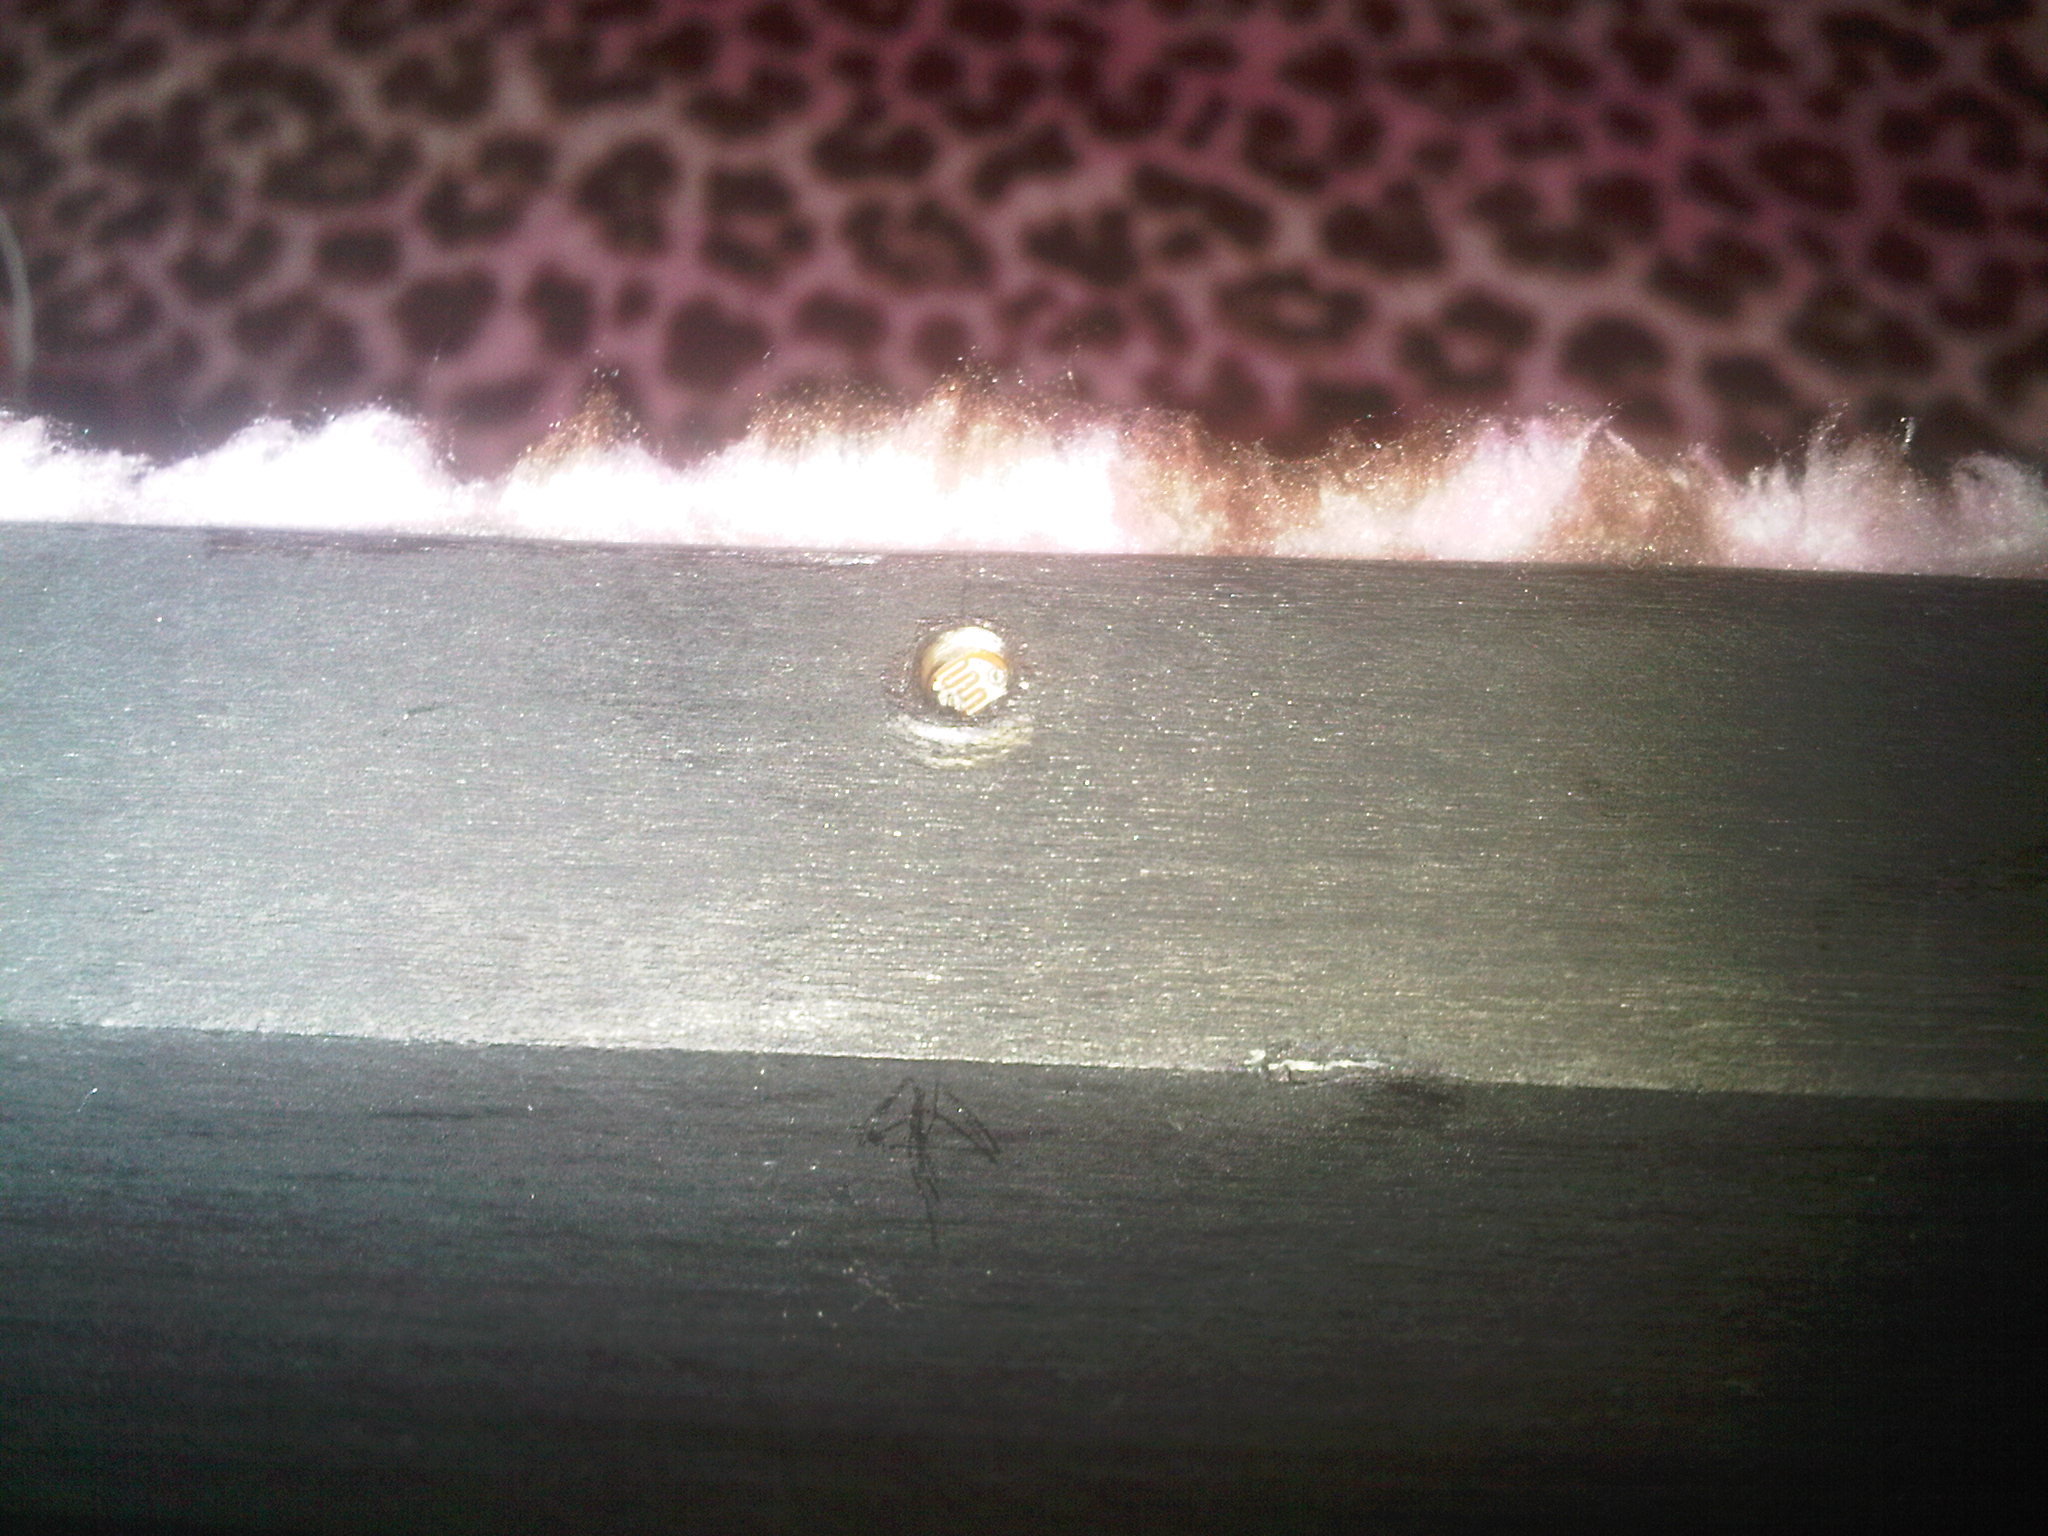
Drilling a hole in the edge of the box will allow you to mount the photoresistor so it is activated by guests putting cards into the box.
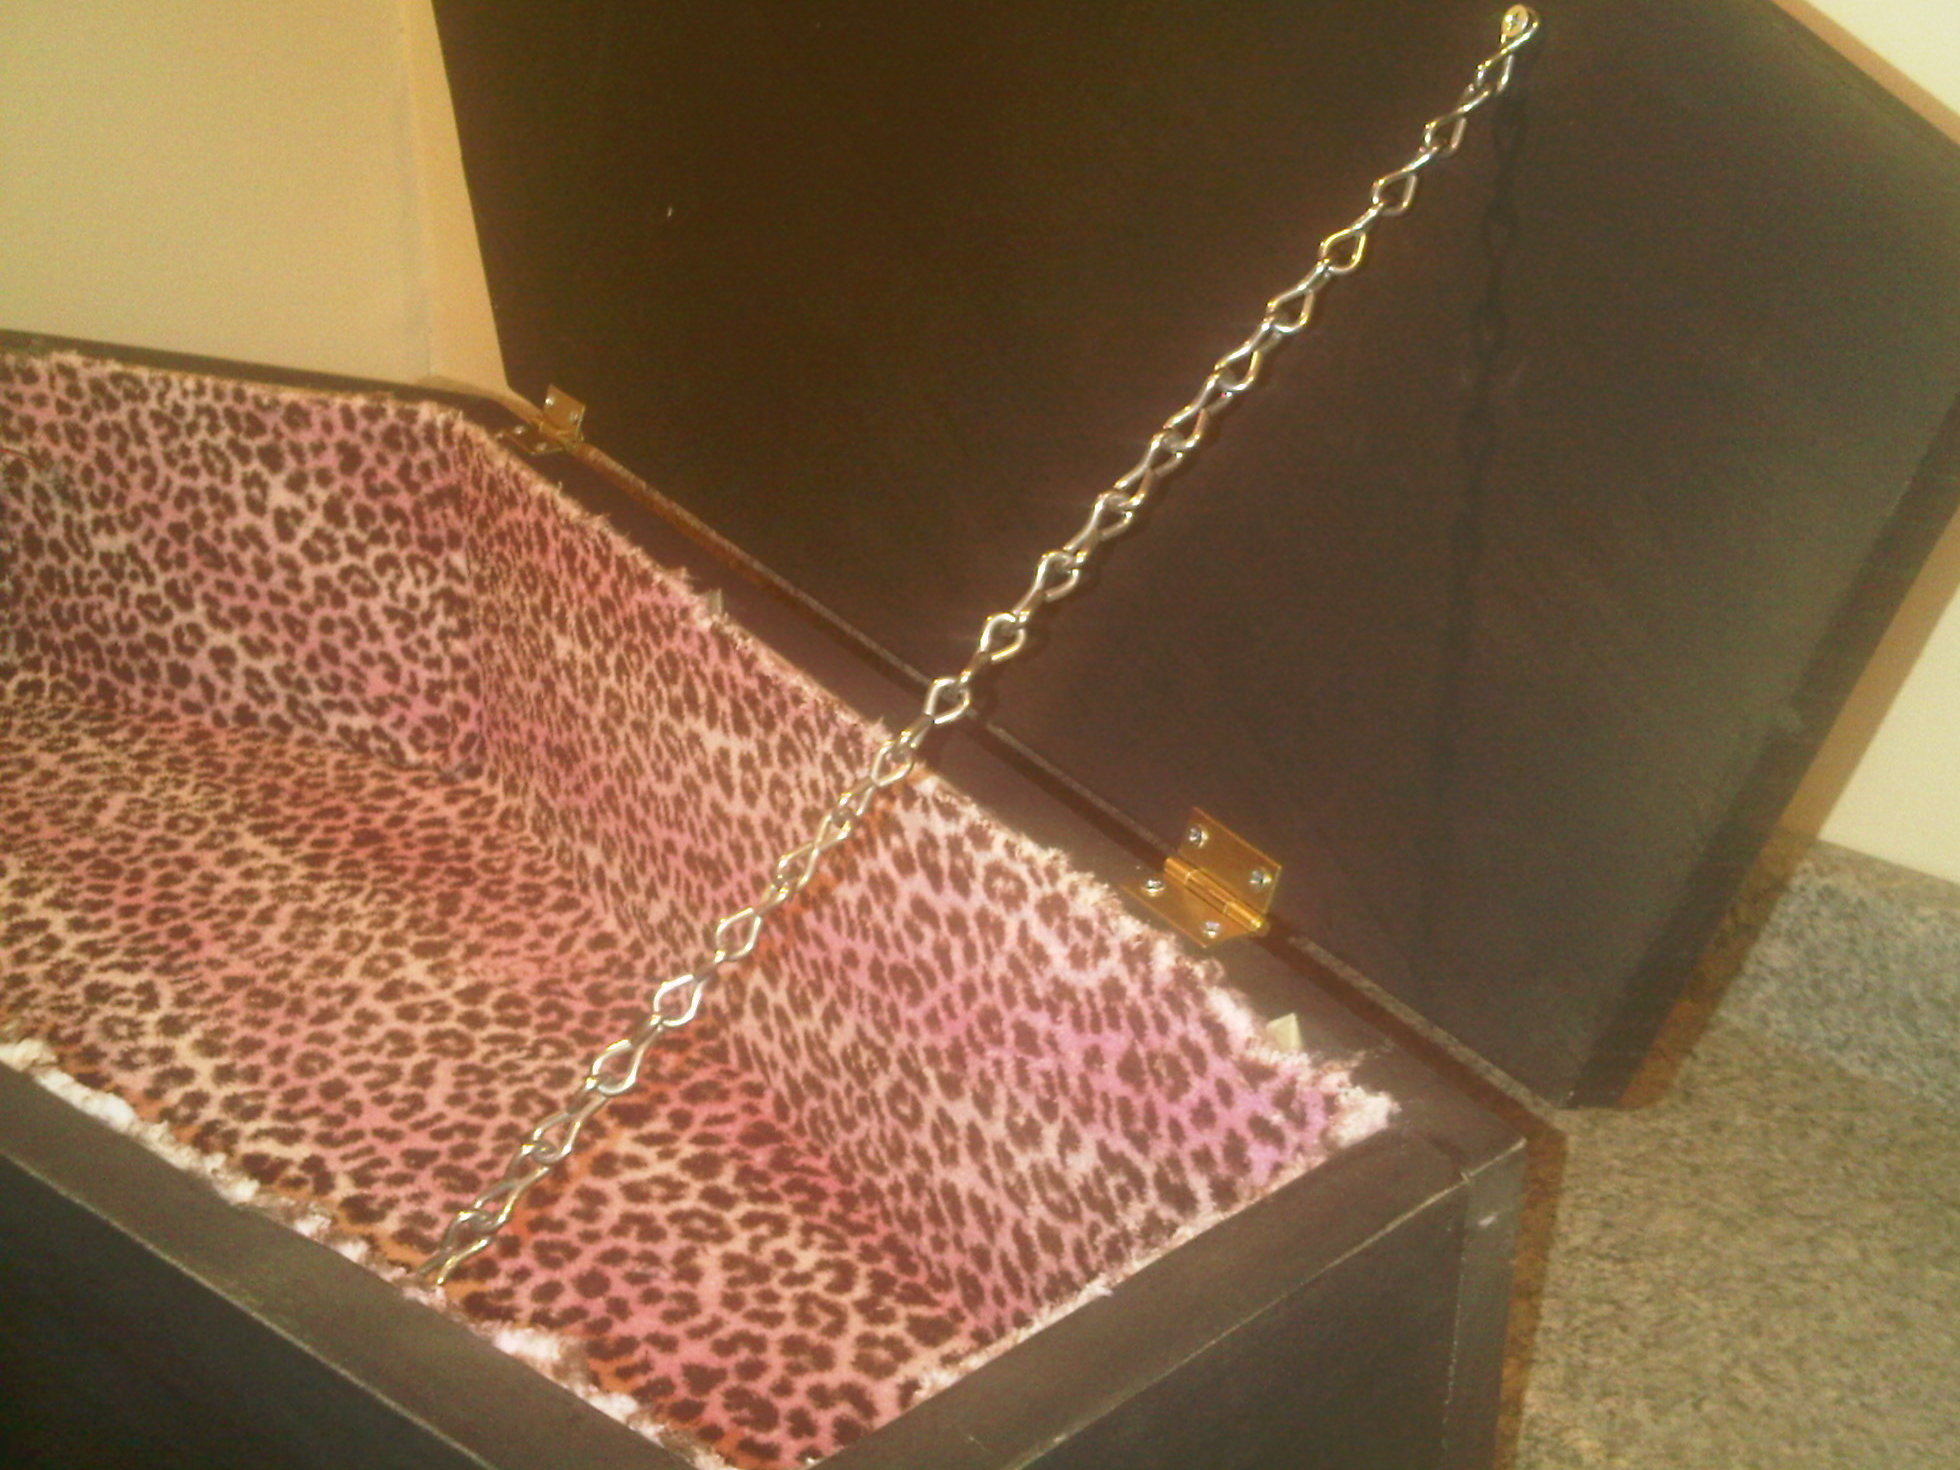
I also added a chain to keep the lid from opening all the way.
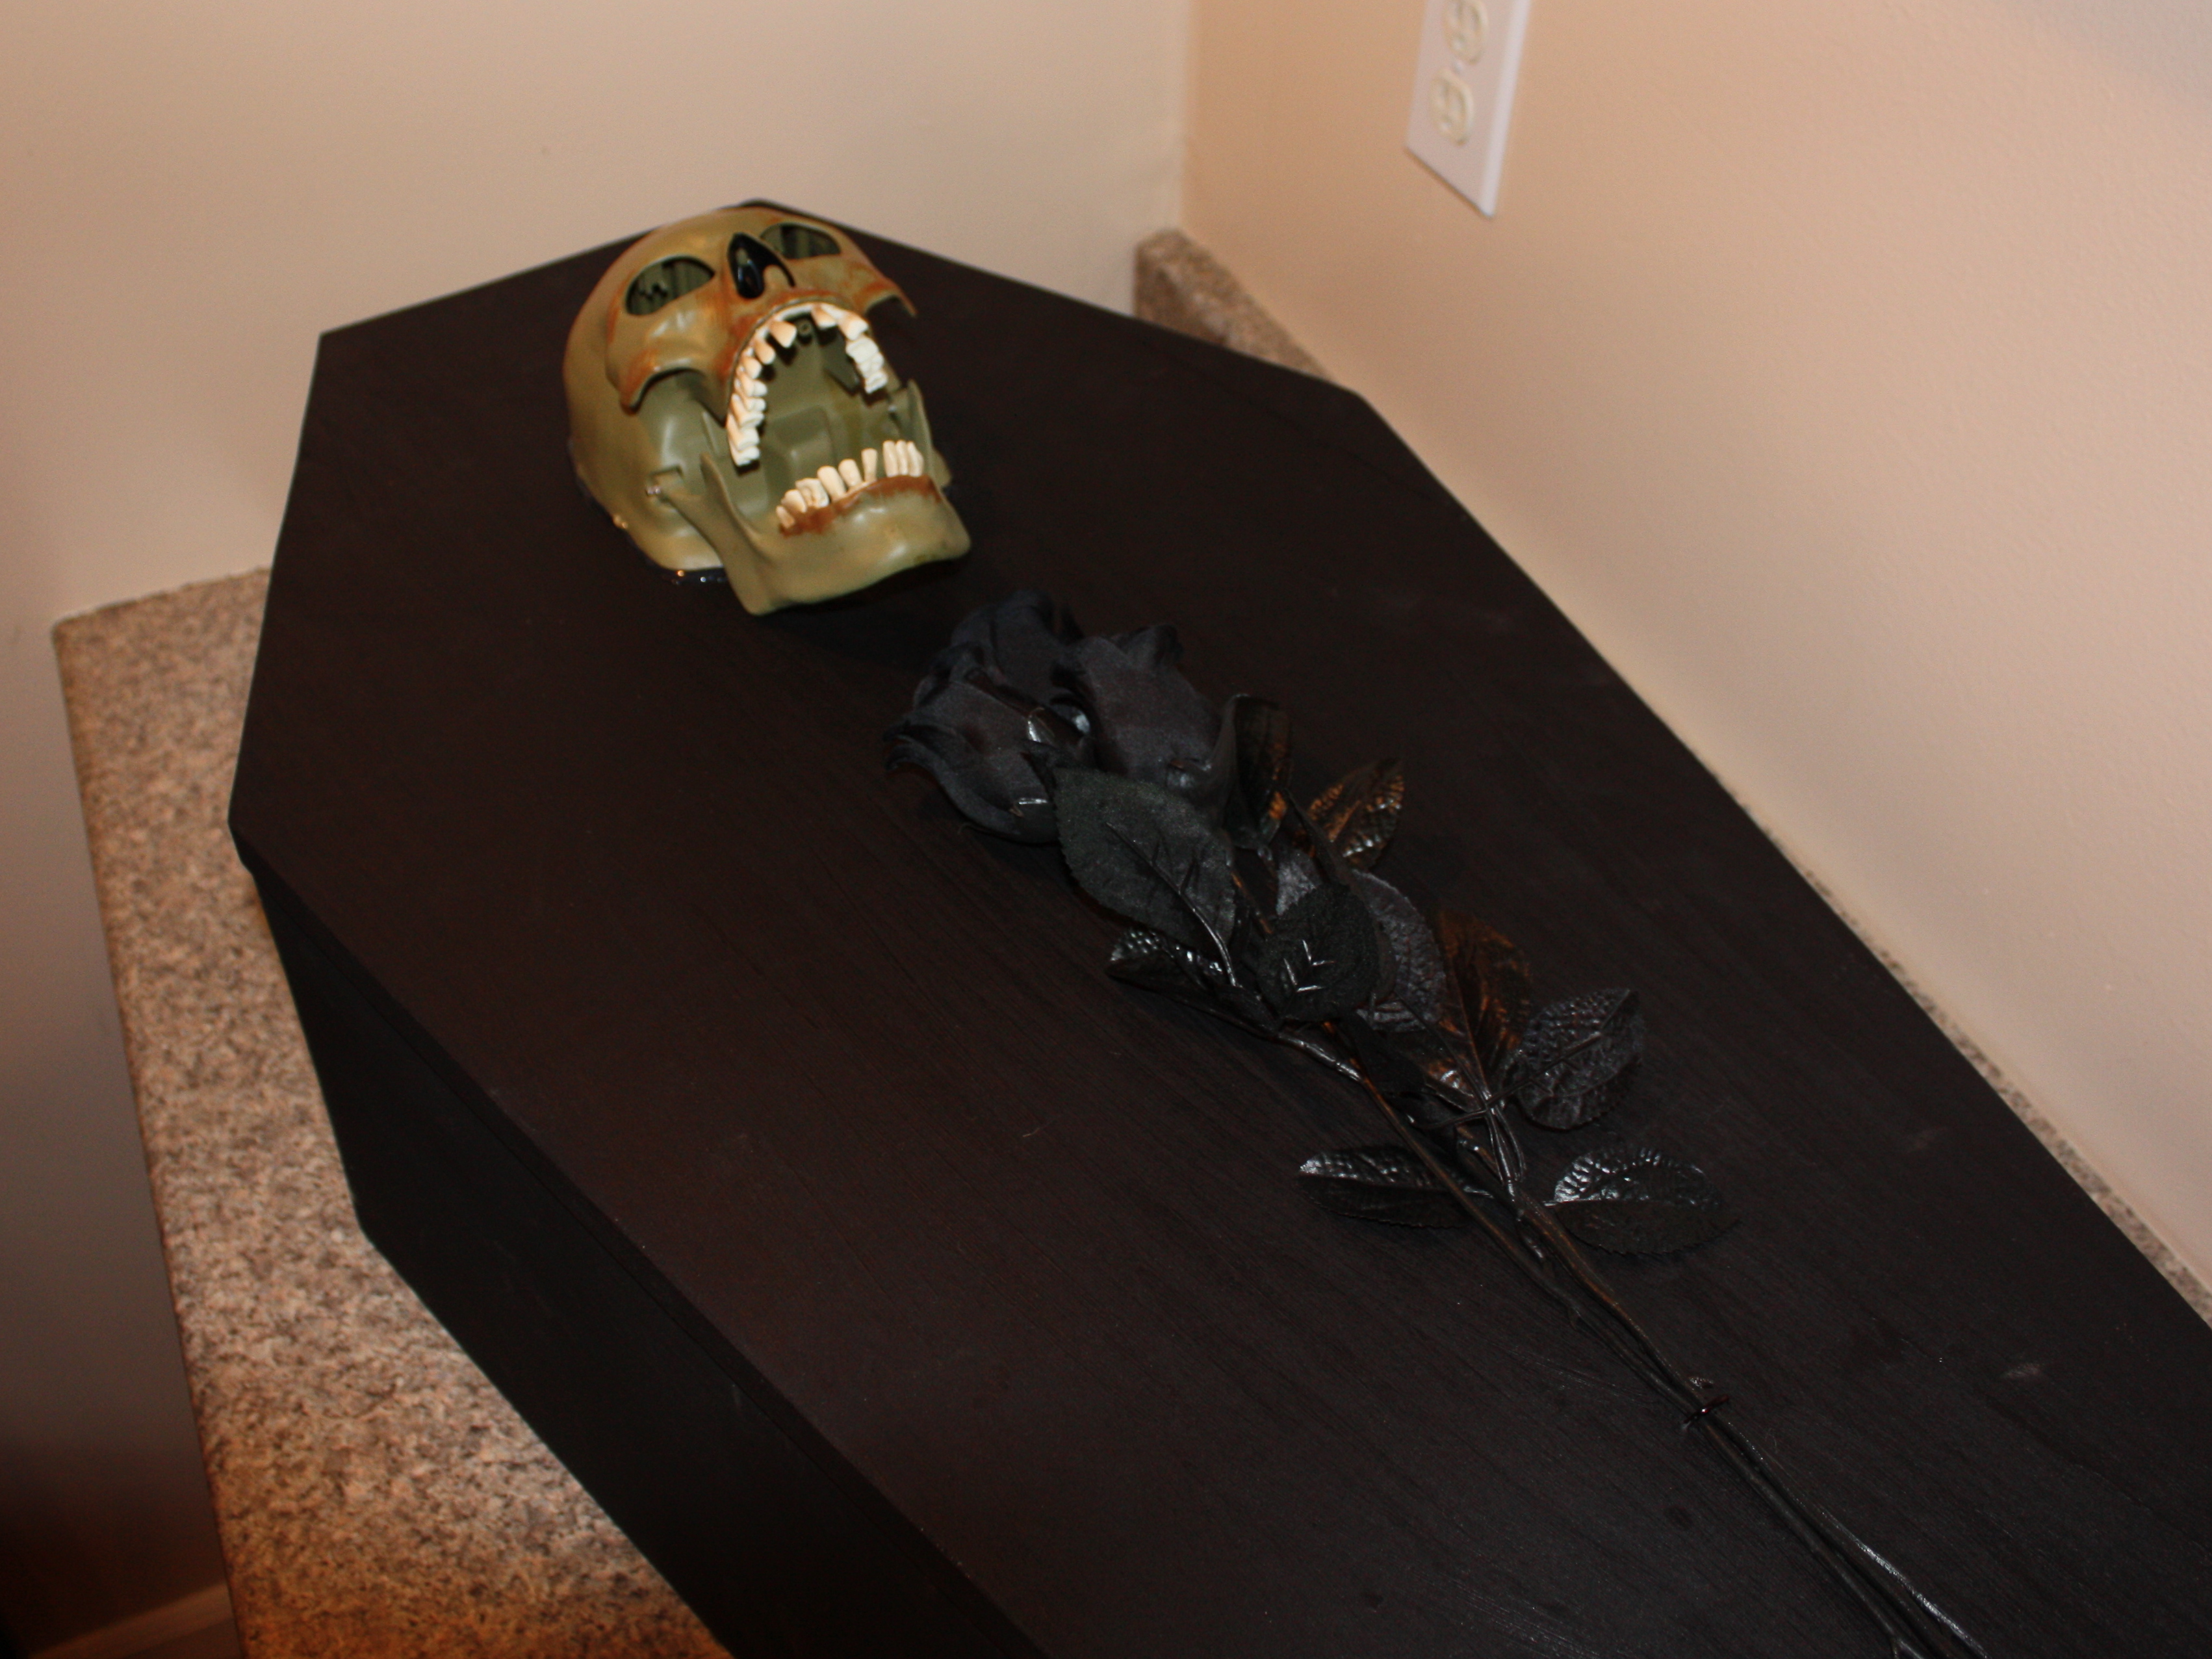
On the lid I mounted the plastic skull and the roses. Looks pretty awesome if I do say so myself. I also added a power switch to turn the whole device on and off. It’s mounted in the back.