I would like to show a few things
- Where to get a flyback
1. How to build a 555 timer driver circuit
- High voltage safety
- Dangers of this project
- Typical application
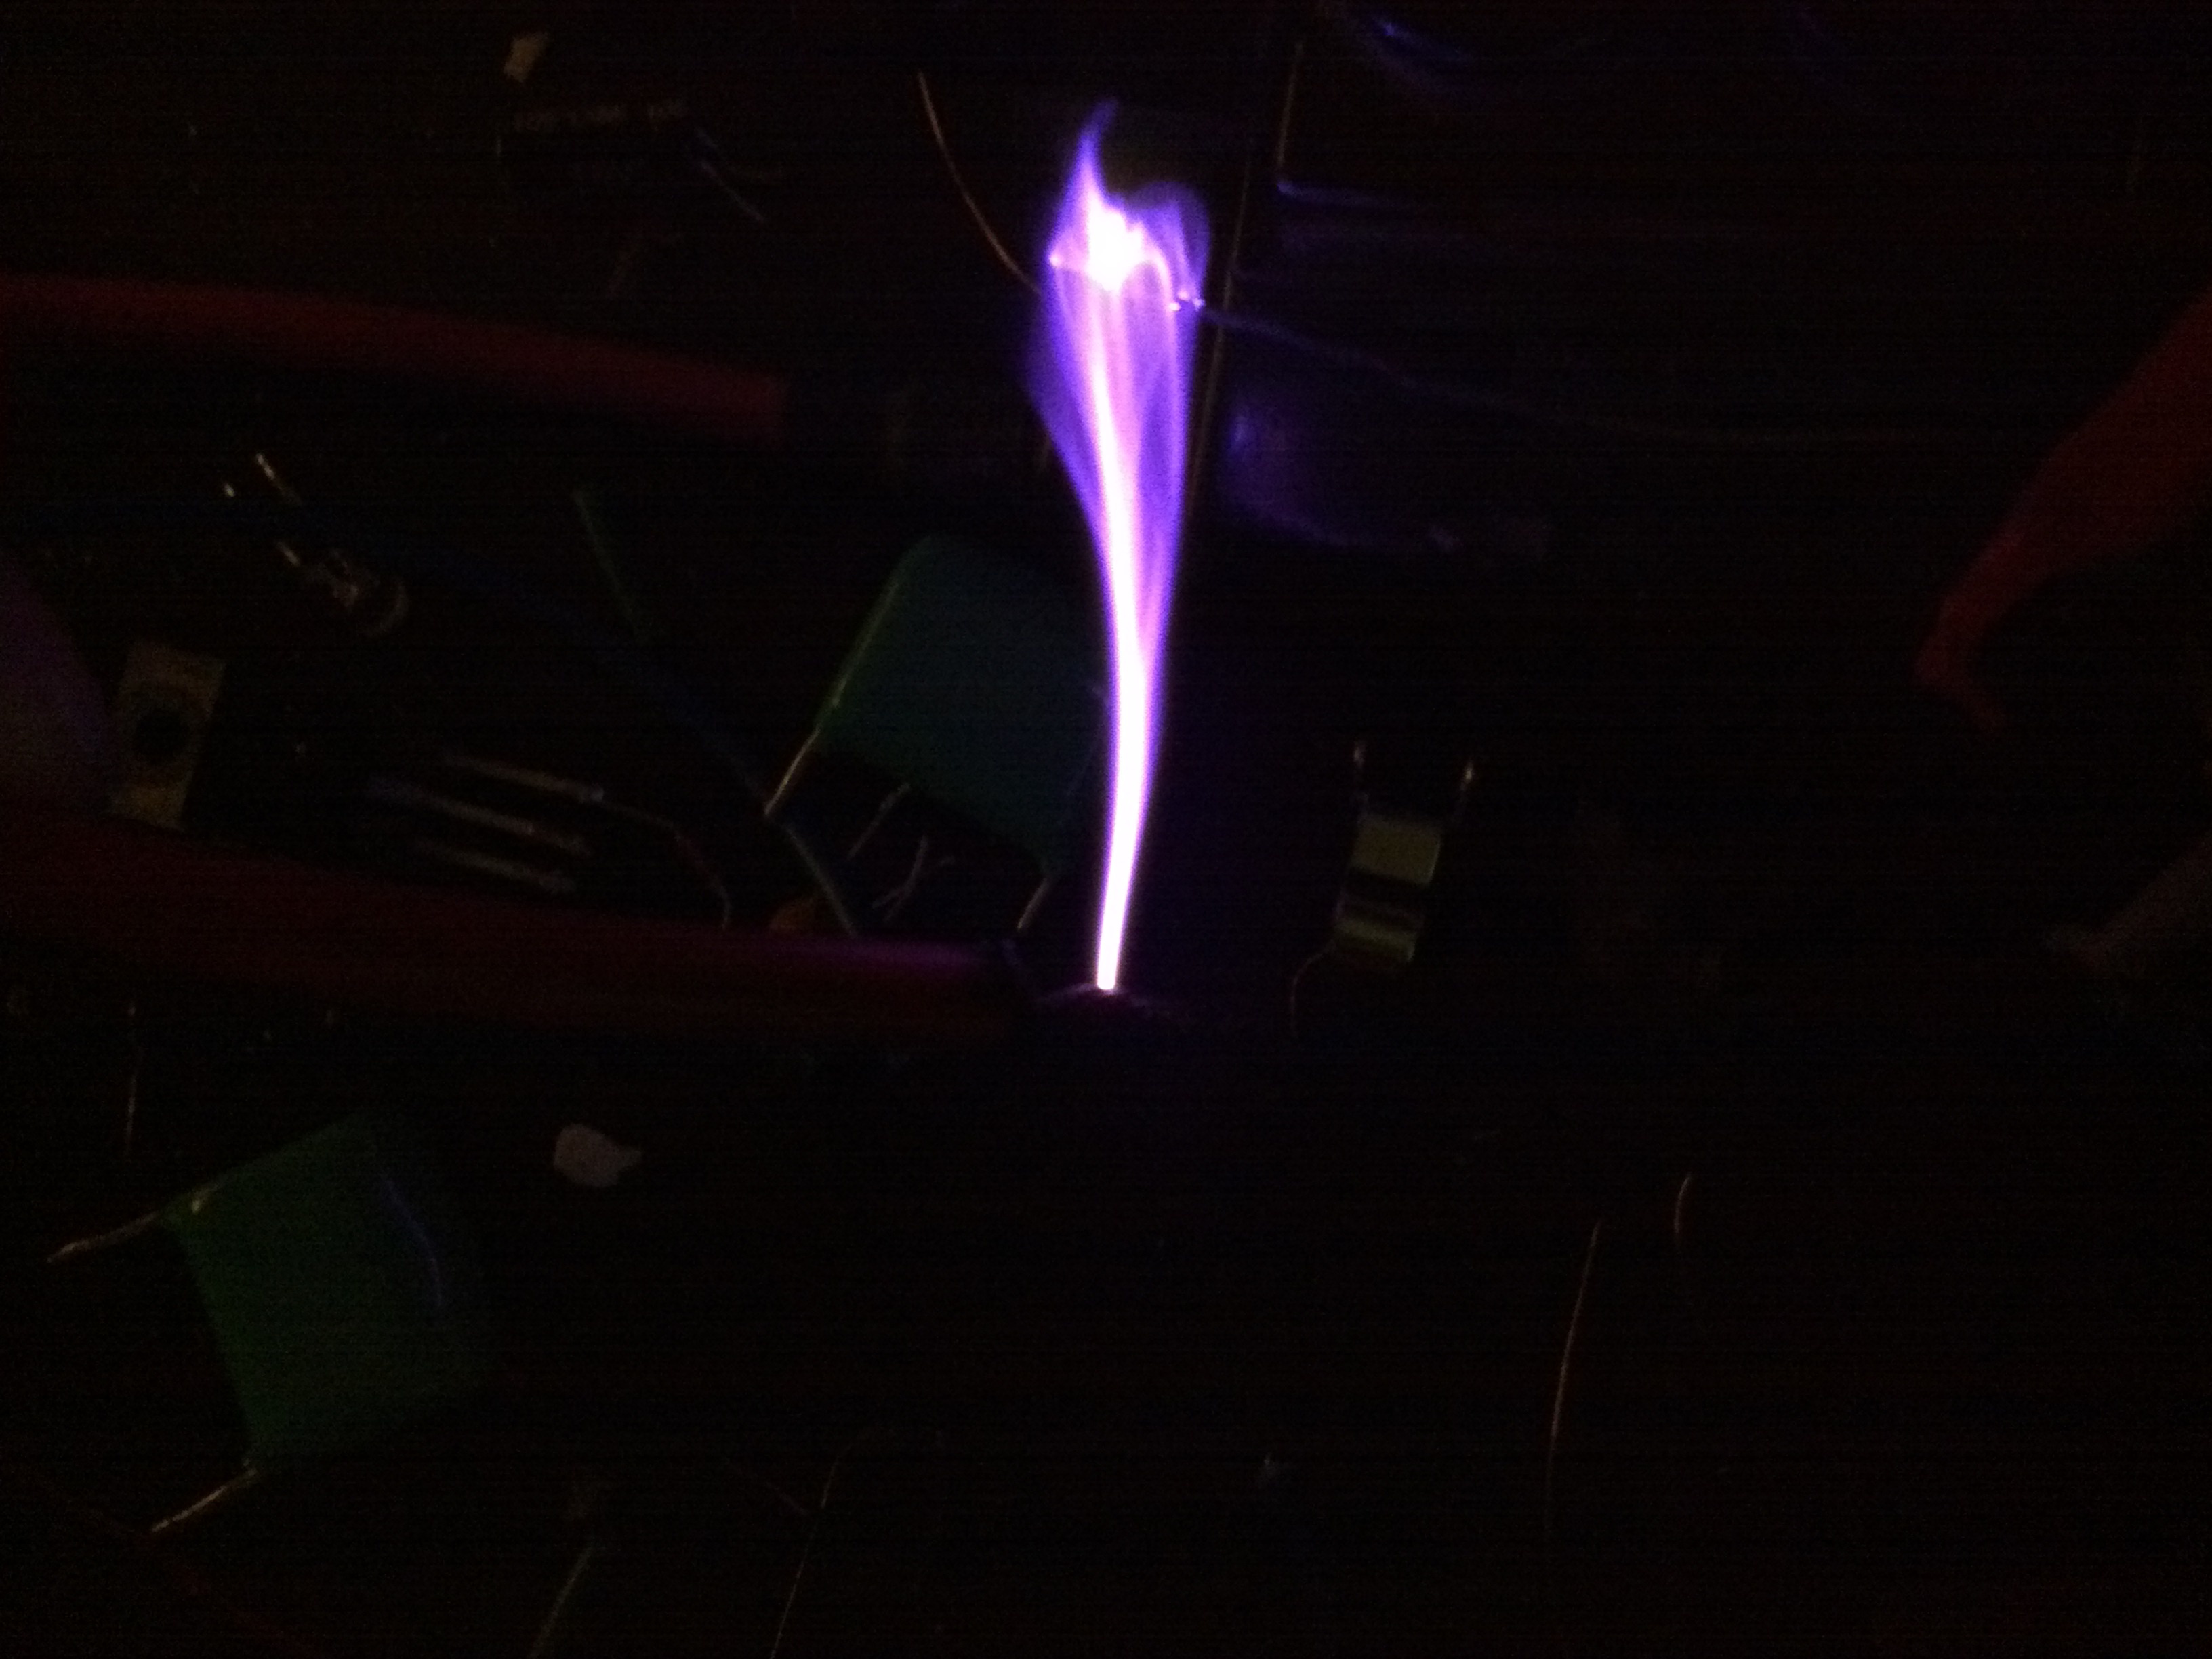
In this project I'll discuss the art of flyback transformers (FBT for short) But be warned, these devices produce potentially lethal voltages.


First off, you will need a chicken stick if you plan to play with high voltages. Always have a chicken stick handy to maximize your safety when playing with high voltage.
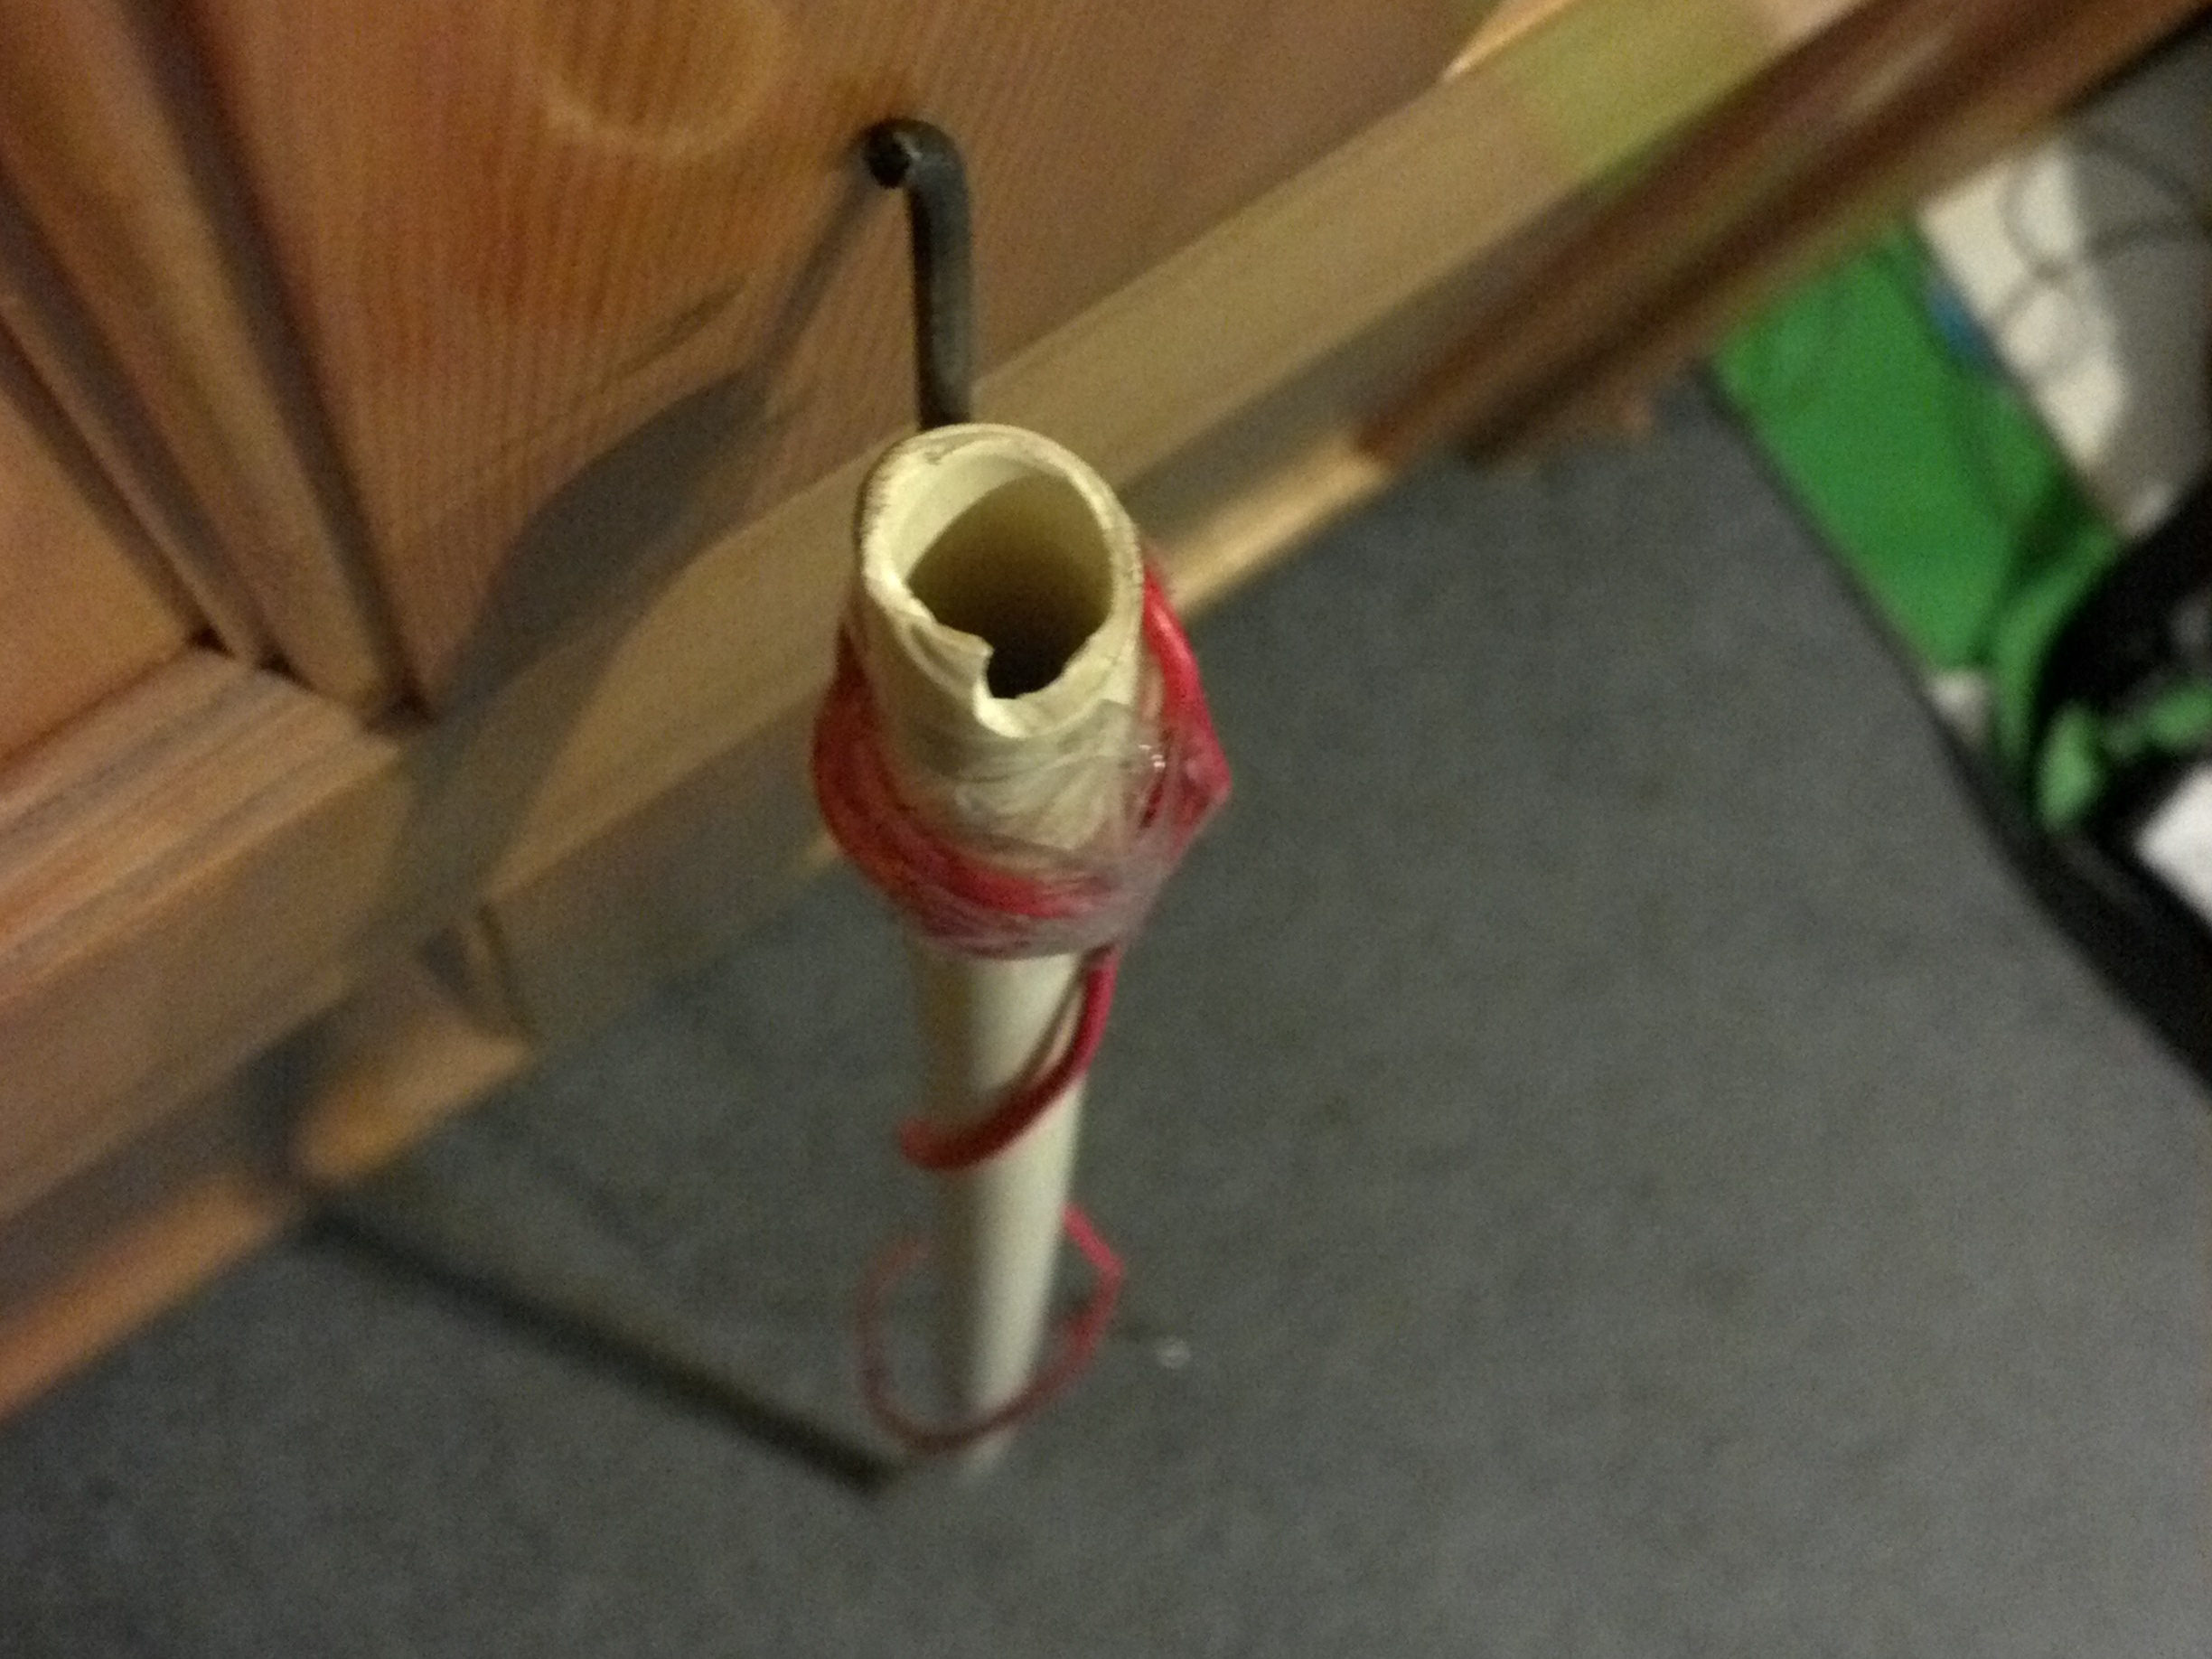
What is a chicken stick? Basically it is a insulating rod that will protect you from high voltages. You clip an alligator clip to HV ground, and then you bring the conducting tip to the HV+. This creates and arc that will not jump back and electrocute the user as long as it was built properly.
Step 1: Get a long, thick piece of conducting metal
Step 2: Get a long enough rod that will not conduct electricity. PVC works best. But wood will work to as long as it is no where near wet. Also, if you send enough electricity through wood it will become a conductor. So be careful.
Step 3: Solder an alligator clip to a LONG wire.
Step 4: Solder the new wire to the thick piece of conducting metal.
Step 5: Tape the thick piece of wire to the long insulating rod that you are using as the pole for your chicken stick. Make sure it is secure, the last thing you need is to have it fall off during use.

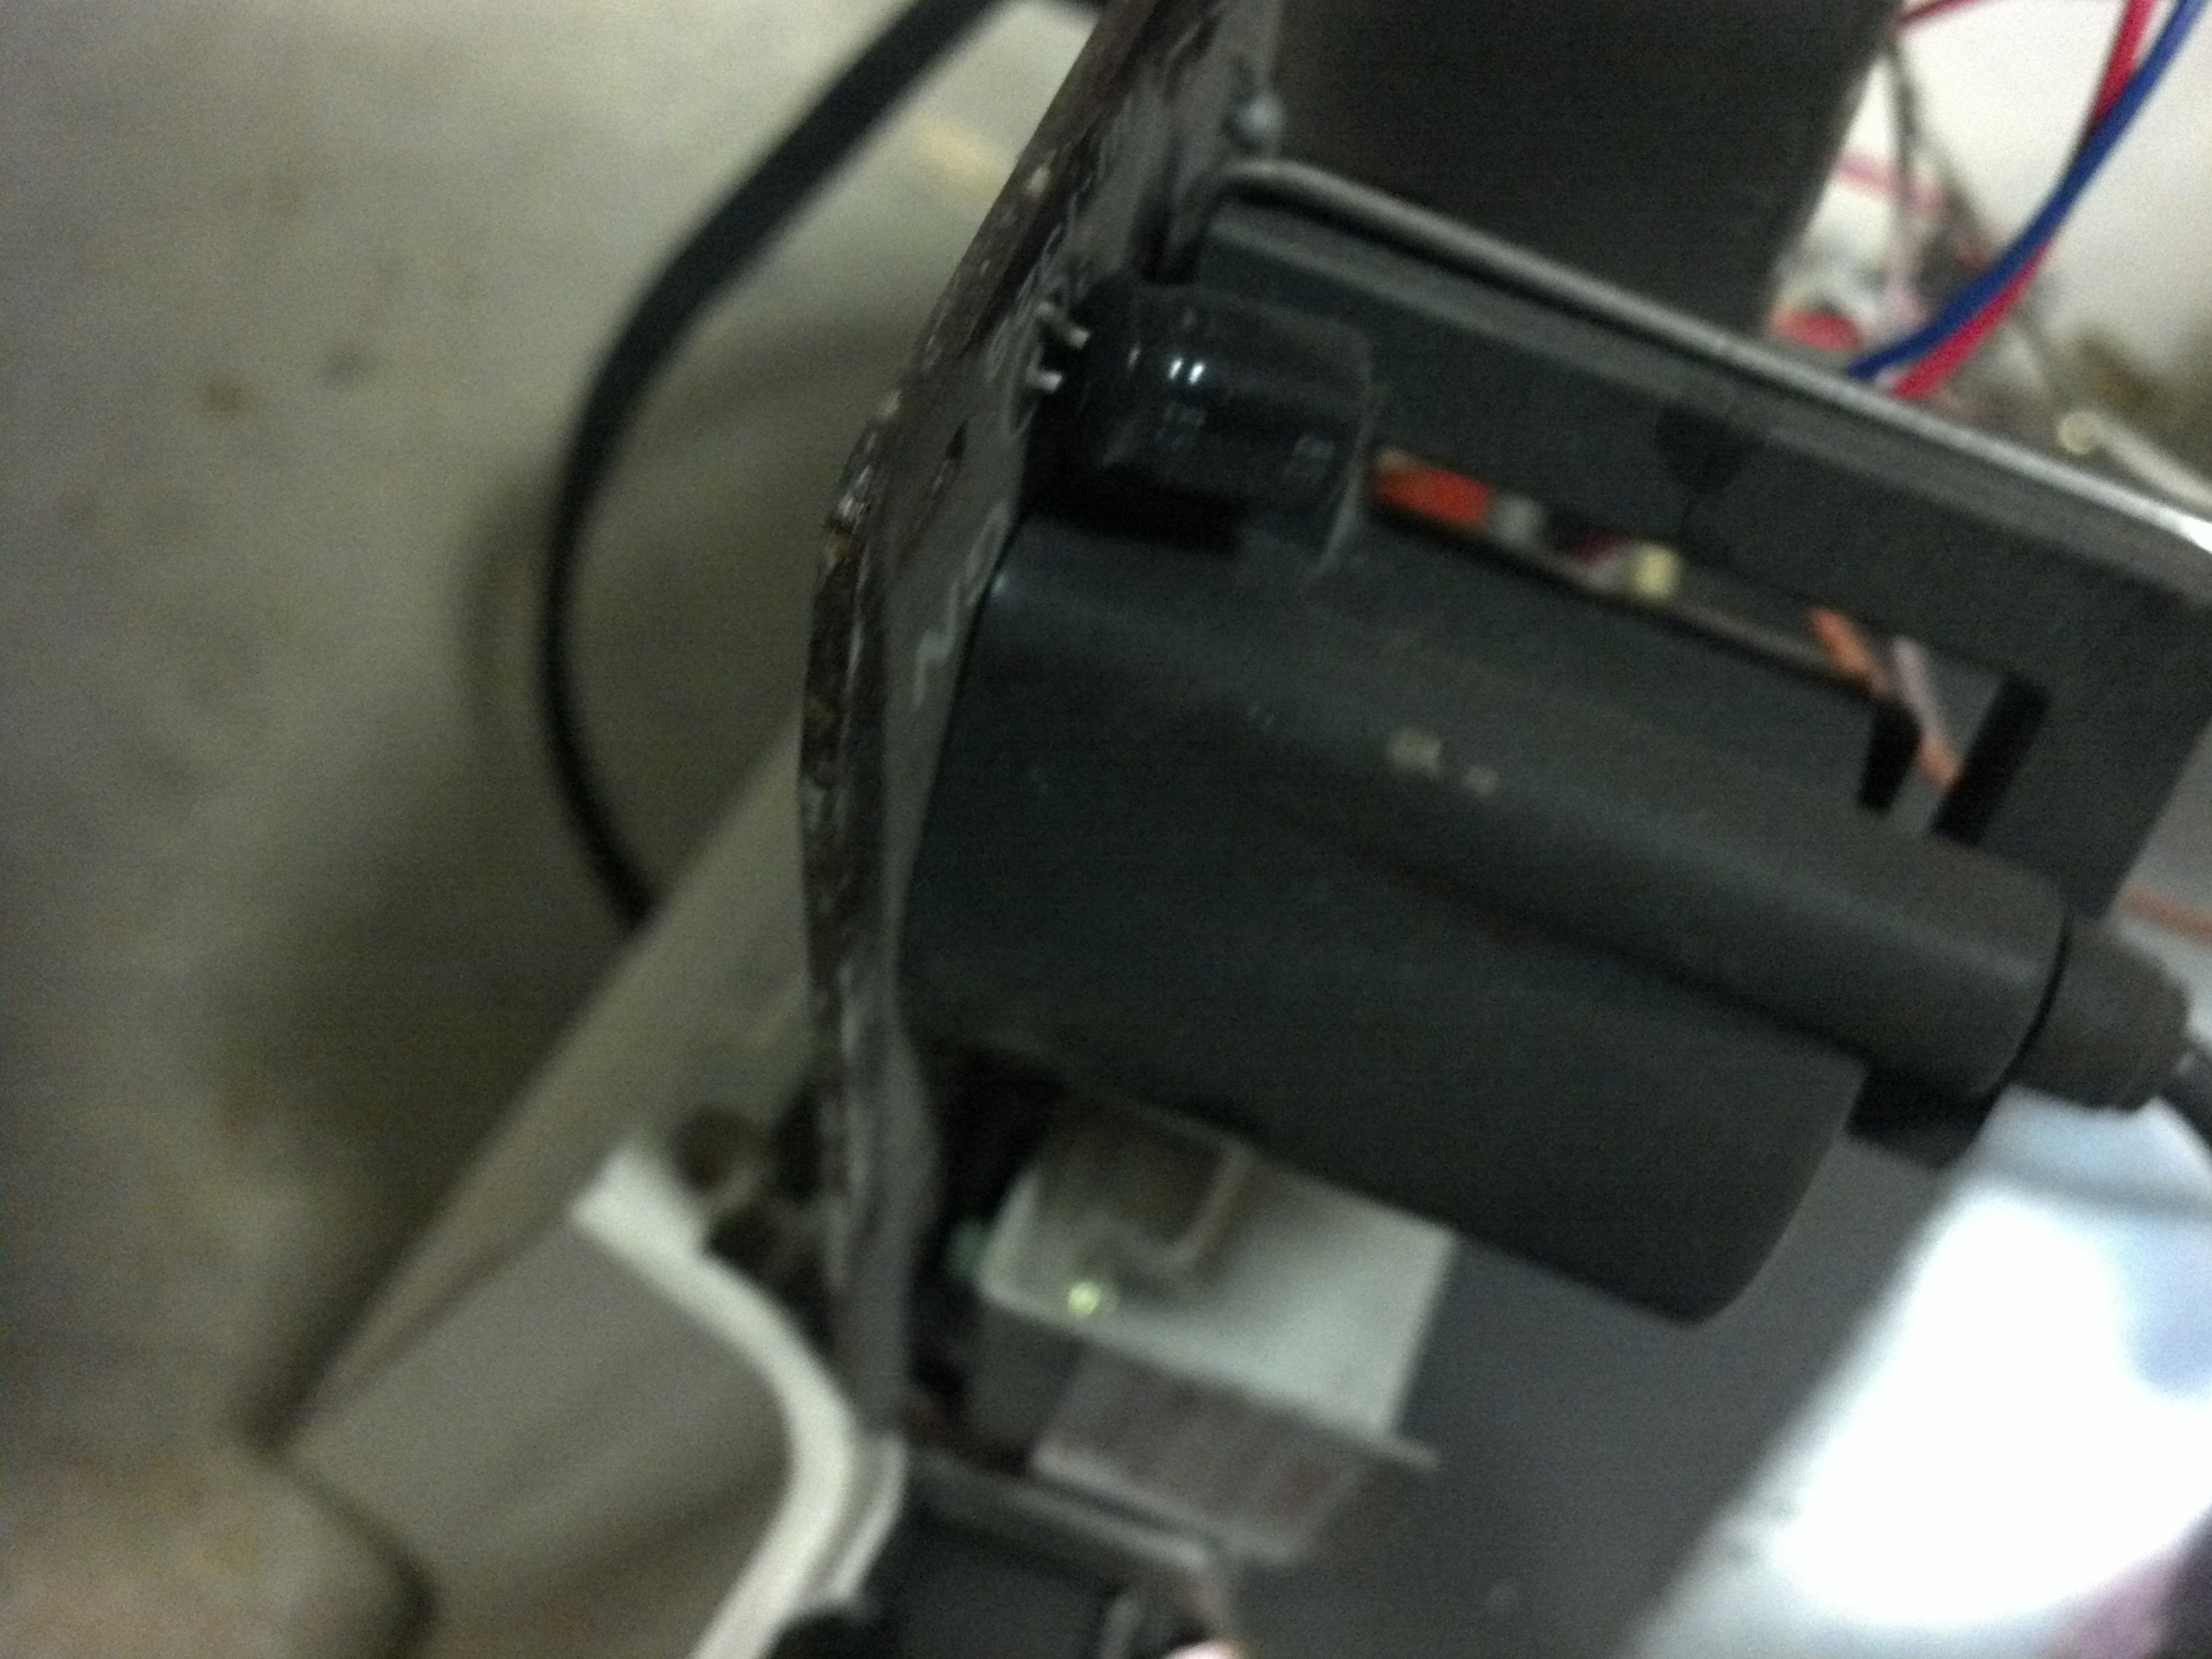
Get an FBT
Make it safe to use; by protecting it and you.

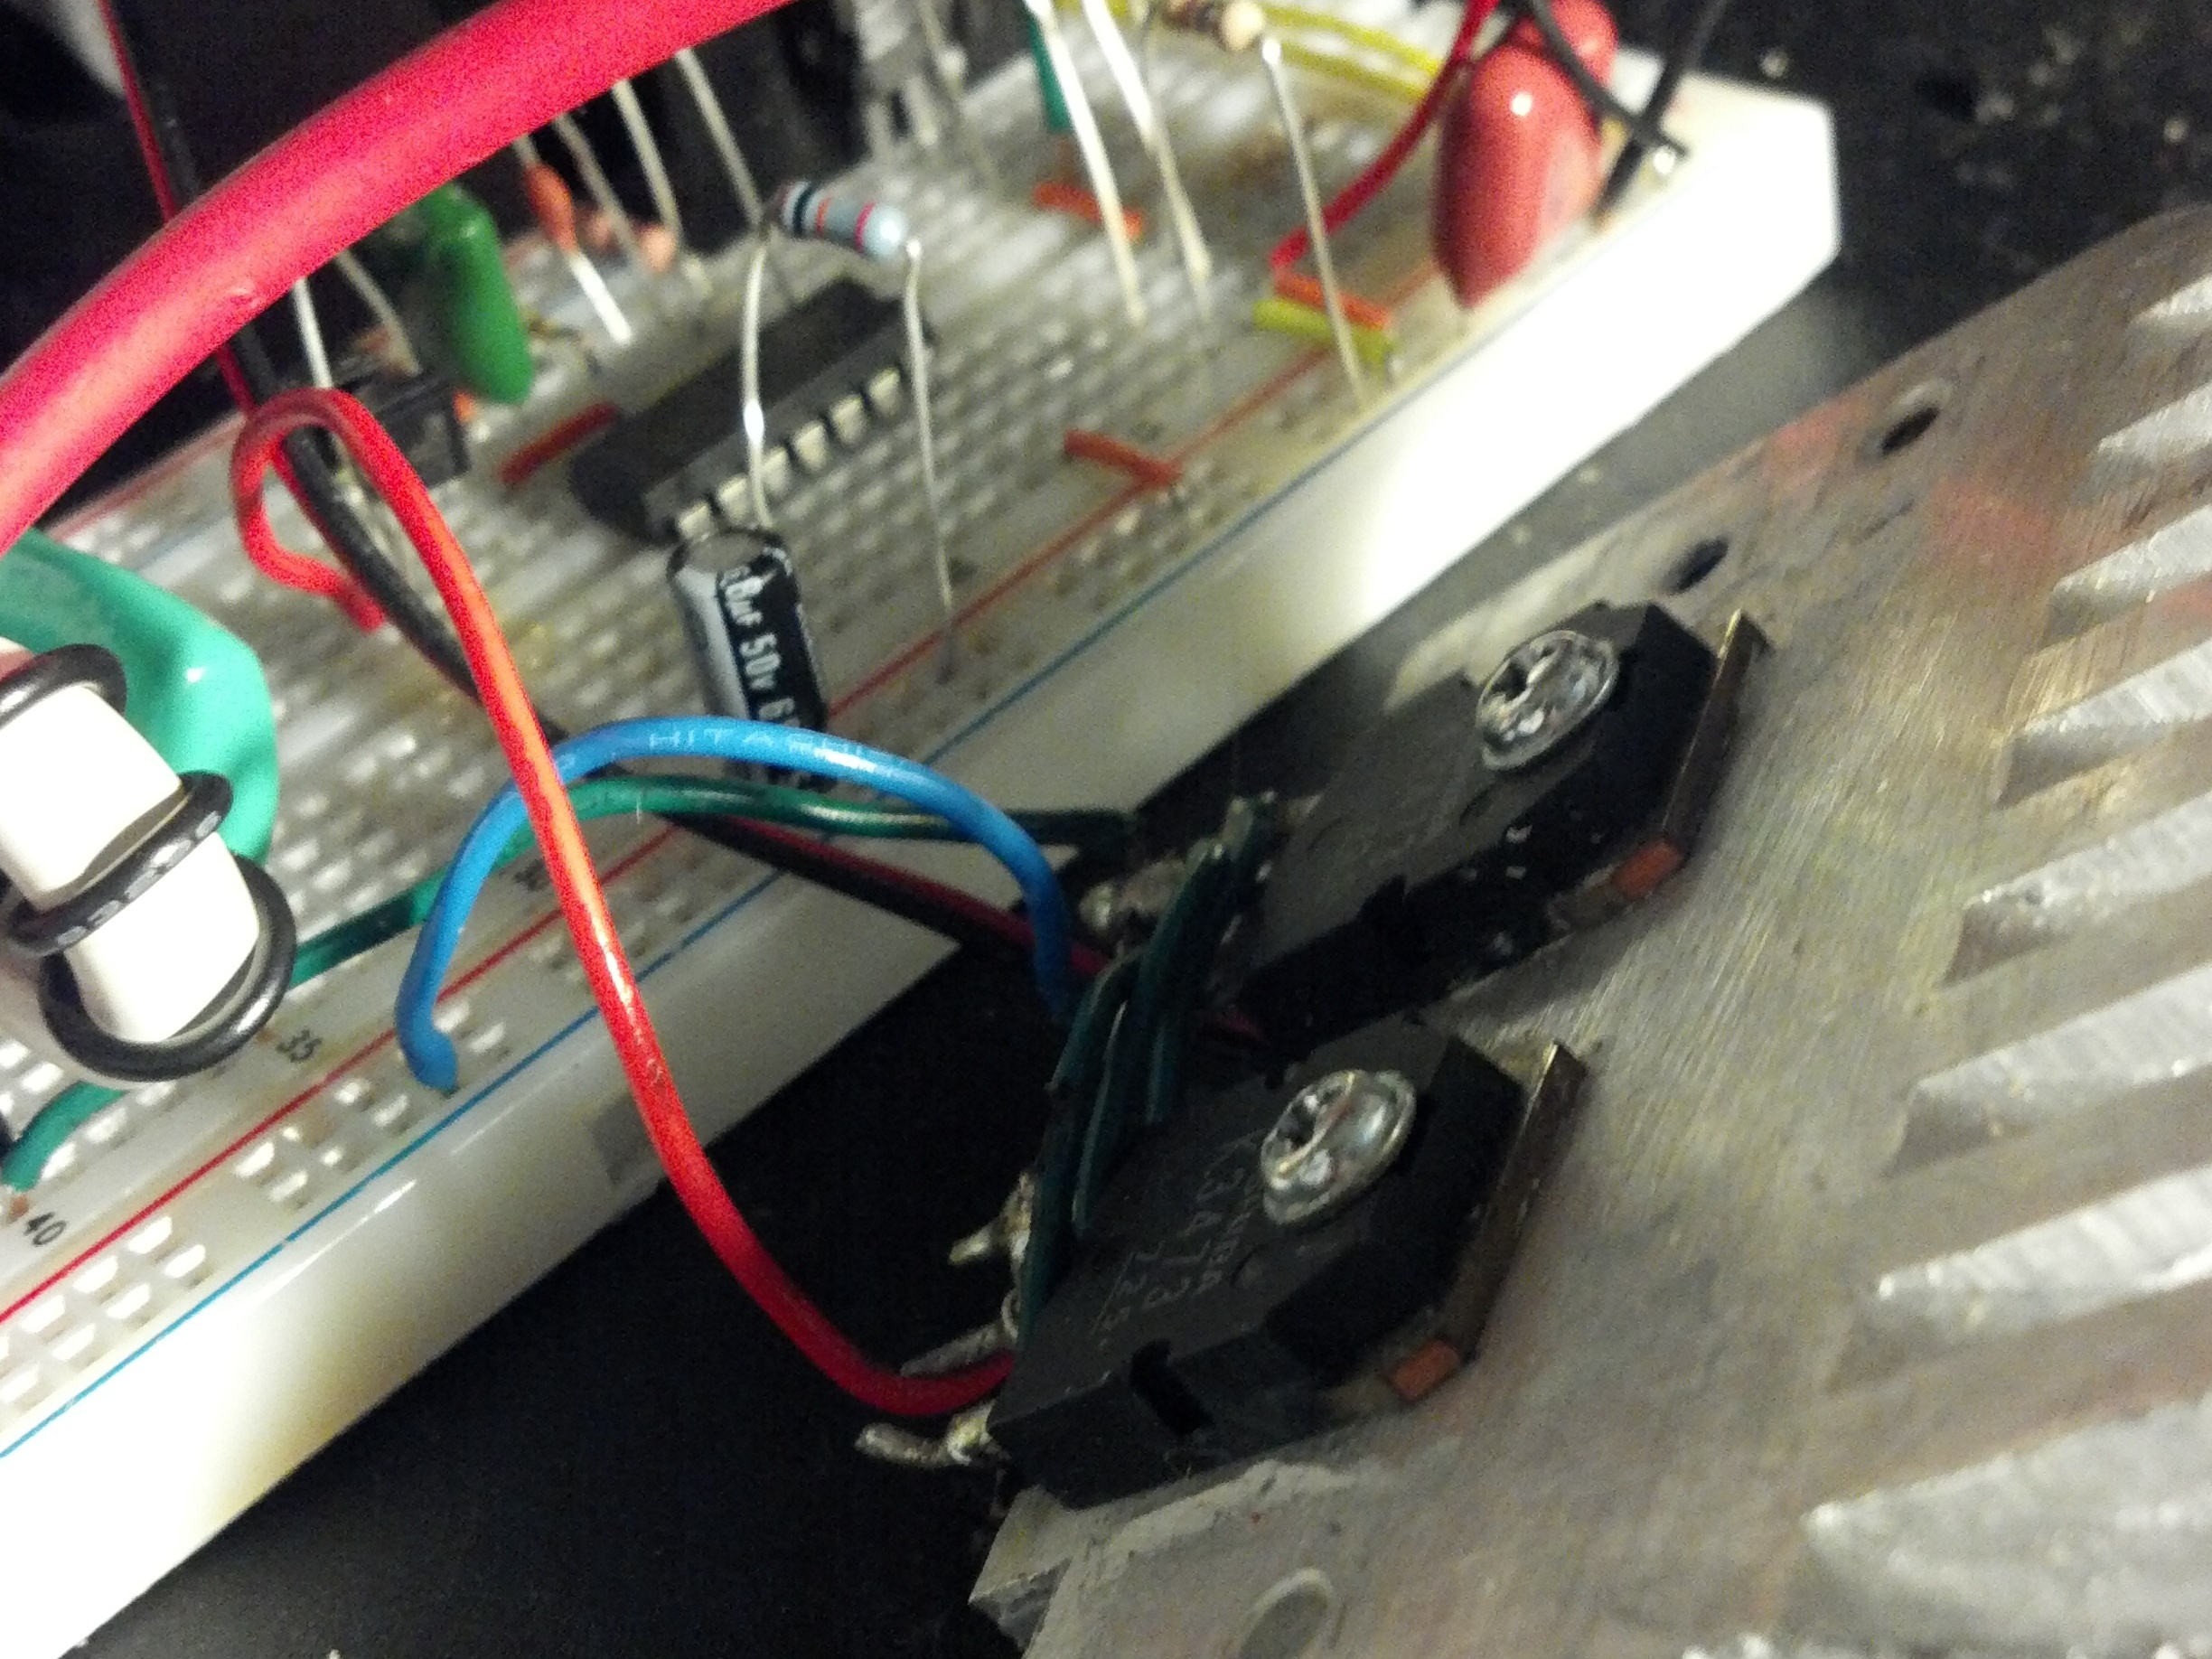
Build the driver circuit; This is based off of the 555 timer. What we will build is a simple high frequency, 90+% duty cycle, astable multivibrator.
It is important that the duty cycle is high, as well as the frequency. The frequency has a much higher tolerance, but for the best effect, a high duty cycle should be used. Here is why: Say you are feeding 10V through a MOSFET. You are turning it on with a square wave running a 50% duty cycle. What this means is the average voltage going through the MOSFET is 5v. So if you use a 30V input at a 90% duty cycle, then the usable voltage would be around 27V. But if you use a 10% duty cycle, it would be 3V, which would do absolutely nothing.
Step 1: Place 555 timer in a convenient location on the board. Connect pin 8 (V+) And pin 4 (Reset) to your power supply. (I recommend you use 9-12V)
Step 2: Place the PNP and NPN transistors right below the 555 timer. They will be complementary to each other, so the base, and emitter will need to be connected to each other. The best way I found was the place the two transistors in the same rows, but have the collectors in different rows. (So lets say that the emitters are in row 4, and the bases are in row 3. The collector of one transistor would go to row 2, and the other transistor would go to row 1.)
After you placed the transistors together, connect the collector of the PNP transistor to ground, and the NPN transistor to your positive rail.
Step 3: Connect the two 100 ohm resistors to their respective locations. one of the 100 ohm resistors will be connected to the discharge pin on the 555 timer and then to your positive rail (V+) The next 100 ohm resistor will be connected to the 555 timers output going to the base of the two transistors.
High voltage is fun. But also incredibly dangerous. This circuit creates so many ions that everything else becomes charged. Be careful or you may zap your chips through excess charge or you'll shock yourself.
If you touch the high voltage wires you will most likely die. ONLY BUILD WITH FRIENDS (So they can call 9-1-1 when your heart stops) WITH SEASONED ENGINEERS/VETERANS, AND ABOVE ALL ELSE JUST BE SAFE.
If you are smart about this project it is no more dangerous then mains electricity. Please handle with care.