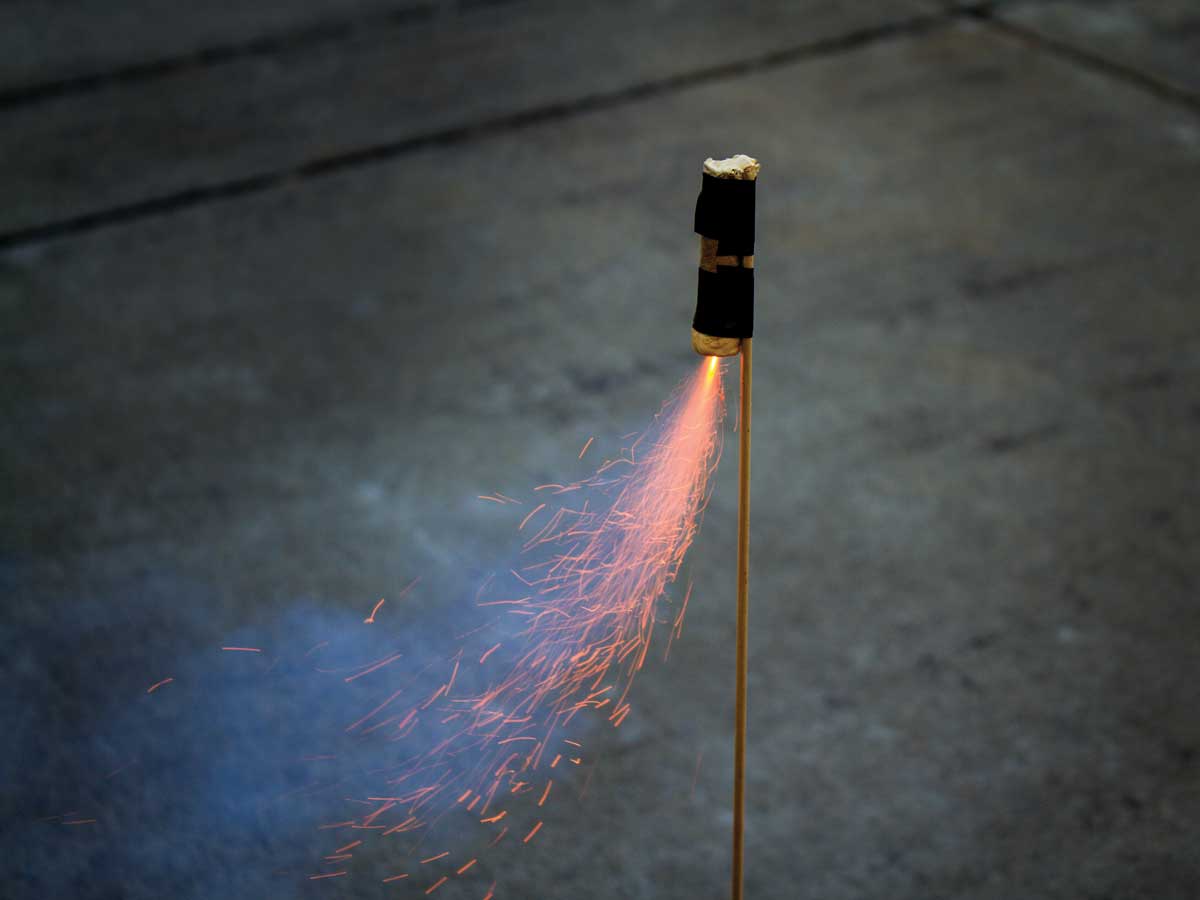
M35_SS_SugarRocket_Opener

Many hobby stores sell model rocketry supplies, but I think making your own rocket engine from scratch is a more meaningful and exciting experience. In this project, we’ll build on the work of rocket pioneer Jack Parsons (see MAKE Volume 13, “Darkside Rocketeer,” for more about this fascinating character). It was Parsons who invented “castable” rocket fuel, which starts as a soft, pliable material and slowly hardens, allowing it to be cast or molded into a high-performance motor.

M35_Rocket-cutaway

In this project, you’ll combine two commonly available substances — granulated sugar and potassium nitrate — to make a powerful engine that can propel a small sugar rocket to impressive heights. This method involves melting a mixture of sugary fuel and chemical oxidizer (the potassium nitrate) over an electric hot plate and then pouring it into a paper rocket body where it solidifies into a rock-hard casting containing an incredible amount of chemical energy.

caution-warning-danger-graphicCAUTION: Undertake this project at your own risk. You are literally playing with fire, so understand what you’re getting into and don’t sell the dangerous aspects of this activity short. Sugar rocket fuel burns fiercely — do not ignite it until it’s contained in a completed motor. Follow all instructions and safety precautions carefully.

What will the next generation of Make: look like? We’re inviting you to shape the future by investing in Make:. By becoming an investor, you help decide what’s next. The future of Make: is in your hands. Learn More.

Project Steps

Wind the motor casing and make the rocket nozzle.

Cut a sheet of kraft paper 4″×10″. Place the 3/8″ dowel on one of the 4″ edges, then wrap the paper tightly around the dowel. As you roll, apply a very thin coat of white glue over one whole side of the paper. Roll the paper tube as tightly as possible. Remove the dowel and let the tube dry.

After the glue dries, cut the paper tube into two 2″-long segments. Each tube will be suitable for a single-use motor casing.

Reinsert the 3/8″ dowel into the casing, leaving a 5/16″ gap between the end of the tube and the dowel.

Mix a small amount of nonshrinking water putty according to the label directions. Press the putty firmly into the end of the tube.

Slowly remove the dowel and set the nozzle aside to dry. Repeat this process for the second motor.

Prepare the rocket fuel.

CAUTION: Put on your safety glasses and leave them on for the rest of the project.

Using the scale, measure 14 grams of potassium nitrate or saltpeter (KNO3) and 7 grams of sugar. This makes enough propellant for a single 2″-long rocket motor.

Blend the ingredients by placing them into a tightly covered plastic container with a handful of large lead fishing weights or .50-caliber lead balls.

Then shake, shake, and shake some more. This

is a low-budget method of ball milling, a method that pyrotechnicians use to safely grind and mix

volatile chemicals. The longer you shake, the better the mixing and the better the rocket fuel.

CAUTION: You’re shaking a container of rocket fuel, so use only lead balls, as other mixing media can cause sparks. Keep the cover on tight, and keep the fuel far from ignition sources.

Now go outdoors to do the next part. Heat an electric skillet or a heavy pan on a carefully controlled electric hot plate to 285°F. (You might need an extension cord.)

CAUTION:Do not use a gas burner or any open flame!

Add the rocket-fuel mix to the pan. Stir continually with a hard plastic spatula or spoon. The mixture will soon melt into a peanut butter-like consistency. After a few more minutes of heating and stirring, it will melt into a smooth paste. Turn off the heat. The mixture will stay plastic and moldable just long enough for you to make the rocket motor.

Load the fuel.

Let the rocket-fuel mixture cool until you can just handle it with your fingers, and then immediately stuff the hot, pliable fuel into the motor casing. Insert the 3/8″ dowel into the open end of the motor and gently tap it with the rubber mallet until you have evenly filled the motor up to 3/8″ from the top.

Core the rocket engine.

To produce enough thrust to lift your rocket into the air, you’ll need to make what rocketeers refer to as a core burner (as opposed to an end burner). This style of rocket motor has an open center, increasing the surface area over which the rocket fuel burns.

While the fuel is still hot, insert the 6D nail into the nozzle and push it through the fuel, twisting it as you go, until the tip emerges on the other end. Carefully remove the nail by rotating it slowly so that the cylindrical hole remains intact.

Seal the open end.

Fill the 3/8″ gap at the open end of the motor with water putty.

Now is a good time to make a nozzle hole with the 6D nail. If it dries before you get the chance, you can use a drill to make the hole instead.

Attach balance sticks.

Glue a shish-kebab skewer or very narrow wooden dowel to the rocket casing, so it extends backward from the nozzle.

The length depends on the weight of the rocket: choose a length such that the rocket body and stick will balance horizontally at a point 1″ behind the nozzle.

Build a launch platform.

Make a simple launching platform by attaching an 8″ length of ¾”- or 1″-diameter metal pipe to a scrap block of wood, using a floor flange and wood screws to support the pipe.

Launch your sugar rocket!

CAUTION: Launch rockets only in an open area, far from houses, people, and items that could be damaged from a falling rocket body, a launch pad explosion, or other unexpected occurrences. If you’re in a place where you can’t or shouldn’t launch a bottle rocket, well, you can’t launch your sugar rocket either.

Your rocket could reach altitudes of several hundred feet. Since a rocket’s trajectory is difficult to predict, you must launch only in appropriate areas in appropriate seasons (for example, flat, open, and free from easily ignitable materials). Check local laws and make sure you have the landowner’s permission to launch.

Insert a 2″-long fuse directly into the rocket’s nozzle. If necessary, bend the end of the fuse before inserting it, so it will stay in the nozzle. Light the fuse and immediately retreat to a safe distance. Blastoff!

Conclusion

Troubleshooting

If the rocket does not ignite, stay away from it for 5 minutes. Then put on thick gloves, pick it up carefully with the nozzle pointed away, and soak it in water until it disintegrates. Discard the pieces in an outdoor trash can.

Be certain your chemicals are pure and well mixed. When in doubt, increase the mixing time in the shaking container. Pay careful attention to the temperature setting on the electric skillet or hot plate. Melting at the wrong temperature can hurt the fuel’s performance.

If your rocket fires but won’t lift off, increase the size of the nozzle opening, increase the size of the core hole, or reduce the rocket’s weight by using thinner paper and less glue in building the tube.