AmSciDIYFiberOptics_Openers-3jb
Photo: Hep Svadja

Optical fibers are ultra-clear strands of plastic, glass, or silica consisting of a central core surrounded by a cladding and a protective coating. Light injected into the core of a fiber remains trapped until emerging from the opposite end. This lets you transmit light point-to-point with very little loss, and even bend it around corners. The light stays in the core because the cladding has a slightly higher index of refraction than the core.

Silica optical fibers are primarily used to transmit high-bandwidth data over long distances. Inexpensive plastic fibers are widely used in sensors, illuminators, and toys. They’re also used to couple light to photodiodes in environments that require electrical isolation or protection from the elements or a corrosive environment. Plastic fibers are also used to illuminate displays and to send light through openings too small for a flashlight.

Connecting Fibers to LEDs and Sensors

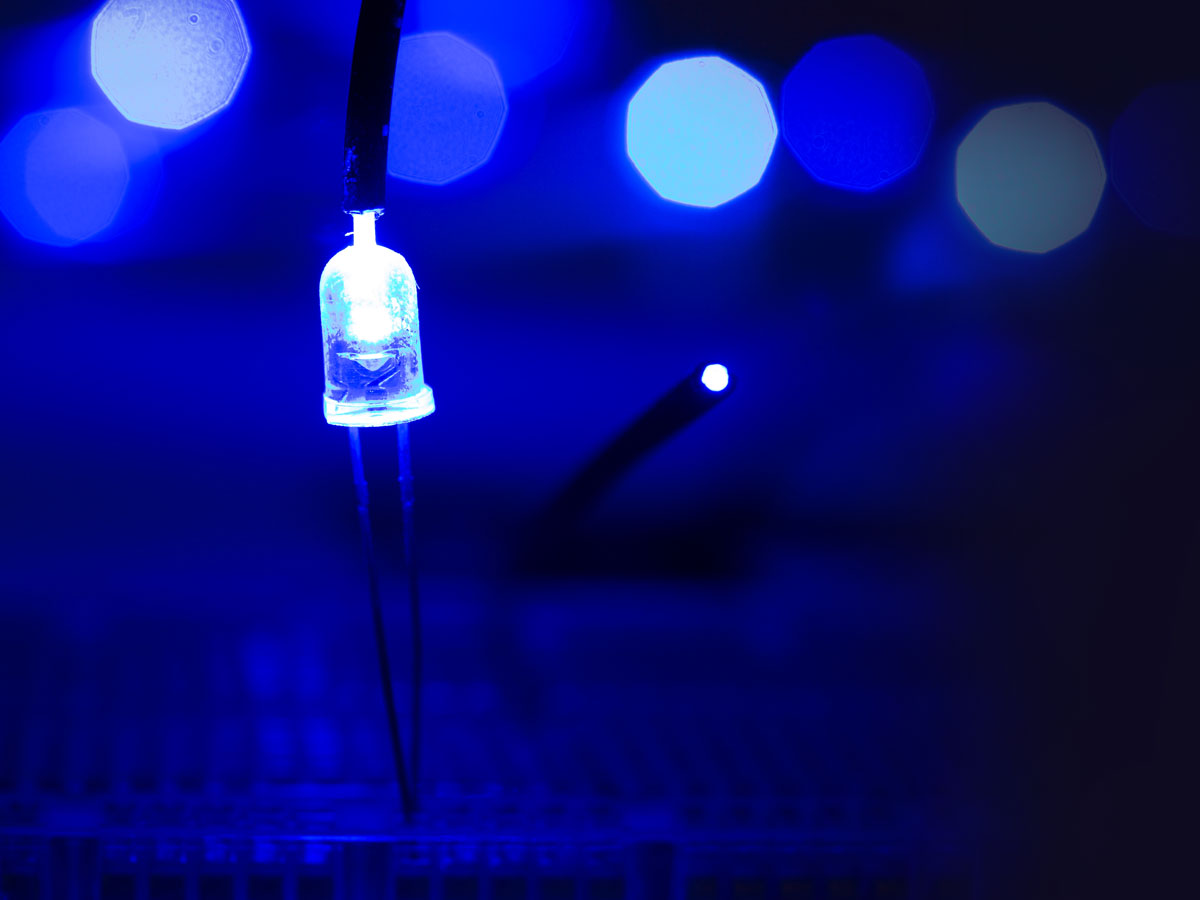
Optical fiber couplers for various LEDs and light sensors are commercially available, but you can skip the connector and simply connect silica and plastic fibers directly to LEDs and sensors. For the examples described here, I used LEDs encapsulated in standard 5mm clear epoxy packages, and 2.2mm-diameter plastic fiber having a 1mm core and a black polyethylene jacket. I used fiber from Jameco Electronics (jameco.com) but many kinds of fiber are available from other online sources, including eBay, and the methods described here can be adapted for use with most of these fibers.

What will the next generation of Make: look like? We’re inviting you to shape the future by investing in Make:. By becoming an investor, you help decide what’s next. The future of Make: is in your hands. Learn More.

Project Steps

Connecting Fibers to LEDs and Sensors

Optical fiber couplers for various LEDs and light sensors are commercially available, but you can skip the connector and simply connect silica and plastic fibers directly to LEDs and sensors. For the examples described here, I used LEDs encapsulated in standard 5mm clear epoxy packages, and 2.2mm-diameter plastic fiber having a 1mm core and a black polyethylene jacket. I used fiber from Jameco Electronics (jameco.com) but many kinds of fiber are available from other online sources, including eBay, and the methods described here can be adapted for use with most of these fibers.
Preparing the Fiber Ends

For most applications, best results are obtained with a fiber having flat, smoothly cut or polished ends. A simple way to achieve this with plastic fiber is to place the end of the fiber on a wood surface and slice off a few millimeters by pressing a sharp hobby knife blade straight down into the fiber. Press the cut end of the fiber against 200-grit sandpaper on a flat surface and rotate the fiber in a dozen or so circles across the paper. Follow this with 400 or 600 grit paper. A fiber end polished in this fashion is shown in Figure A. The roughened edges of the fiber’s jacket can be trimmed away with a hobby knife.

Figure A
Figure A

Heat-Shrink Tube Connection

Heat-shrink tubing provides the simplest way to connect optical fibers to LEDs and sensors. This method is not necessarily practical for long-term use, especially outdoors, but it works well for basic experiments and demonstrations with 2.2mm fiber. For best results, use 6mm- or 8mm-diameter heat-shrink tubing and a 5mm LED or sensor.

Slip a 1″ length of tubing over the LED or sensor and warm the tubing with a heat gun until it holds the LED or sensor tightly in place. Slip the end of the fiber into the open end of the tubing and continue warming. Depending on the diameter of the tubing, the fiber will either be anchored in place or it can be slipped in and out of the tubing (Figure B). You can keep it in place by applying some adhesive or you can allow the fiber to be removable.

Figure B
Figure B

Permanent Direct Connection

A stronger coupling can be made by cementing the fiber into a hole bored into the end of the LED or sensor’s epoxy capsule. You can cement the jacketed end of the fiber, or remove a section of jacket and cement only the fiber itself. An inch or so of heat-shrink over the junction will finish the job. Follow these steps:

1.

Secure the leads of the LED or sensor in a vise or a DIY clamp made from a clothes-pin and a large binder clip (Figure C).

Figure C
Figure C

2.

Use a fine Sharpie to draw a plus sign (+) directly over the end of the LED. Insert a 3/64″ bit into the chuck of a drill. I prefer the handheld, battery-powered Dremel 7700. Lightly touch the spinning bit to the center of the plus sign. Let the drill do the work as you guide it straight into the device while applying very gentle pressure (Figure D).

DIY_Fiber_Optics-10
Figure D

Carefully bore the hole to just above the tiny wire(s) that make contact with the light-emitting or -sensing chip (Figure E).

The hole produced by a 3/64″ bit should accept the 1mm bare fiber core. If you’re connecting jacketed 2.2mm fiber, carefully enlarge the hole with a 7/64″ bit.

Figure E
Figure E

3.

Use compressed air to blow away any chips in the hole. Be sure any connection leads on the top of the chip are undamaged.

4.

Insert the polished end of the fiber into the hole, then secure it with cyanoacrylate or other plastic adhesive and let it dry. Figure F shows a fiber with a bare end inserted into a blue LED, and Figure G a jacketed fiber inserted into a white LED.

Figure F
Figure F
DIYFiberOptics-25
Figure G

5.

Insert a suitable length of dark heat-shrink tubing over the LED or sensor and 1″ or so of the fiber, and warm it to secure the tubing in place.

TIP: If you’re using the fiber with a light sensor, paint the exposed base of the sensor with black enamel to block external light. Additional blockage may be needed, as infrared wavelengths may penetrate black paint.

Going Further

You can start using your connected fibers right away for illuminating your projects, props, and models, or for photography — I had fun experimenting with “light painting” by making 10-second time exposures (Figure H). Pulse the LED to create dashed instead of continuous lines in the images, and use multiple fibers to add more colors.

Mims_Amateur_Scientist_MAKE_47_Fig_8_Extra_2Mims_Amateur_Scientist_MAKE_47_Fig_8_Extra_1

DIYFiberOptics-27
Figure H

In a future column I’ll show you how to use fibers connected to LEDs and phototransistors as sensitive sensors.

Meanwhile, you can expand on the methods described here by designing your own connections. Use a ballpoint pen housing to make a handheld optical fiber pixel probe or micro-light source. Or consider 3D printing your own custom-designed connectors and fixtures.