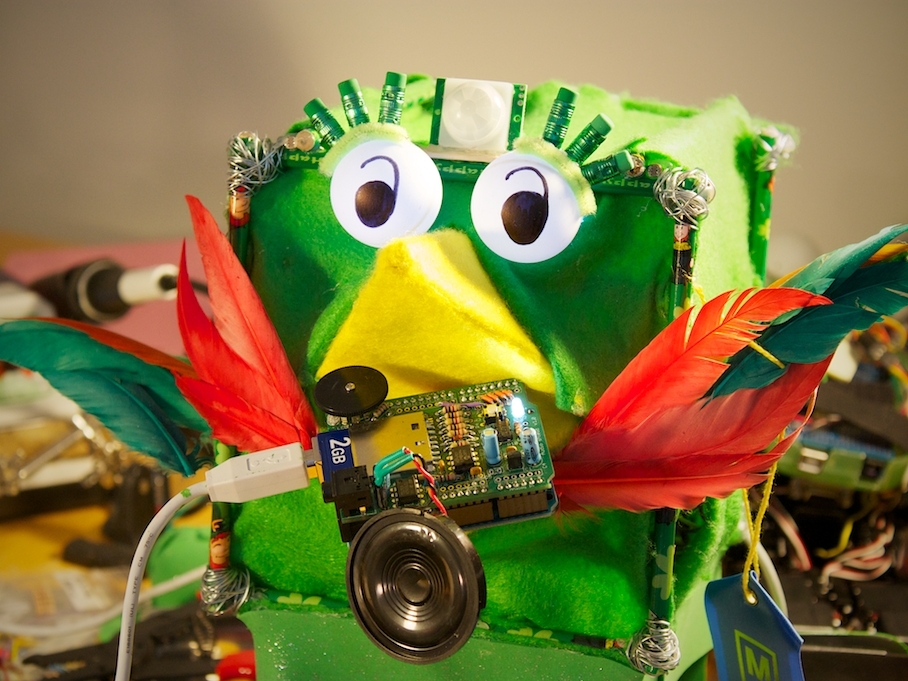
I can’t stand listening to the hum of computer fans all day! Too bad we couldn’t just press a few keys and be teleported into a rainforest…

Well, the teleportation part might be tricky, but let’s make something so that at the press of some keys, we can have different mixes of nature sounds. Nothing too complex, just quick & peaceful!

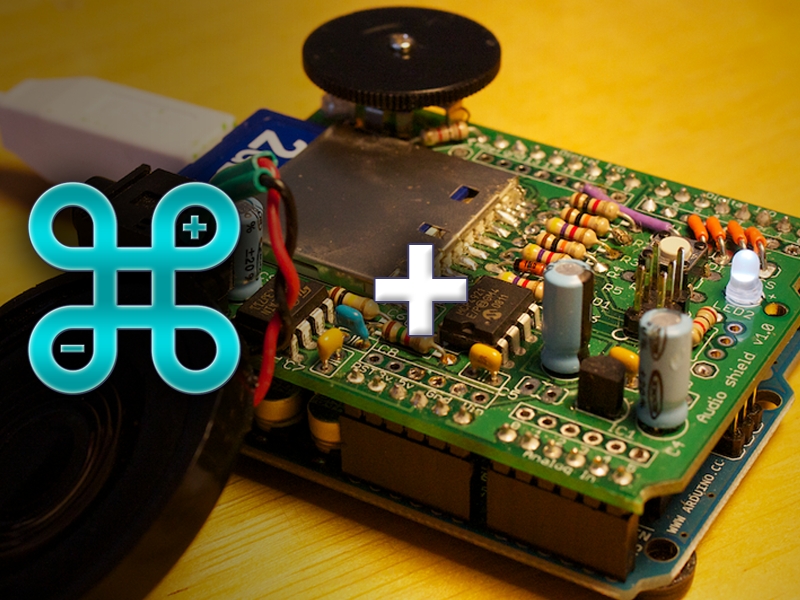
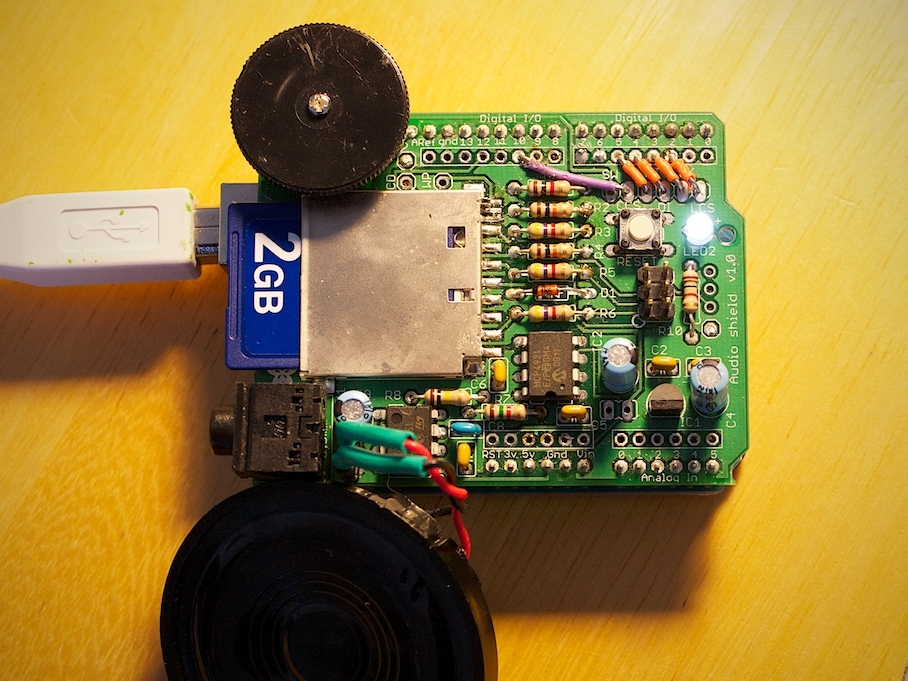
For this project you will need a Wave Shield and an Arduino, and be using Mac OS X 10.6+.

We will combine the Wave Shield, some bird sounds, and Hotkeys for Arduino to play interesting combinations of sounds that will instantly remind us of the outdoors.

We will be assuming that the Wave Shield is already assembled. If it isn’t, you can follow ladyada’s tutorial here.

This is what the completed project will sound (and look) like! Let’s go make it! :)

Instant Nature in action

What will the next generation of Make: look like? We’re inviting you to shape the future by investing in Make:. By becoming an investor, you help decide what’s next. The future of Make: is in your hands. Learn More.

Project Steps

We need to find the sounds that we are going to use for the project. You can search around for some!

The bird sounds we are using are from here. The sounds for the Wave Shield need to be in .WAV format, so we will have to convert most of them!

To convert the sounds, we will use some commands. Open Terminal (~/Applications/Utilities/Terminal) and navigate to the directory with all of your sounds (e.g., cd Desktop/sounds).

Now use this command which will take your fromfile and convert it to .WAV format. I suggest newfile.wav should be ordered numbers (it will be easier later on): afconvert -f WAVE -d LEI16@44100 -c 1 fromfile.mp3 newfile.wav

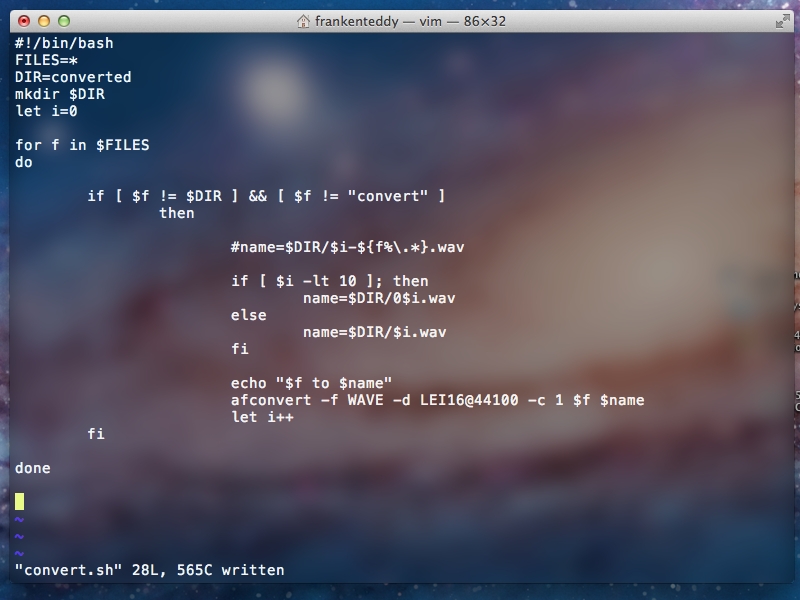
To do this for all files in a directory, we can use a bash script. Here is the gist, or you can look at the screenshot to the left. To run it, just do: ./convert

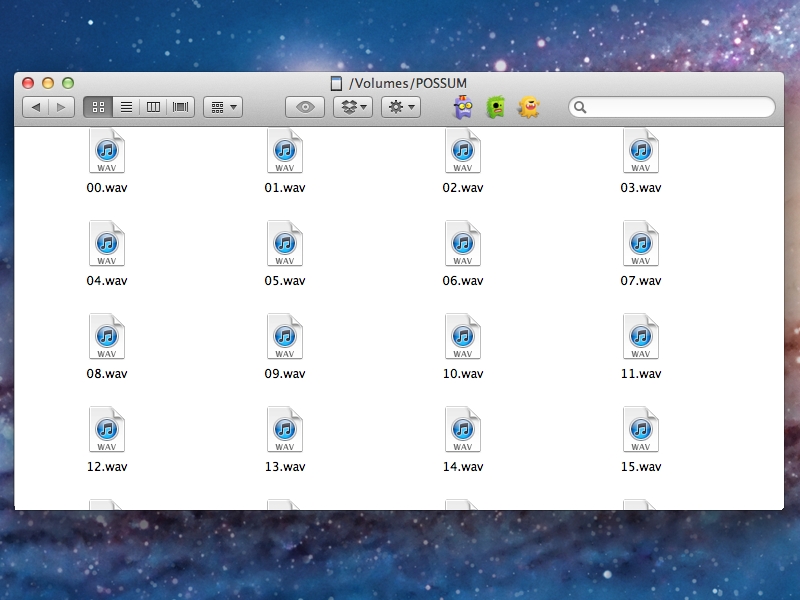
Now we have all of our converted sound files. They should be numbered sequentially. Put all of these files onto the SD card.

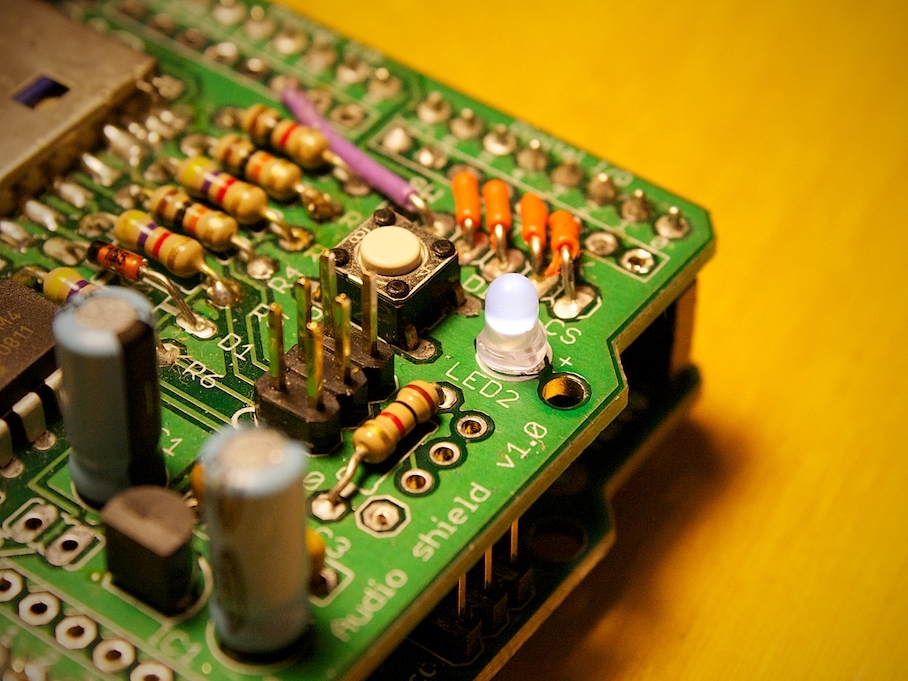
If your Wave Shield isn’t assembled, now is a good time to assemble it. Don’t forget LED2 and its resistor, since we will be using it! I used 1K ohm for LED2’s resistor.

Download the latest WaveHC library from here and install it into your Arduino libraries folder (usually ~/Documents/Arduino/libraries).

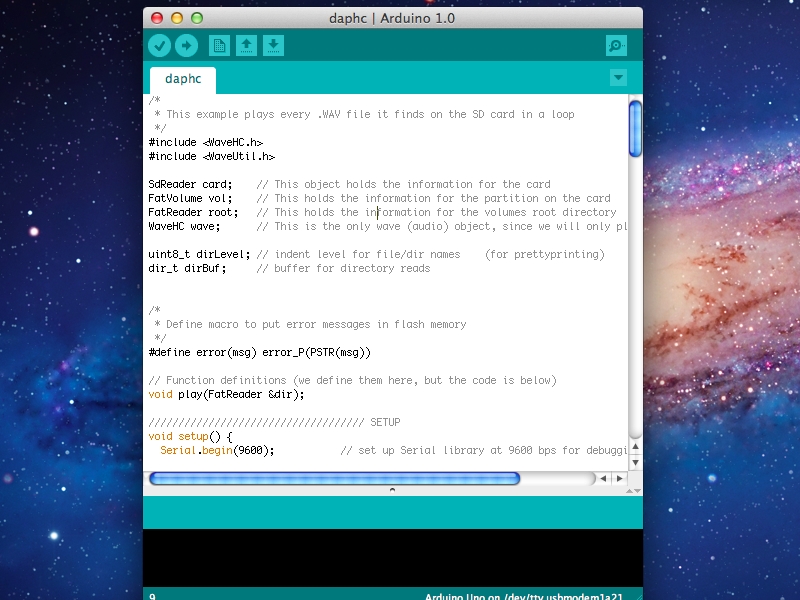
Open Arduino 1.0 and open the daphc WaveHC example (File>Examples>WaveHC>daphc).

Upload this to your Arduino and plug the Wave Shield in. Don’t forget to insert the SD card into the Wave Shield too! You should be hearing the sounds playing.

If you don’t hear the sounds, check that everything is connected, that the speaker is connected, and that the volume potentiometer is turned up.

Once you hear the sounds, we know everything is working so we can move on to the next step!

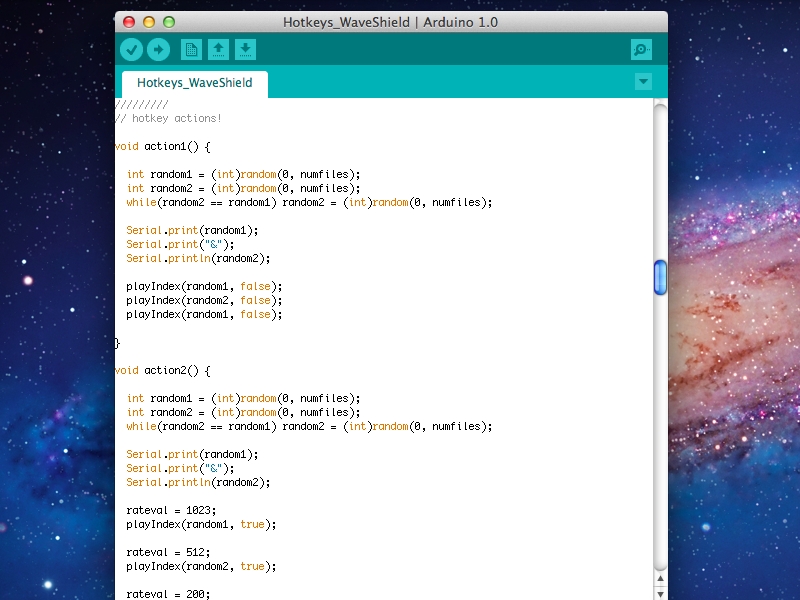
Let’s create some goofy actions that the Wave Shield can play. This will make it more interesting than just playing individual sounds. We will need 6 actions in total, each in its own function, e.g., action1(); … etc. It is a good idea to test your actions along the way.

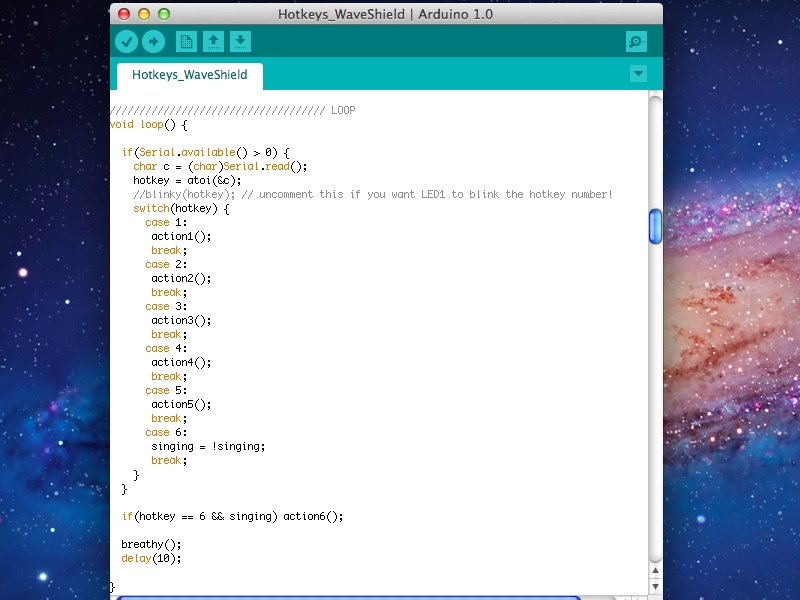
You can see the sketch that I use on Github here, or check out the snippets in the pictures!

One action could be a sandwich of two random sounds. With bird sounds, it would seem like the birds are talking to each other!

In addition to playing sounds, we can adjust their playing rate to make them slower or faster. This would make a great mocking action.

We will also need to add the boilerplate code to make it work with Hotkeys for Arduino. Check out the snippet in the picture, or look at the sketch on Github.

Also, we will be using LED2 as a simple ‘breathing’ indicator to show that the Arduino is still alive. Plus, it is nice to look at.

Upload the code to your Arduino, and it is time to test it with Hotkeys for Arduino!

Time to get Hotkeys for Arduino. You can get it here through the Mac App Store.

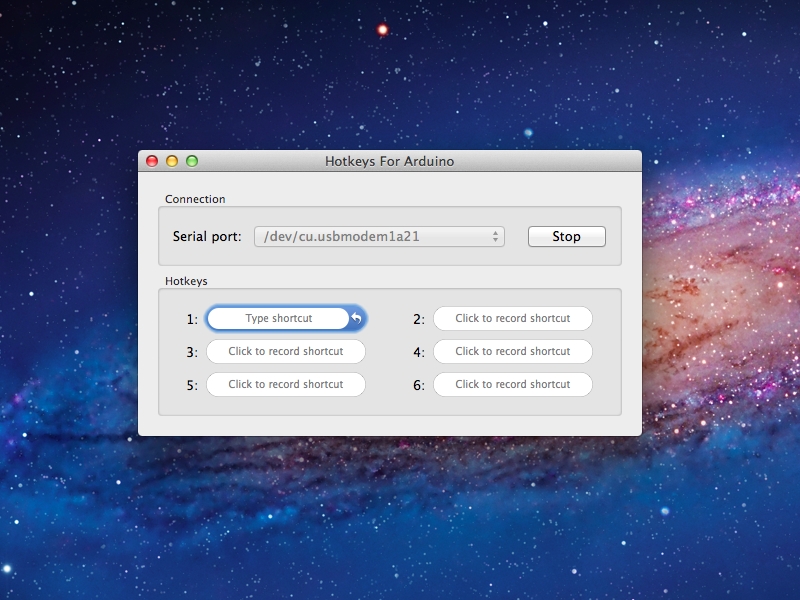
When you open Hotkeys for Arduino, you will see a window with two boxes: Connection and Hotkeys. In the dropdown menu for the Serial Port, select your Arduino port – the same one you use to upload code to.

Press the GO! button to connect. Make sure Serial Monitor on the Arduino IDE isn’t open!

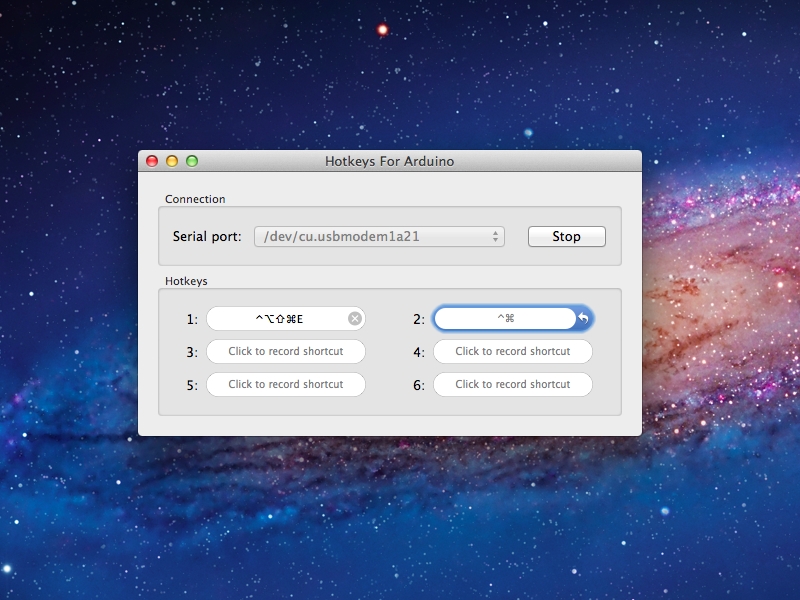
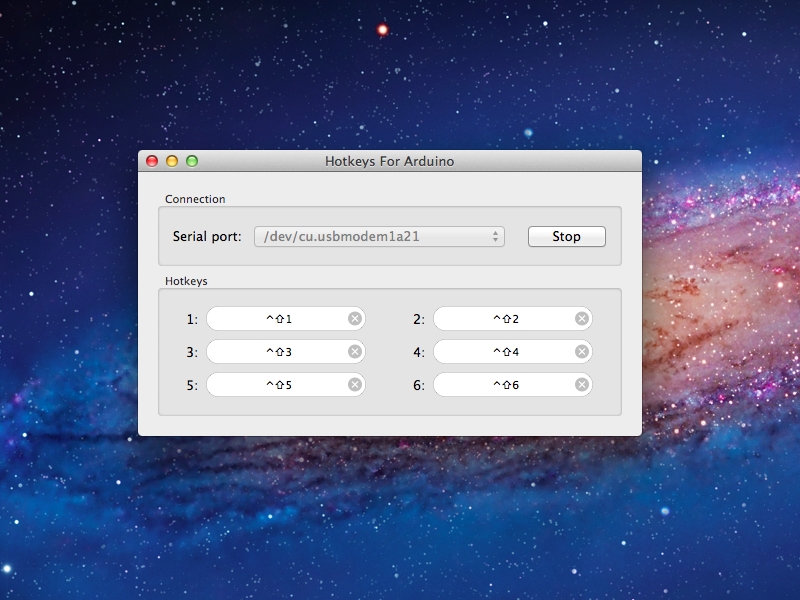
Now we can add our 6 hotkeys that we will use to trigger the actions. Press each field and enter your combination starting with Shift, Control, Option, or Command.

Add on some more keys or letters and numbers to your combination. When you are done, give it a try by pressing the keys!

Your Arduino & Wave Shield should be doing the action that your hotkey corresponds to. Try it out! Plus, they are global hotkeys so you can use the hotkeys from any application.

Congrats, you are done! Now you have Instant Nature at your fingertips. Quick, simple, and peaceful.

If you want to learn more about how Hotkeys for Arduino works, it is Open Source and you can look at the source here.

Now you can go crazy with this! Make it more interactive! Or make it more obnoxious! Even put it into a RoboBrrd! :)

Conclusion

I hope you enjoy using your Instant Nature project. It is quite fun to be able to hear bird sounds at the press of a few keys - while coding, designing, or learning! And you can just stare into that pretty LED... ;)

We have left the project open-ended, so that you can add more on to it! You can add on some sensors to adjust the sounds, play them automatically, or whatever!

This tutorial is part of my fundraising effort for travel expenses to go to Maker Faire Bay Area! I'm trying to answer the question: "How many MAKE Projects does it take to get to Maker Faire?" So if you like this tutorial, you can donate towards my travel expenses here! Thanks for checking it out!

If you enjoyed this tutorial, you can visit my website at http://robotgrrl.com/blog where I am up to all sorts of shenanigans!

----

CREDITS

Wave Shield by Adafruit Industries

Wave Shield tutorial

WaveHC Library

Bird sound effects

Hotkeys for Arduino

RoboBrrd

"Arduino" is a trademark of Arduino team.

Step 1 image

Birds: http://www.math.sunysb.edu/%7Etony/birds...

Notes: http://www.allaboutdrawings.com/music-no...

Background: http://subtlepatterns.com/?p=822

----