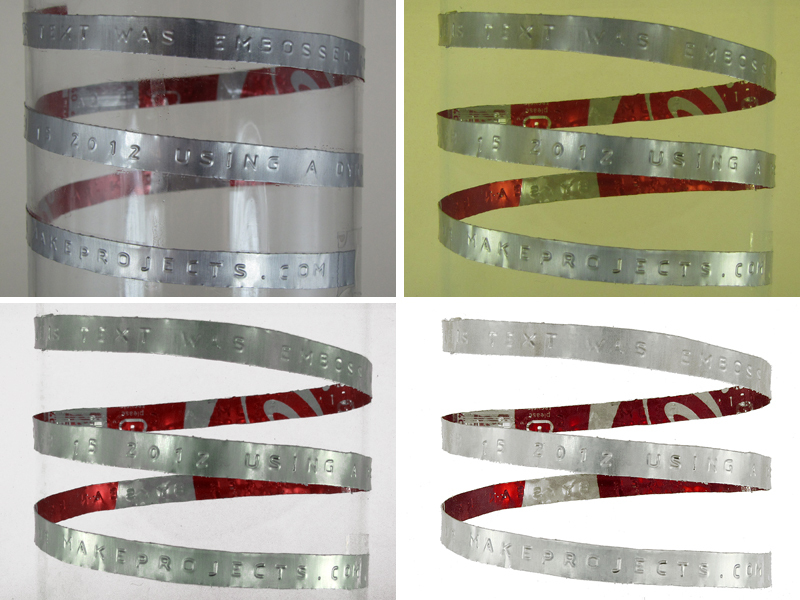
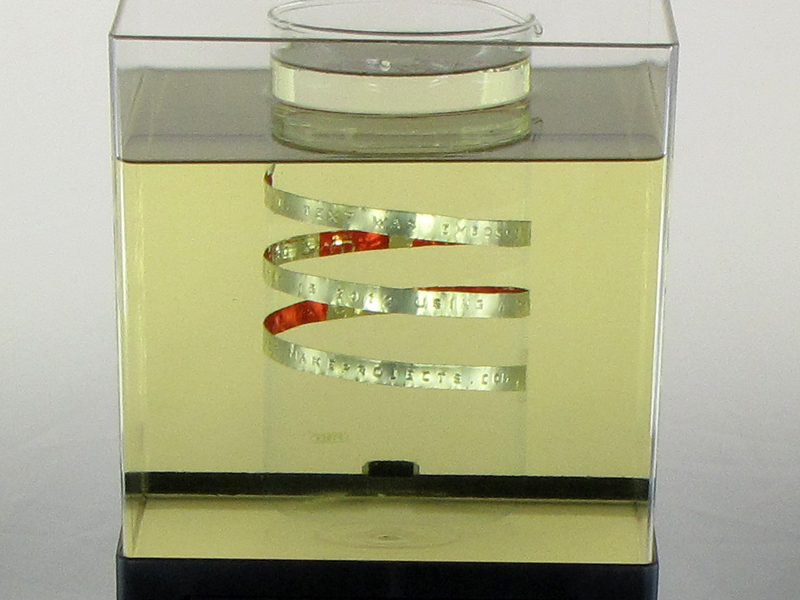
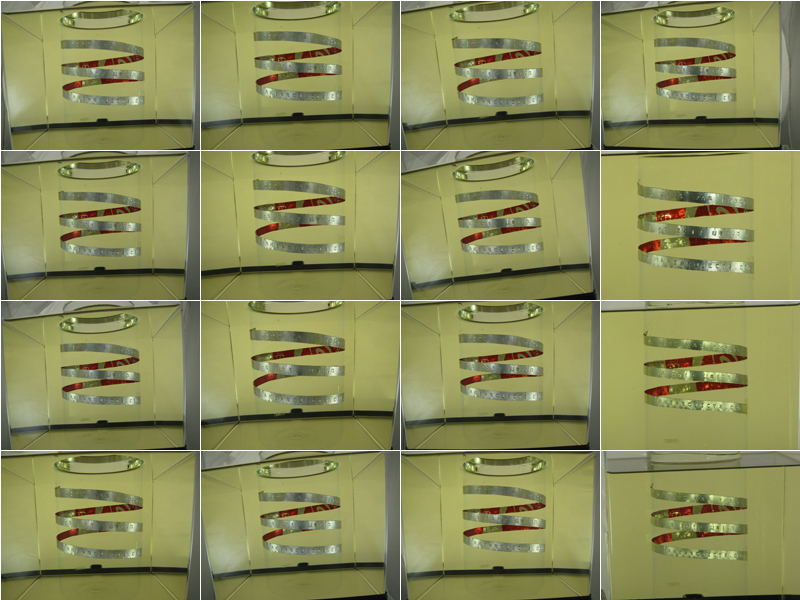
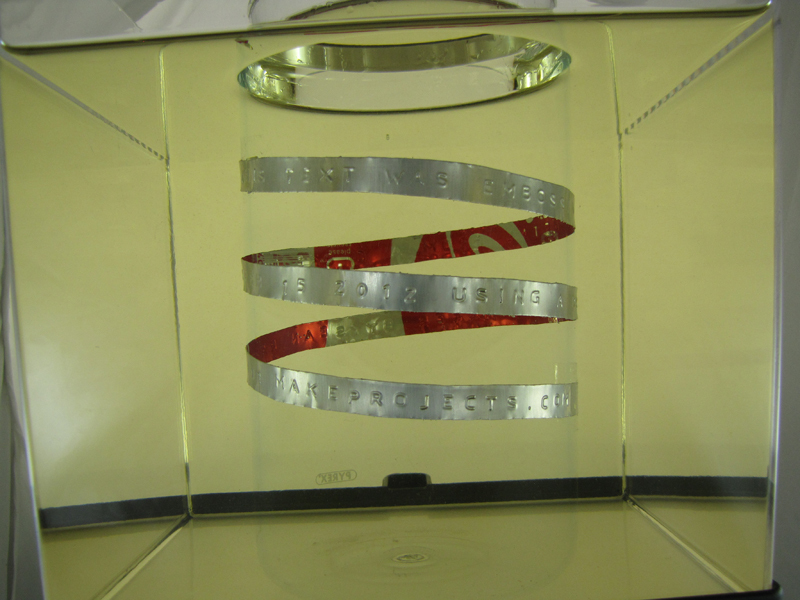
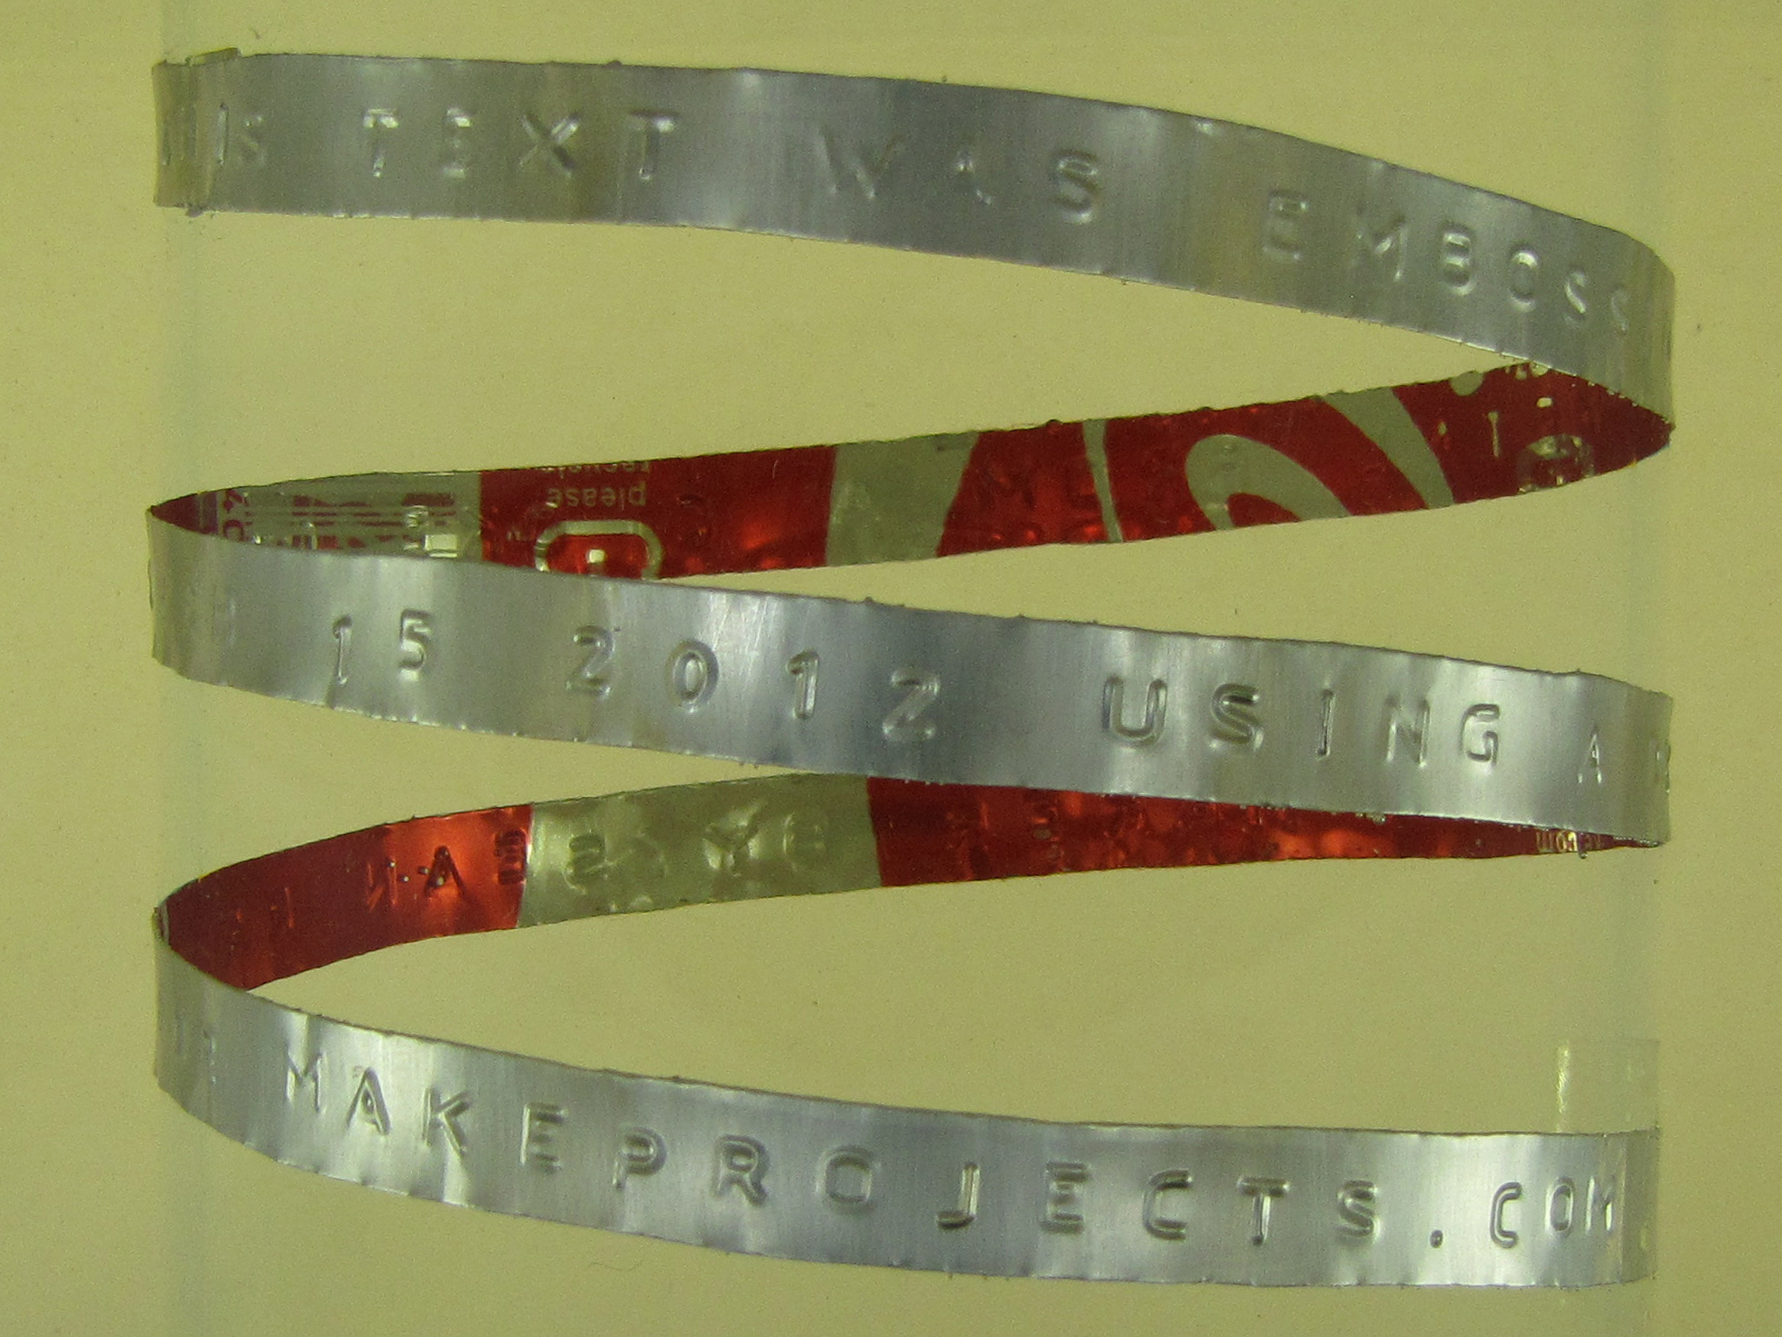
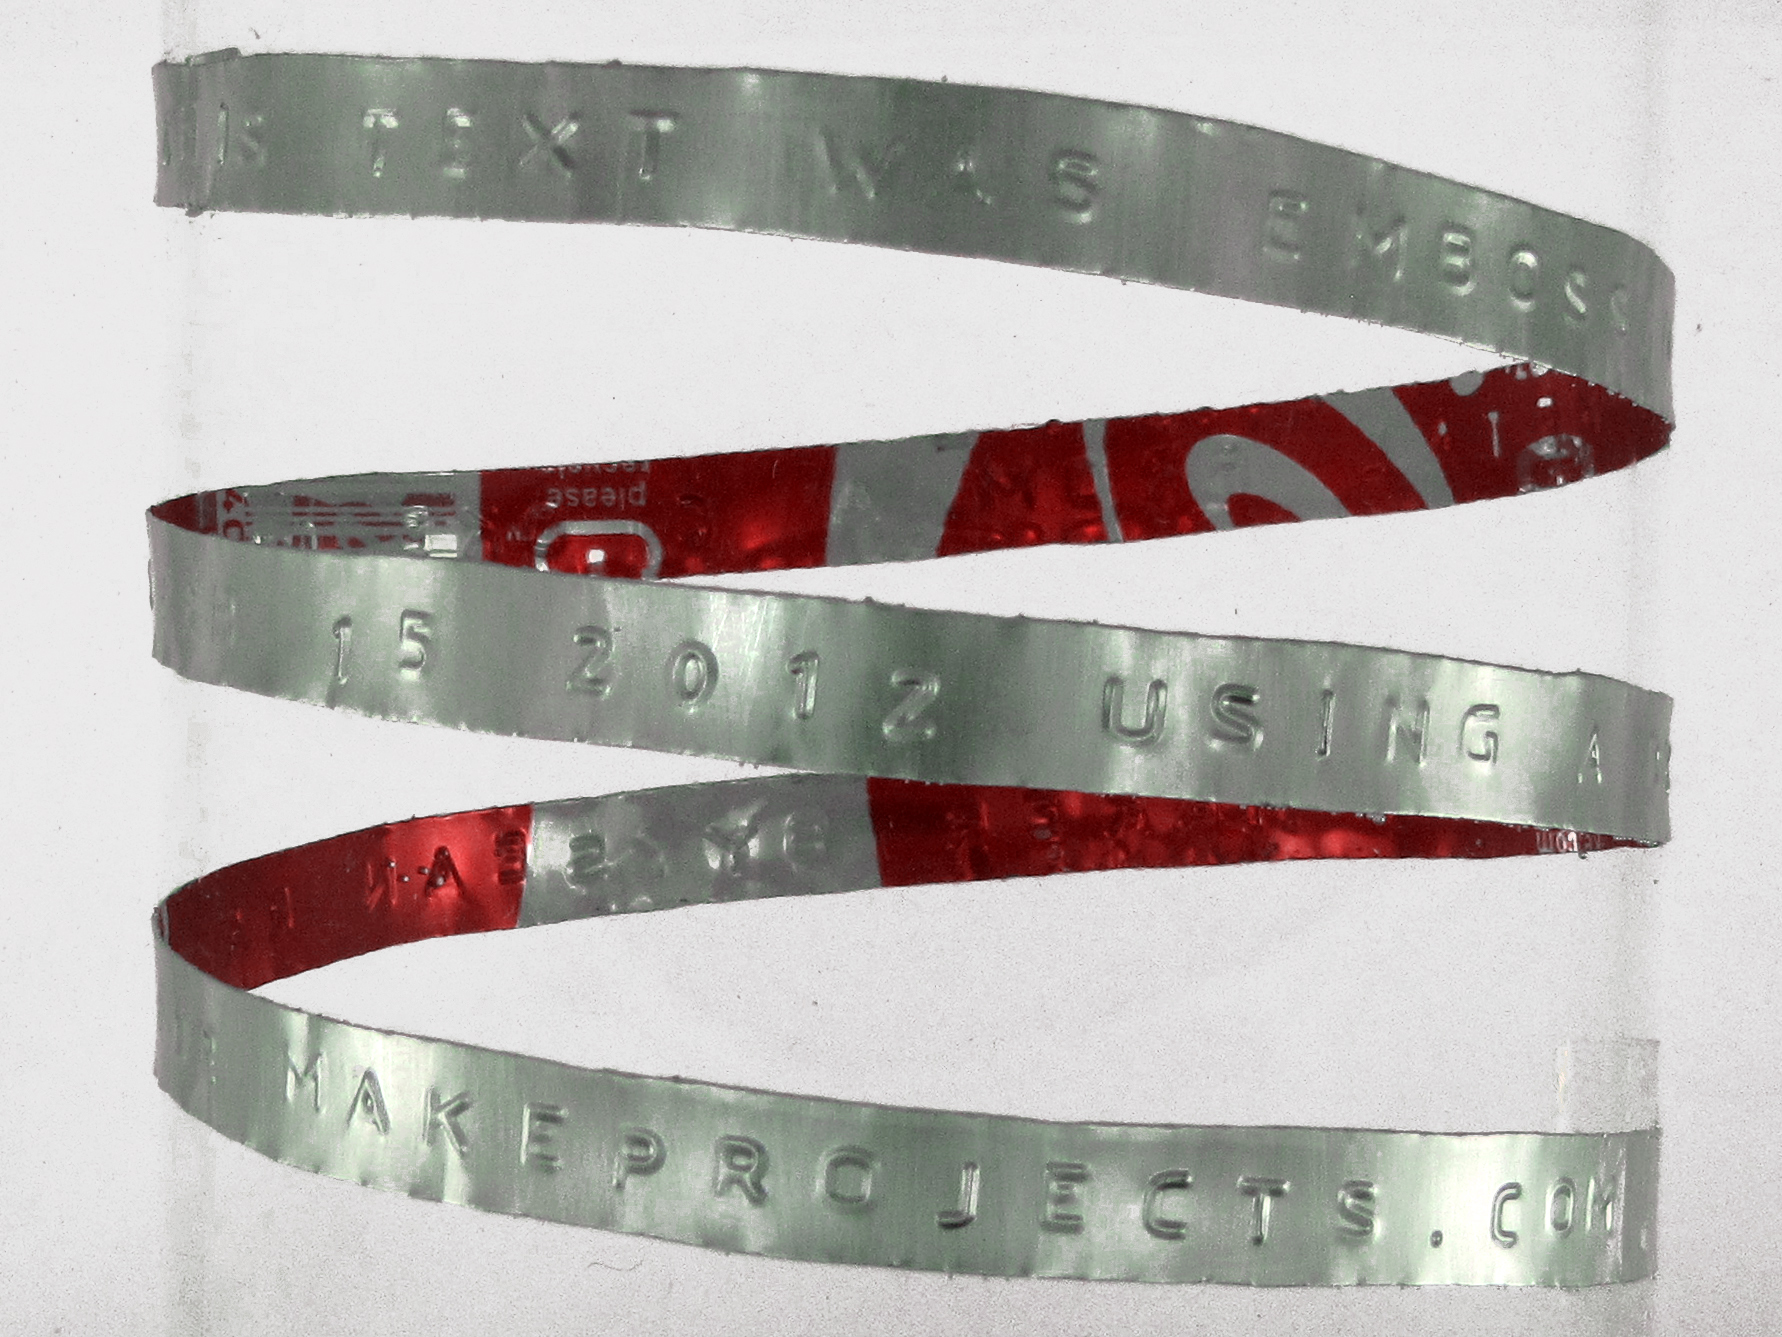
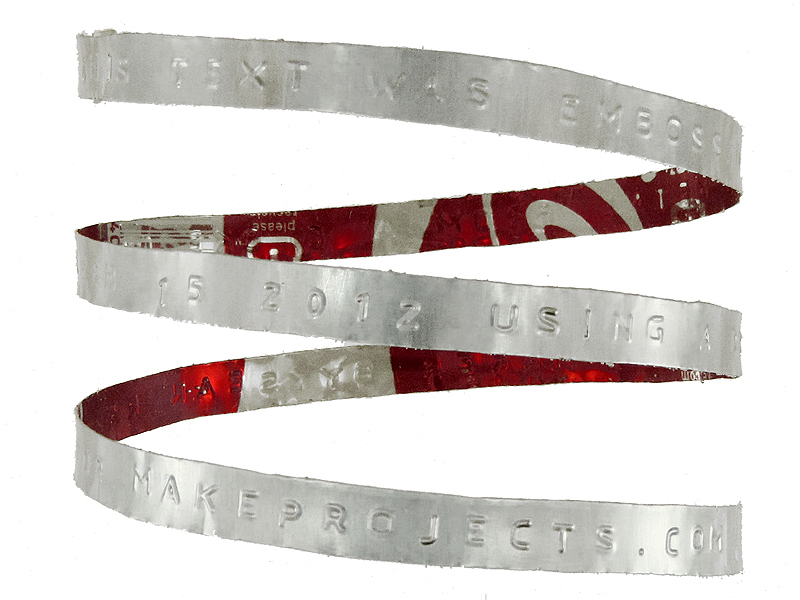
Recently, I needed a special photograph for my Soda Can Label Embossing project. I wanted to show a long embossed label arranged in a spiral, so that both the front and the back of the label were visible, in order to show off both the clear embossed text on the front, and the soda can graphics on the back. And I wanted a wide, short, even spiral that would fit nicely in a 4:3 aspect ratio.

The natural curliness of the aluminum, however, made it very hard to get the spiral I wanted without wrapping the label around some kind of round support. But then the support, even if transparent, made it hard to see the backside of the label clearly. If I had to use a support form, I wanted it to be truly invisible, as if the label were floating freely in space.

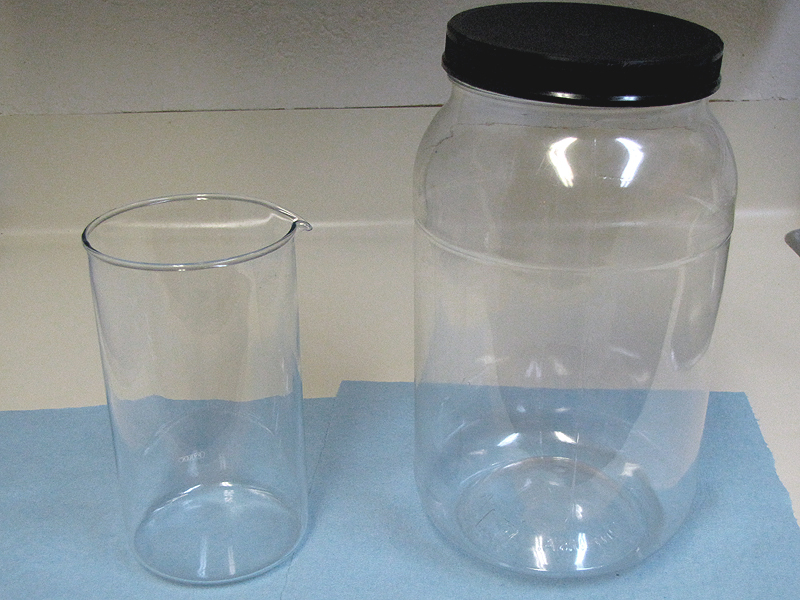
There is a classic physics demonstration, sometimes disguised as a bit of stage magic, in which pieces of glass are made to disappear by immersion in a liquid that has the same refractive index as the glass itself. I had a Pyrex glass beaker of about the diameter of the spiral I wanted, and I decided to experiment with the oil method for making the beaker invisible to get the shot. It’s a bit messy, and there are some things I’ll do differently next time, but it works.

What will the next generation of Make: look like? We’re inviting you to shape the future by investing in Make:. By becoming an investor, you help decide what’s next. The future of Make: is in your hands. Learn More.

Project Steps

Dry prep

Clean the glass support and the outer container spotless.

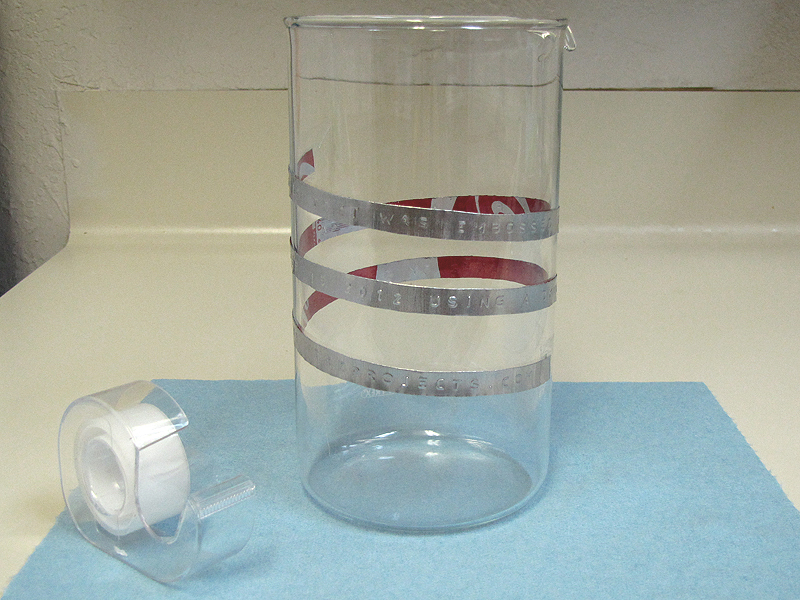
Mount the specimen to the glass support. I used Scotch tape for this purpose, which held up quite well against the oil. Its refractive index is not the same as the glass and the oil, so the tape itself is visible in photographs. But it was not hard to remove in post-processing.

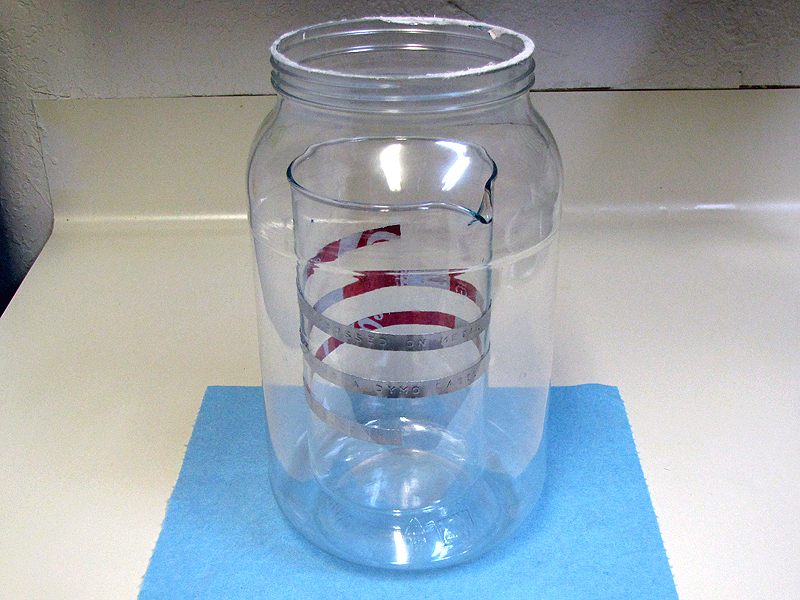
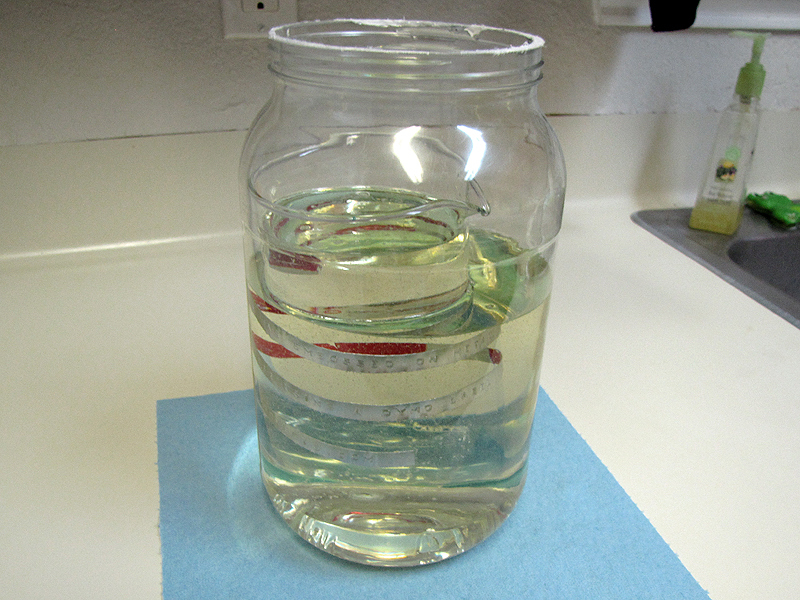
Position the glass support, with mounted specimen, inside the outer container.

Add oil

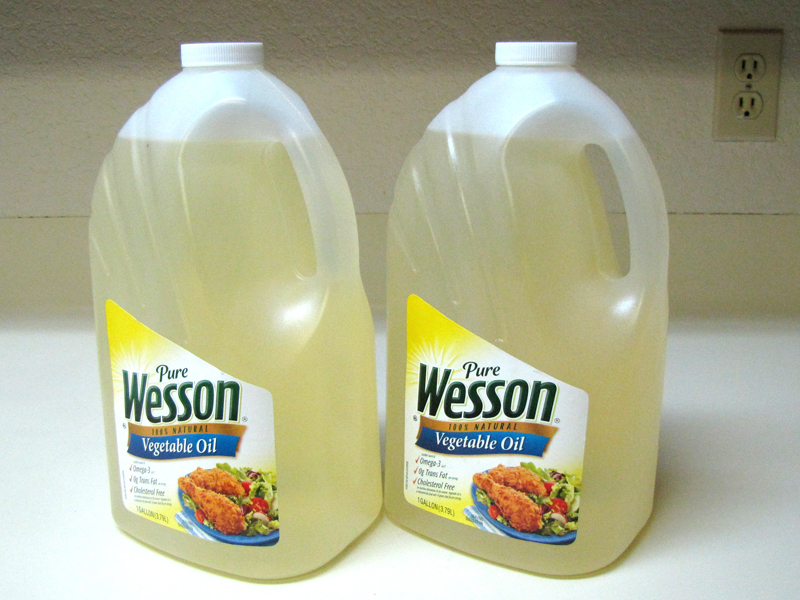
Acting on guidance from this page, I used Wesson brand original vegetable oil. It’s cheap and readily available, but it’s also yellow, and the resulting photograph requires color correction. Baby oil, though more expensive, reportedly works even better, and has the advantage of being “water white.” I’ve also read that Karo syrup can be used for this purpose.

If your Pyrex support object is hollow, pour oil into it, first. Otherwise, your support may float out of position.

Continue adding oil until the subject is fully submerged.

The oil will likely pick up air bubbles during pouring. Let it stand for an hour or so and these will rise out. Agitate the support as necessary to remove any bubbles that get caught on or near the subject. A loop of bent coat-hanger wire can be used to dislodge the more tenacious ones.

This is the point at which I realized a round outer container was going to introduce unacceptable cylindrical distortions, and had to switch to a square-sided plastic aquarium.

Take photos

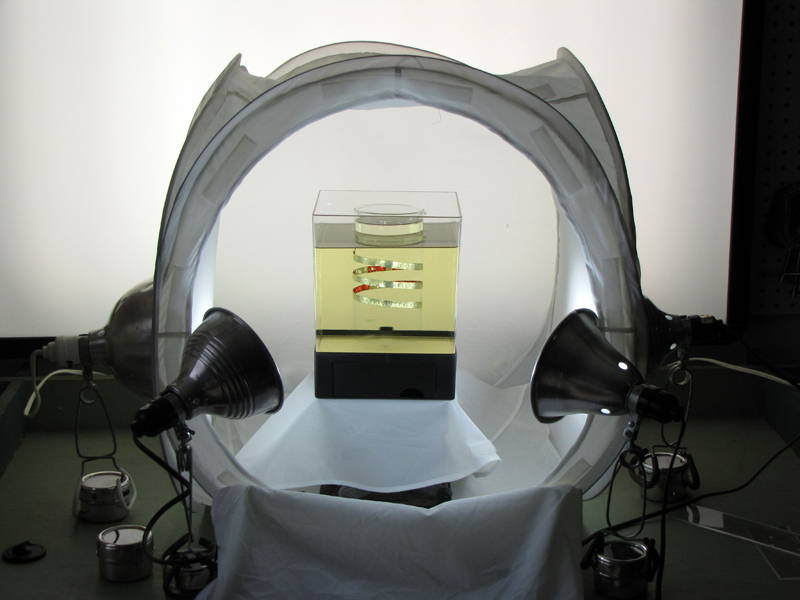
Position your subject against a clear background and light it very well. For my shot, I put the aquarium on a white drop cloth, on top of a lab jack, in a light tent, before a large fluorescent light box, and lit it from both sides and the front with a total of four 100W-equivalent full-spectrum CFL bulbs, as shown. Photographs were taken with the front tent flap closed, through the slit built into it.

As always in photography, the best way to be sure you get a good shot is to take lots of them. I took more than thirty.

Go through all your images and pick out the best one.

Digital post-processing

I use Adobe Photoshop CS2 to work up most of my digital photographs, because I was able to score a cheap copy when I was still a college student. The open source photo editor GIMP would probably serve just as well for this work.

Rotate the raw image, correct any lens distortion, and/or crop it down to correctly frame your subject.

Correct the color balance to remove yellow or other noticeable tint from the background areas. I found the most effective way to do so, in PhotoShop, was to use the “selective color” feature, in “relative” mode, to remove 100% of the yellow from the image’s “Yellows” channel.

Because the refractive index of Wesson oil is not exactly the same as Pyrex, there may still be very faint bluish shadows along the edges of the glass. These, as well as any visible traces of the mounting tape, are easily removed with PhotoShop’s “Healing Brush” or a similar tool.

Conclusion

The photograph I eventually got using this method is still not entirely satisfactory to me, but that has more to do with how I positioned the subject on the support. The trick for using oil to make the support invisible worked great.

Next time, I would like to find an oil or other medium that is even closer to the refractive index of Pyrex. With Wesson oil, there's still a very faint blue "ghost" of the glass shape visible in the raw photographs, though this is not difficult to remove digitally. Also, I'd like to find a medium that is truly "water white" and does not require color correction from yellow. Reportedly, baby oil is an improvement on both counts.