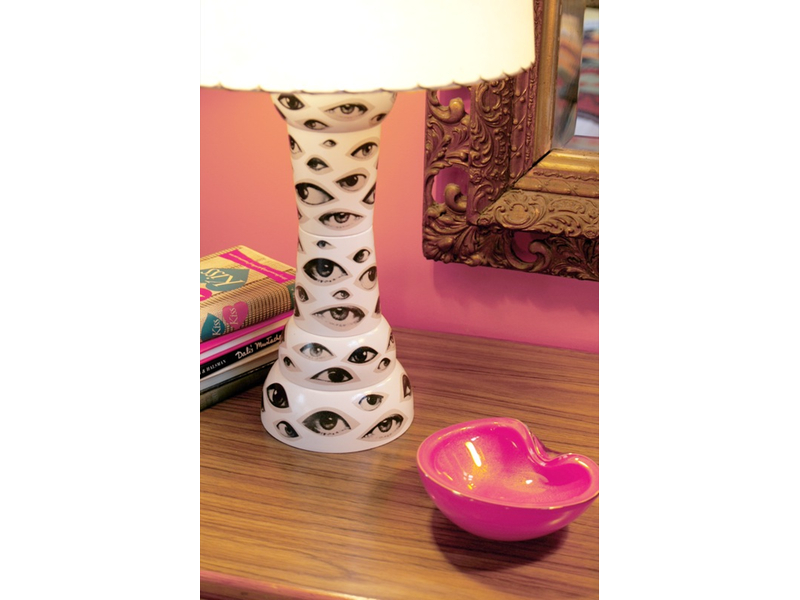
Roger Korman meets Man Ray in this from-scratch assemblage that requires virtually no skill. It does, however, require a little vision with respect to overall style and design, as much as stacking cottage cheese containers constitutes “design.”

The lamp base is composed of plaster forms cast from plastic food containers. Reusable storage containers like Tupperware will offer the most interesting shapes, but yogurt, cottage cheese, and sour cream containers will do the trick, too — plus, you need your calcium.

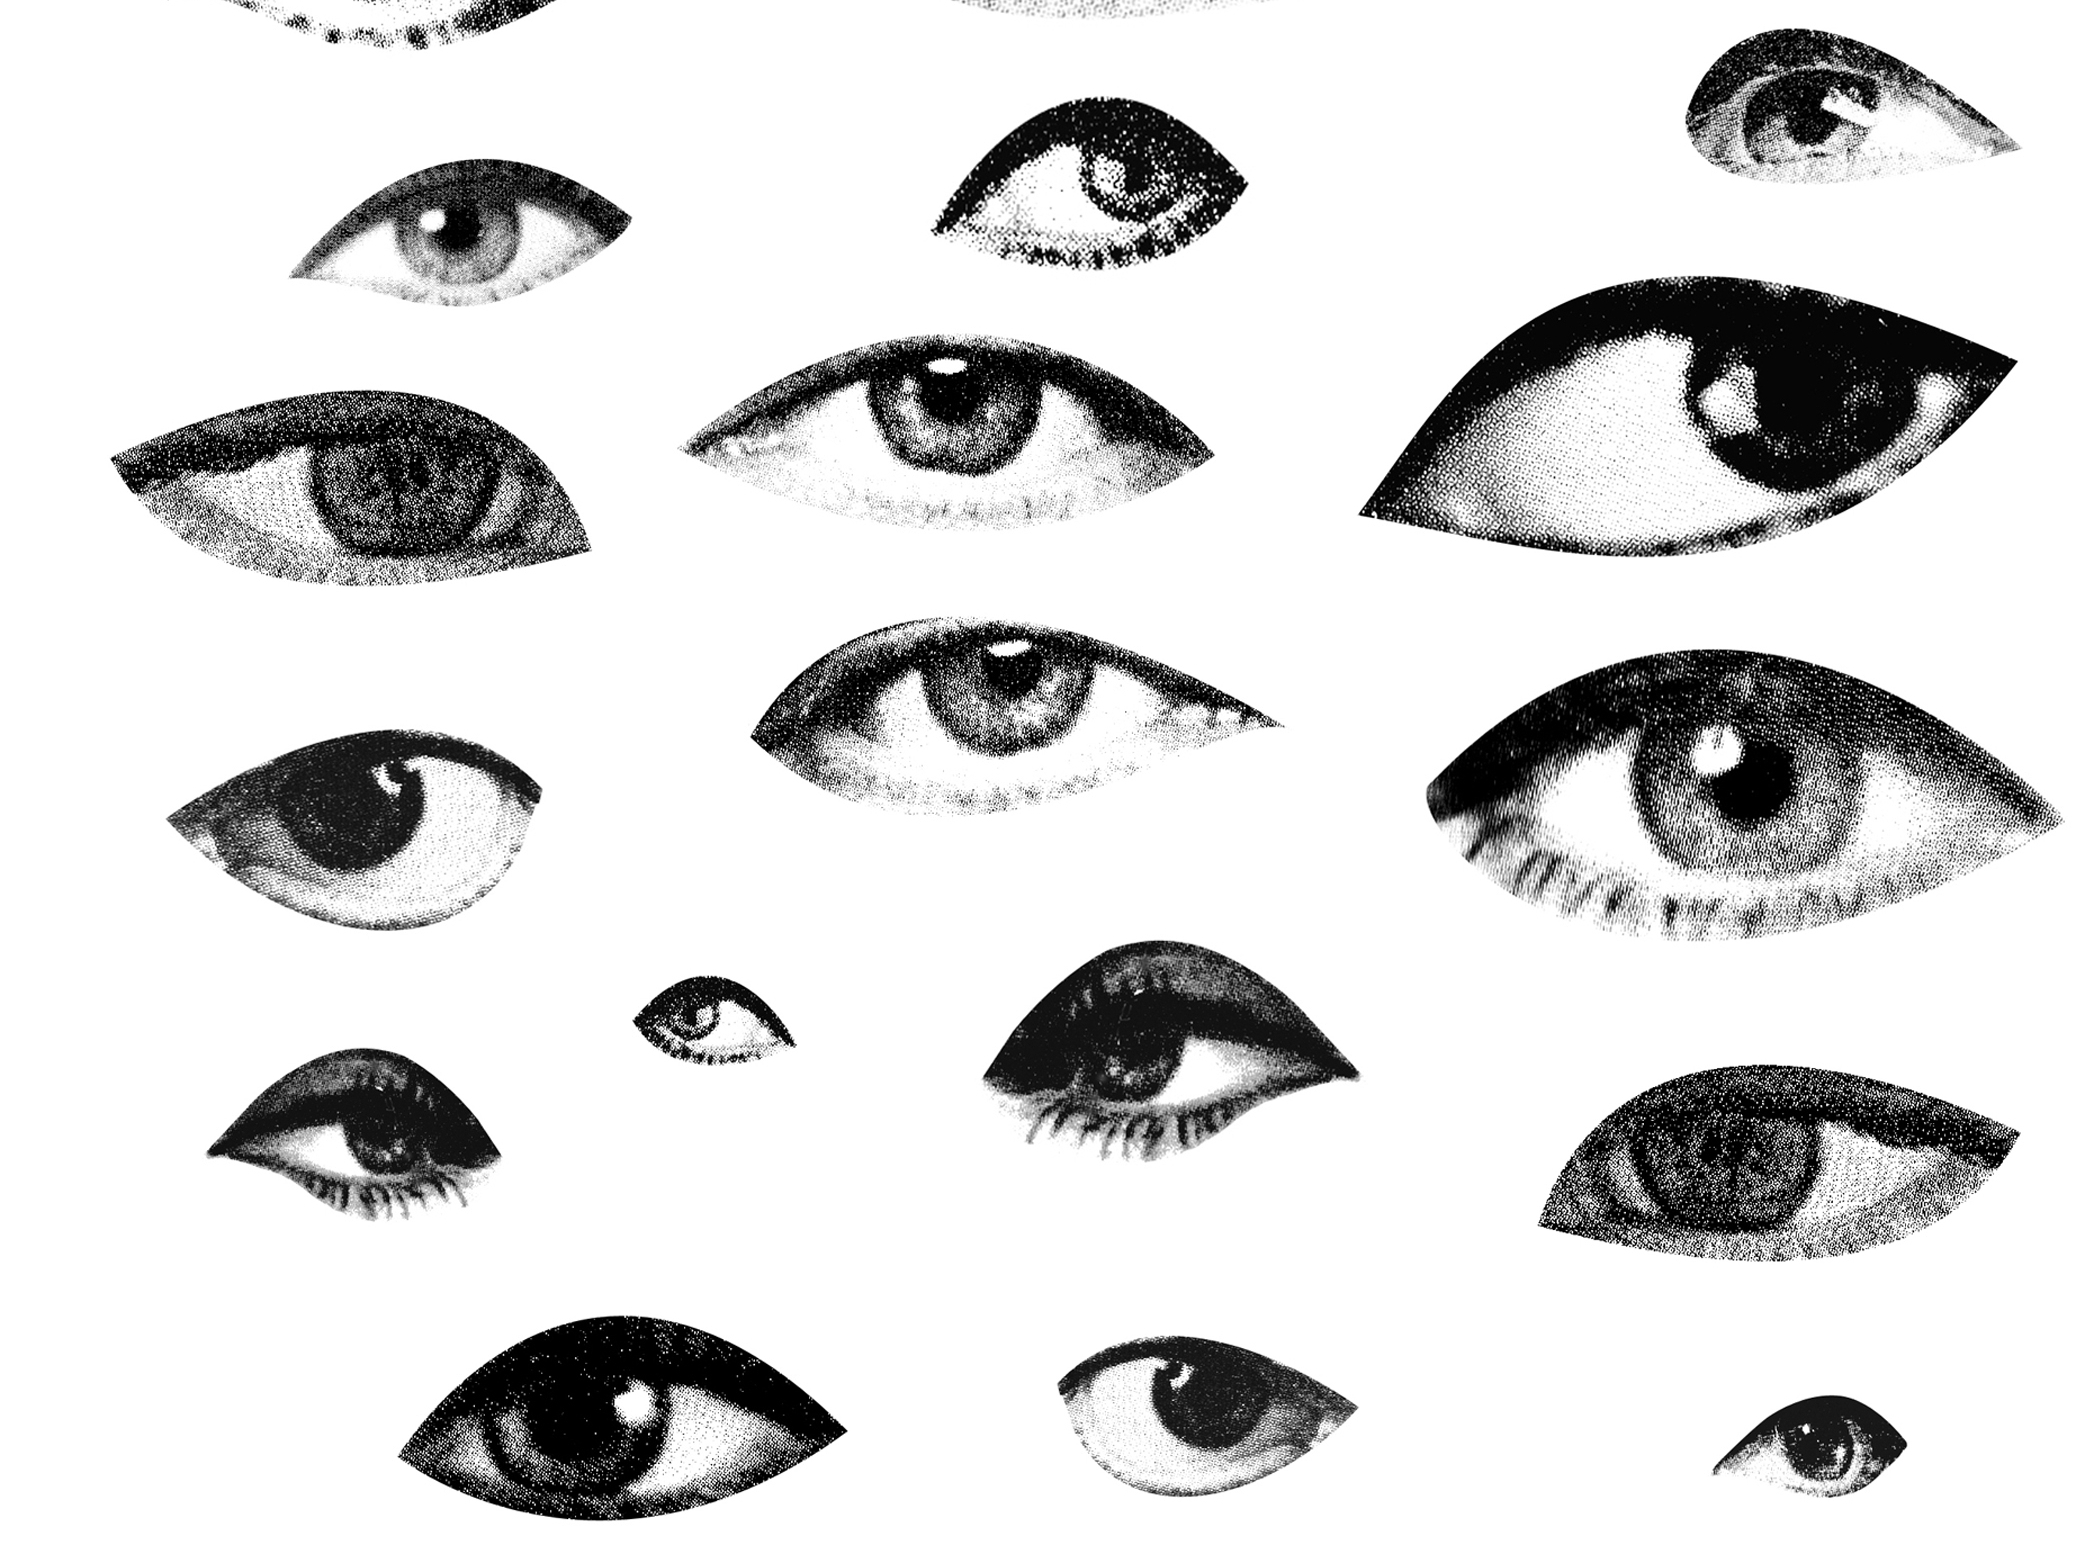
The human eye makes for a nice, bold graphic, but certainly don’t let your options end there — any high-contrast image will work for this design. These particular eyes were scanned from my vast vintage magazine collection.

What will the next generation of Make: look like? We’re inviting you to shape the future by investing in Make:. By becoming an investor, you help decide what’s next. The future of Make: is in your hands. Learn More.

Project Steps

Design the shape of your lamp.

First start with a shade you like. It will be much, much easier to size the lamp to your shade rather than the other way around. This how-to is created for a shade that requires a lamp harp (the wire form on which the shade is attached), but a clip shade will work just fine too, and will allow you to skip a couple of the steps.

When choosing plastic containers to cast your forms, you will need to consider only 2 things. Thing 1: select containers with smooth walls that taper at the base, otherwise you will never be able to release your mold. Thing 2: the containers you choose should create plaster forms that stack and invert on each other to create a lamp base with a nice silhouette. Aside from that, choose whatever you want.

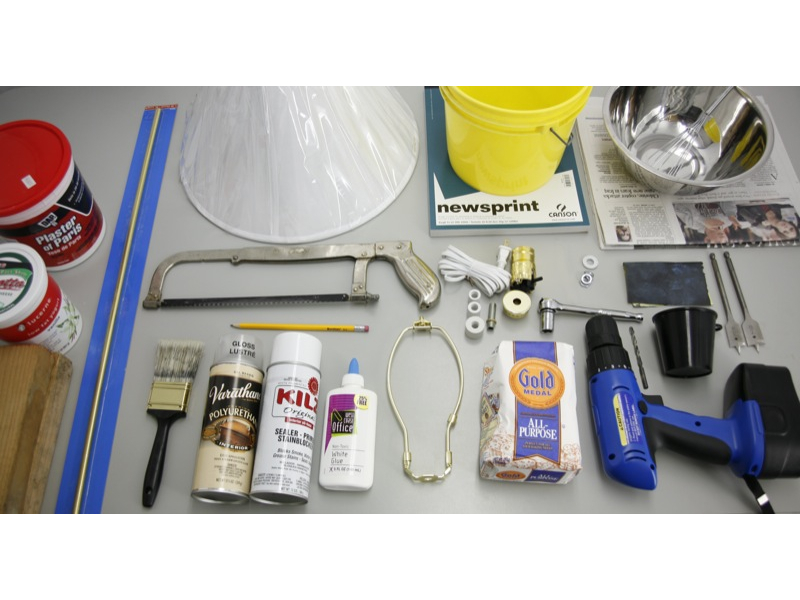
First determine the amount of plaster you’ll need, based on the size and number of plastic containers you’ve chosen as your molds; figure that 2 cups of dry plaster and 2 cups of water will make 2 cups of wet plaster. Pour the water into a plastic bucket. Add the dry plaster by sprinkling it into the water in small quantities, whisking constantly to prevent the plaster from clumping. A wire whisk may seem a little fussy for mixing plaster, but it is positively foolproof for a smooth consistency.

Once the plaster is mixed and completely free of any dry clumps, pour it into your plastic food container molds. Work quickly — plaster sets fast. Fill the molds about 1⁄4″ to 1⁄2″ shy from the very top of the container; this will help for an easier mold release once dry.

Allow the molds to set for an hour. Once set, flip each mold and tap the lip flat on a tabletop until the set plaster form is released. Allow the forms to sit in an arid, preferably warm spot for a day or more, until they become bright white and bone dry.

Drill the base sections.

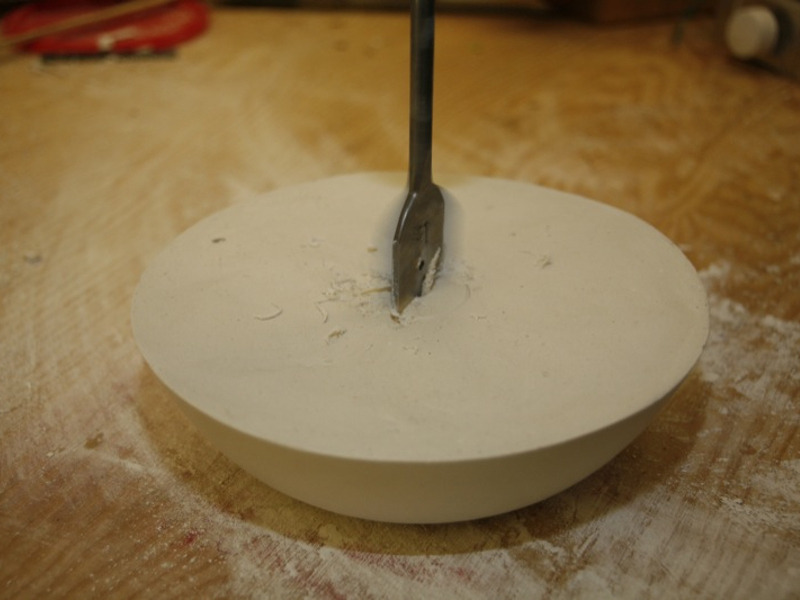
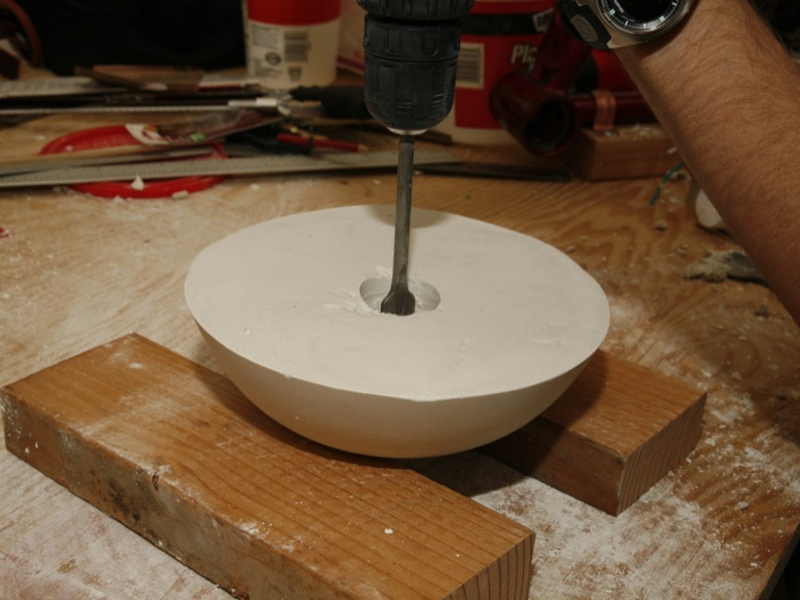
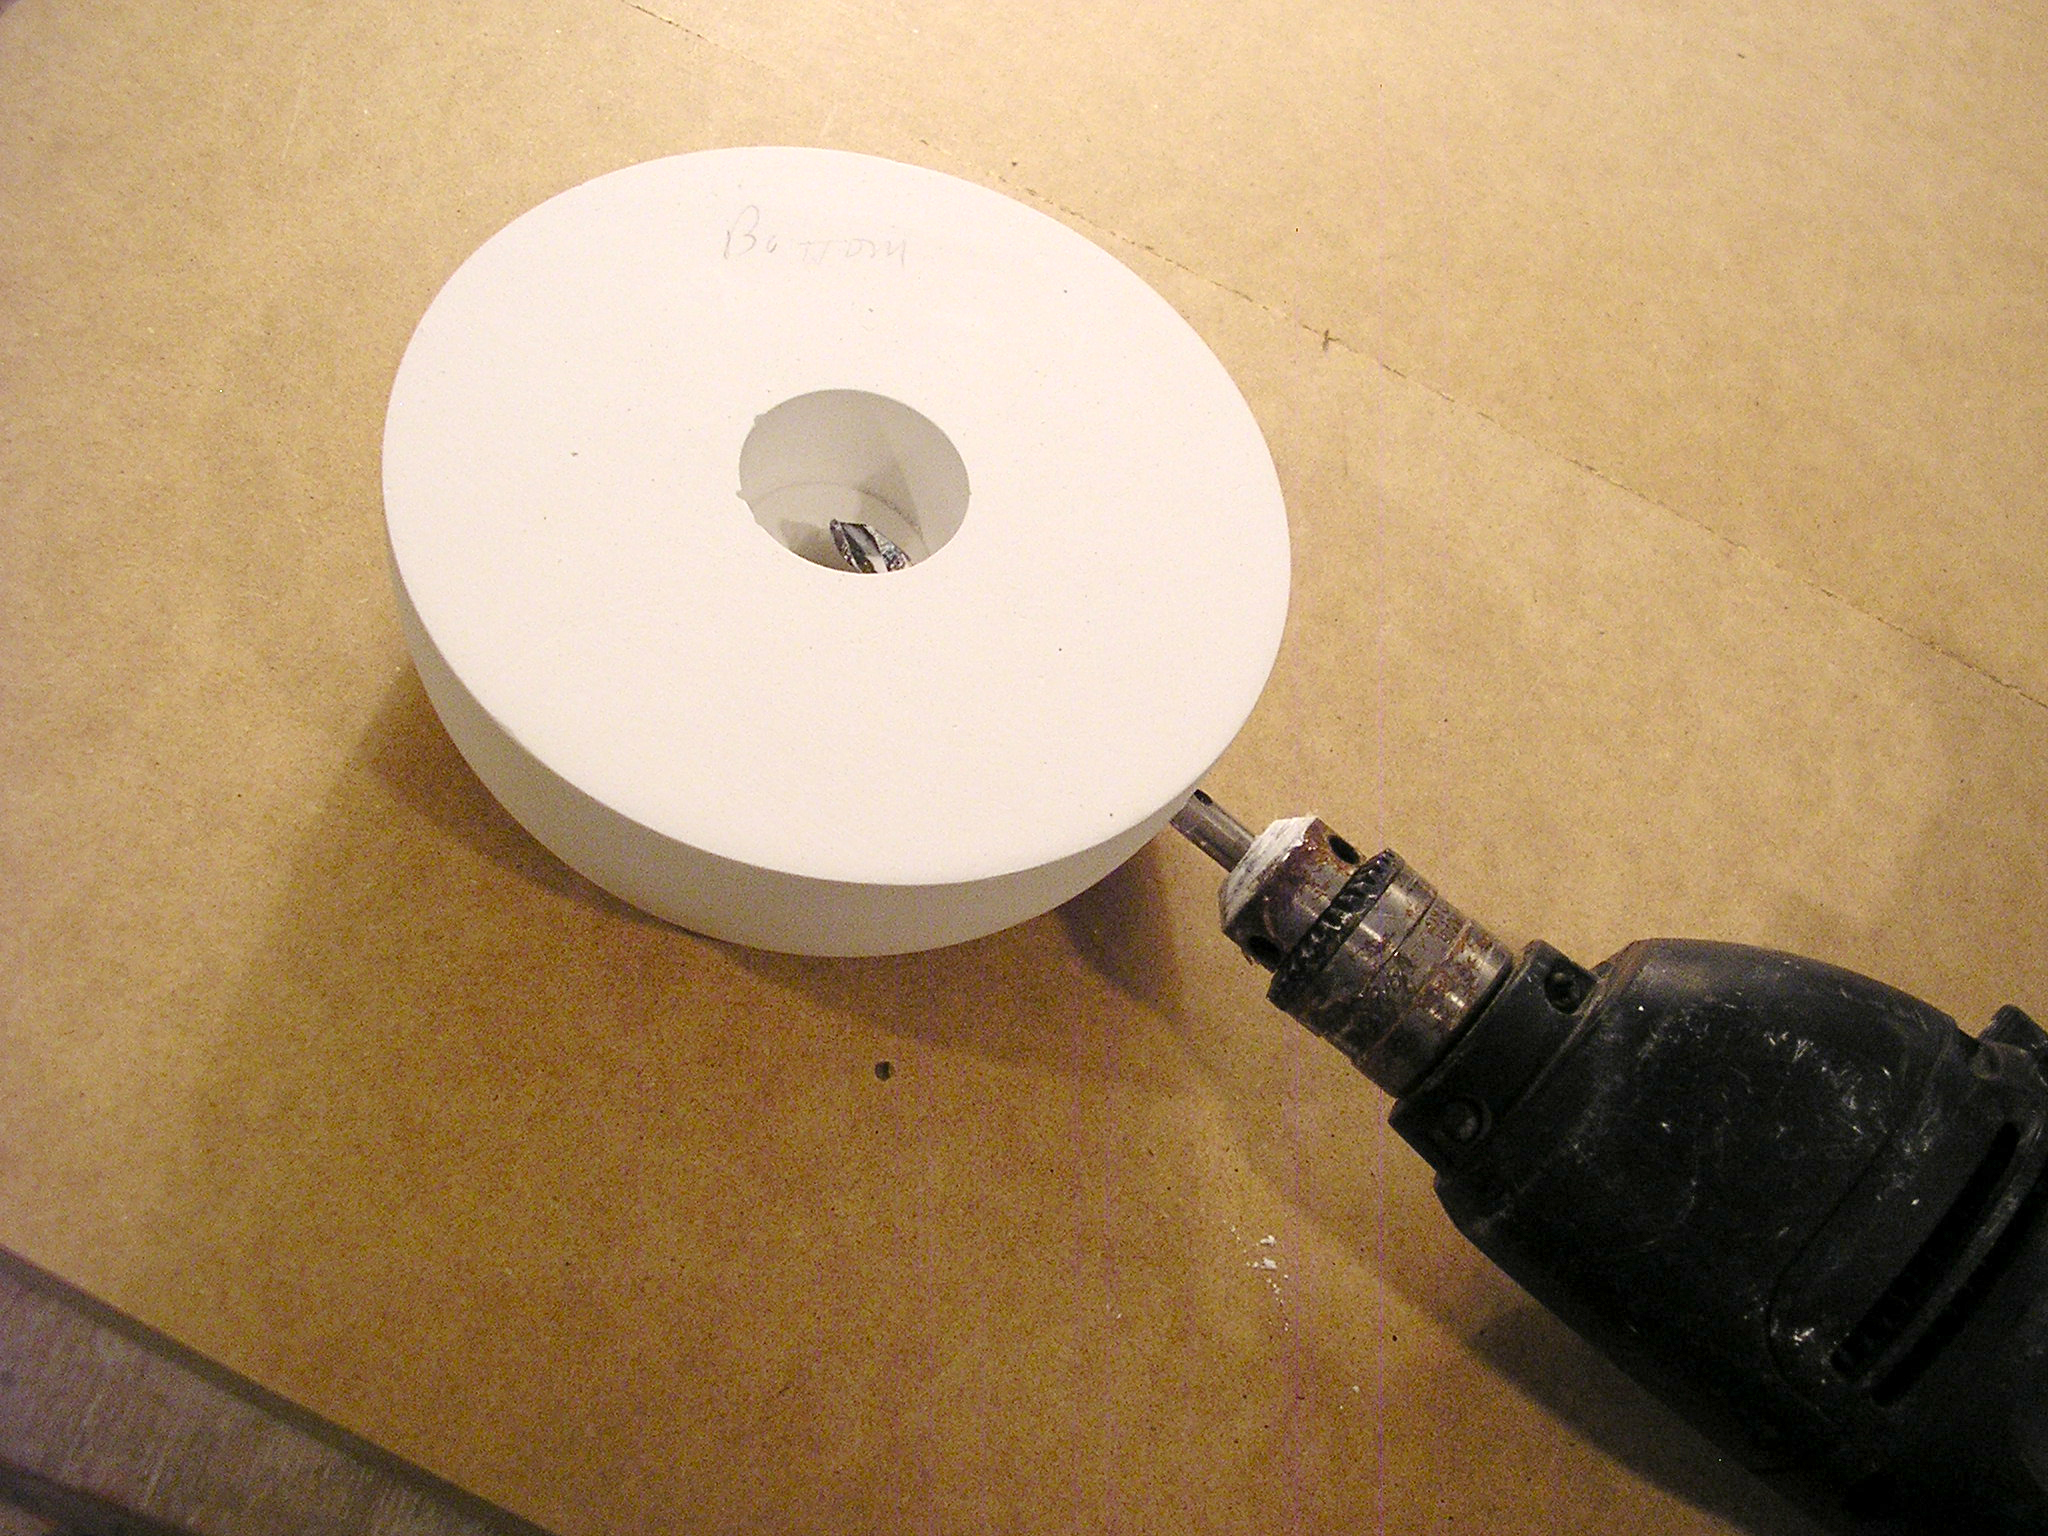
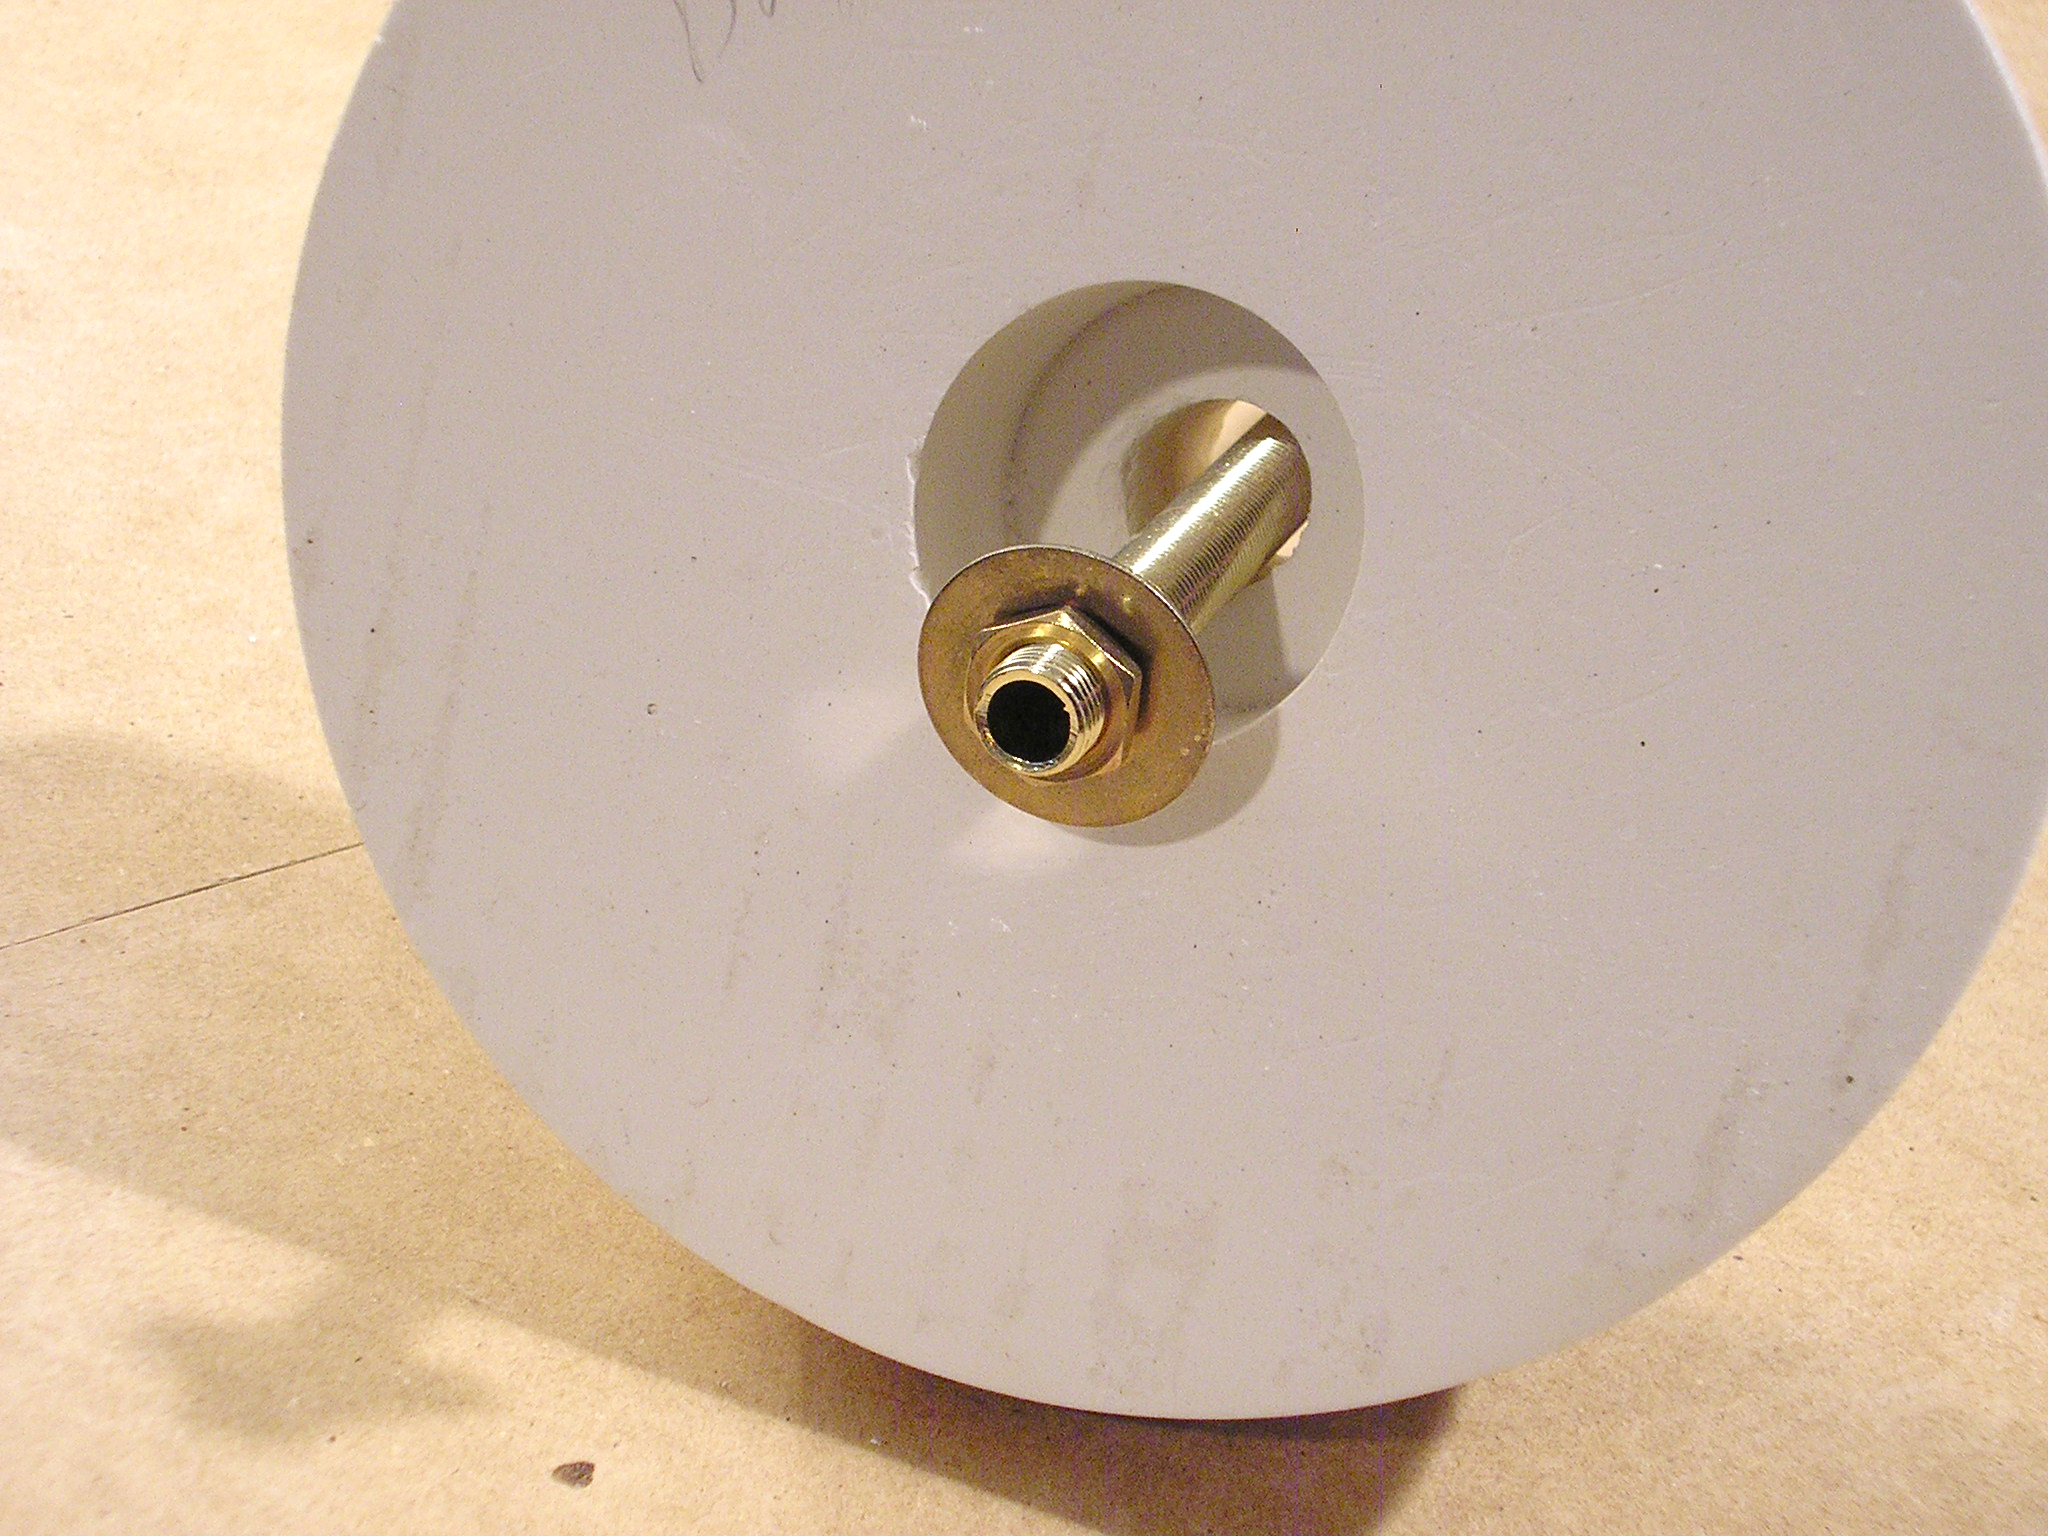
Upturn the piece that will serve as the bottom of the lamp base. Using a 1 1⁄2″ paddle bit, drill a hole centered on the bottom of the form, about 1″ deep.

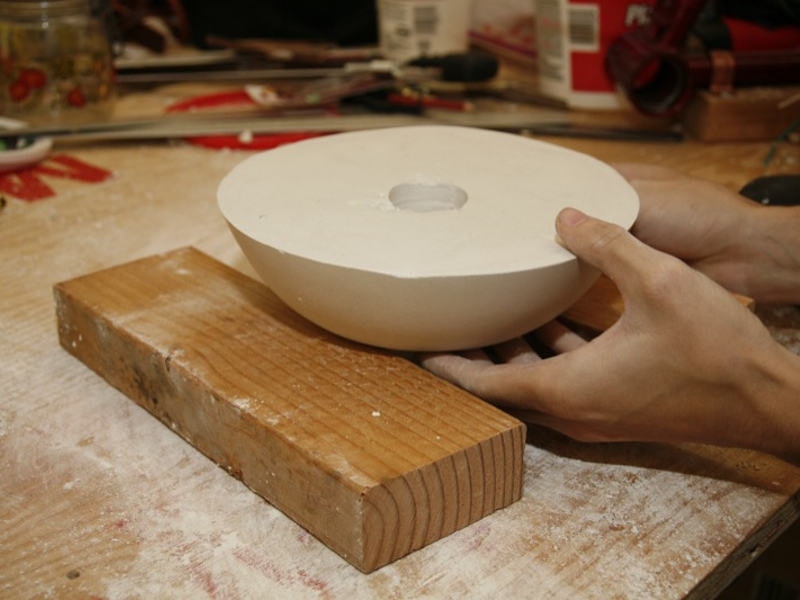
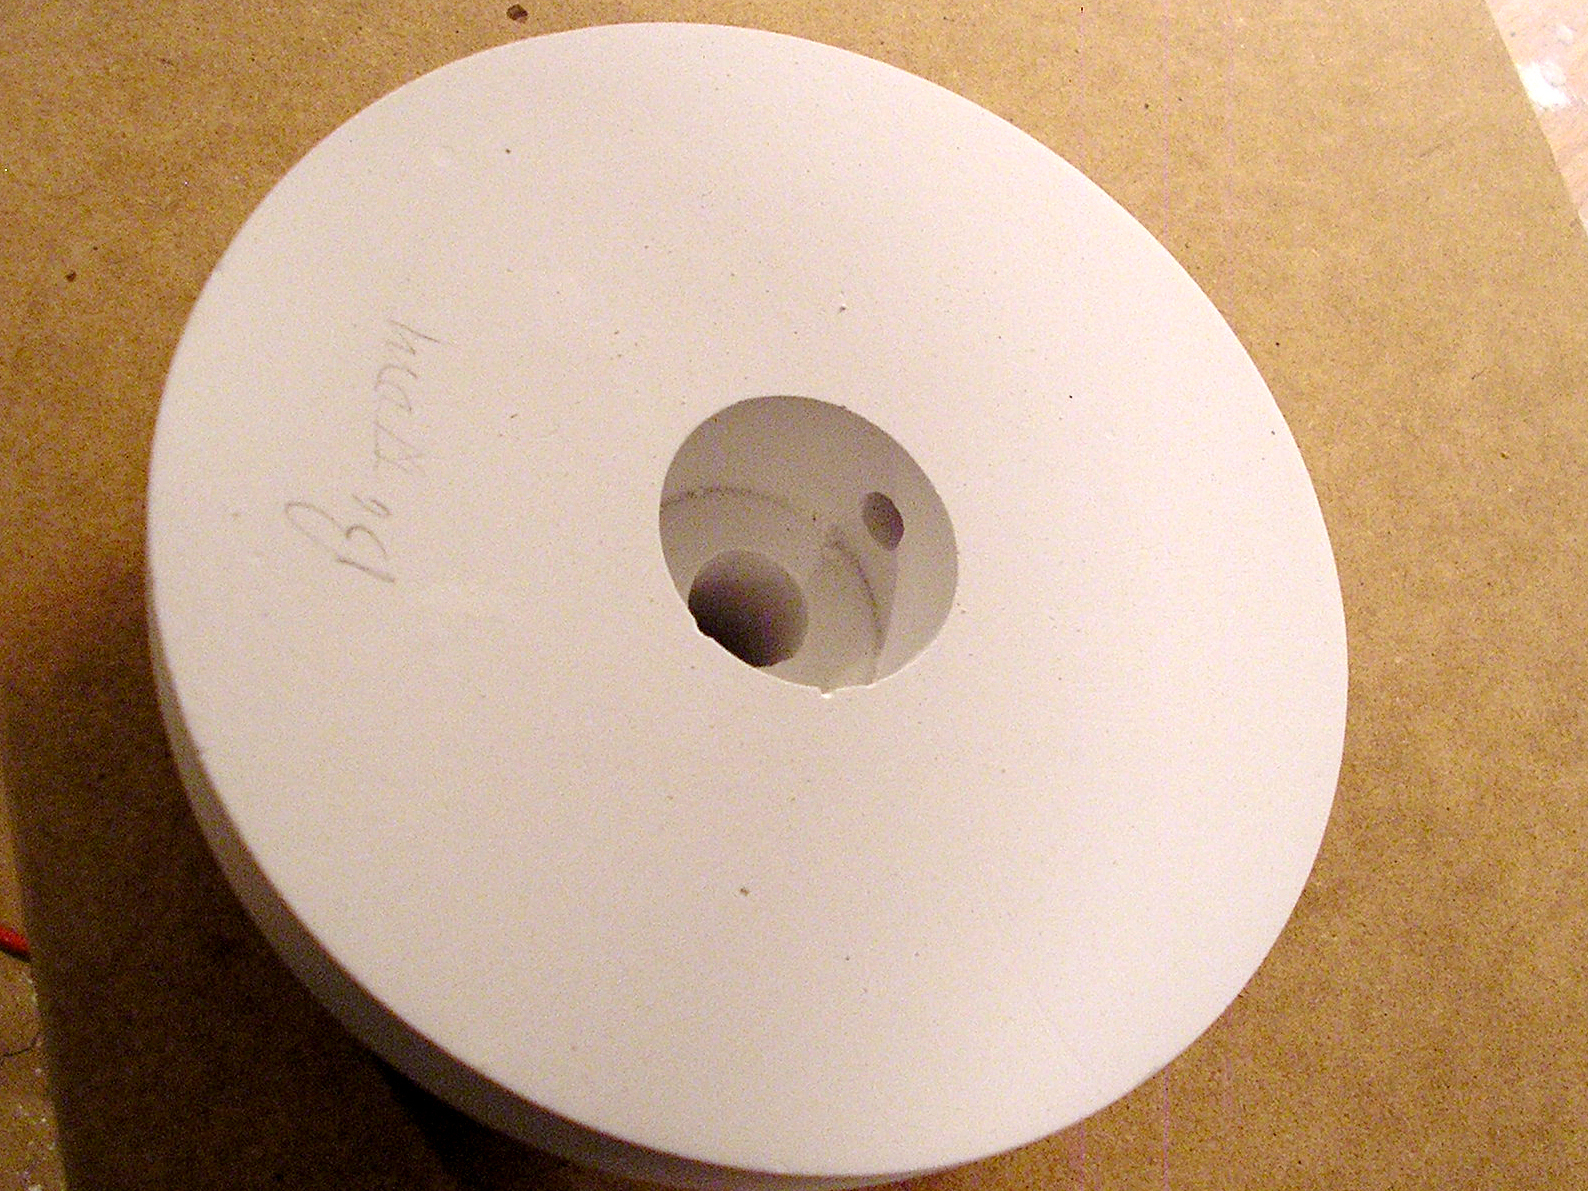
Place 2 equal-sized wood supports (or books covered in paper bags) a few inches apart on your work surface — this will help prevent your drill bit from hitting the tabletop as it passes through the underside of the plaster forms. Place the upturned base piece over the wood supports. In the center of the 1 1⁄2″ hole, drill another hole straight through, using the 3⁄4″ bit.

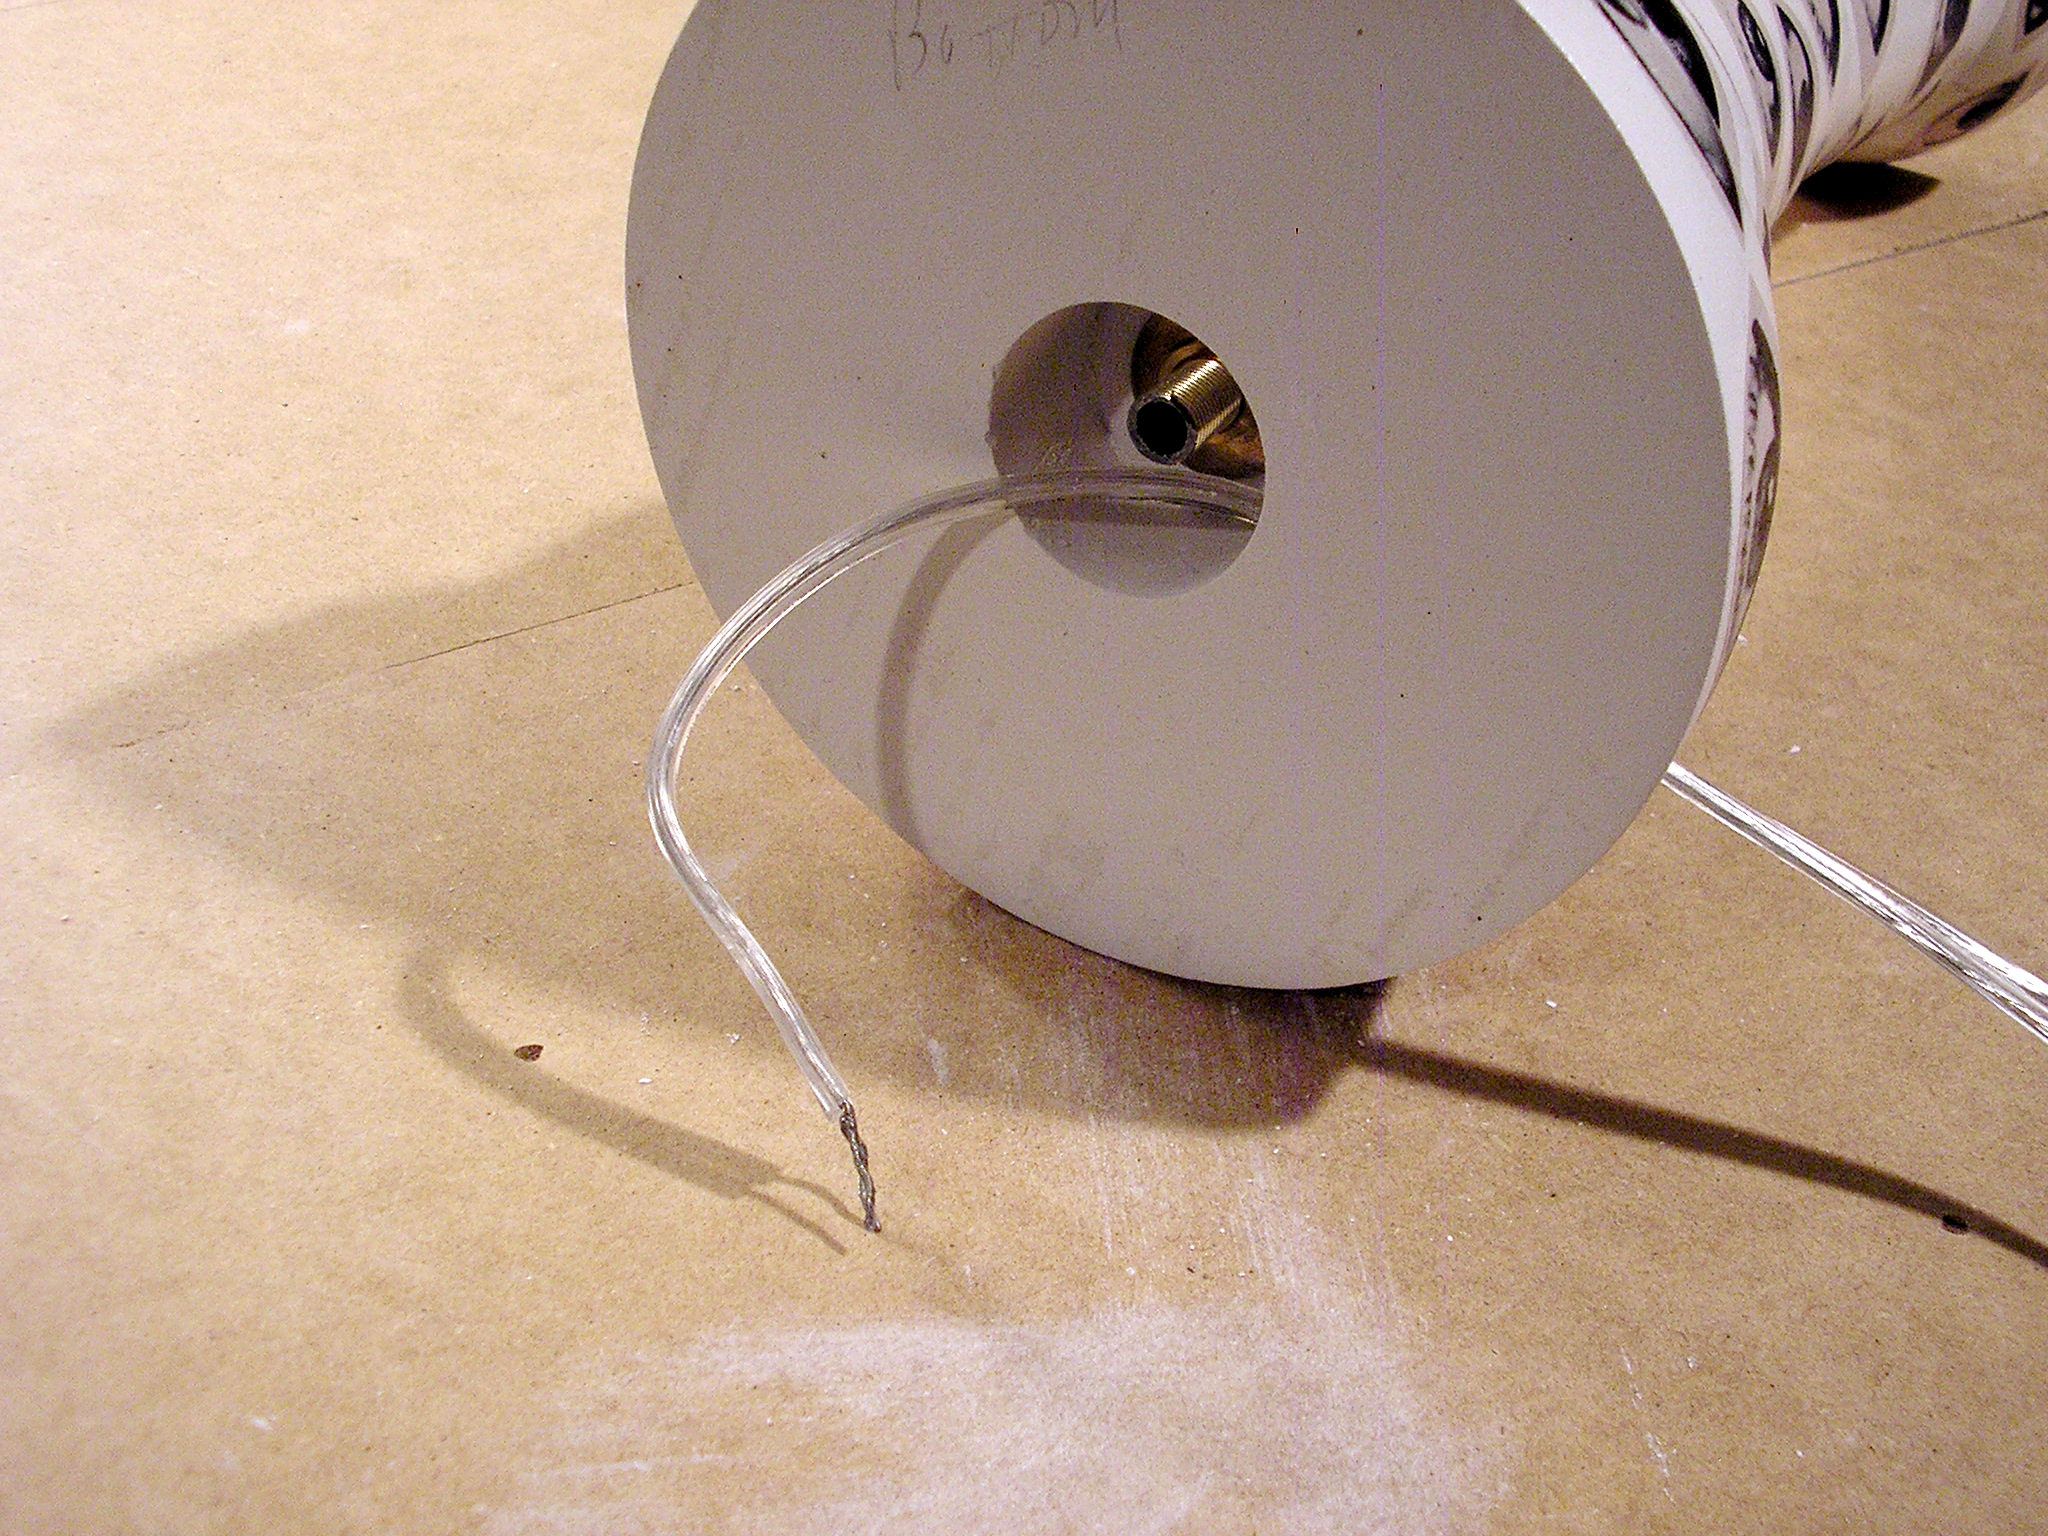
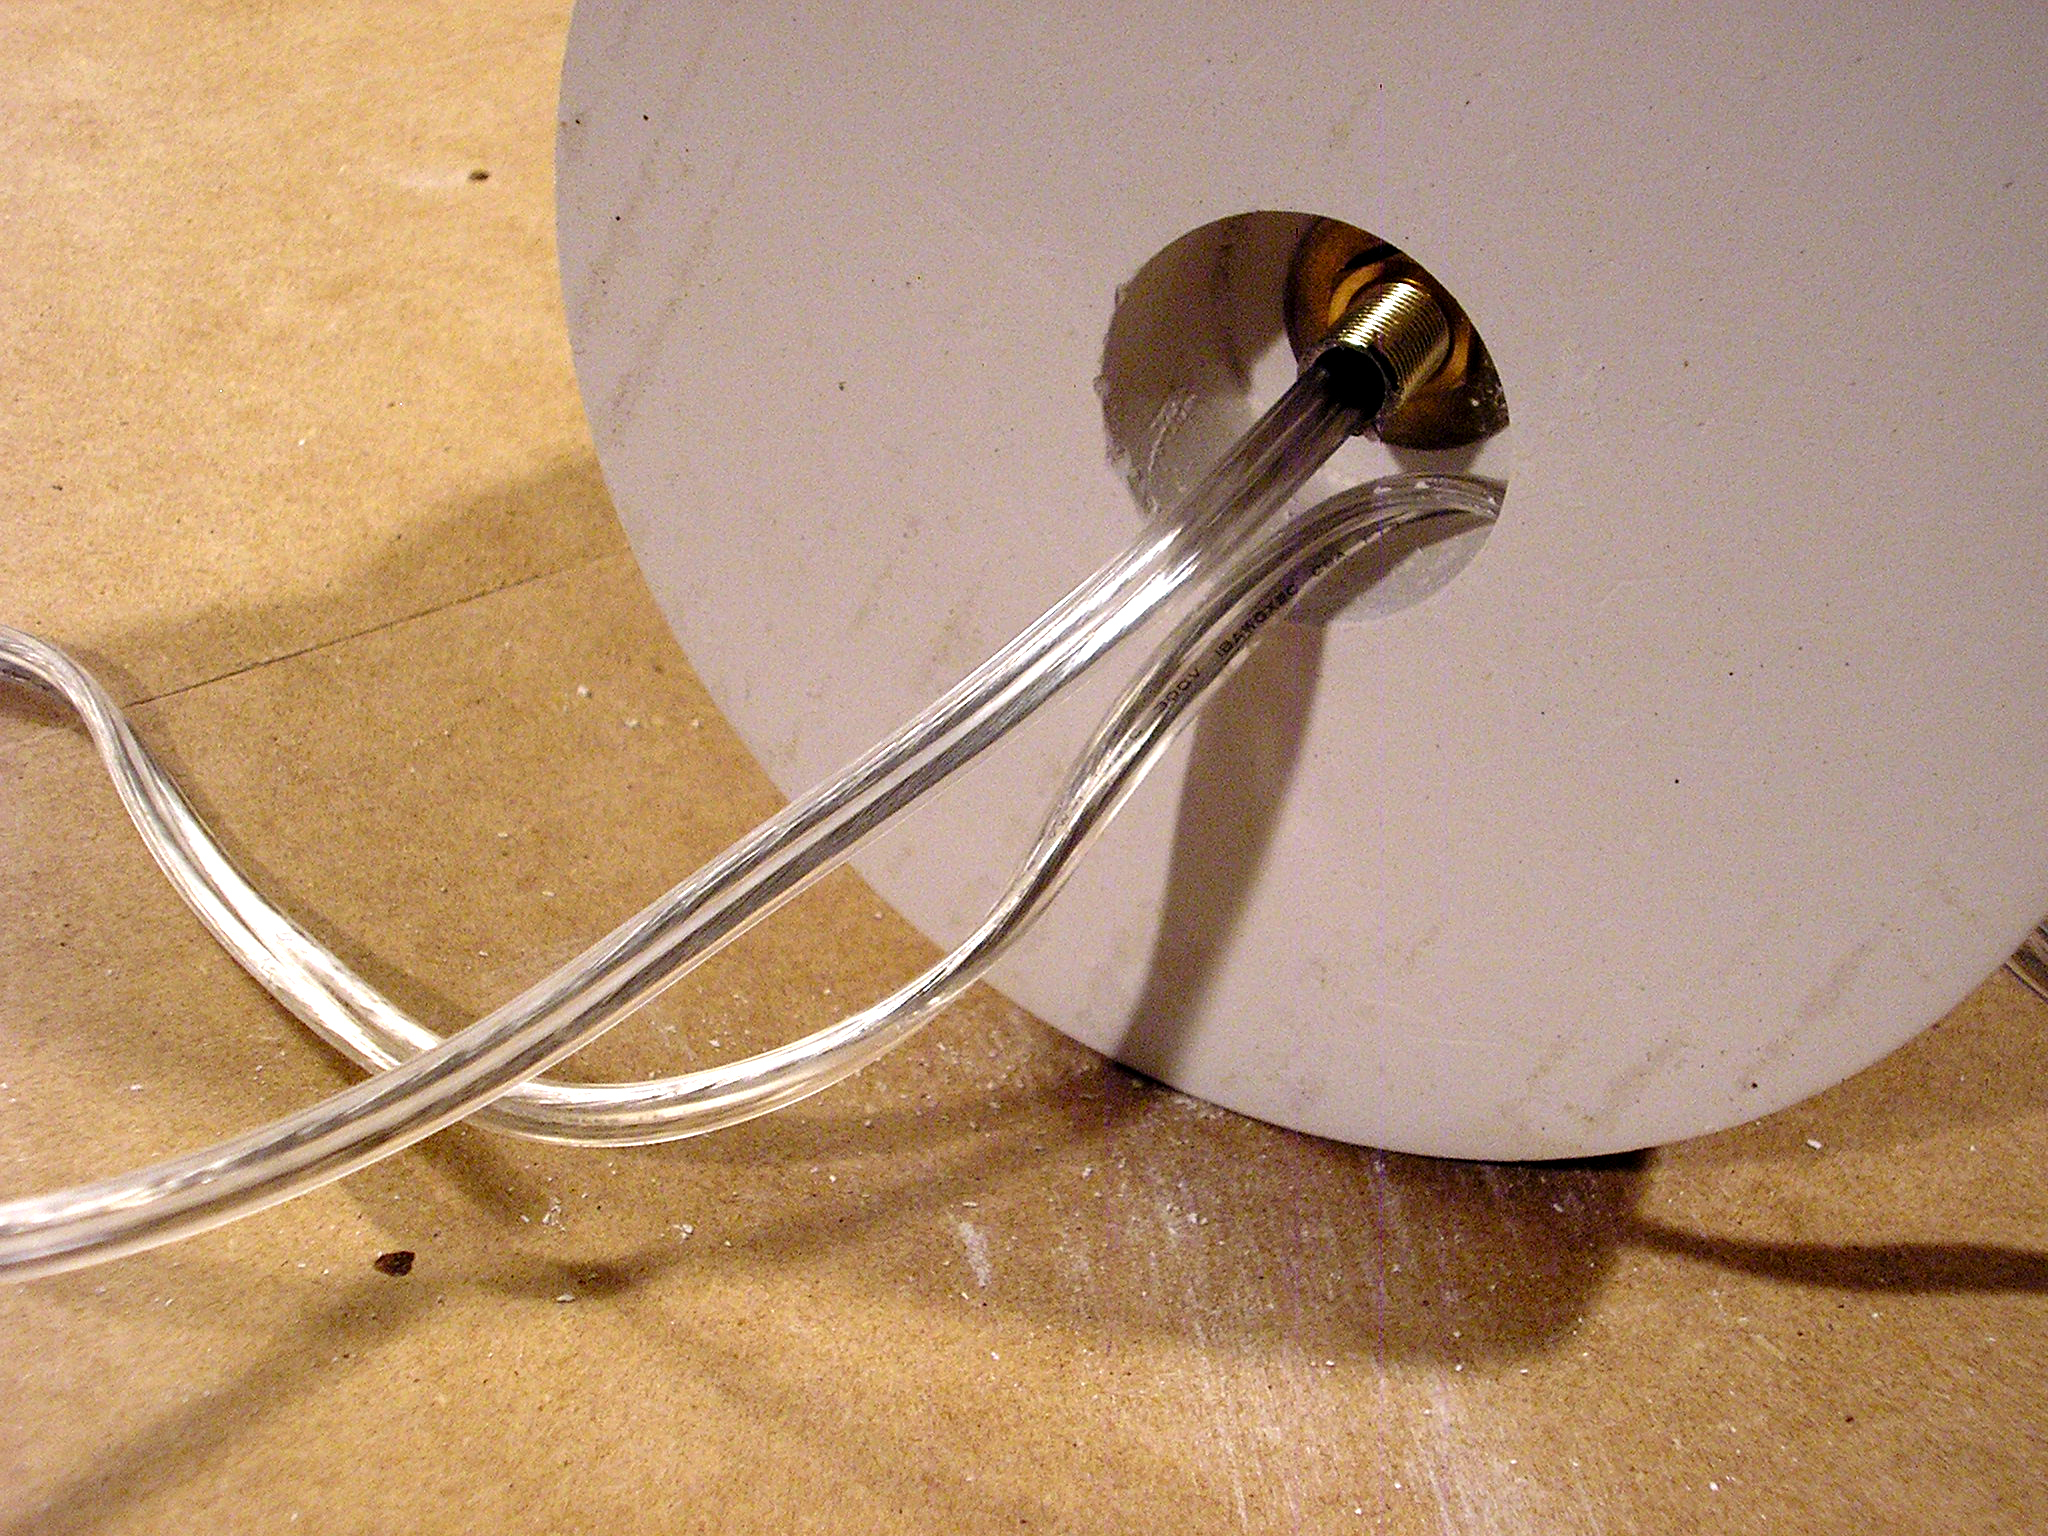
On the side of the base, from a point about 3⁄4″ from the bottom, use the 1⁄4″ bit to drill a radius hole straight through to the center of the base, meeting the 1 1⁄2″ center hole. This will be the lead for the lamp cord.

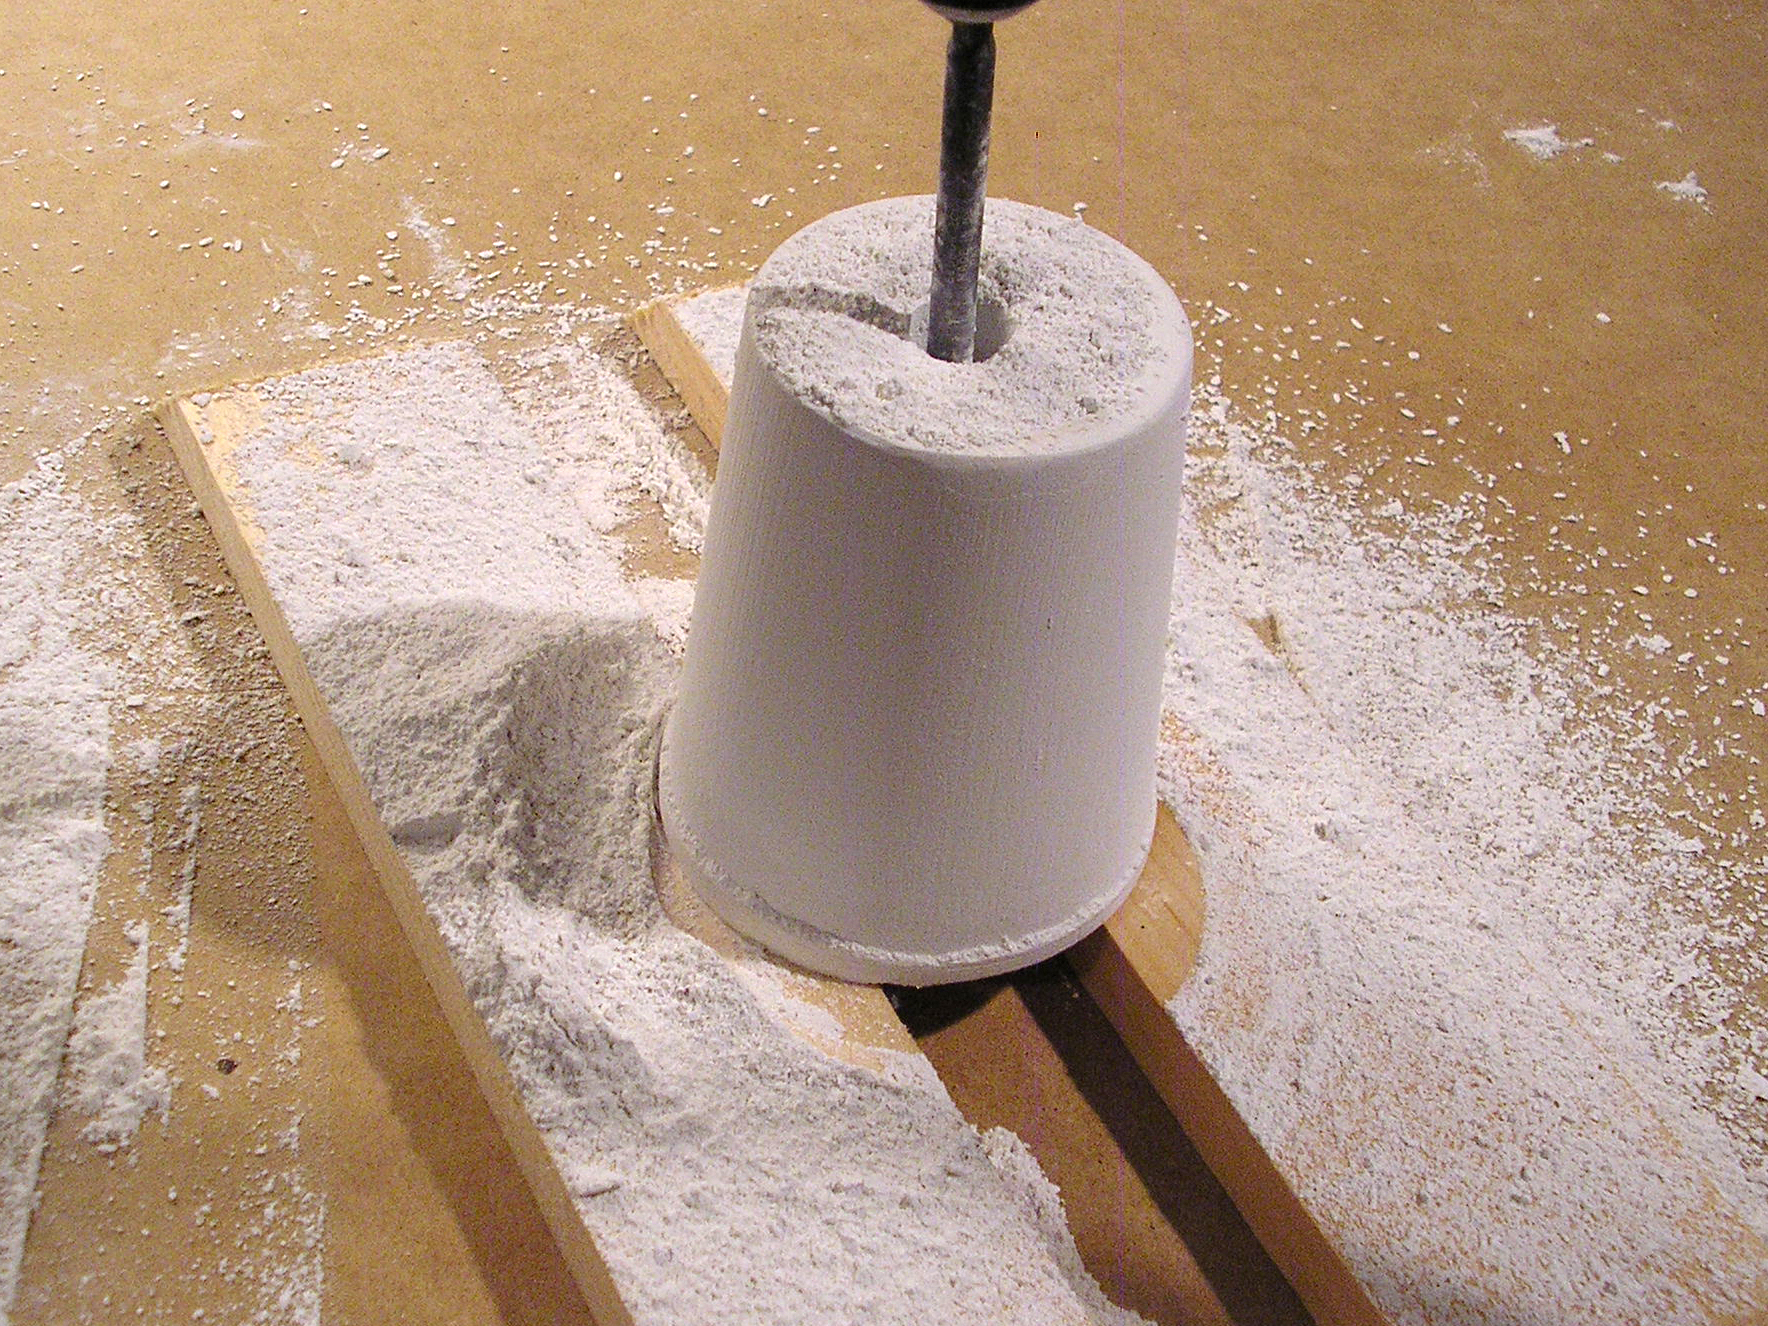
Drilling one section at a time, use the 3⁄4″ bit to drill a hole straight through the center of each plaster form, propped up by the wood supports.

Softly smooth any of the rough edges of the forms with sandpaper, and remove all the plaster dust with a clean, dry dish towel or dry paintbrush.

Prime the base sections and add the eyes.

Working in a very, very, very well-ventilated area over newspaper, give each plaster section 2 coats of Kilz spray primer (they don’t call it Kilz for nothing), allowing the first coat to dry before applying the second. If the dried plaster didn’t end up looking white and fresh, you may want to paint the forms before the next step.

The eyes shown here were scanned from the pages of my vast vintage magazine collection (download them at http://craftzine.com/03/lamp). However, eyes are pretty easy to come by. Look for magazines with lots of makeup and hair product advertising, and you’ll find some good clear eye images.

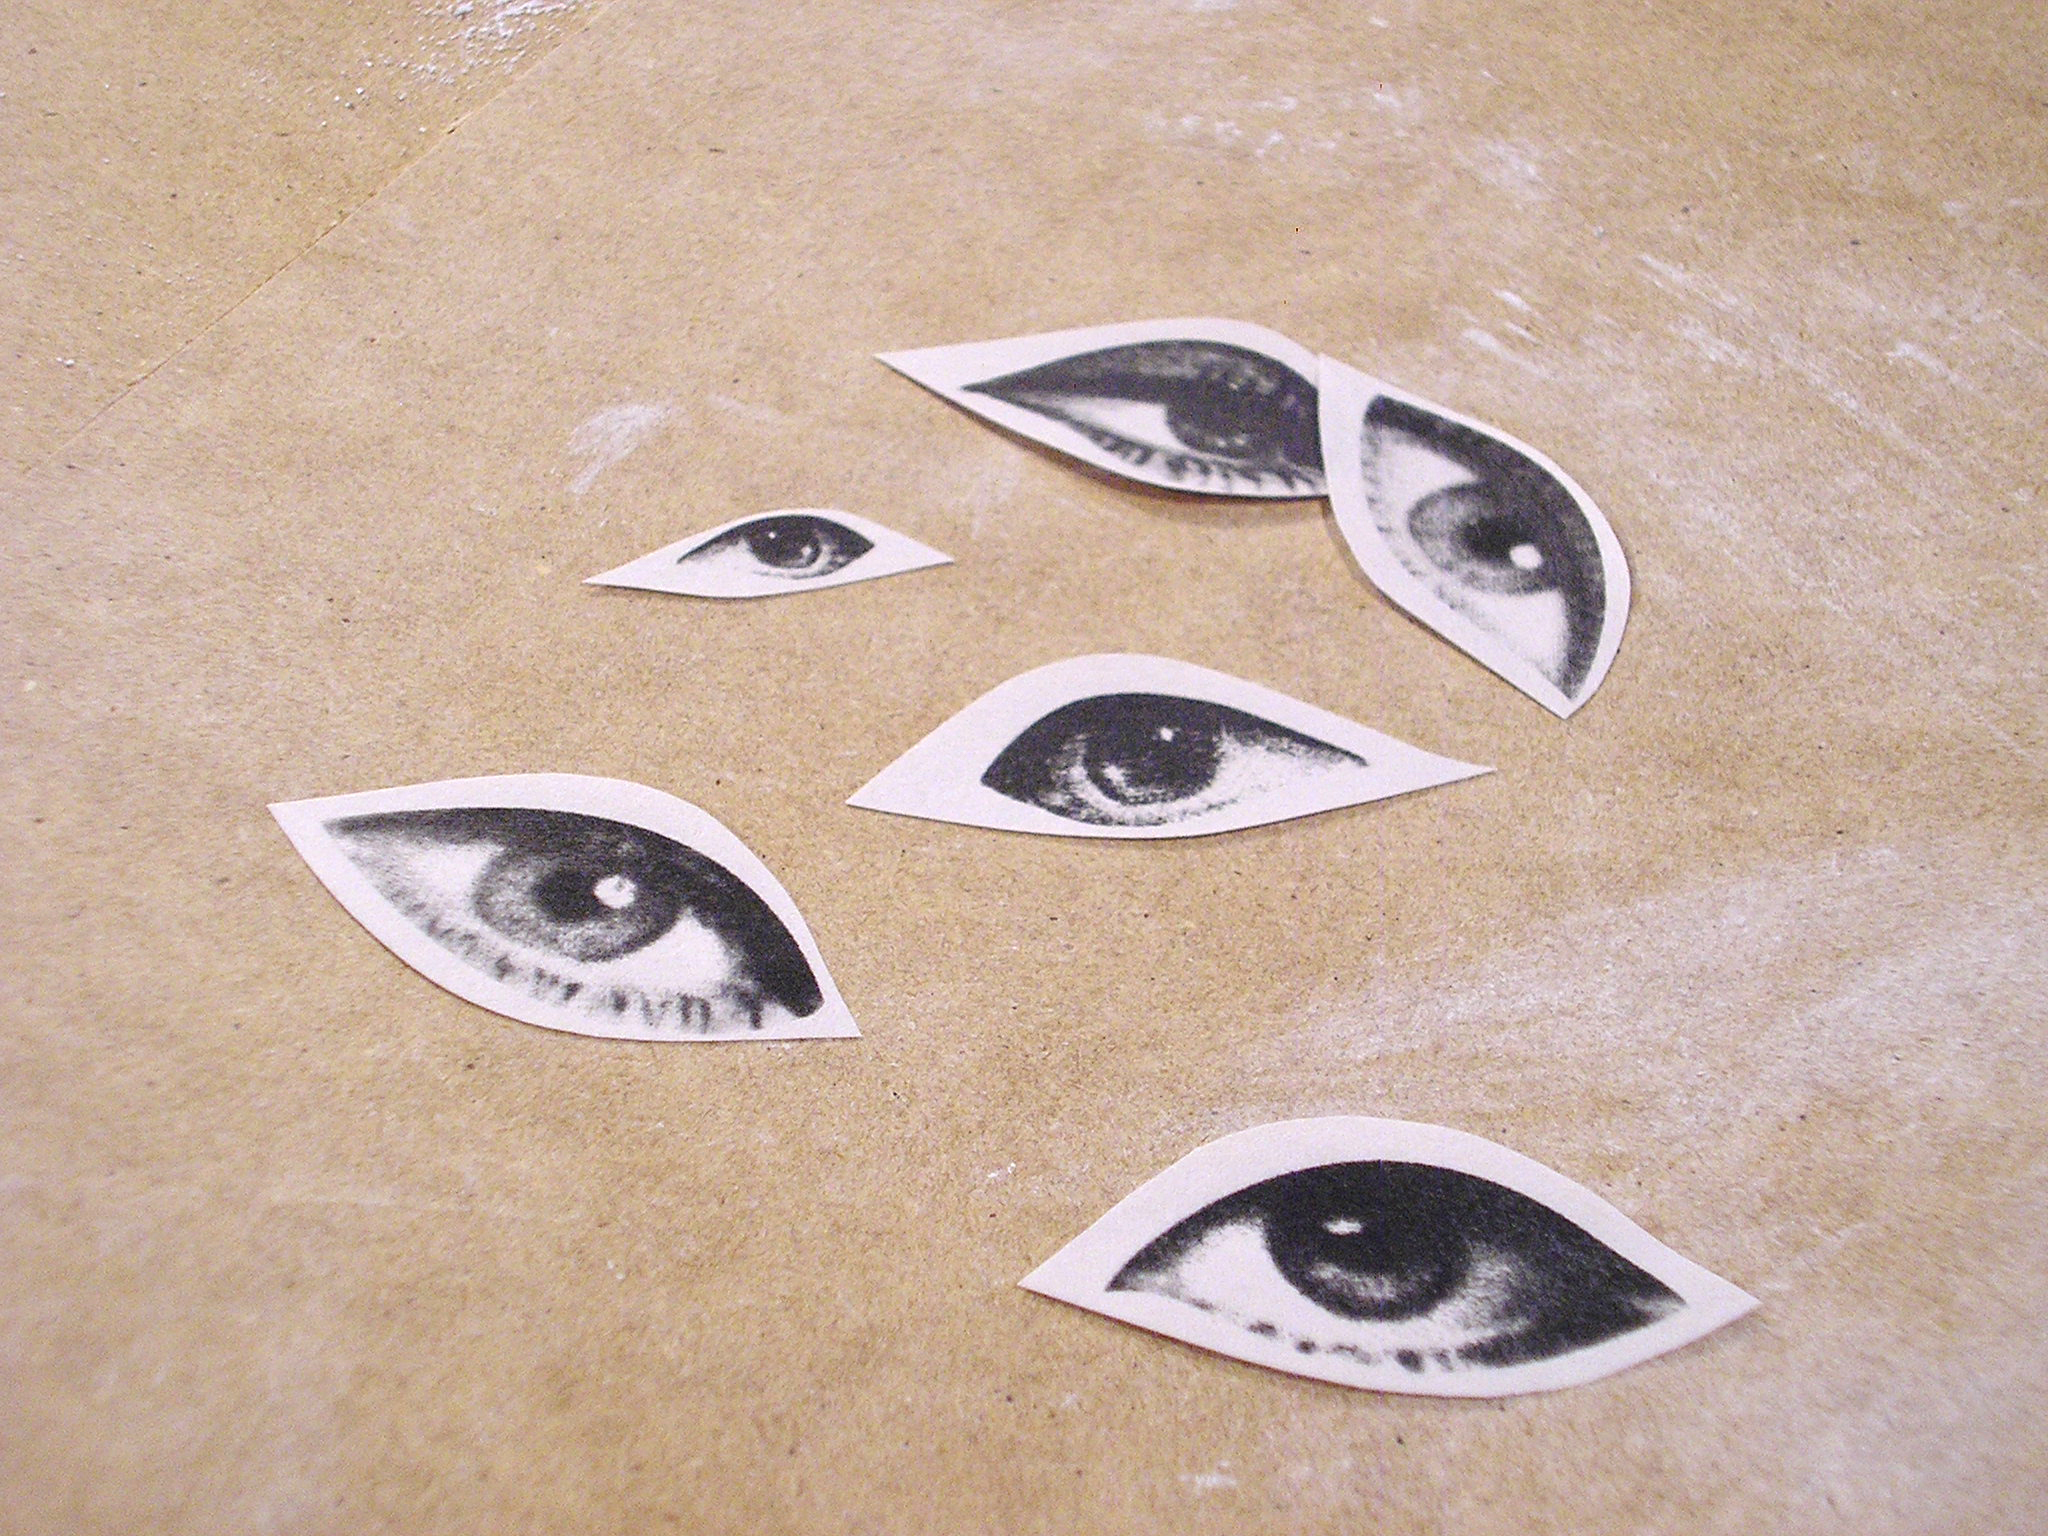
Once you’ve found a good assortment of high-contrast images of eyes, scan them (grayscale). Then flip, enlarge, or reduce to varying sizes, and print on newsprint sketch paper cut to 8 1⁄2″×11″. Cut each of the eyes just outside the actual image area.

Combine 1 cup of Elmer’s glue, 1⁄4 cup of flour, and 1 cup of hot water. Mix with a fork or a wire whisk until the glue and flour have completely dissolved. Dip each eye into the glue mixture, completely submerging each one. Then remove, shake off the excess liquid, and apply the eyes to the lamp forms.

If your plaster forms have curved walls, allow the printed eyes to soak in the glue for a few seconds to really saturate the paper — this will help make the paper mold to a curved surface. After applying an eye, gently press it into place with a dry dishtowel. If you are working on a curved surface, press firmly and hold for a few seconds. Wipe any excess glue from the plaster. Allow the eyes to dry completely.

Varnish the base sections and add the threaded lamp pipe.

Working in a well-ventilated area over newspaper, coat each plaster form with at least 3 coats of clear spray varnish. Allow each coat to dry completely before applying the next coat.

The only tricky part of this project is choosing the length of the threaded lamp pipe. This threaded pipe is sold in the exact same place where you’ll find socket sets and lamp cords in the hardware store, and it is sold in varying lengths. The threaded pipe should measure the same as the overall height of the lamp base, or a little less. If the idea of working out these measurements is just too much for you to process, get a pipe much longer than you think you will need, and once you’ve constructed your lamp base, cut the pipe with a carbon steel handsaw (it’s easy to cut through, really).

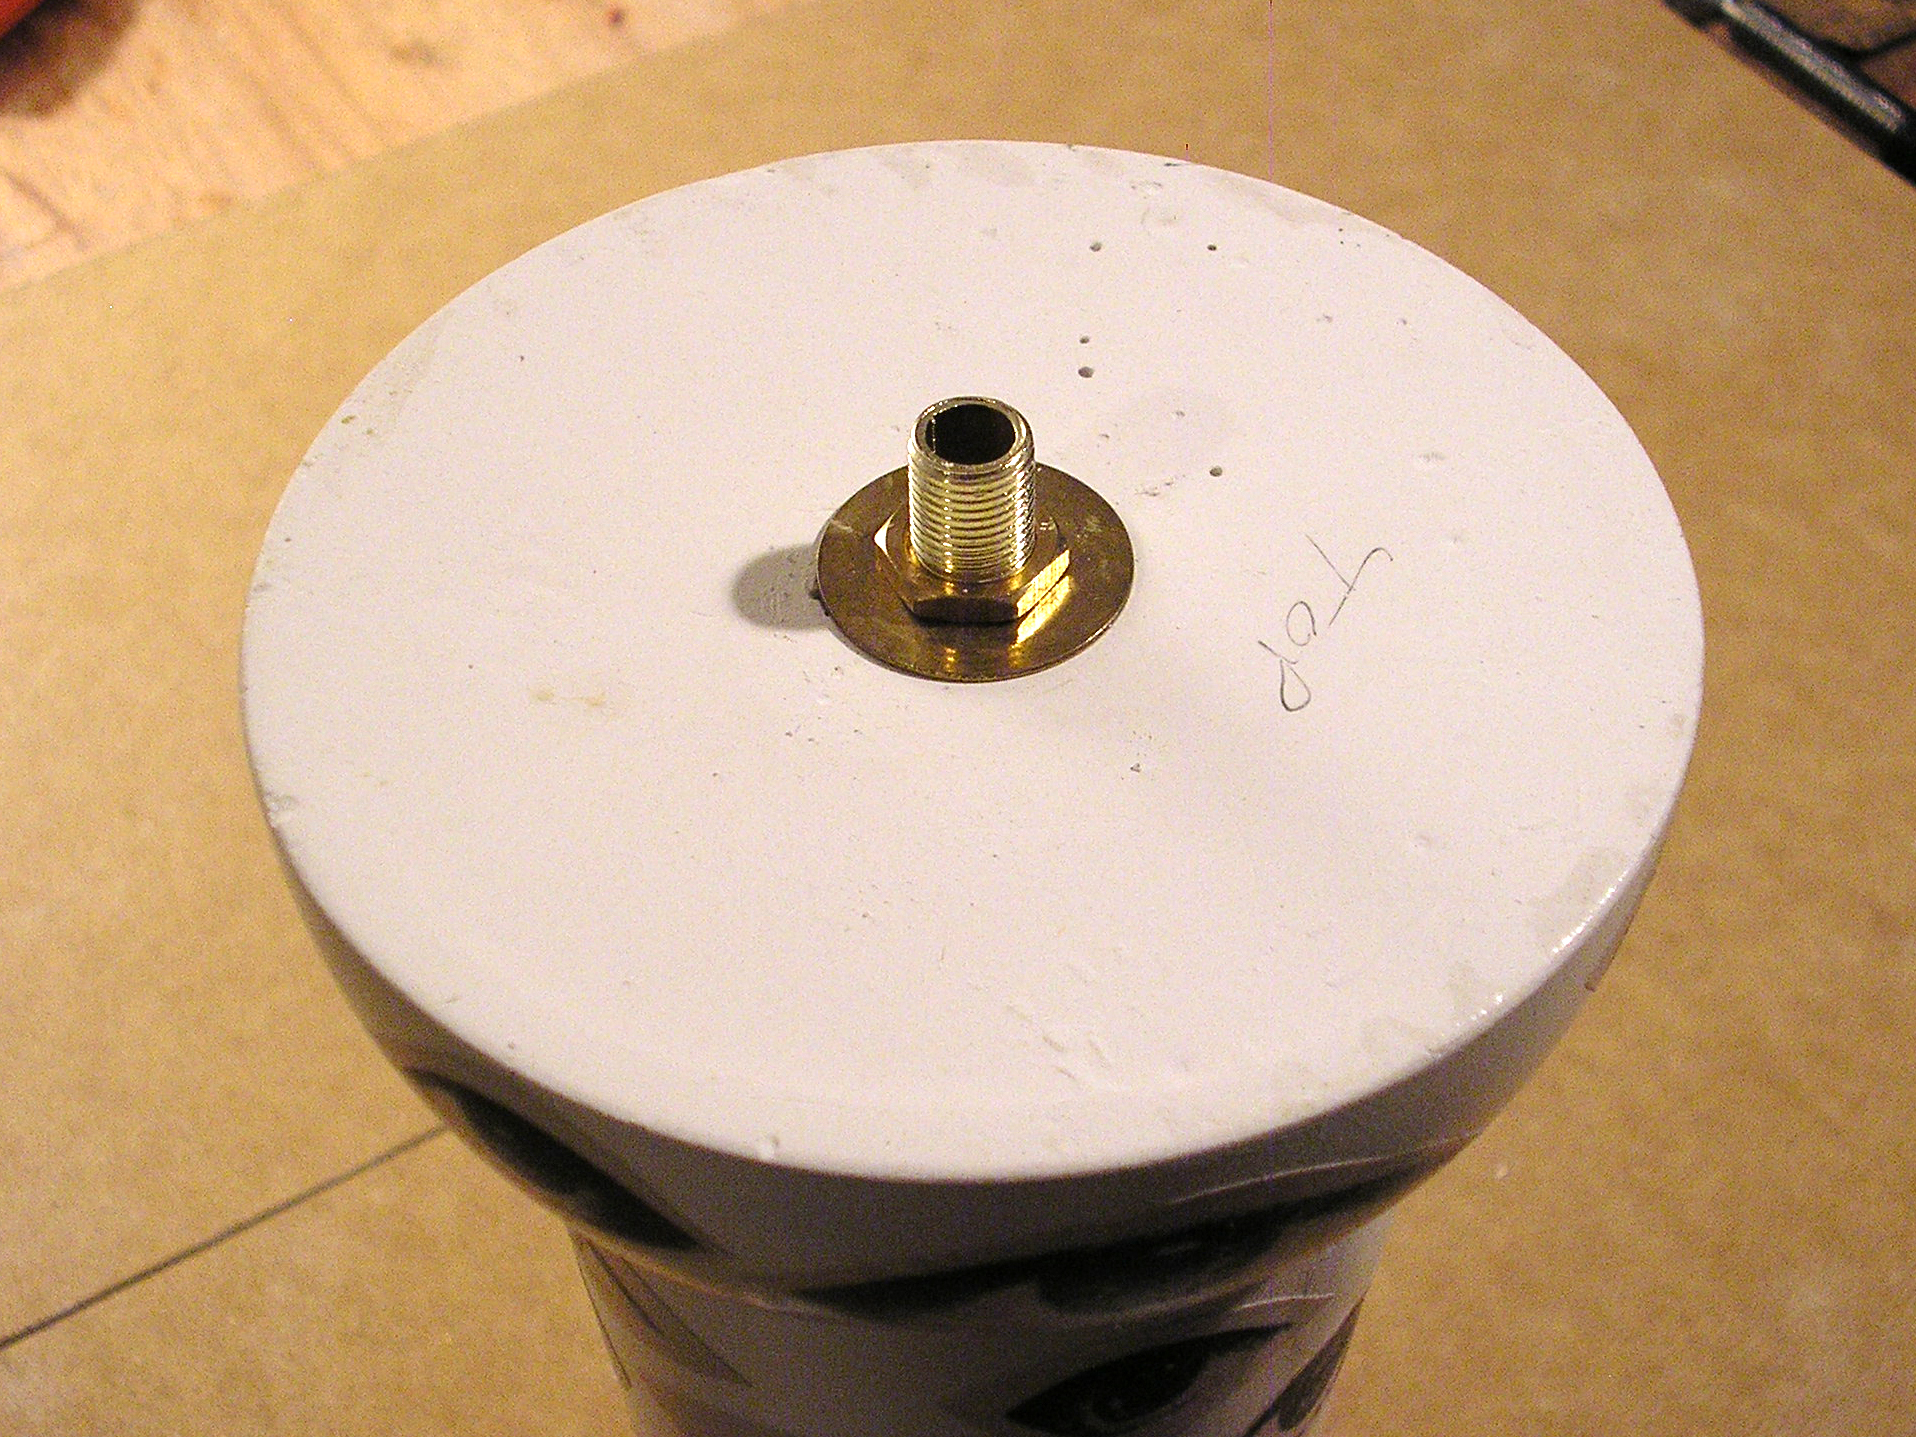
Slide a washer and a locknut over the bottom end of the threaded lamp pipe, and slide the pipe through the bottom hole of the base piece.

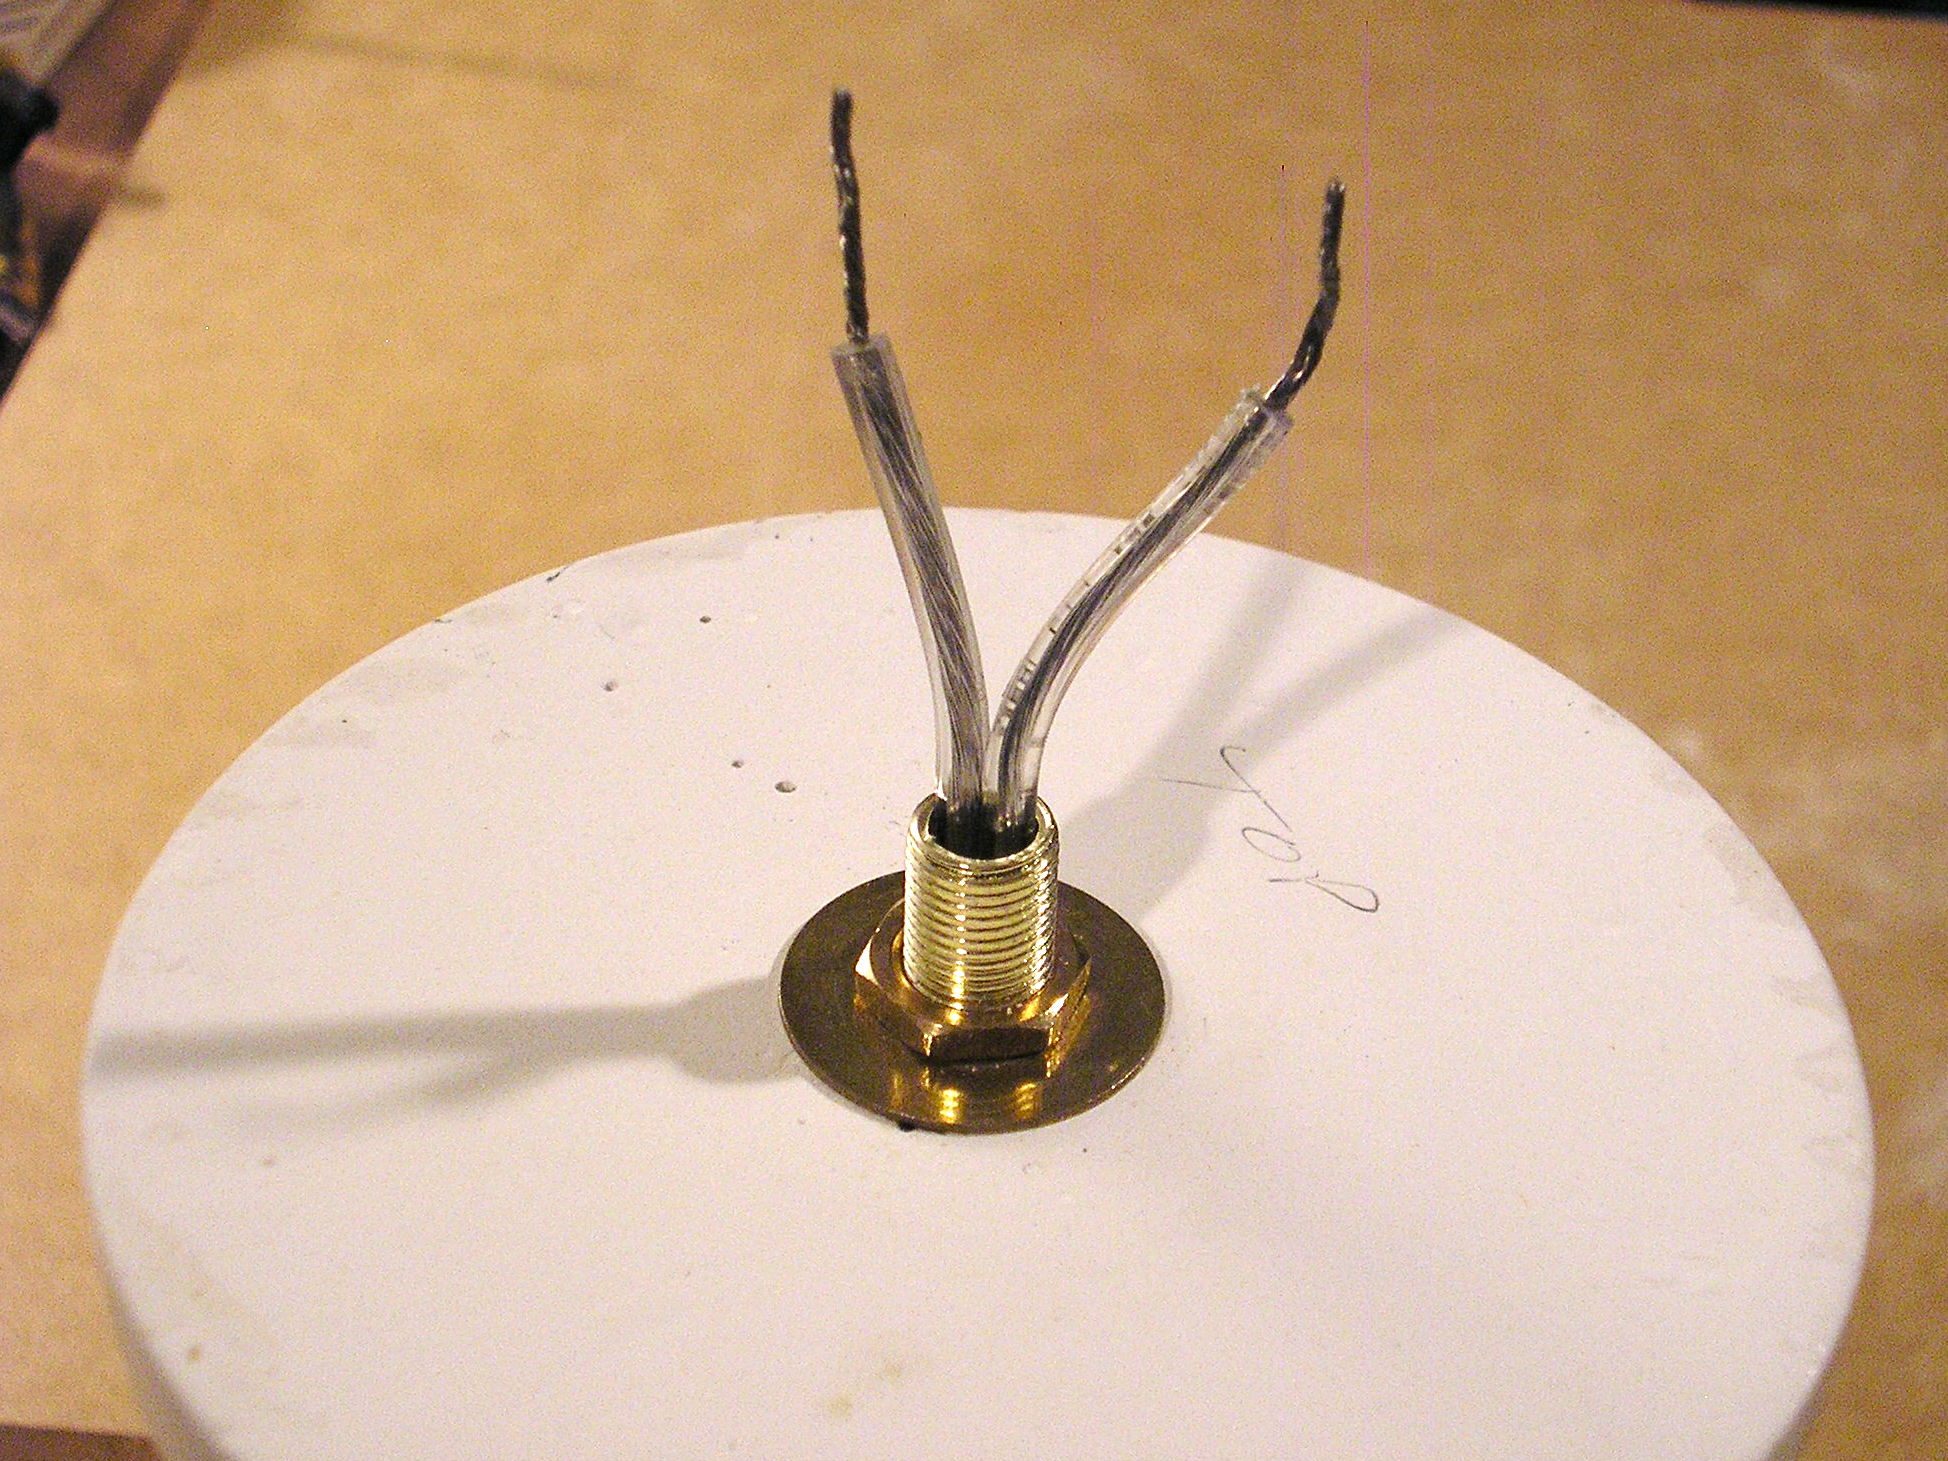
Stack the remaining pieces over the pipe, center the stack, and secure the assemblage in place by sliding another washer and locknut at the top end, tightening flush against the top form, allowing for a 1⁄2″ exposed end of the threaded pipe.

Wire your lamp.

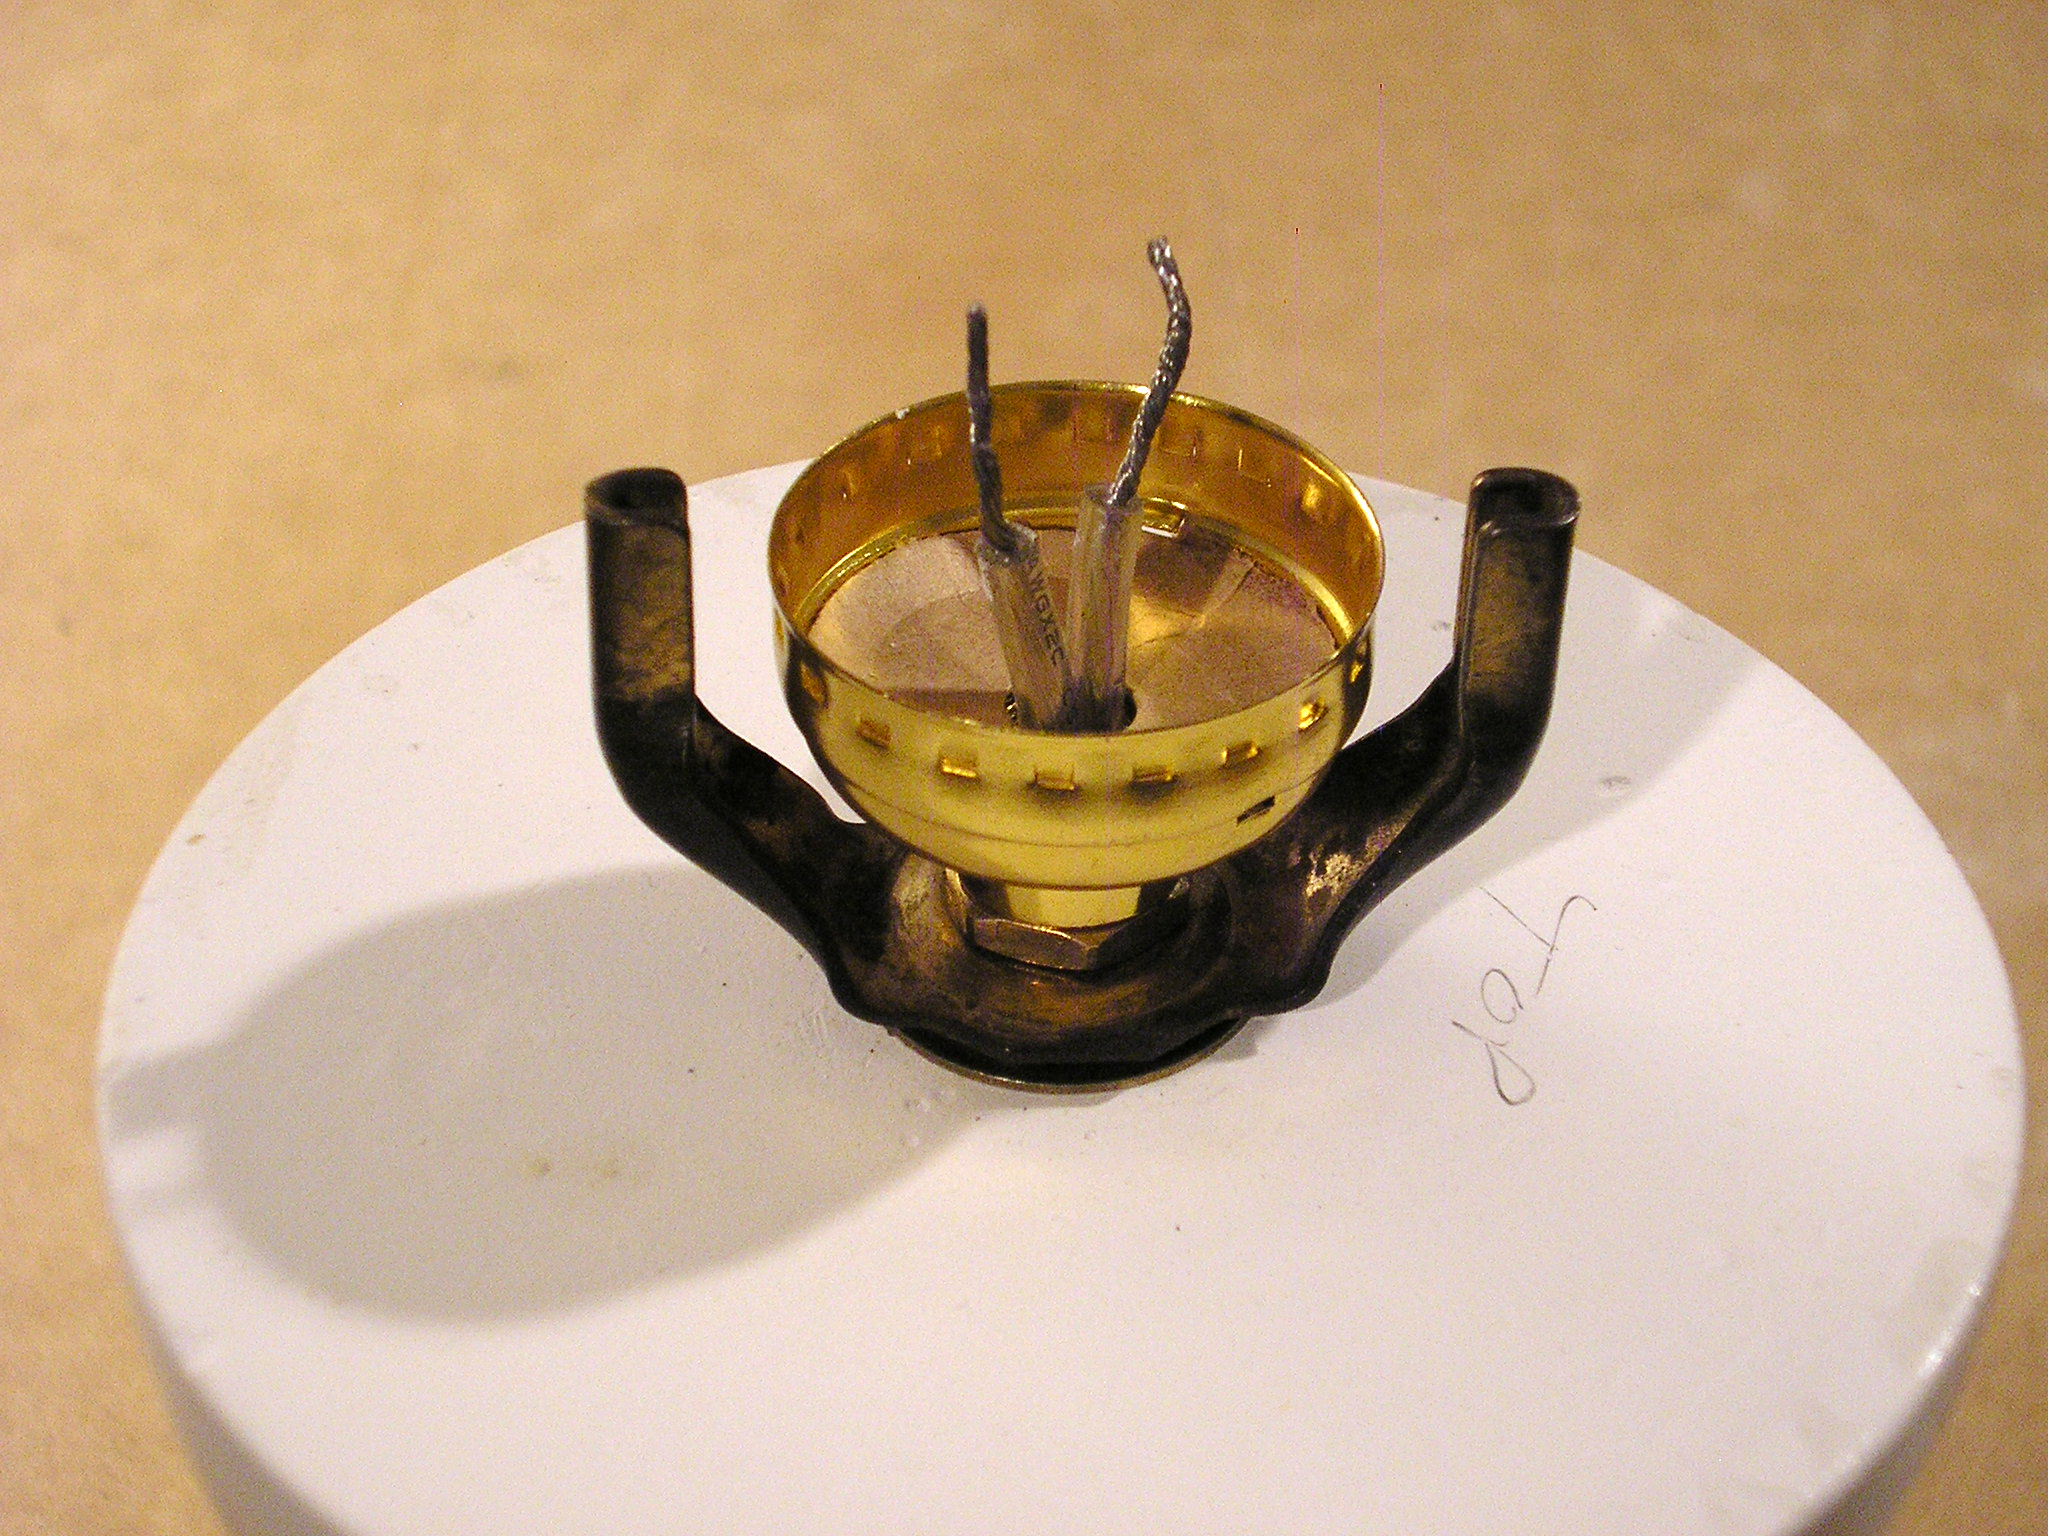
Slide the lamp cord through the side lead in the base, pulling most of the length through. Continue to draw the end of the lamp cord through the threaded pipe, up through the top end.

Connect the hardware.

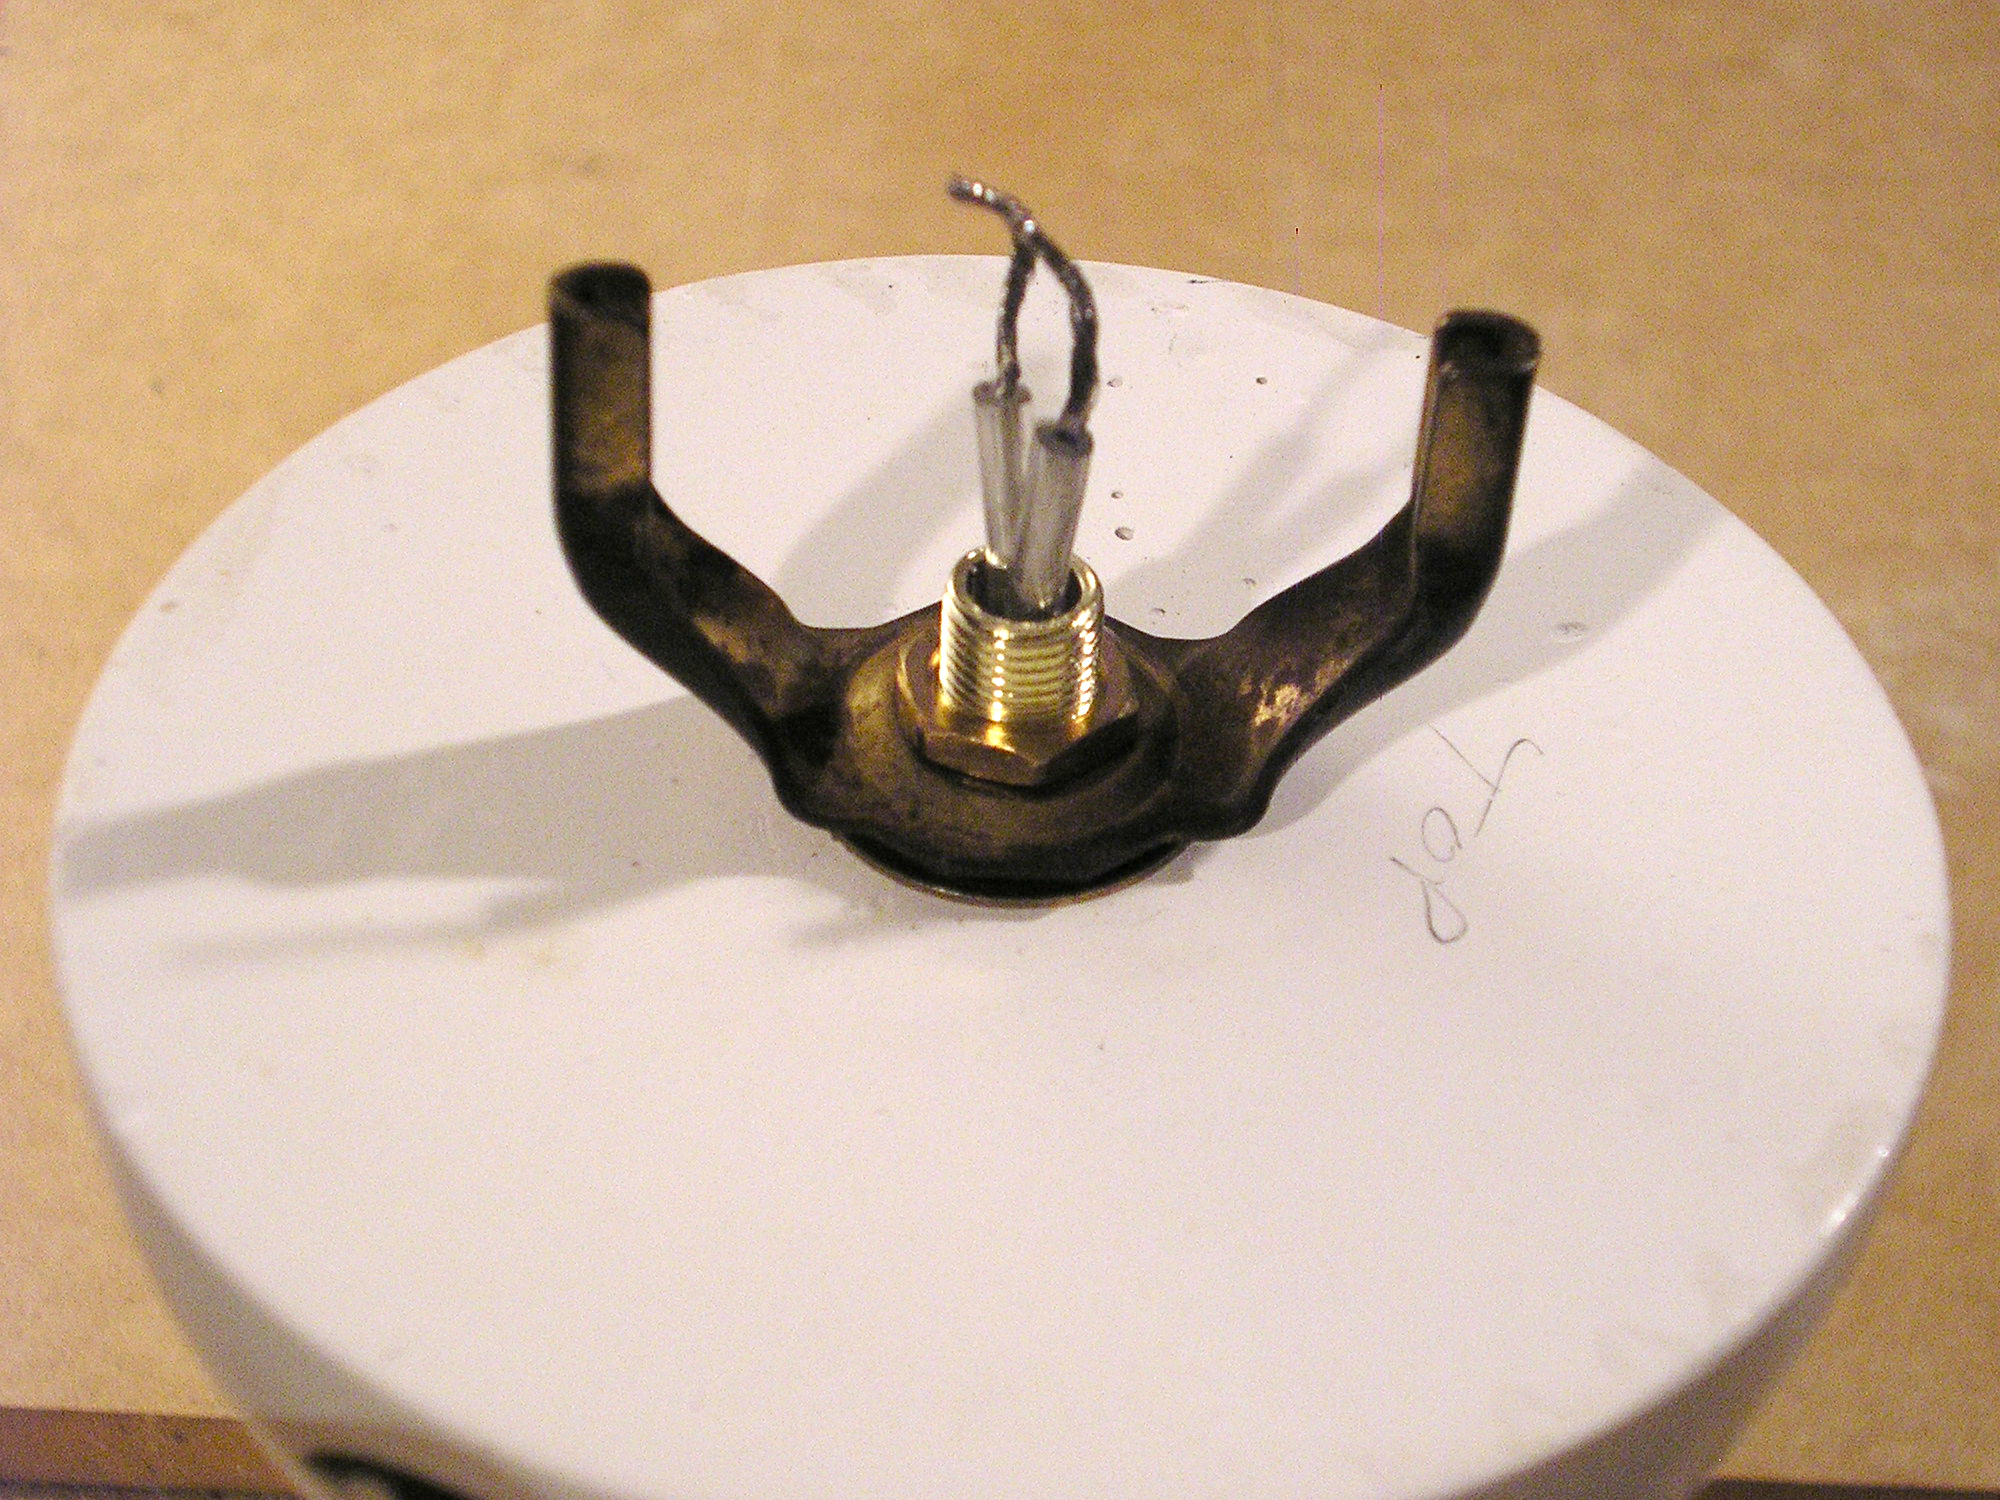
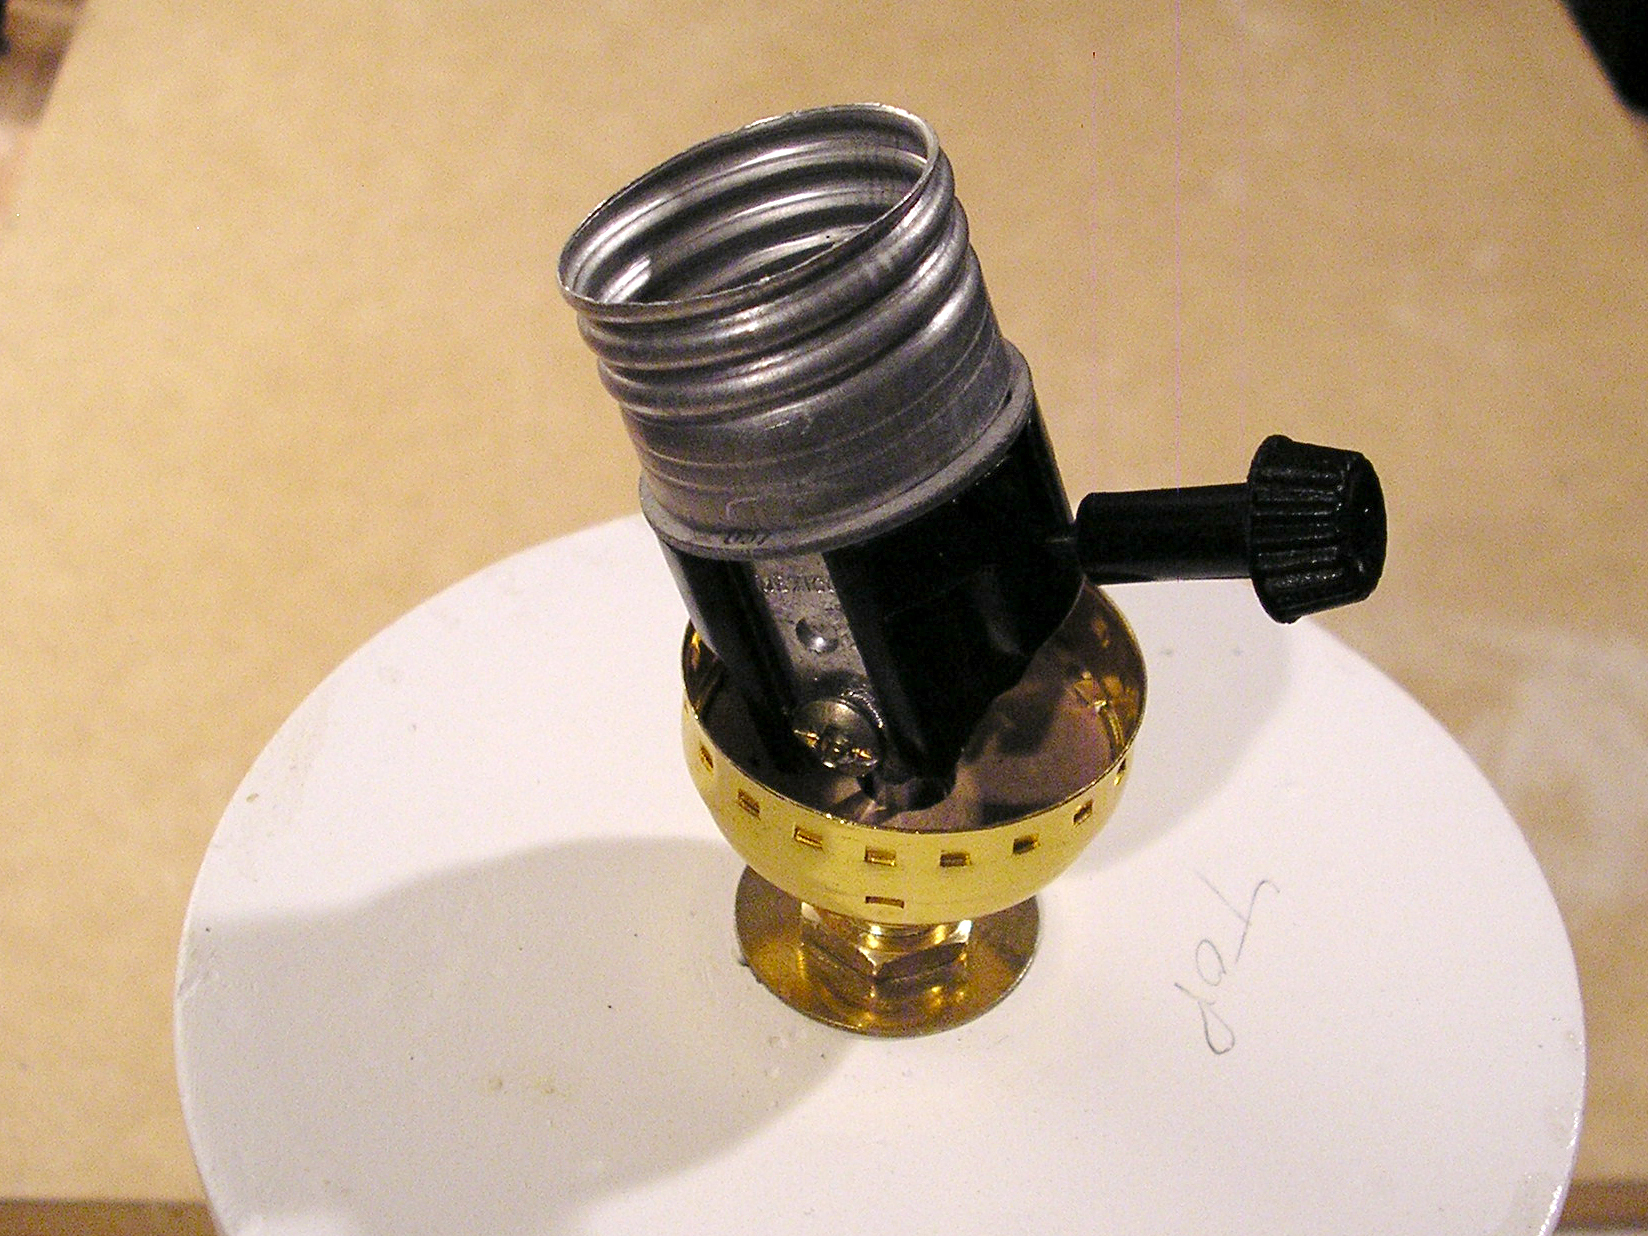
Slide the lamp harp base onto the pipe first, and secure with another locknut. Next, screw down the socket cup.

Wire it up.

The lamp cord splits into 2 separate wires — the casing on one wire is smooth,

and the casing on the other wire is ribbed.

Take a wire, twist any loose strands tightly together, then loop the wire clockwise around a terminal screw, and firmly tighten into place. Connect the wire in the smooth casing to the brass terminal screw on the socket, and connect the ribbed wire to the other terminal screw.

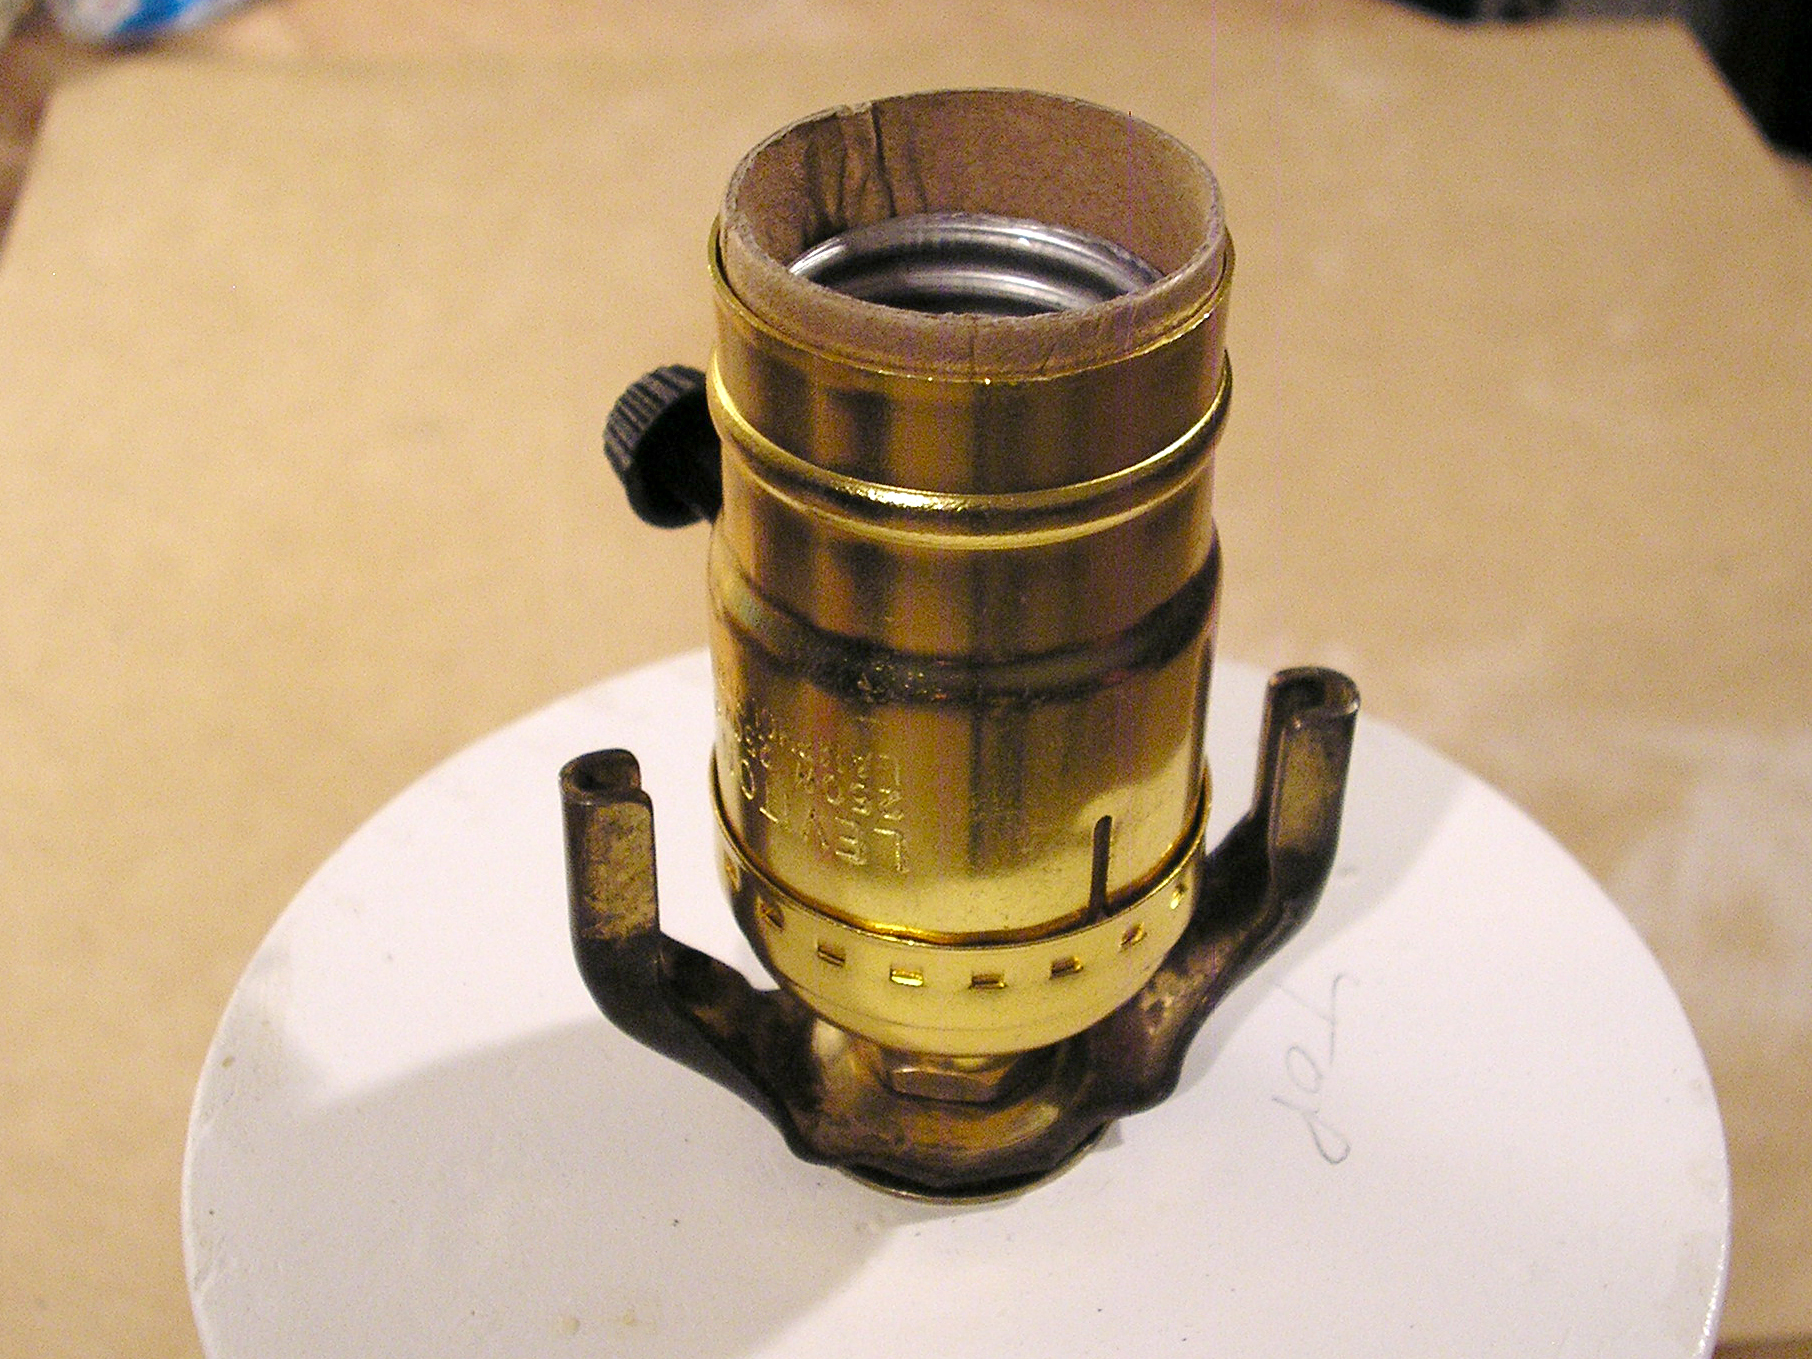
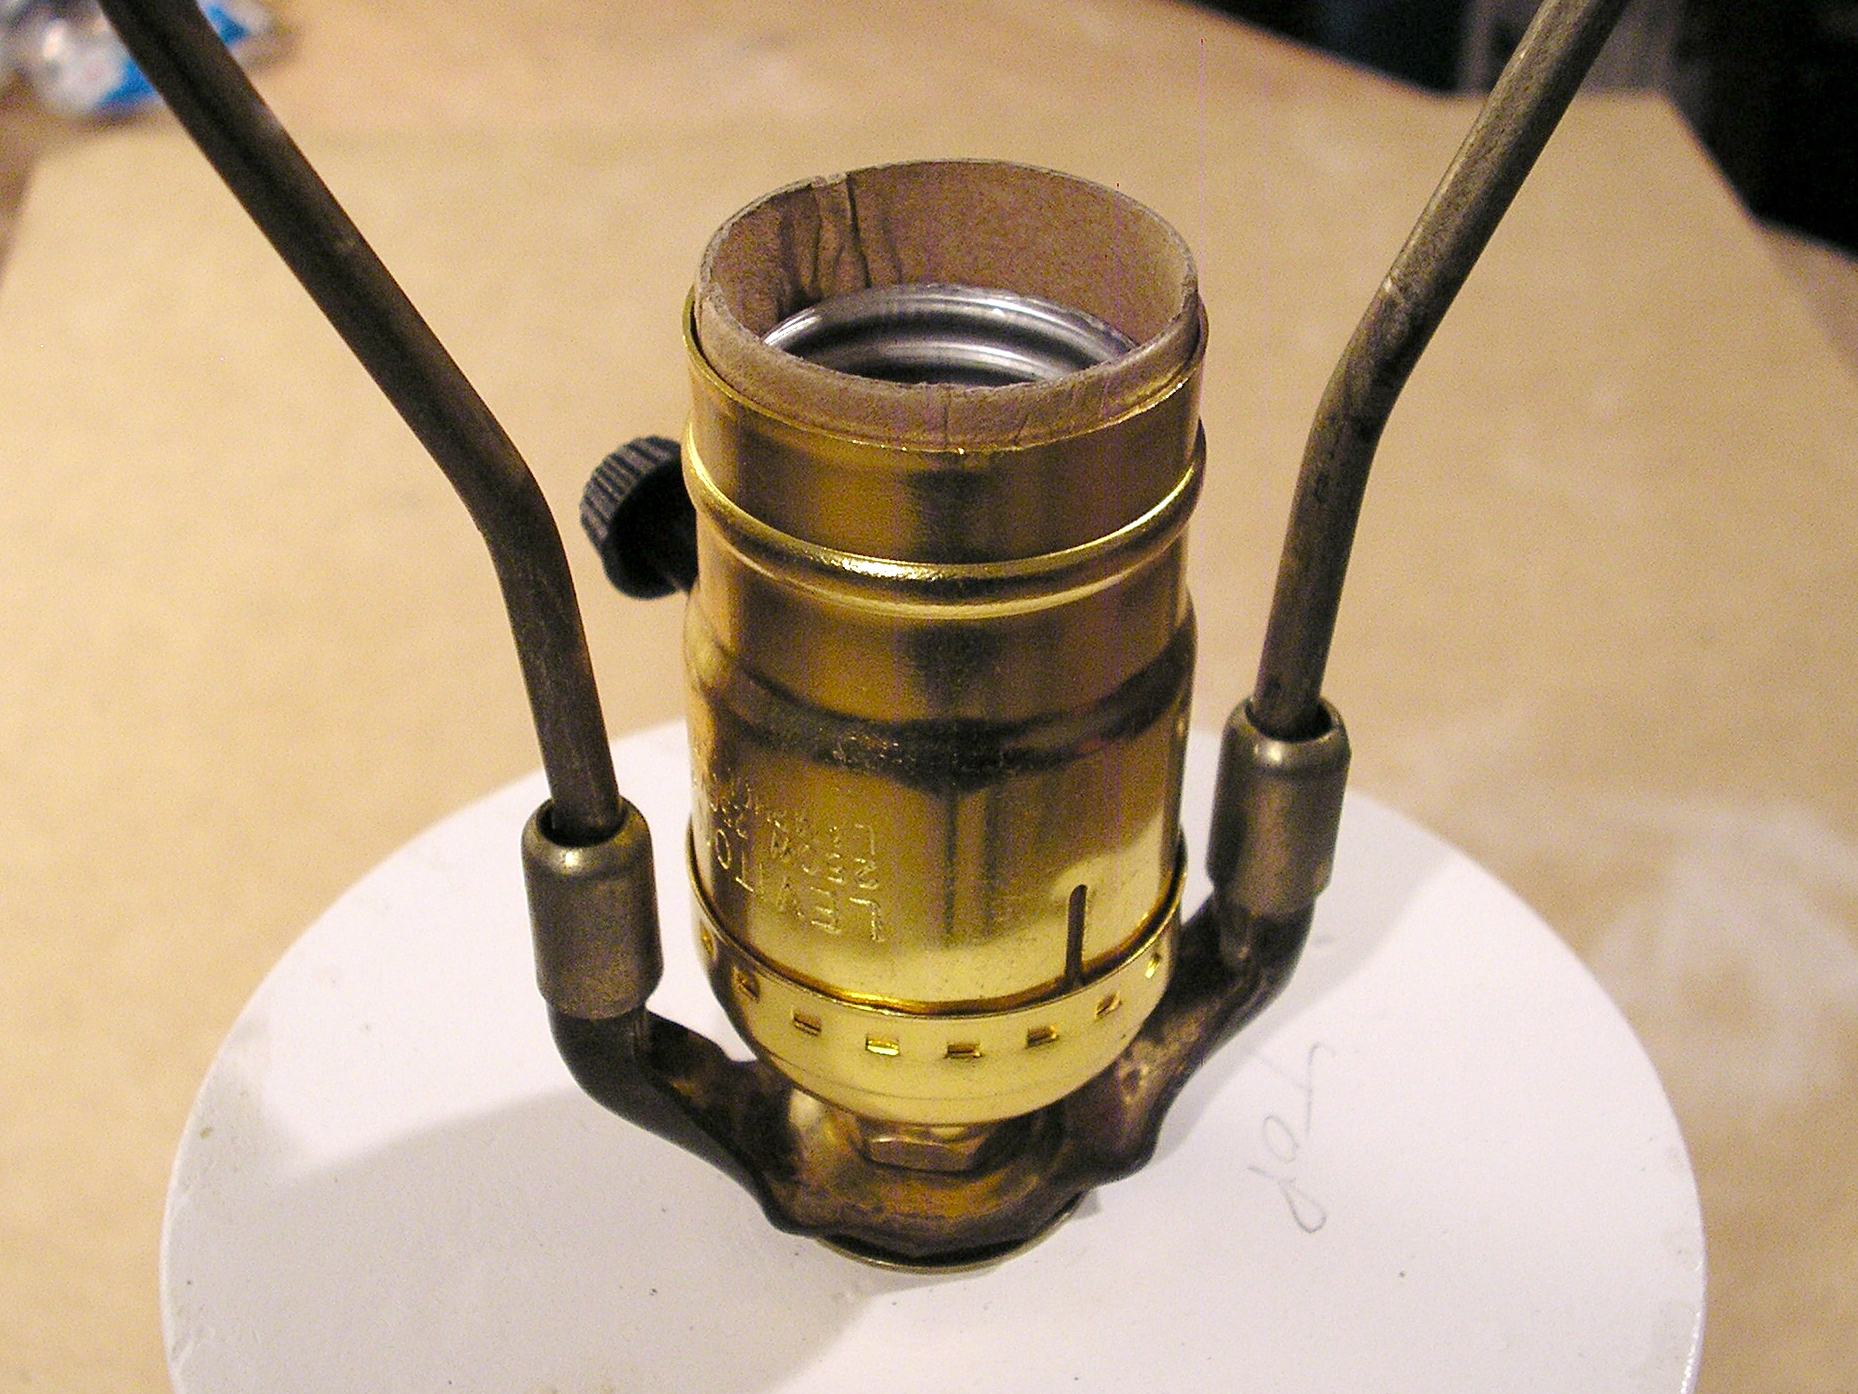
Slide the metal socket shell over the socket until it clicks firmly into place, then connect the lamp harp and shade. You’re all done! Now place alongside your bed as a reading lamp; perch it in a windowsill to scare away noisy magpies; or engage in a championship staring contest.

Conclusion

This project first appeared in CRAFT Volume 03, pages 90-96.