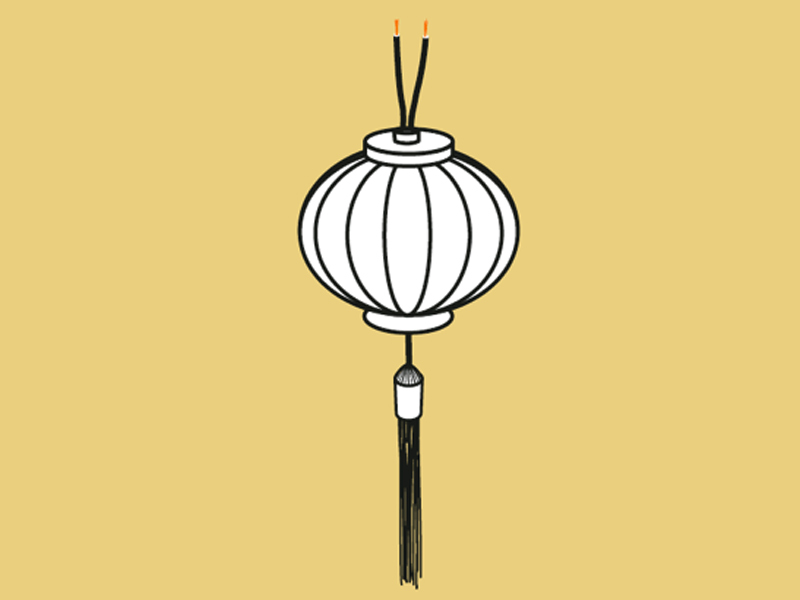
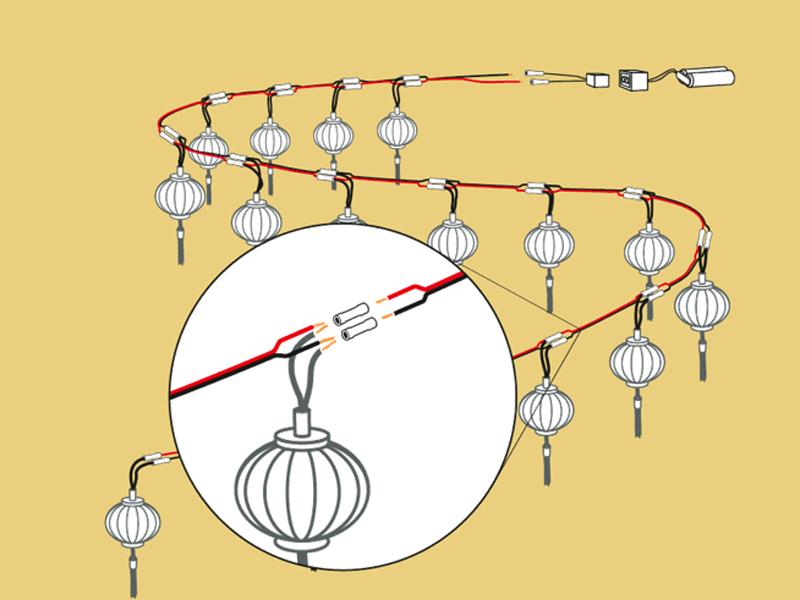
Swanky picnics, exotic tailgate parties, or cherry blossom backyard springtime wonderlands all benefit from a set of Chinatown lanterns – but what if there’s not an electrical outlet within extension cord reach? What if you want your pup tent, phone booth, or shopping cart to look like an opium den? Convert to battery power!

RadioShack sells a battery for a remote control car and a conector repair kit that are perfect to convert a string of lanterns to be 100% mobile. Rather than soldering the whole mess together, use butt splice connectors that crimp the wires together with a single tool – a combo wire cutter, stripper, and crimper.

Will you install your lanterns as 70s-style lowrider headliner pom-poms? I hope so. I did.

What will the next generation of Make: look like? We’re inviting you to shape the future by investing in Make:. By becoming an investor, you help decide what’s next. The future of Make: is in your hands. Learn More.

Project Steps

Cut wire to length

To determine the wire length between lanterns, decide the total length of your new string and divide by the number of pagoda lamps minus one.

For example, I wanted a 252″ (21′) string of 15 lights, so my formula is 252/(15-1)=18″ for each length.

The string of lights comes with 16 lanterns, so why did I pick 15? In case of mishap, I will have a backup lantern.

Separate and strip

For each length of wire, split the insulation with your fingernail to separate the red and black wires.

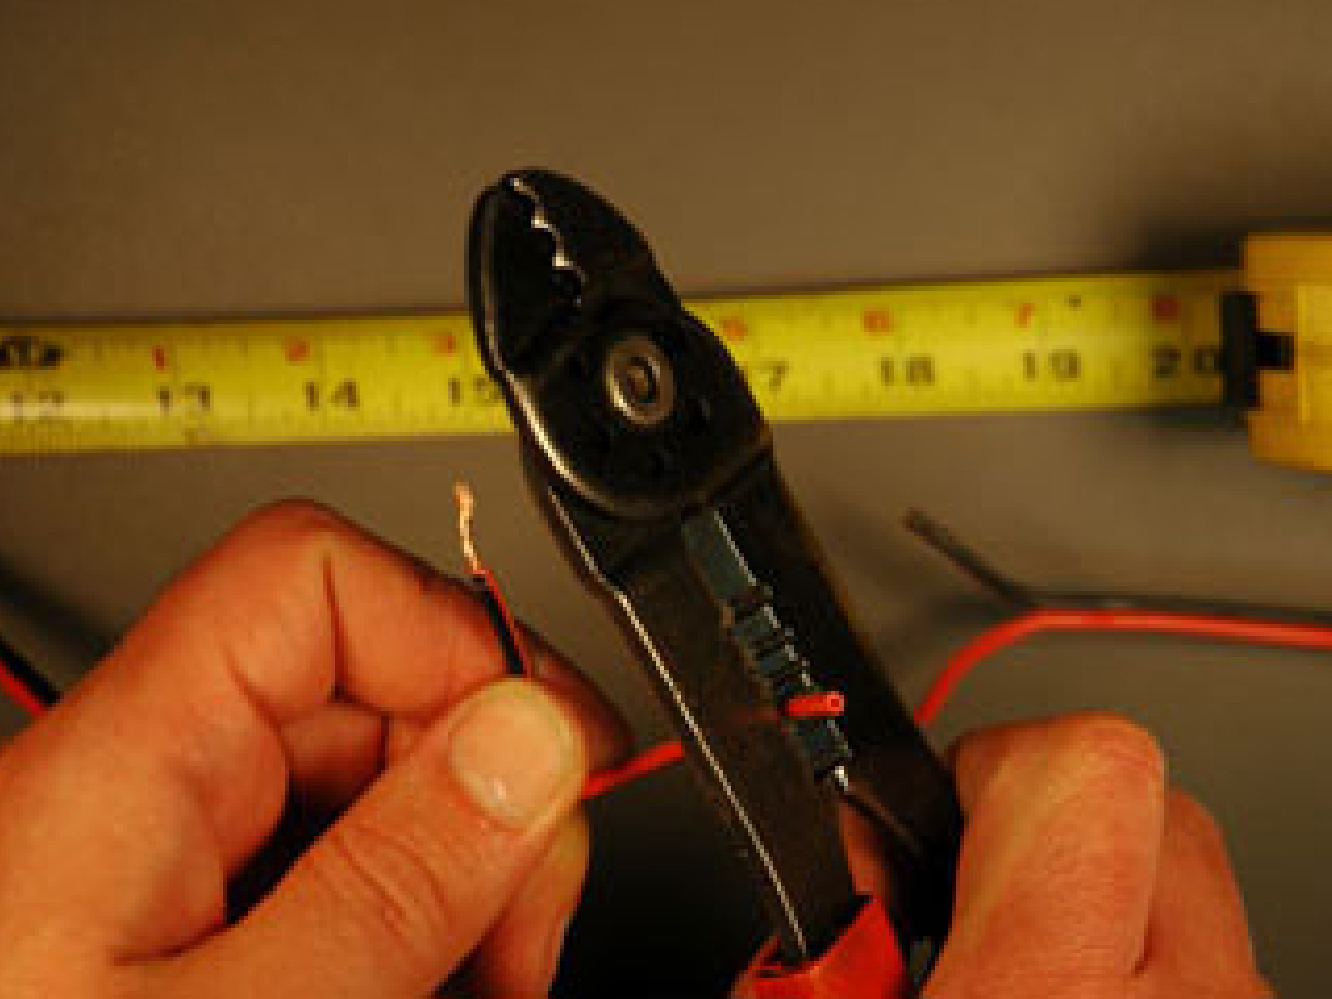
Use the strippers to remove 3/8″ of insulation from the wire segments and 5/8″ from the lantern pigtail wires.

Last lantern is connected first

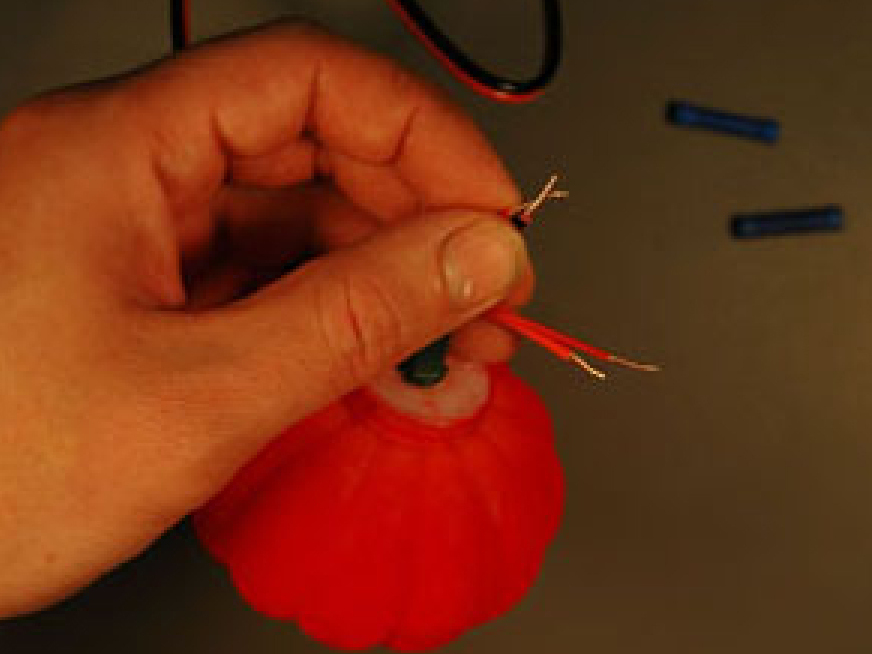
After stripping insulation, twist copper wires to tighten, then slide on the butt splice connector.

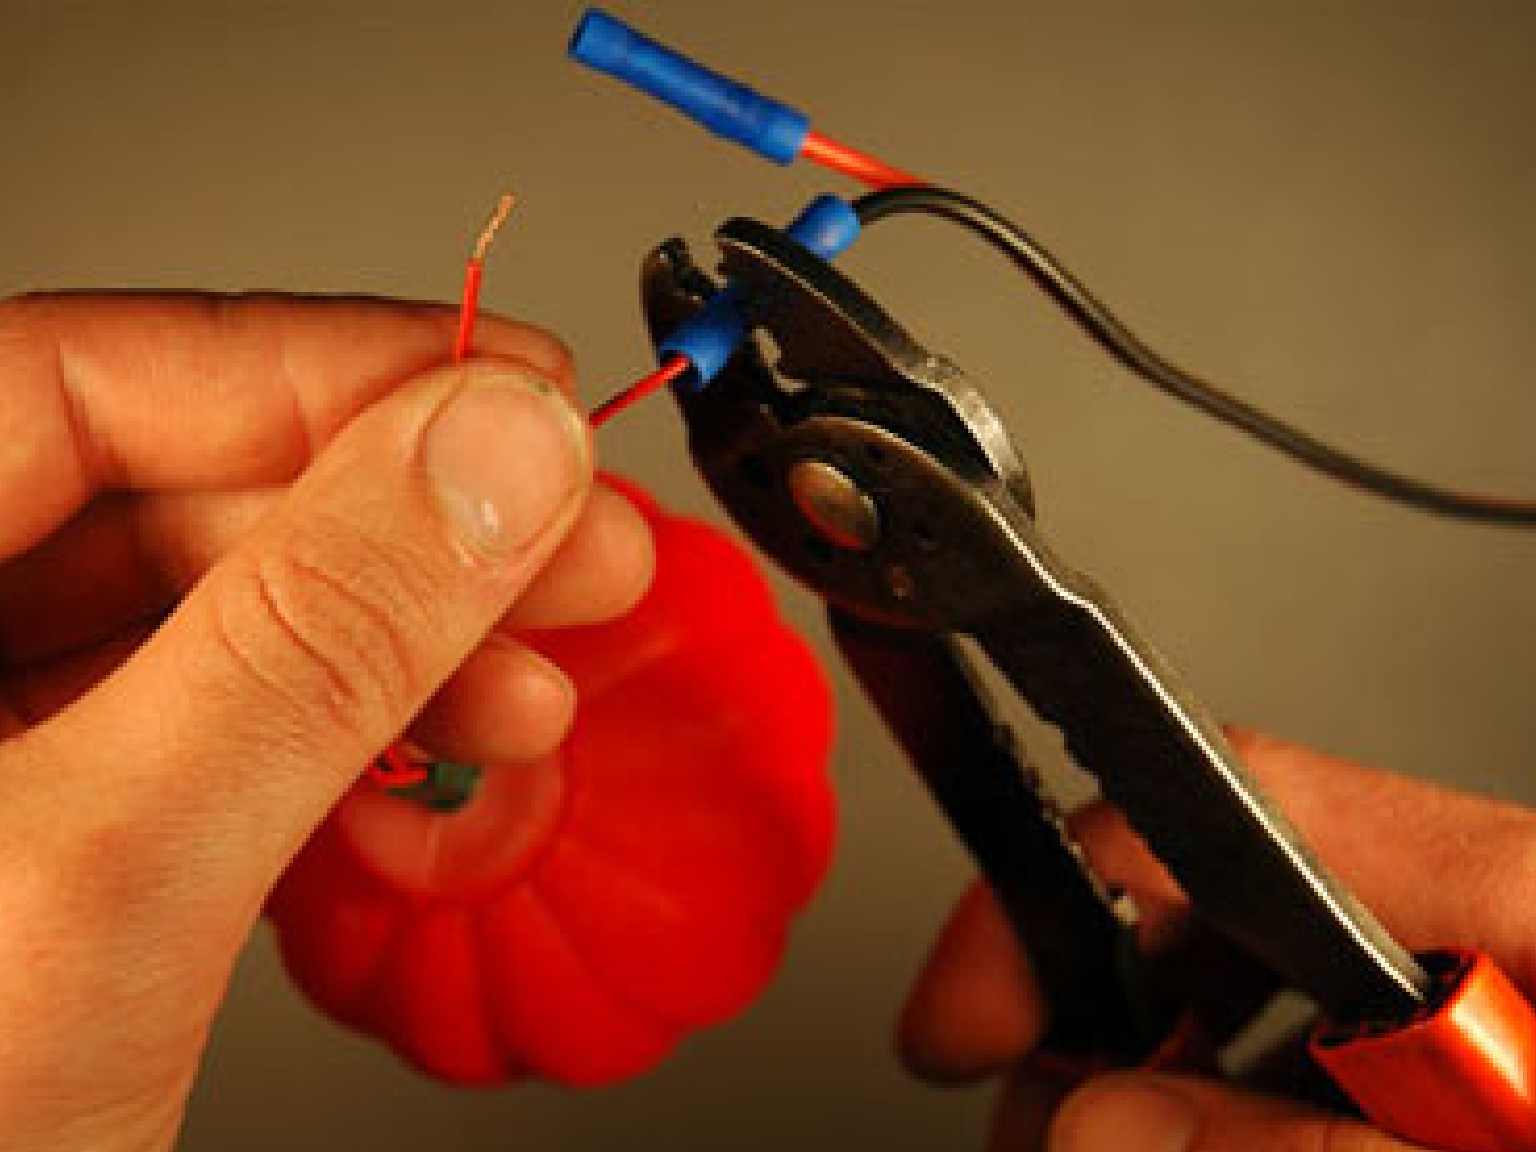
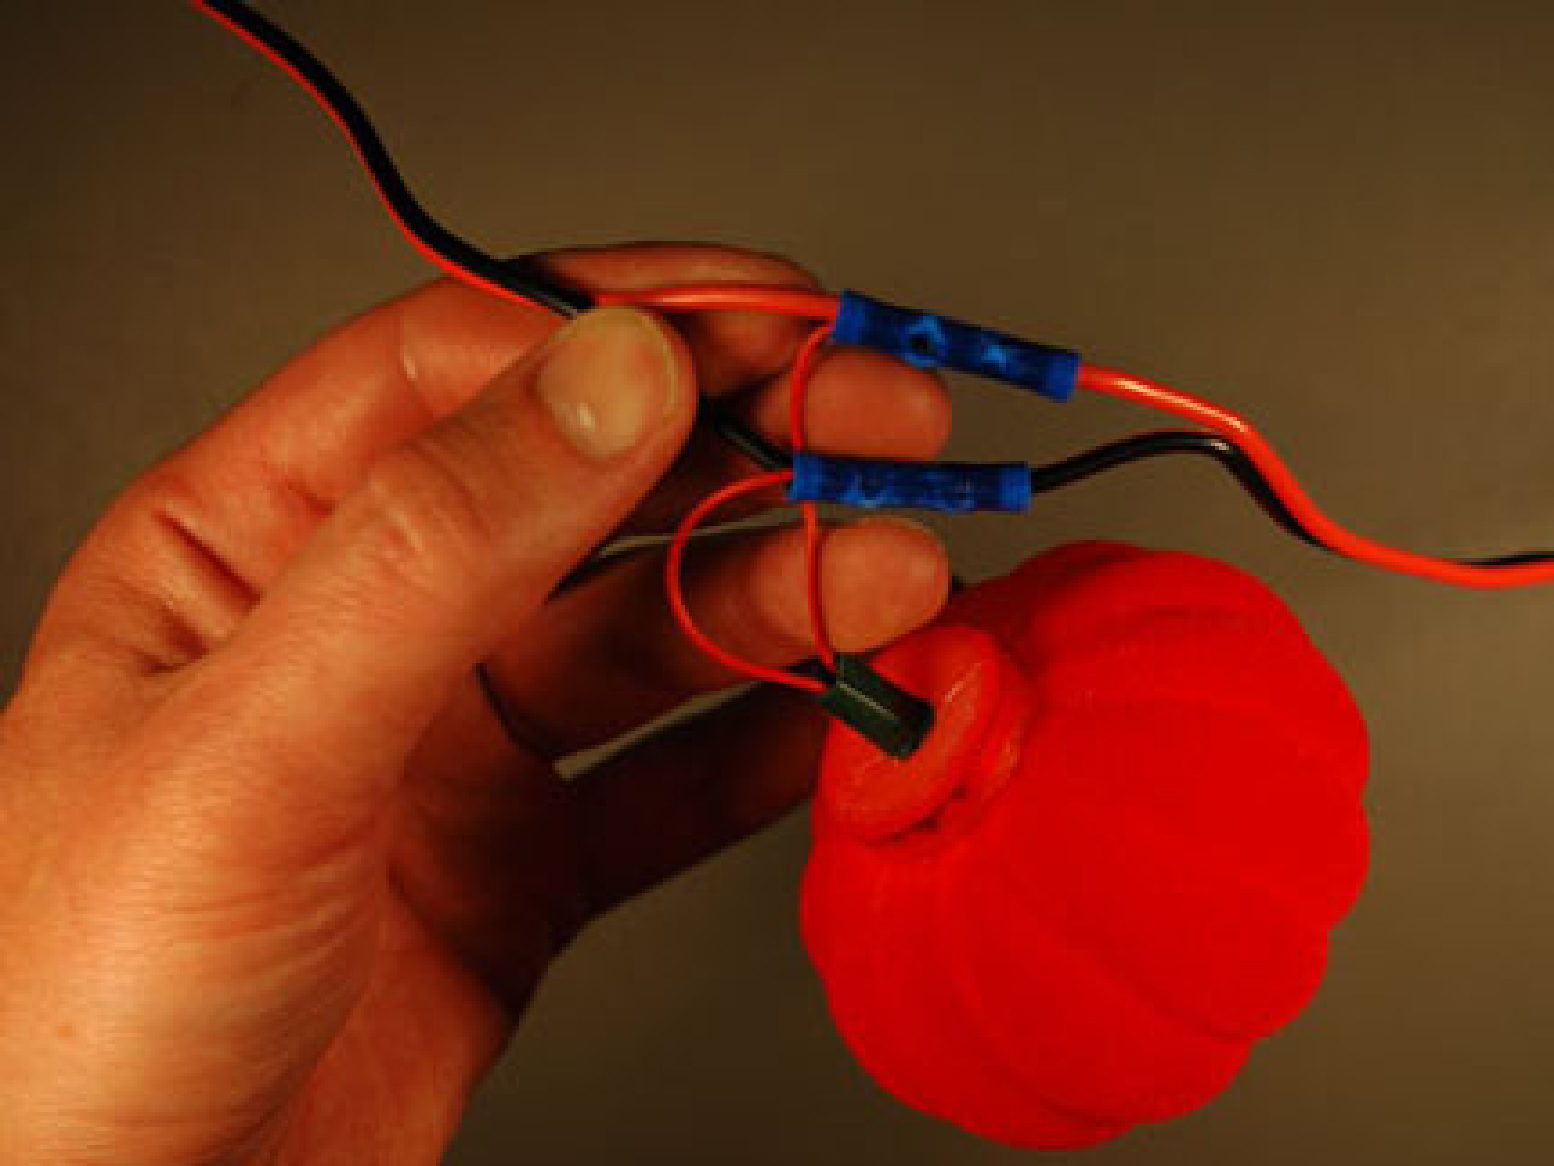
Use the crimp dies on your do-all tool to smash the connector to your pre-cut, pre-sripped wire. (The lantern wire is so fine that you need to fold it back on itself and twist to bulk it up so there is something to crimp to.)

Put lantern wires into the other side of the butt connector and crimp to connect.

Is there a more elegant, more labor-intensive, longer-lasting solution like soldering and using shrink-wrap? Of course! Isn’t there always a more artful method that requires greater dexterity, more experience, and additional tools?

Connect remaining lanterns

Twist one lantern wire to red and the other to black.

Then crimp a butt splice connector to each wire pair.

If your plan was to build a light string with only 2 lanterns, you are done! Otherwise, keep clipping, stripping, and crimping like an ’80s hair salon.

Enlist helpers to construct 14 of these wire segment/lantern pieces.

String lanterns together

The lanterns finished in the previous step are daisy chained one after another until the light string is complete.

Ding-Dong-Done!

Crimp the RadioShack Connector Repair Kit to the end of your lantern string and you are ready to connect the battery.

Cross your fingers! Did all the lanterns light? No big deal, I had a few duds, too.

Troubleshooting

Disconnect battery before attempting repairs.

If none light:

Check that Connector Repair Kit connectors are tight to the lantern string. – Charge battery.

If some don’t light:

Check the bulb. For any errant lanterns, cut off the butt splice connectors, re-strip wires, re-crimp.

If lantern blinks furiously:

Sounds like a blinker bulb – replace with a non-blinker.

Conclusion

This project first appeared in CRAFT Volume 01, page 147.