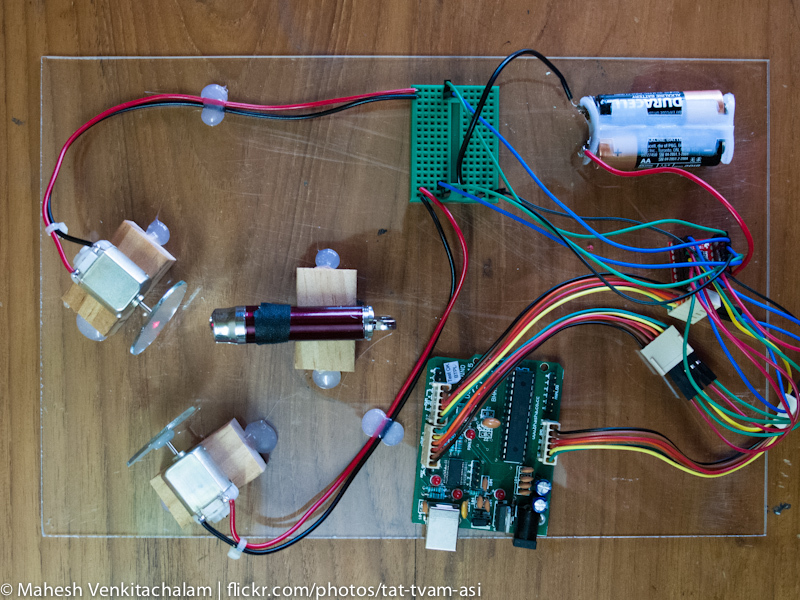
This project uses a Freeduino (Arduino clone) microcontroller, Python code, a couple of motors with attached mirrors, and a laser pointer to create patterns (Lissajous Figures) that are in sync with audio played from a computer.

Objective

The basic idea here is to create some laser patterns that are in sync with music (or any audio) input.

Pattern Generation

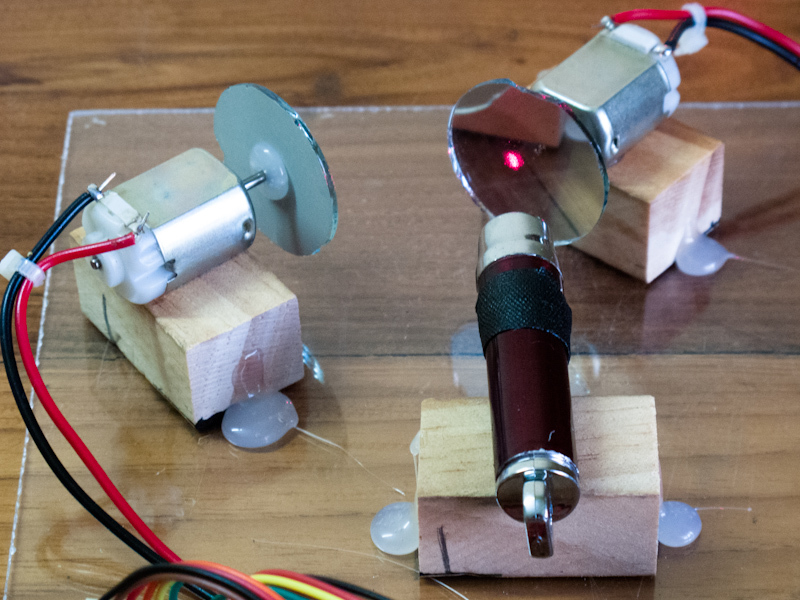
The patterns, called Lissajous Figures, are generated using a laser and 2 motors with mirrors attached to them. (The laser source can be a cheap laser pointer.) The laser bounces off one mirror, then on to the the next before being projected on a flat surface. The Arduino board controls the speed and direction of rotation of the motors, and by varying these, various patterns can be created.

Motor Control

To control the speed and direction of the motors with the Arduino, we use an H-Bridge. You can read more about this in this tutorial at bildr.org. I am using the exact same configuration here.

Syncing with Audio

To make the lasers dance with the music, the rotation of the motors needs to match the music somehow. Here it is done by analyzing the frequency content of the audio stream and converting that into motor speed/direction information. To split the audio into frequency components, we use the Discrete Fourier Transform. We use Python to do this job, and send the motor speed/direction information via the serial interface to the Arduino, which updates the motors.

Please note that to run the Python code, you need to have scipy, numpy, pyserial, and pyaudio installed.

Source Code

The source for both the Arduino and the Python code can be found here.

What will the next generation of Make: look like? We’re inviting you to shape the future by investing in Make:. By becoming an investor, you help decide what’s next. The future of Make: is in your hands. Learn More.

Project Steps

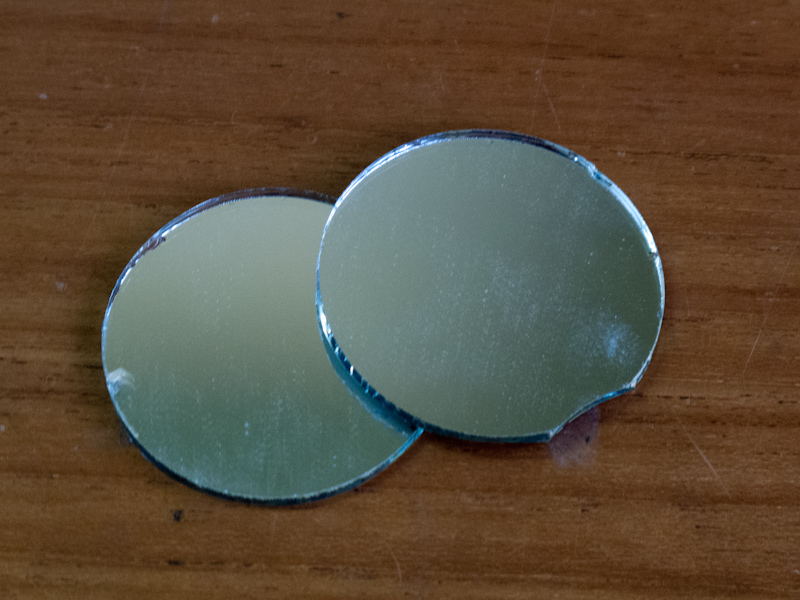
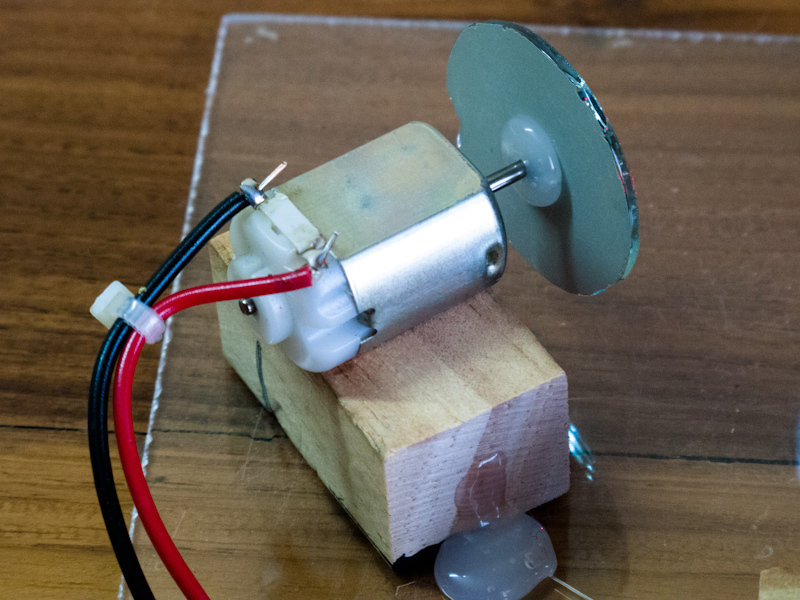
Attach mirrors to the motor shafts. Do this by putting a drop of hot glue at the center of the backside of the mirror, and holding the motor so that the shaft is slighly off the perpendicular.

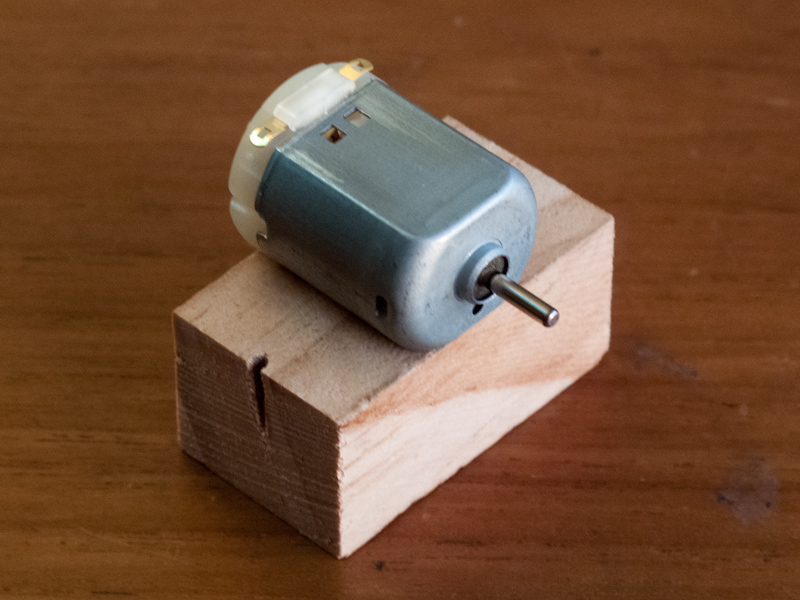
Solder wires to the motor, and attach the motors to the wooden blocks using the hot glue gun. The wooden blocks are used only to prevent the mirrors from hitting the ground while rotating. You can use any alternate mechanism that achieves this objective.

Attach the laser pointer (or any other laser source) to a wooden block using hot glue. Align it so that when switched on, the laser shines close to the motor shaft axis.

Have a way to keep the laser on continuously. You could take it apart and rewire the switch, or even control it using the Arduino. But I have taken the ultra low-tech route of duck-taping the switch on permanently. When I need to turn it off, I just remove the rear battery cover of the laser pointer.

Align the 2 motors and the laser pointer before hot gluing it on to the acrylic sheet. To do this, tape the laser block on to the acrylic sheet first. Now adjust the positions of the 2 motors while rotating the mirrors by hand till you are satisfied that all laser positions are projected on to the wall without getting cut off.

Wire up the Arduino, the H-bridge and the motor exactly as in the bildr.org tutorial mentioned in the introduction. You can also use their Arduino code as a test to ensure that your motor setup is working.

Note that, depending on your motor, you may need a different type of power supply. Mine worked fine with a 3V supply.

Program the Arduino using the source code link provided in the introduction. Go through the source code. As an initial test, you can try out the loop that ramps motor speeds up and down automatically.

Get the Python source from the introduction and go through the comments in the code. The code sends motor speed commands via the serial interface to the Arduino.

There is an option in the Python program to do a manual test of the motor speeds. This will help you test the setup.

Once you are satisfied with the setup, ensure that your computer’s mic input works and play some music. Run the Python code, and you will see the motors turn and the laser dance.

Conclusion

Hope you have fun building this project.

There are different variations you could try on the above project. For instance, you could try a different method for converting the frequency information to the motor direction/speeds. Another idea is that you could modify the Python code to play an MP3 file, instead of reading from the built-in mic.