This project can be built entirely from parts available at Radio Shack and your local hardware store.
Projects from Make: Magazine
Laser-Triggered Fire-Breathing Pumpkin Prank
Build a fire-breathing pumpkin as a prank to surprise friends.

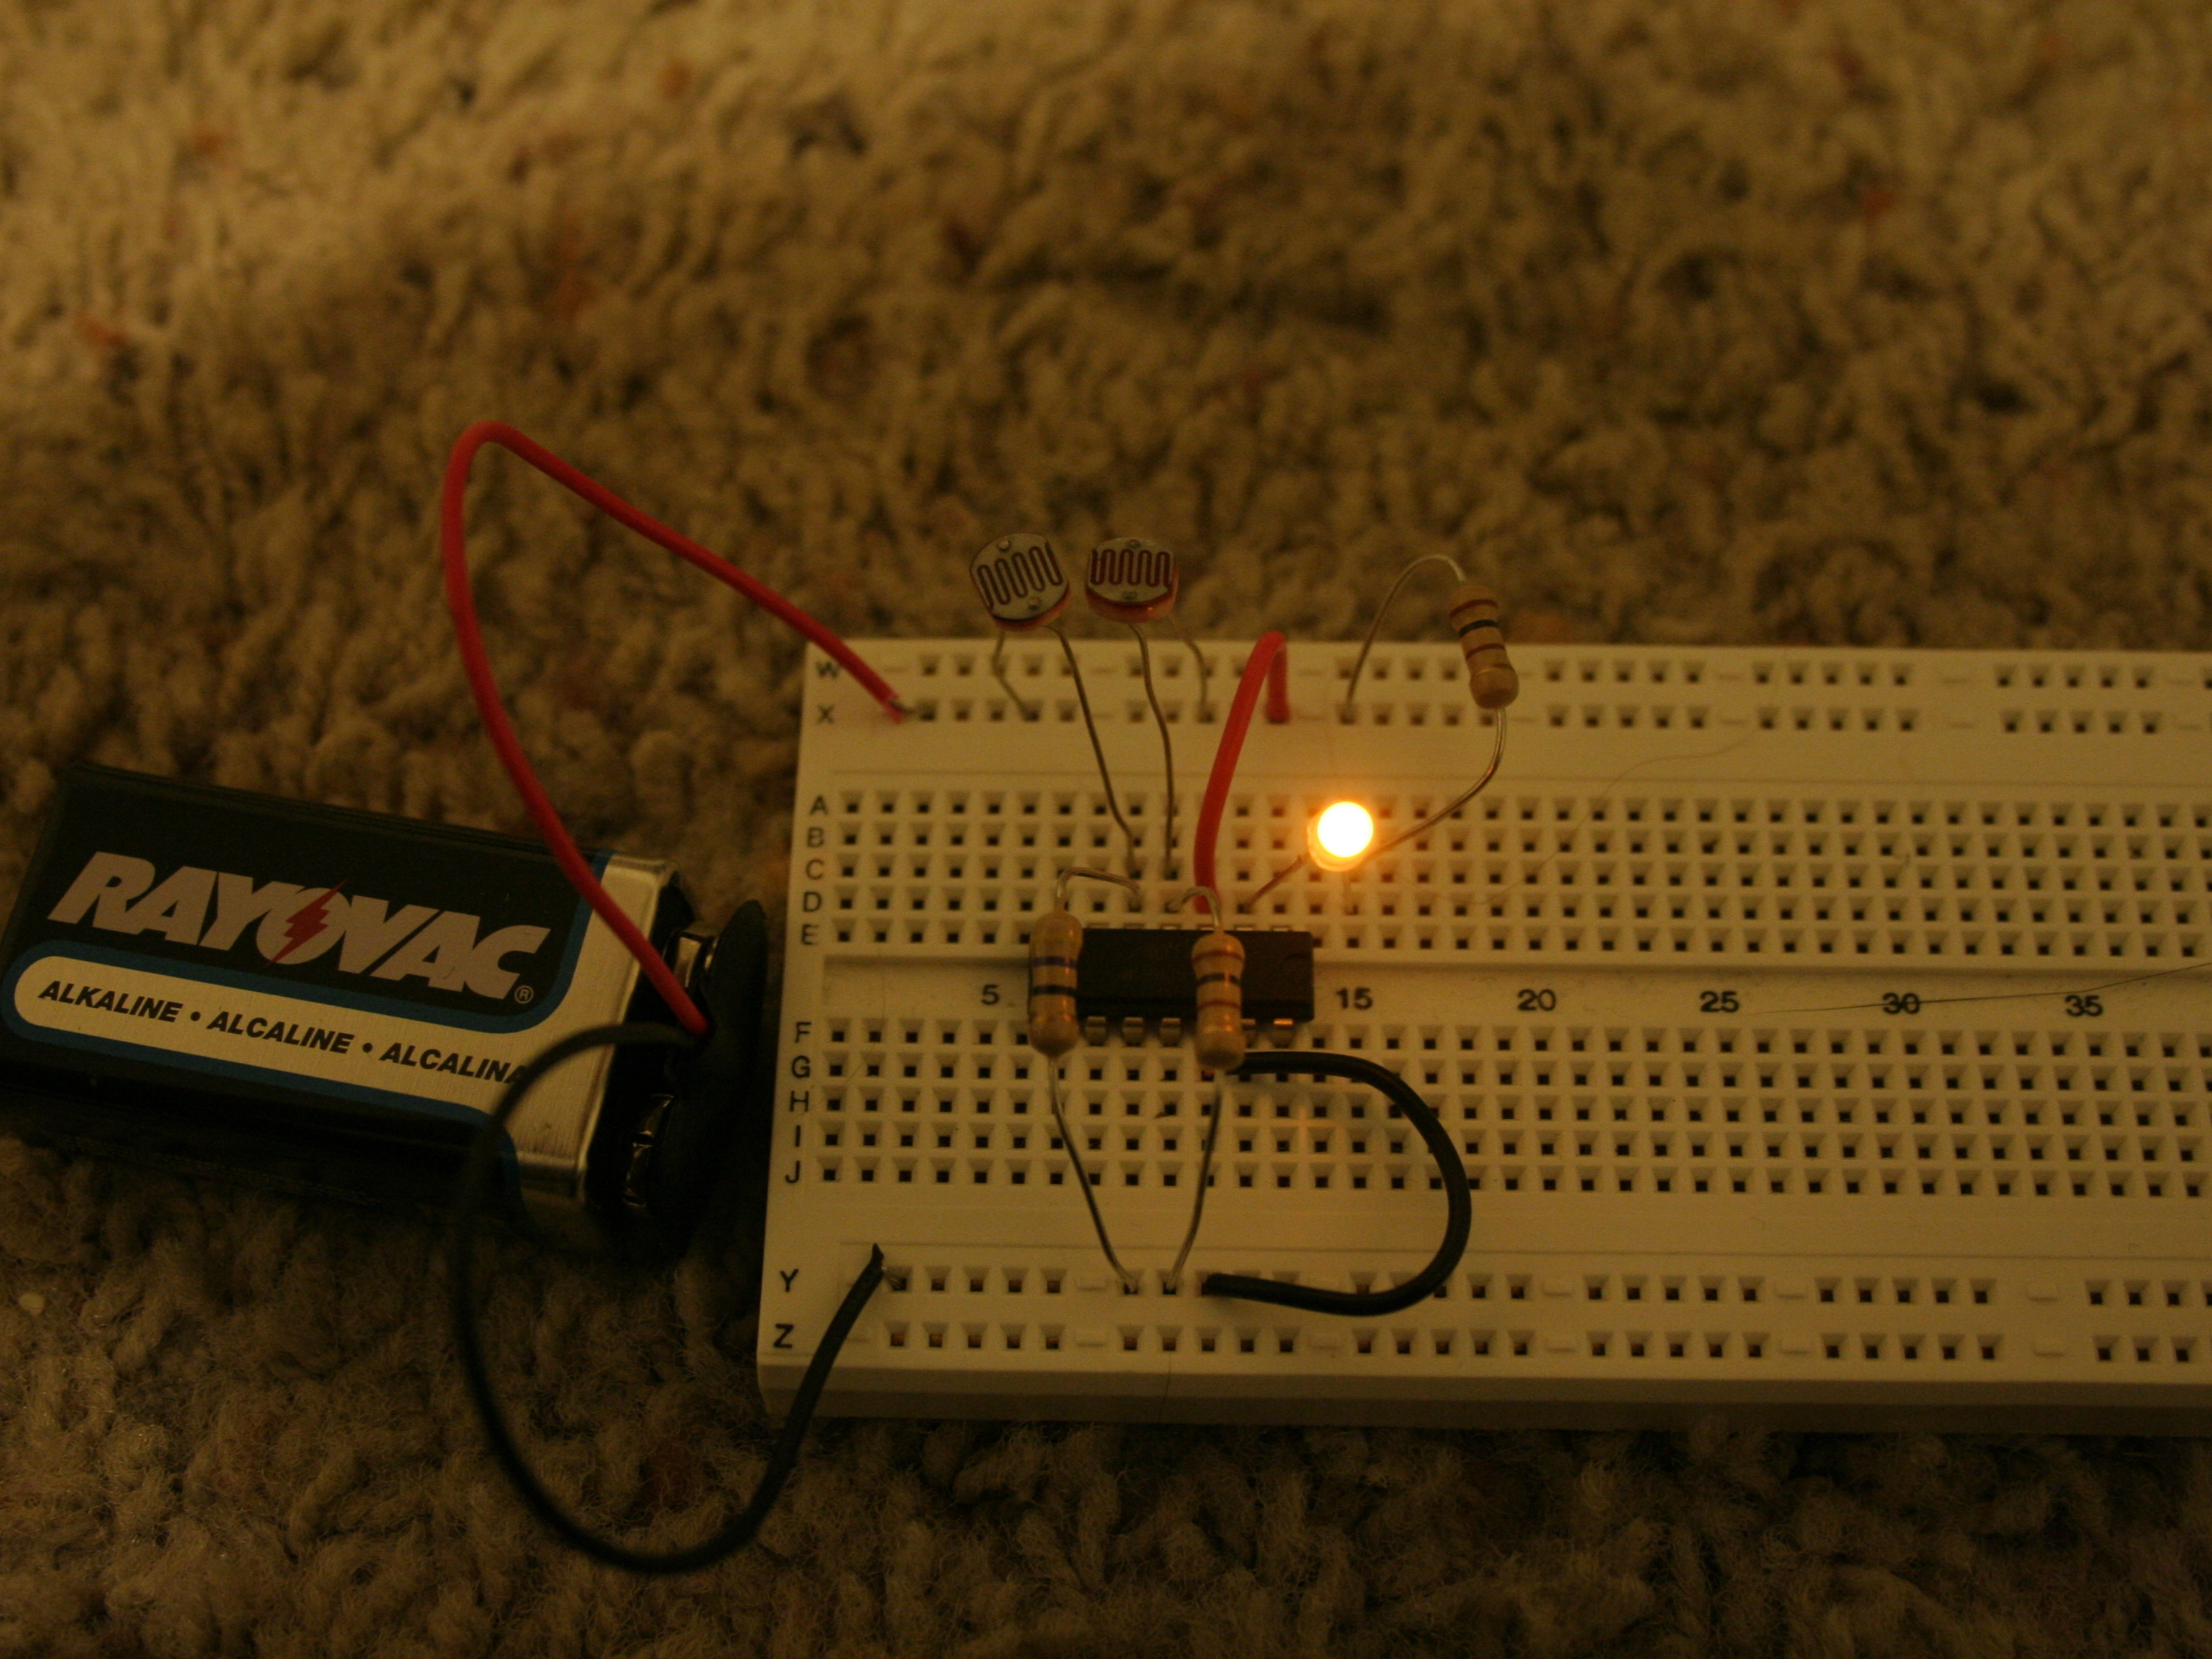
The first step is building the laser trigger circuit. This is not nearly as complicated as it sounds
The circuit works by comparing the intensity of light on the two photo resistors (PR1 and PR2).
Whenever the intensity of of light on PR1 is less than twice the intensity on PR2, the circuit produces a current through the Test/Trigger load.
Since we will be pointing a laser beam at PR1, there will only be a current through the Test/Trigger load when the laser beam is broken by someone walking through it.
To test the circuit, insert a 100-ohm resistor and LED in series in place of the test load. A small flashlight bulb will also work fine.
Don’t connect the LED without the resistor or the LED will burn up.
The LED should light as soon as the circuit is connected to the battery. If not, try reversing the LED.
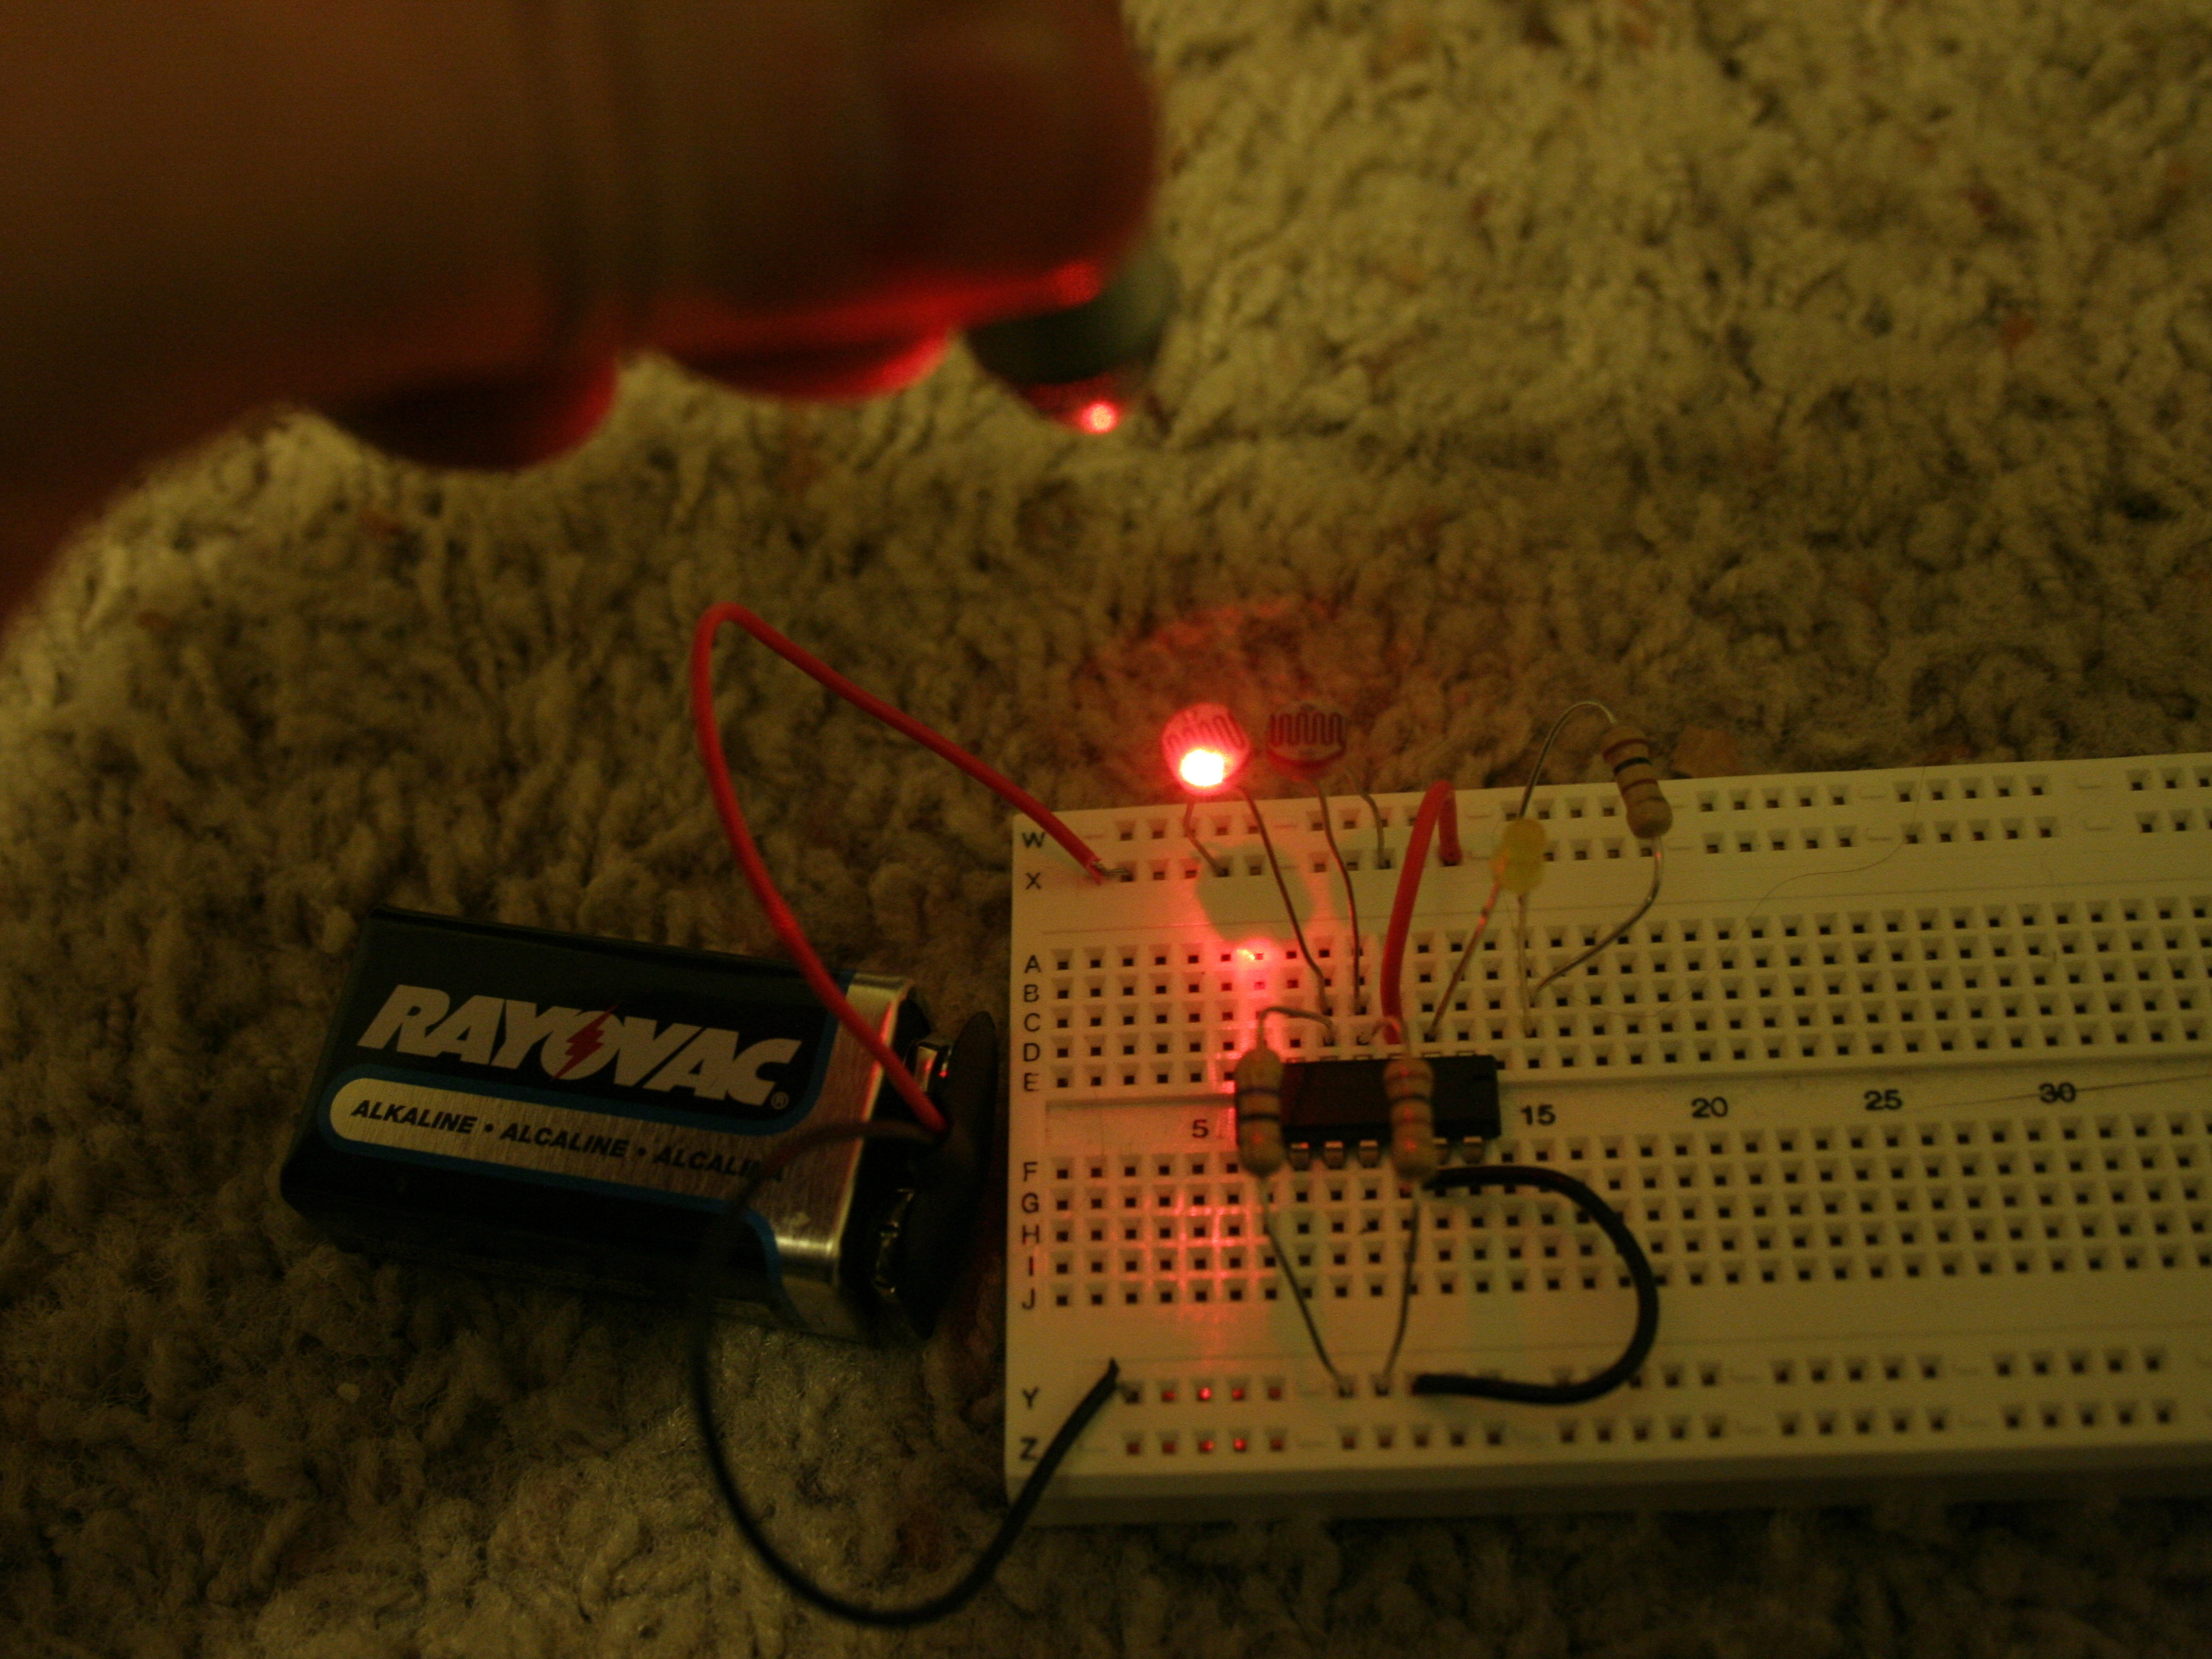
Test the circuit by pointing the laser pointer at the first photoresistor, PR1. The test LED should immediately shut off.
When the laser beam is interrupted or turned off the test LED should immediately light up.
If the circuit doesn’t work, check the circuit against the schematic in the previous step and test the LED by placing it and the resistor in series with the battery directly.
Also make sure the LED polarity is correct. The shorter wire should be connected to the output of the IC and the longer wire should be connected to the resistor whose opposite side is connected to the positive side of the battery.
If you’re struggling with the circuit, enlarge the two images included with this step and just copy it directly.
Next you need to carve two pumpkins. I chose a large pumpkin to breathe fire and a smaller pumpkin to hide the laser trigger circuit inside.
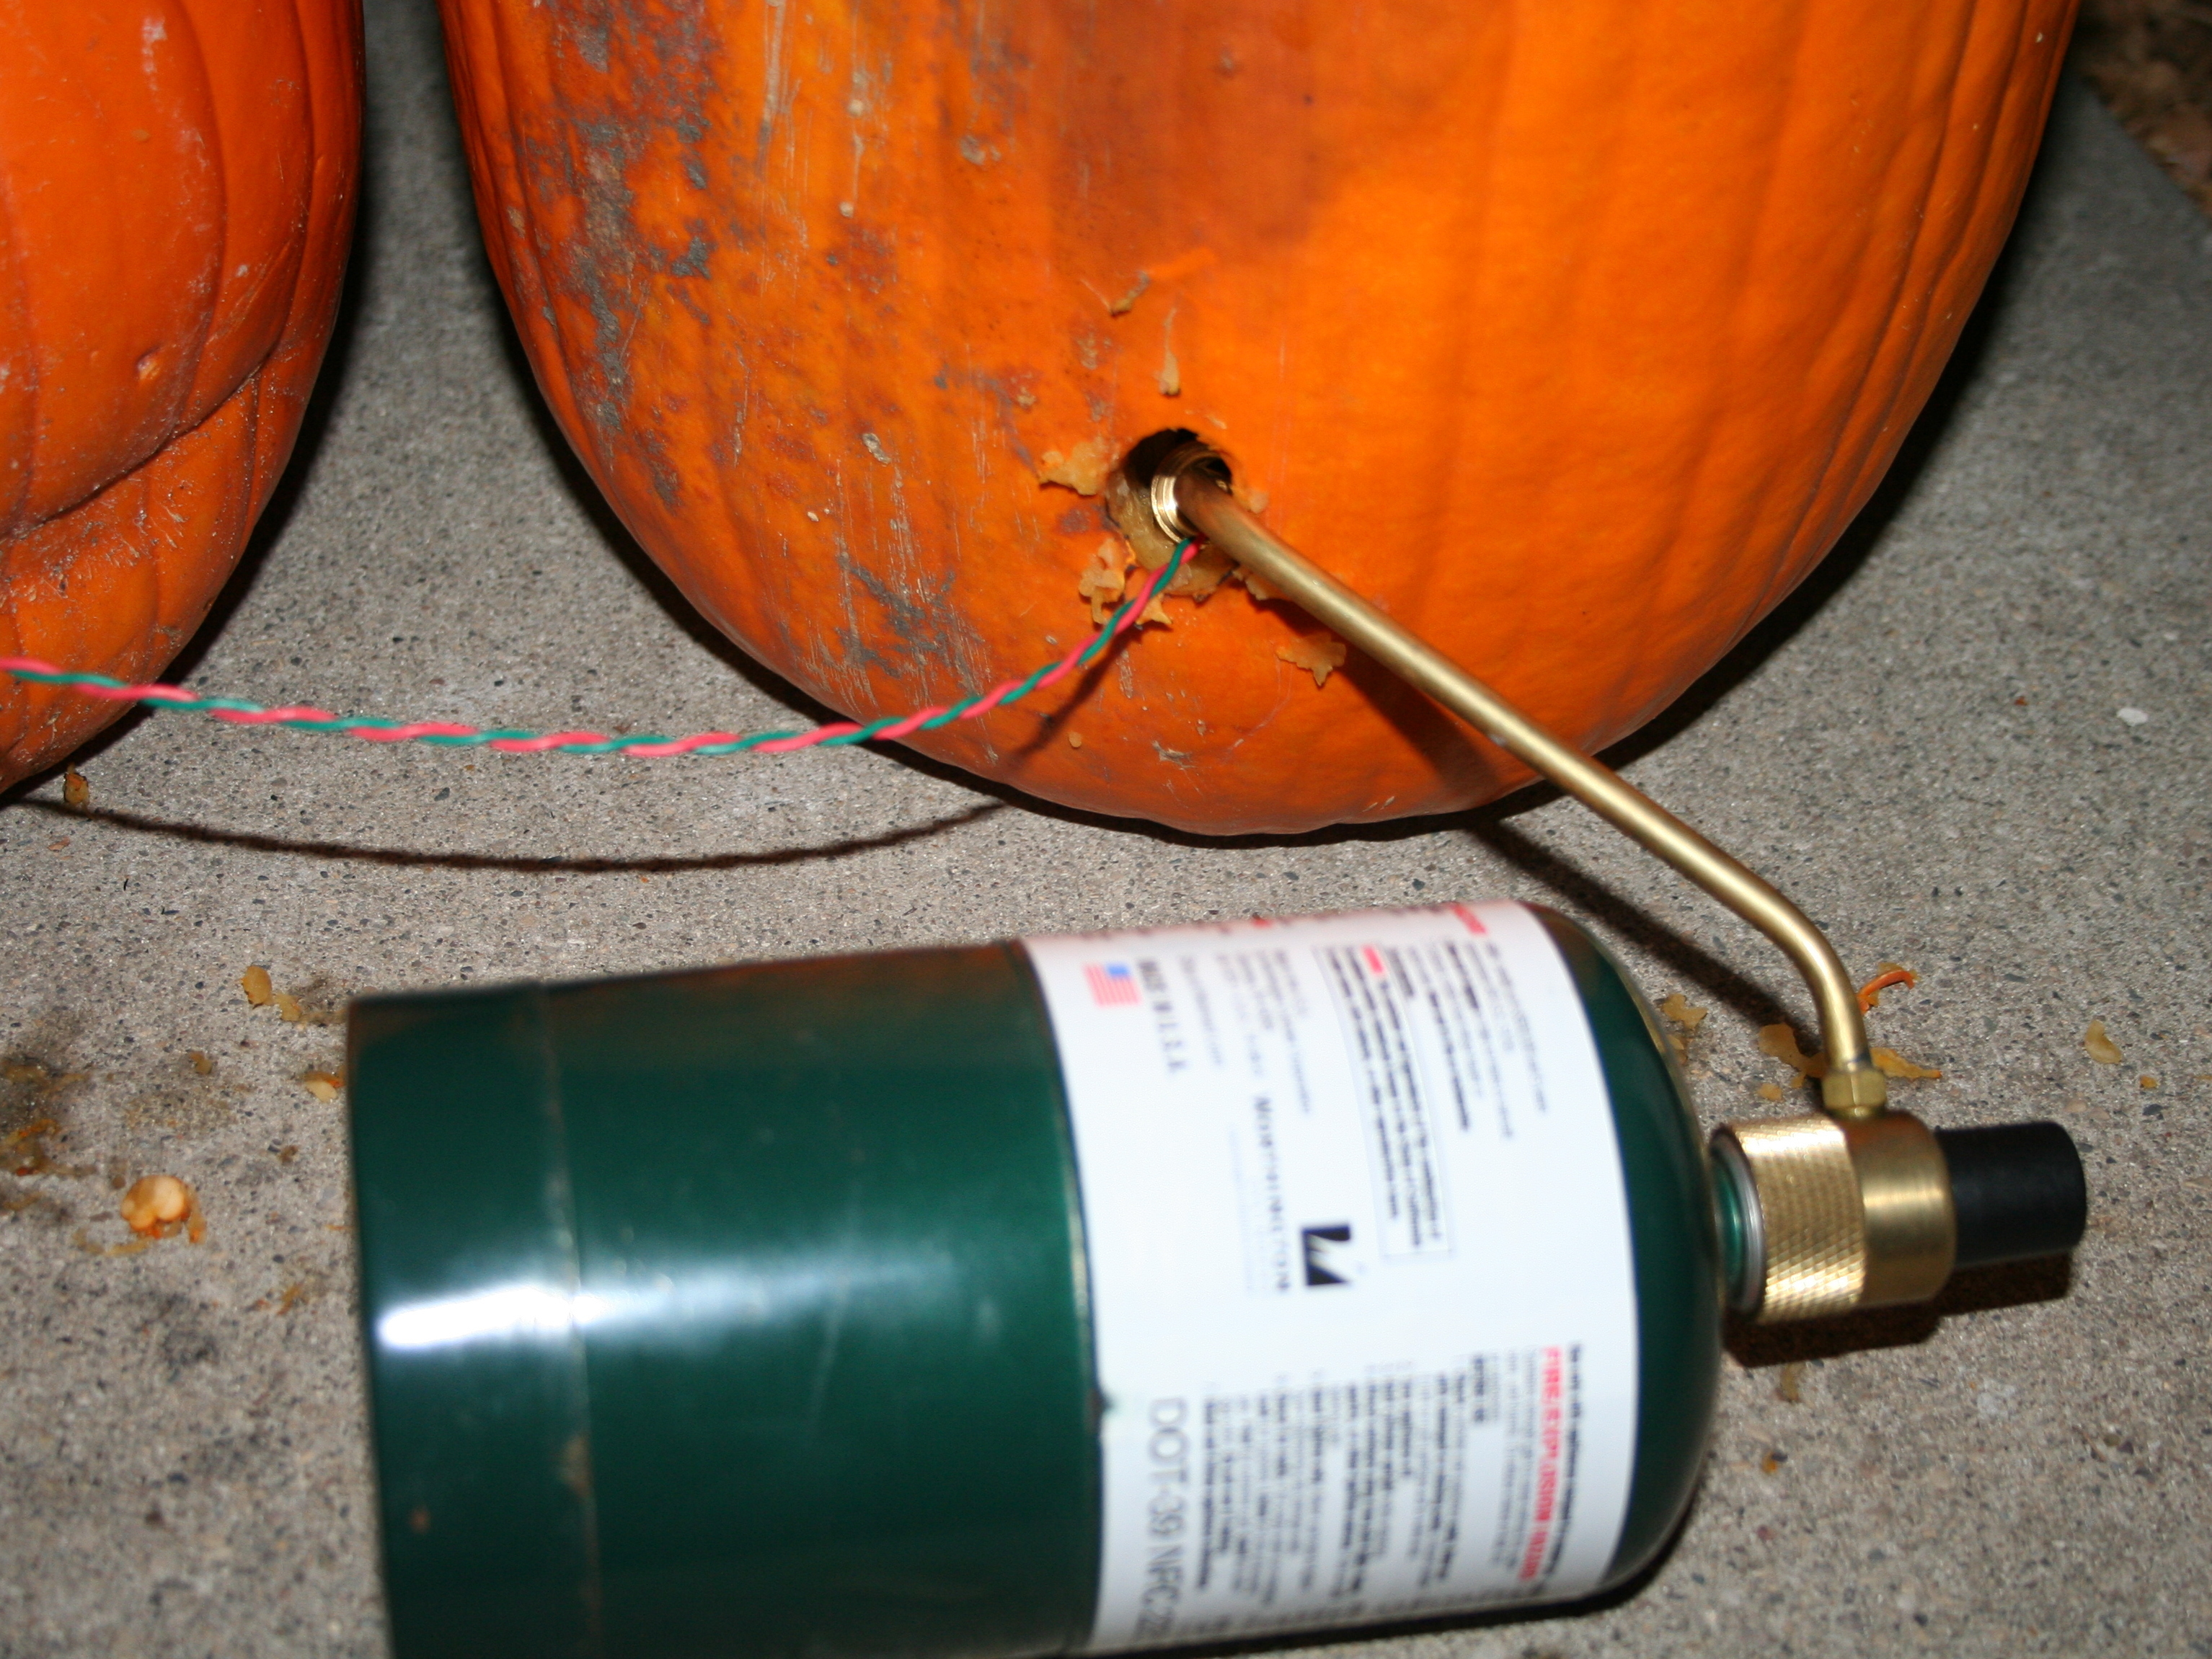
Remove the LED and resistor from the Test/Trigger output and run two pieces of wire about 2-3 feet long. Place a small piece of steel wool between the trigger wires. The wires should not be touching, but should form a short circuit through the steel wool.
When the circuit is triggered, the steel wool will burn to ignite the breath of fire.
The detector should then be hidden in the smaller pumpkin and the trigger wires and steel wool placed inside the other pumpkin. Small holes in the back of the pumpkin will make this well-hidden.
Adjust the laser to shine on PR1 and turn on the circuit. I hid the laser pointer inside a small BBQ grill across the porch….use your creativity to hide yours!
ONLY AFTER this is all set up, run a propane line with a slow flow into the back of the larger pumpkin.
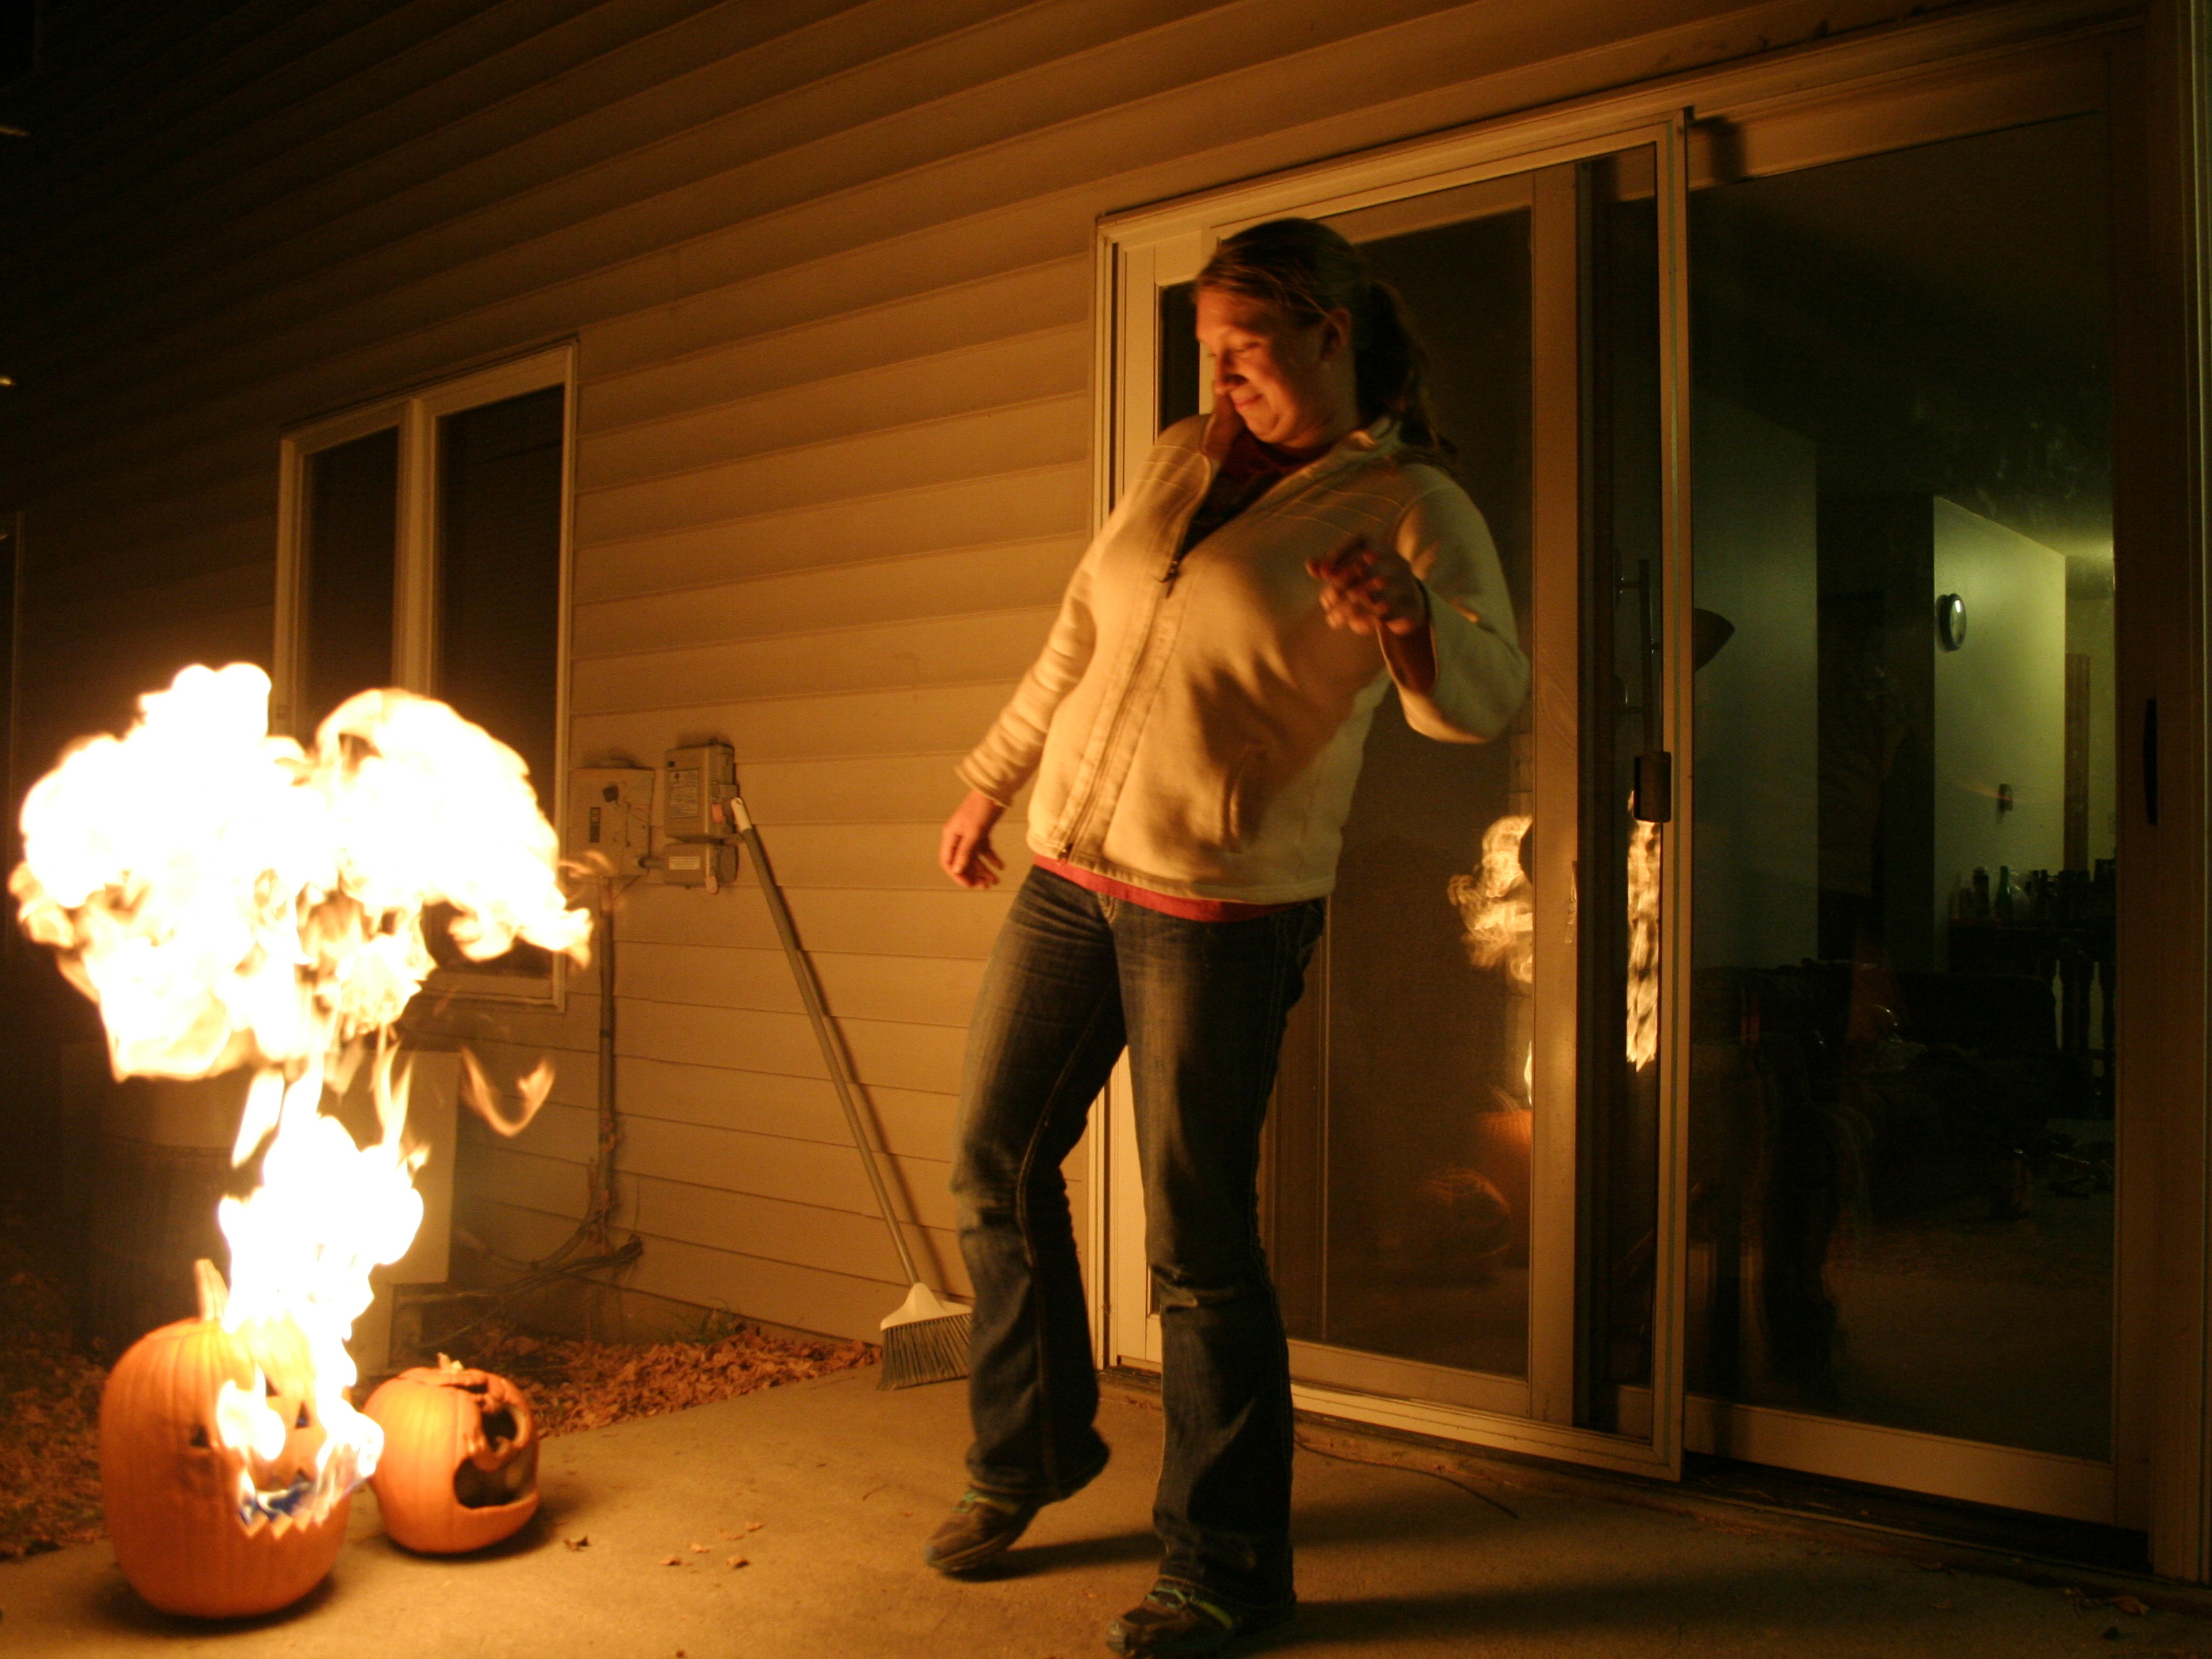
Invite friends over and ensure that they walk through the path of the laser beam so that they will break the beam.
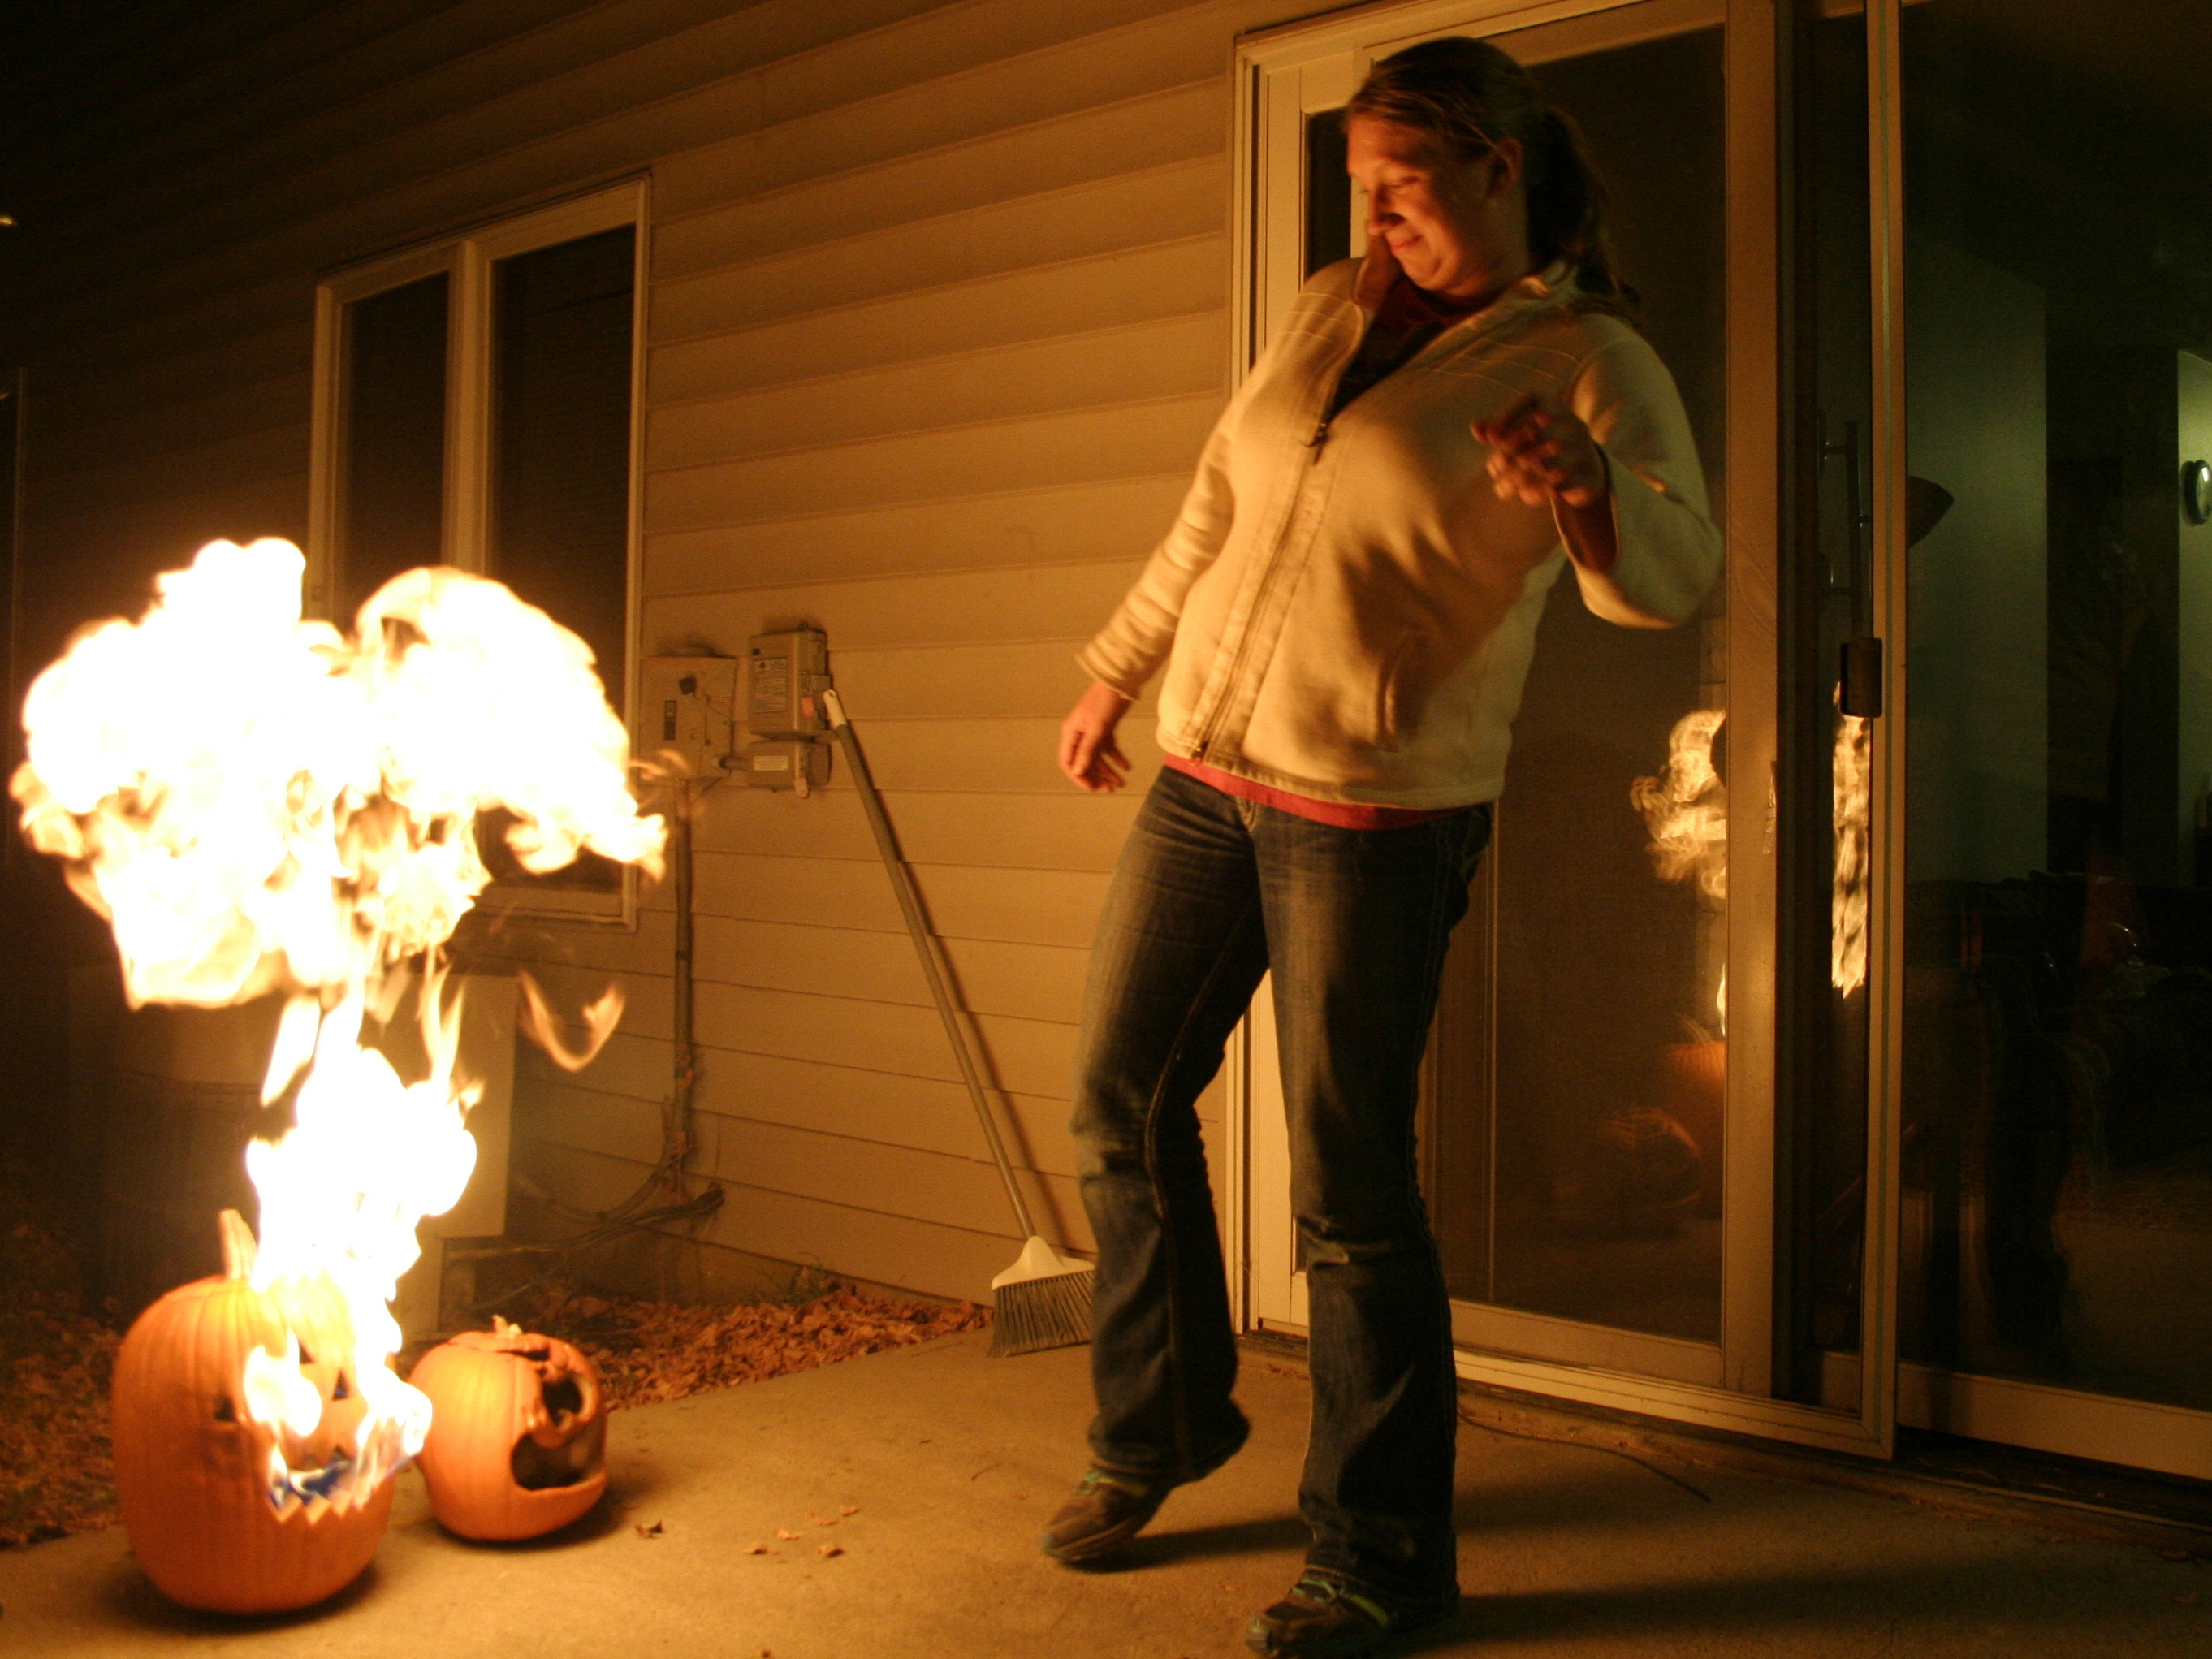
Laugh your head off after you scare the pants off of them. Turn off the propane. Prepare another trigger as described in the previous step.
USE COMMON SENSE! DO NOT arrange the setup so that people can get too close to the fire-breathing pumpkin.
Monitor the setup at all times and disconnect the propane if you cannot continuously monitor it. Keep children and pets away at all times.
Flames will project only about 1 foot forward from the pumpkin’s mouth but will rise 2-3 feet with a quick “poof.” Small flames may continue to emerge until the propane is disconnected.


