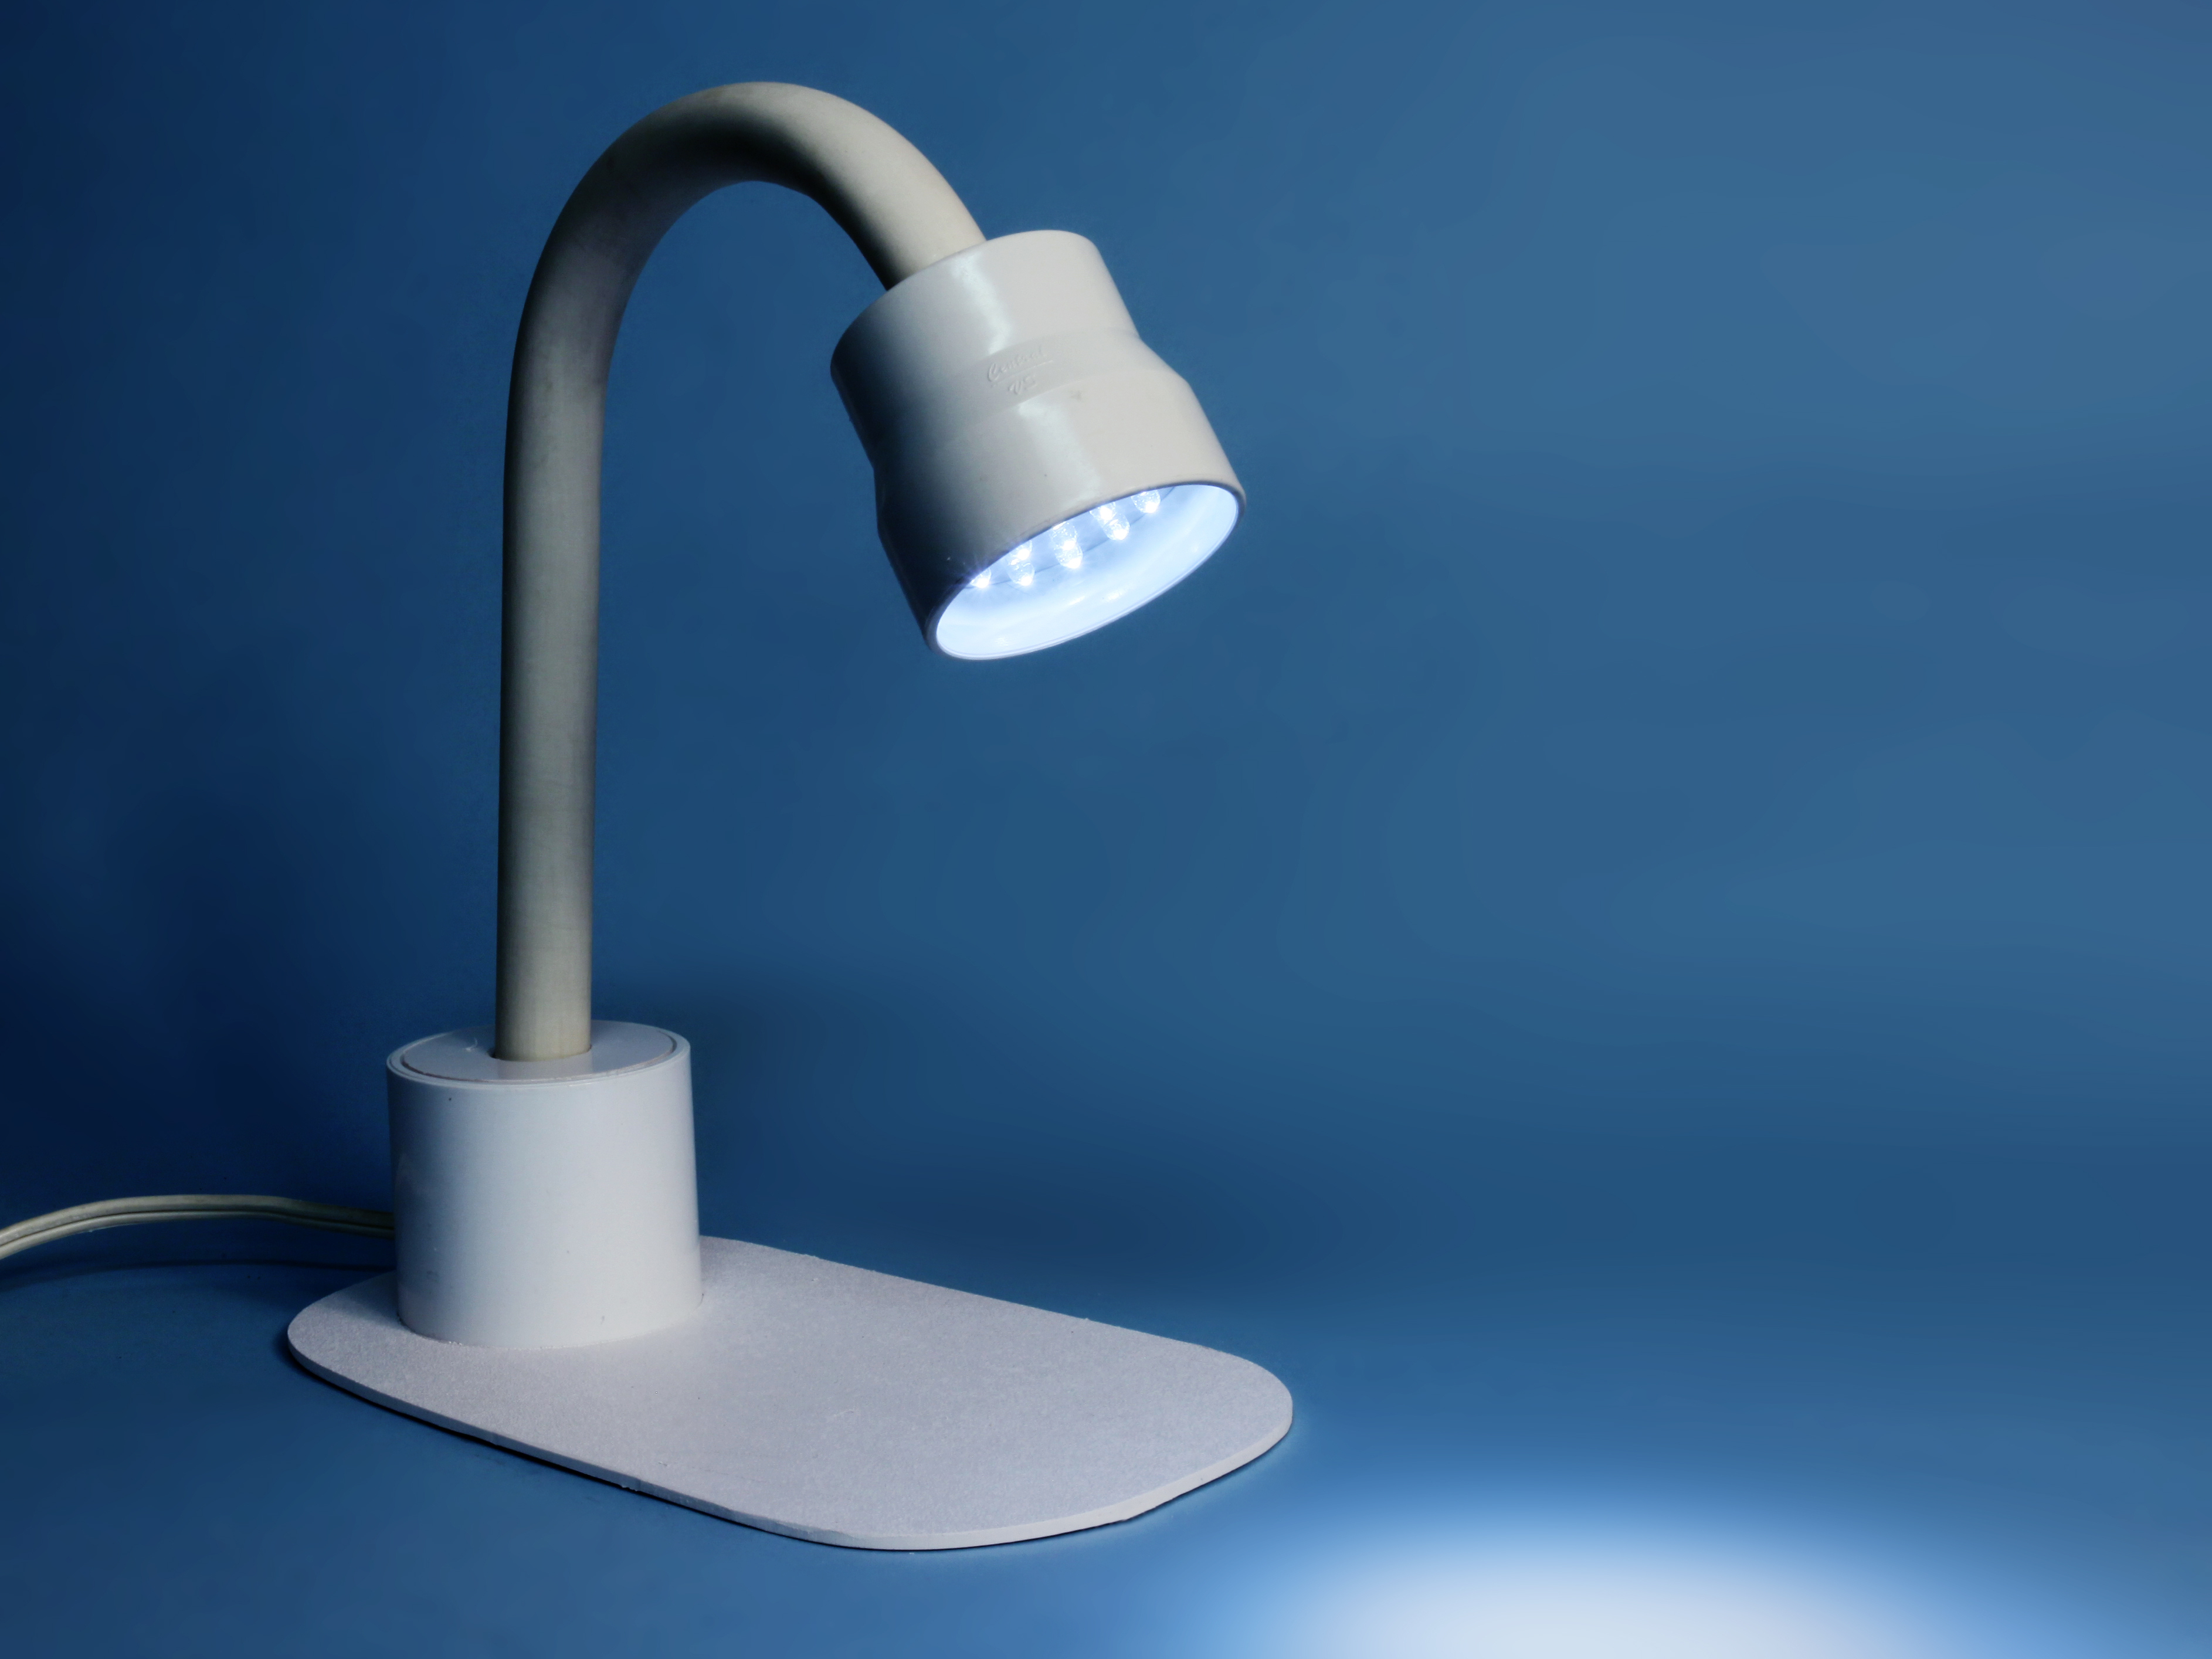
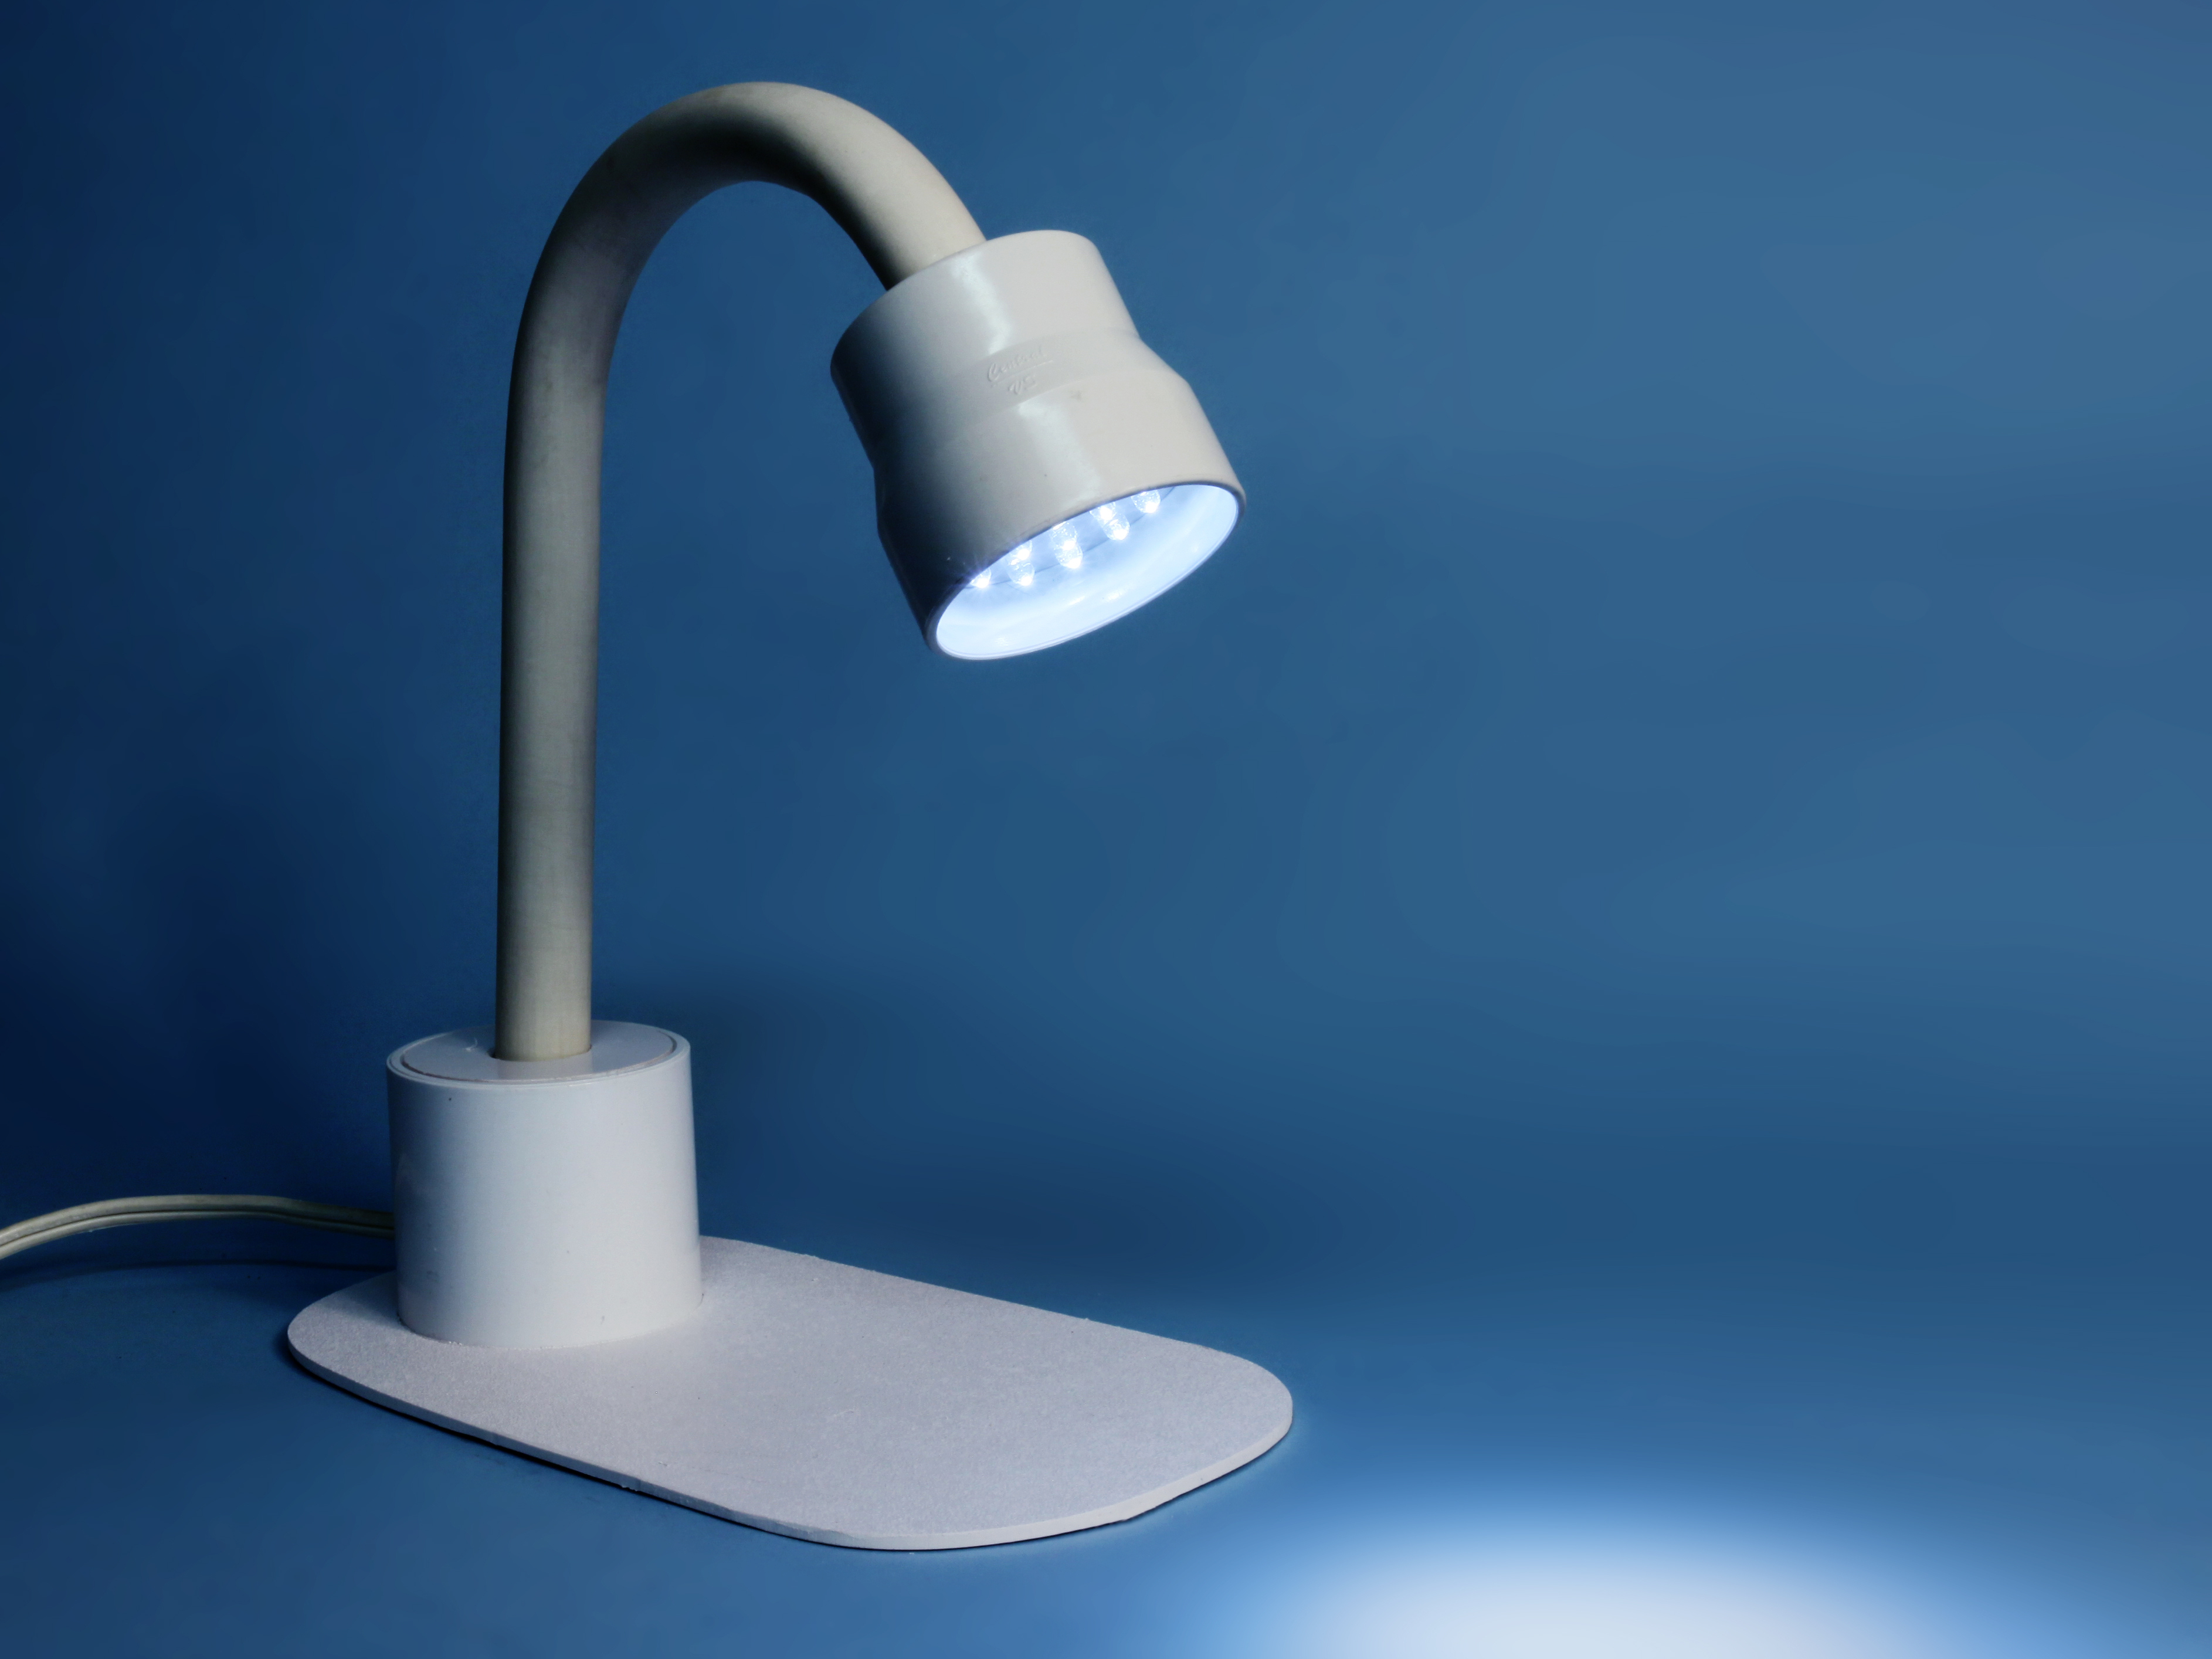
The most popular item I ever built for MAKE just happened to be the simplest: an LED desk lamp. This was in Volume 08, in 2006, when white LEDs were a hot new product. The most powerful ones I could find were 1cm in diameter, rated to deliver 100,000mcd (millicandle). The light wasn’t exactly white — it had a freaky purplish hue. But I liked the weird color, because it showed we were early adopters of cutting-edge illumination!
Recently I started wondering if I could downsize and upgrade the original lamp. So I took a fresh look at those traditional, through-hole, single-component LED “indicators” (as they are properly known).
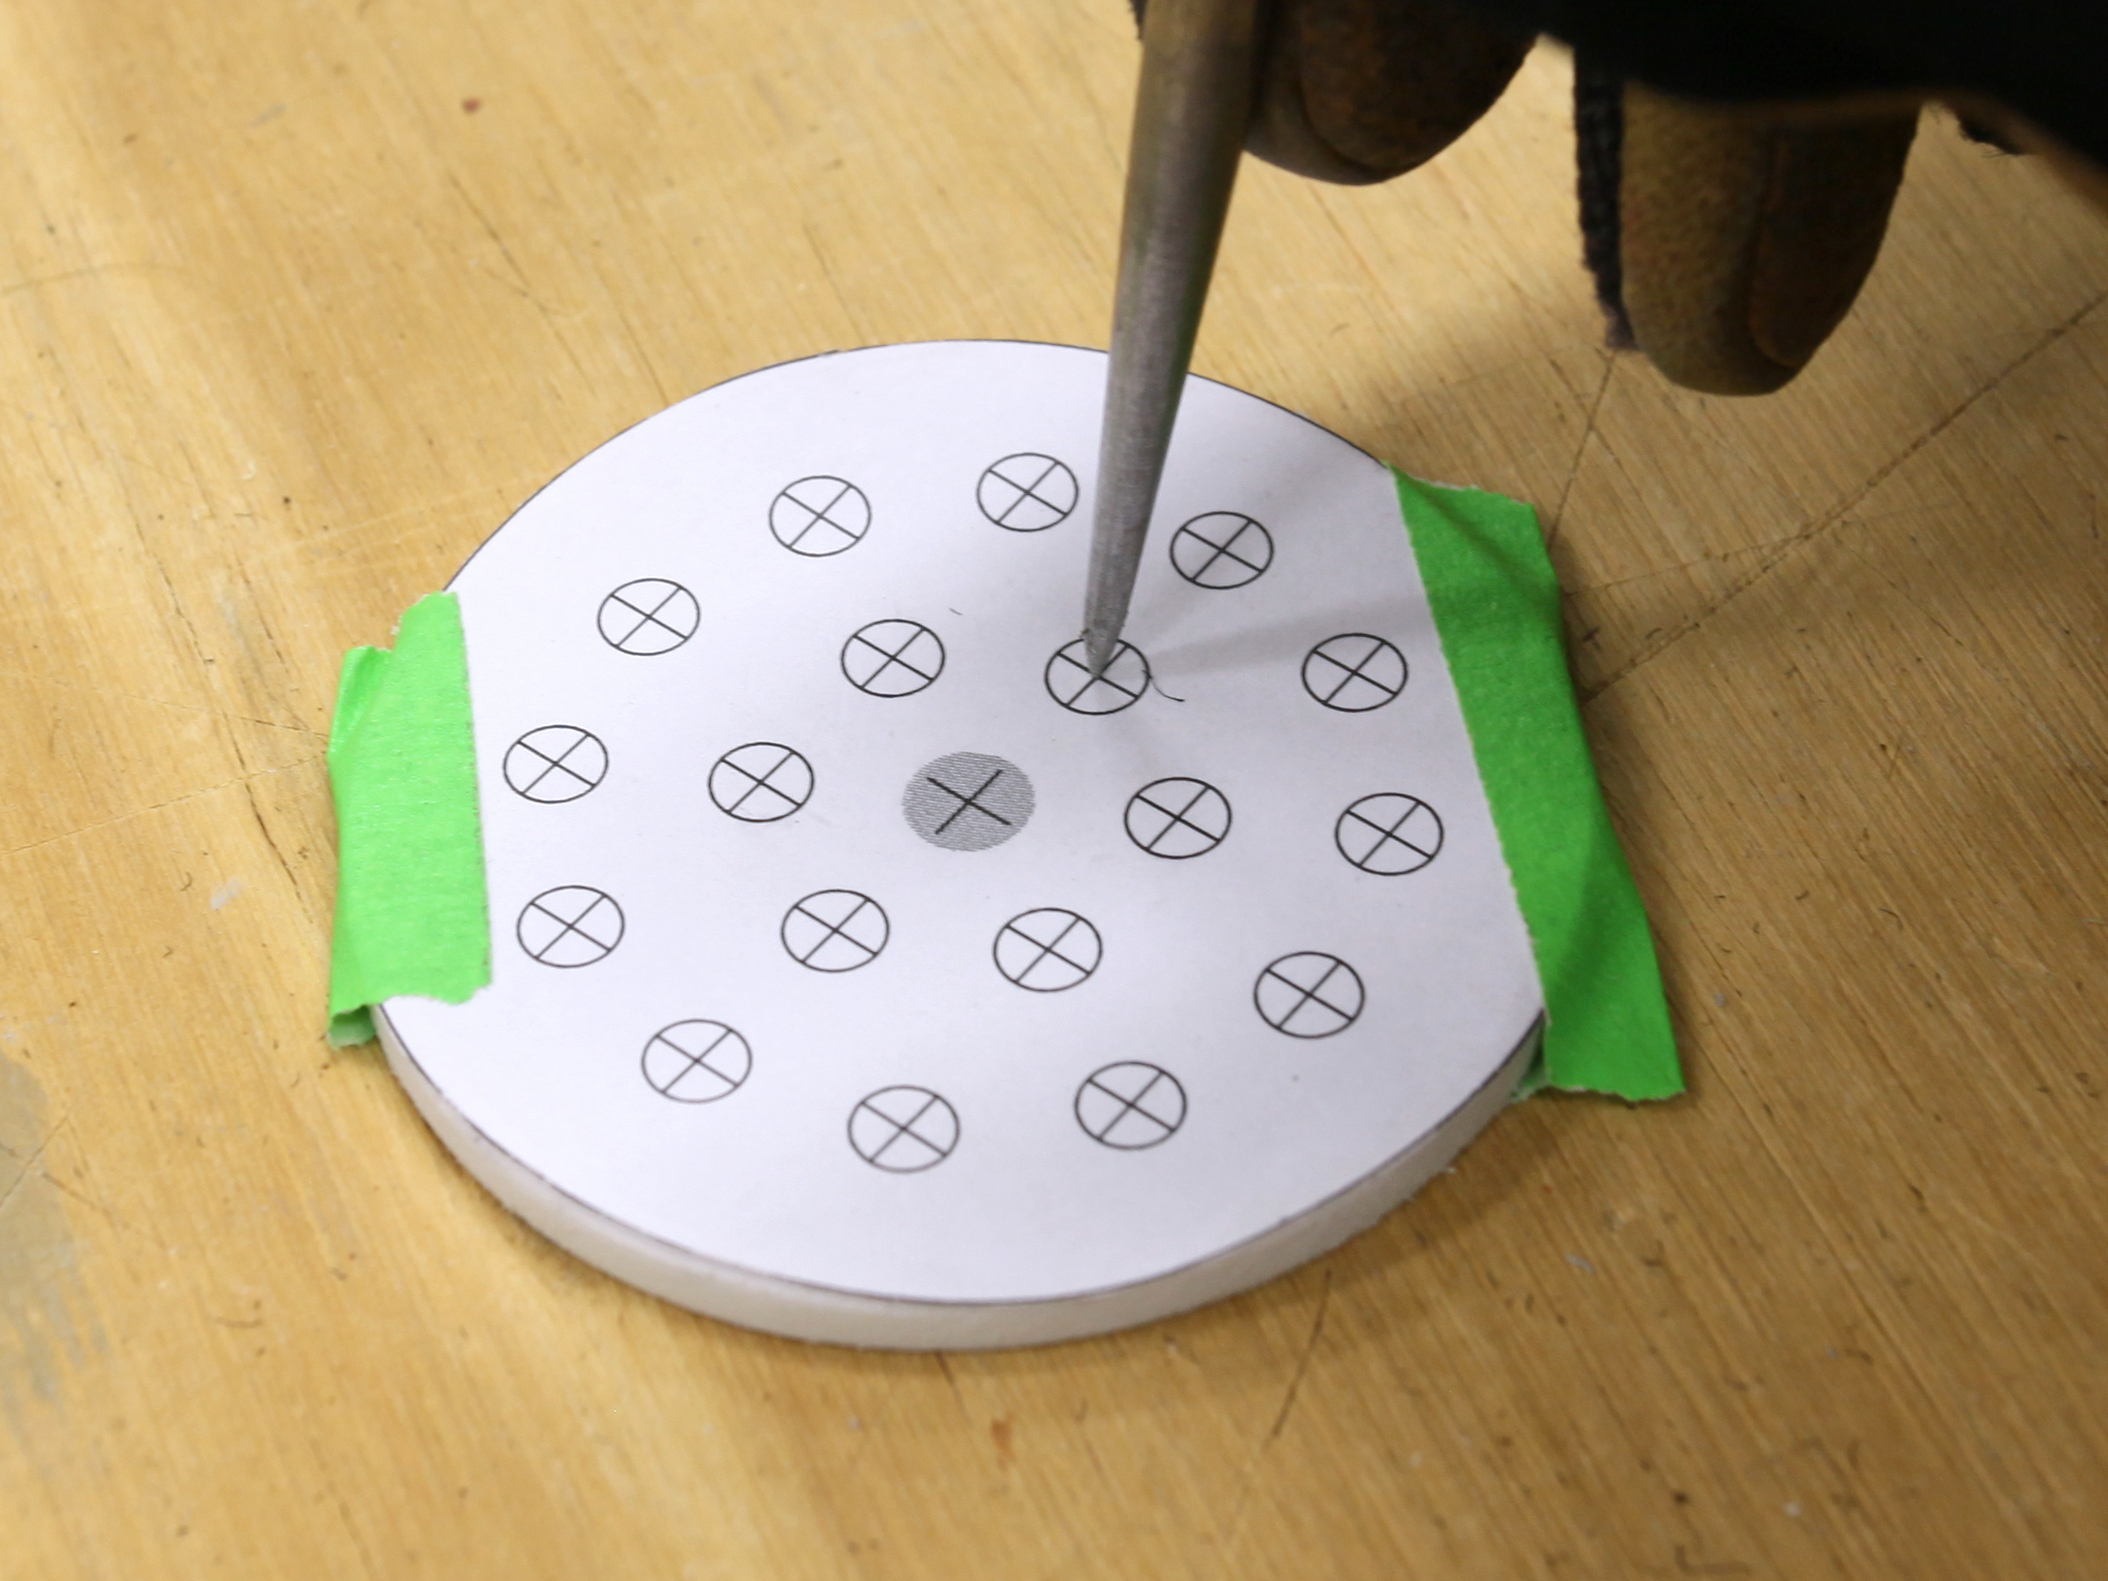
The 5mm ones are now a lot more powerful than the 1cm type I used in the past. Some of them, known as “5-chip,” have 5 light-emitting elements squeezed into one 5mm package, sucking down 100mA of forward current at around 3.3V DC.
They’re still rated at 100,000mcd, but 6 years ago, the ones I used were rated for only 20° of beam spread. Today’s 5-chip LEDs claim a spread of 60°. Does that mean they’re 3 times as bright? No, they should be 9 times as bright, because the light is delivered over a two-dimensional area!
Since I used 72 of the big old ones, and the new ones should be 9 times as bright, I would only need 8 to get the same illumination. But why not go for greater output?
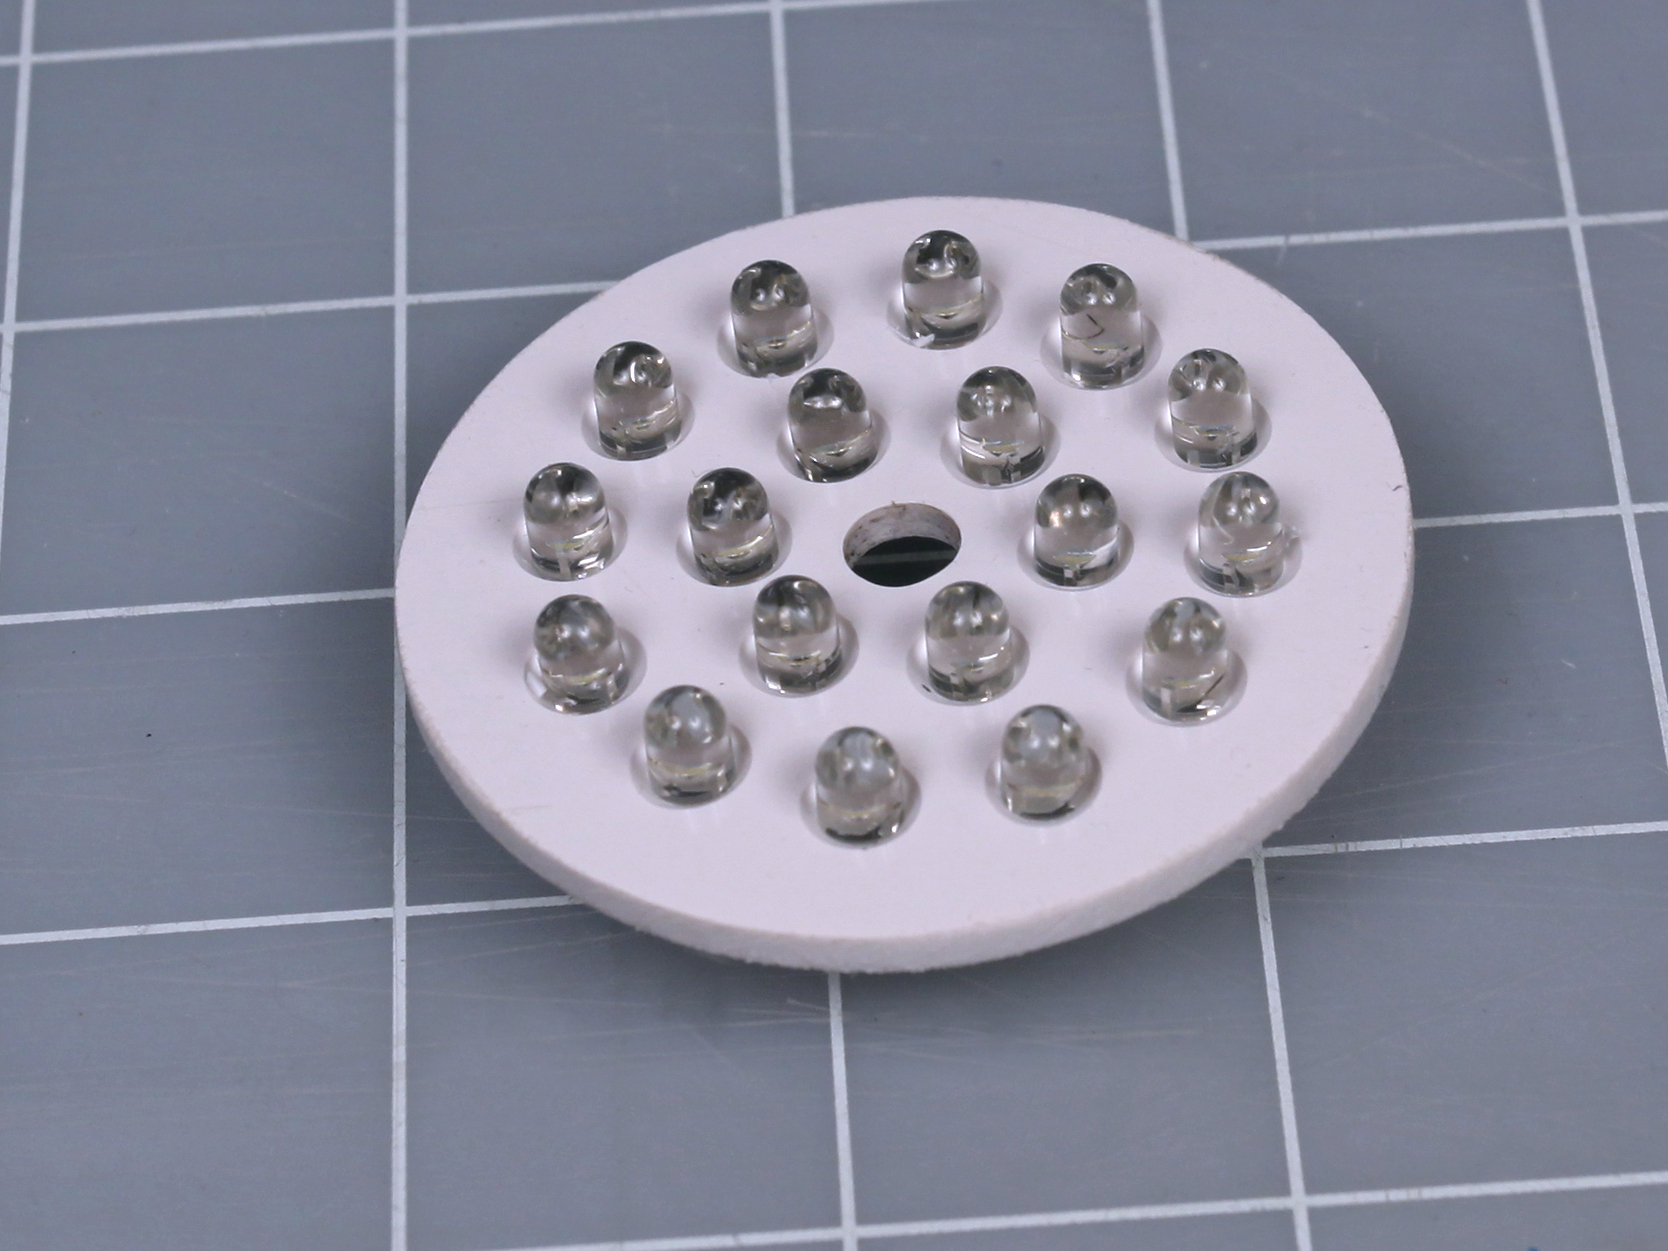
Here we’ll use the traditional-style 5mm LEDs. RadioShack, for instance, offers them as part #276-017. Since they use exactly the same 3.3V DC as the 5-chip variety, you can substitute either in this project without changing the circuit.
Fabrication Choices
I opted for a 12V DC power supply, to make the lamp function in motor homes, where LEDs are ideal to conserve power. For use with 115V AC, you need an adapter that delivers 12V DC at 1 amp. Here we’ll use RadioShack part #273-358.
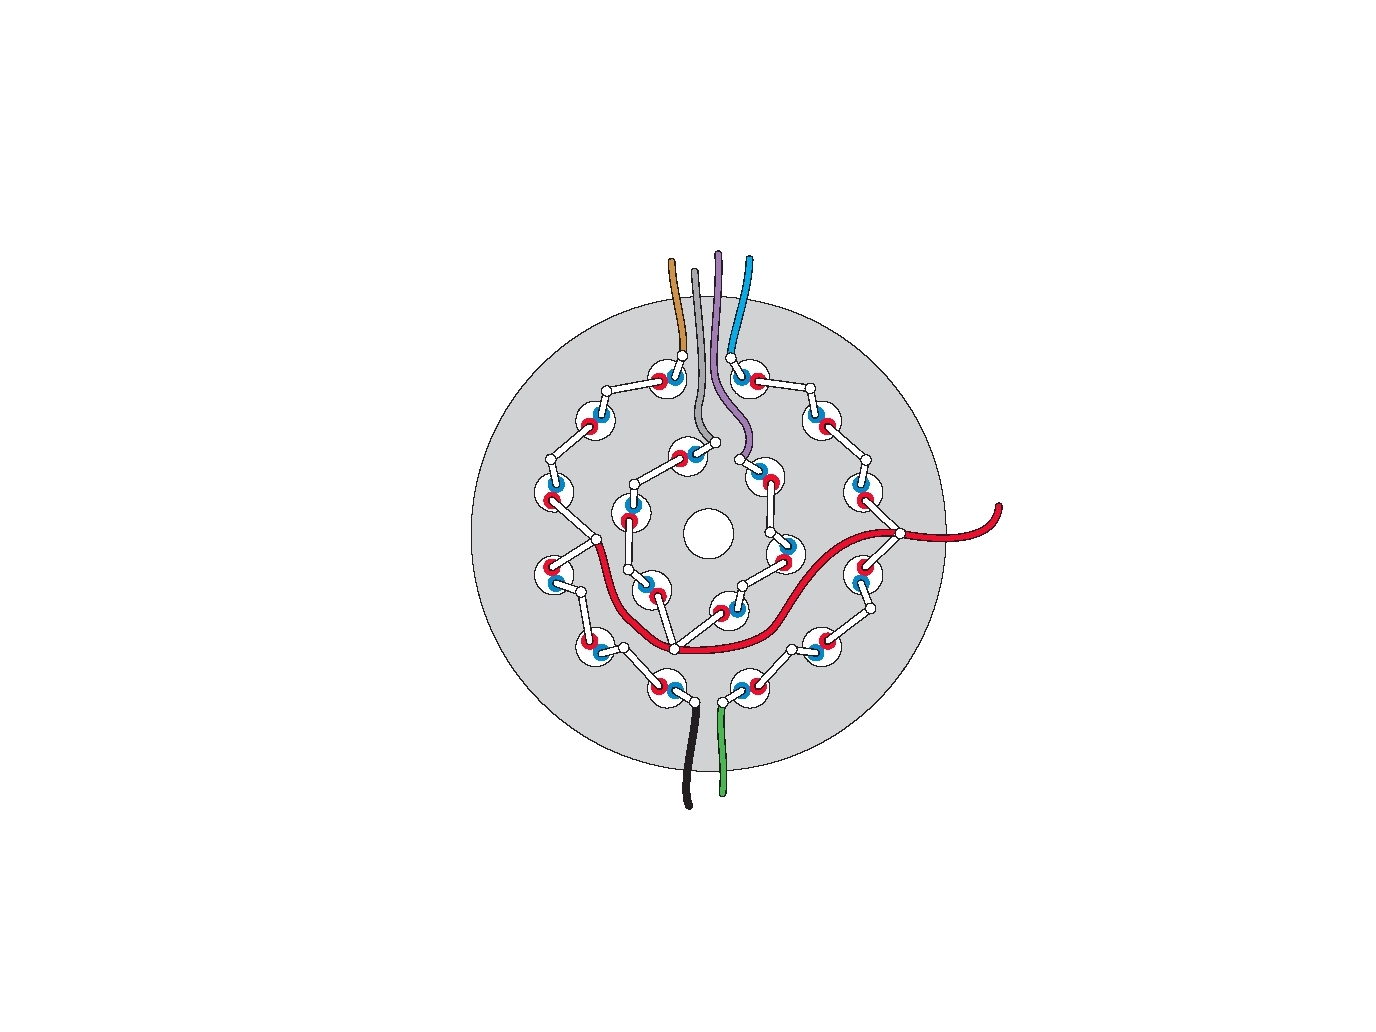
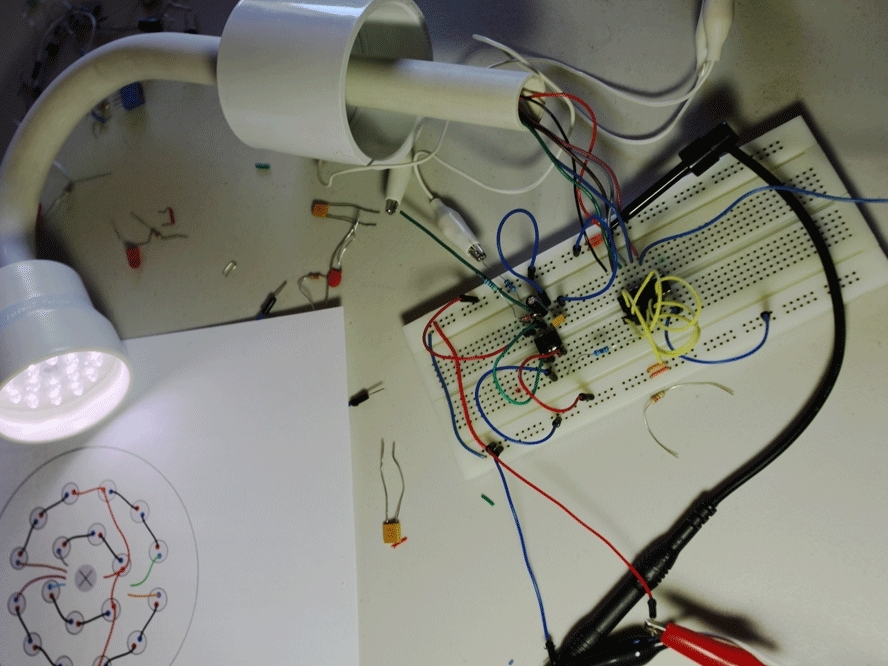
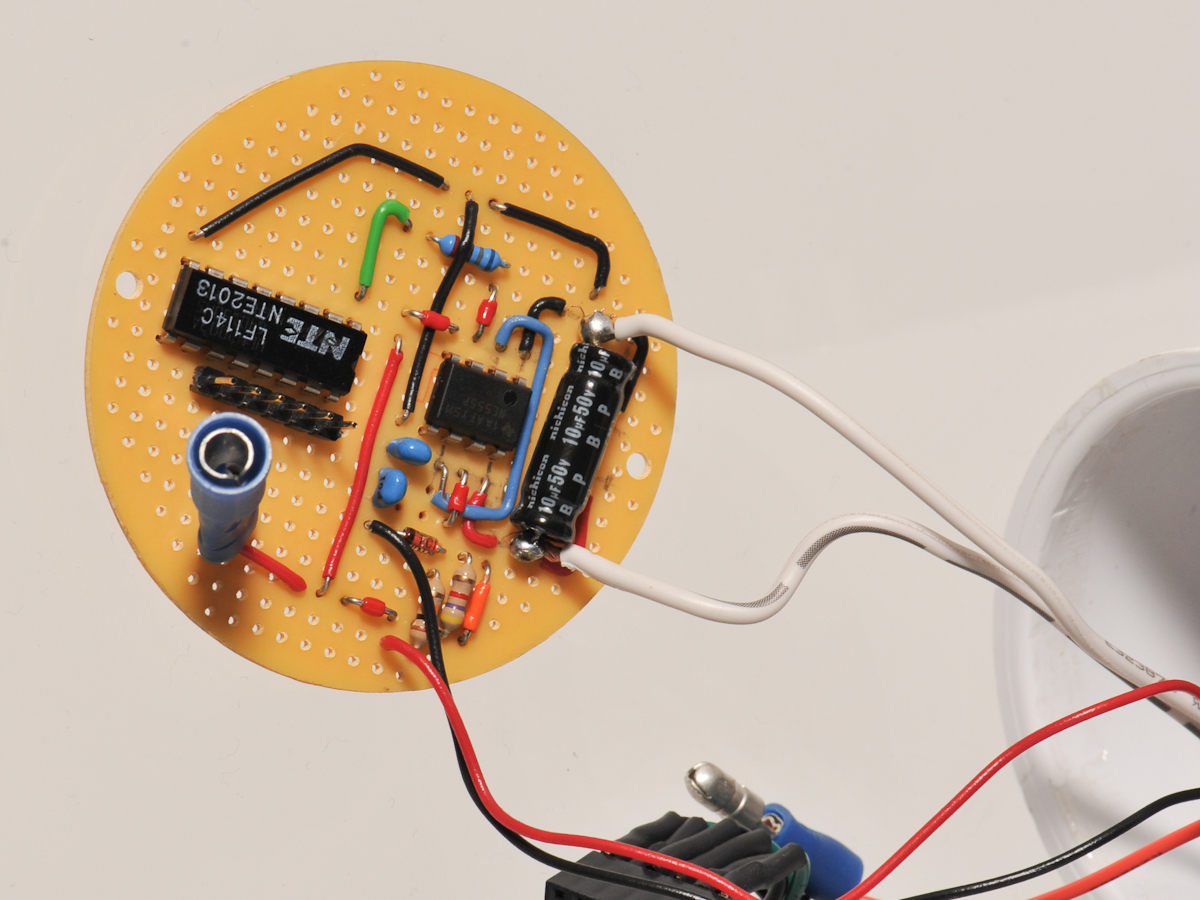
Instead of adding a series resistor with each LED, the most efficient way to power them from 12V DC is by series-wiring them in threes. This means you need 10V DC for each set. How to get 10V from 12V power? Pulse-width modulation is the way to go. You send a stream of pulses, too rapid for the eye to see, and vary the gaps between them to limit the average current. If you add a potentiometer, this can act as a dimmer. Only a few electronic parts are needed, and they’re listed in the materials and specified in Step 5.
Note that if you use old-style low-power LEDs, your AC adapter can be down-rated to 300mA, which should cost less.
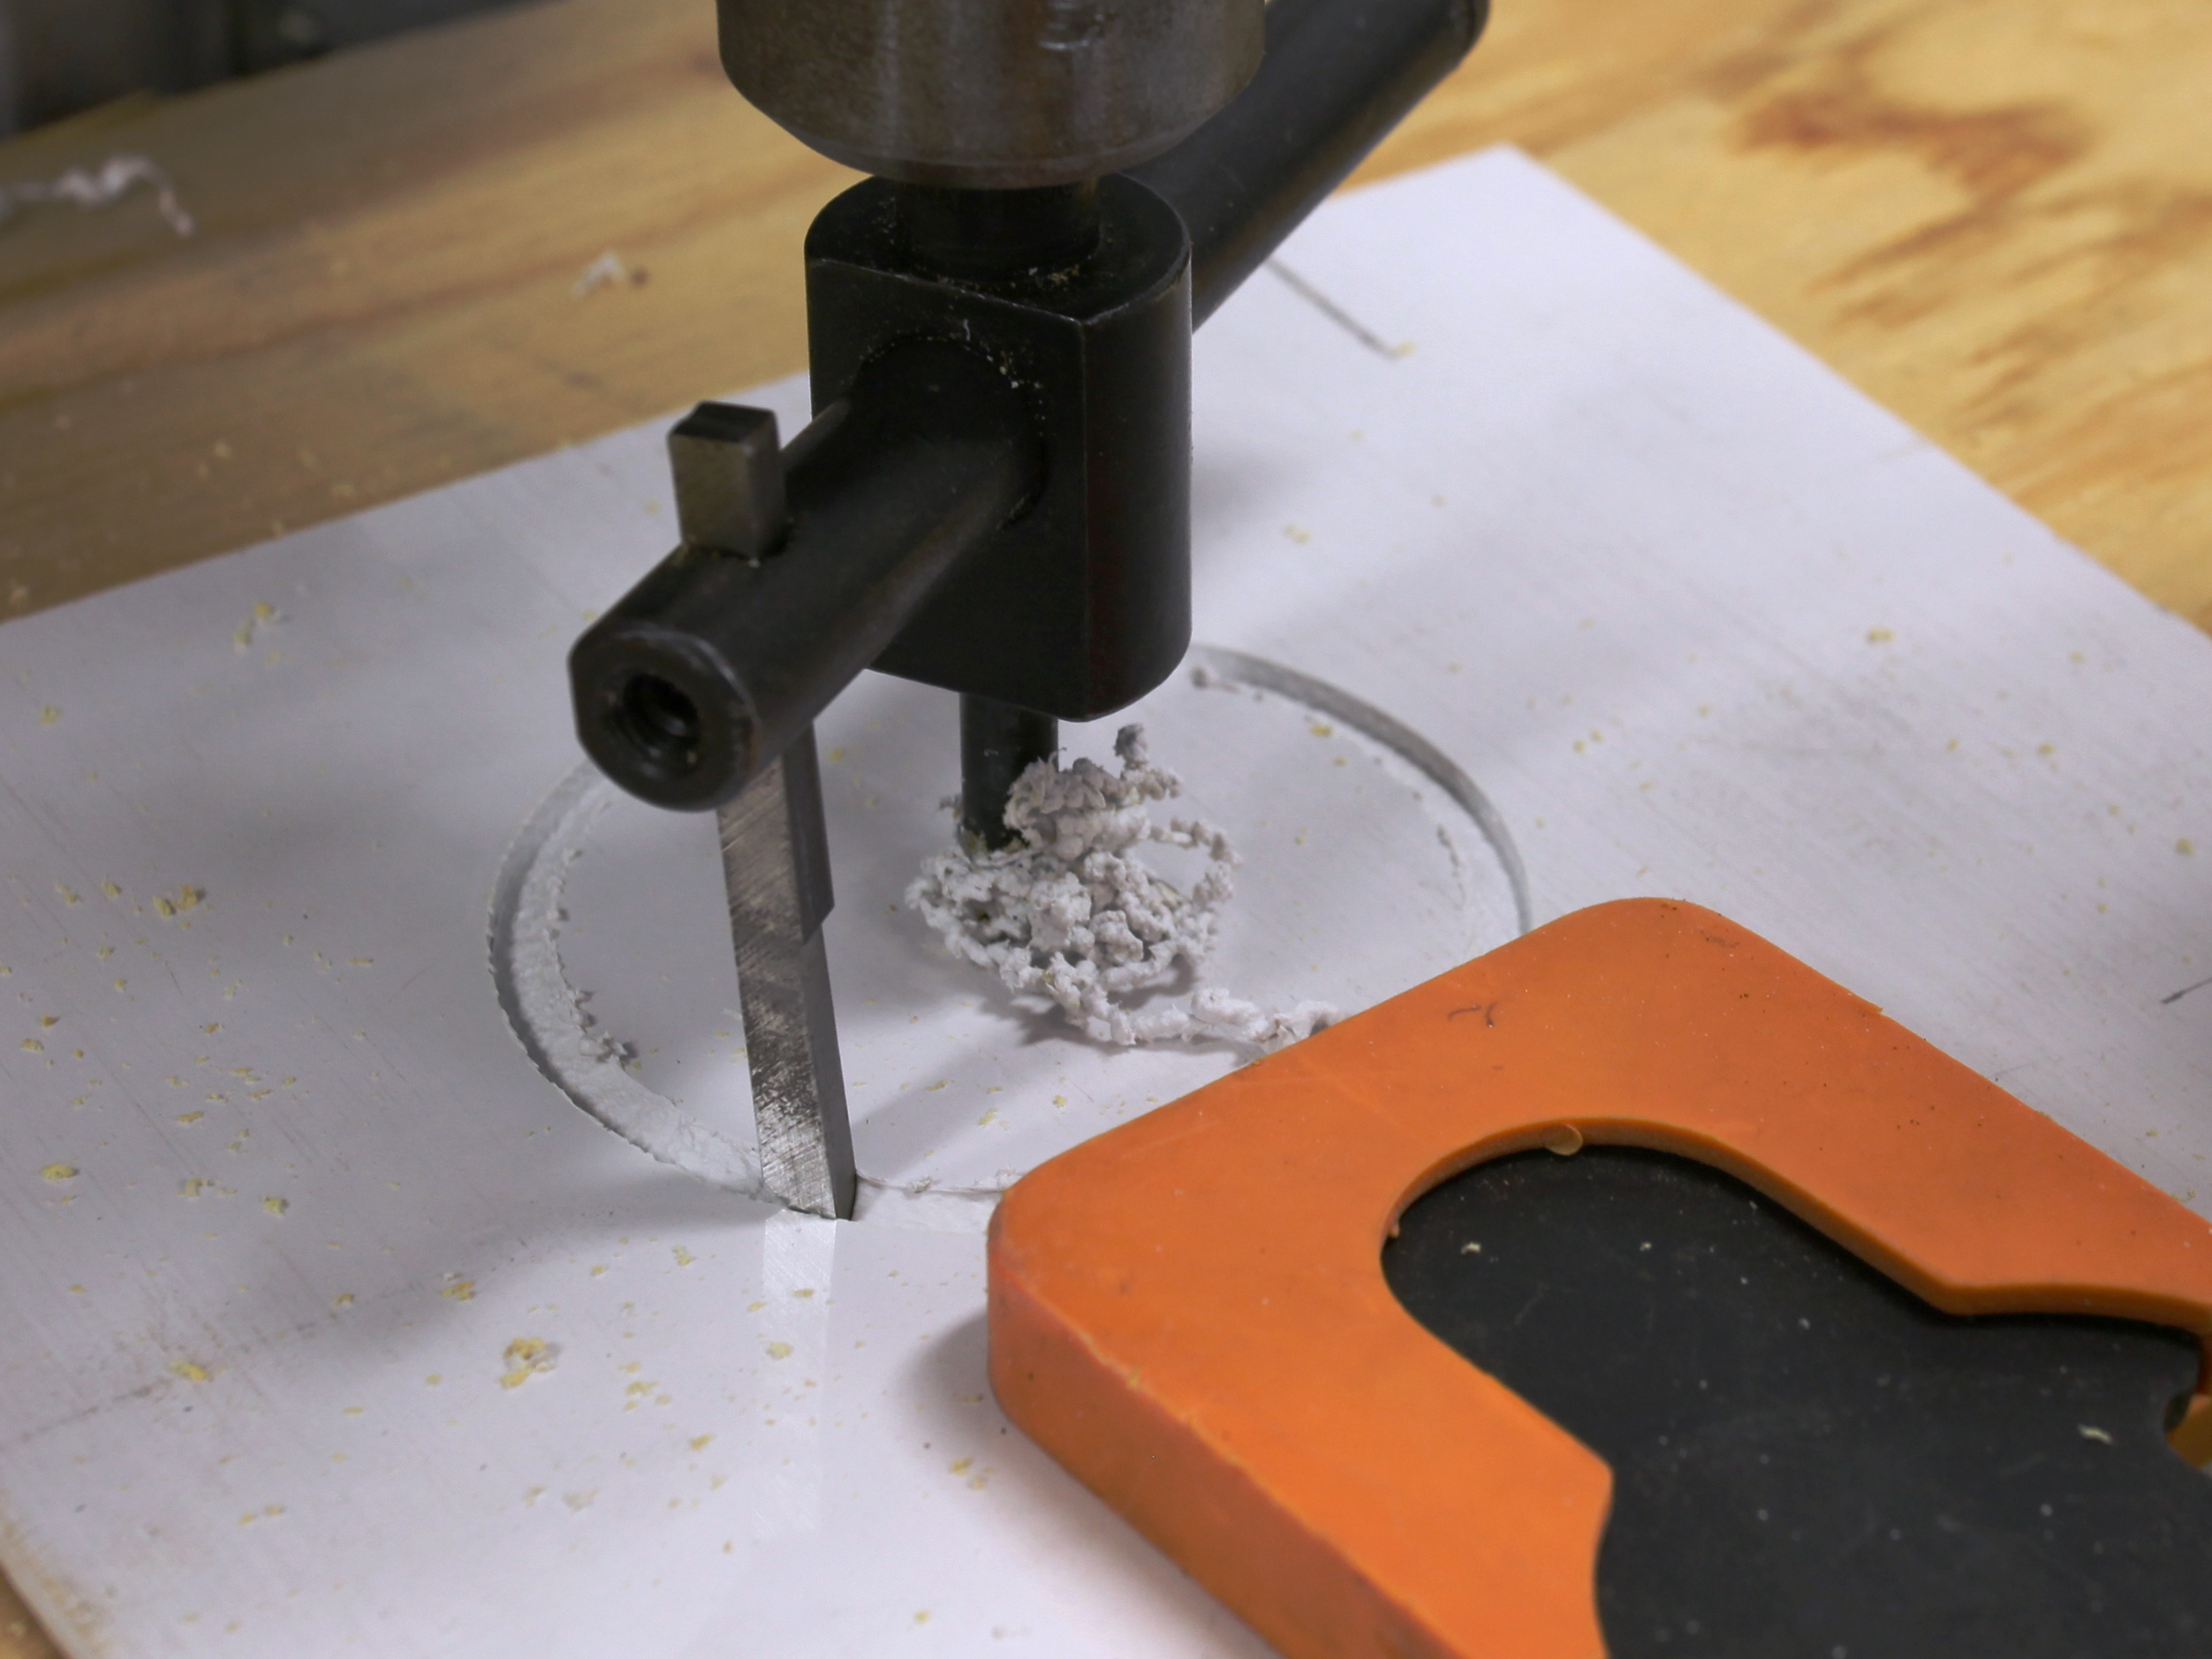
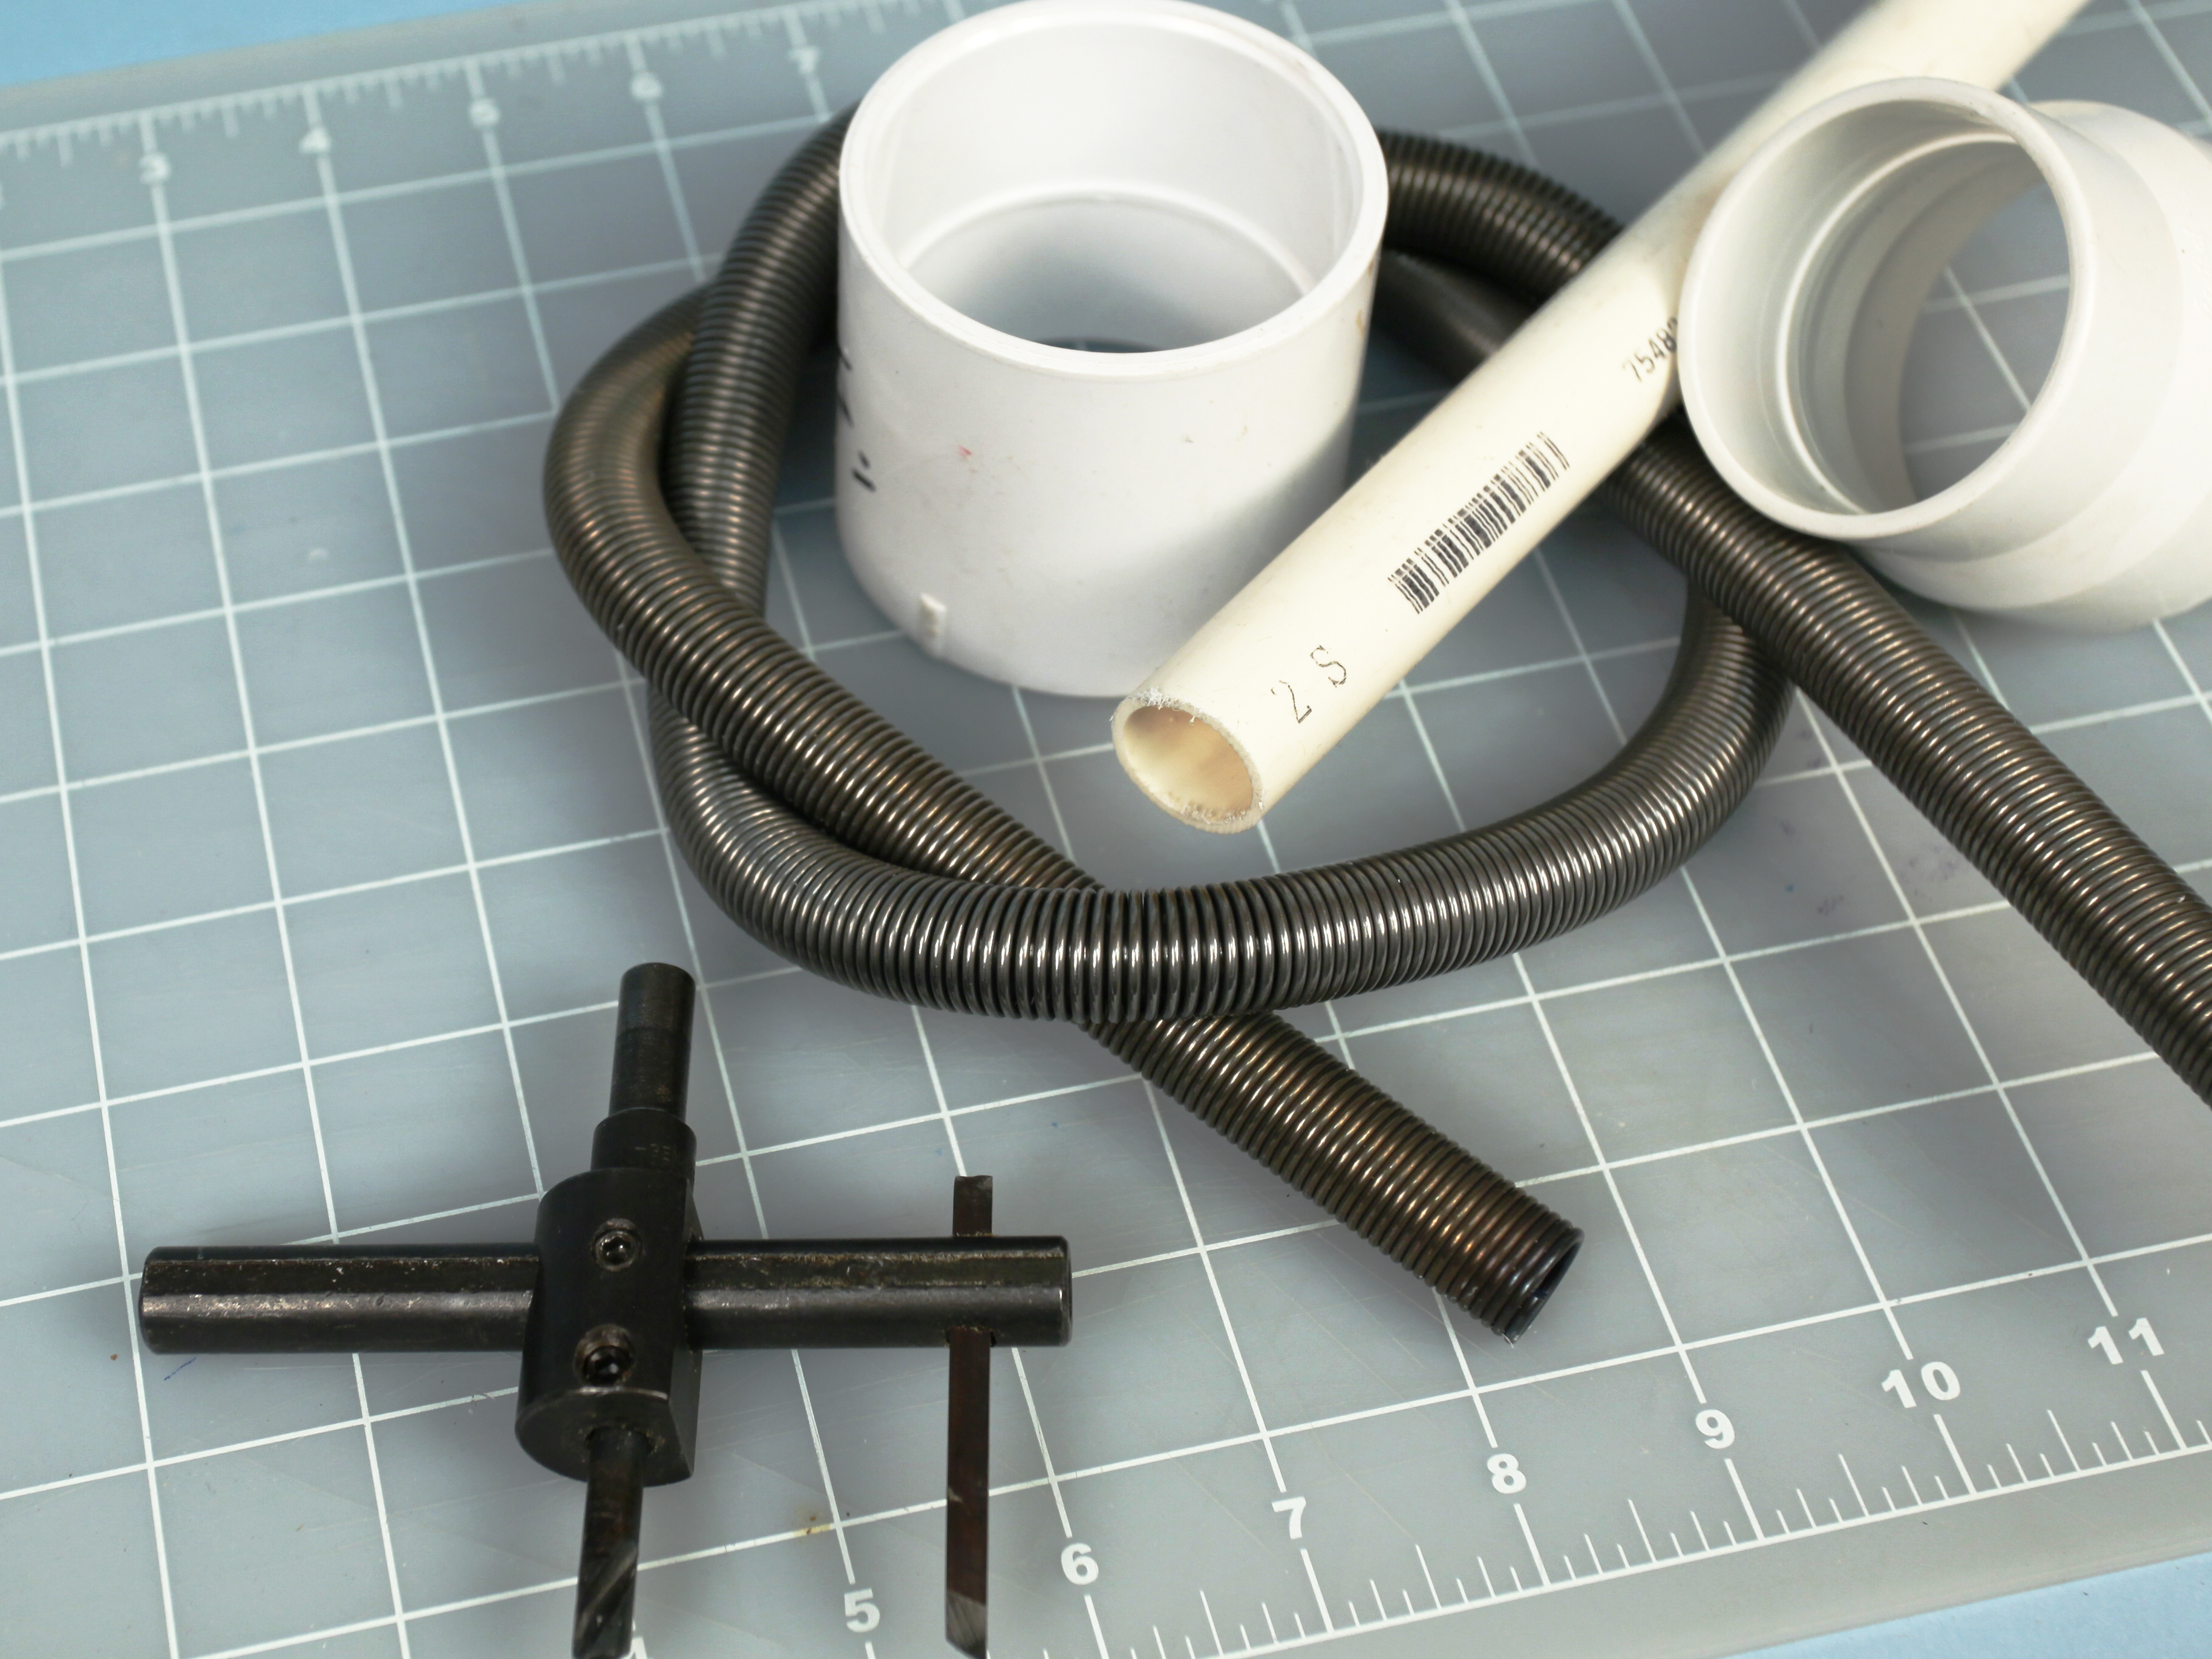
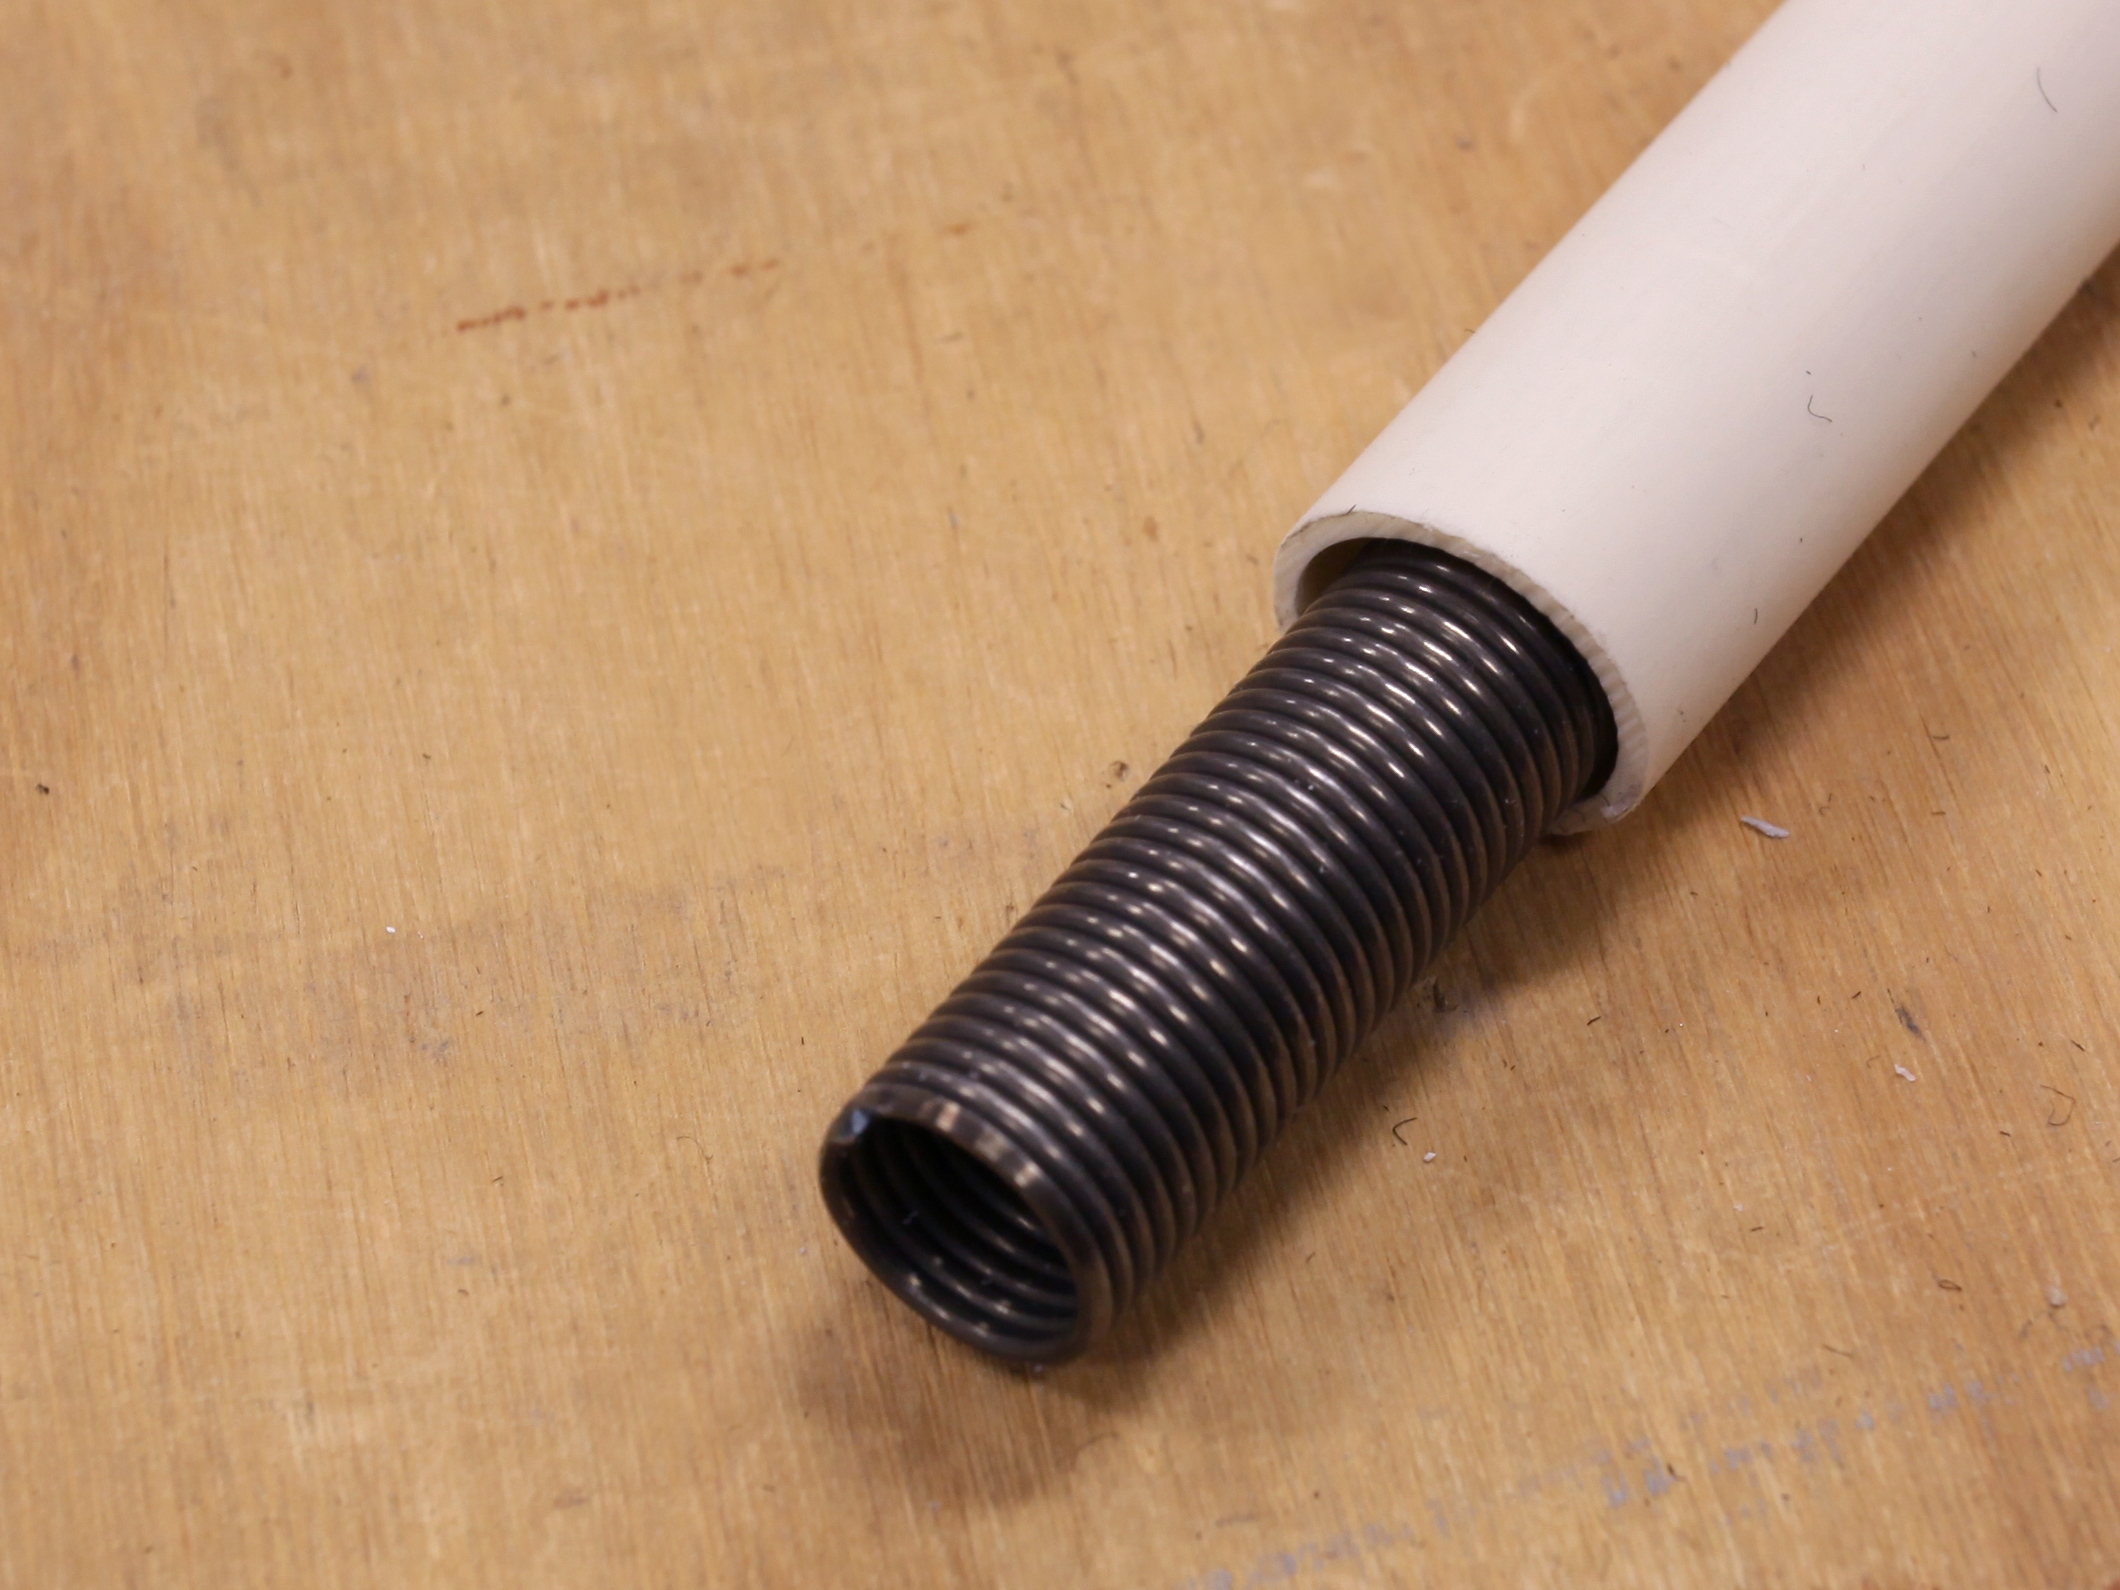
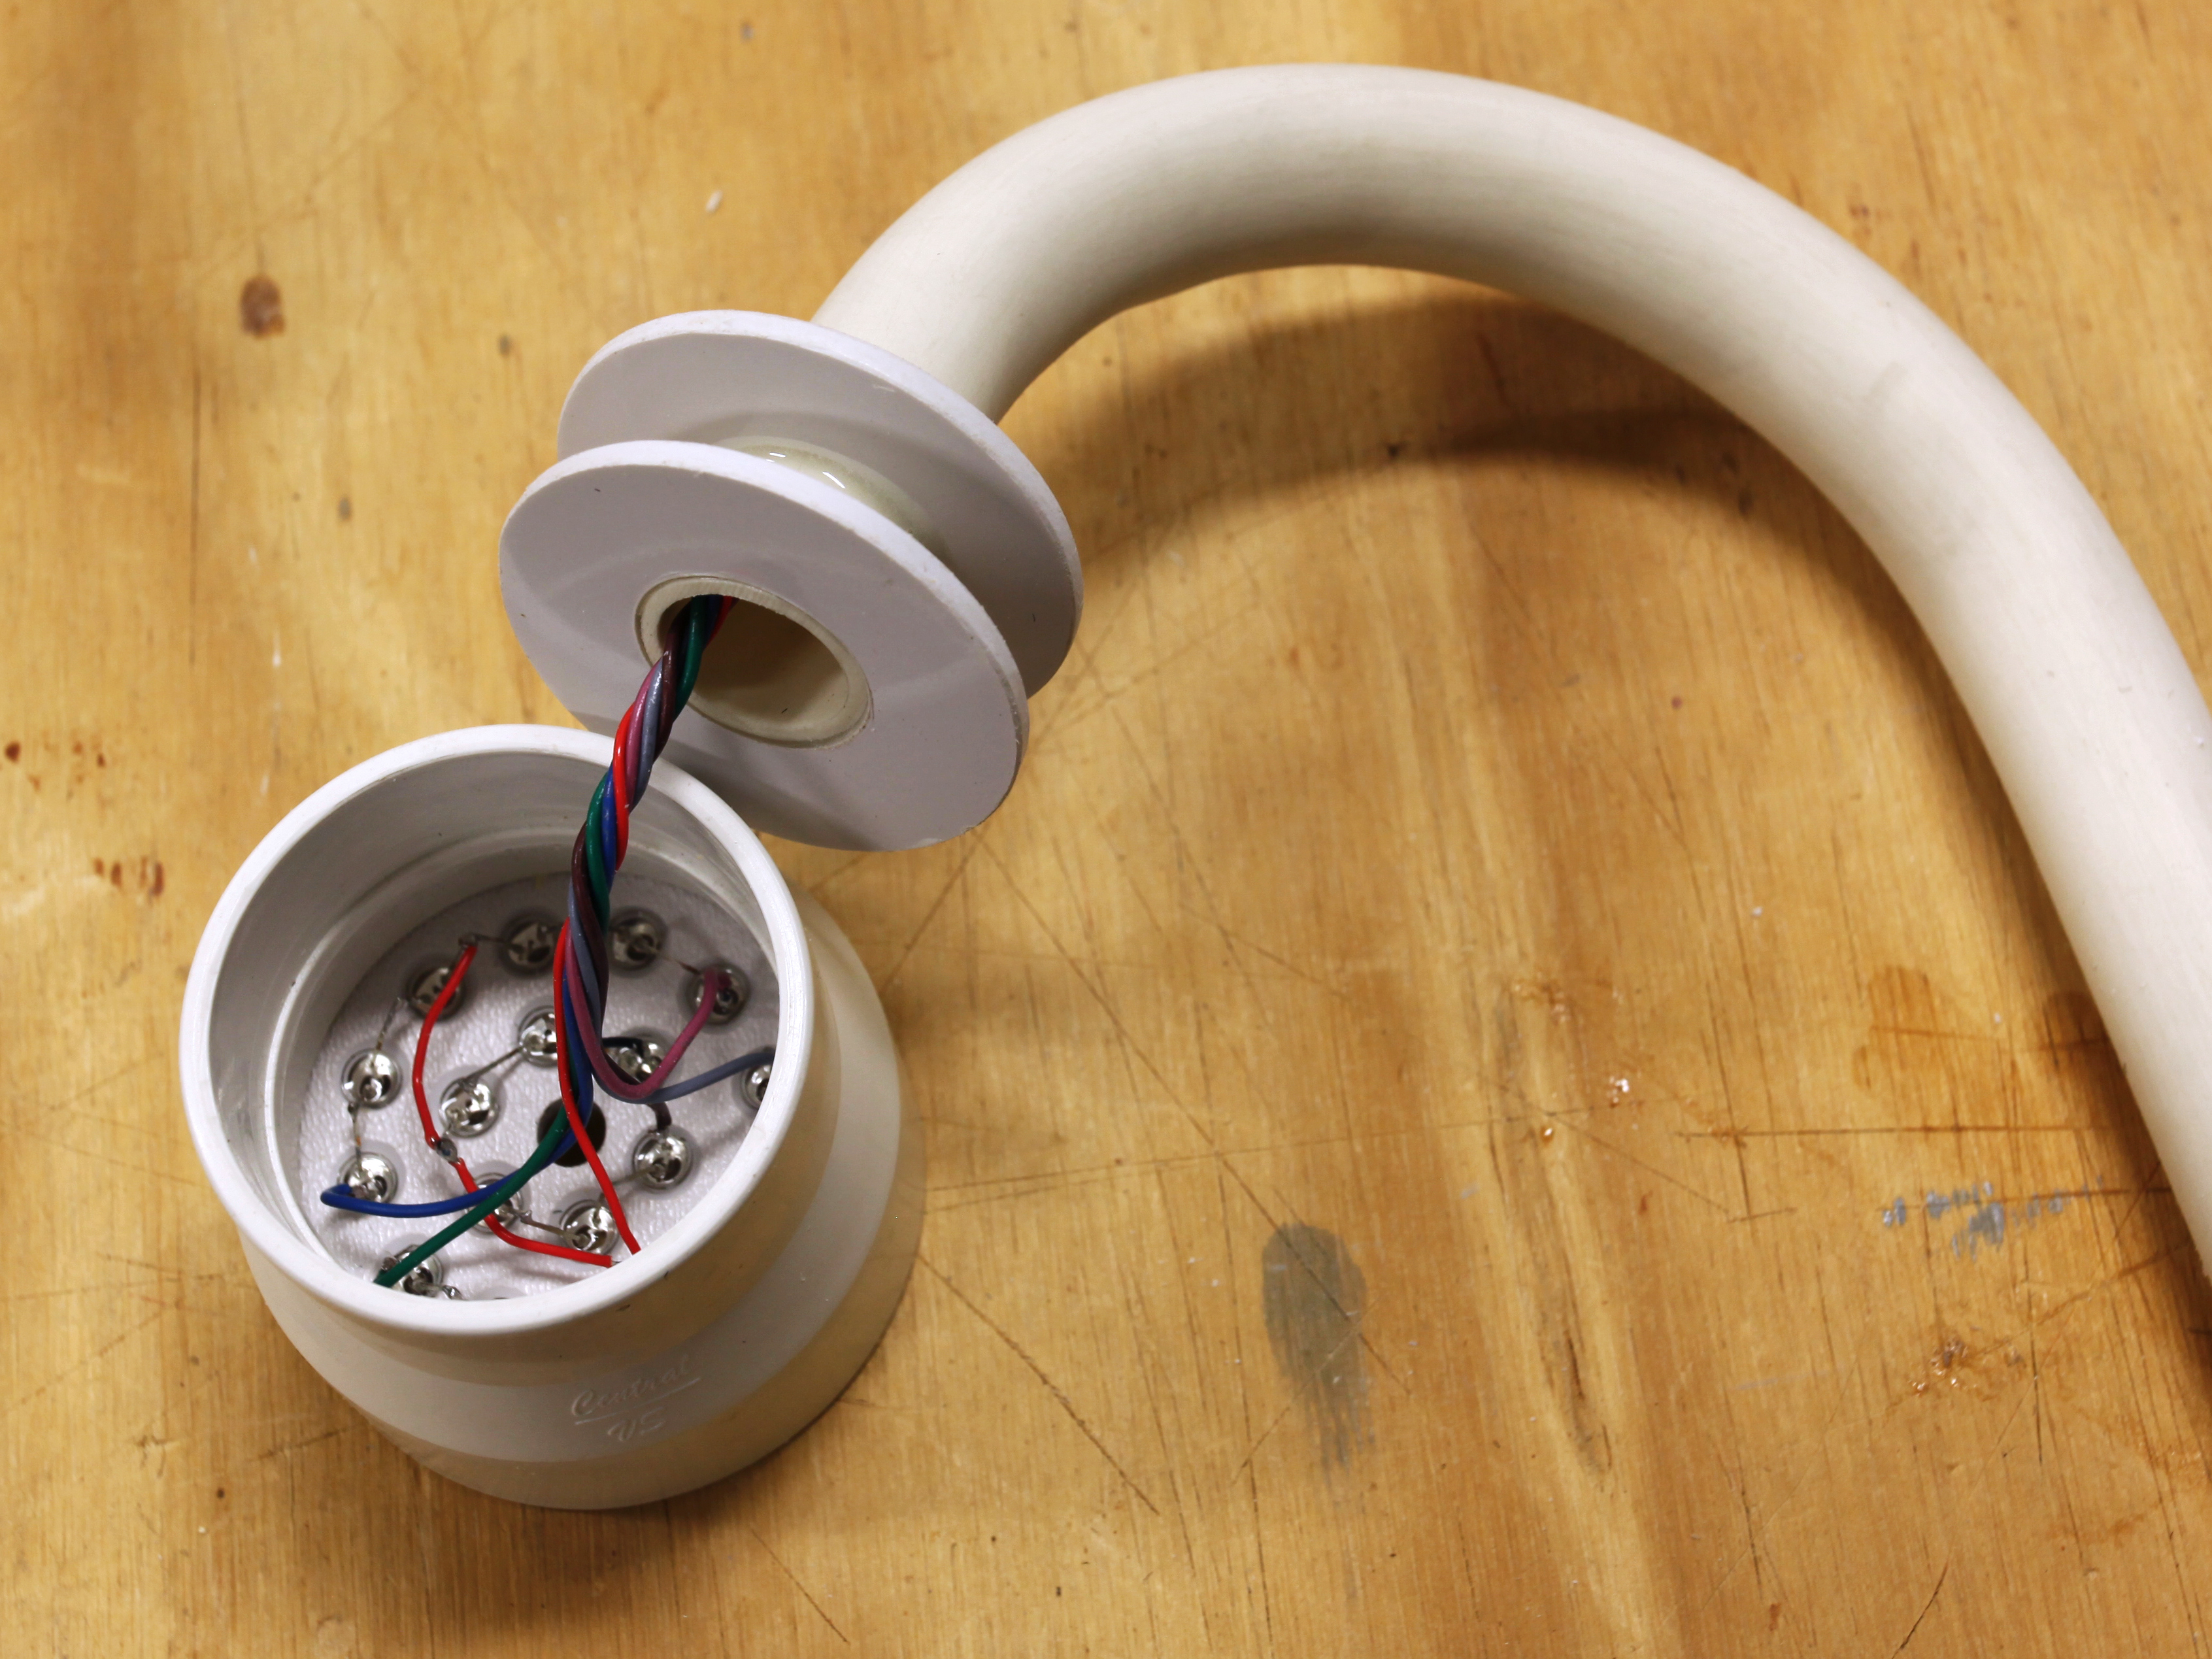
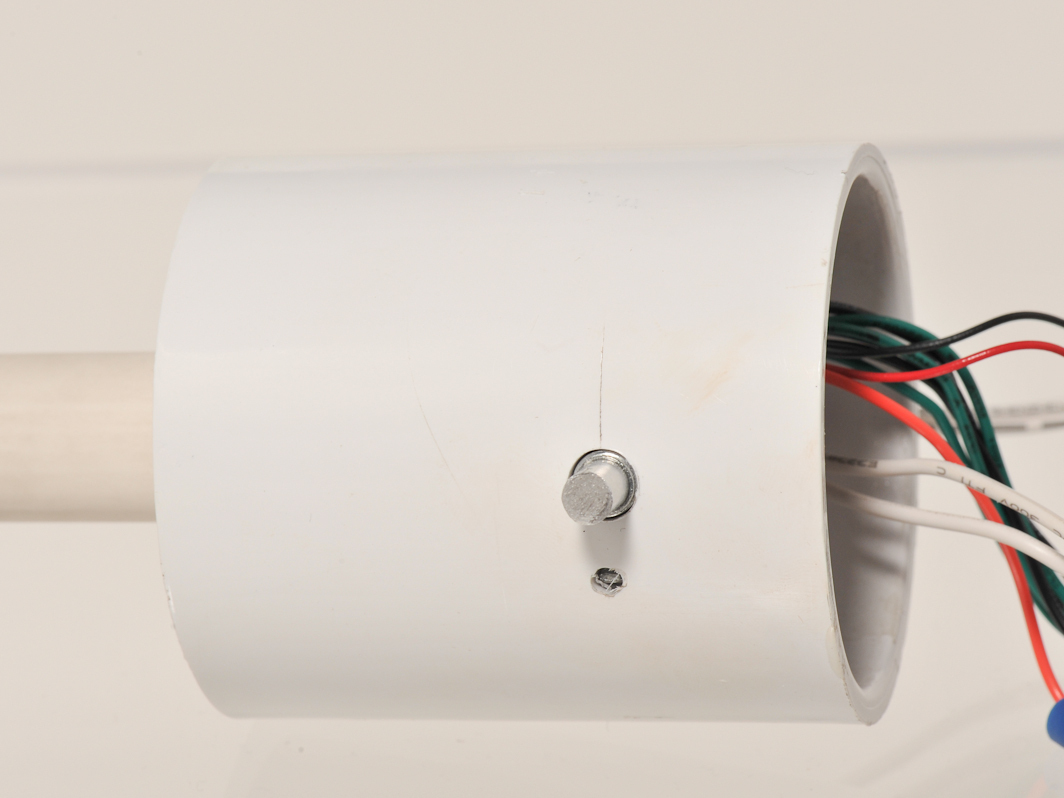
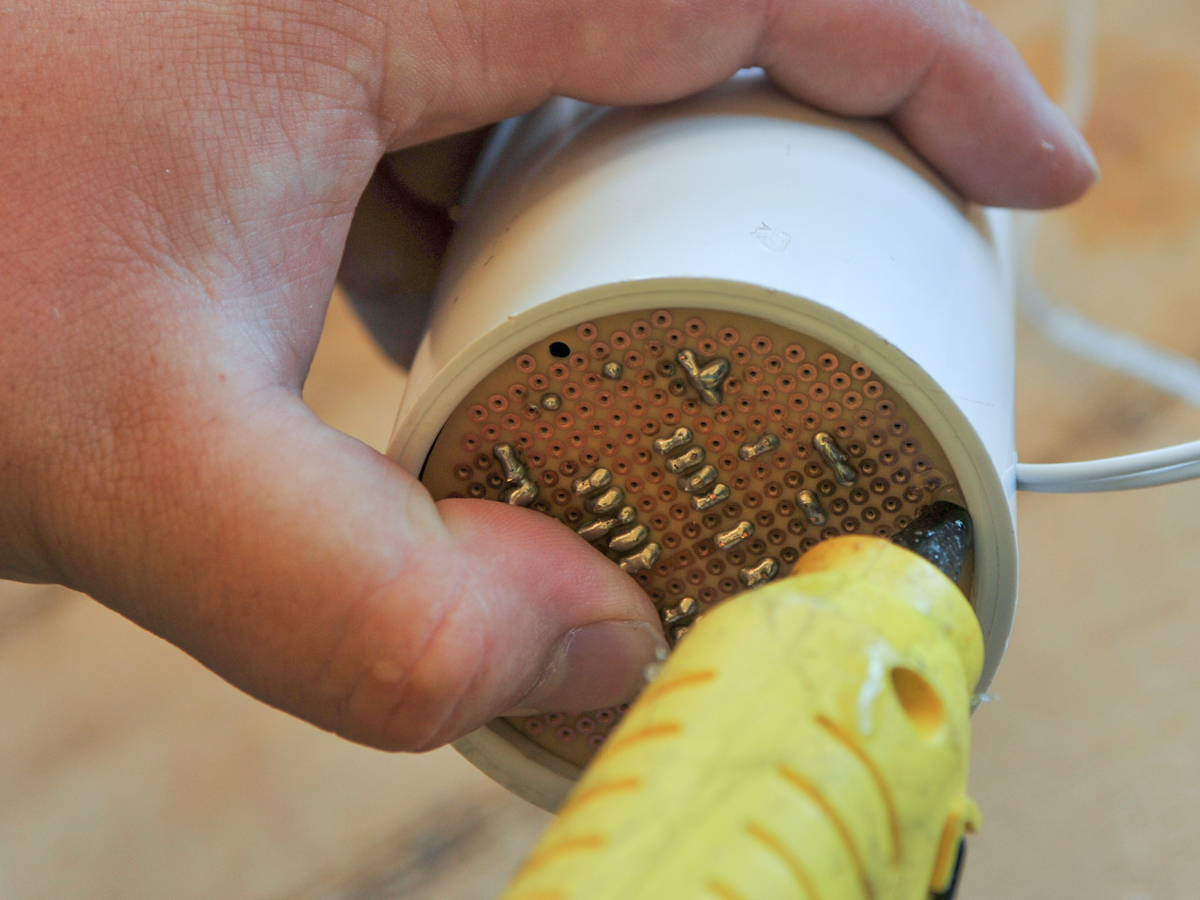
How to build the actual lamp? I decided to use PVC plumbing supplies. For the additional pieces that would hold everything together, I chose 1/8″ white ABS plastic, but you can use plywood if you prefer.


