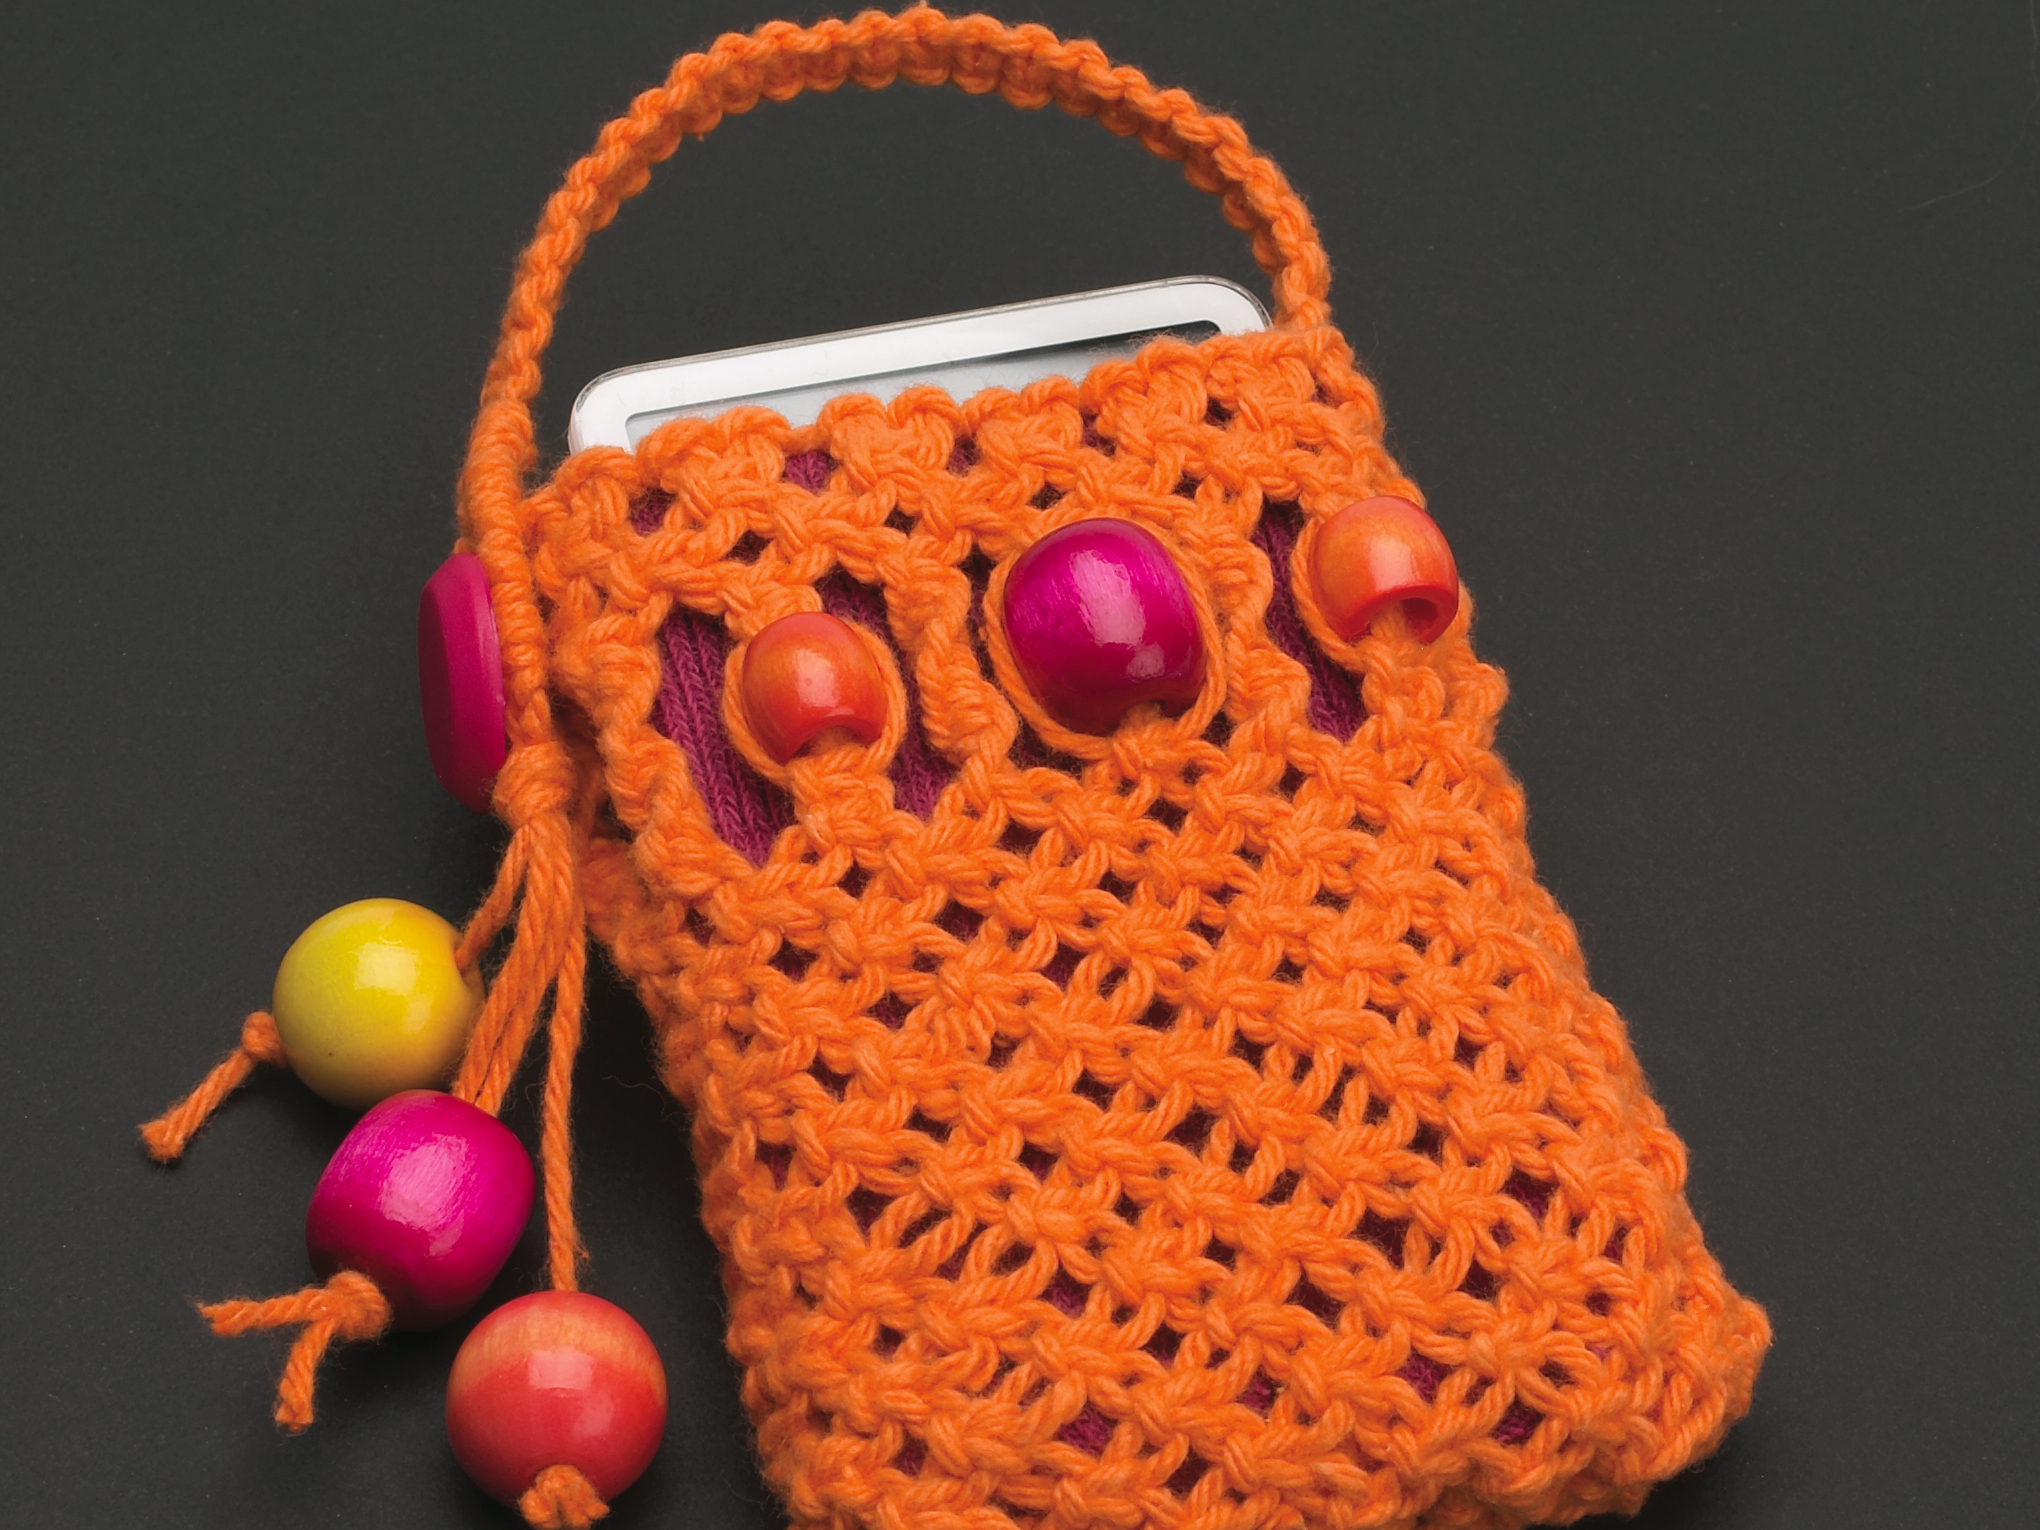
Macramé has come a long way since the 1970s when plant hangers were all the rage. I recall how excited I was when a class was offered at our local park. I was only 10 at the time, and I remember getting my ceiling tile, T-pins, and a big ball of jute to begin my first project. Soon after, I was making a hot pink plant hanger with big white wooden beads for my room.

Years after leaving the craft behind, who would have dreamed I’d be using those same knots to create a pouch for a high-tech device? It’s fun to knot accessories and jewelry using the new fibers and cords available.

What will the next generation of Make: look like? We’re inviting you to shape the future by investing in Make:. By becoming an investor, you help decide what’s next. The future of Make: is in your hands. Learn More.

Project Steps

Glossary of Terms

Sennit: A row of consecutive knots that repeat to form a pattern.

Holding cord: A cord, usually horizontal, used as a foundation to which working cords are tied.

Core cord: A foundation, or filler cords, to which working cords are tied.

Working cords: Knotting cords that are wrapped or tied around foundation cords.

Glossary of Knots

Overhand knot: Make a loop with the cord, bring the end of the cord through the loop, and pull tight.

Lark’s head knot: Used to attach to holding cord. Fold a cord in half. Bring loop under holding cord. Bring ends through loop, and pull snugly over holding cord.

Lark’s head sennit: Pass loop over core cord, then under and through core cord. Pull snug. For 2nd loop, bring cord under core cord, looping it over core and through. Always tie one over and the next under, following this pattern along the chain (or sennit).

Half-knot: Is the first half of a square knot. Bring the left cord over the 2 center cords, like an L. Bring the right cord over the tail of the left cord, then under the 2 middle cords and up through the left loop as shown. Pull the knot tightly against the middle cords to secure.

Square knot (flat knot): Tie a 2nd half-knot directly under the first. Start with the cord on the right, bringing it over the 2 center cords with the tail to the left. Bring the left cord over the tail of the right, under the center cords, and back up through the loop on the right.

Cut the strands and make the foundation.

Cut 1 strand of yarn 36″ long for the holding cord, to which all of the cords will be tied. Cut 28 strands of yarn, 60″ long. Cut 1 additional strand 60″ long and reserve for later.

To begin, wrap the holding cord (36″ piece) horizon- tally to fit around the iPod, tying it in the center with a square knot. This forms a loop that will serve as the holding cord to which you will tie the knotting cords. Make sure the ends of the cord are equal in length; they will be used later to form the strap.

Remove the loop from the iPod and place it around a piece of cardboard. You’ll use this piece of cardboard as a form to construct the pouch. (Cut the width of the cardboard so that the loop fits snugly around it, and cut the length a few inches longer than the iPod.) Pull the knot to one side and keep ends of the yarn up out of the way as you work.

Tie 28 strands to the holding cord, folding each in half and tying a lark’s head knot to secure. The middle photo shows how to begin the knot by placing the loop under the holding cord.

Next, bring the ends of the cord through the loop and pull tight to complete the lark’s head knot.

Tie the first row of knots.

Arrange 14 strands on each side of the cardboard.

Starting with the 4 center cords on one side of the cardboard, tie a square knot. Tie square knots on both sides with 4 cords each, until you have 7 knots tied.

Tie the same 7 knots on the backside. This completes 1 row of knots all the way around the cardboard form. Add a binder clip to secure the holding cord to the top of the cardboard as you work.

Note: Knotting is all about tension. Keep your holding cord taut, which makes it easier to tie your working cord neatly around it. It also helps to practice with string before beginning your project to get the hang of it.

Tie the second row of knots.

For the second row, begin a row of alternating square knots. To tie alternating square knots, start with 2 knots next to each other. Take 2 cords from one knot and 2 from one beside it, and tie a new square knot between them using the 4 cords. Repeat across the row, tying square knots with all the remaining cords in the same manner.

This row will leave you with 4 loose cords to tie a square knot on each edge of the cardboard (2 from the front, 2 from the back), to connect the knots all the way around the form.

Tie the third row of knots and add beads.

Tie a third row of alternating square knots all the way around the cardboard. Pick up the center 2 cords and slide a large wooden bead over both cords, sliding the bead up to the finished knots. Tie 1 square knot under the bead.

On each side of the center bead, tie a sennit of half knots to form a spiral pattern, using 4 cords for each side. This knot is similar to the square knot, but you simply keep tying the same cord first on the same side, which forms a spiral pattern. Tie the knots until each side equals the length of the center bead and knot.

With the 4 cords on each side of the spiral patterns, add a smaller bead to each side by tying 2 square knots above and below each bead, or enough knots to equal the length of the middle bead section. Repeat the beaded patterns on the backside of the cardboard and fill in the sides of the work with sennits of spiral half-knot patterns formed from groups of 4 cords each.

Note: Use a pointed toothpick to aid in getting the ends of the cord through the bead if needed.

Finish the length of the pouch.

Finish the length with rows of alternating square knots; split the 4 cords under each bead into 2 cords on each side. Use these 2 cords paired with 2 cords from the spiral next to it to begin the alternating square knot pattern as shown.

Measure the length of the iPod as you go. Stop tying knots when the work is slightly longer than the iPod.

Form the bottom and secure the knots.

Slip the work off the form, turn it inside out, and slide it back onto the cardboard. Form the bottom of the pouch by tying opposite strands from each side with square knots. Clip each cord about 1⁄2″ from the knot.

Secure the knots by applying hem sealant or fabric glue. Let the knots dry. Turn the pouch right side out after the knots are dry. For a different look, instead of cutting and finishing the ends you can knot and leave them long for a funky beaded fringe.

Note: Hem sealant or clear glue helps to secure the knots and keeps the ends of cords from fraying.

Form the strap.

Use the reserved 60″ single strand of cord, fold it in half, and tie it over the loose ends of the holding cord with a lark’s head knot. Tie a sennit of square knots to make a strap.

Finish by splitting the 4 strands into 2 pairs, with 2 on each side to form a buttonhole. Tie a sennit of lark’s head knots on each side. Measure to fit over the button. Finish by tying an overhand knot with all 4 strands. Decorate the ends of the cords with beads, knotting under each to complete. Clip off the excess and finish the cord ends with hem sealant or glue.

Make the lining and add the button.

To prevent the cord or beads from scratching the screen, make a lining for the pouch. This will also give the pouch stability and structure. I used the top of a sock, cut to fit the pouch. Stitch the cut end of the sock closed and slip the sock inside the pouch. Stitch the top of the sock to the inside of the pouch around the top. Or cut a piece of felt, and stitch to fit inside the pouch.

Sew a button to the side of the pouch for the strap. You’re done!

Conclusion

This project first appeared in CRAFT Volume 03, page 134-139.