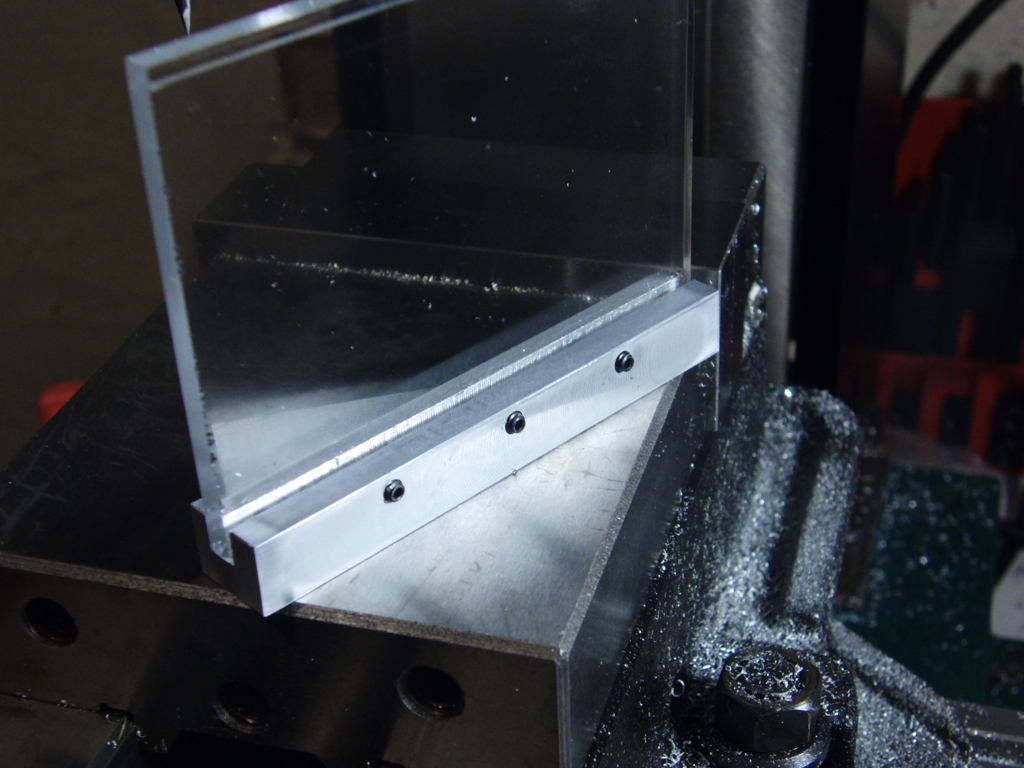
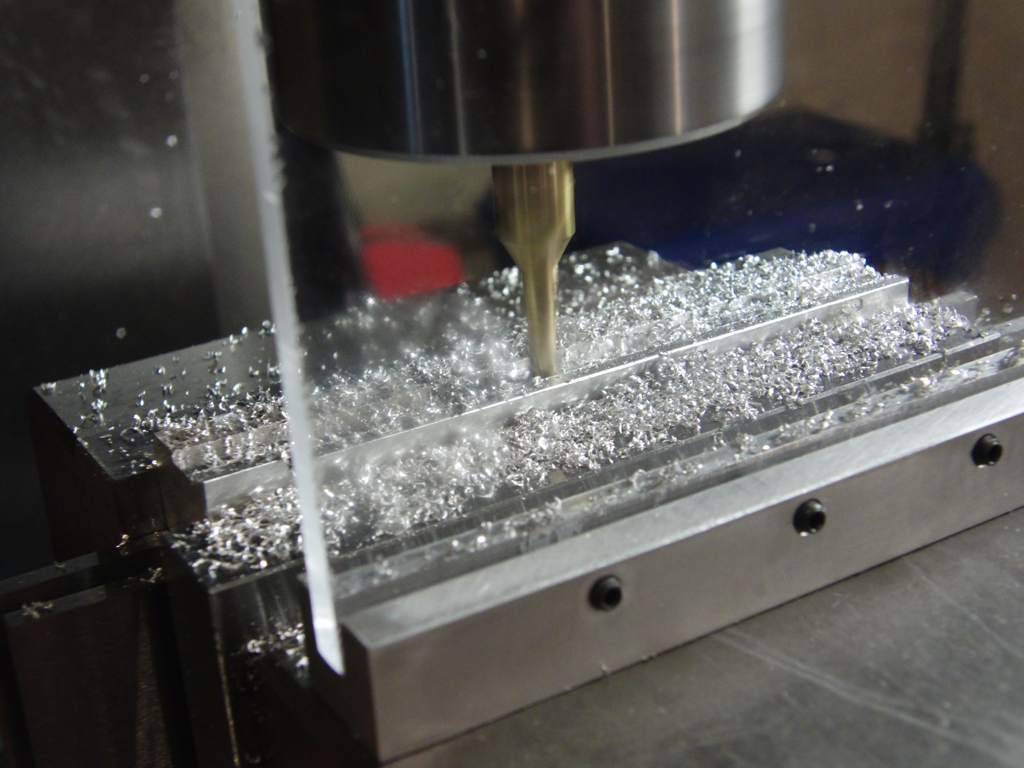
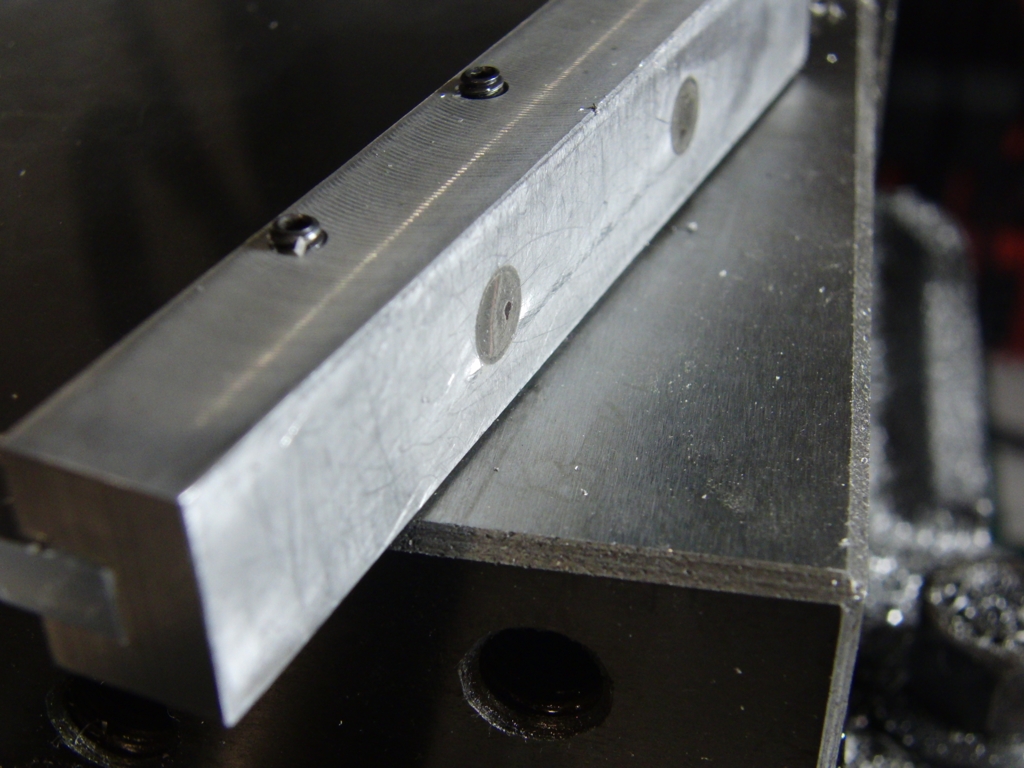
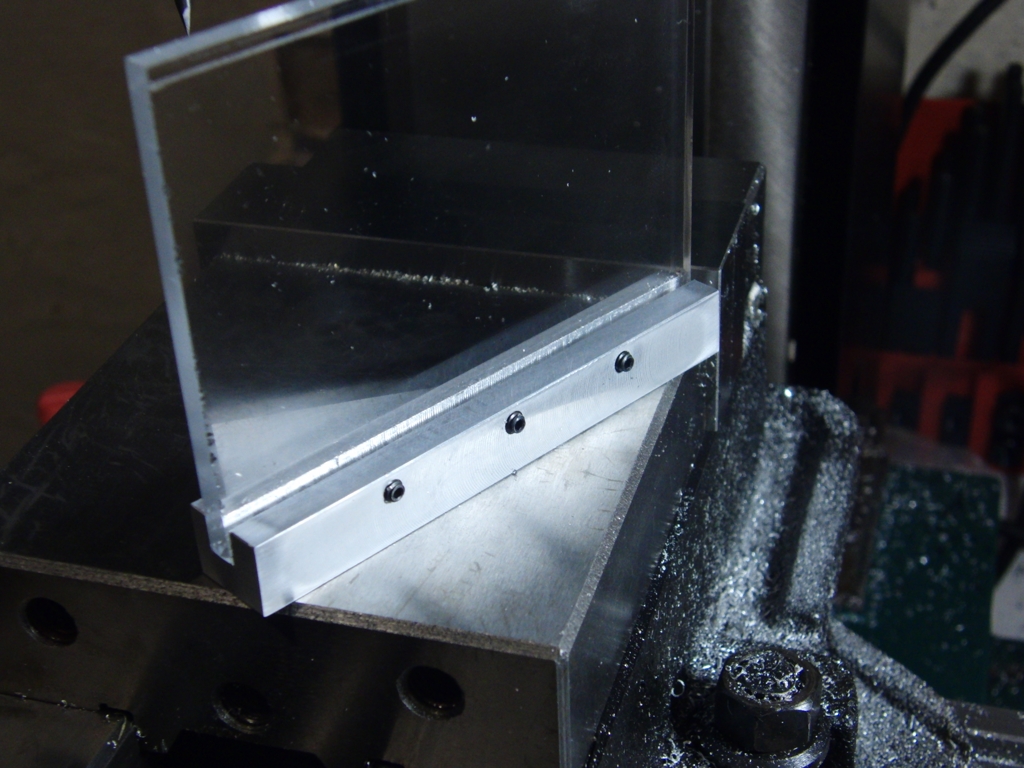
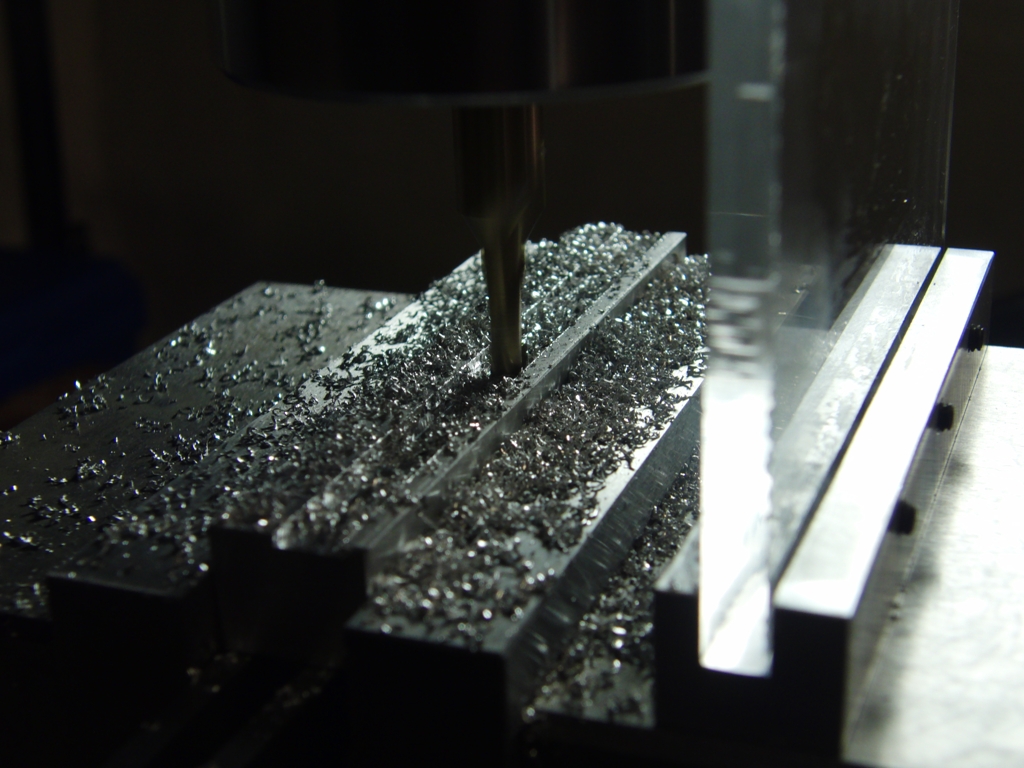
For too long I’ve been standing in the stream of chips flying off my milling machine. This small shield sticks to my milling vise magnetically, and takes less than an hour to make. It does a good job of helping keep chips contained, especially when using cutting fluid or fly cutters. I’ve also found it to be useful on my drill press.

What will the next generation of Make: look like? We’re inviting you to shape the future by investing in Make:. By becoming an investor, you help decide what’s next. The future of Make: is in your hands. Learn More.

Project Steps

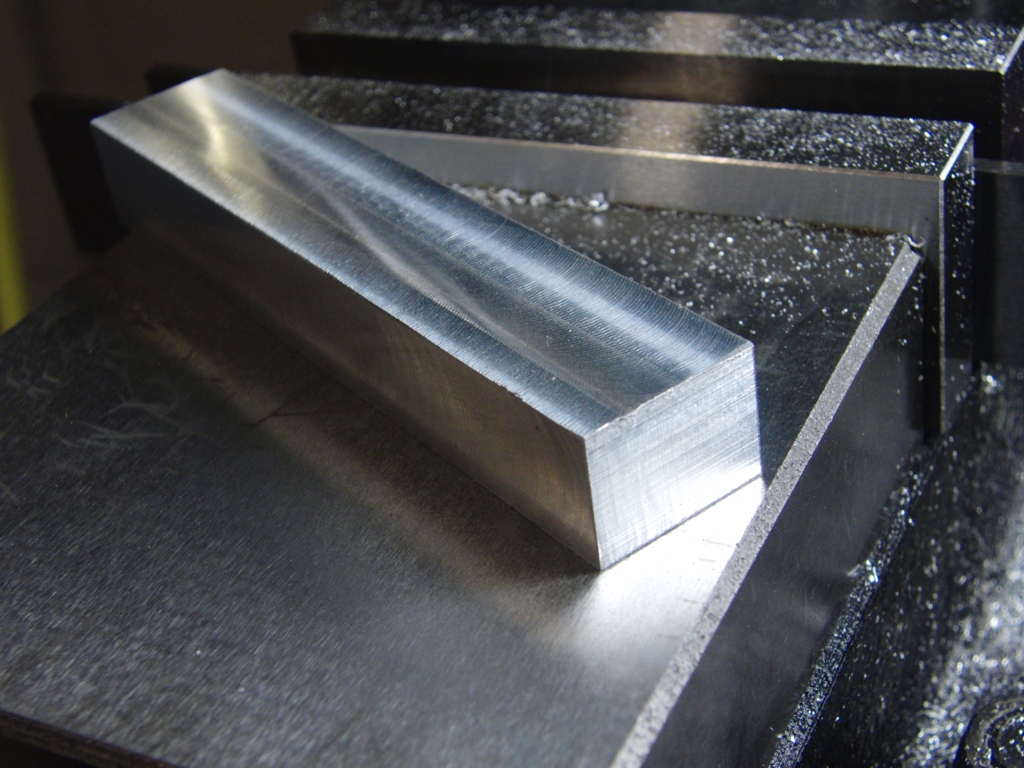
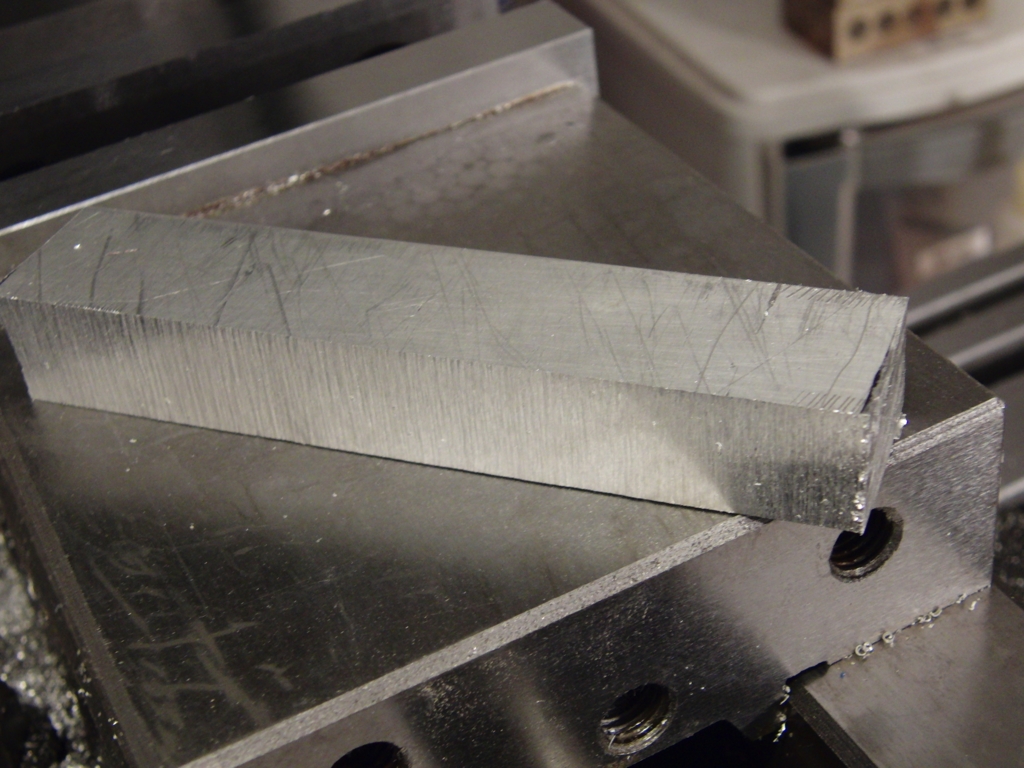
Clean up the aluminum

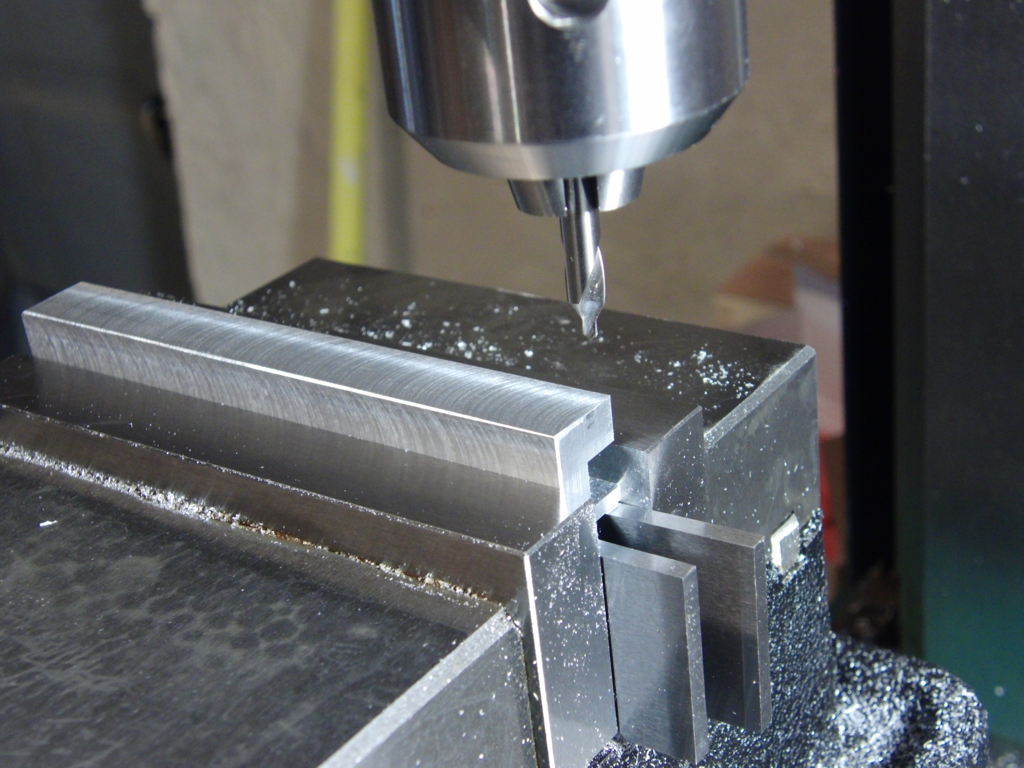
Take the rough bar, and trim it to 4″ x 5/8″ x 1/2″.

Dimensions aren’t very critical in this project; if you have a 5/8″ x 1/2″ bar, just take a very light cut off each side to make it look nice.

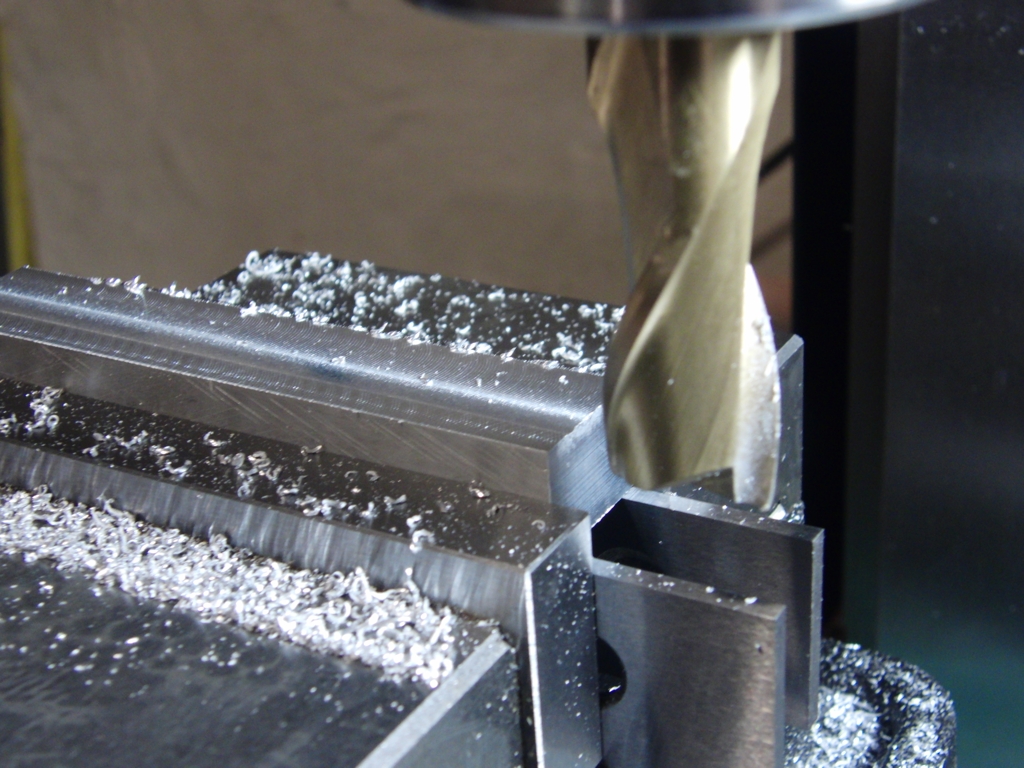
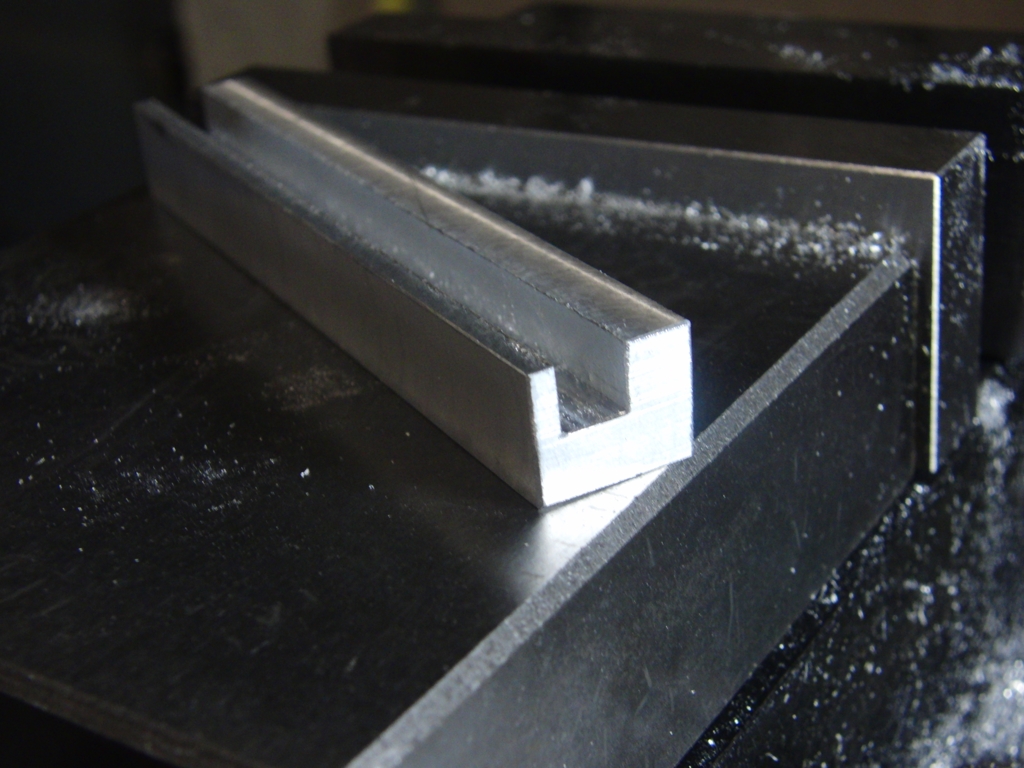
Mill a groove

Mill a 0.25″ wide groove 0.25″ deep. It should be in 0.10″ from one edge.

I’m using one of these chip shields in the second photo. Notice the pile of chips behind it and lack of chips in front.

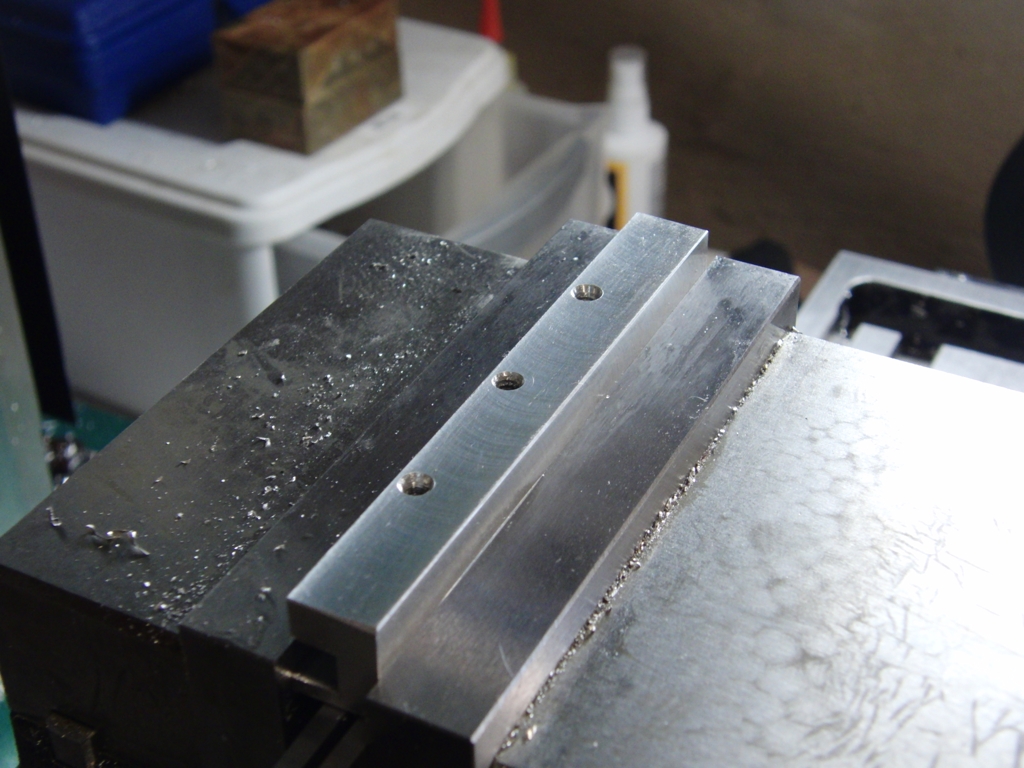
Drill the set screw holes.

Cutting the groove in the last step created a thin side and a thick side. These holes will be drilled through the thick side.

Spot, drill, and tap three holes 0.125″ from the top, at 1″, 2″, and 3″ in from one end.

Attach magnets

Drill two holes on the bottom with a drill bit the same diameter as the magnets. Don’t drill all the way through, just deep enough for the magnets to sit flush.

Glue in the magnets with J-B Weld or another suitable glue. Make sure they are perfectly flush with the bottom of the part.

Cut and insert plexiglass

Cut a piece of 0.25″ thick plexiglass. Make it whatever dimensions best fit your machines. 4″ x 3″ is a convenient size for me.

Slide it into the slot, and insert three 6-32 setscrews into the holes you drilled and tapped. Stick it to your machine and enjoy!

This cannot replace safety glasses, nor is it meant to. It just helps reduce the amount of swarf flying at you.