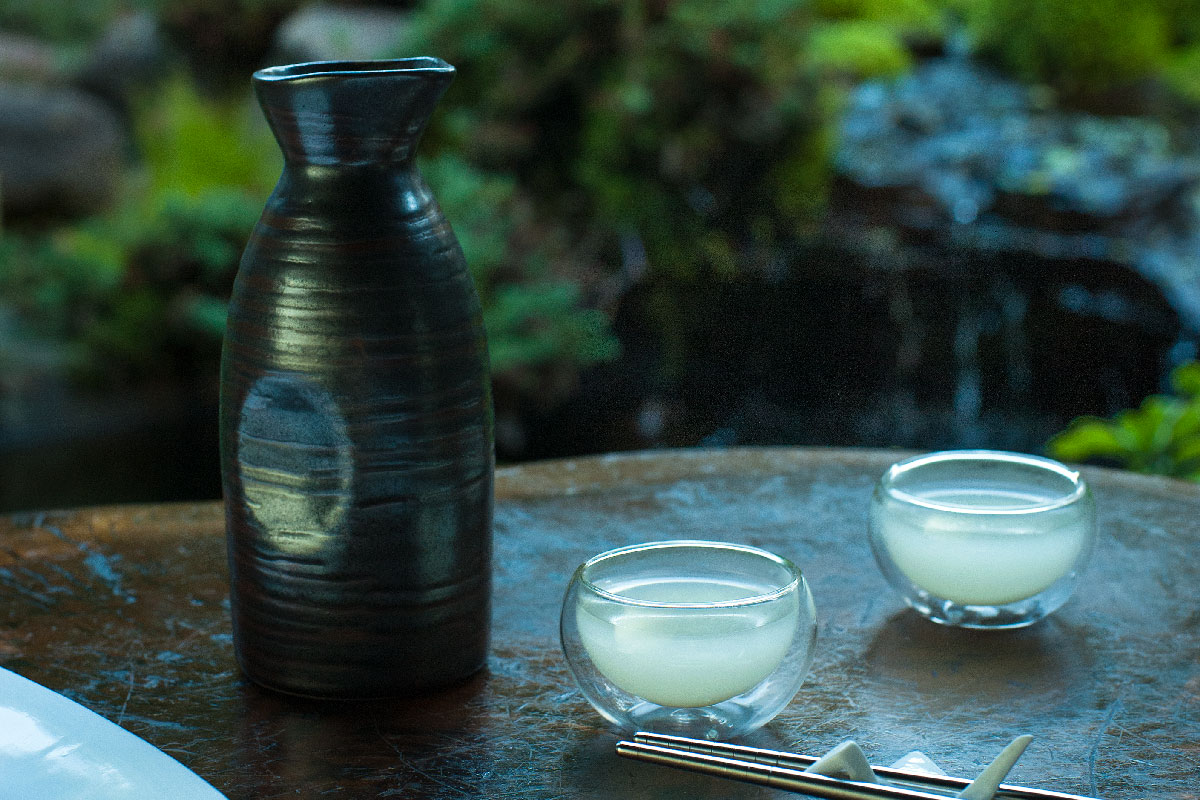
The bottles are slender and elegant and colored a frosty white or baby blue, alcohol levels usually hover in the mid-teens, and the price tags often exceed 30 or 40 bucks. For these reasons, sake has gained a reputation among many Westerners as the Eastern equivalent of fine wine — something rare and precious, to be consumed in tiny portions, and more often than not simply out of reach.
But this favored table beverage of Japan is actually a simple grain-based brew, much like beer. And while it’s true that good sake, often called “rice wine,” is expensive, there’s an easy way around the price tag: make it at home. It takes just 4 ingredients, and anyone, using only the most basic of beer-making equipment, can transform a sack of pearly white rice into fragrant, perfumey sake in as little as 12 to 15 days.
Born in China some 4,000 years ago as rice cultivation took root, sake culture found its way to Japan about 2,000 years later, where it bloomed into a refined and hallowed tradition. Over time, rice varieties would be bred specifically for use in brewing, and today those who make sake — often in tiny microbreweries with their own proprietary yeasts and rice strains — are esteemed as among the greatest of craftsmen.
Brewing sake requires rice, water, yeast, and, finally, one more essential component: a mold native to East Asia called Aspergillus oryzae. We have this critter to thank for black bean sauce, soy sauce, miso, and other cultured food products of Asia. A. oryzae releases an enzyme that breaks down complex carbohydrates into simple sugar. Since sugar is what yeast turns into ethanol, the first step in making sake is to convert steamed rice into a sticky, sweet porridge.
Purists may wish to start from scratch by buying spores of the A. oryzae mold and sprinkling it over a batch of steamed rice. Here, the mold blooms and does its magic: the grain turns as sweet as candy. The rice is now called malt-rice, or koji, and can be dried or frozen and stored for months until needed for brewing.
Most sake homebrewers opt to purchase dried, premade koji ready to use. A favored product is that of Cold Mountain, which sells 20oz plastic containers full of dried rice inoculated with A. oryzae.
You’ll also need yeast, and many beer and wine yeasts do just fine. In advanced sake brewing, the water and its particular mineral content are a matter of concern, but beginners can use clean tap water.
Finally, there’s the rice. Brown rice is commonly advised against, since the outer layers of each unhusked kernel contain proteins and fats that can, by some opinions, produce off-flavors. Commercial brewers use specially bred sake rice varieties, but these are expensive. Fortunately, table rice can make very respectable sake.
The magic moment of brewing arrives when the lid of the bucket is removed. Here, where 2 weeks before was a slurry of rice, fungi, and warm water, is now a naturally transformed beverage. If all went well, the aromas should be beautiful — stone fruits and guava and flower petals — and to think that they all came from polished white pearls of rice can be astounding. To see firsthand that sake can easily be produced in a bucket in one’s kitchen is just as thrilling. Here’s how.
Materials
For 1 gallon of sake:
- Short-grain rice, white, 3.3lbs
- Cold Mountain koji, 20oz tub — Check your local Japantown (I got mine from Nijiya Market in San Francisco), or order online from Pacific Mercantile (pacificeastwest.com) and select the quickest shipping since it needs to be kept cool.
- Yeast, champagne or dry white wine variety, 1g
- Water, 4qt
Tools
Specialty brewing items are available at most homebrewing and winemaking supply stores.
- Brewing bucket, 5gal — typically 12″ OD × 17½” tall
- Airlock and rubber stopper — adds about 5″ to bucket height
- Mini-fridge (optional) — to fit your bucket and airlock, with a temperature range that goes up to 55°F–65°F. We used a Vissani 52-Bottle Wine Cooler, Home Depot item #MVWC52B (homedepot.com). If weather permits, omit the fridge and leave your brewing bucket in a cool garage or basement where the temperature is a steady 55°F–65°F.
- Measuring cup
- Scale — for measuring rice, yeast
- Colander, stainless steel
- Large pot — for steaming the rice
- Cotton towels
- Funnel
- Ladle
- Glass jug, 1gal — for secondary fermentation
- Sanitizing agents — One Step No Rinse Cleanser or iodine
- Rubber tube — for siphoning
- Beer bottles
- Bottle caps
- Hand-operated bottle capper
- Siphoning pump (optional)
- Bottling valve (optional)

MAKE Volume 33 features our special Software for Makers section covering apps for circuit board design, 3D design and printing, microcontrollers, and programming for kids. Also, meet our new Arduino-powered Rovera robot and get started with Raspberry Pi. As usual, you’ll also find fascinating makers inside, like the maniacs on our cover, the hackers behind the popular Power Racing Series events at Maker Faire.
Try your hand at 22 great DIY projects, like the Optical Tremolo guitar effects box, "Panjolele" cake-pan ukelele, Wii Nunchuk Mouse, CNC joinery tricks, treat-dispensing cat scratching post, laser-cut flexing wooden books, sake brewing, growing incredibly hot “ghost chili” peppers, and much more.
On newsstands now, by subscription, or available in the Maker Shed


