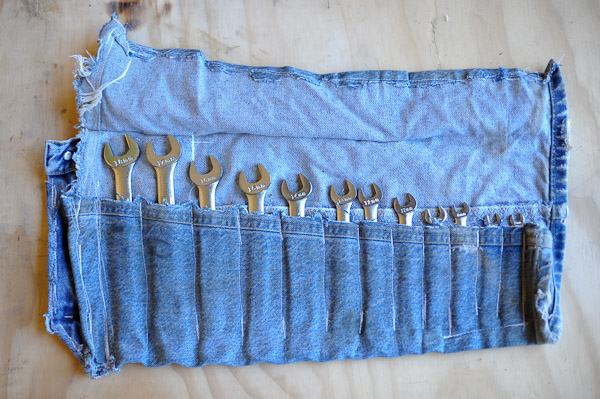
wrap up your tools with an old pair of jeans

Don’t let a torn seam doom your veteran work jeans to the landfill. With just a few stitches, they can return to the workshop with honor as a handsome, durable tool wrap for wrenches, chisels, and the like.

You will need:

  • Pair of jeans
  • Fabric scissors
  • Straight pins
  • Sewing machine
  • Upholstery thread


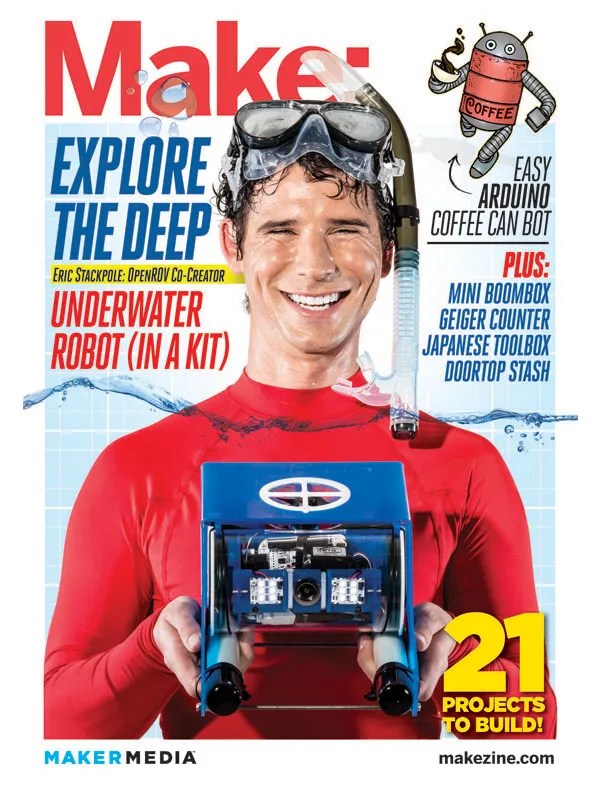
MAKE Volume 34: Join the robot uprising! As MAKE's Volume 34 makes clear, there’s never been a better time to delve into robotics, whether you’re a tinkerer or a more serious explorer. With the powerful tools and expertise now available, the next great leap in robot evolution is just as likely to come from your garage as a research lab. The current issue of MAKE will get you started. Explore robot prototyping systems, ride along with the inventors of the OpenROV submersible, and learn how you can 3D-print your own cutting-edge humanoid robot for half the price. Plus, build a coffee-can Arduino robot, a lip balm linear actuator, a smartphone servo controller, and much more

On newsstands now, by subscription, or available in the Maker Shed

Buy now!

What will the next generation of Make: look like? We’re inviting you to shape the future by investing in Make:. By becoming an investor, you help decide what’s next. The future of Make: is in your hands. Learn More.

Project Steps

Cut ‘em

Starting at the pant cuff, cut up the length of the inseam, staying quite close to the tucked edge of the seam. When you reach the crotch seam, turn 90° and cut around the leg; take care not to cut through any pockets in case you decide to repurpose more than just the legs.

Fit ‘em.

With one flap of the leg material open, lay out your tools evenly with elbowroom for easy rolling, then peg between them with straight pins. If the leg’s too long for all your tools, trim the excess (or get more tools).

NOTE: Test whether your tools will easily pull free and roll up before sewing.

Stitch ‘em.

Remove the tools, then straight stitch on your sewing machine in the places you pinned, using upholstery thread. To get the top flap to always fold the same way, stitch along the folded top edge. If the pockets are too deep for some tools, add a stitch to shallow those pockets. For added finish and durability, fold over and stitch all edges; for a rough look, don’t stitch anything you don’t need to.

Going Further

Trim out the waistband (including zipper) to create a buttoning strap to secure the roll around its top.

More Ideas

For the tool set: If you leave off the zipper, the waistband can fasten more securely around the roll’s middle, or the button flap can be relocated to the middle of the roll and secured to a new buttonhole at the end of the roll. I used the other leg to store my metric wrenches, and I cut out the back pockets to gather and store other loose toolbox items.

By the way, the upholstery thread mentioned in the 1-2-3 is a strong choice for upcycling your jeans. However, for most of my projects I use thread specifically made for jeans. It might not be as durable, but it matches the existing blue and gold stitches for a cleaner finished look.

Some other of my repurposed jeans projects are this grip bag and hyena-shaped draft blocker http://blog.makezine.com/craft/draft-dodging-hyena/. Since I’m not done destroying jeans, I have a habit of seeing problems wrapped in denim.