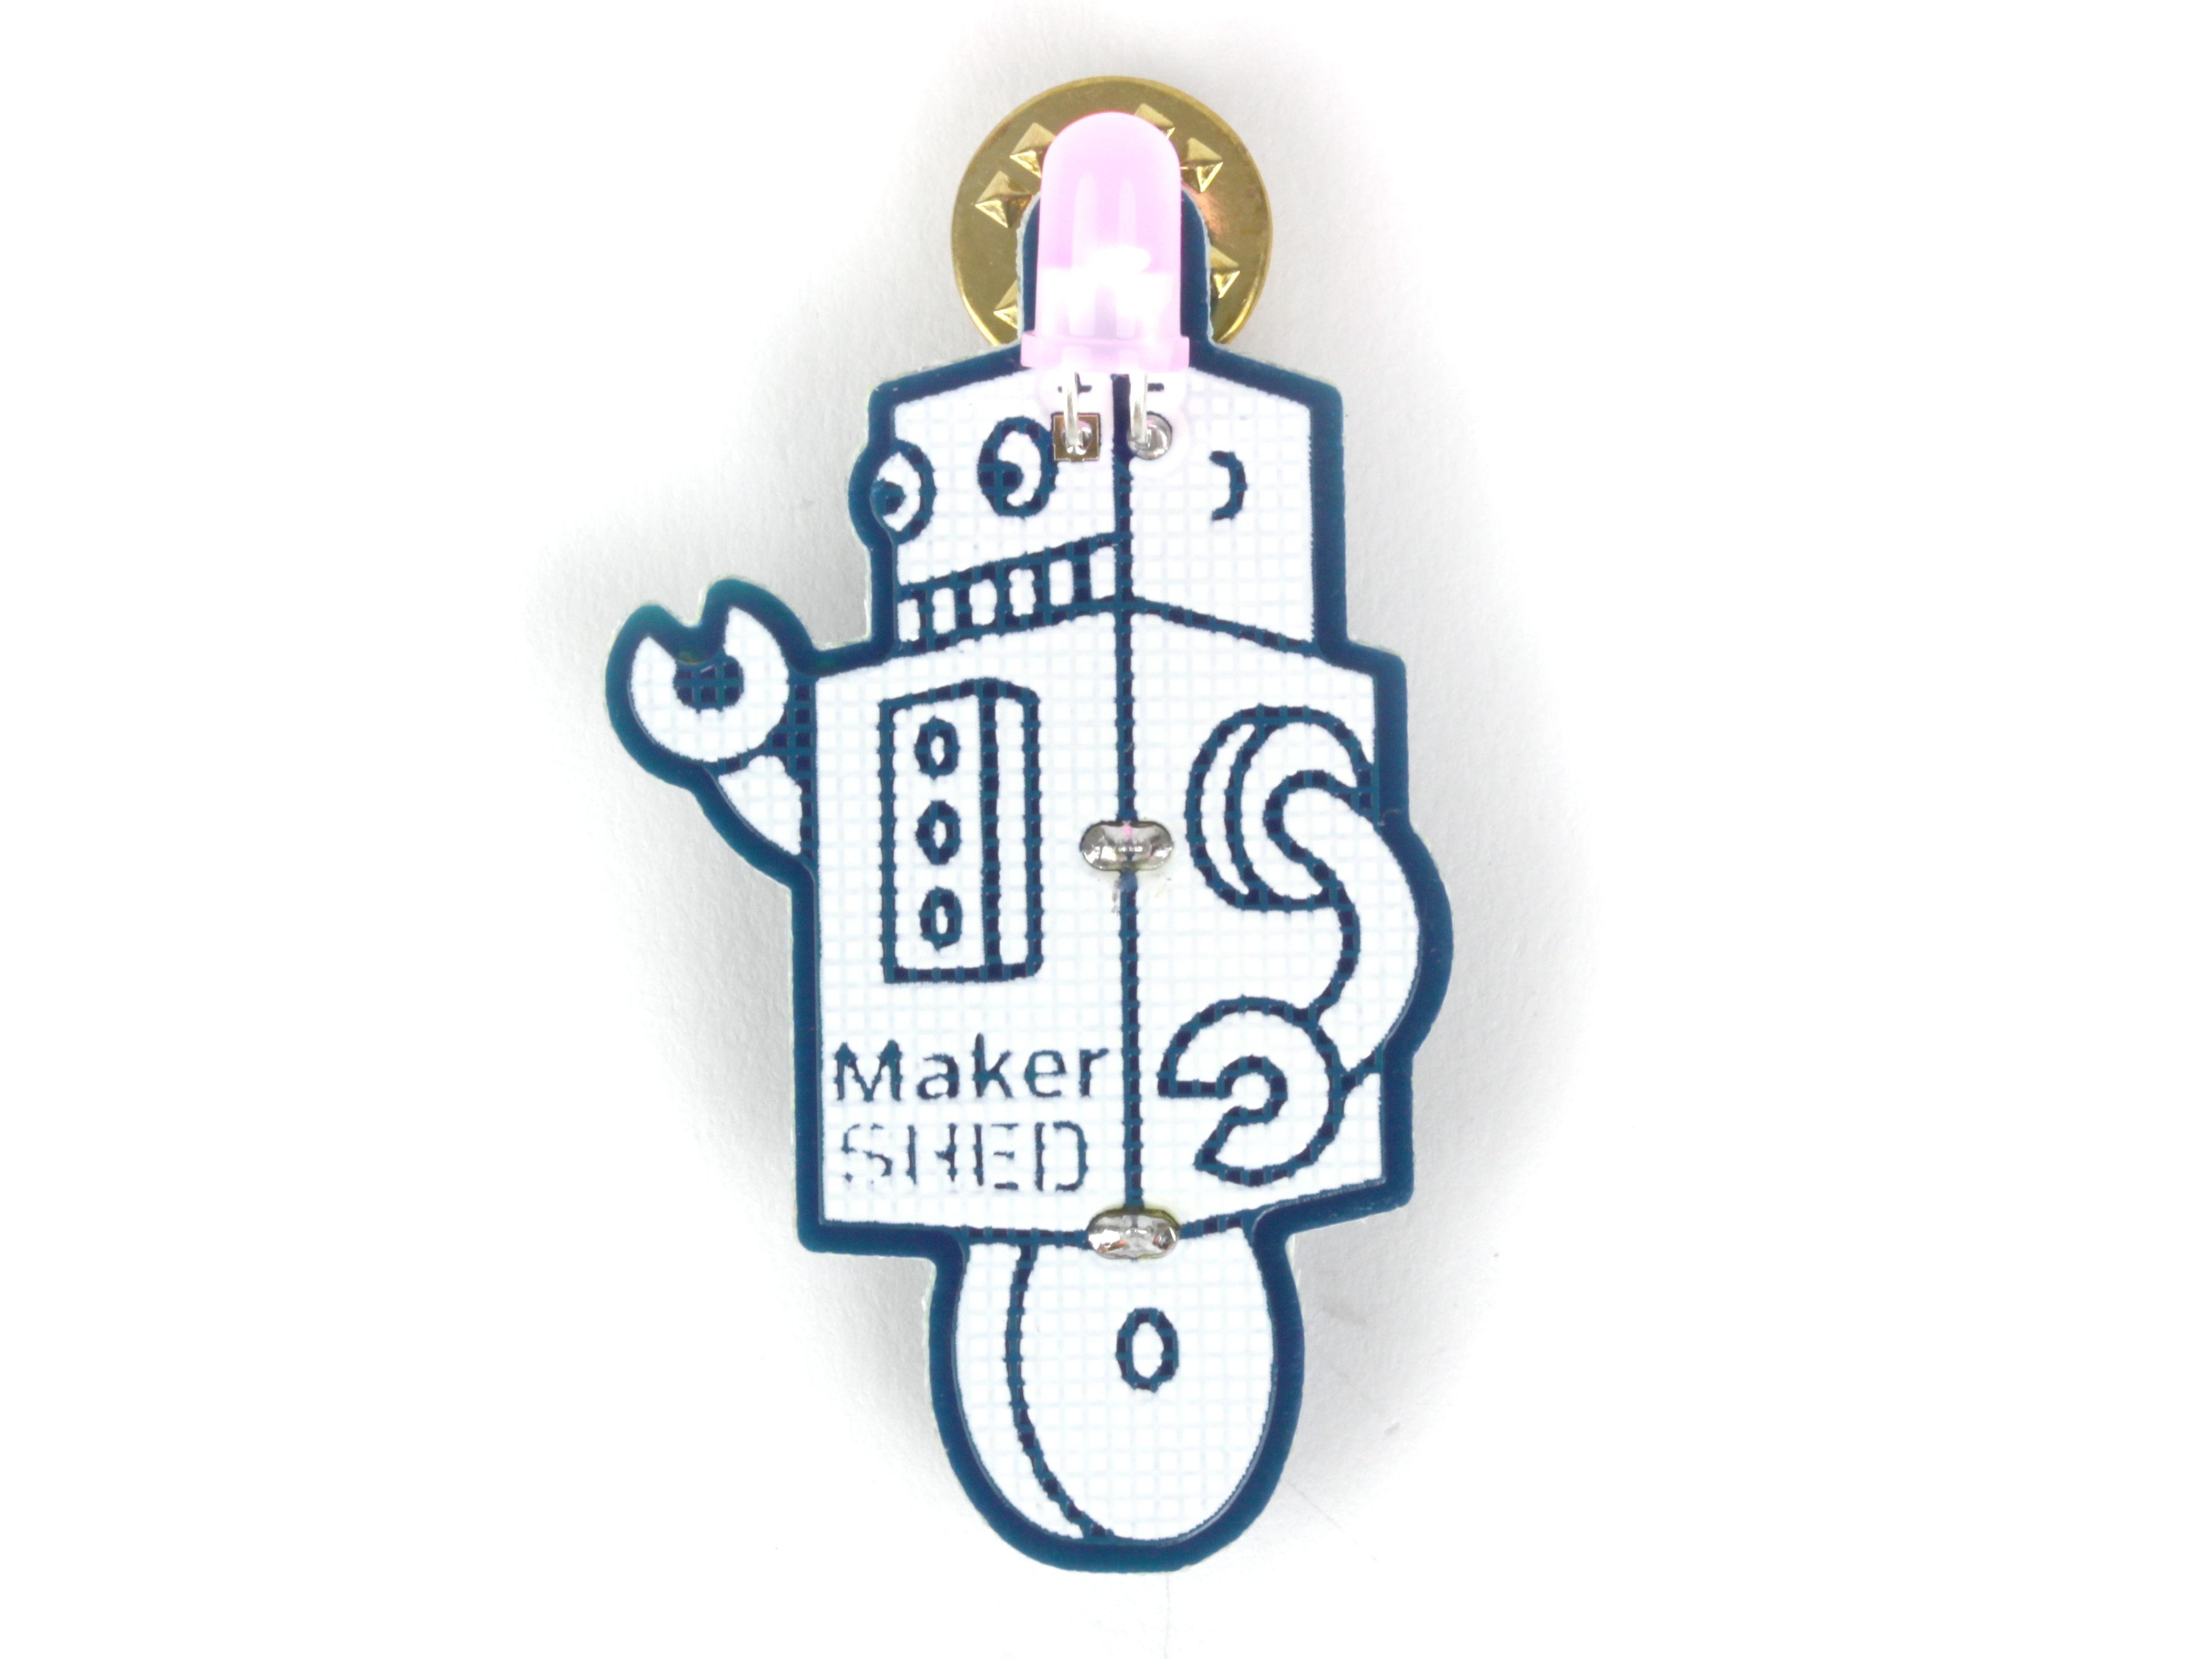
At Maker Faire, we teach folks to solder for $1 in the Maker Shed store. What do you get for $1? Not much these days! Well, that’s just not the case here. For just $1, you get expert advice on how to solder and a really cool electronic skill badge!

What will the next generation of Make: look like? We’re inviting you to shape the future by investing in Make:. By becoming an investor, you help decide what’s next. The future of Make: is in your hands. Learn More.

Project Steps

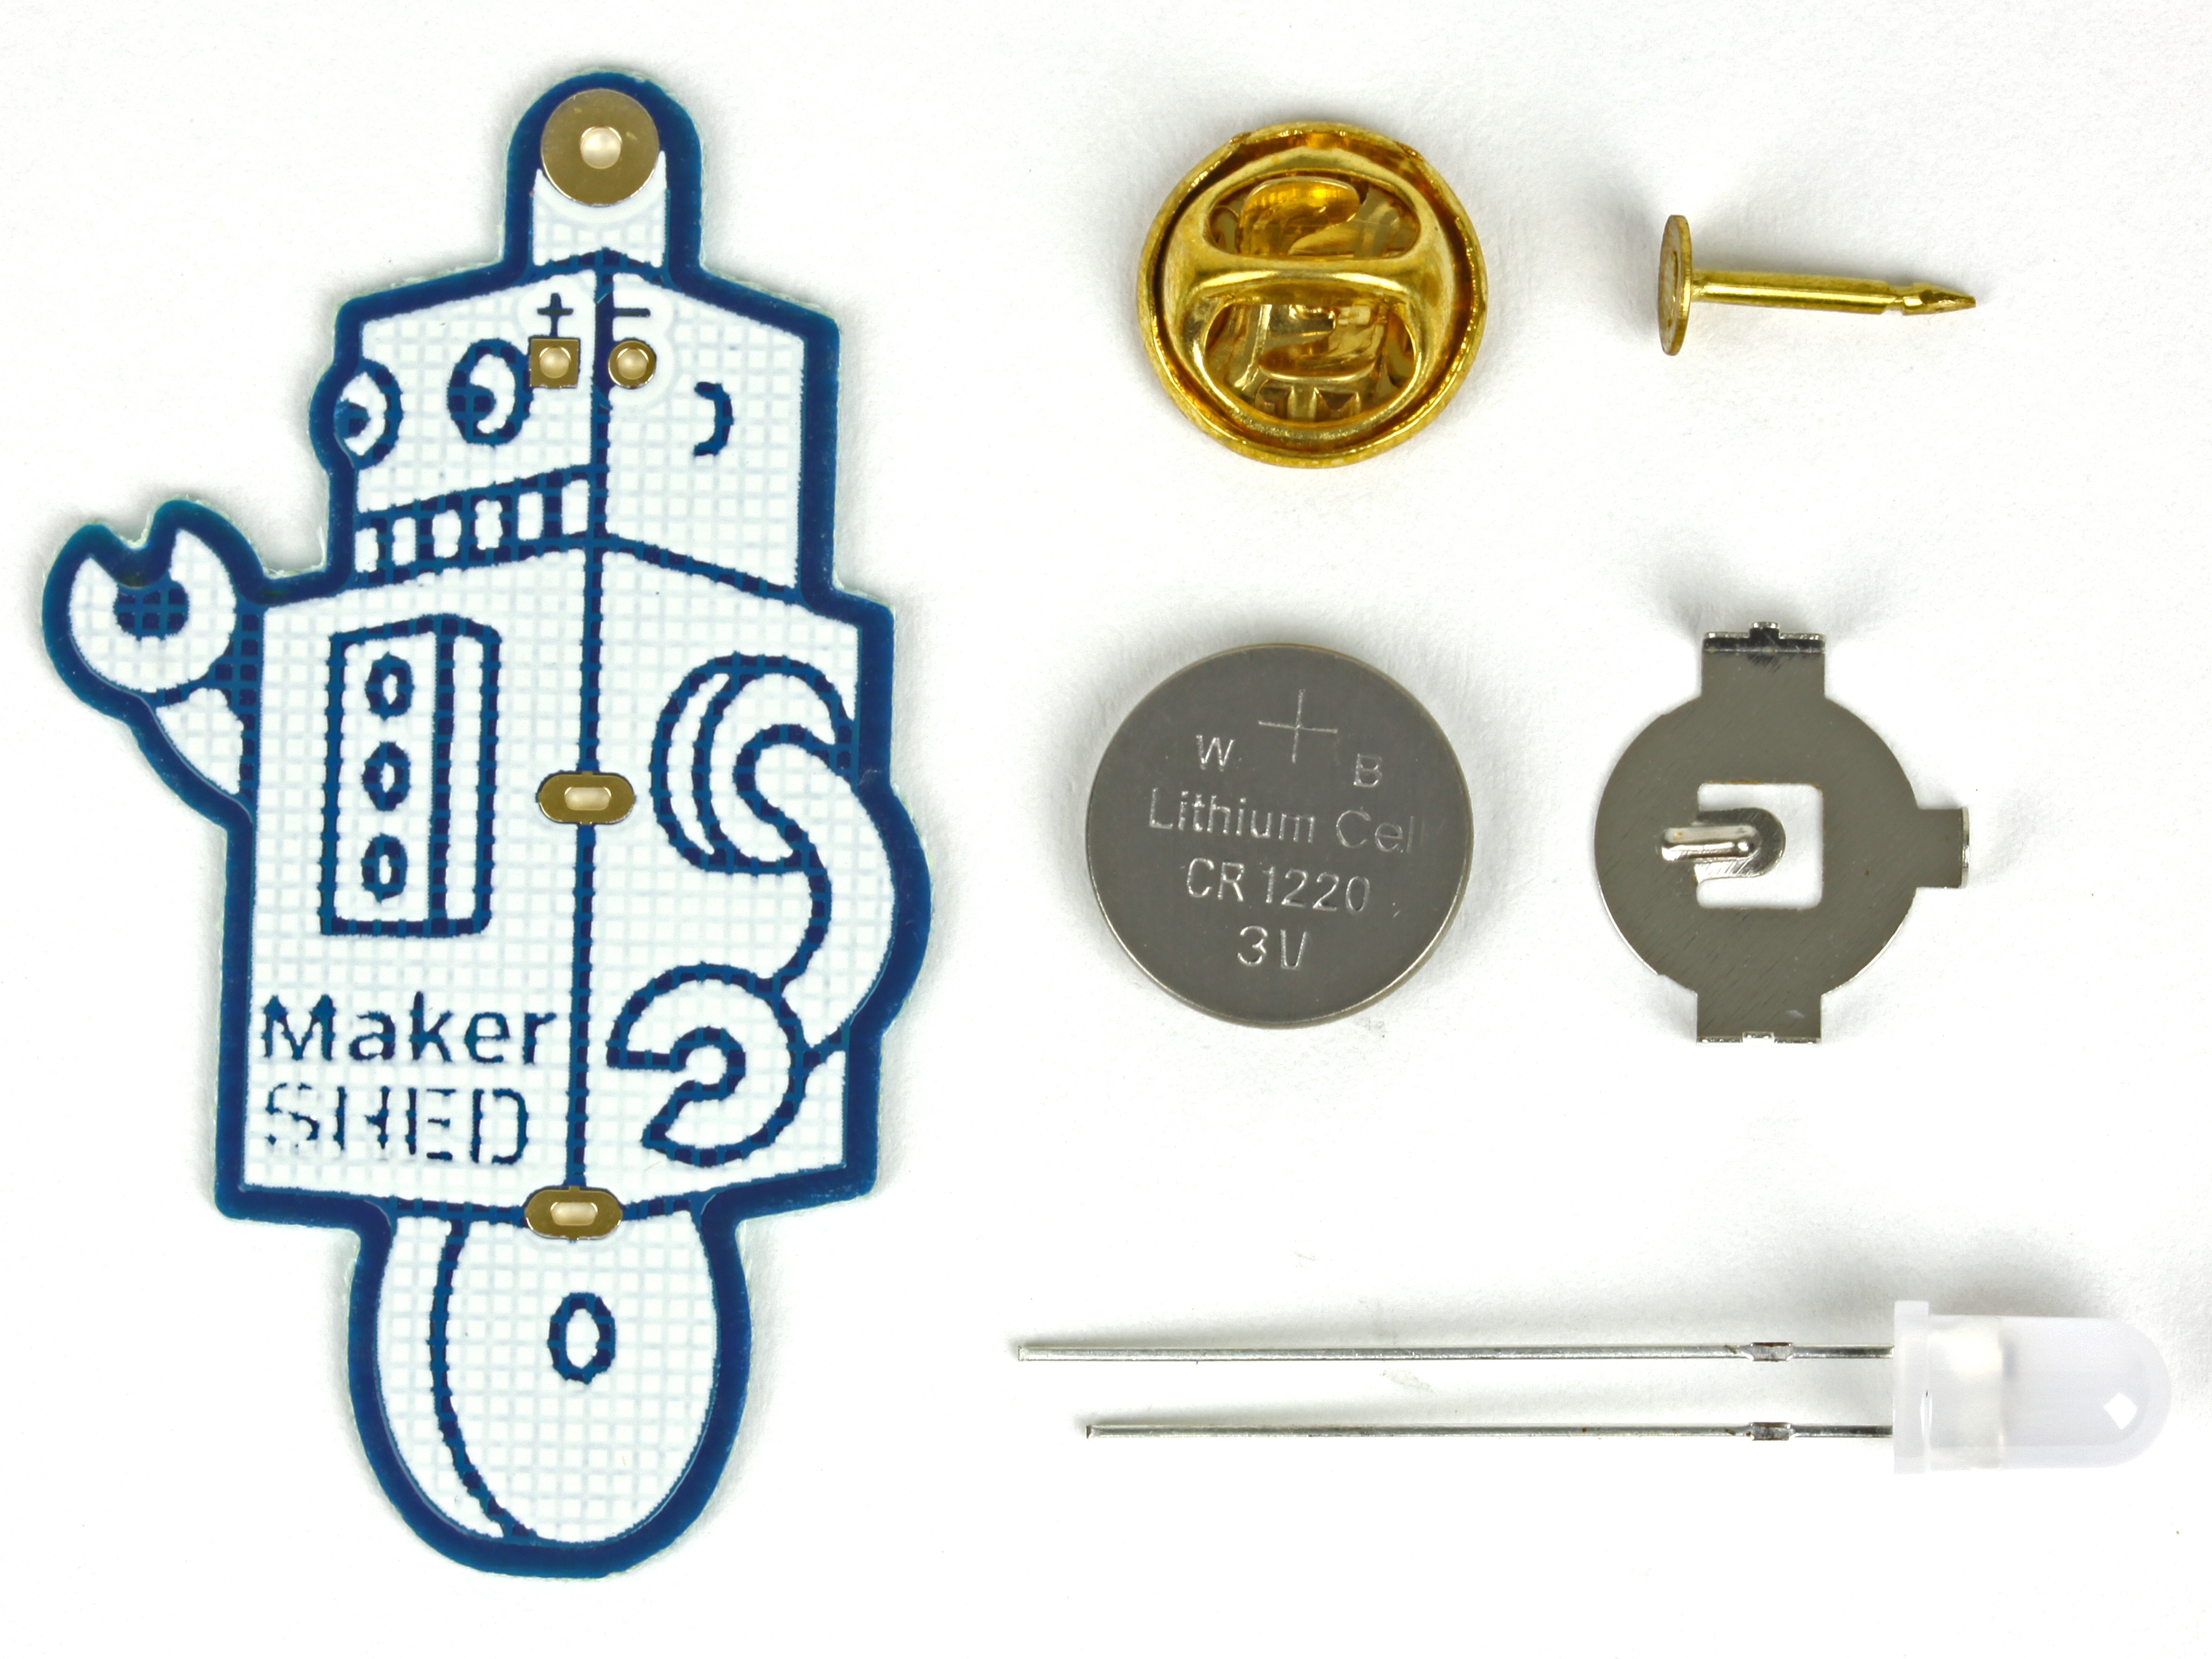
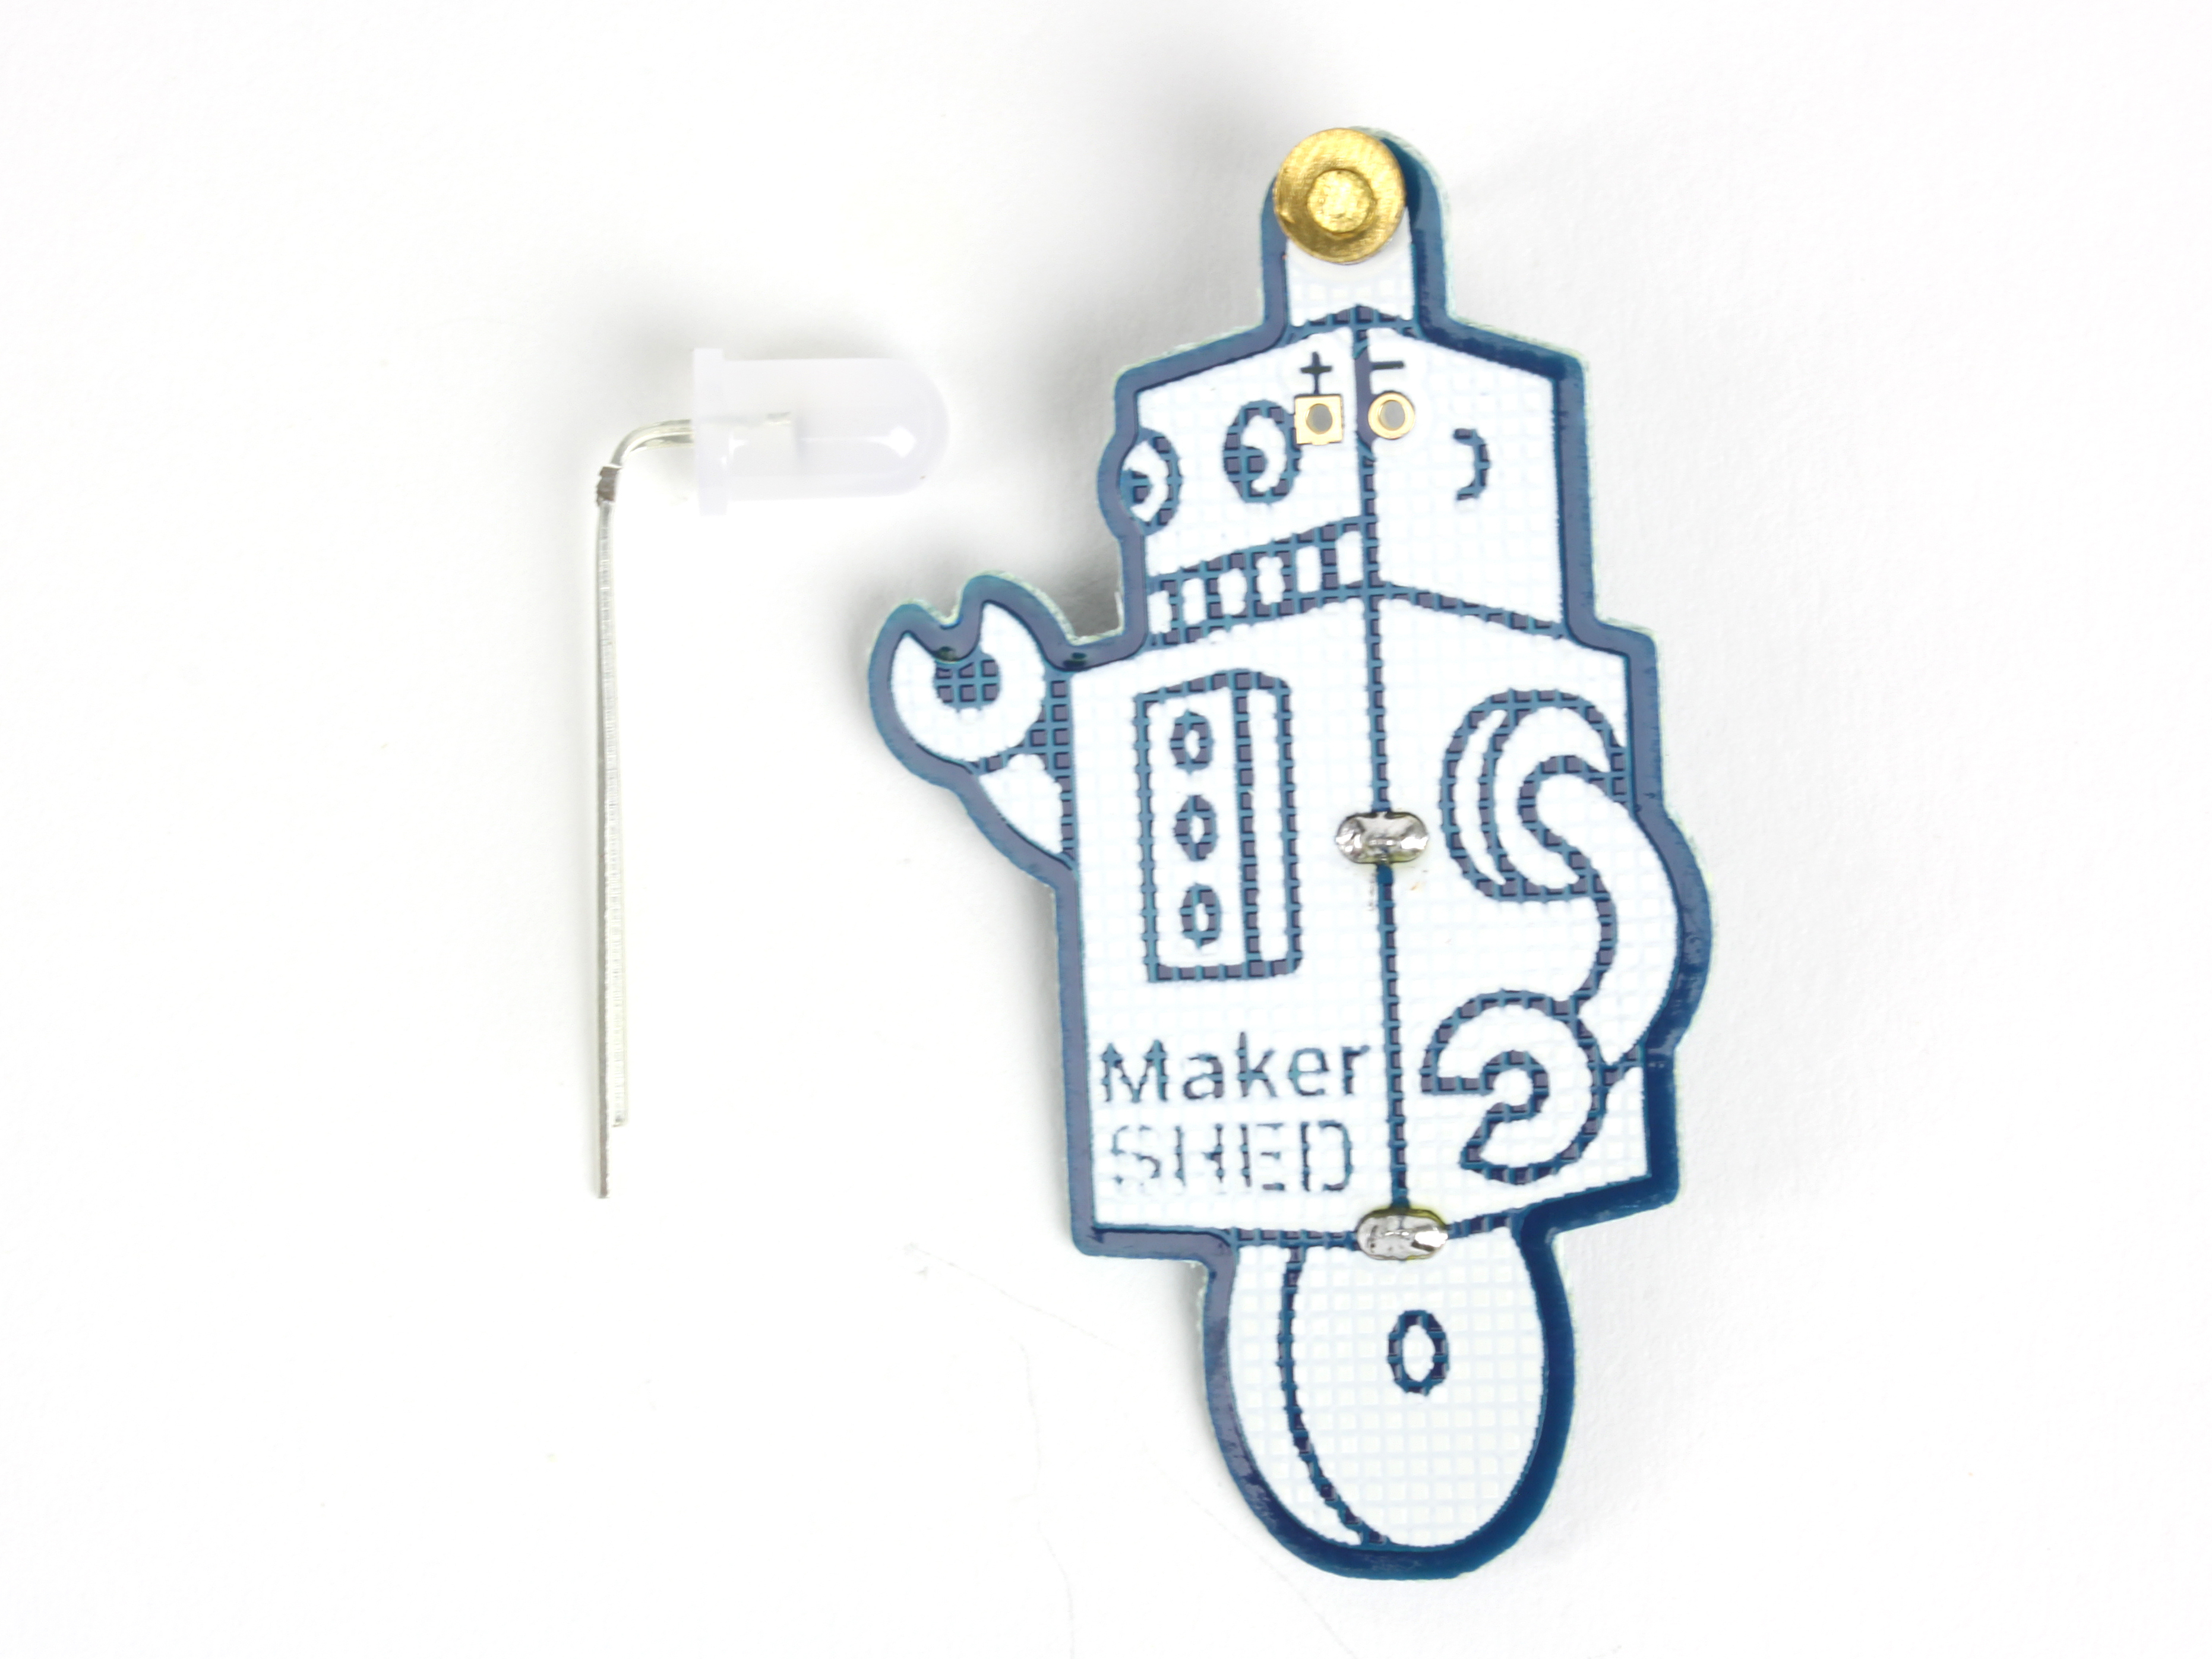
Check your kit’s contents. You should have:

Printed circuit board

Rainbow LED

Battery holder

3V CR1220 battery

Tie-tack pin

Tie-tack clutch

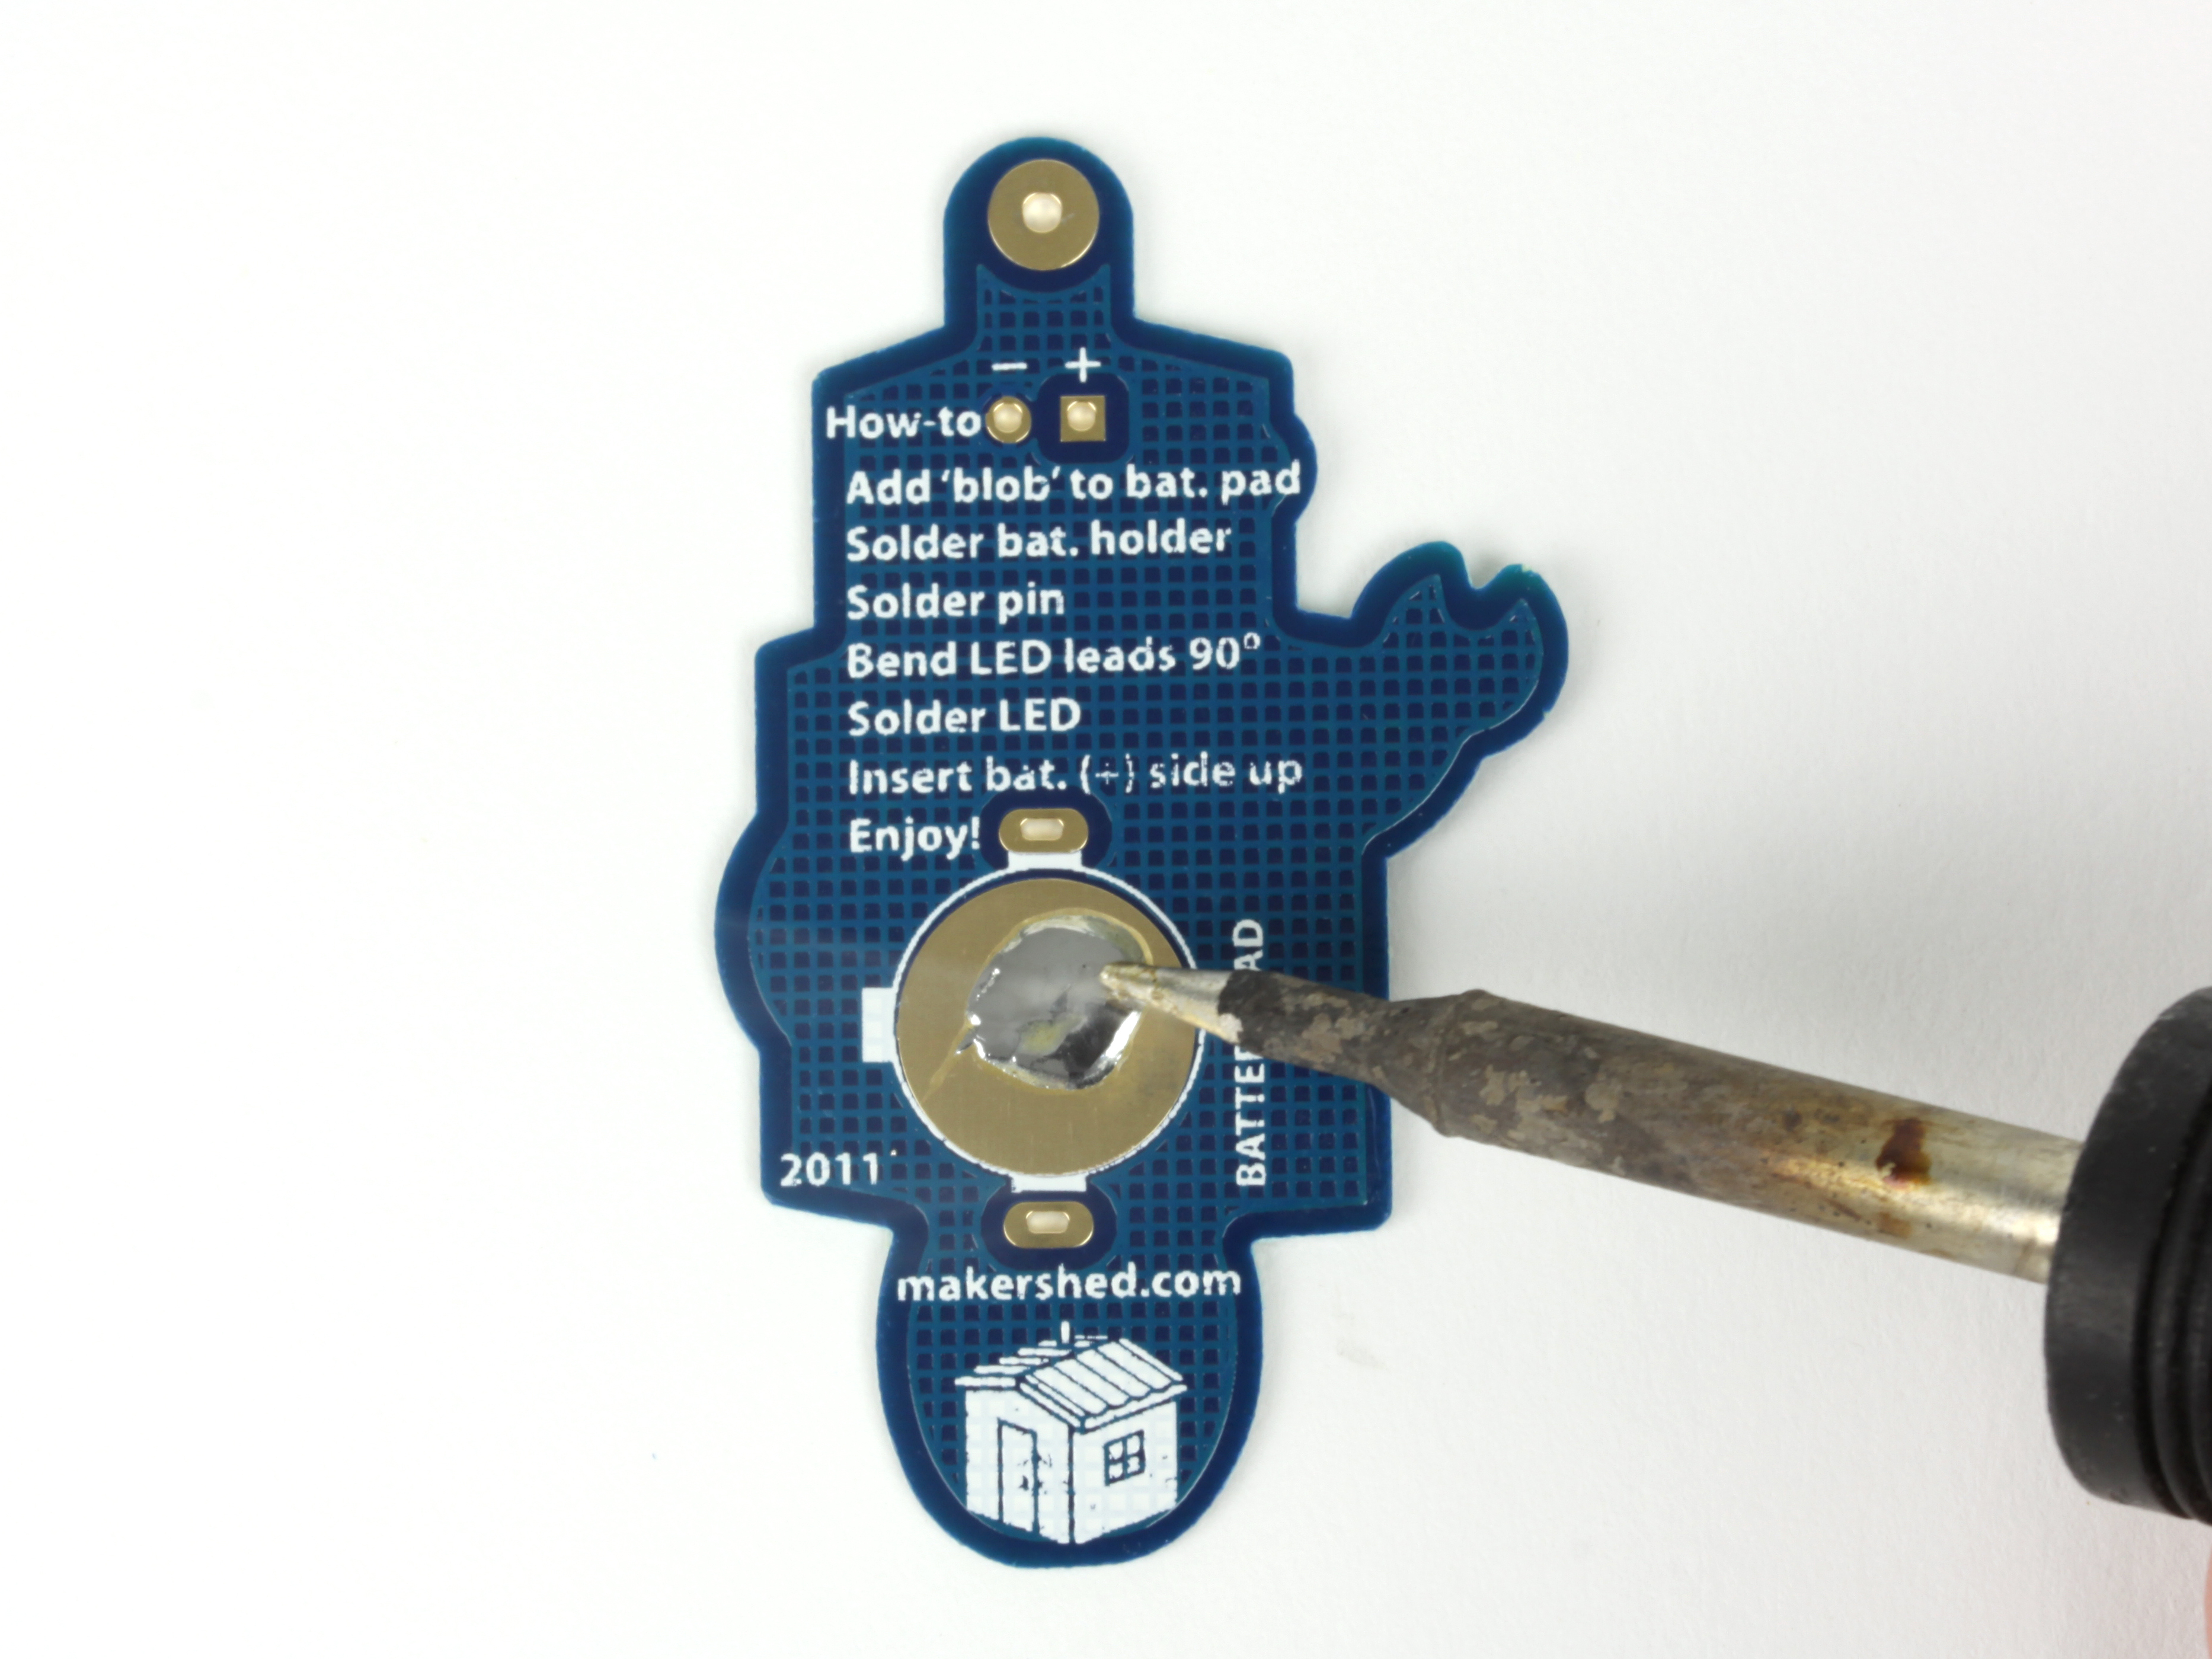
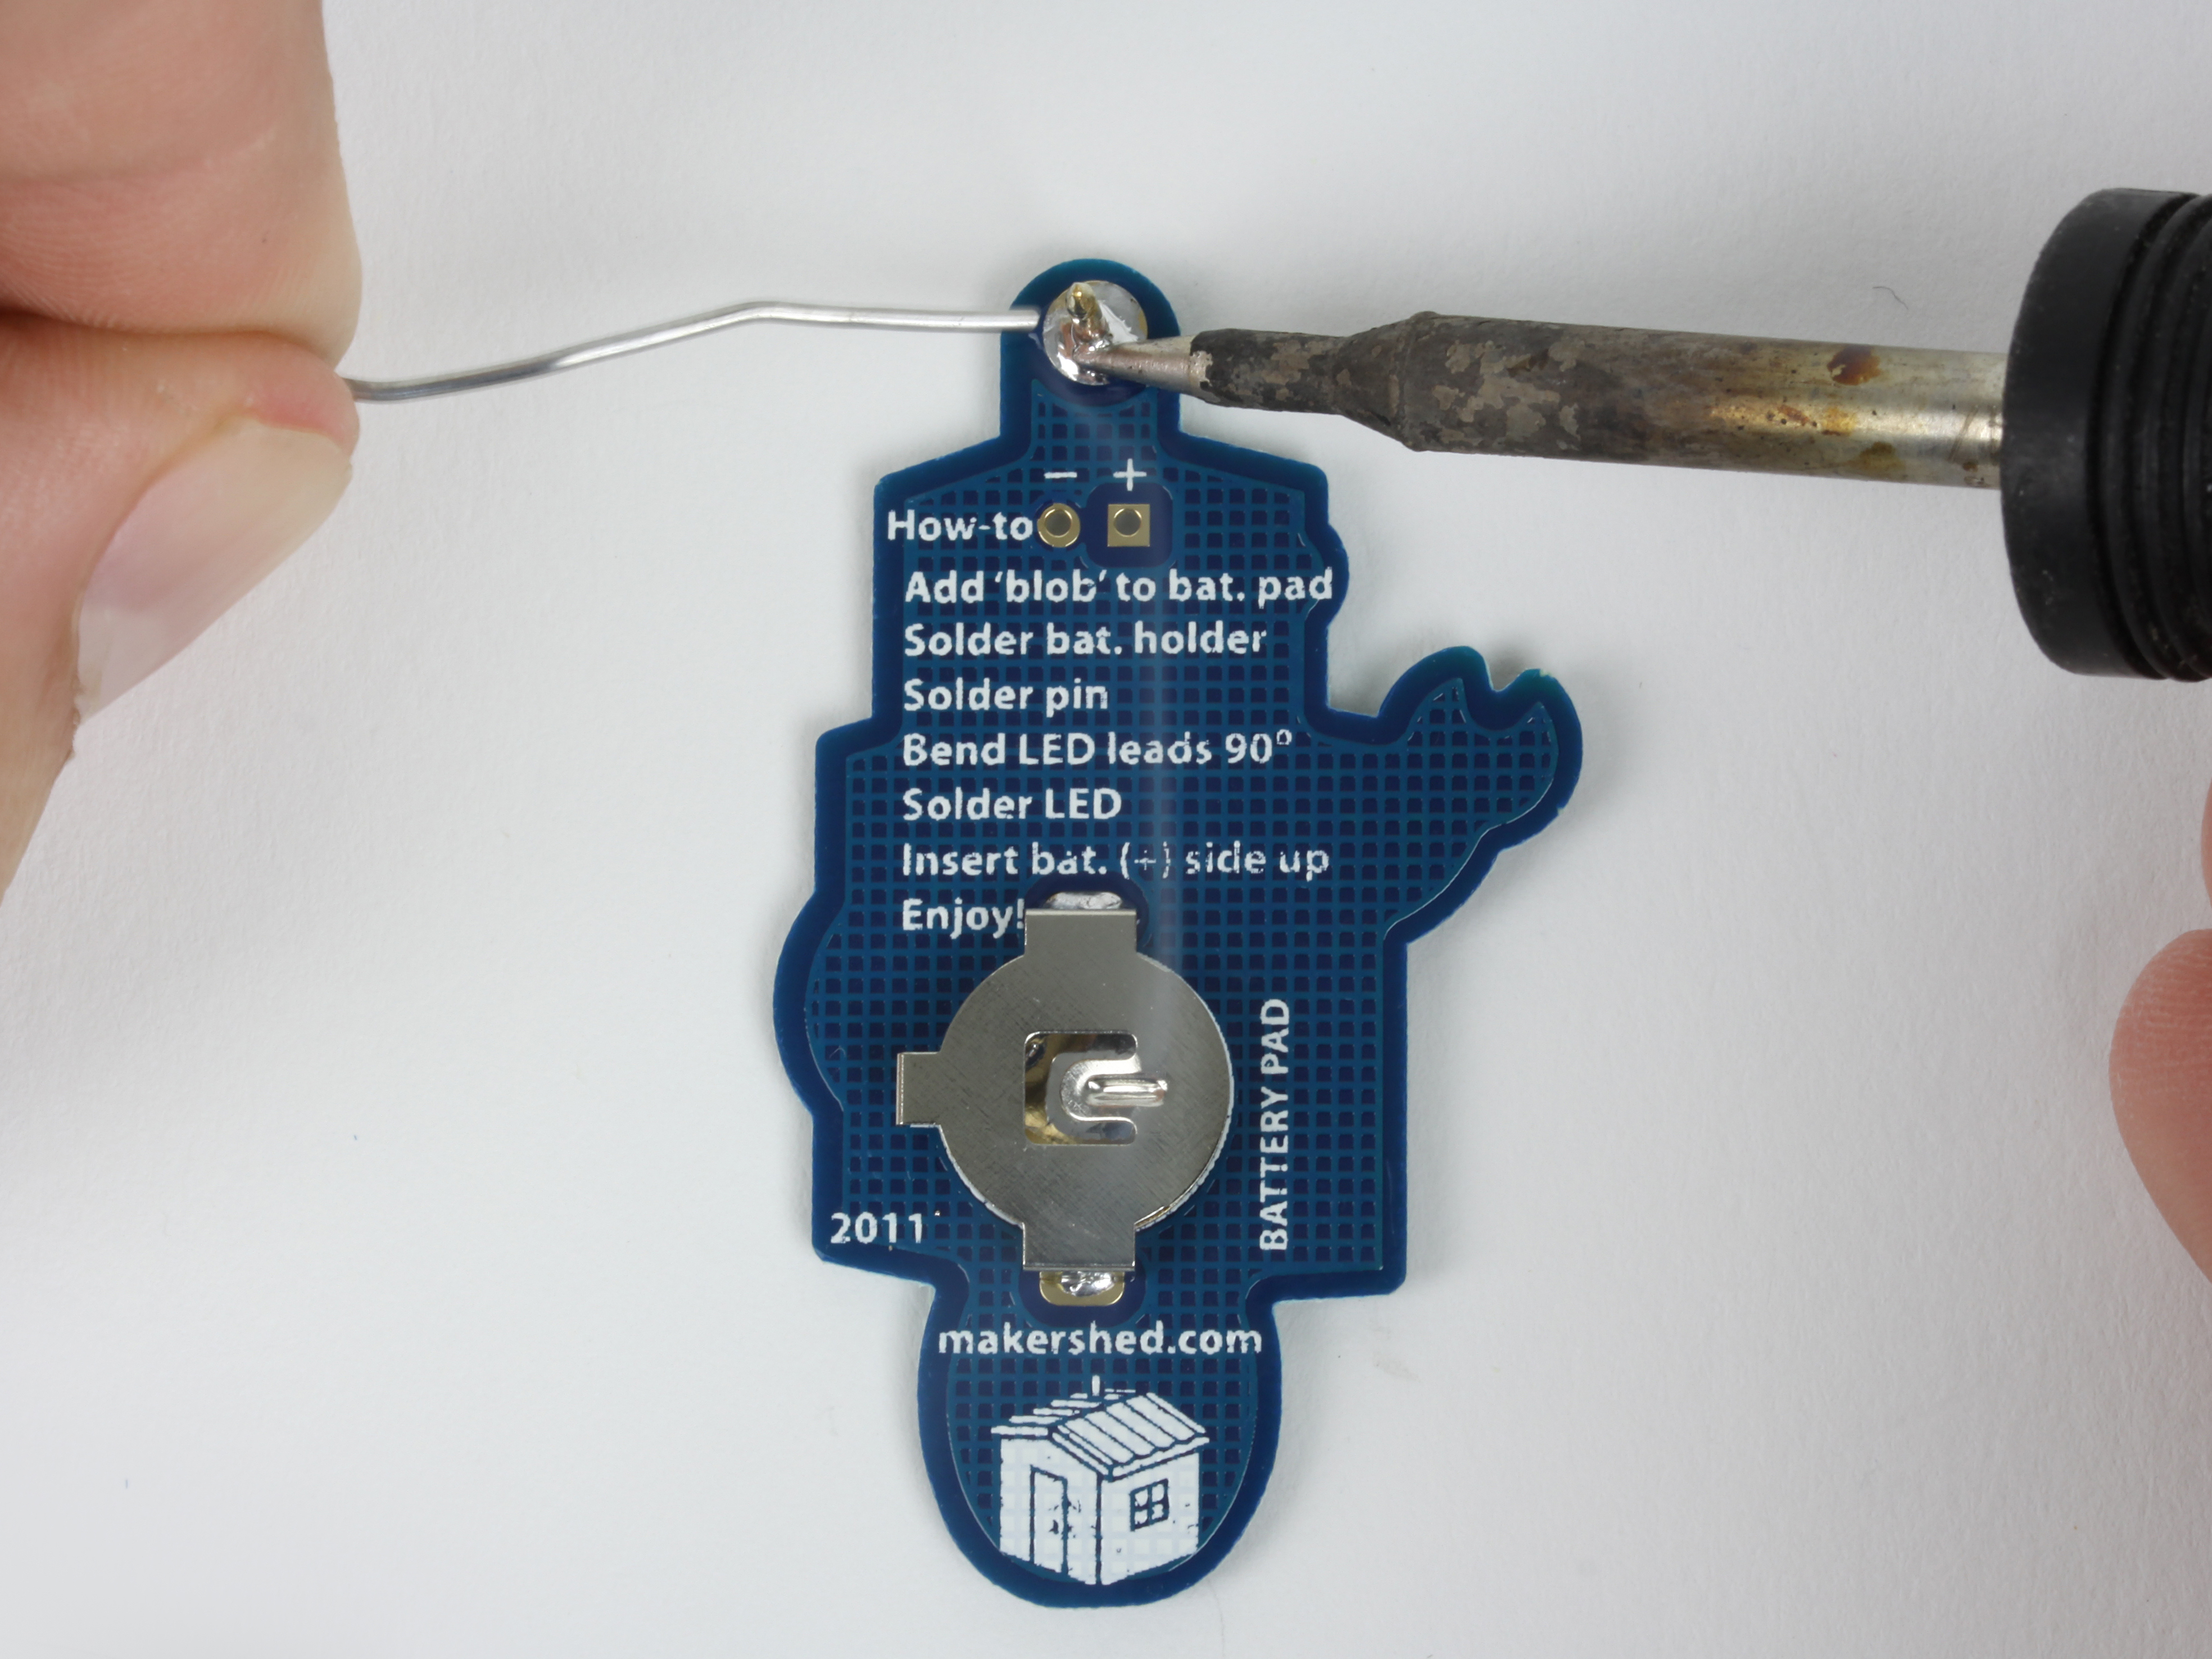
Start by adding a “blob” of solder to the battery pad on the back. Just a little will help the battery stay snug in the holder.

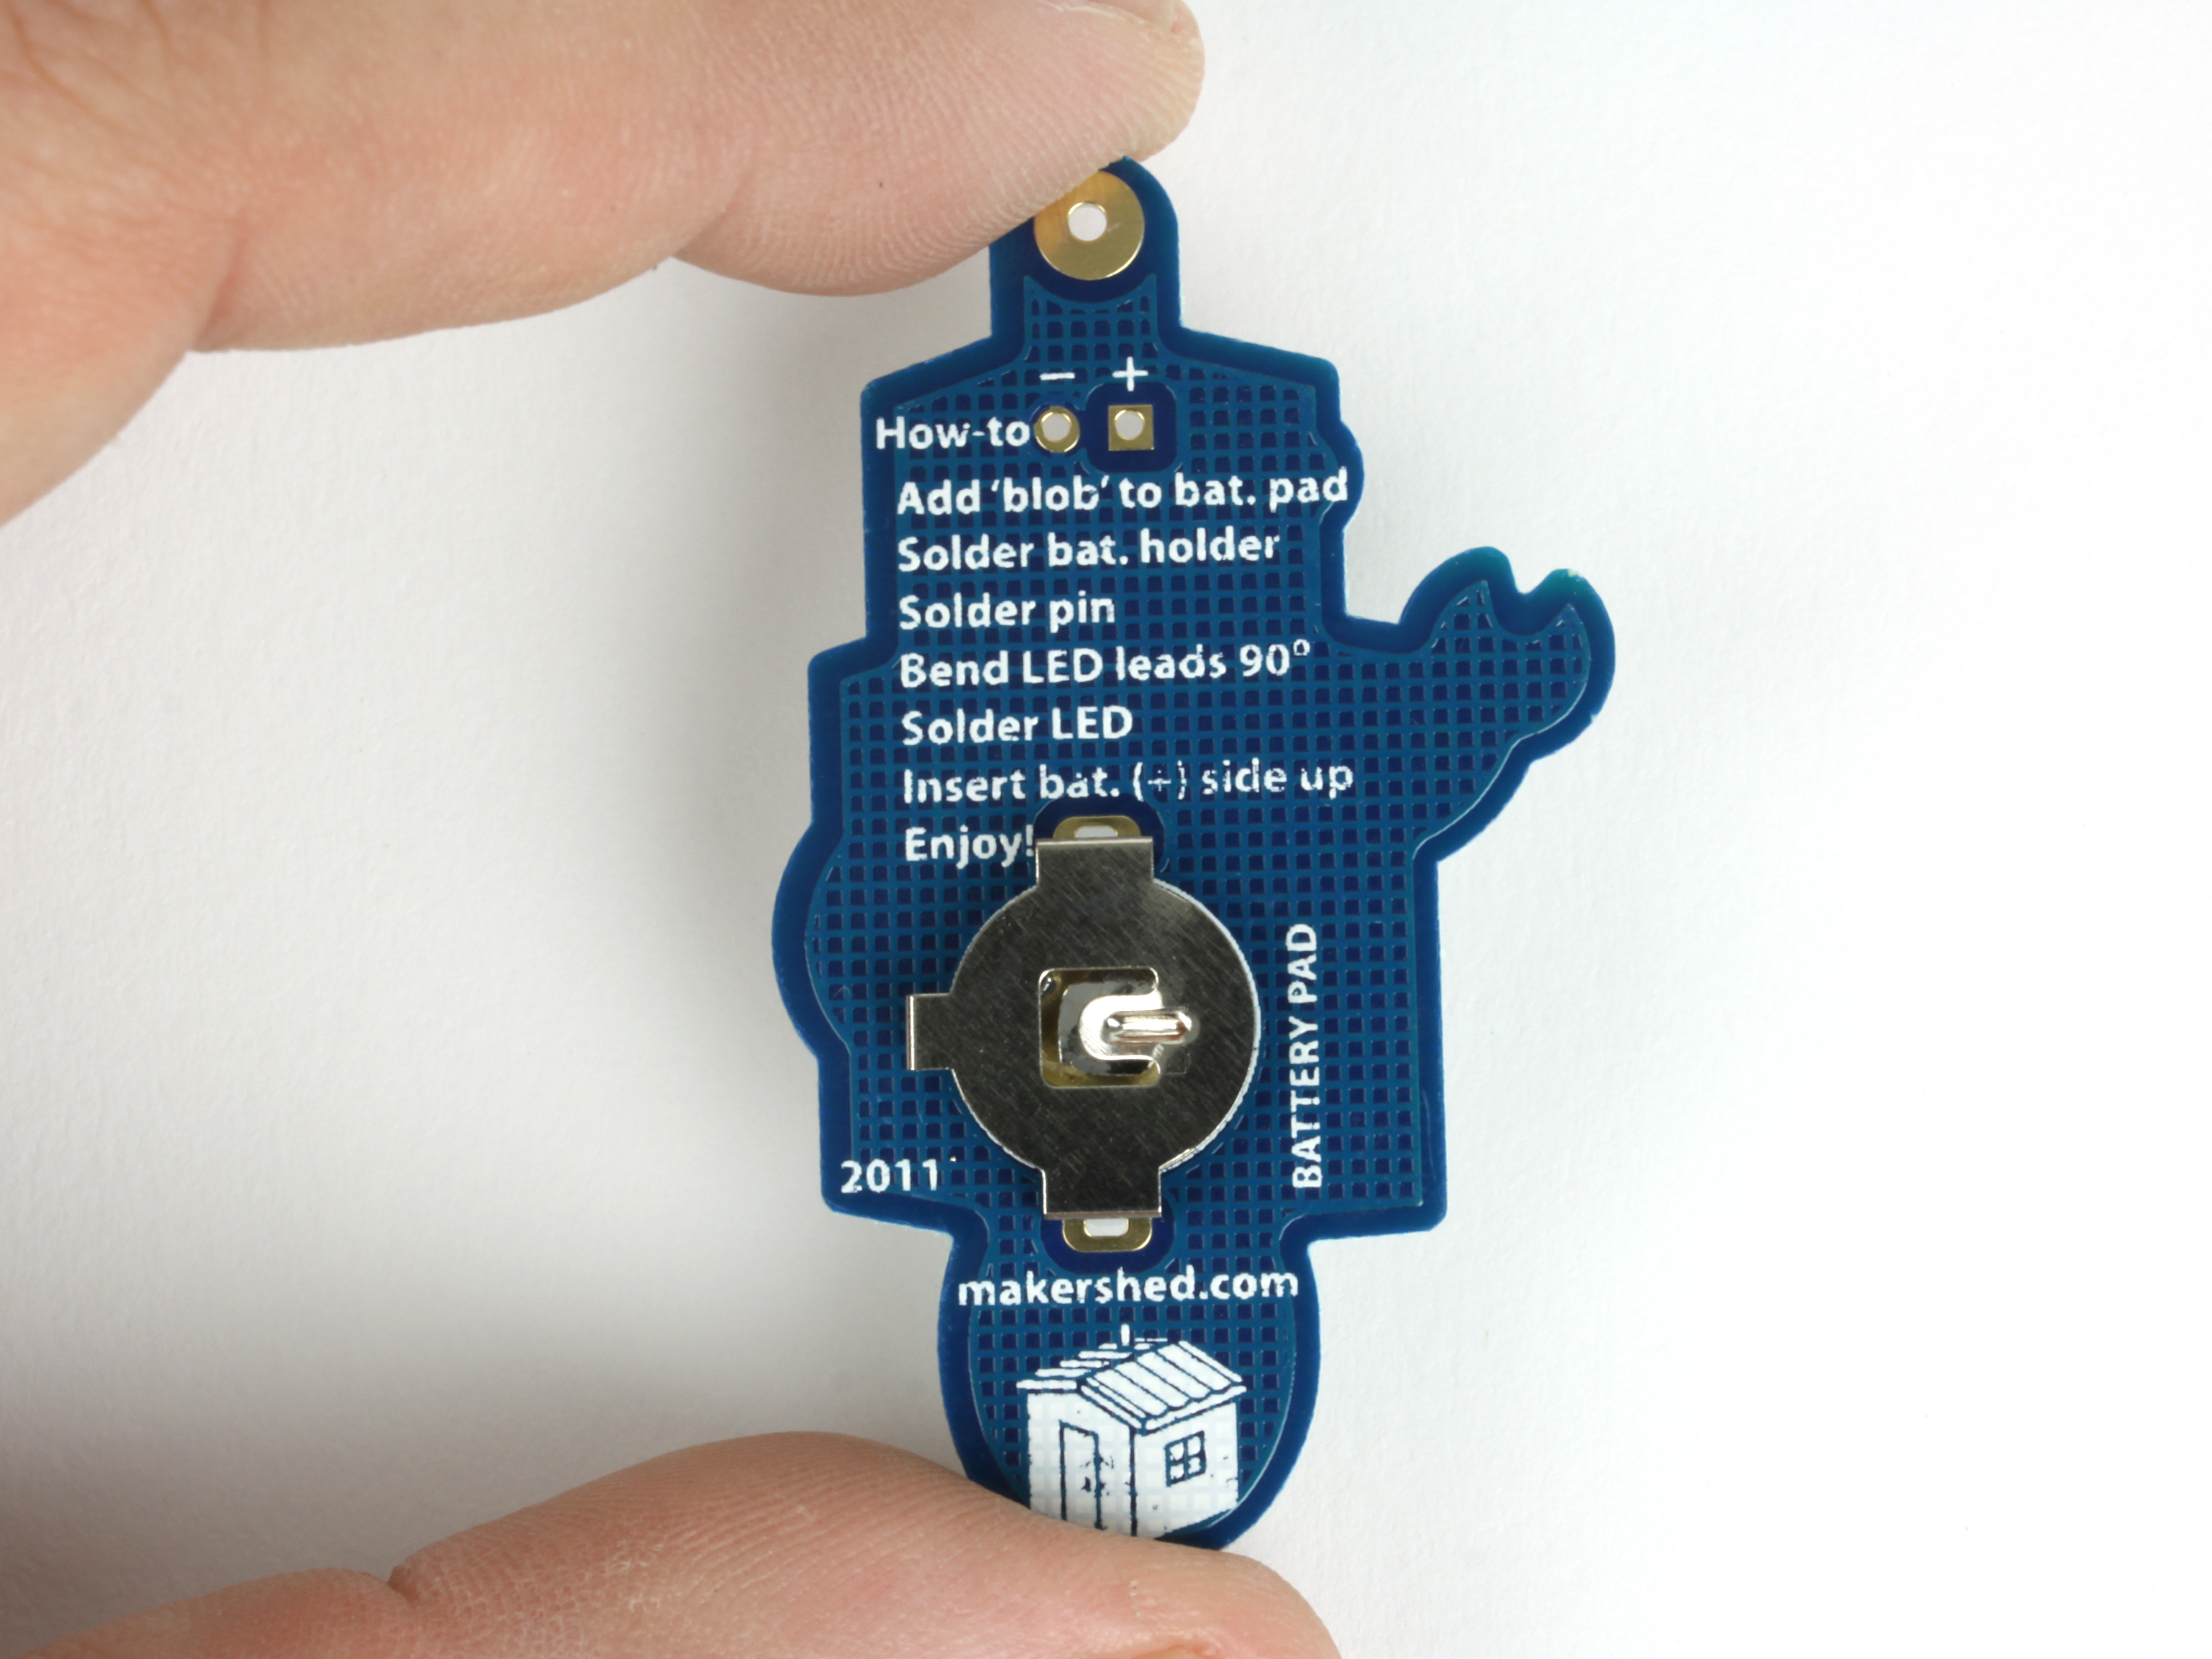
Next, place the battery holder in the printed circuit board (PCB). It goes on the back of the PCB, and is oriented according to the silk screen on the board.

Now you can solder the battery holder from the front of the pin. Flip it over, and place it on a flat surface.

Now heat up the pins of the battery holder with your soldering iron and solder it in place.

Next solder in the tie-tack pin.

Place the pin though the hole in the front of the PCB. It will not fall through the hole; just let it go!

Now apply heat to the pin from the back, and solder it into place.

Now add the light-emitting diode (LED).

First, note which wire lead is longer on the LED. This wire is the anode, or positive (+), lead and will eventually be inserted into the hole marked (+) on the PCB.

The shorter lead on the LED is the cathode, or (-), lead. This is placed in the (-) hole on the PCB.

Now that you have identified the (+) and (-) leads, hold the LED so it is oriented correctly on the board and bend the leads 90° down towards the board.

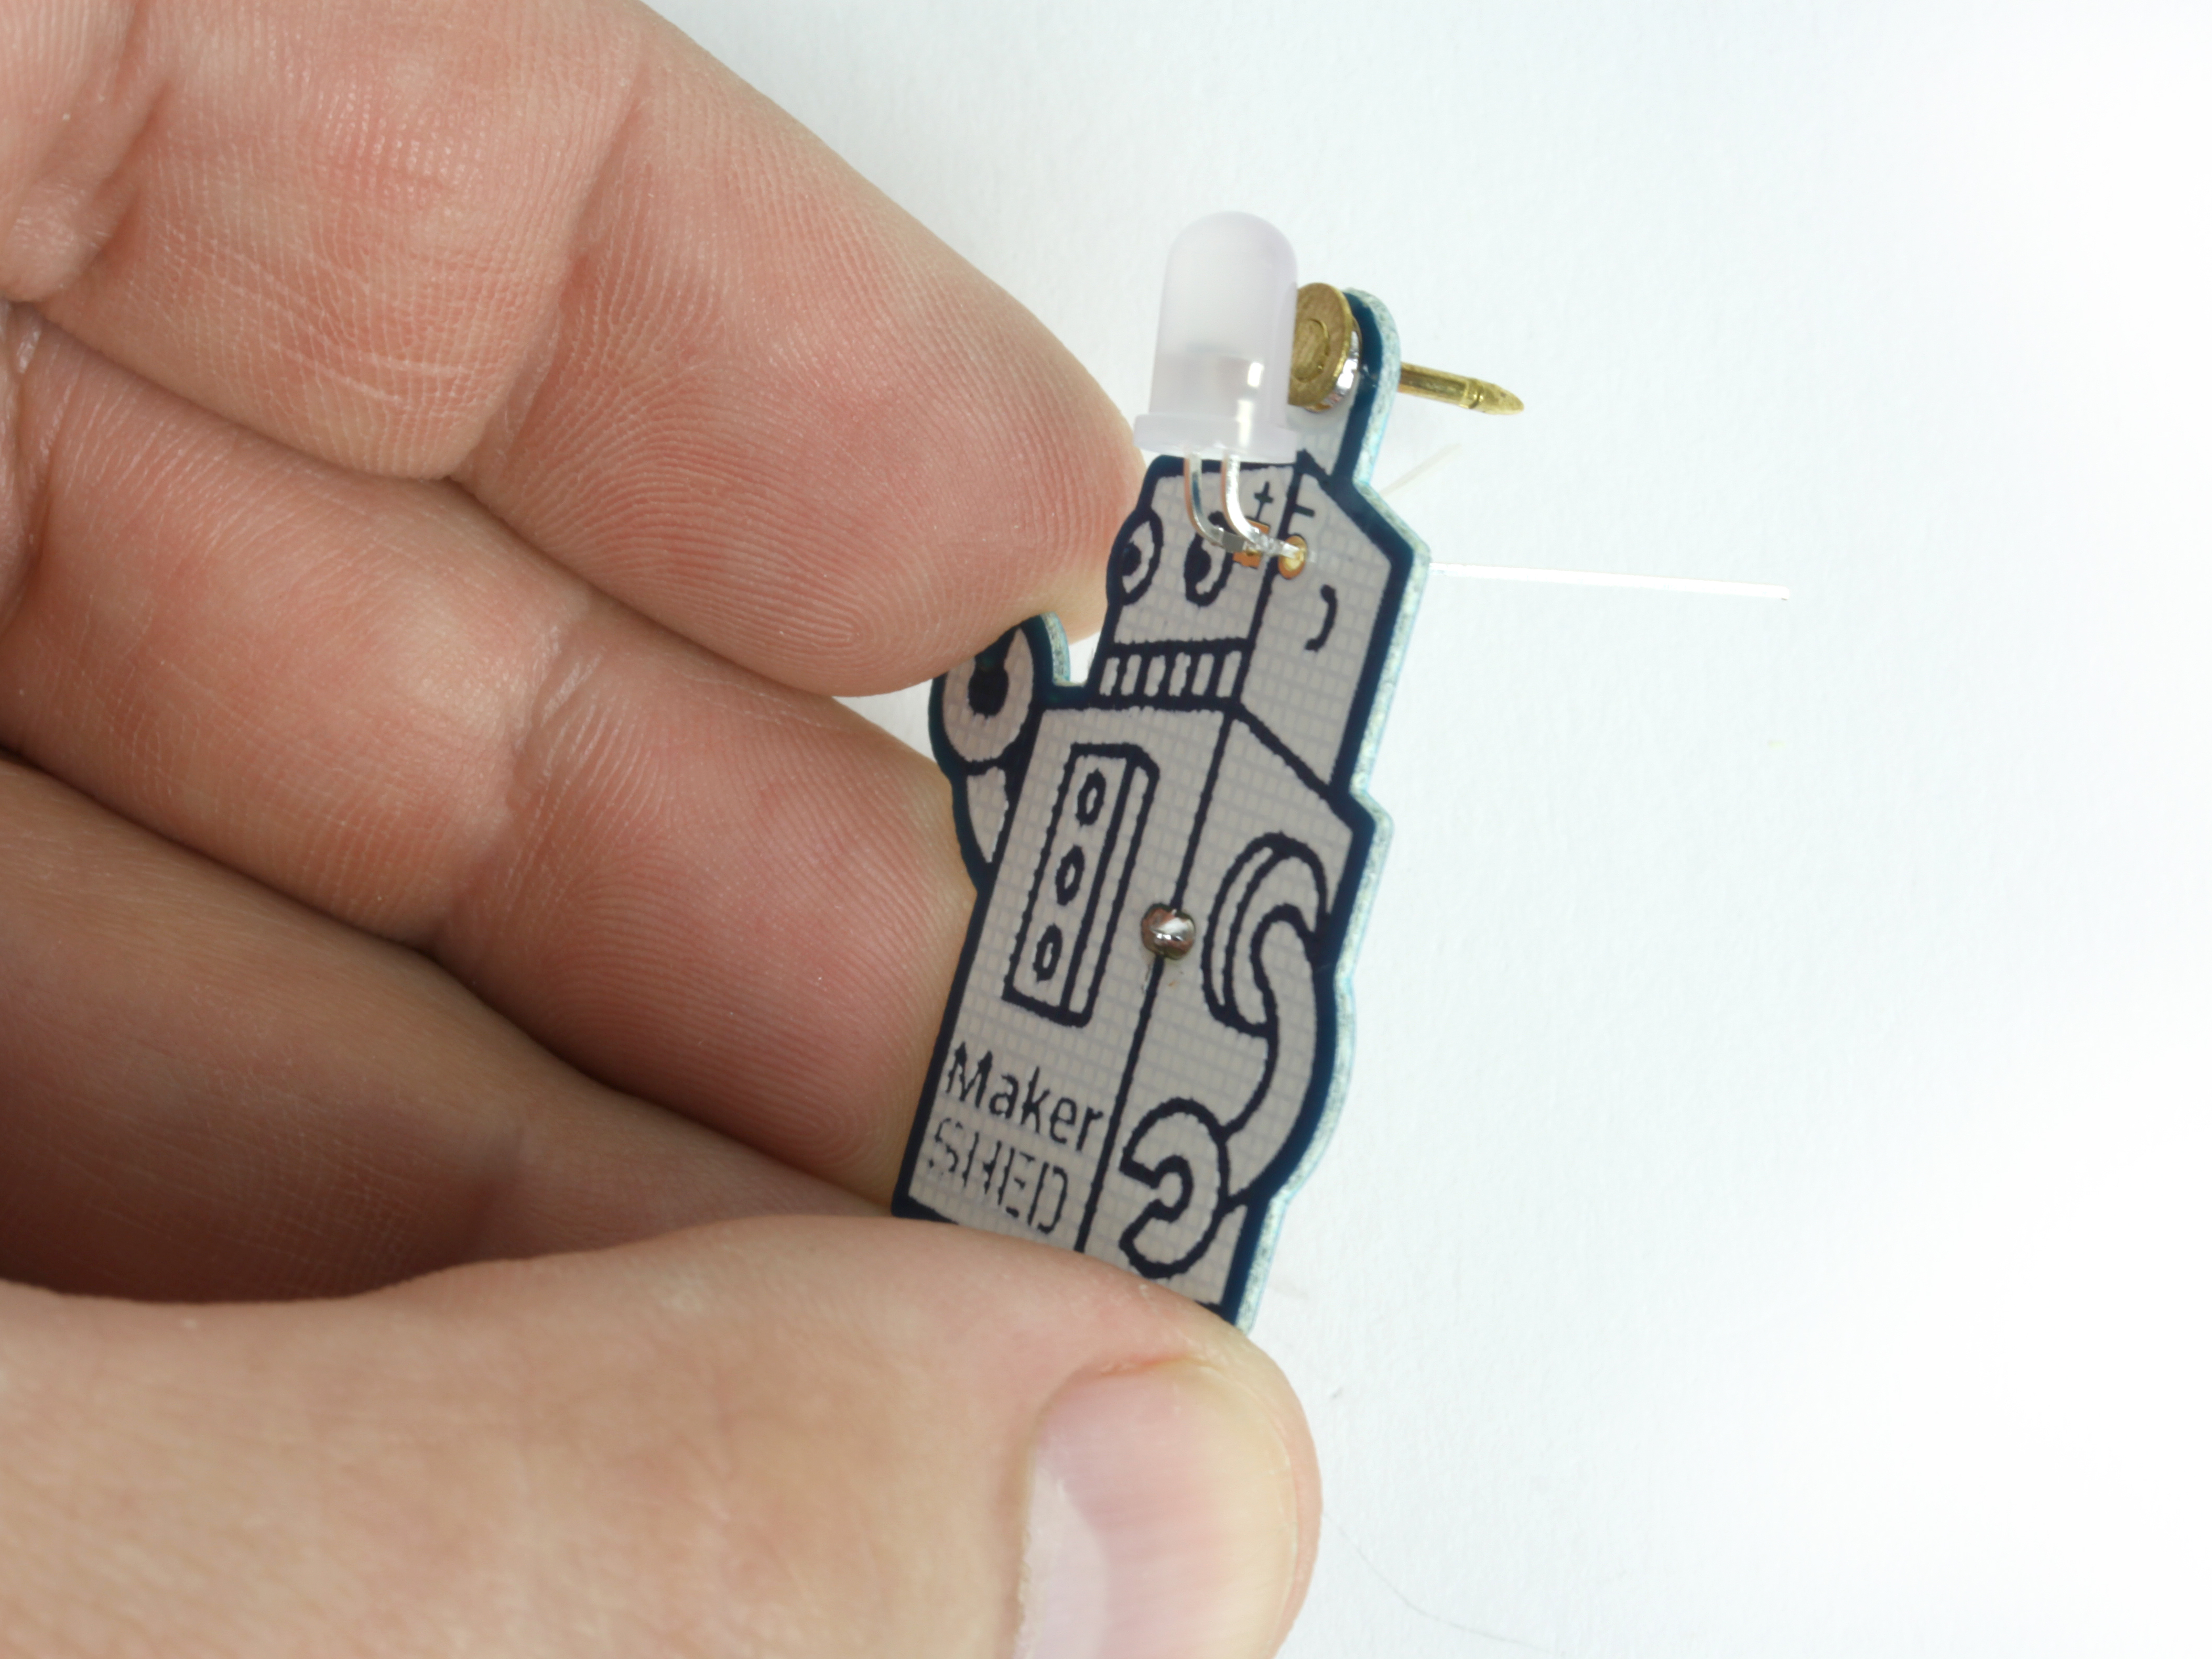
Now you can insert the LED into the PCB. It should sit flat against it.

Flip the board over, and spread the leads apart. This will keep the LED in place

Solder the LED in place.

Finish it up!

Now all you have to do is insert the battery.

Make sure the (+) side of the battery is facing up.

Now you can pin it to your bag, hat, or whatever and show off your soldering skills!