What will the next generation of Make: look like? We’re inviting you to shape the future by investing in Make:. By becoming an investor, you help decide what’s next. The future of Make: is in your hands. Learn More.

Project Steps

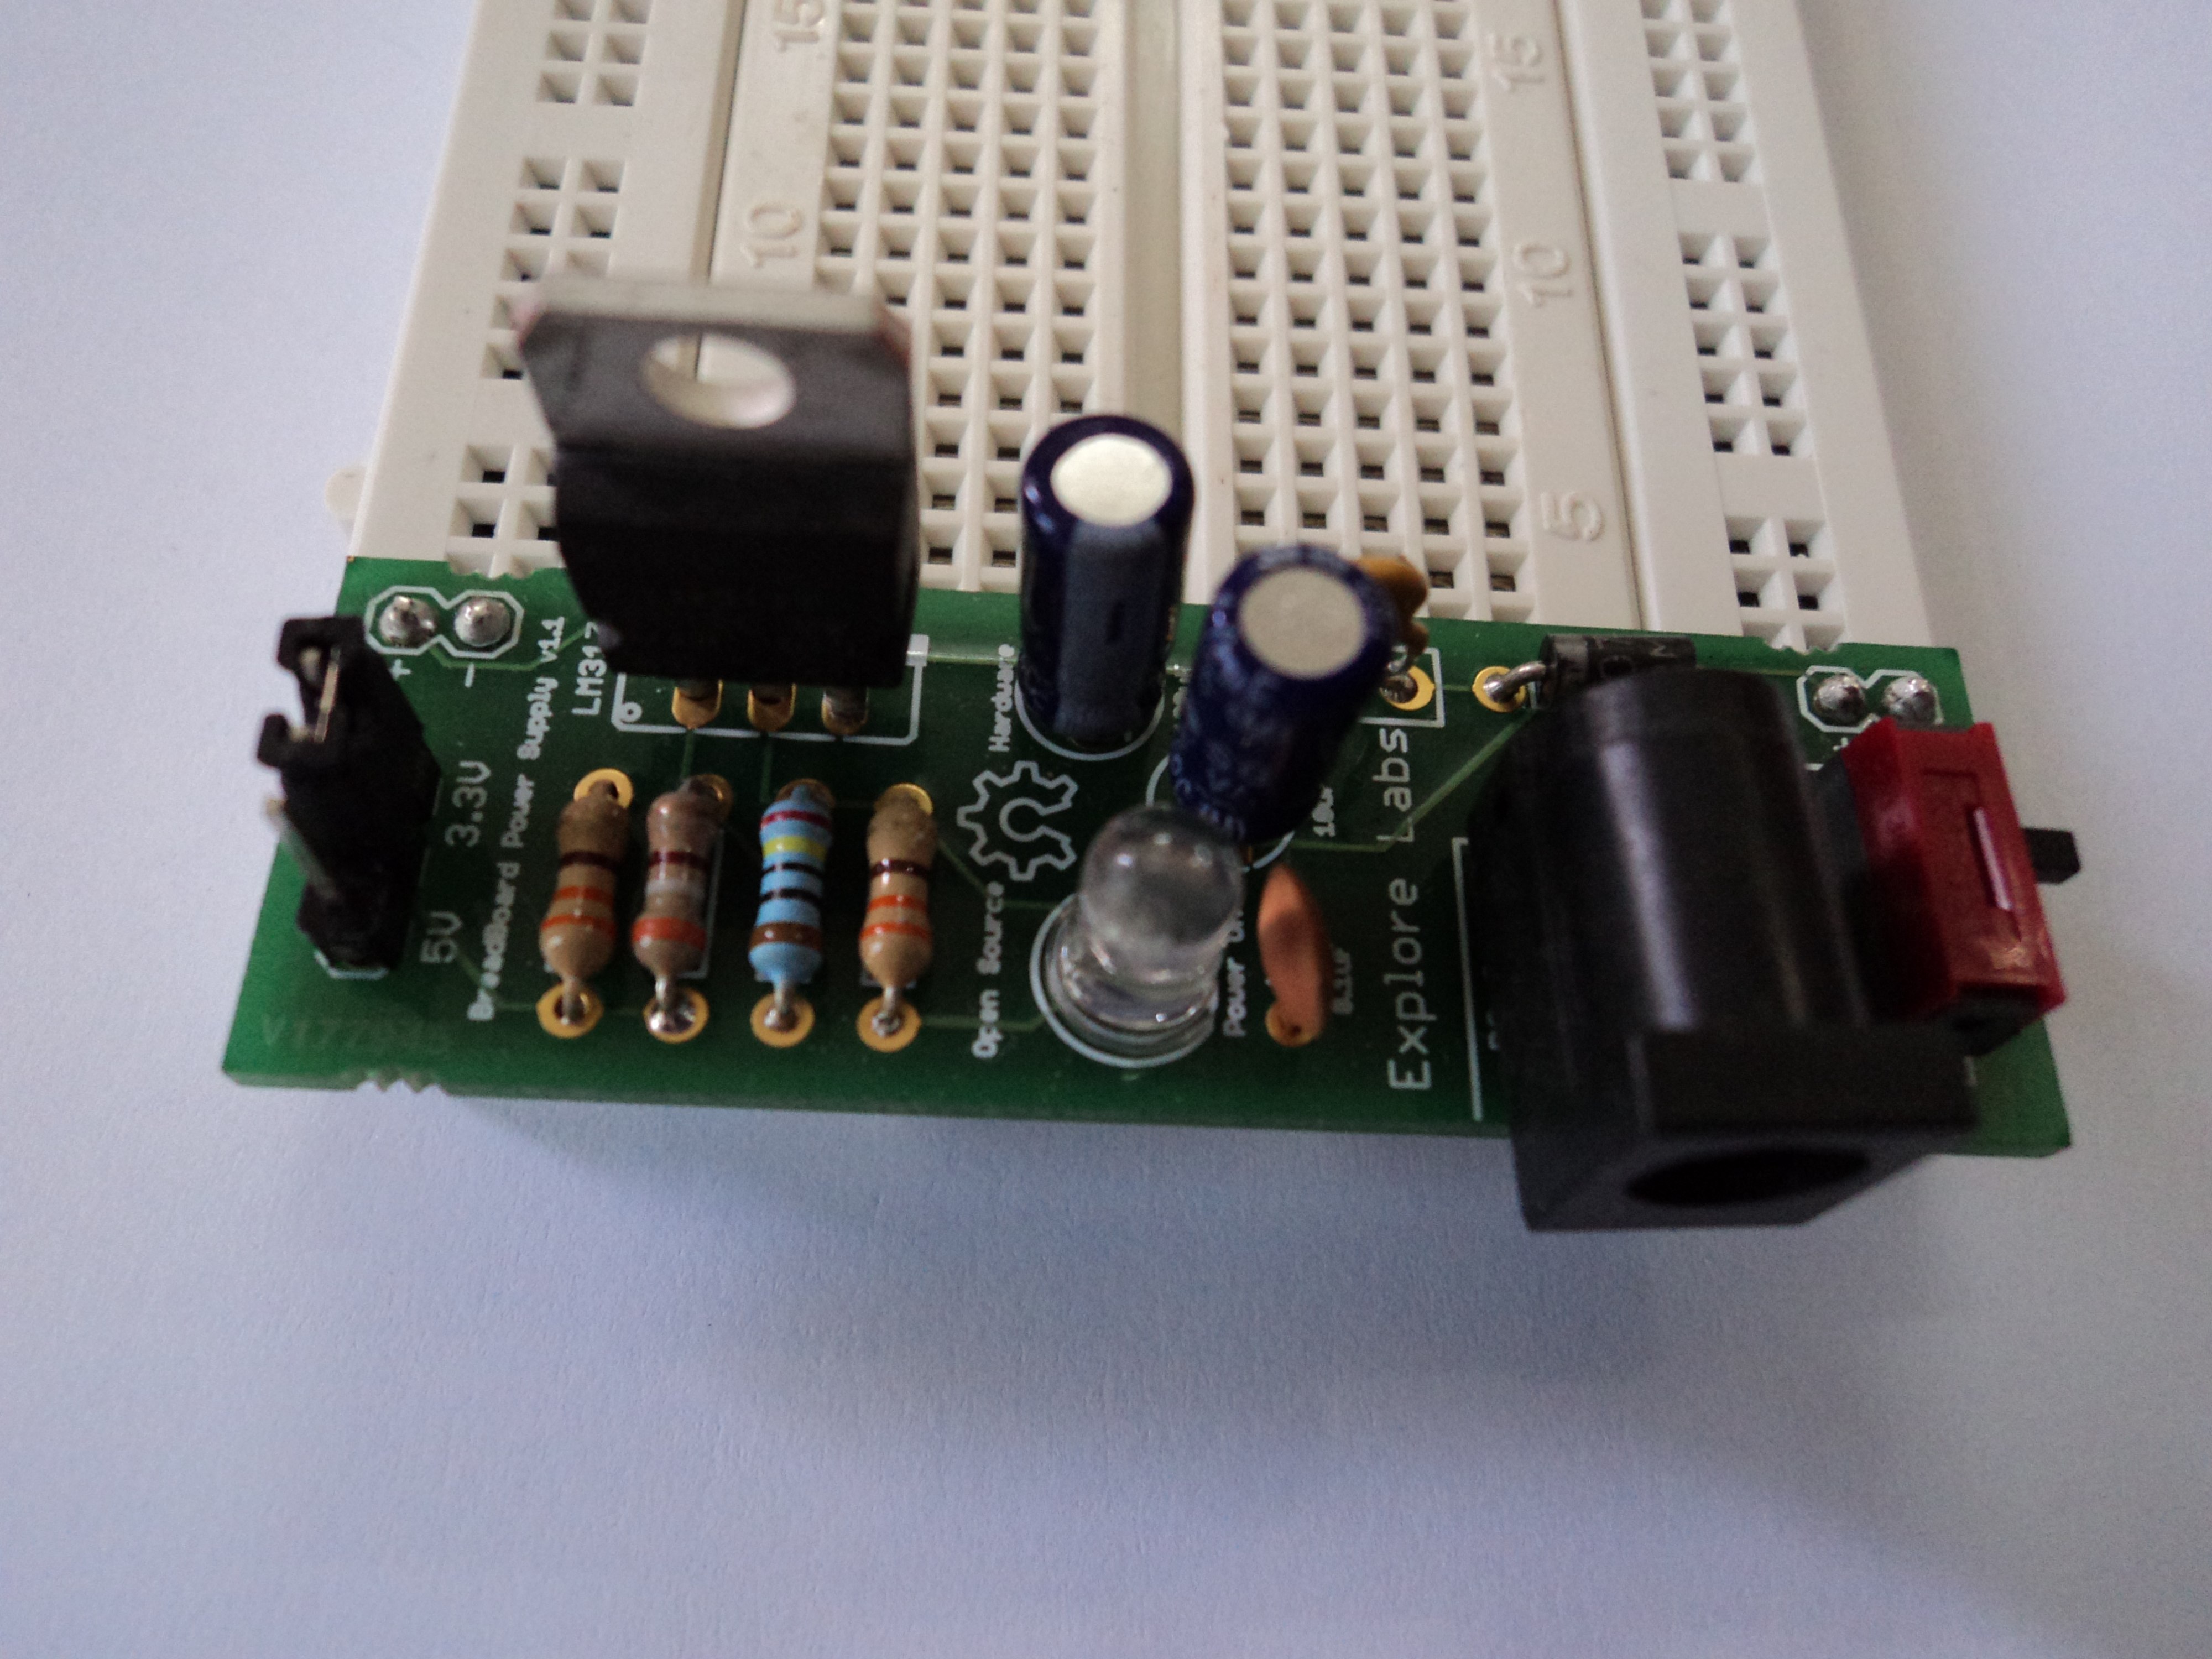
Soldering a BreadBoard Power Supply Kit.

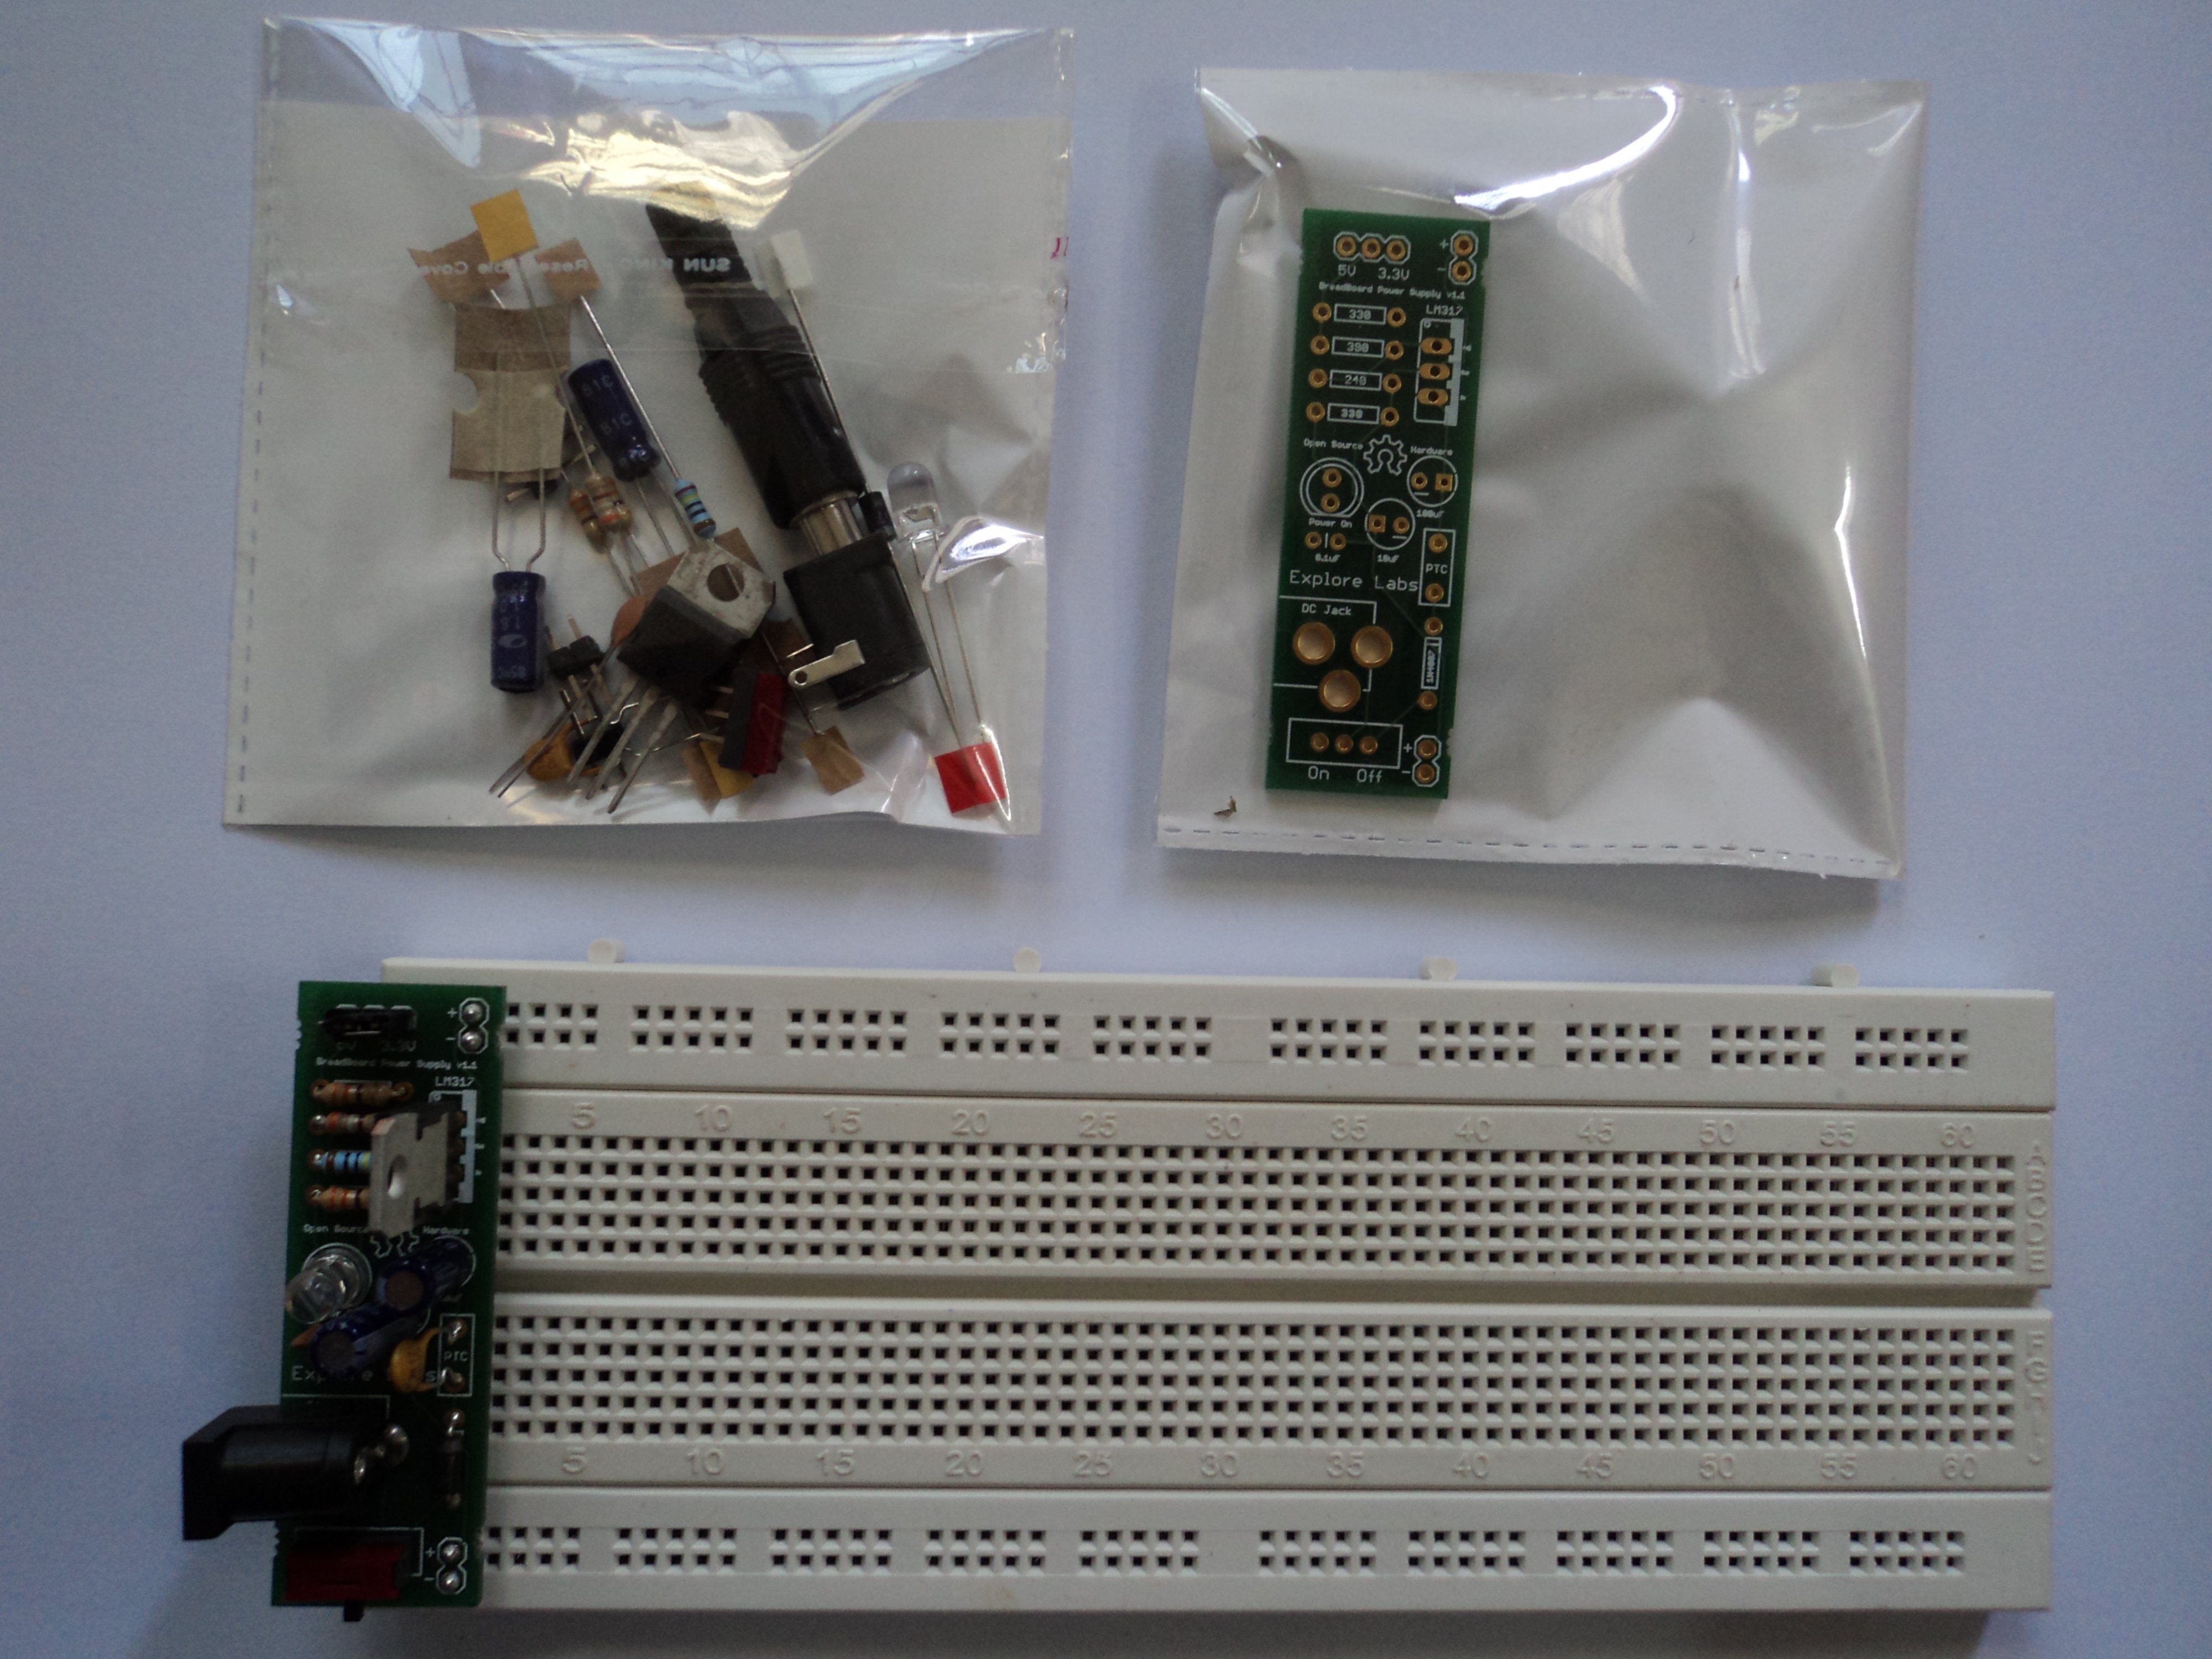
Get a BreadBoard Power Supply Kit if you can.

Otherwise, gather all the required parts most of which you have already.

Heat up your Soldering iron.

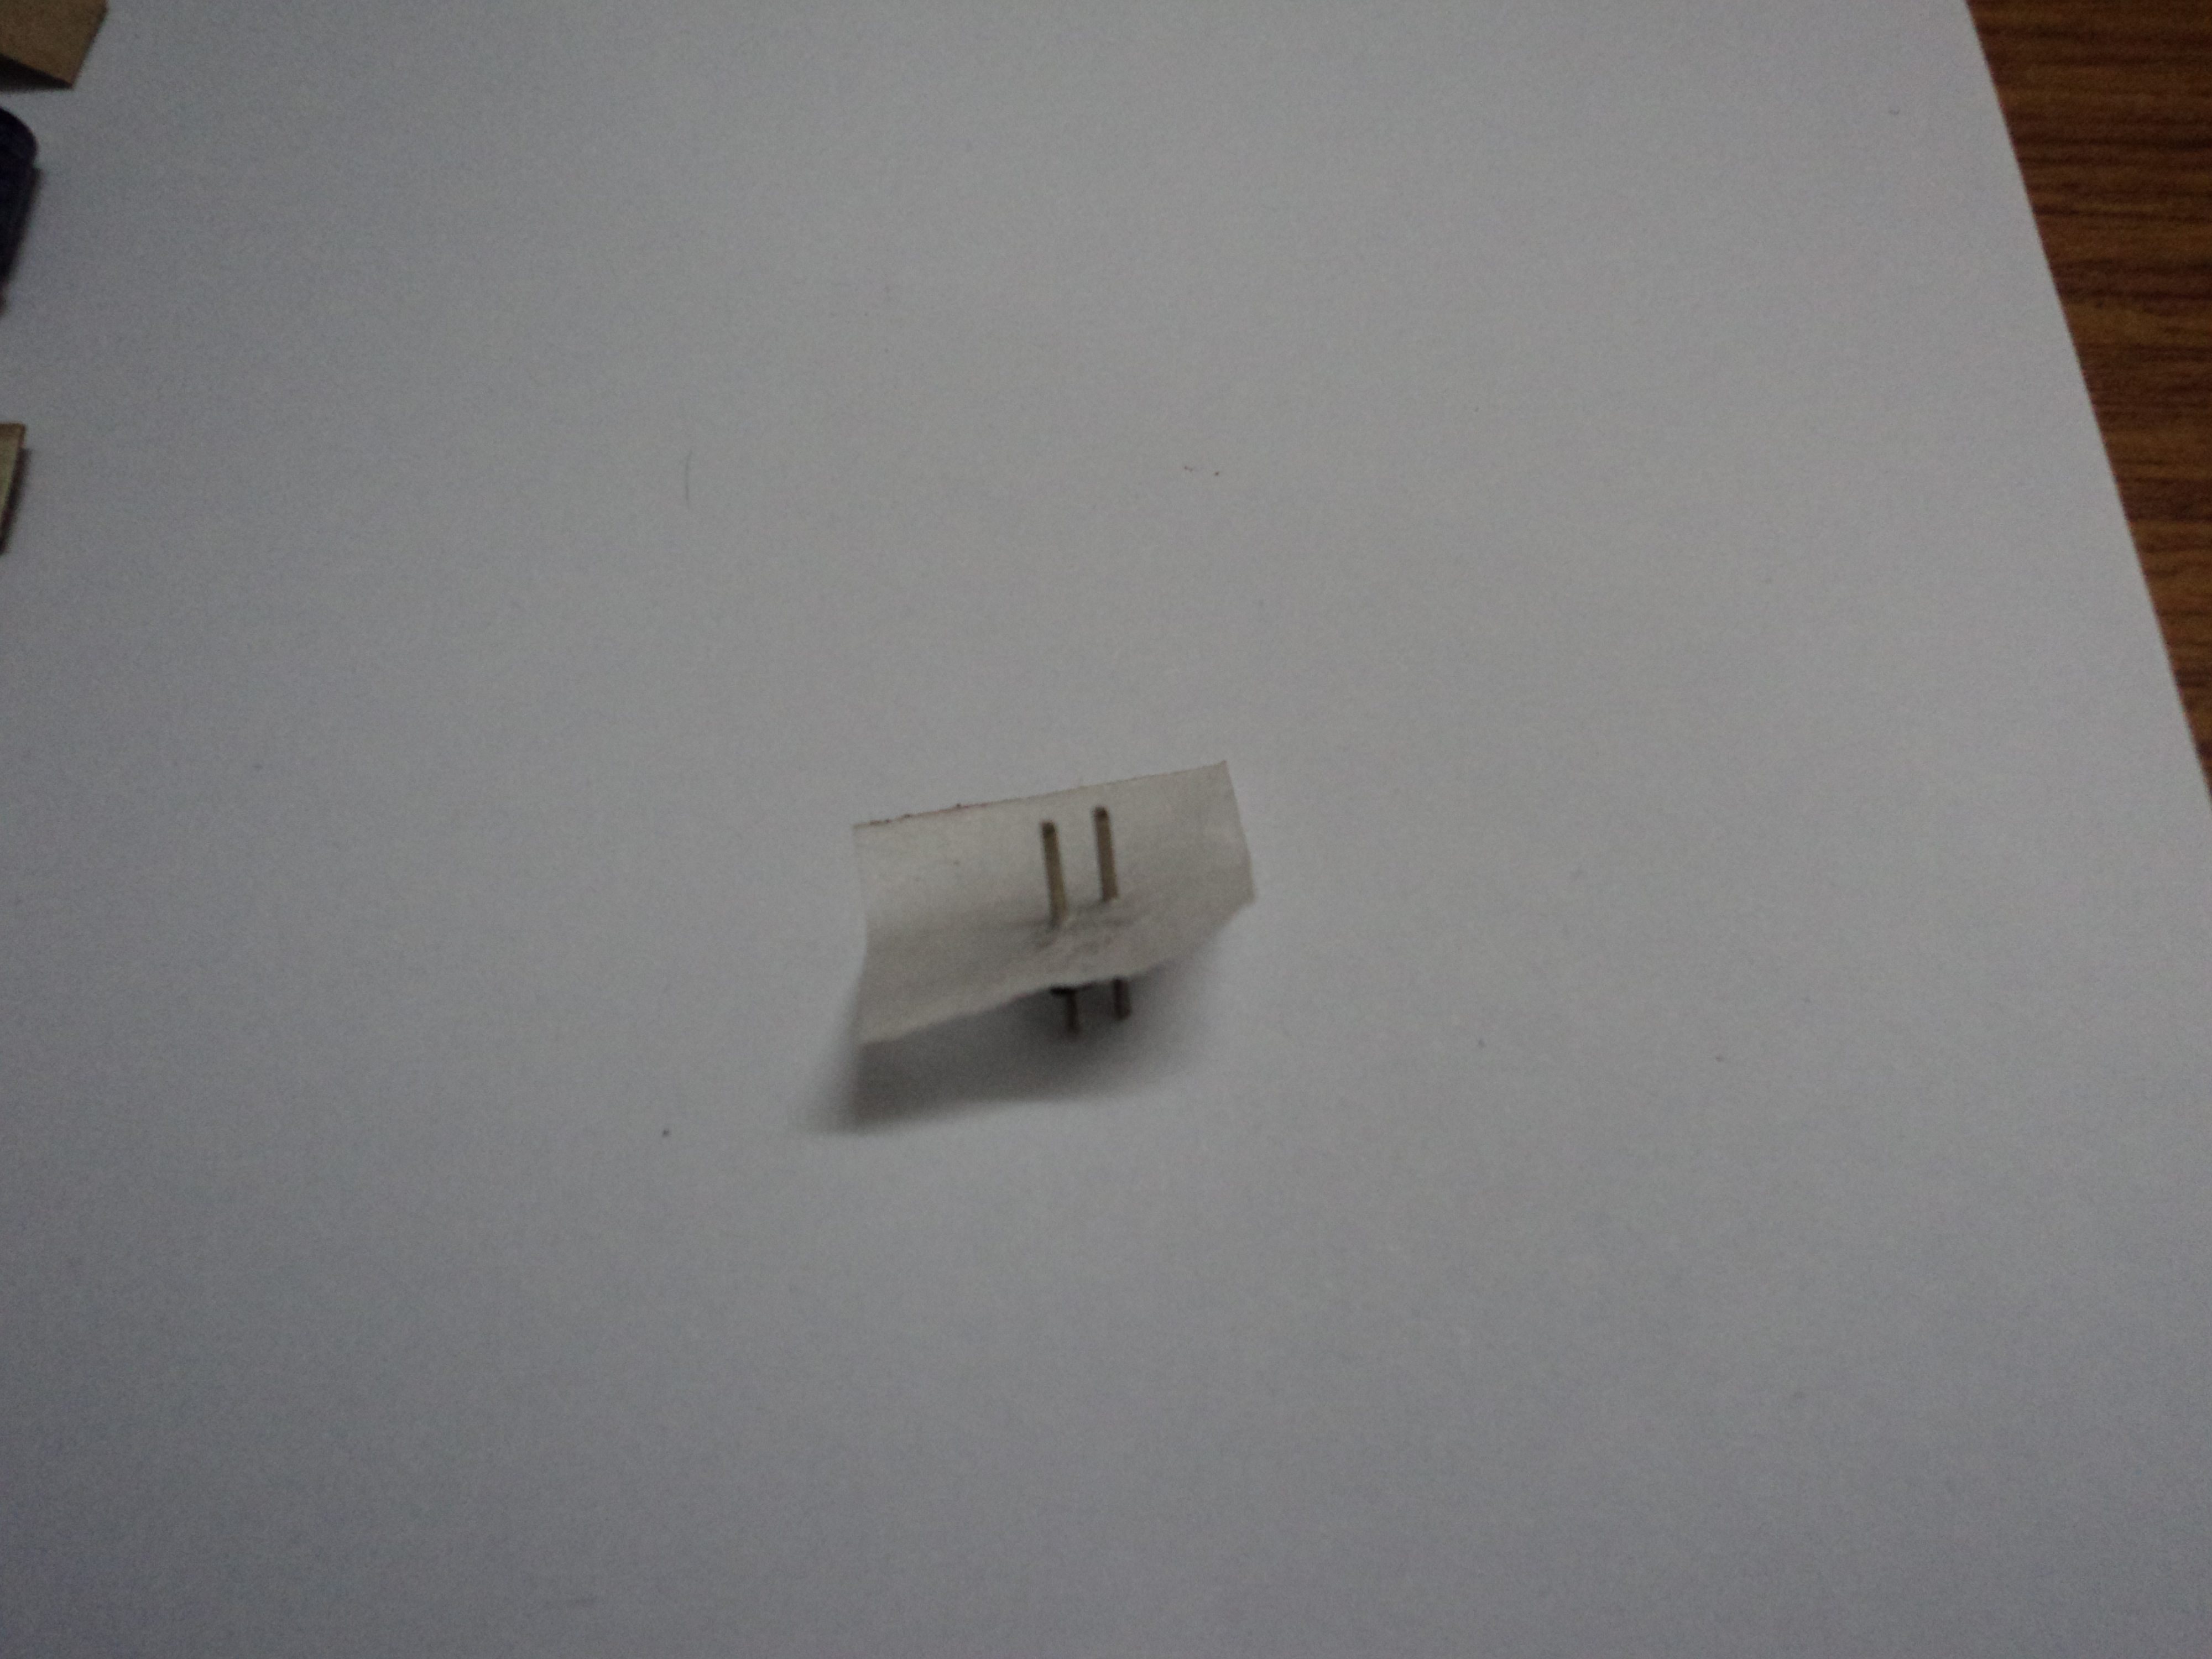
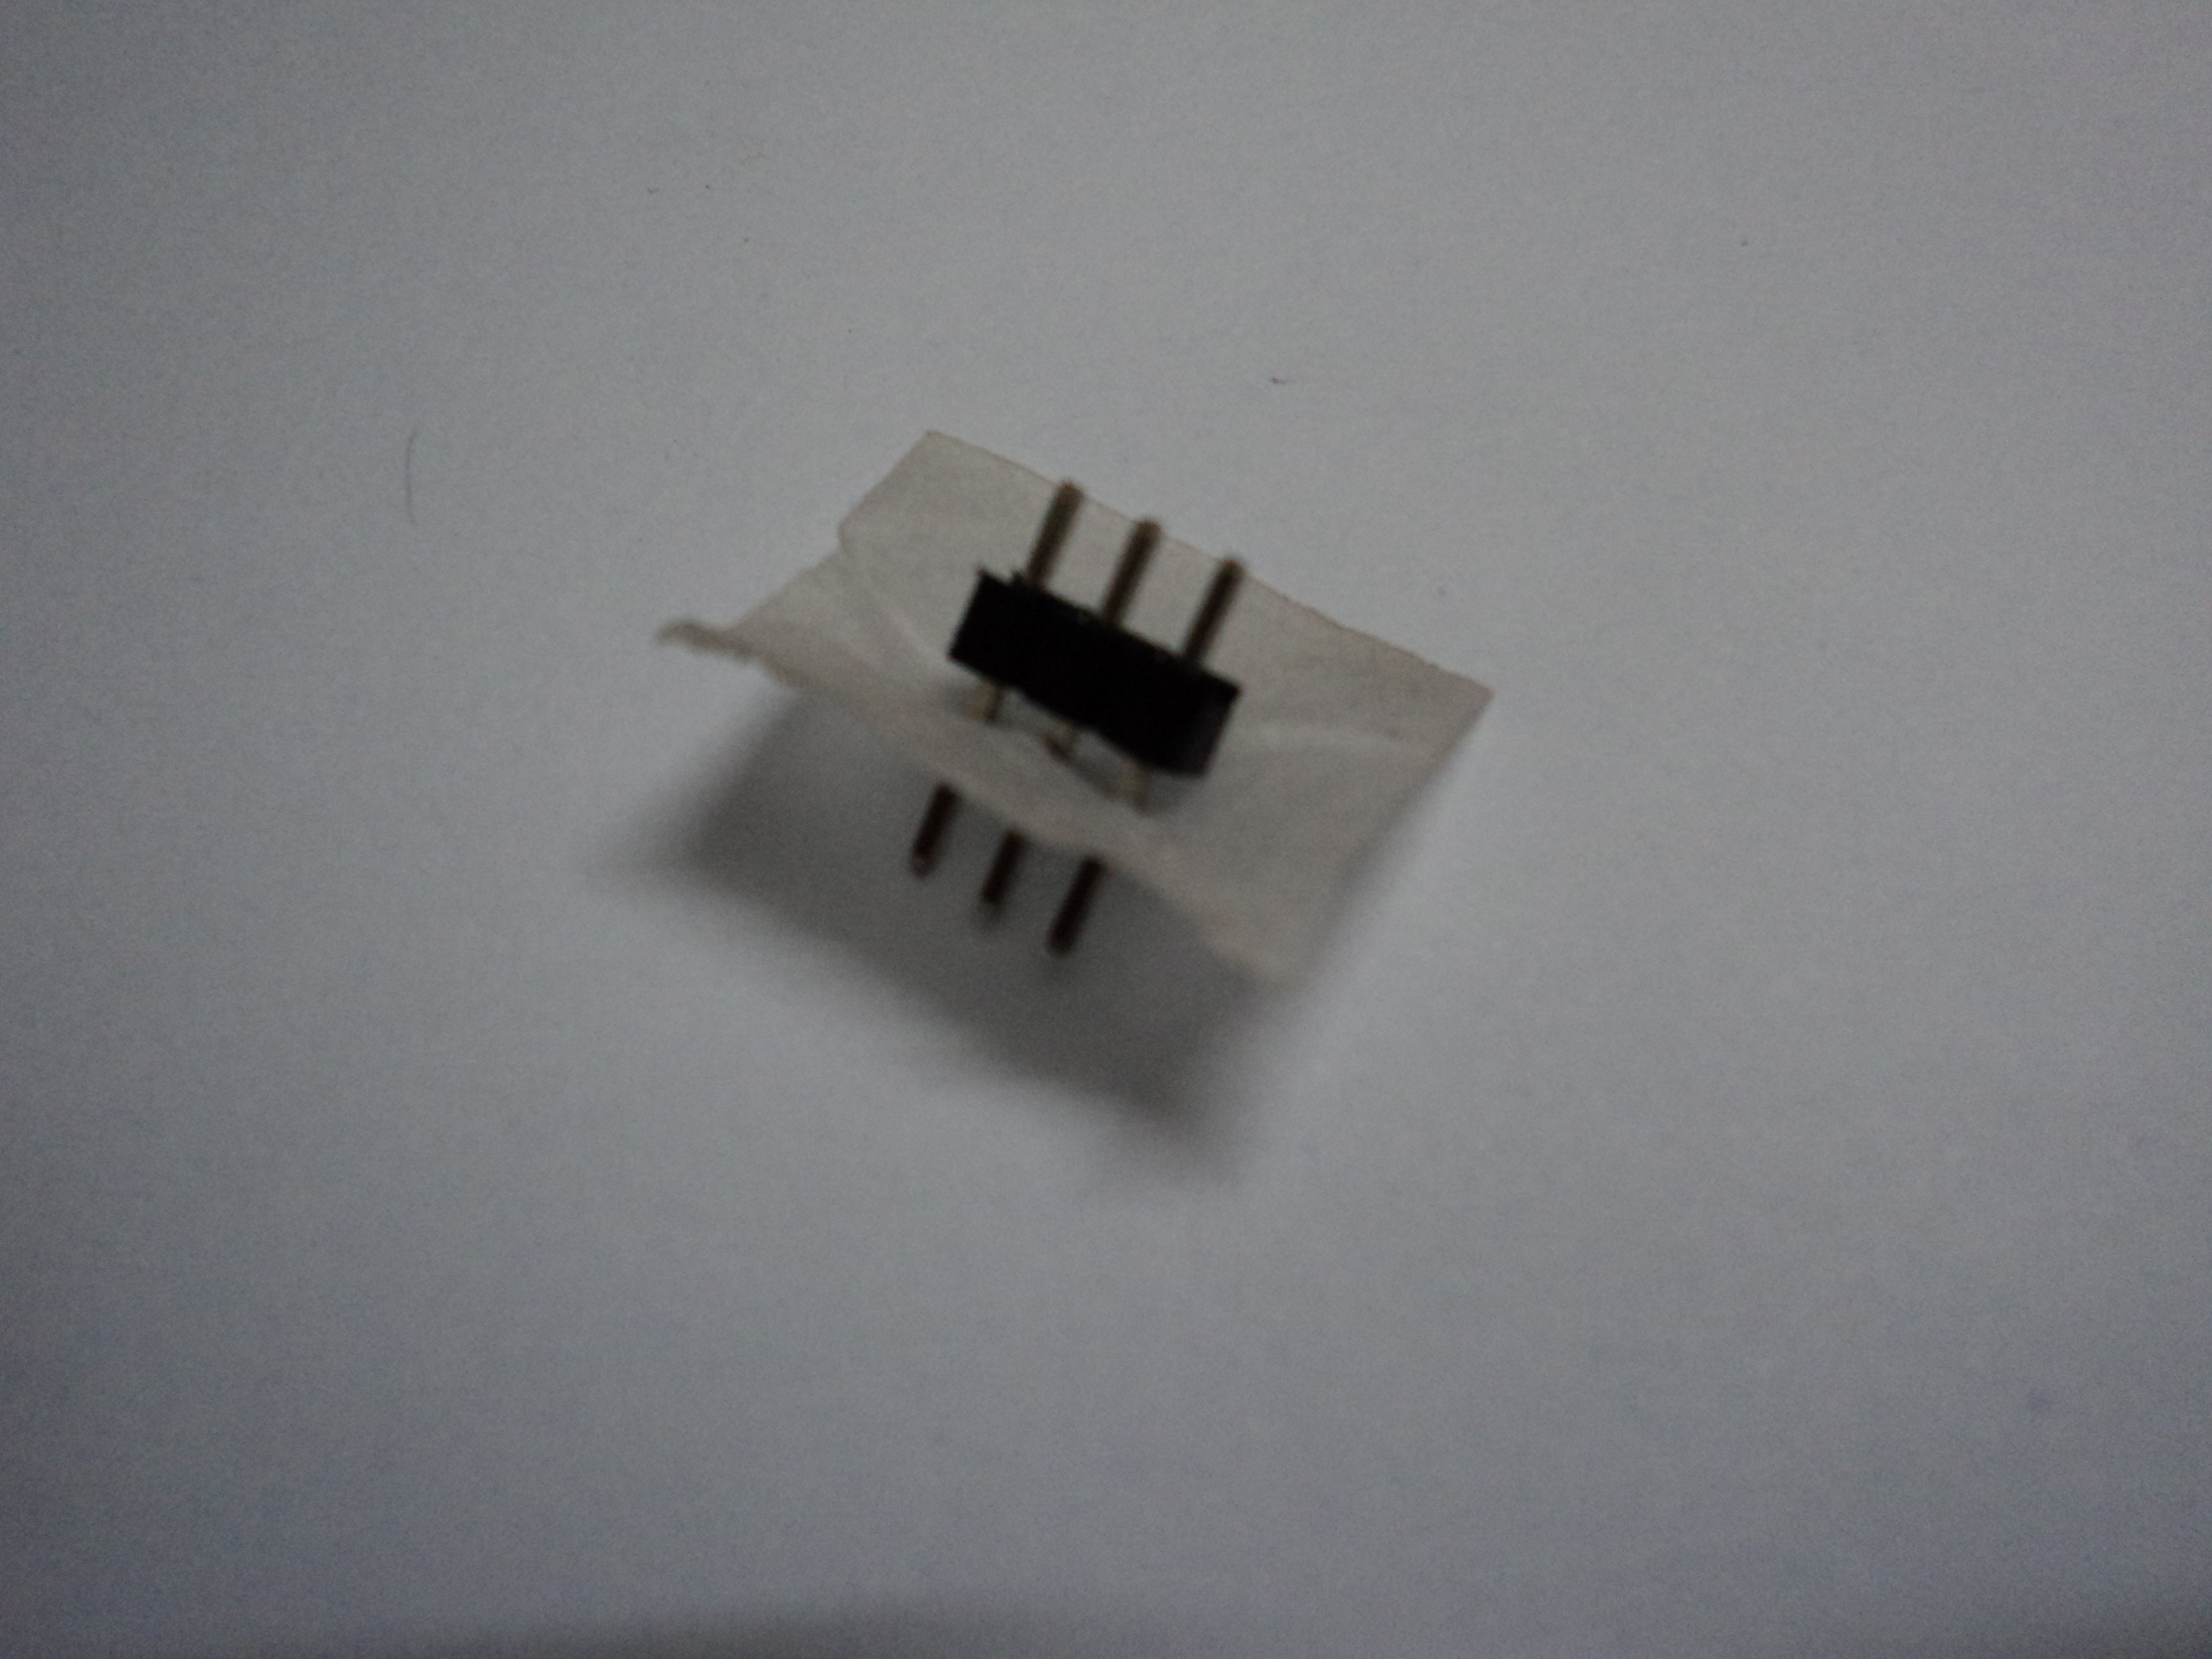
We start off with the Male Breakaway Header.

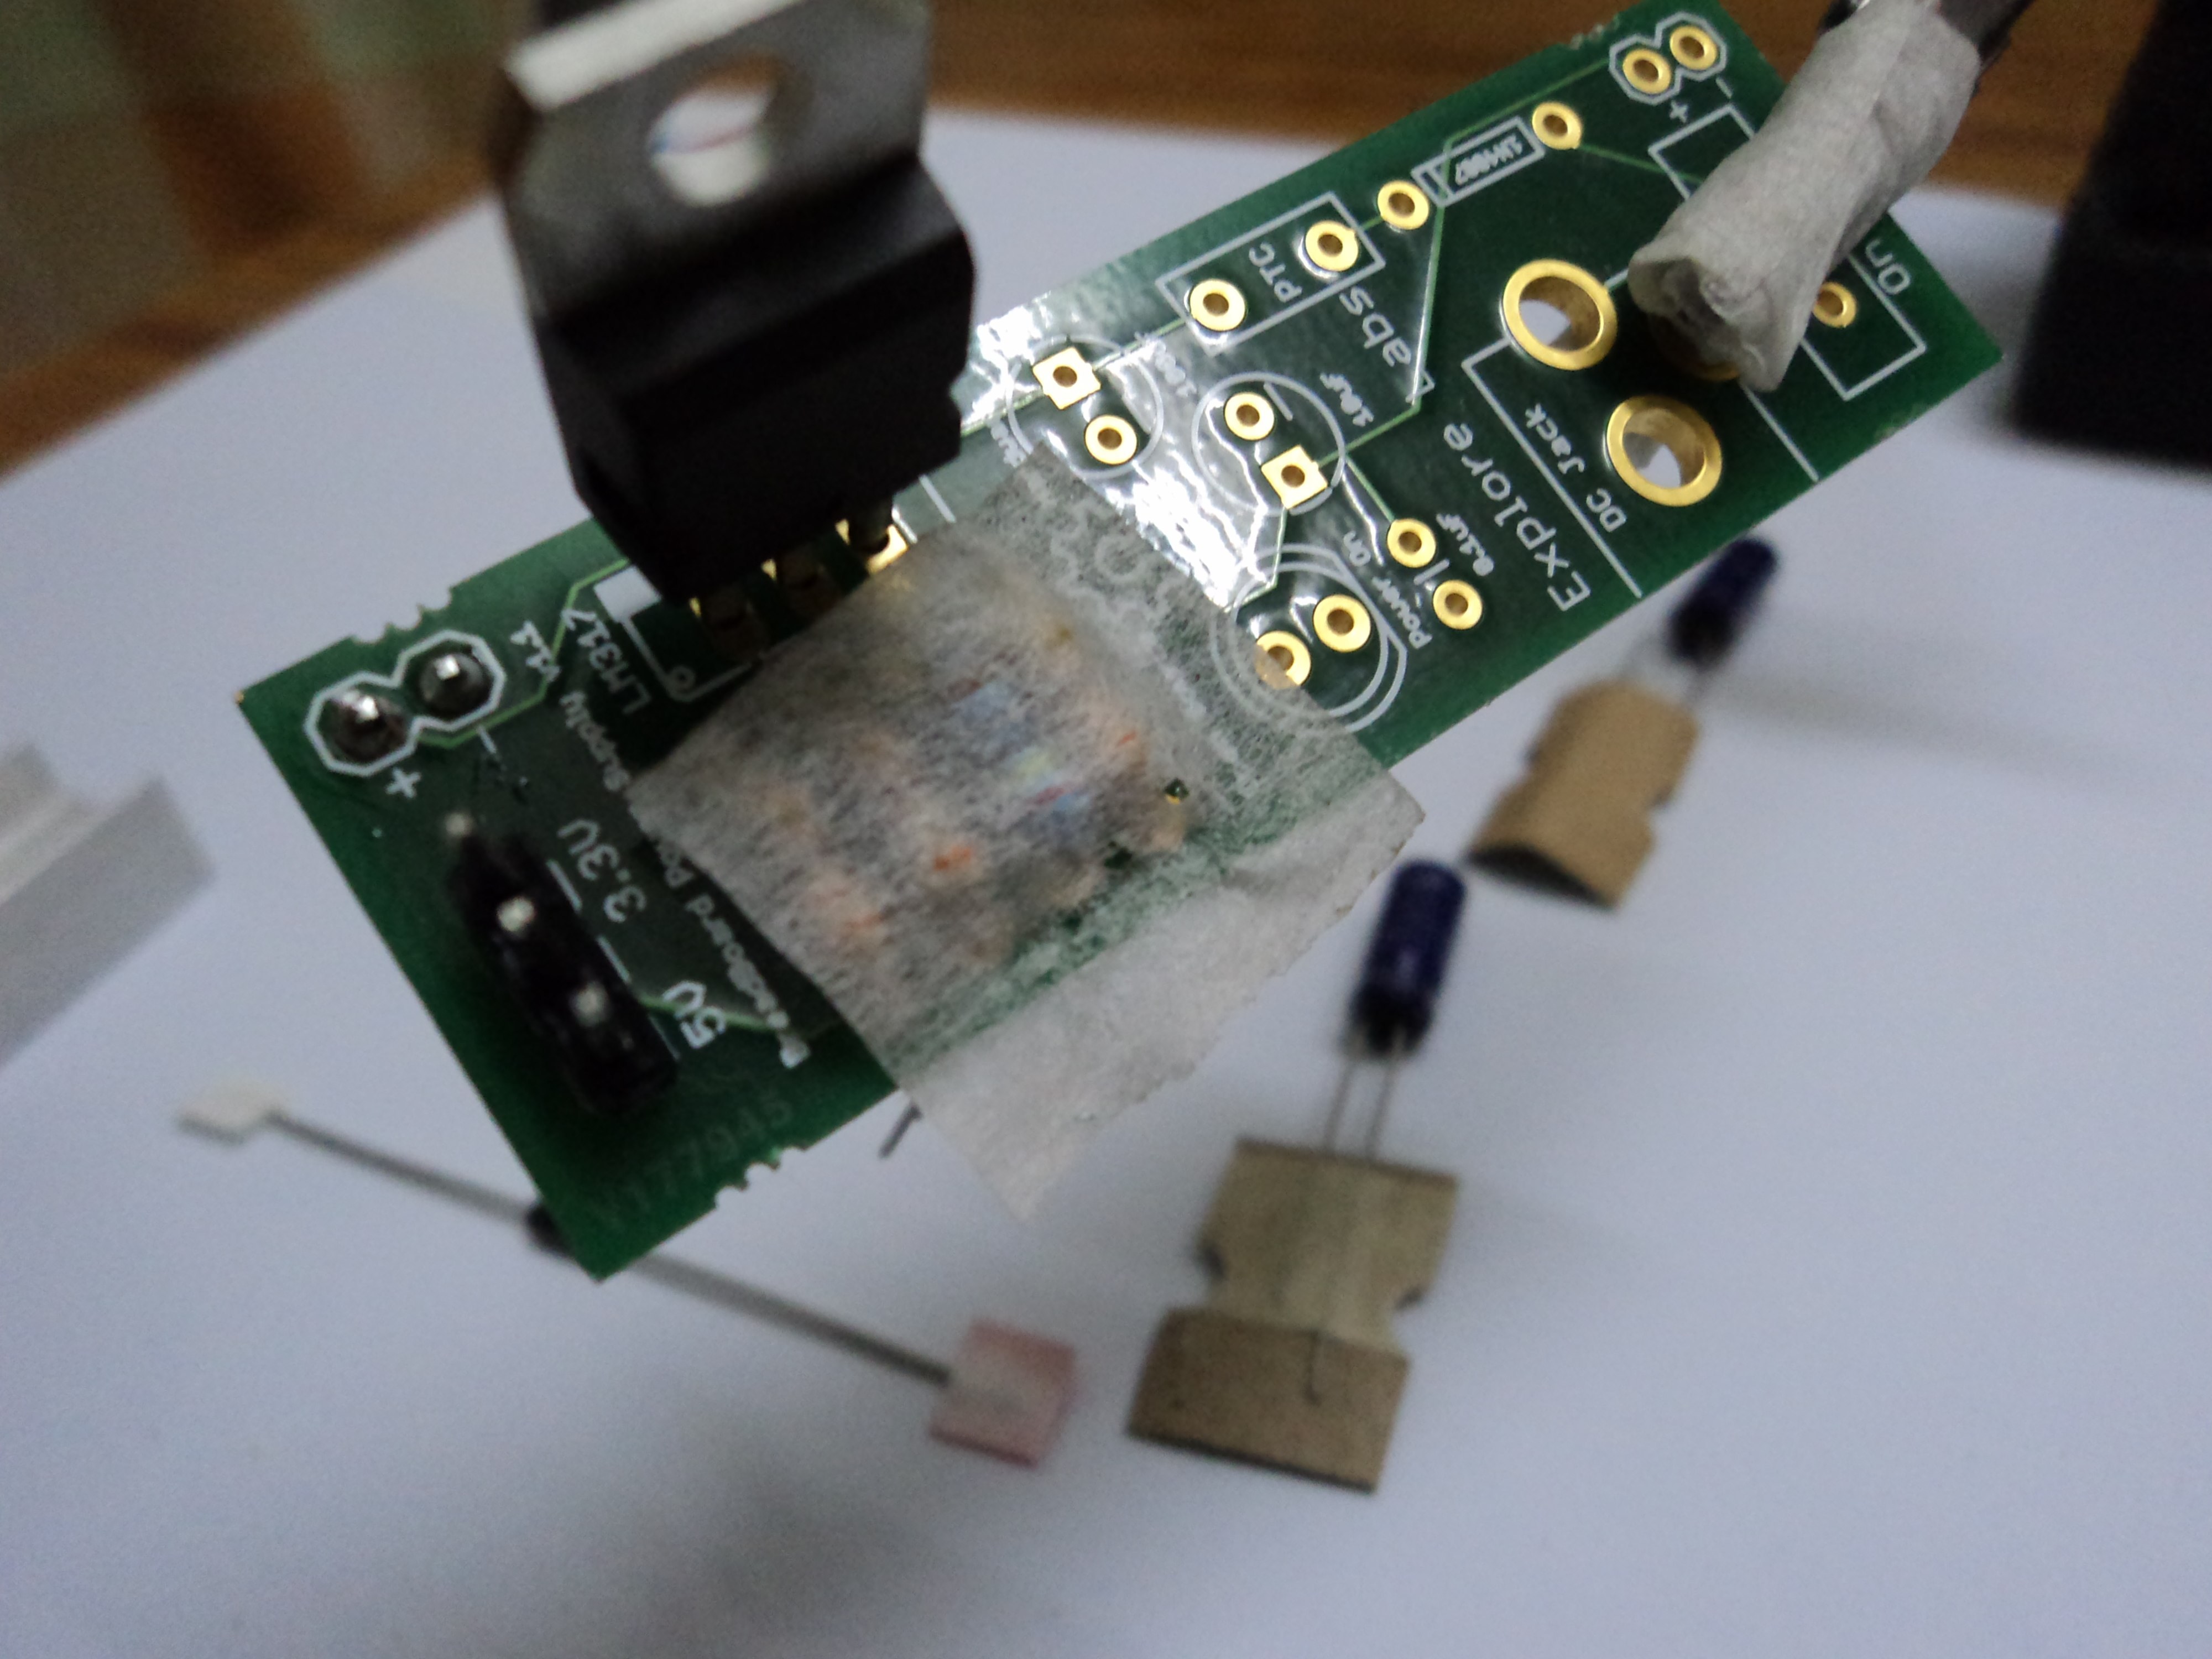
Take some surgical tape and put it through the male header.

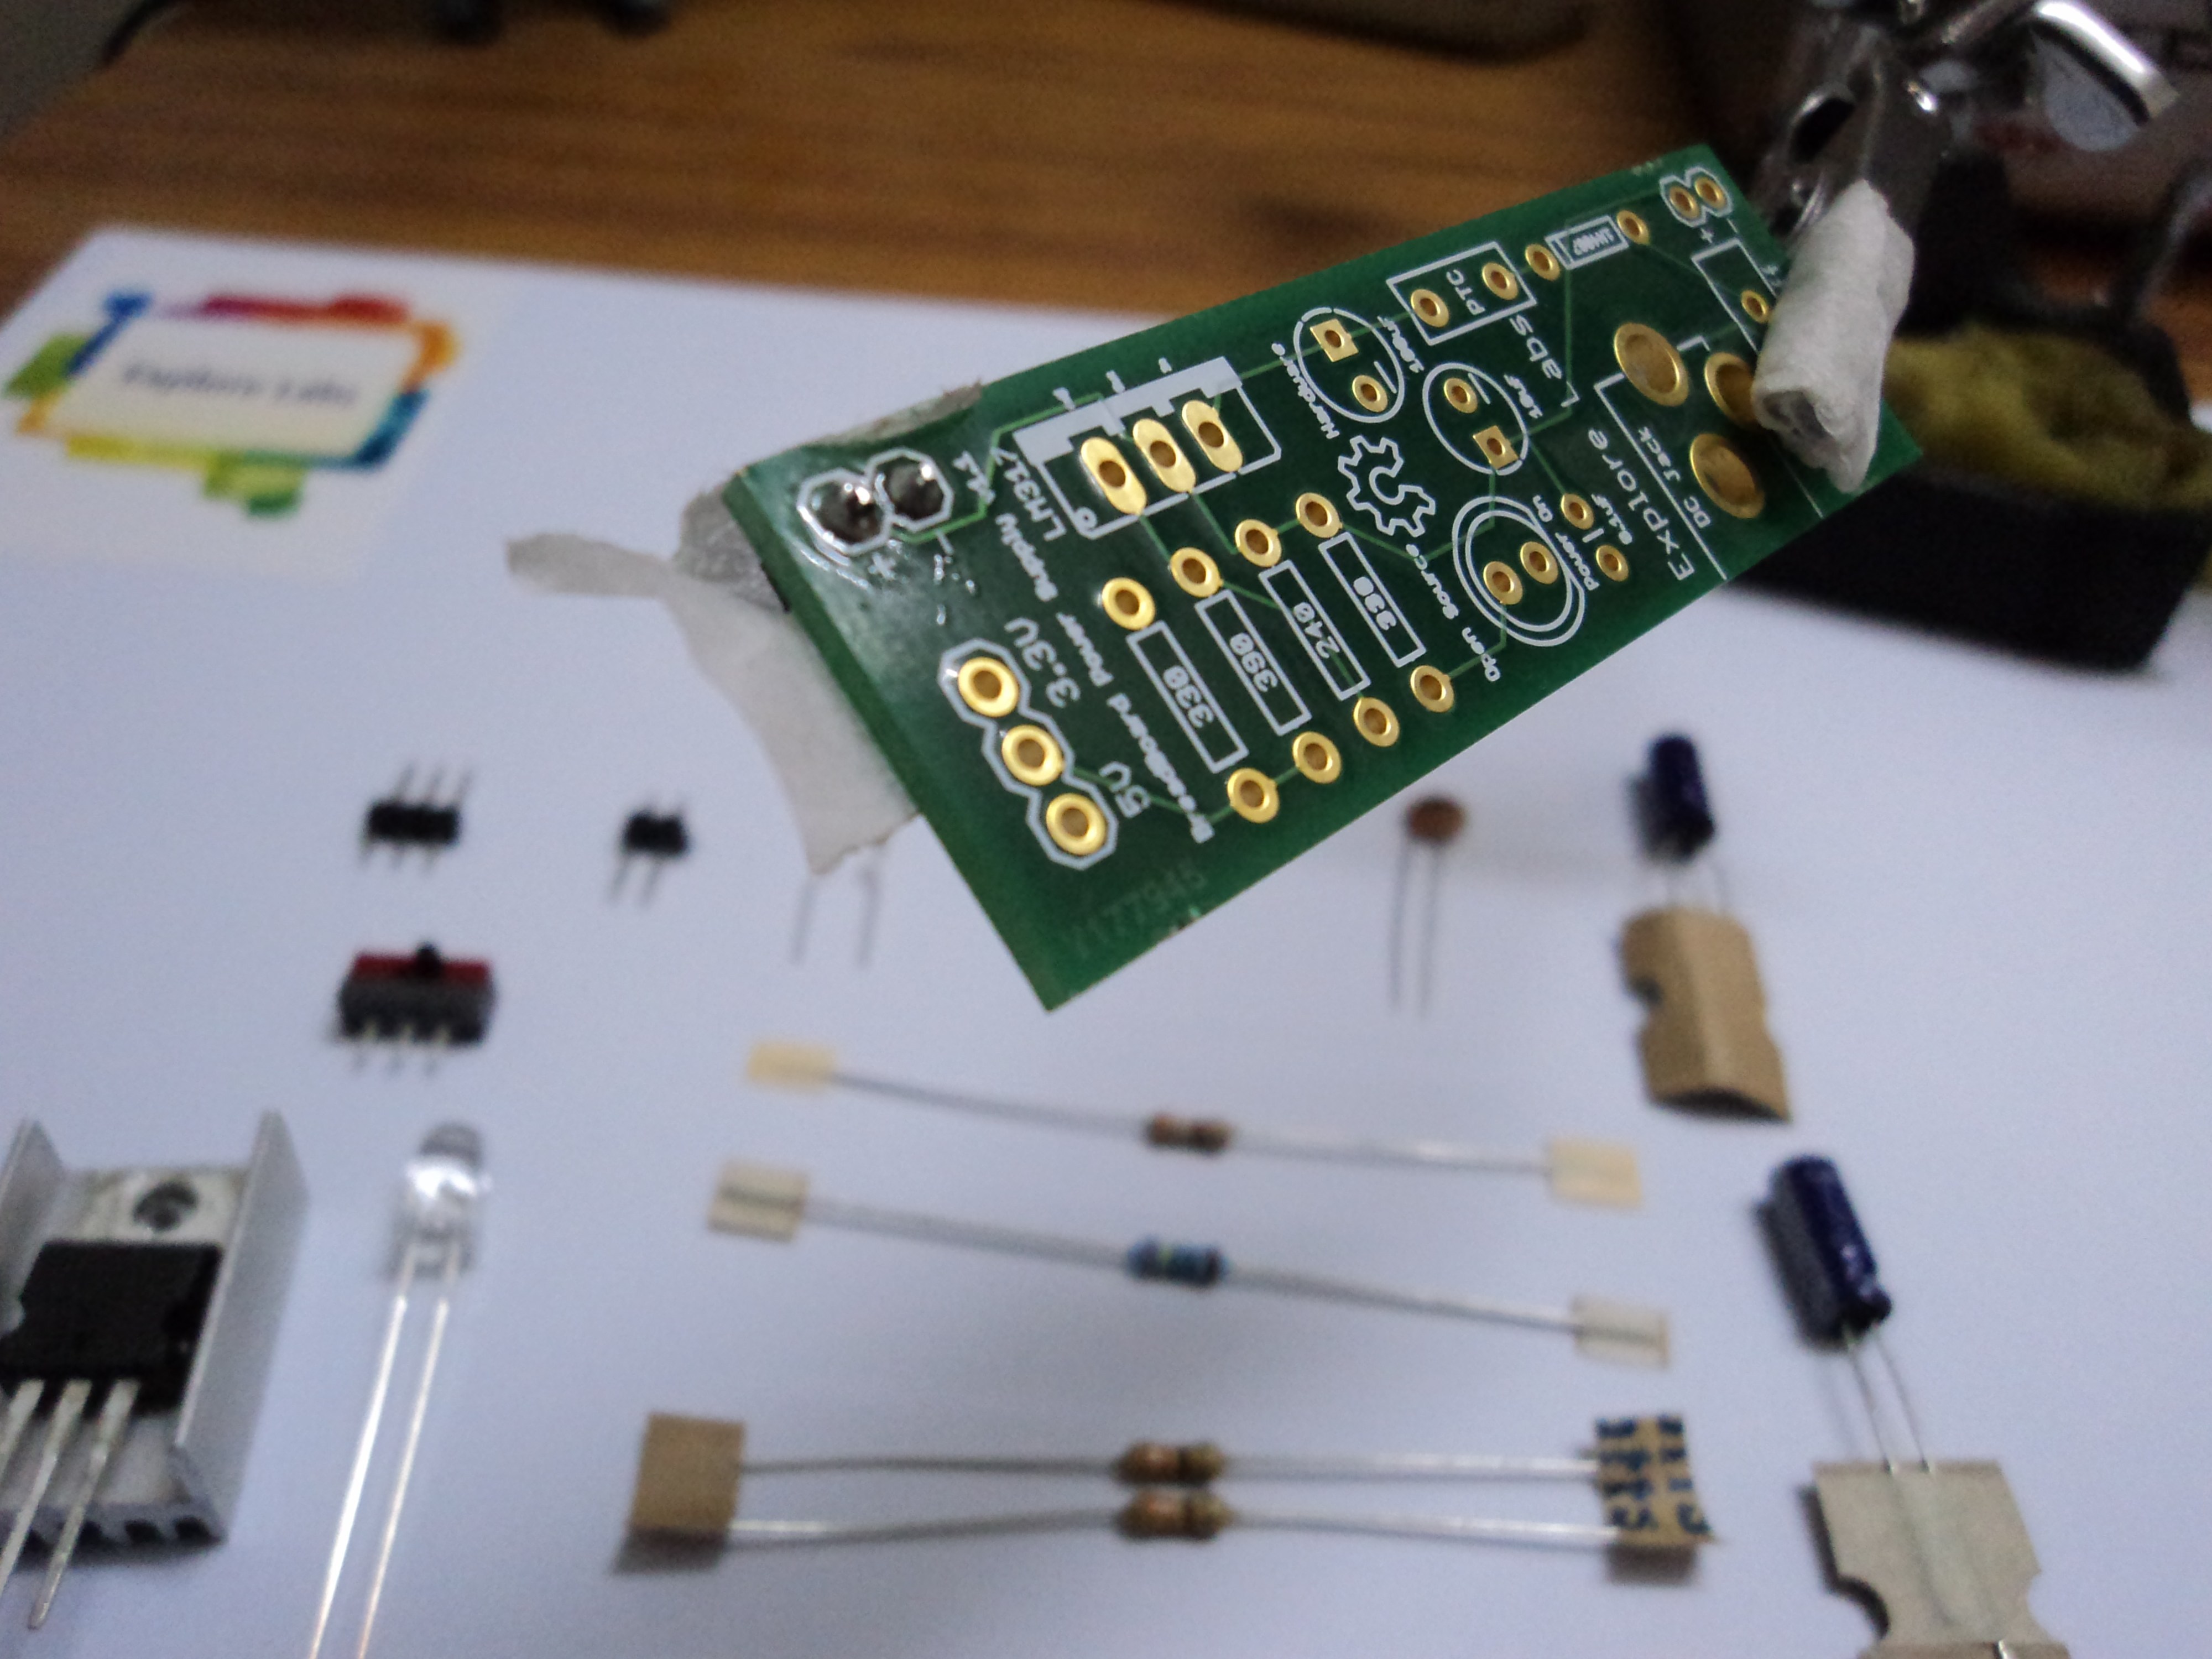
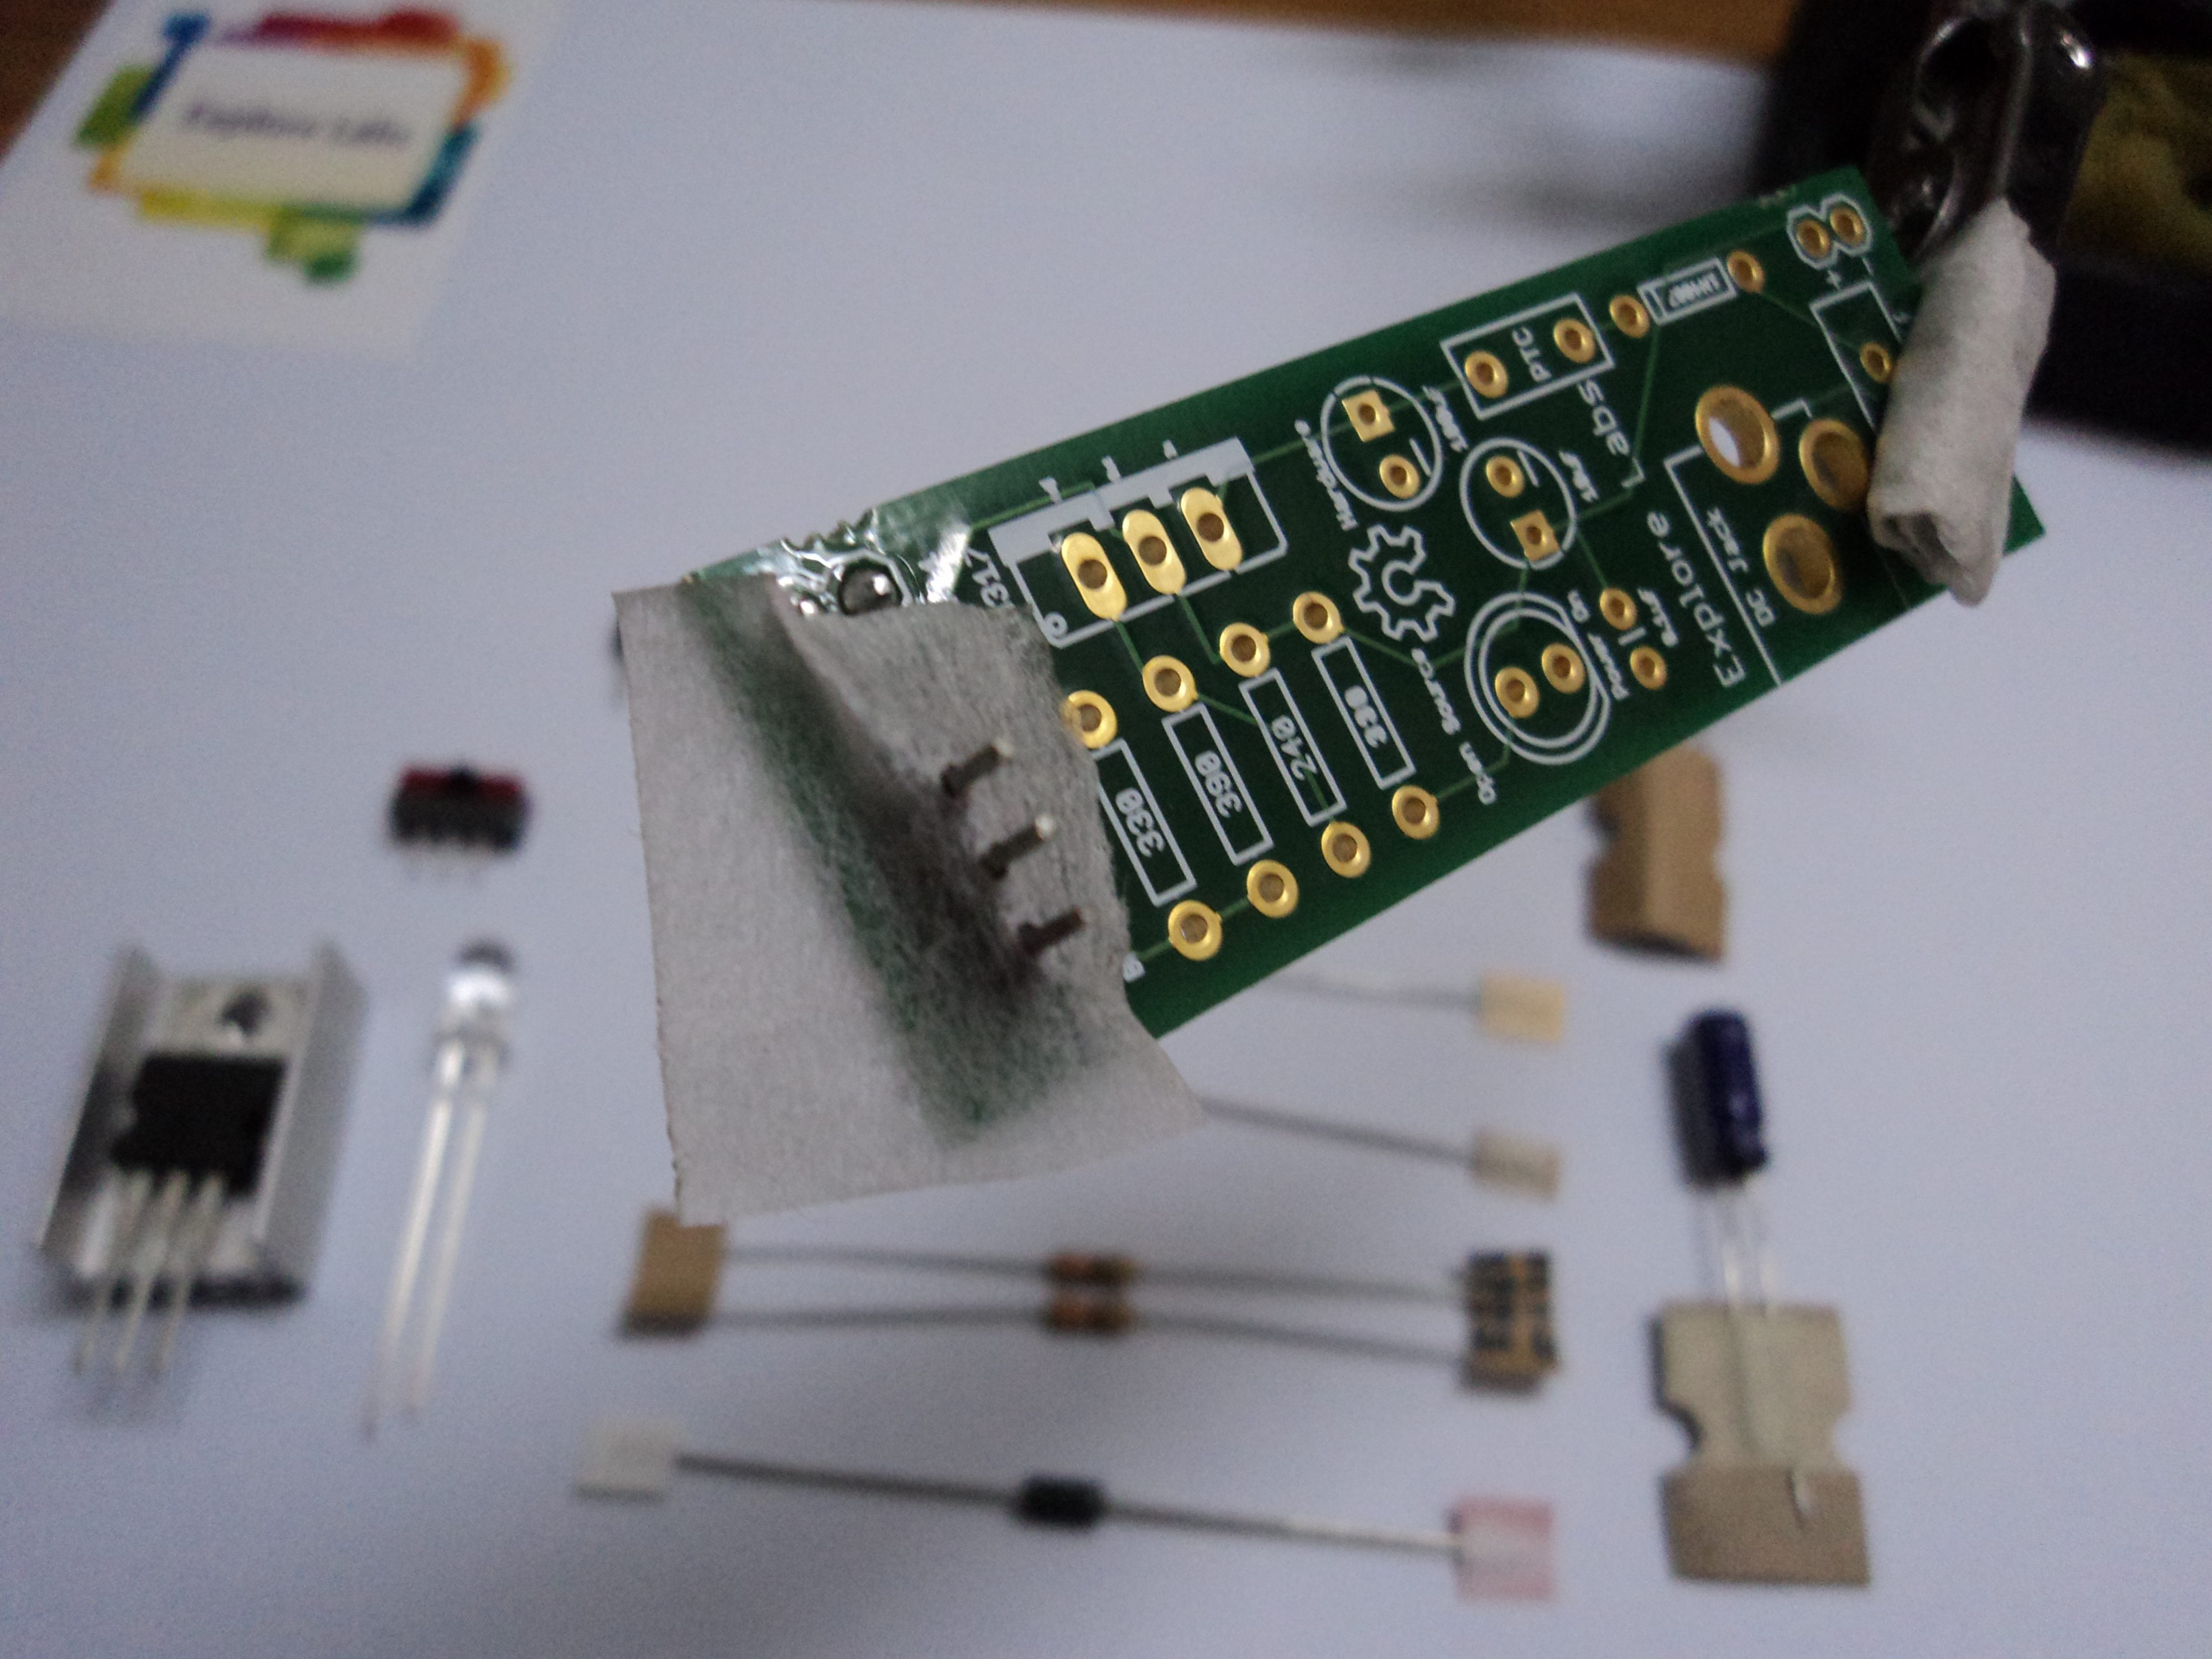
Now, stick it to the PCB at the correct position.

Start Soldering the two pins on the Top Layer.

Don’t forget. This is a double-sided PCB.

The complete bottom layer is the Ground Plane

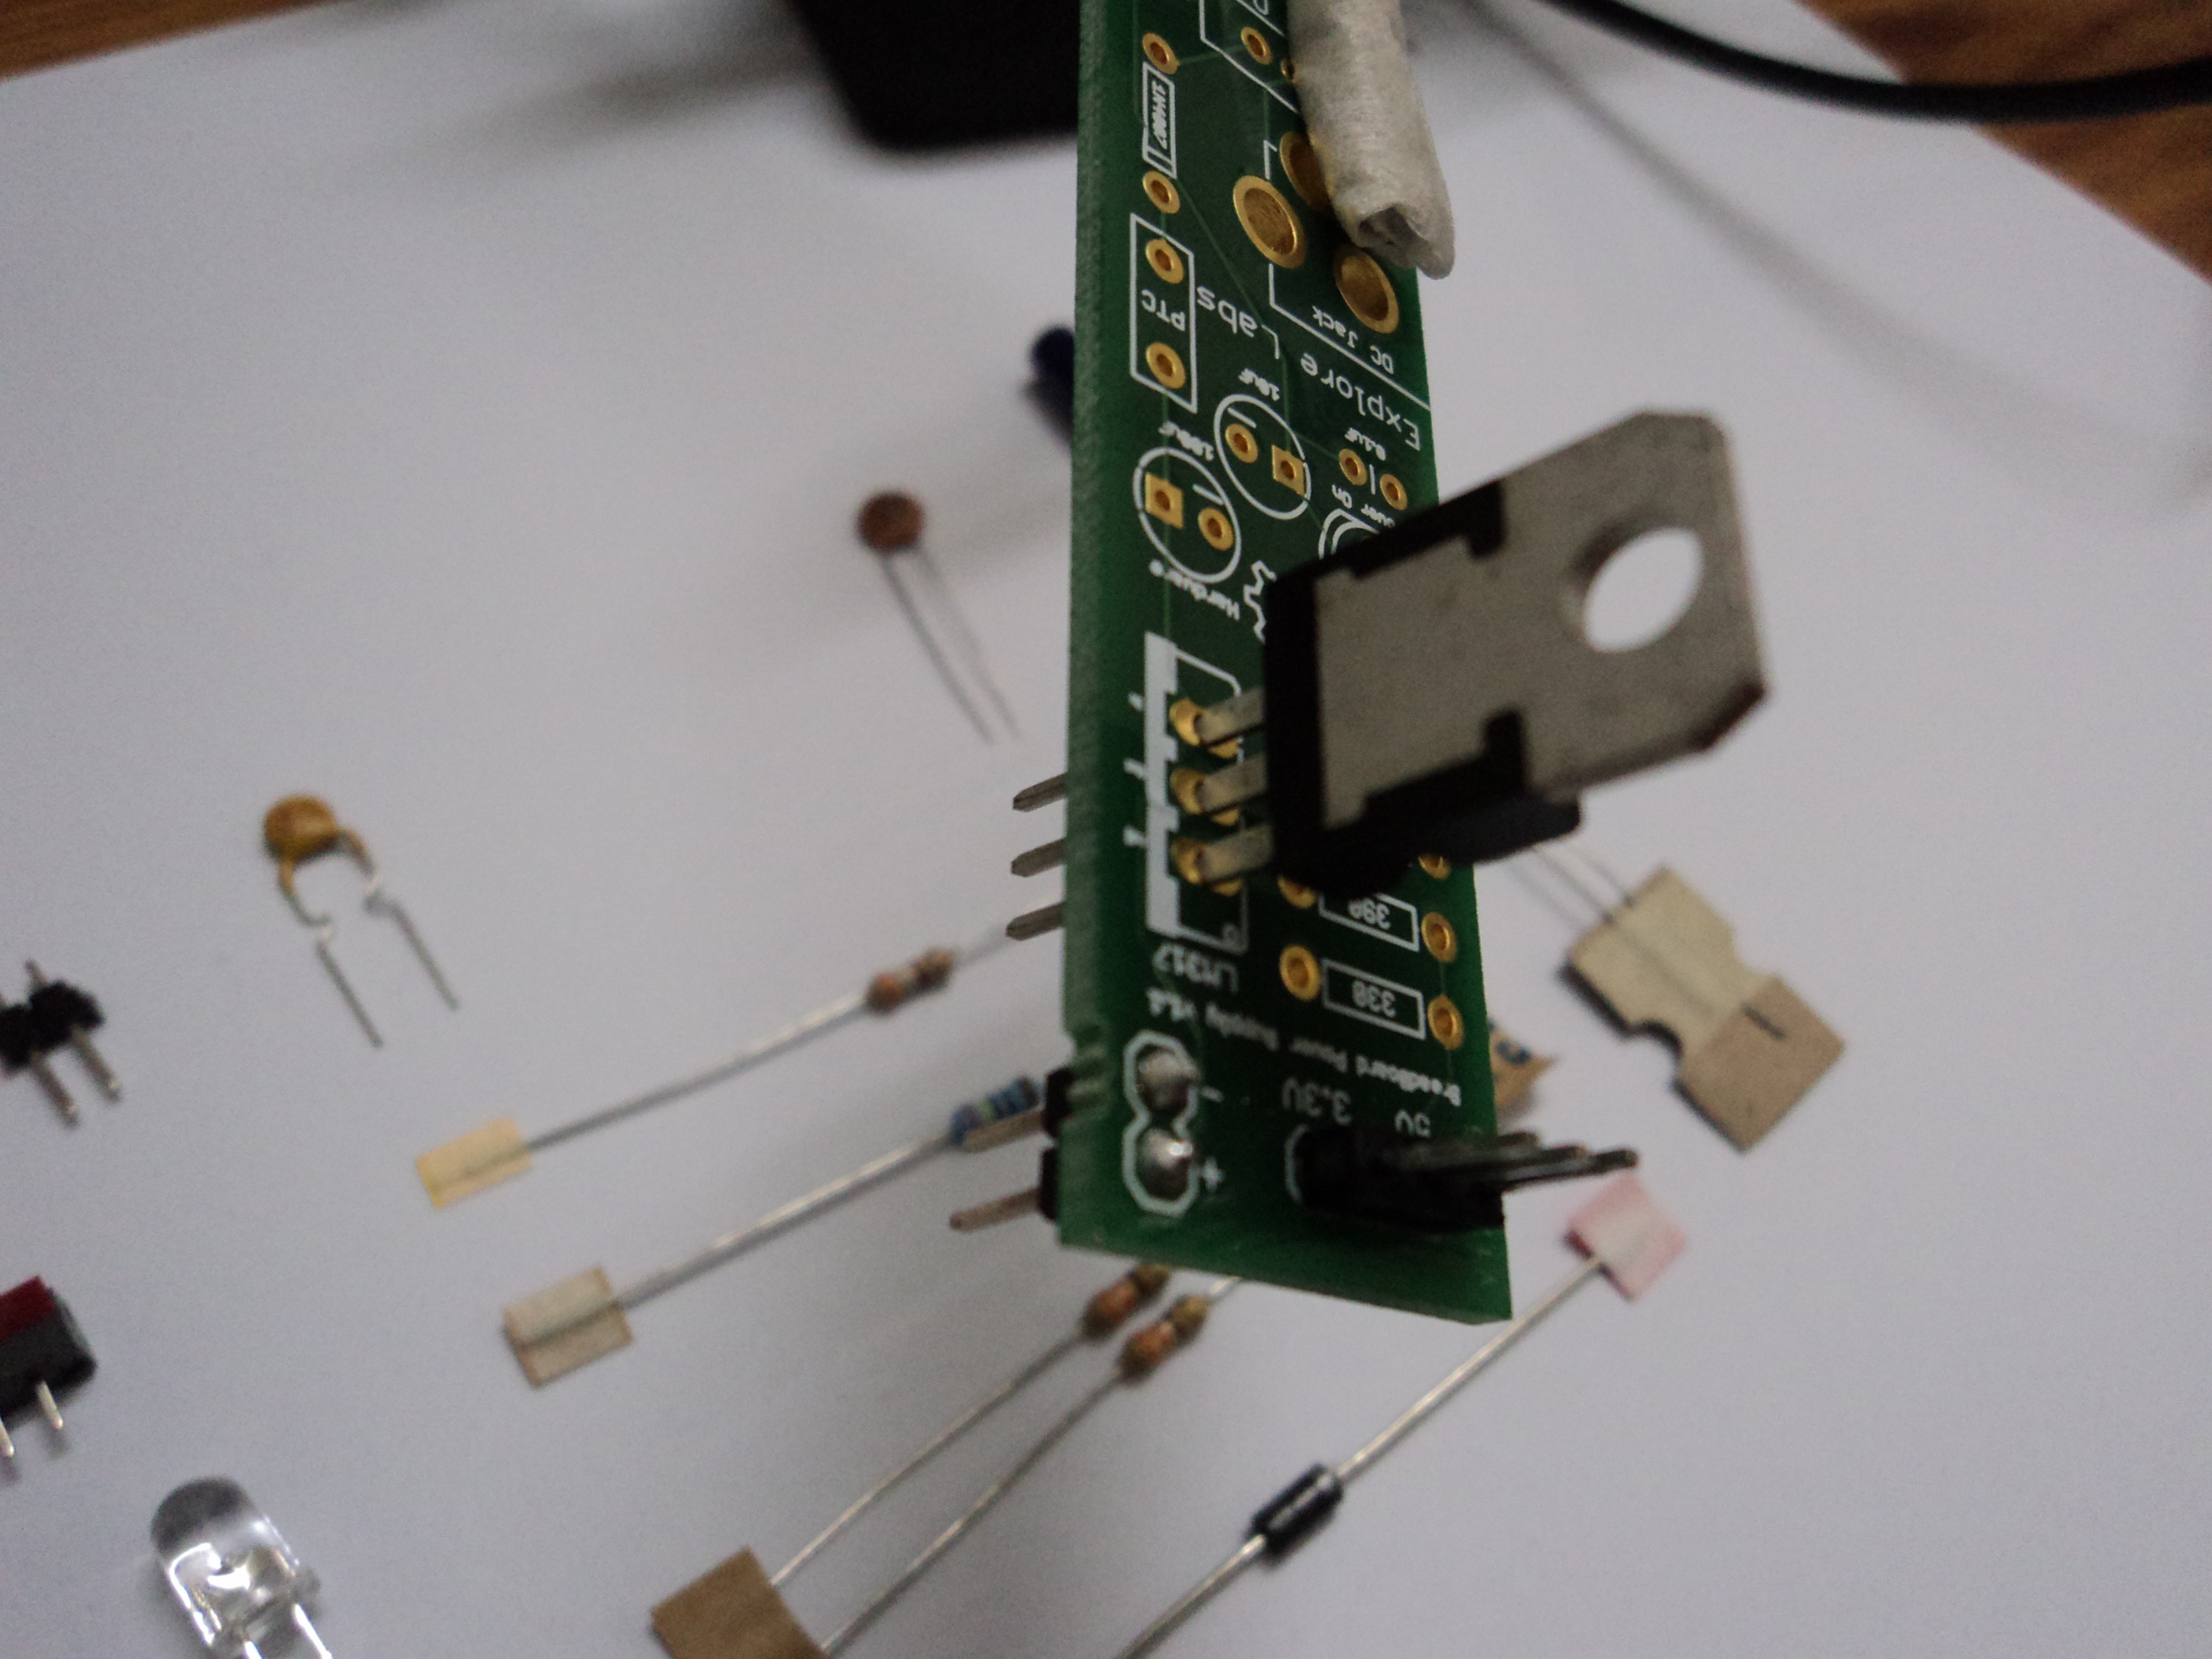
Similarly, solder the 3-pin Male Headers

Next, comes the Voltage Regulator.

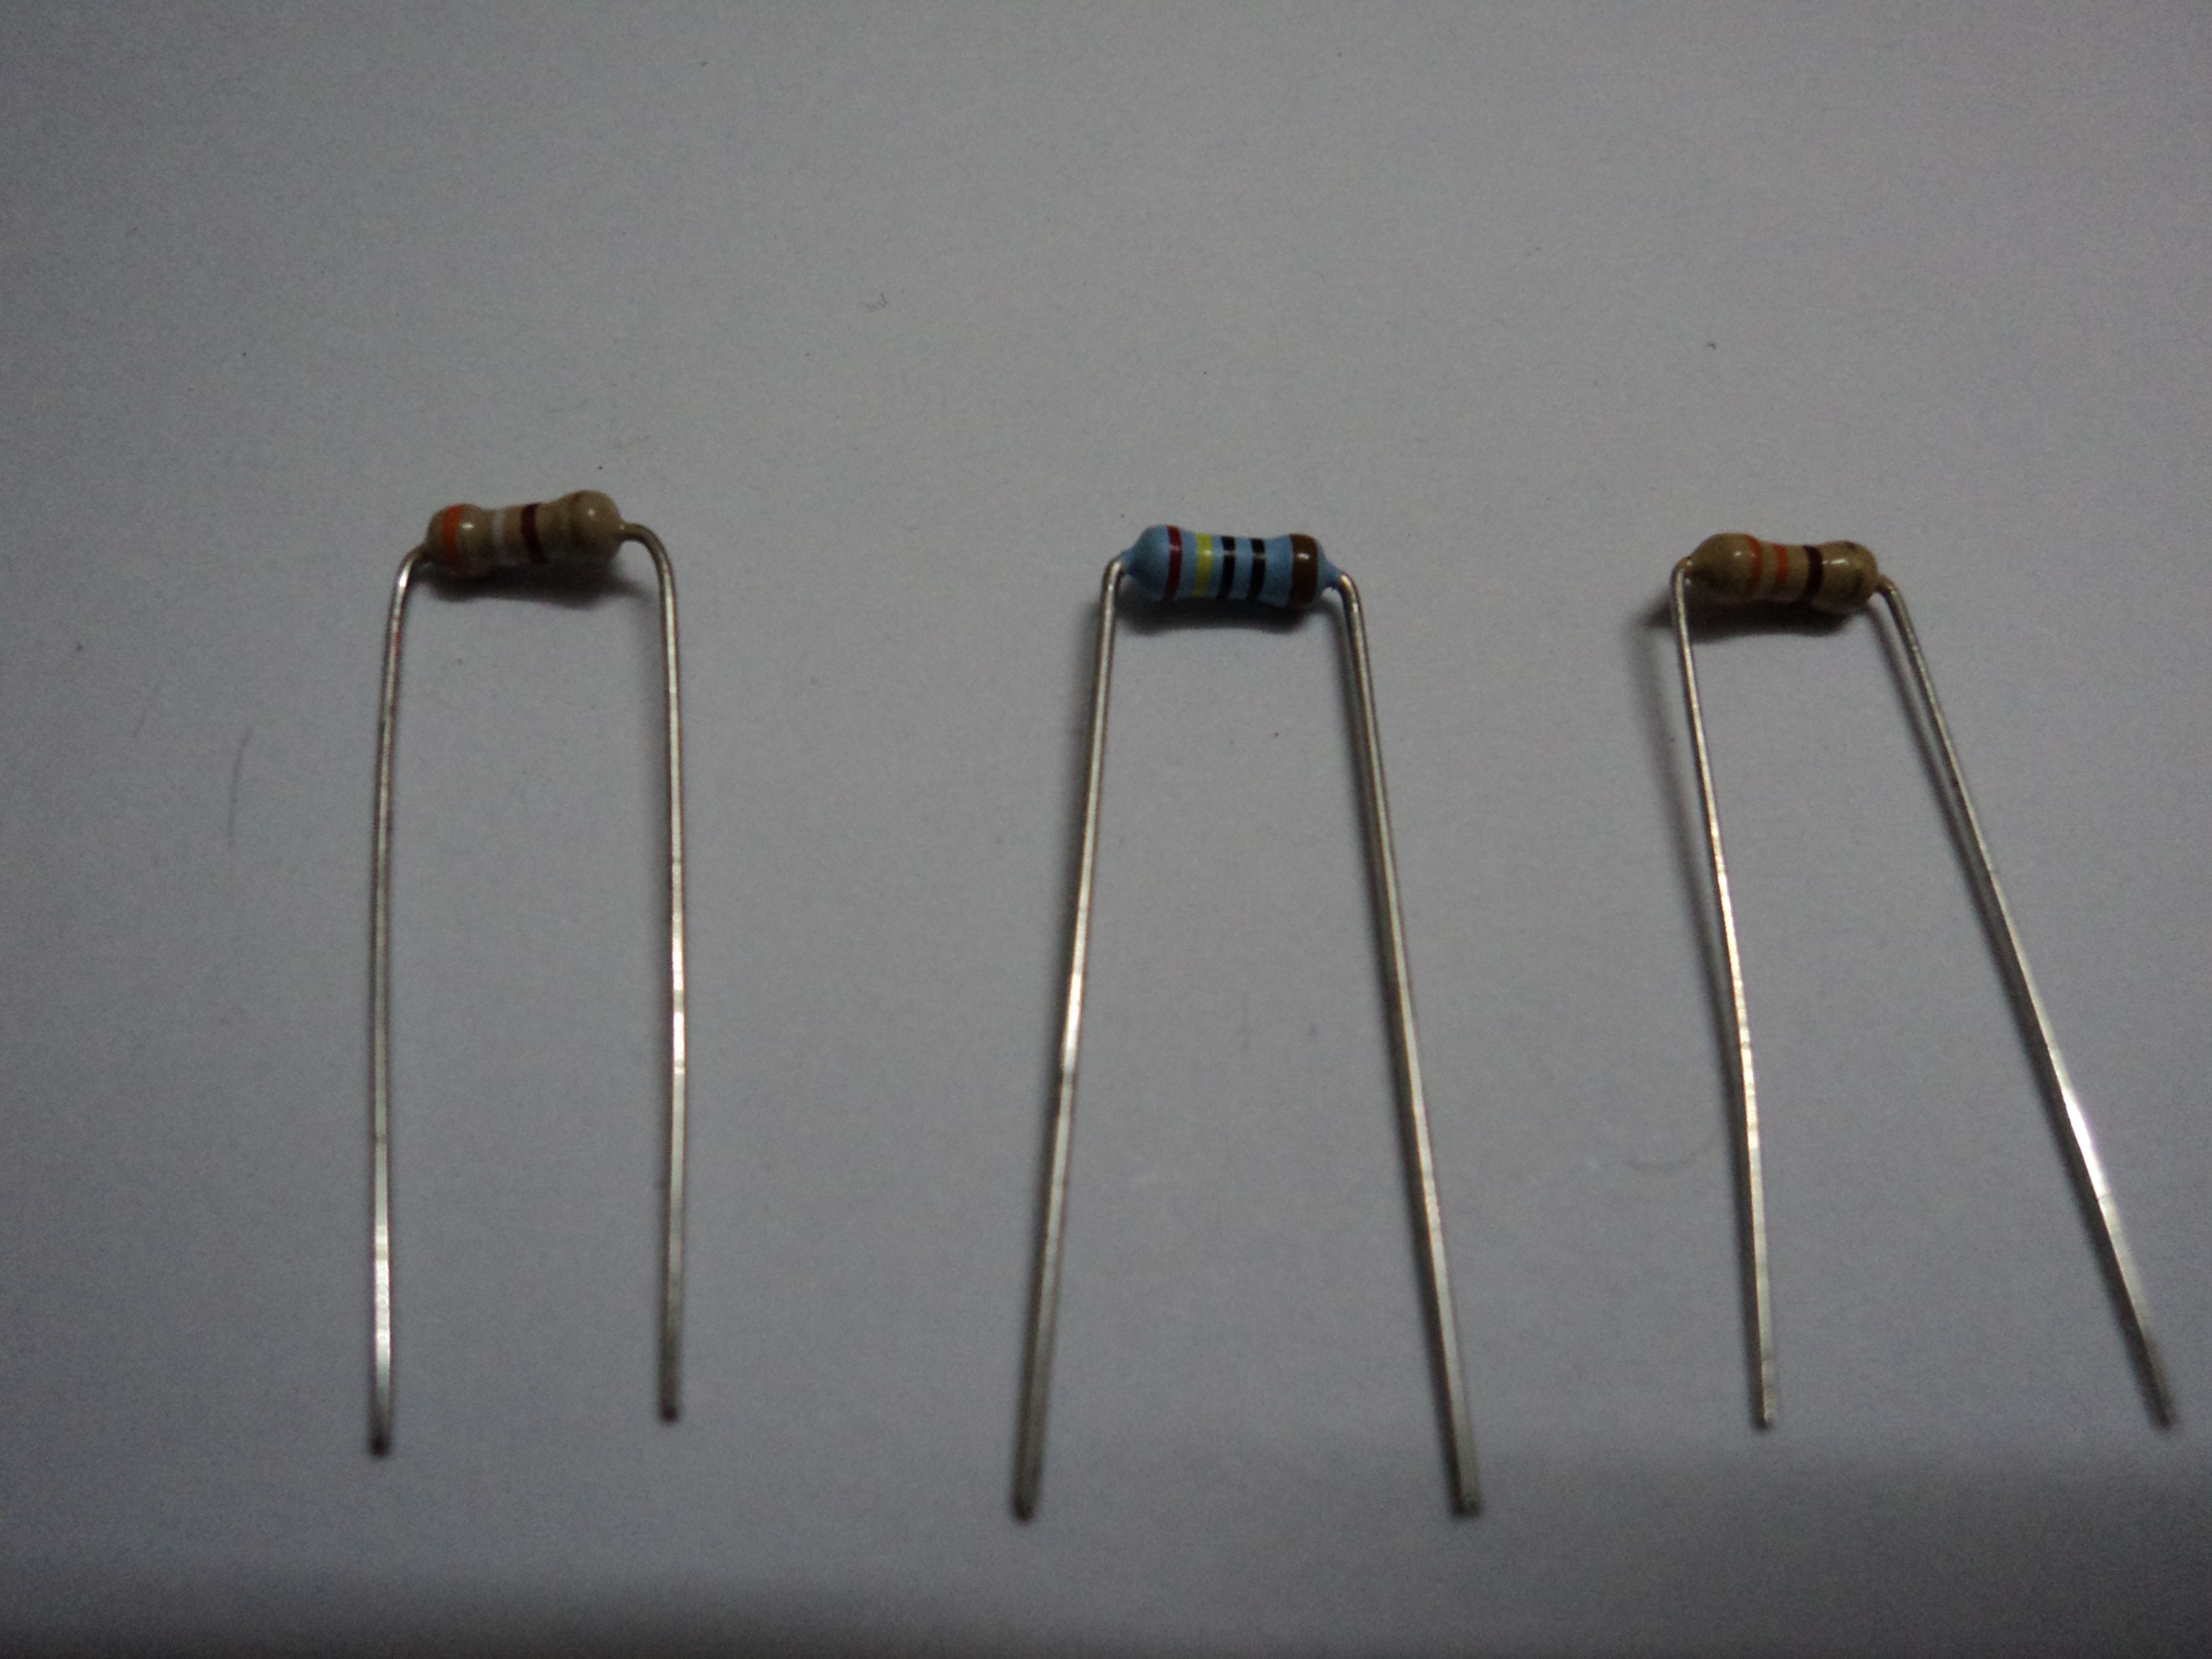
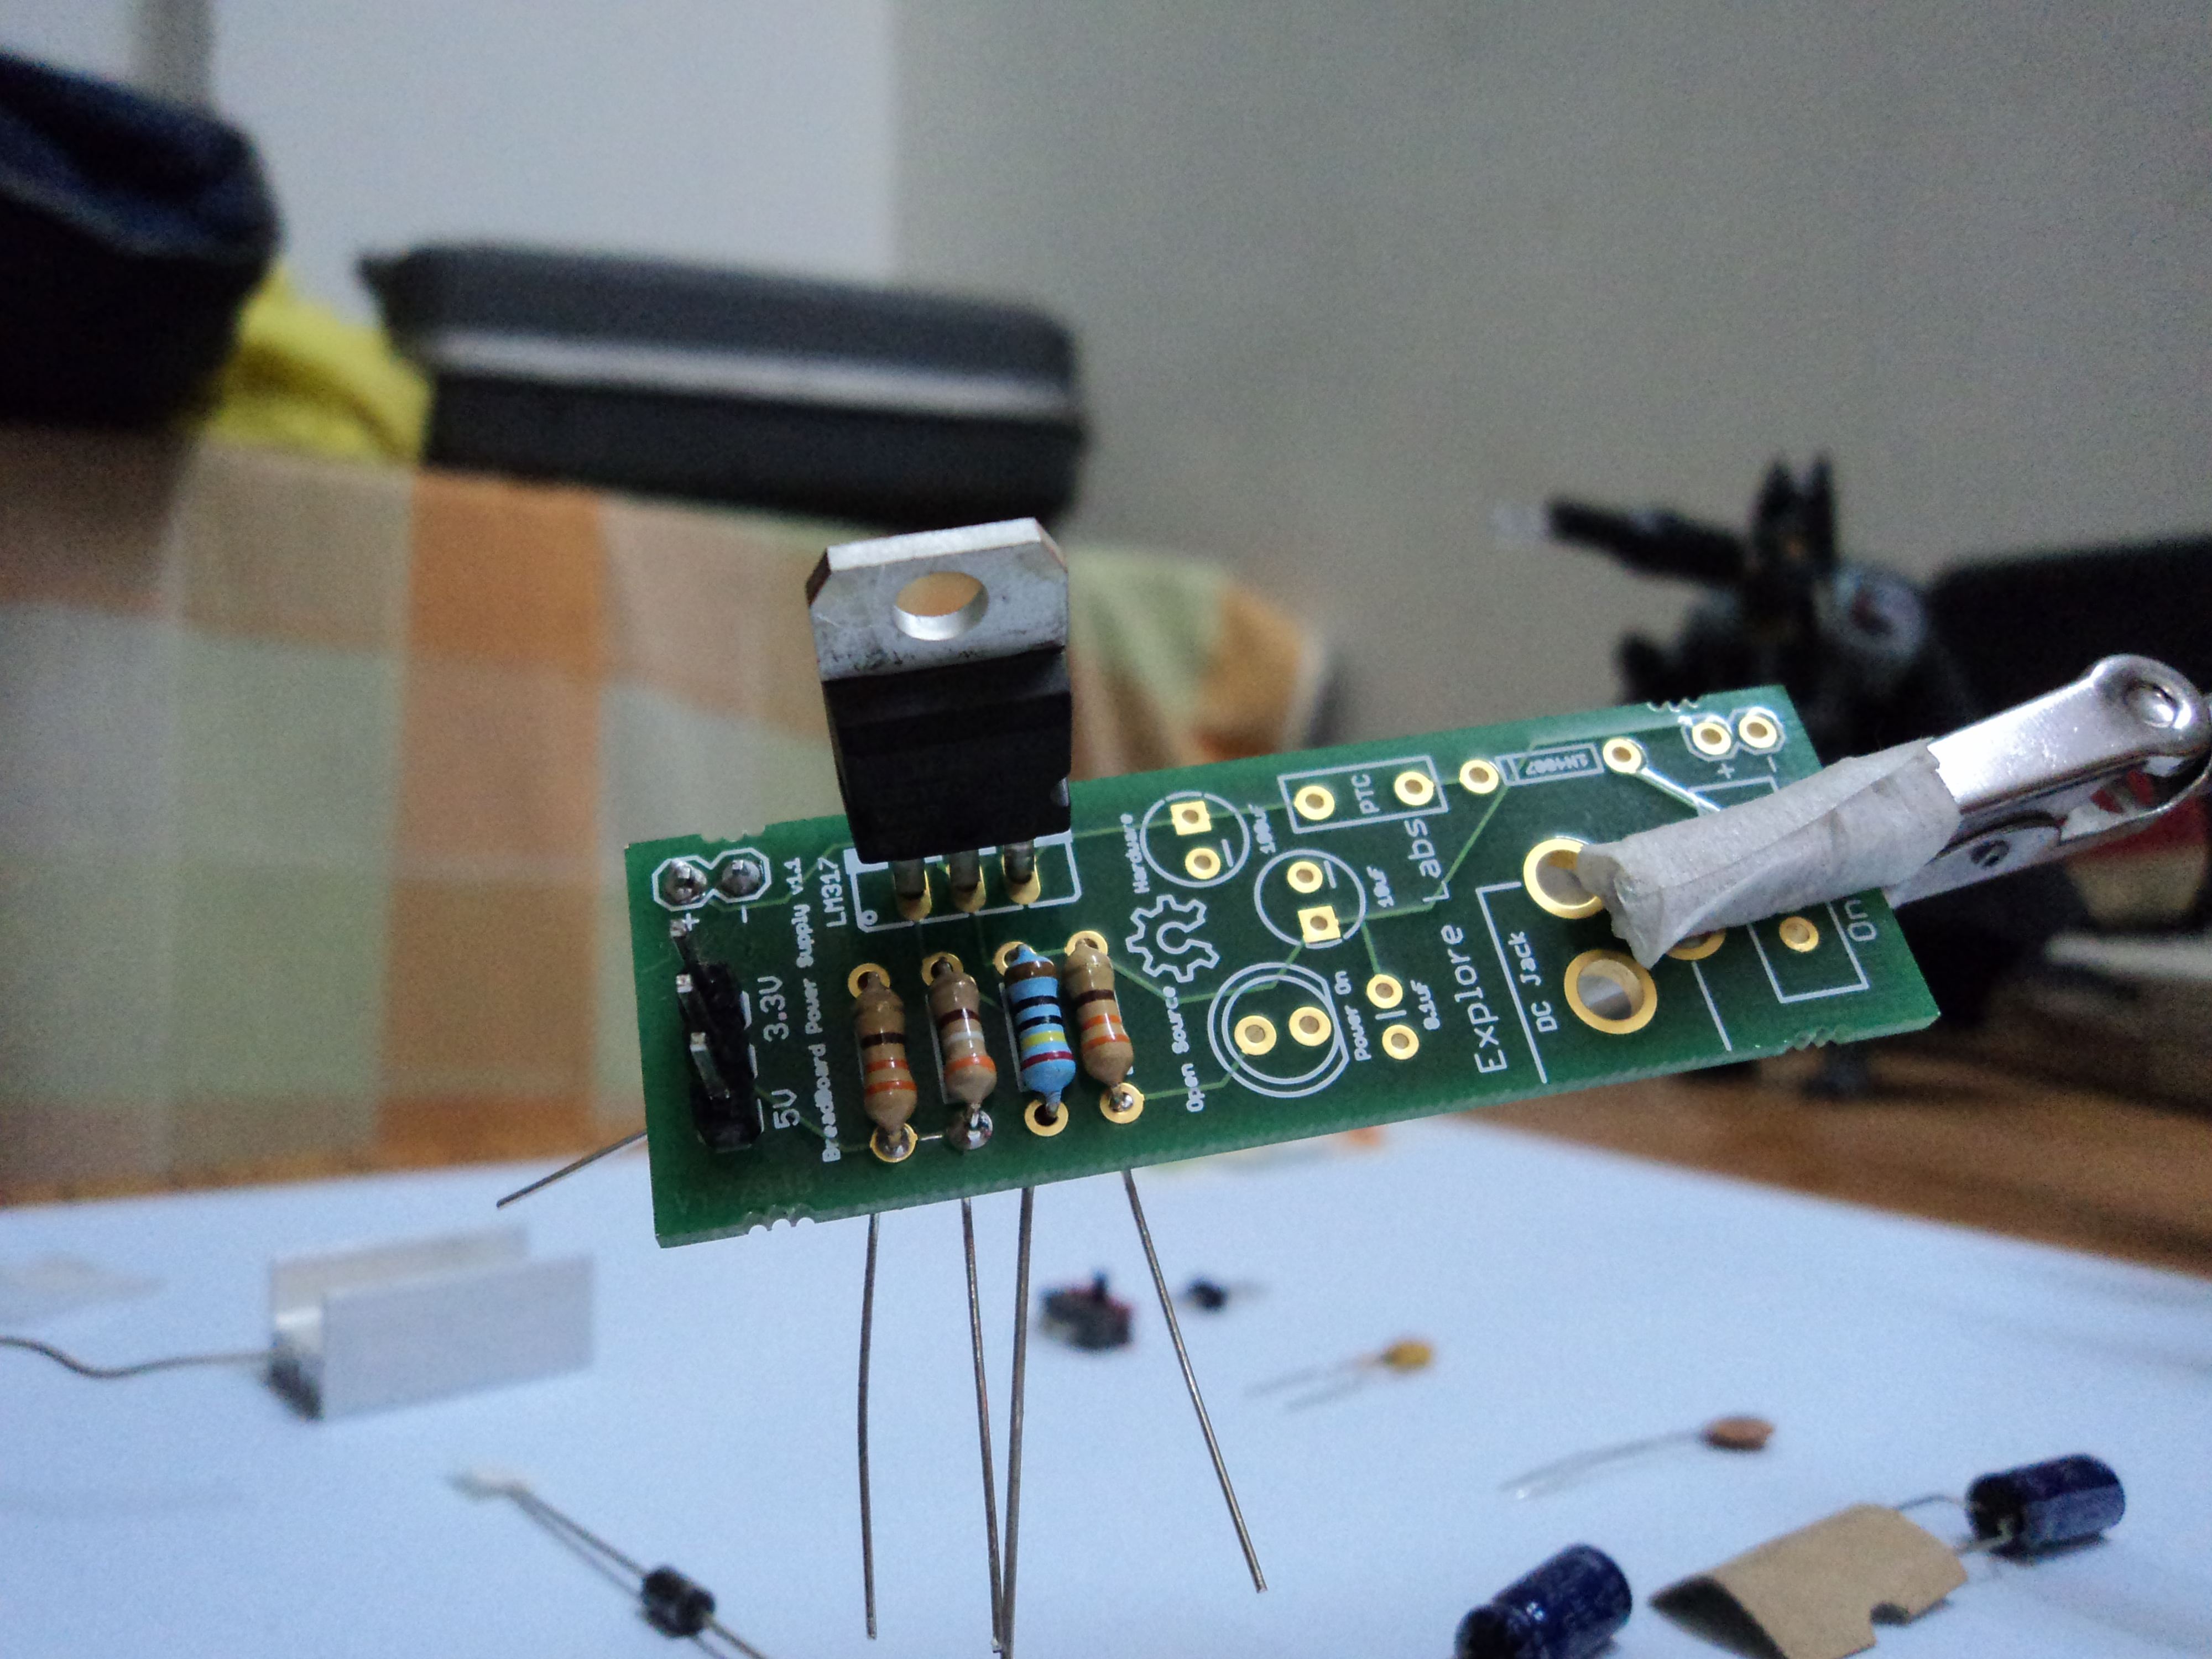
Bend the Resistor’s (330 ohm) leads as shown.

Solder from the bottom layer.

Take three more resistors matching the values with that written on the Silkscreen.

Again, use some surgical to hold them in place.

And solder on the bottom layer.

You may see some solder coming in to the top side. It is fine.

Conclusion

If you do not have a BreadBoard Power Supply Kit, you may gather the necessary parts to make your very own BBPS.