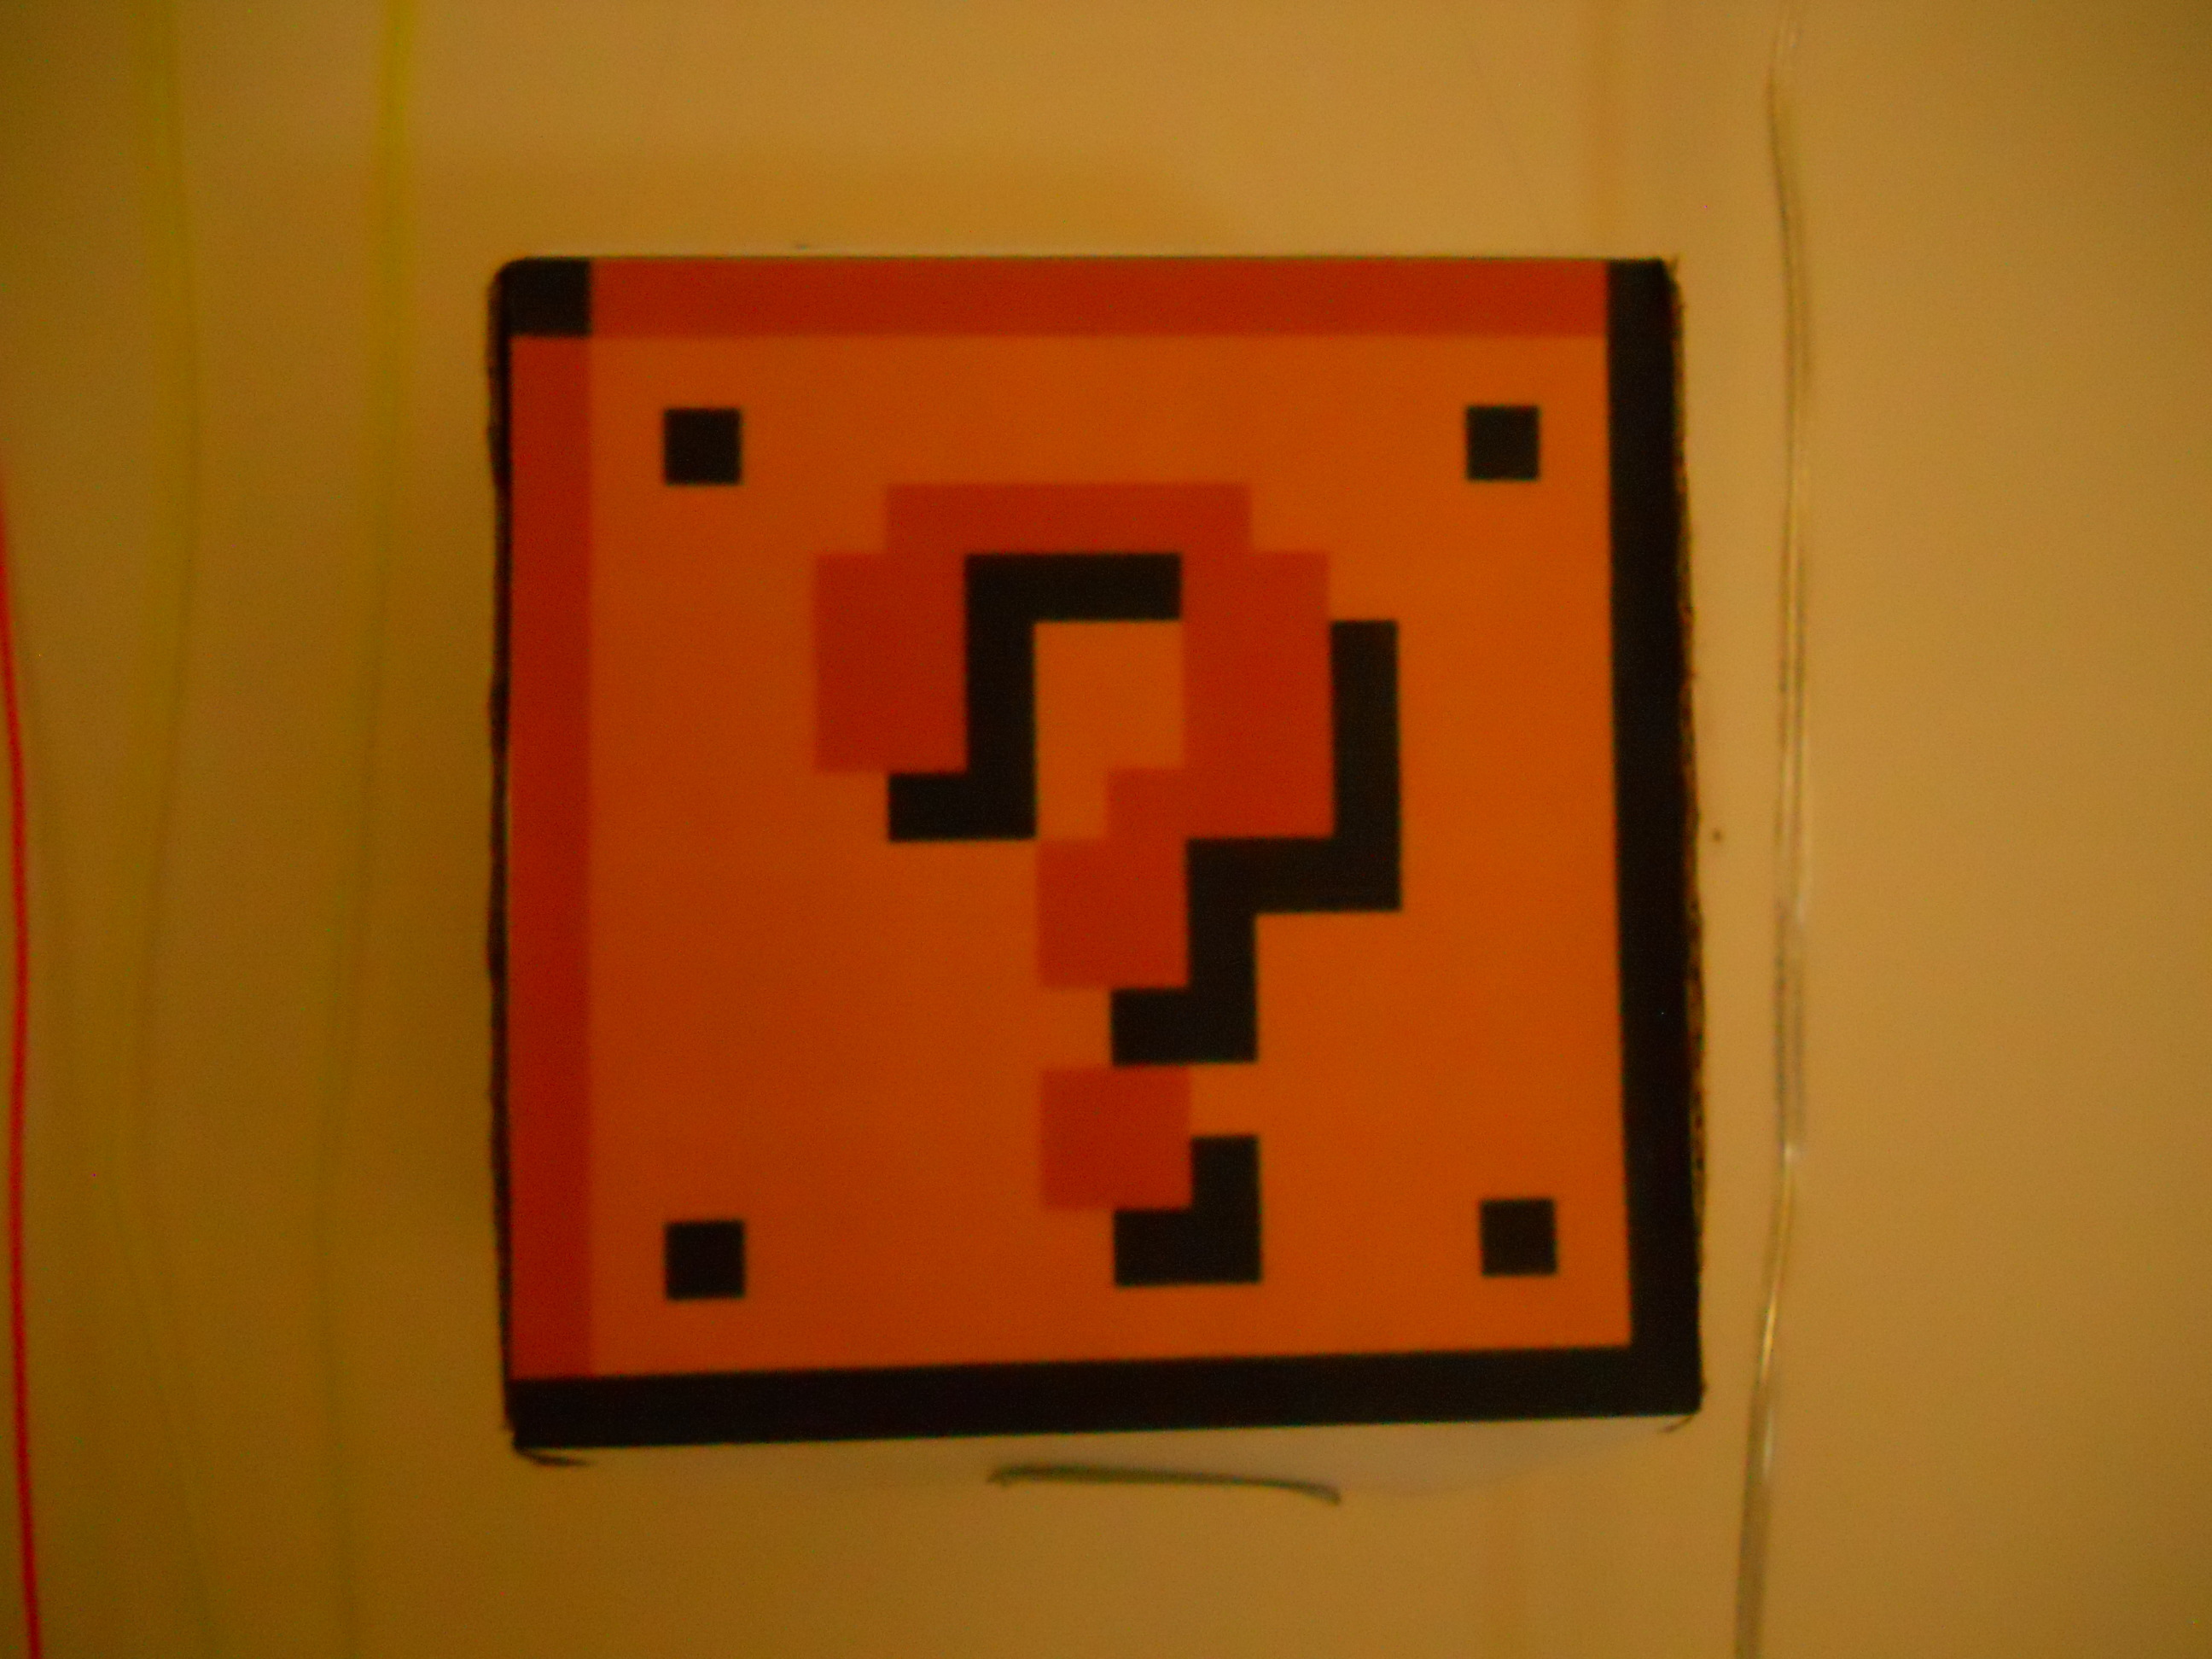
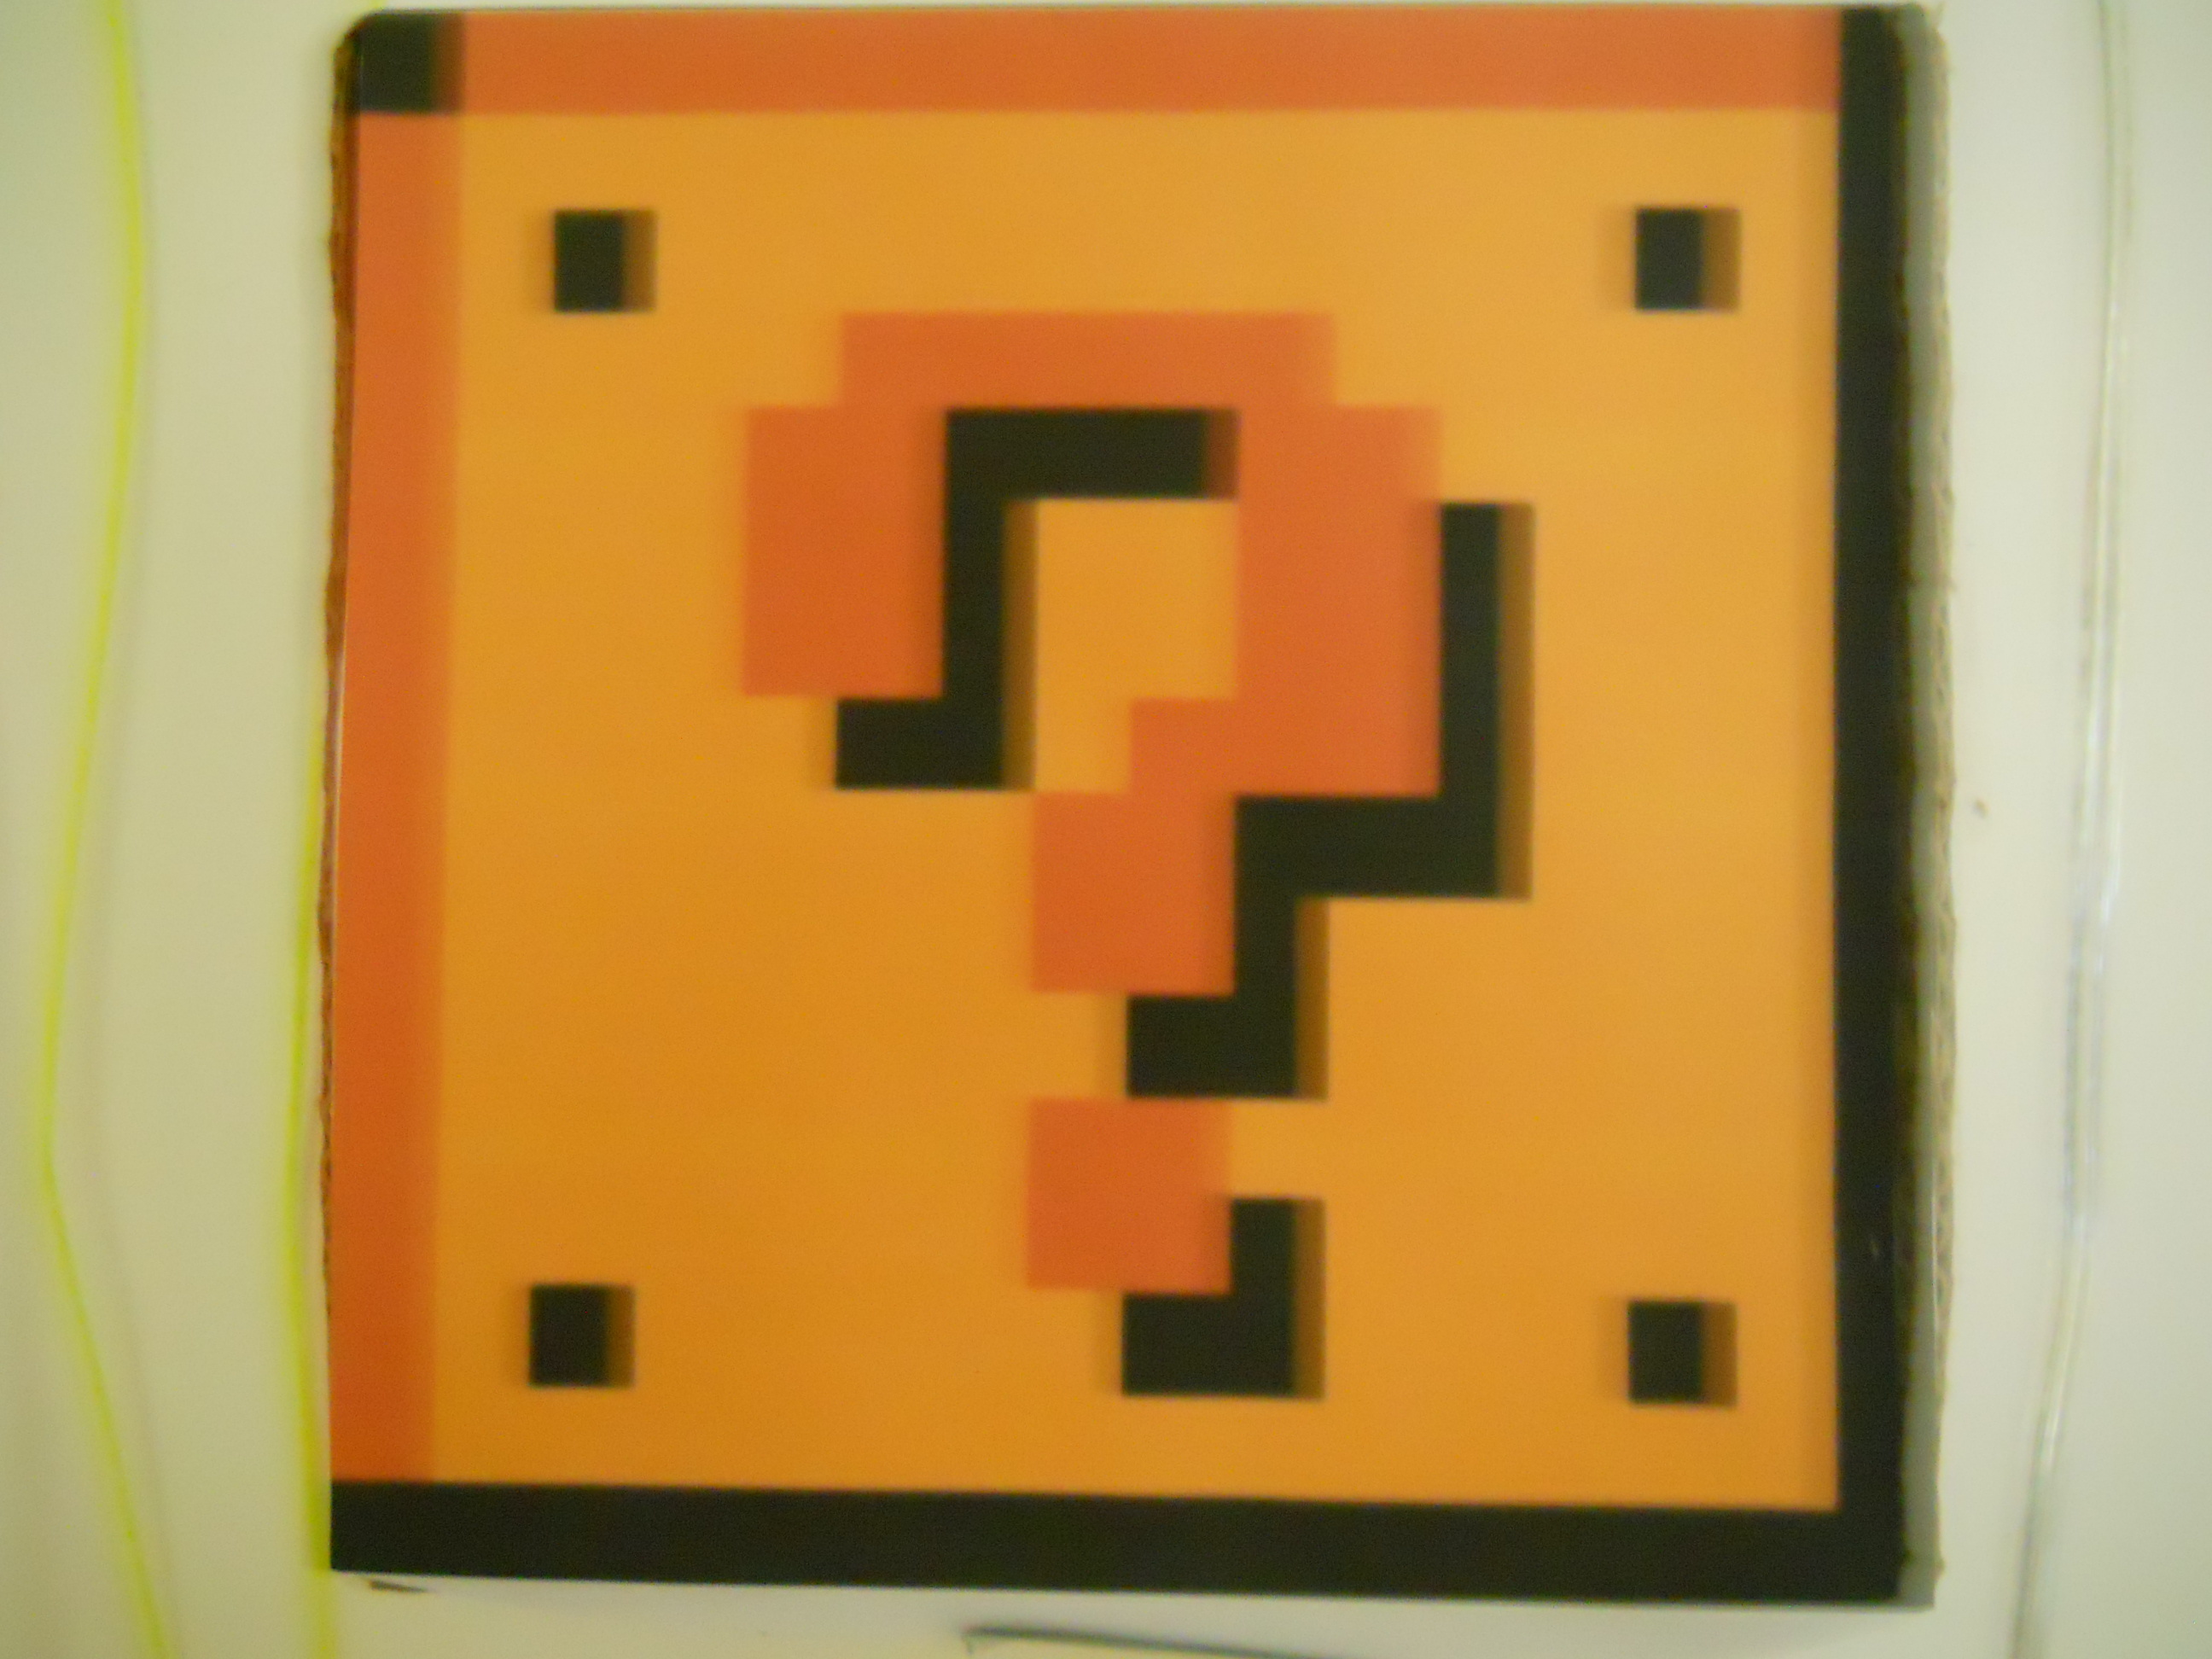
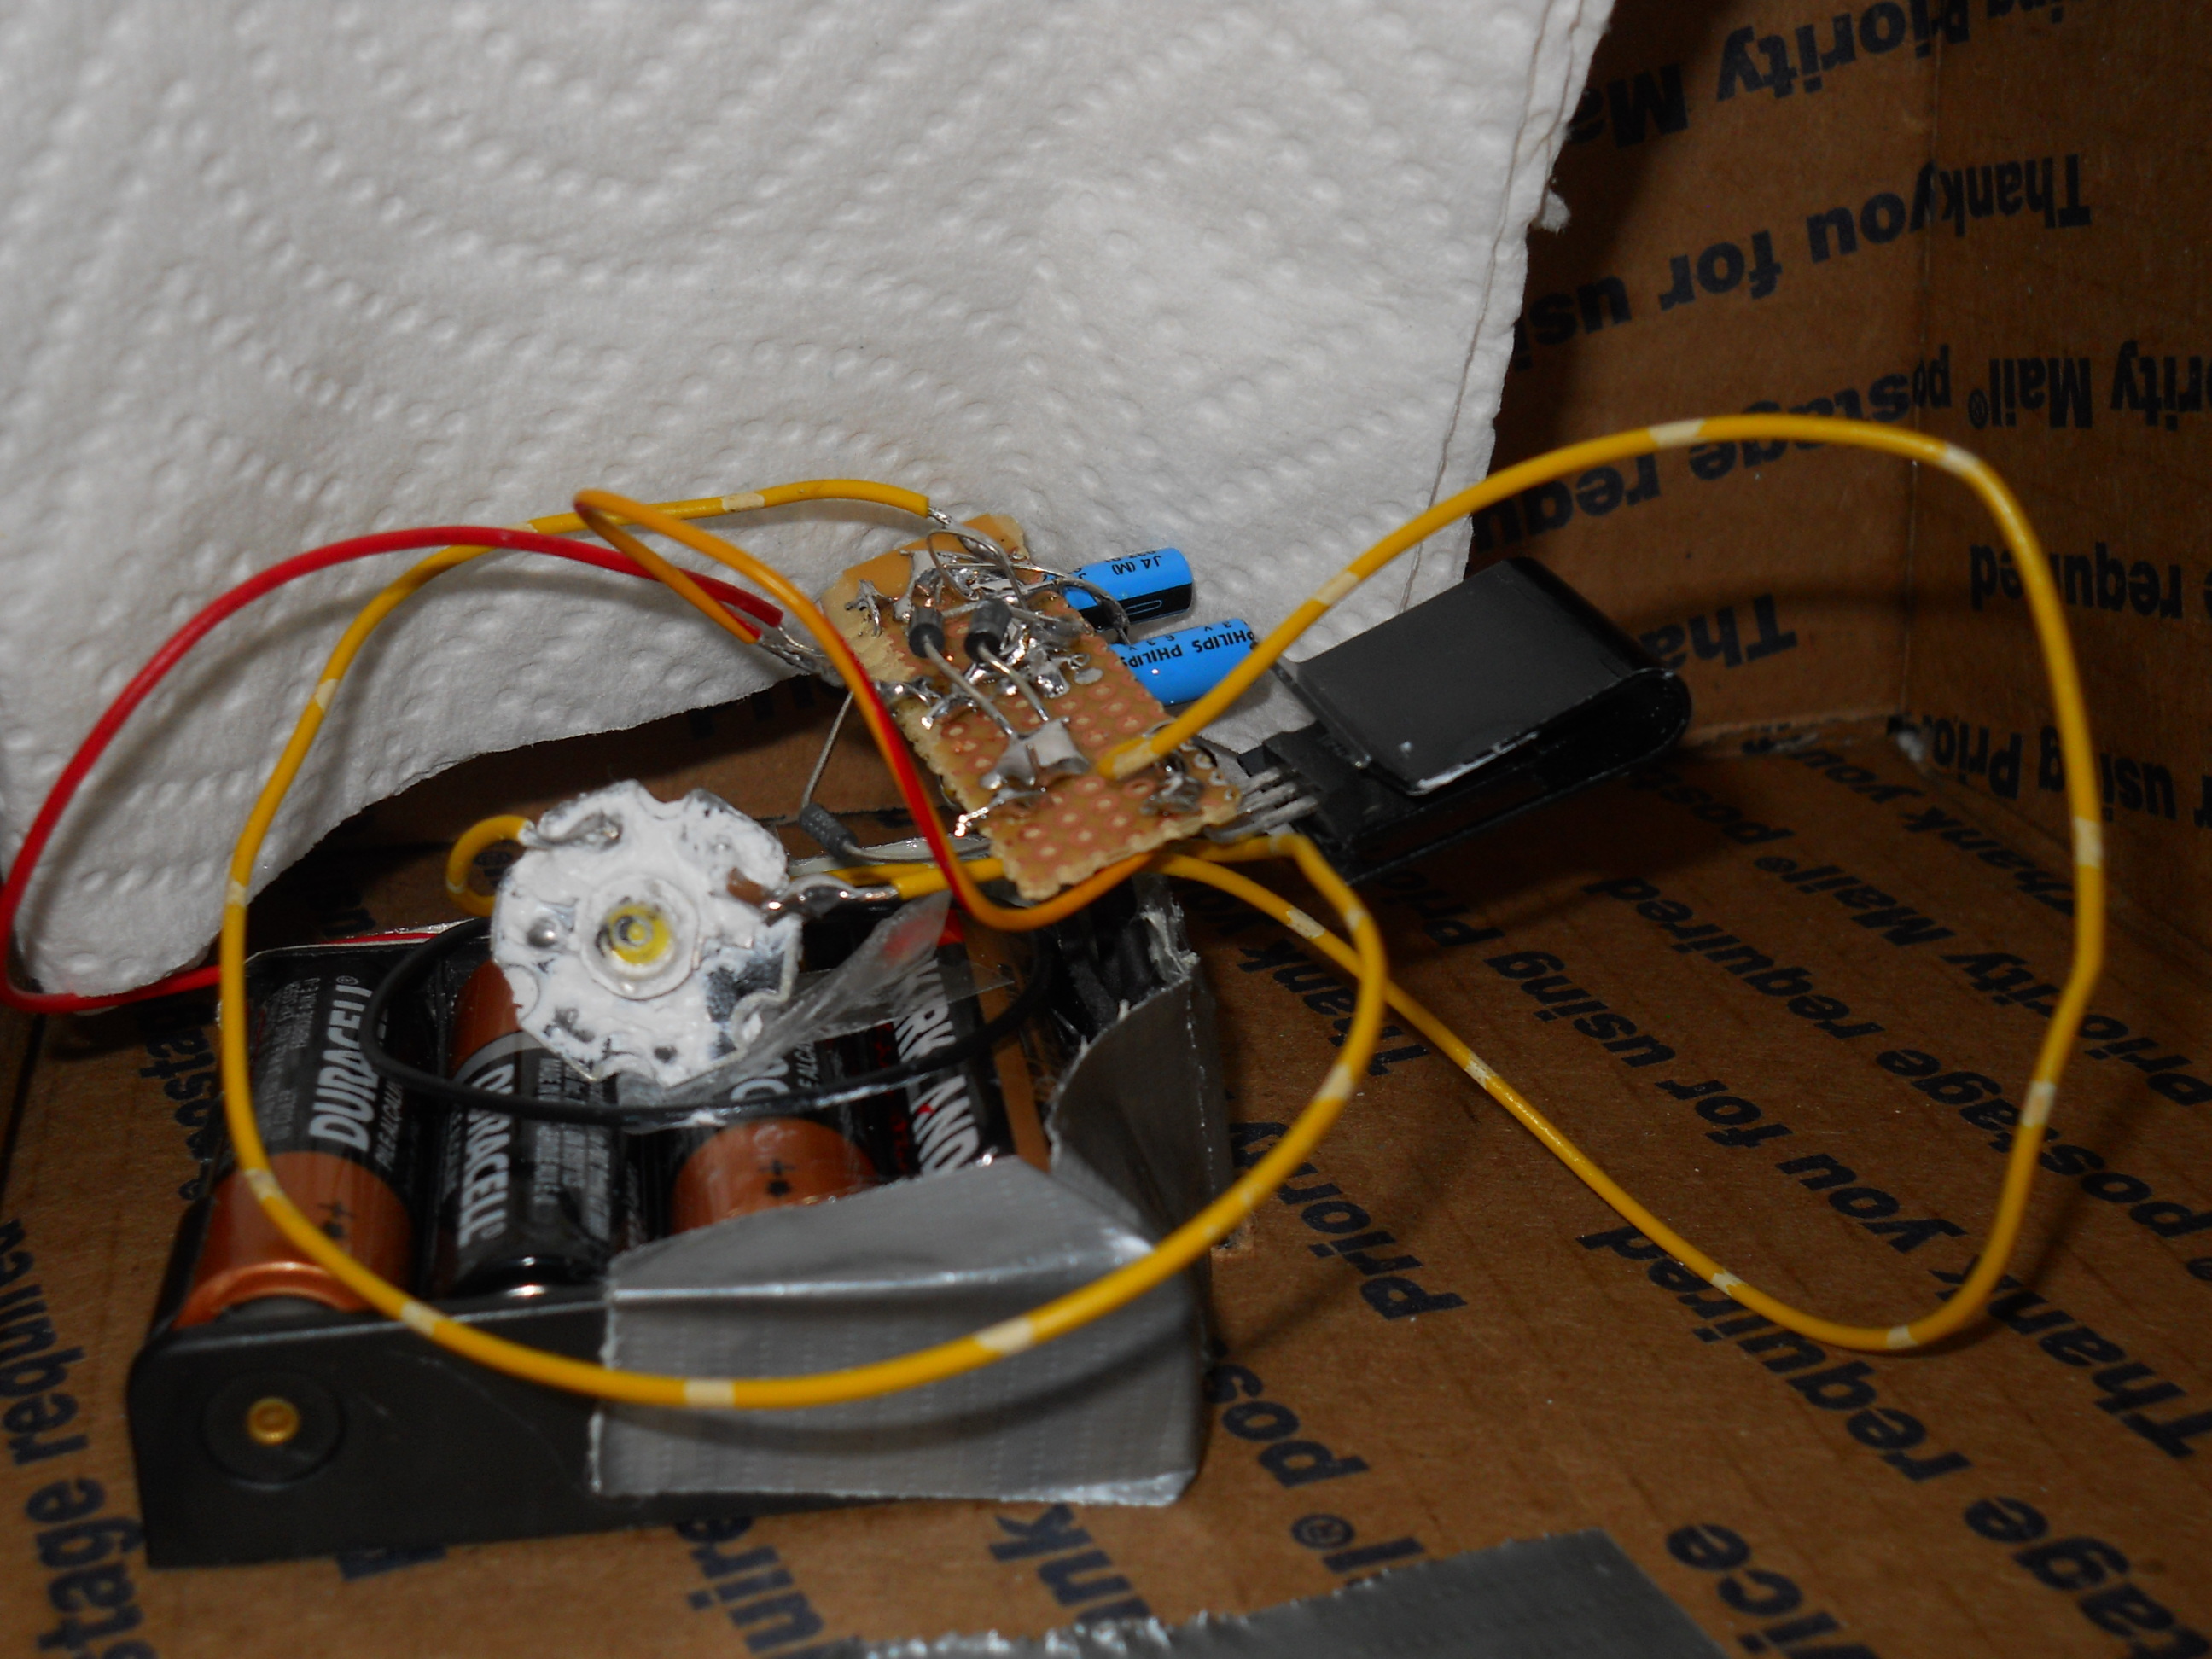
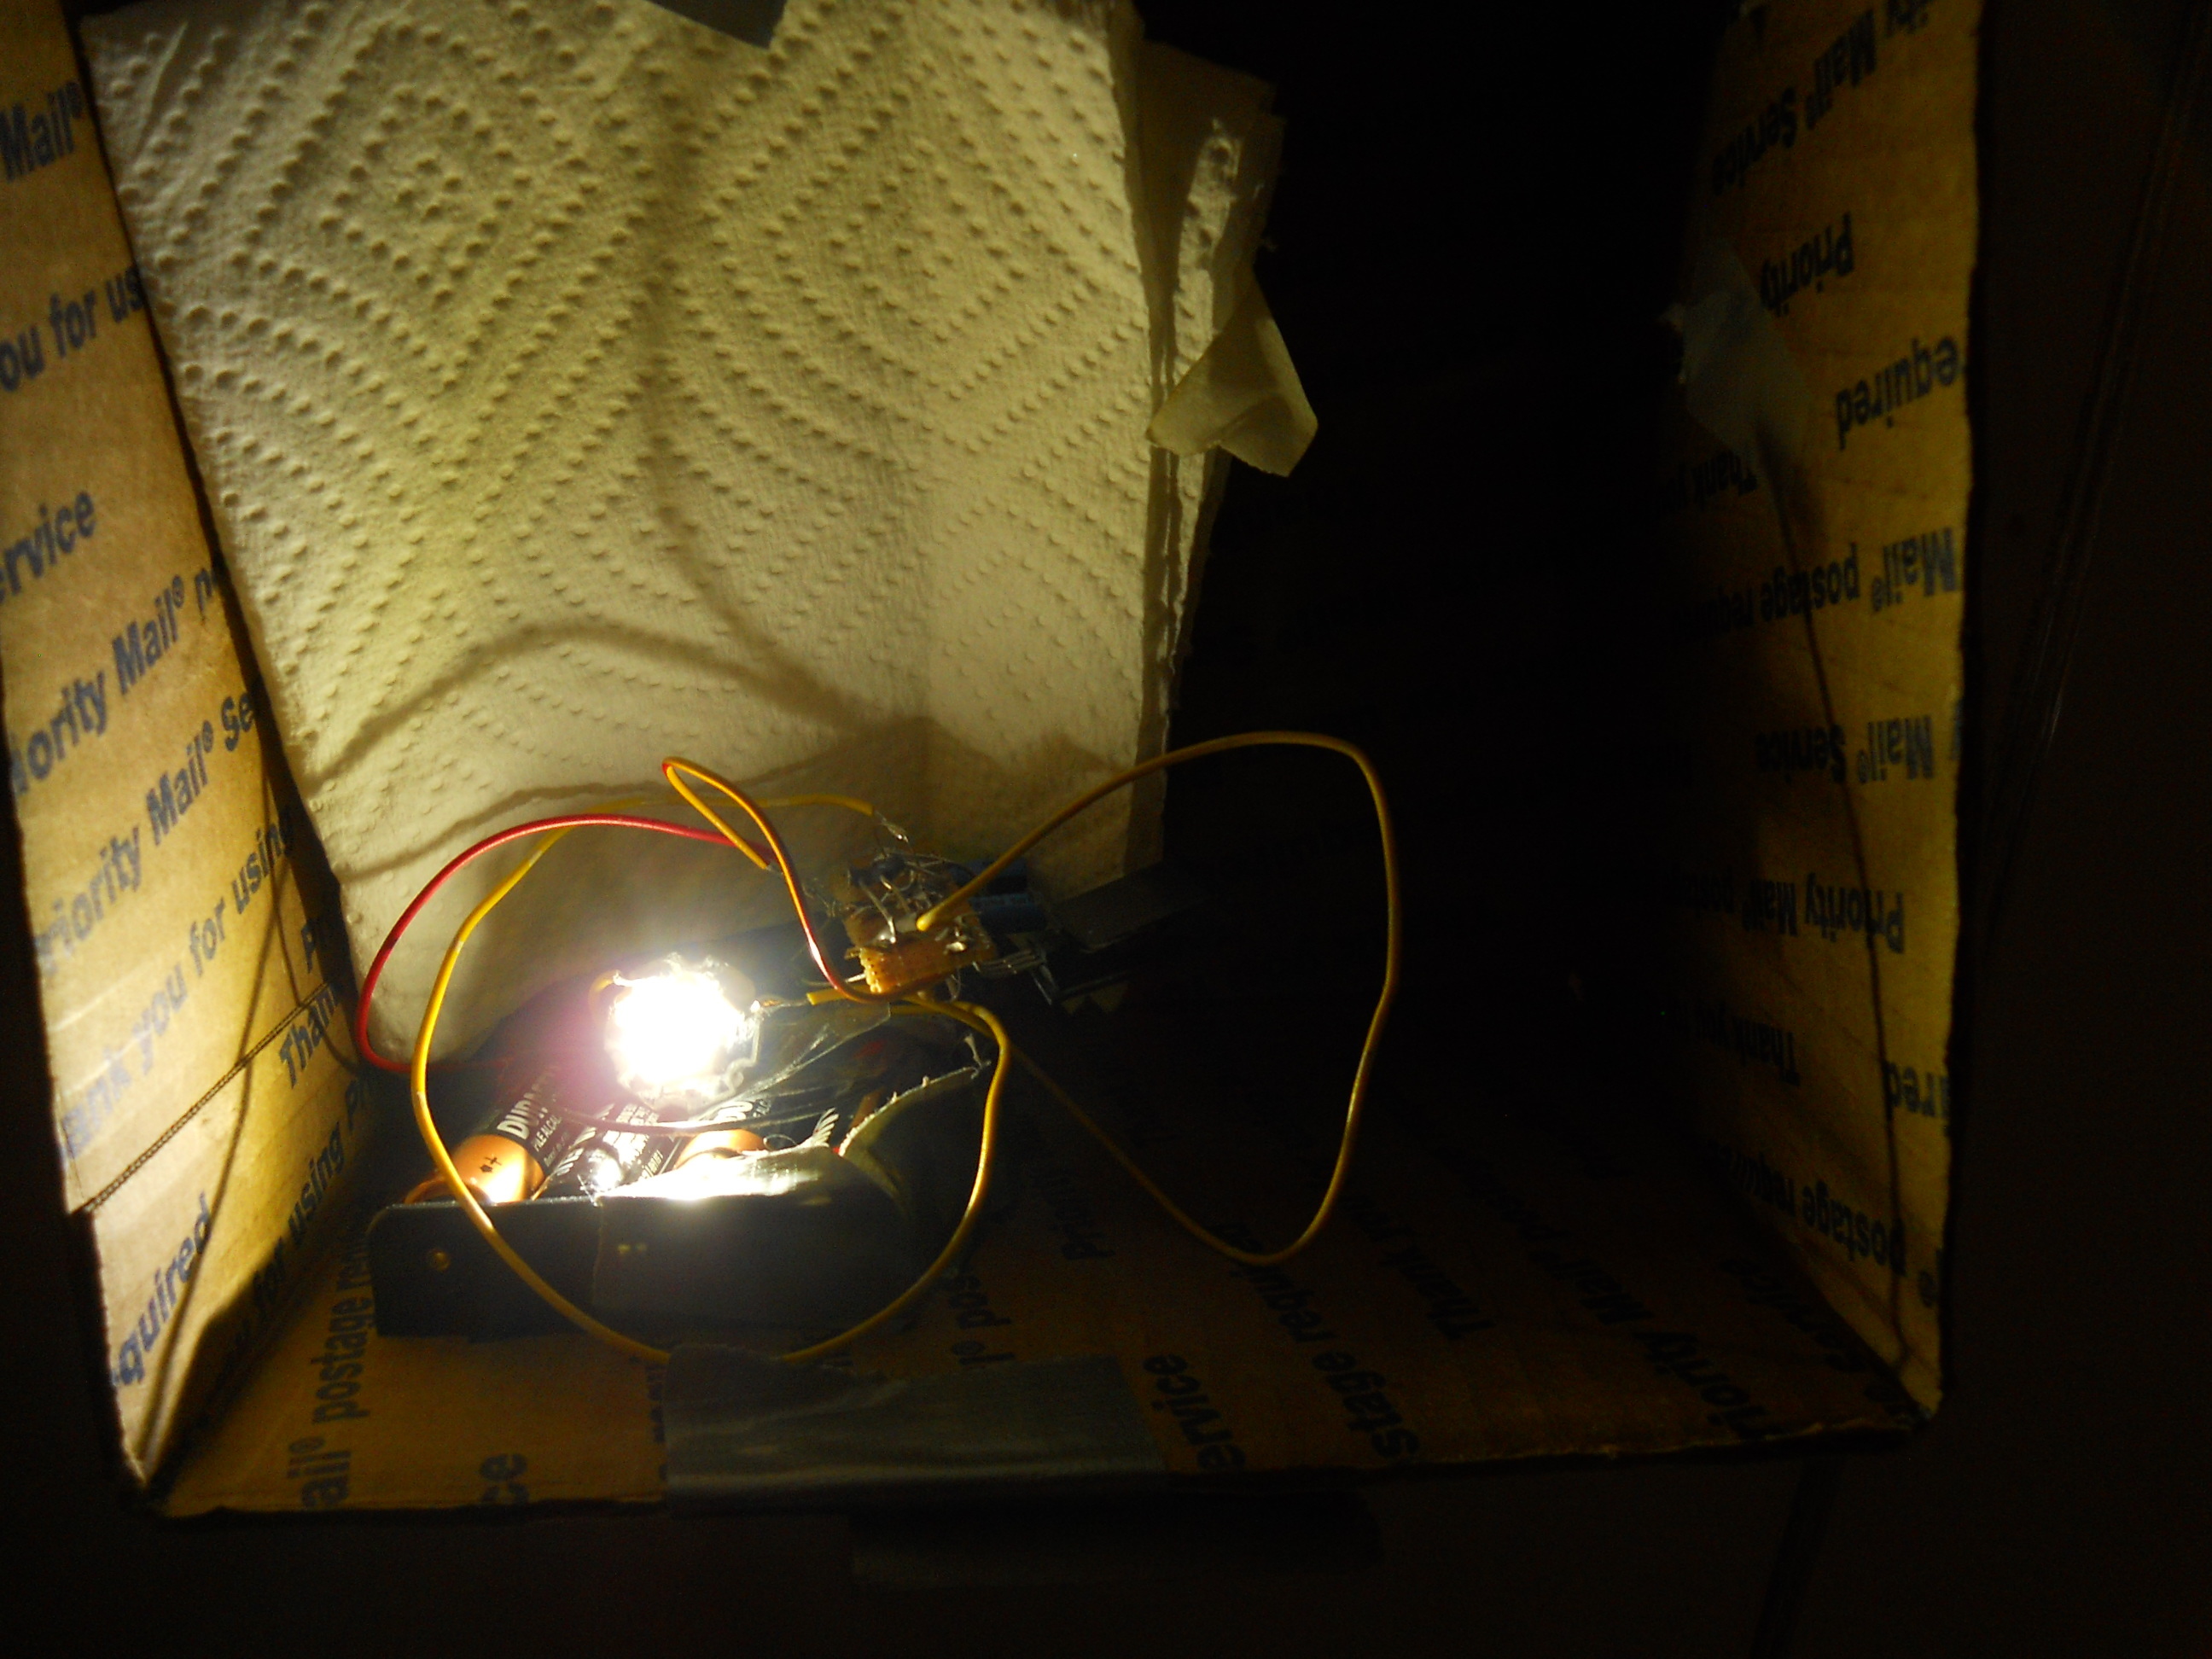
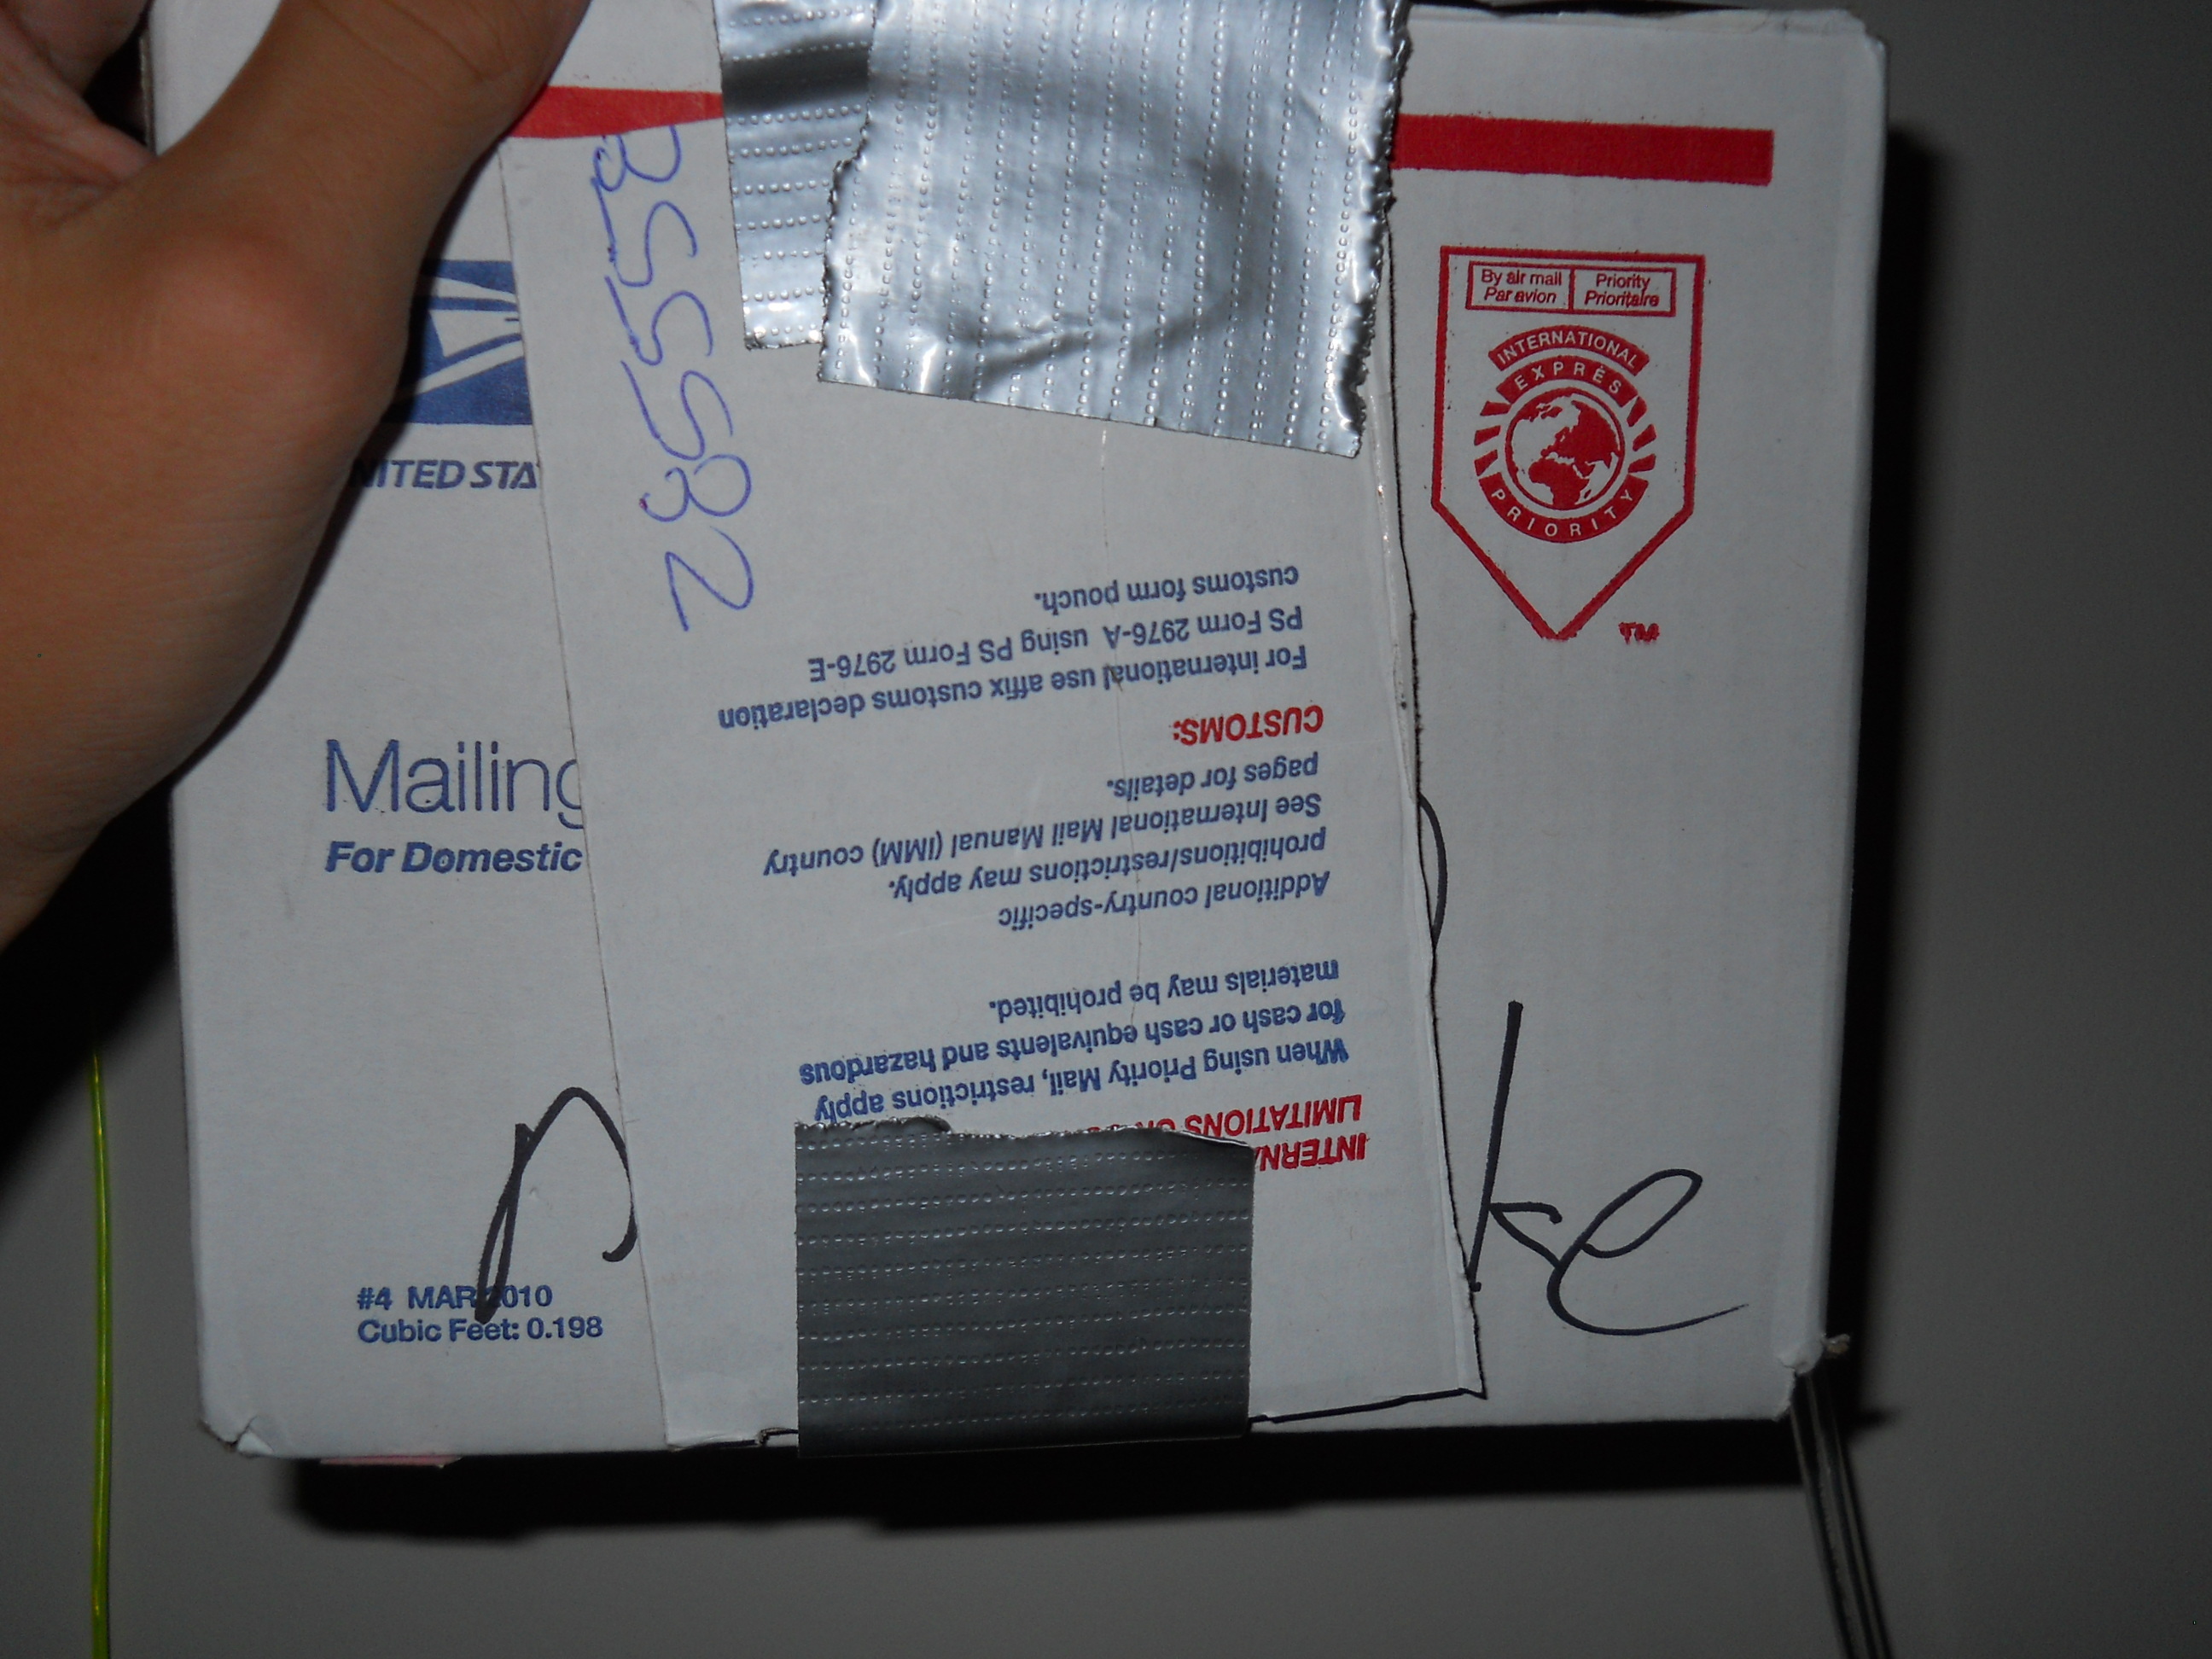
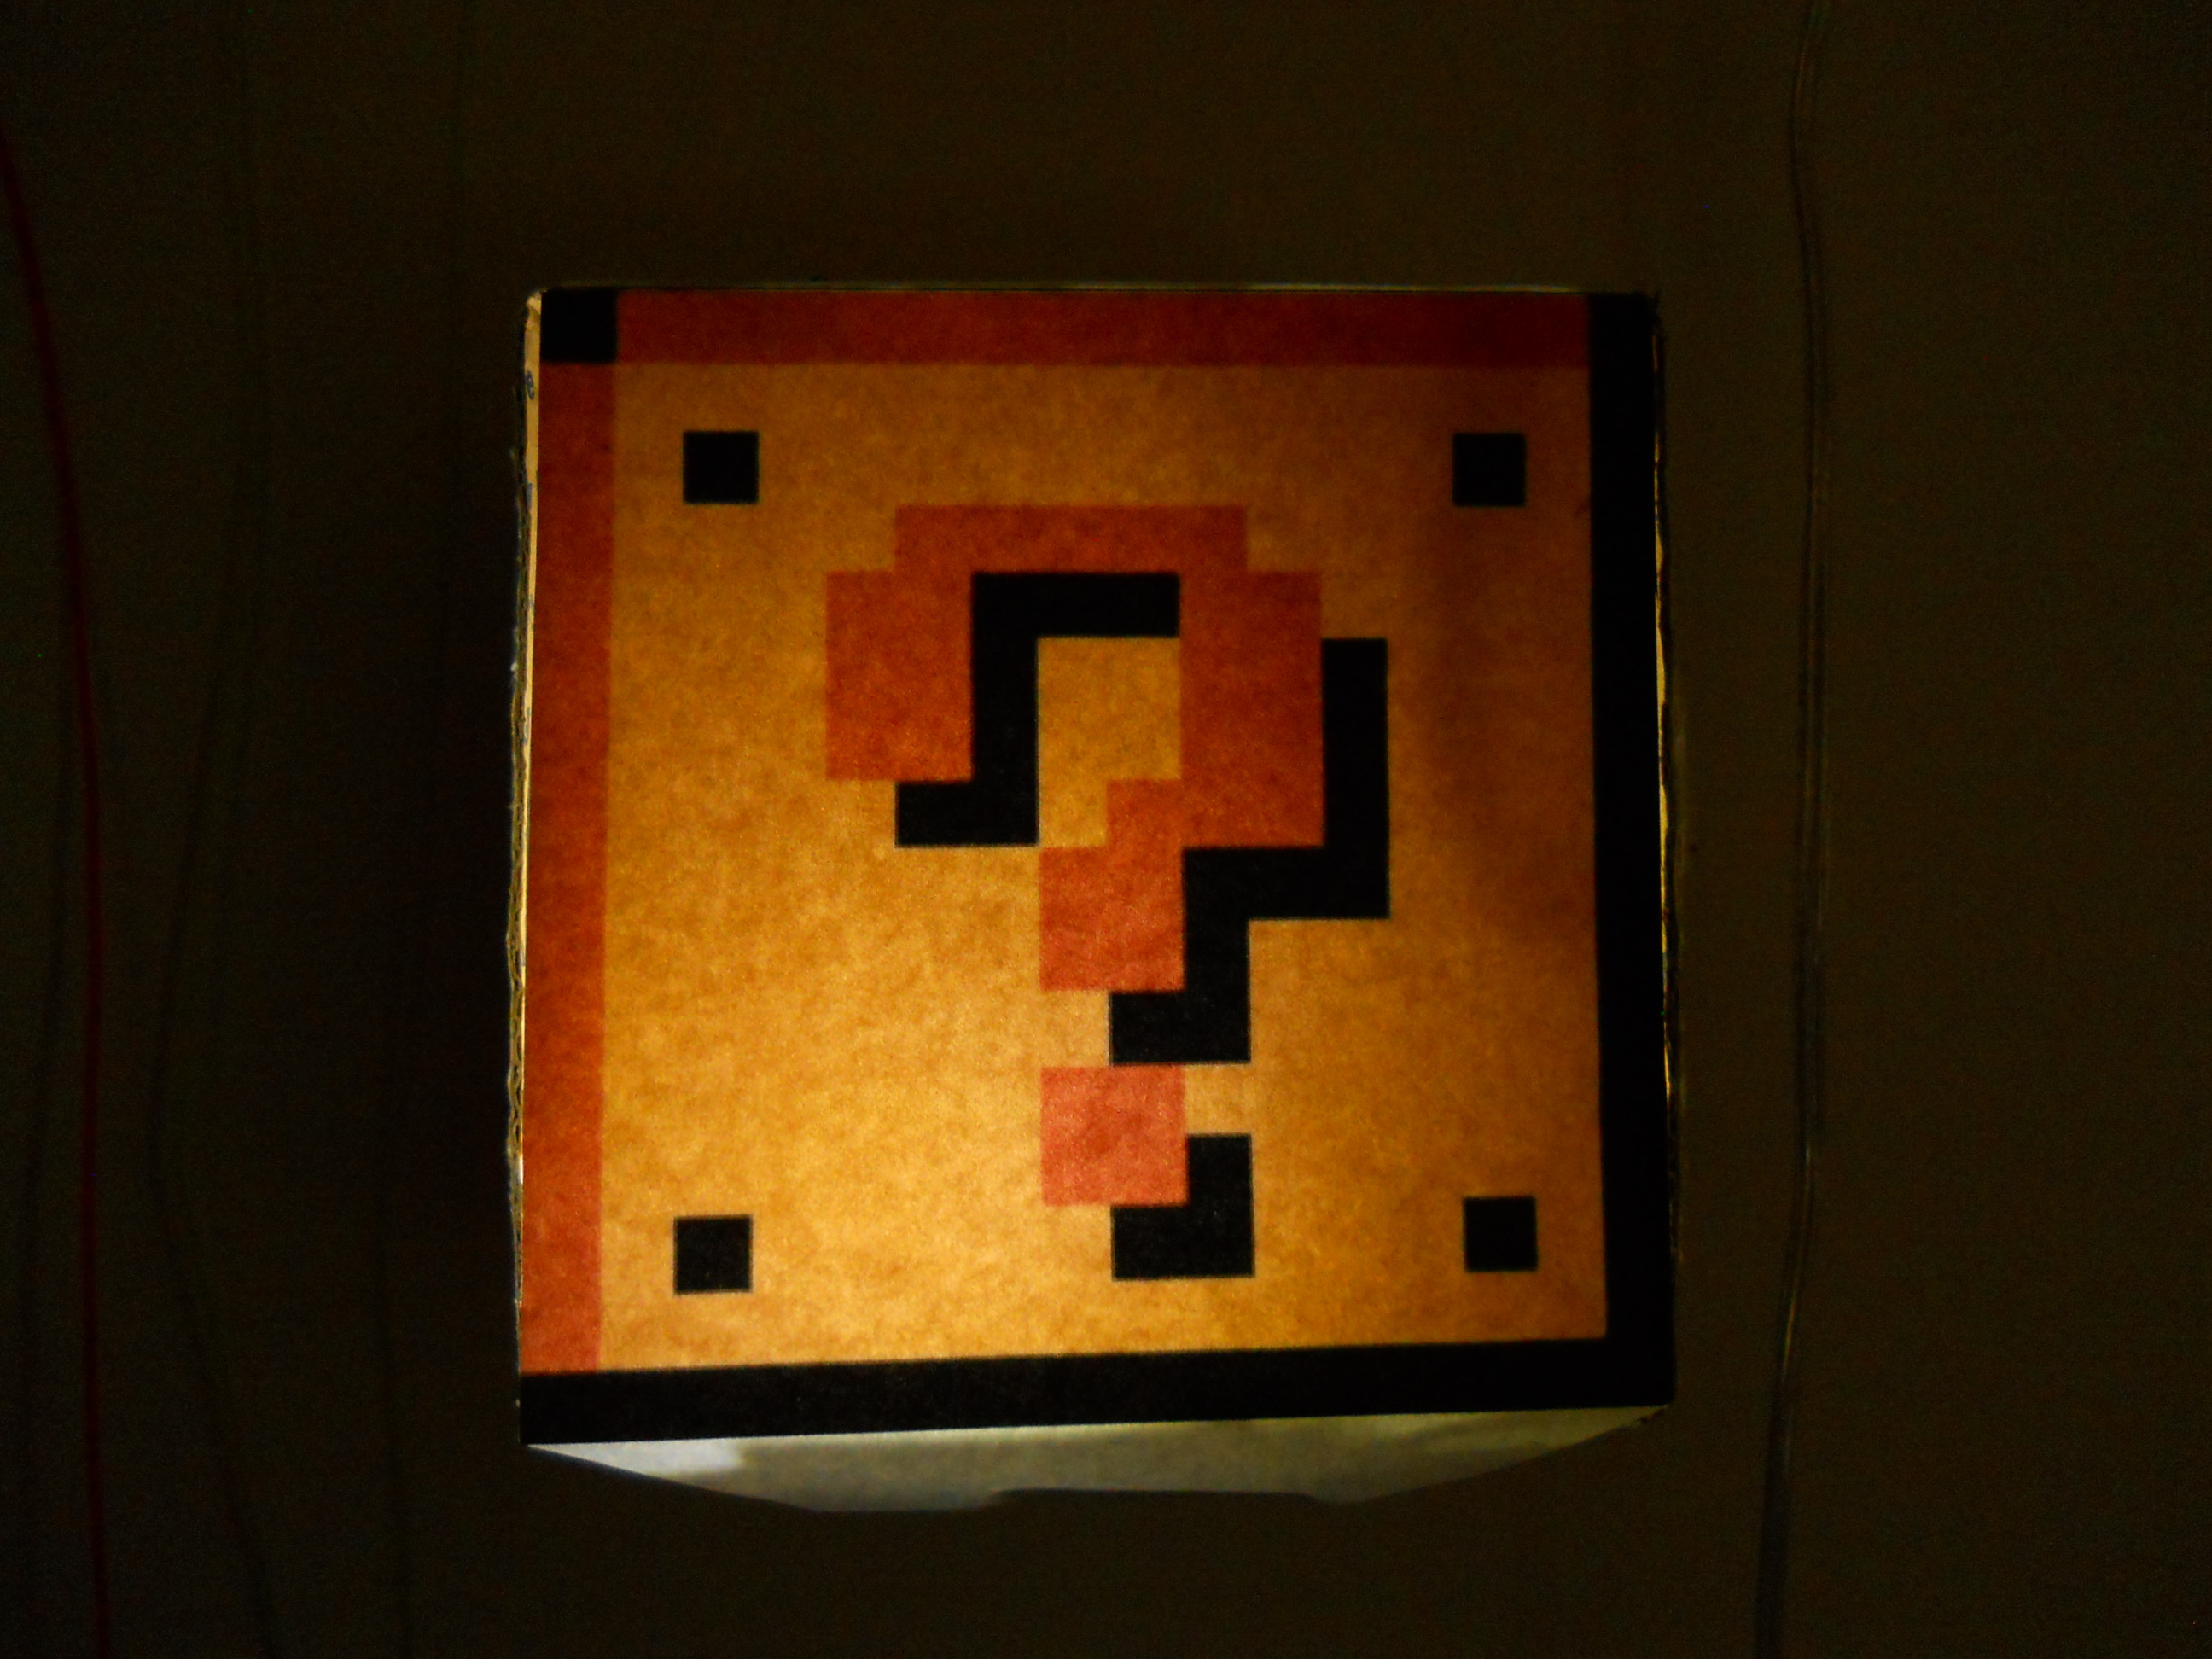
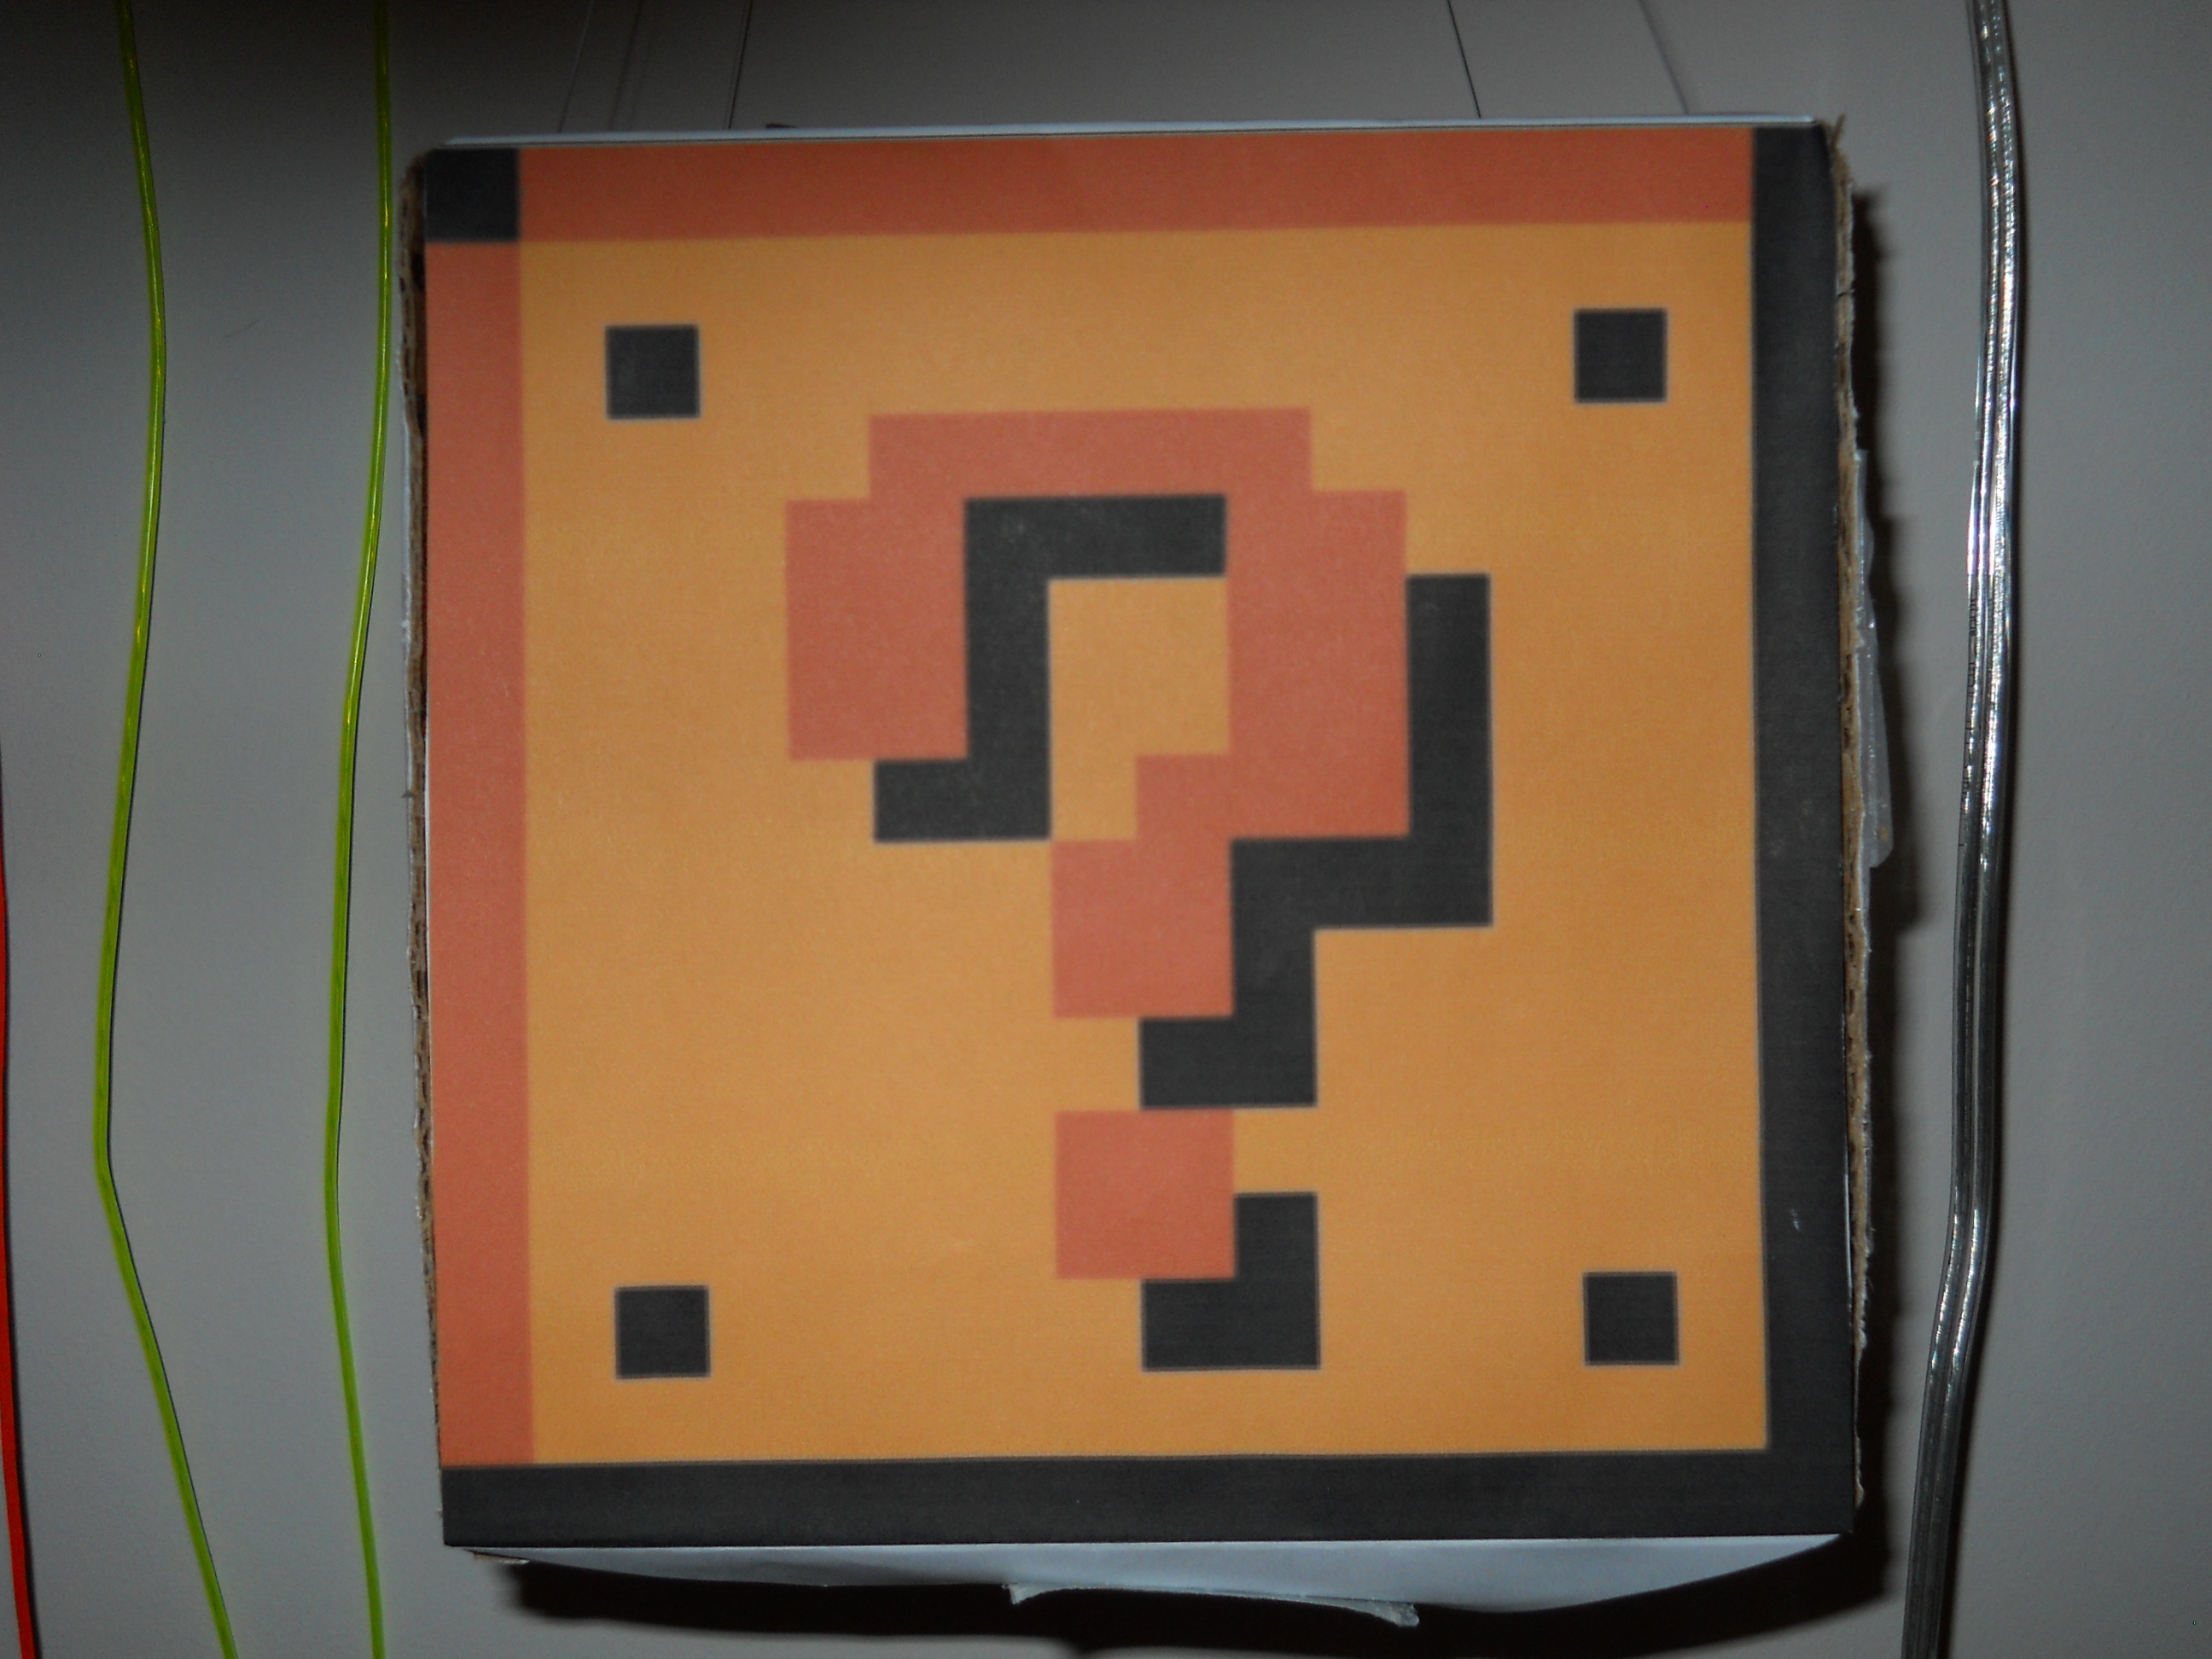
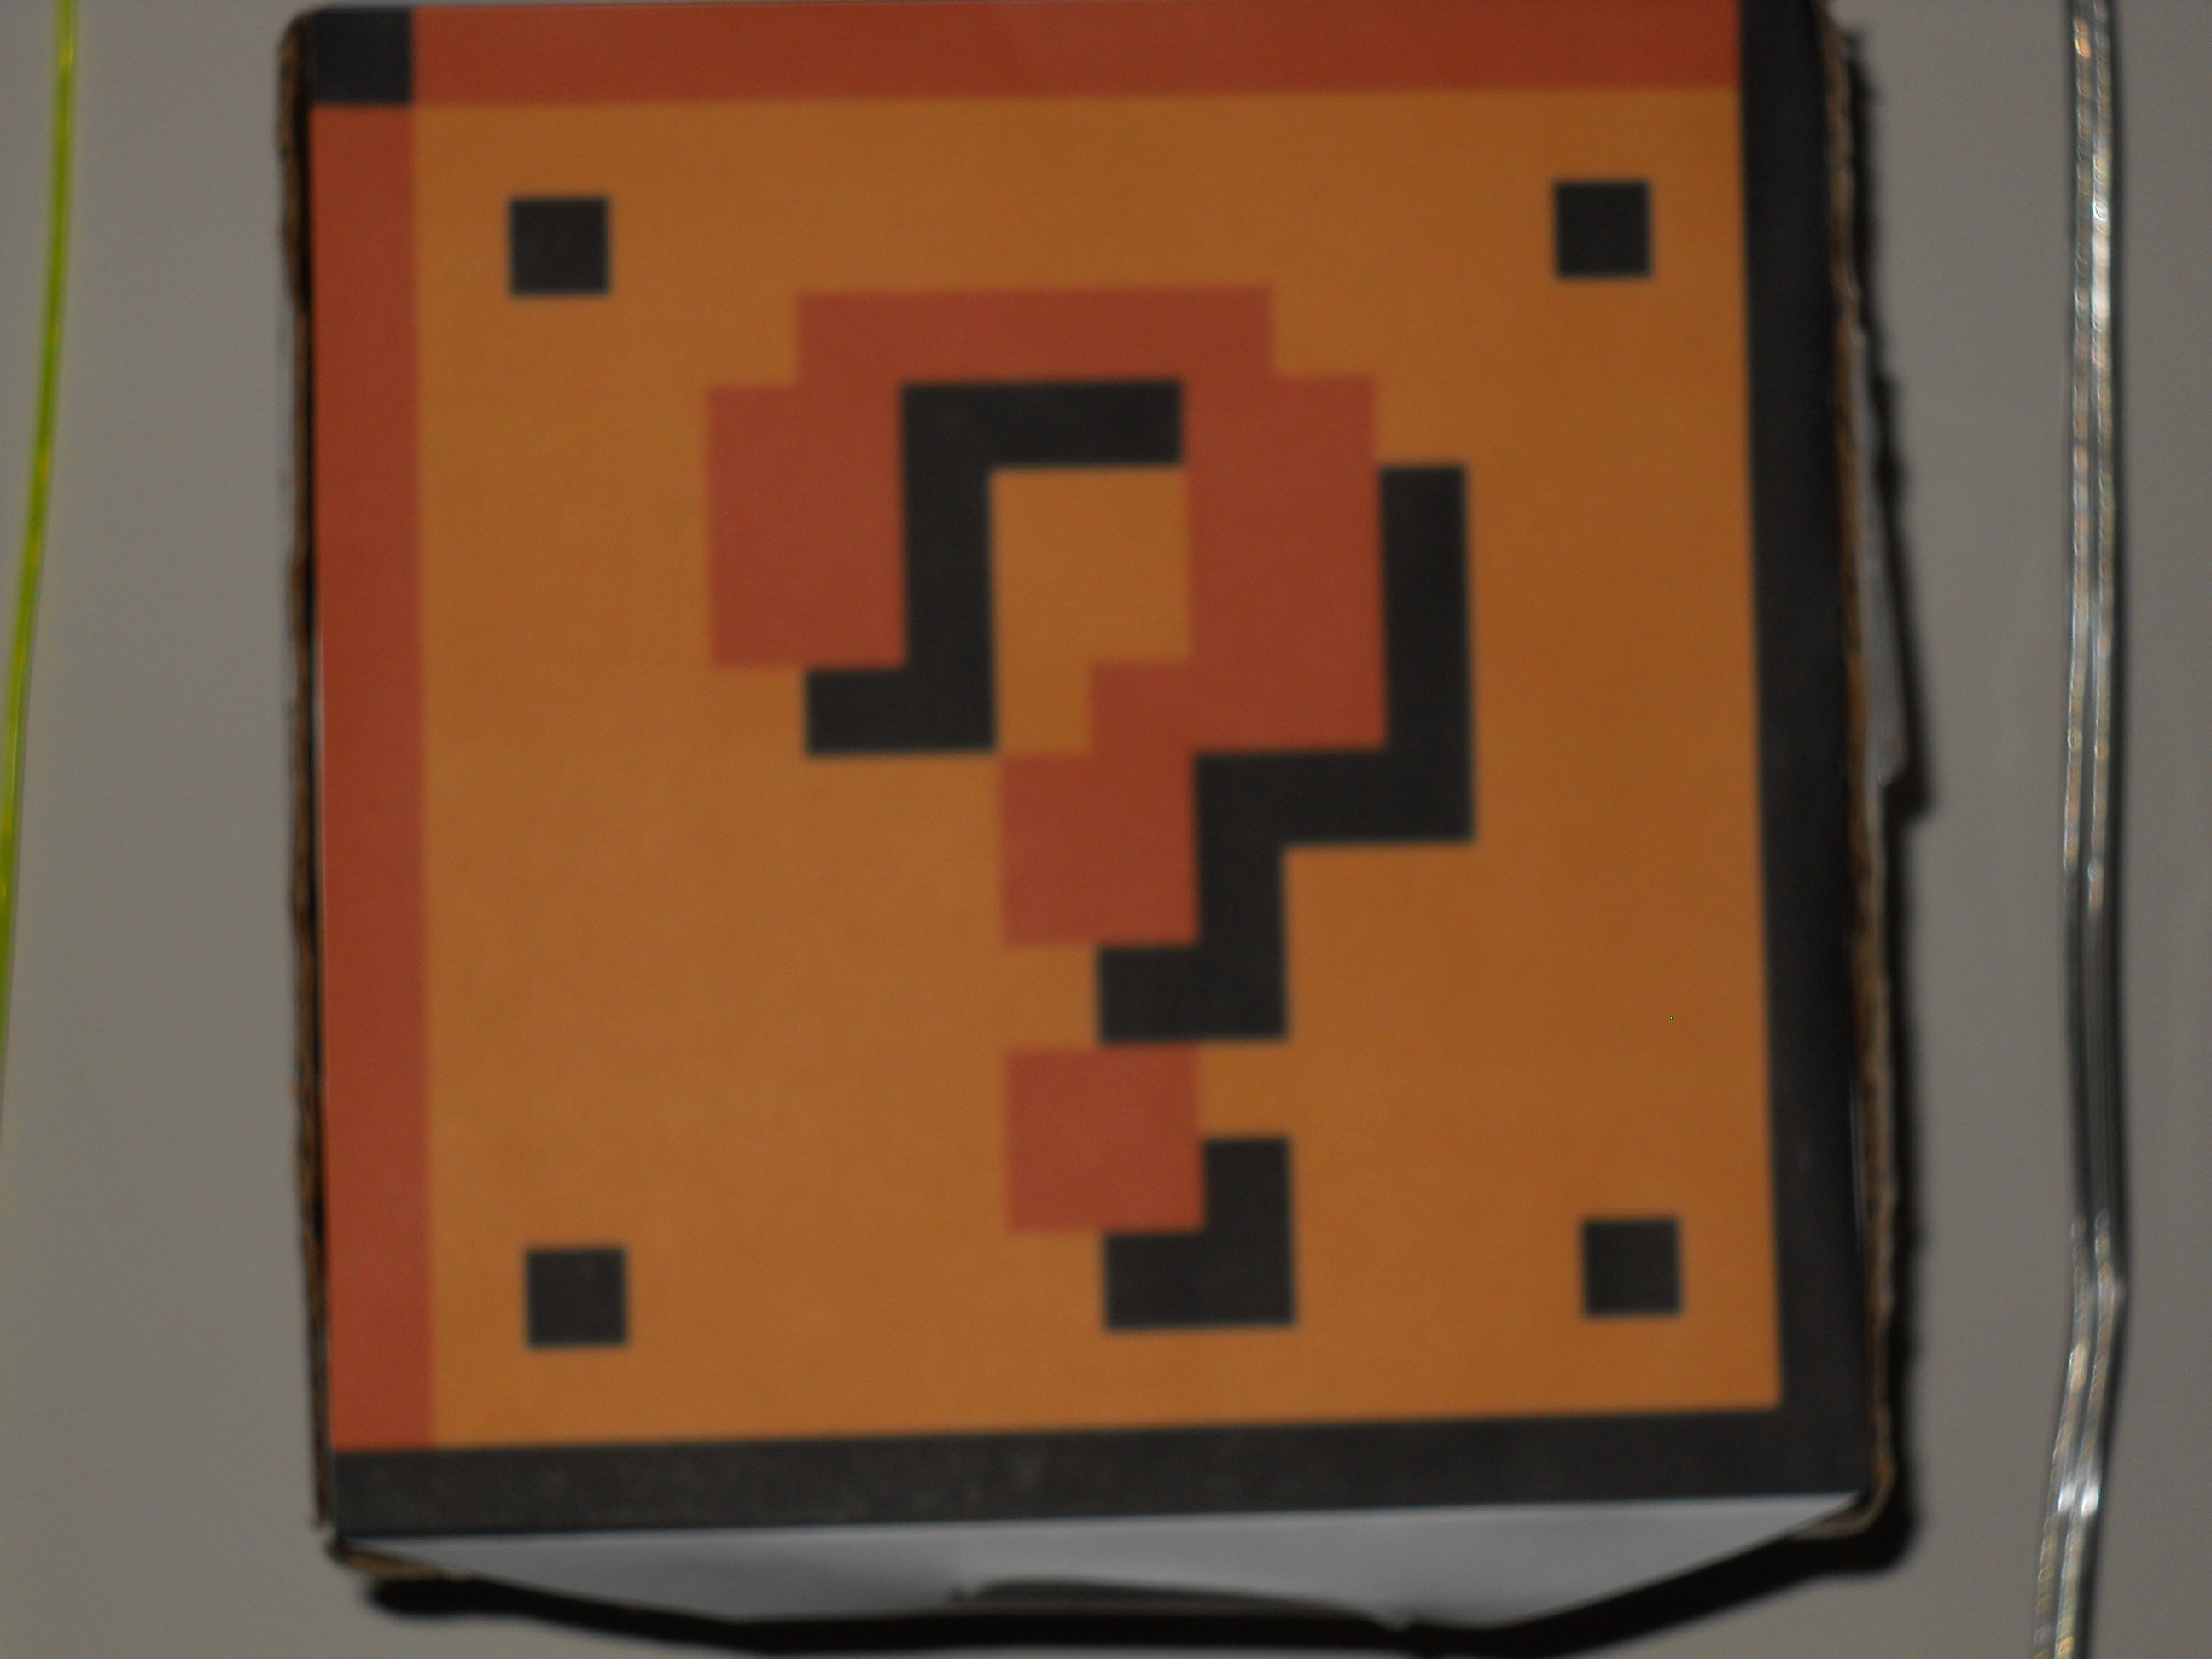
The first step is to make the block itself. This can take anywhere from five minutes to hours depending on how you want it to look.
My first version was acrylic, but as I said earlier, my friend paid me to build that one so he has it now. My second version was just paper (it broke far too easily), and the third was a cardboard box.
To make the basic lamp, just find a roughly cubeular cardboard box, and measure the dimensions of the top. Then, save a picture of the Mario block (a google search brings up hundreds of pictures), then scale it in any photo program (I used Microsoft Publisher). Then, just print it out.
If you want question marks on all sides of the box, print 4 or 5. If you don’t, just print one. Cut out the block(s), but make sure to leave tabs on the top and bottom. Now, cut the top flaps off of the top of the box, and cut a small hole in one side, slightly larger than your switch.
Spray paint the box if you like, or if you made 4-5 prints then you don’t need to. Use clear tape or glue to attach them to the faces of the box, however, do not tape/glue the bottom or sides of one of the faces. This way, you will still be able to get inside.
If you did it correctly, you should have an openable block. If you prefer a better model than a cardboard box, refer to the last step.
Edit: I recently found another mario coin block build here:http://www.instructables.com/id/Coin-blo…. This one dispenses coins instead, so check it out! You could also modify that block to incorperate the light.


